Sponsored

What did you do TO your Gladiator today? [ADMIN WARNING: NO POLITICS, NO GUN TALK]

WILDHOBO

Well-Known Member
First Name
Dan
Joined
Sep 24, 2021
Threads
74
Messages
11,758
Reaction score
17,899
Location
Colorado
Vehicle(s)
2021 Gladiator Rubicon
Occupation
Network Engineer
Vehicle Showcase
1
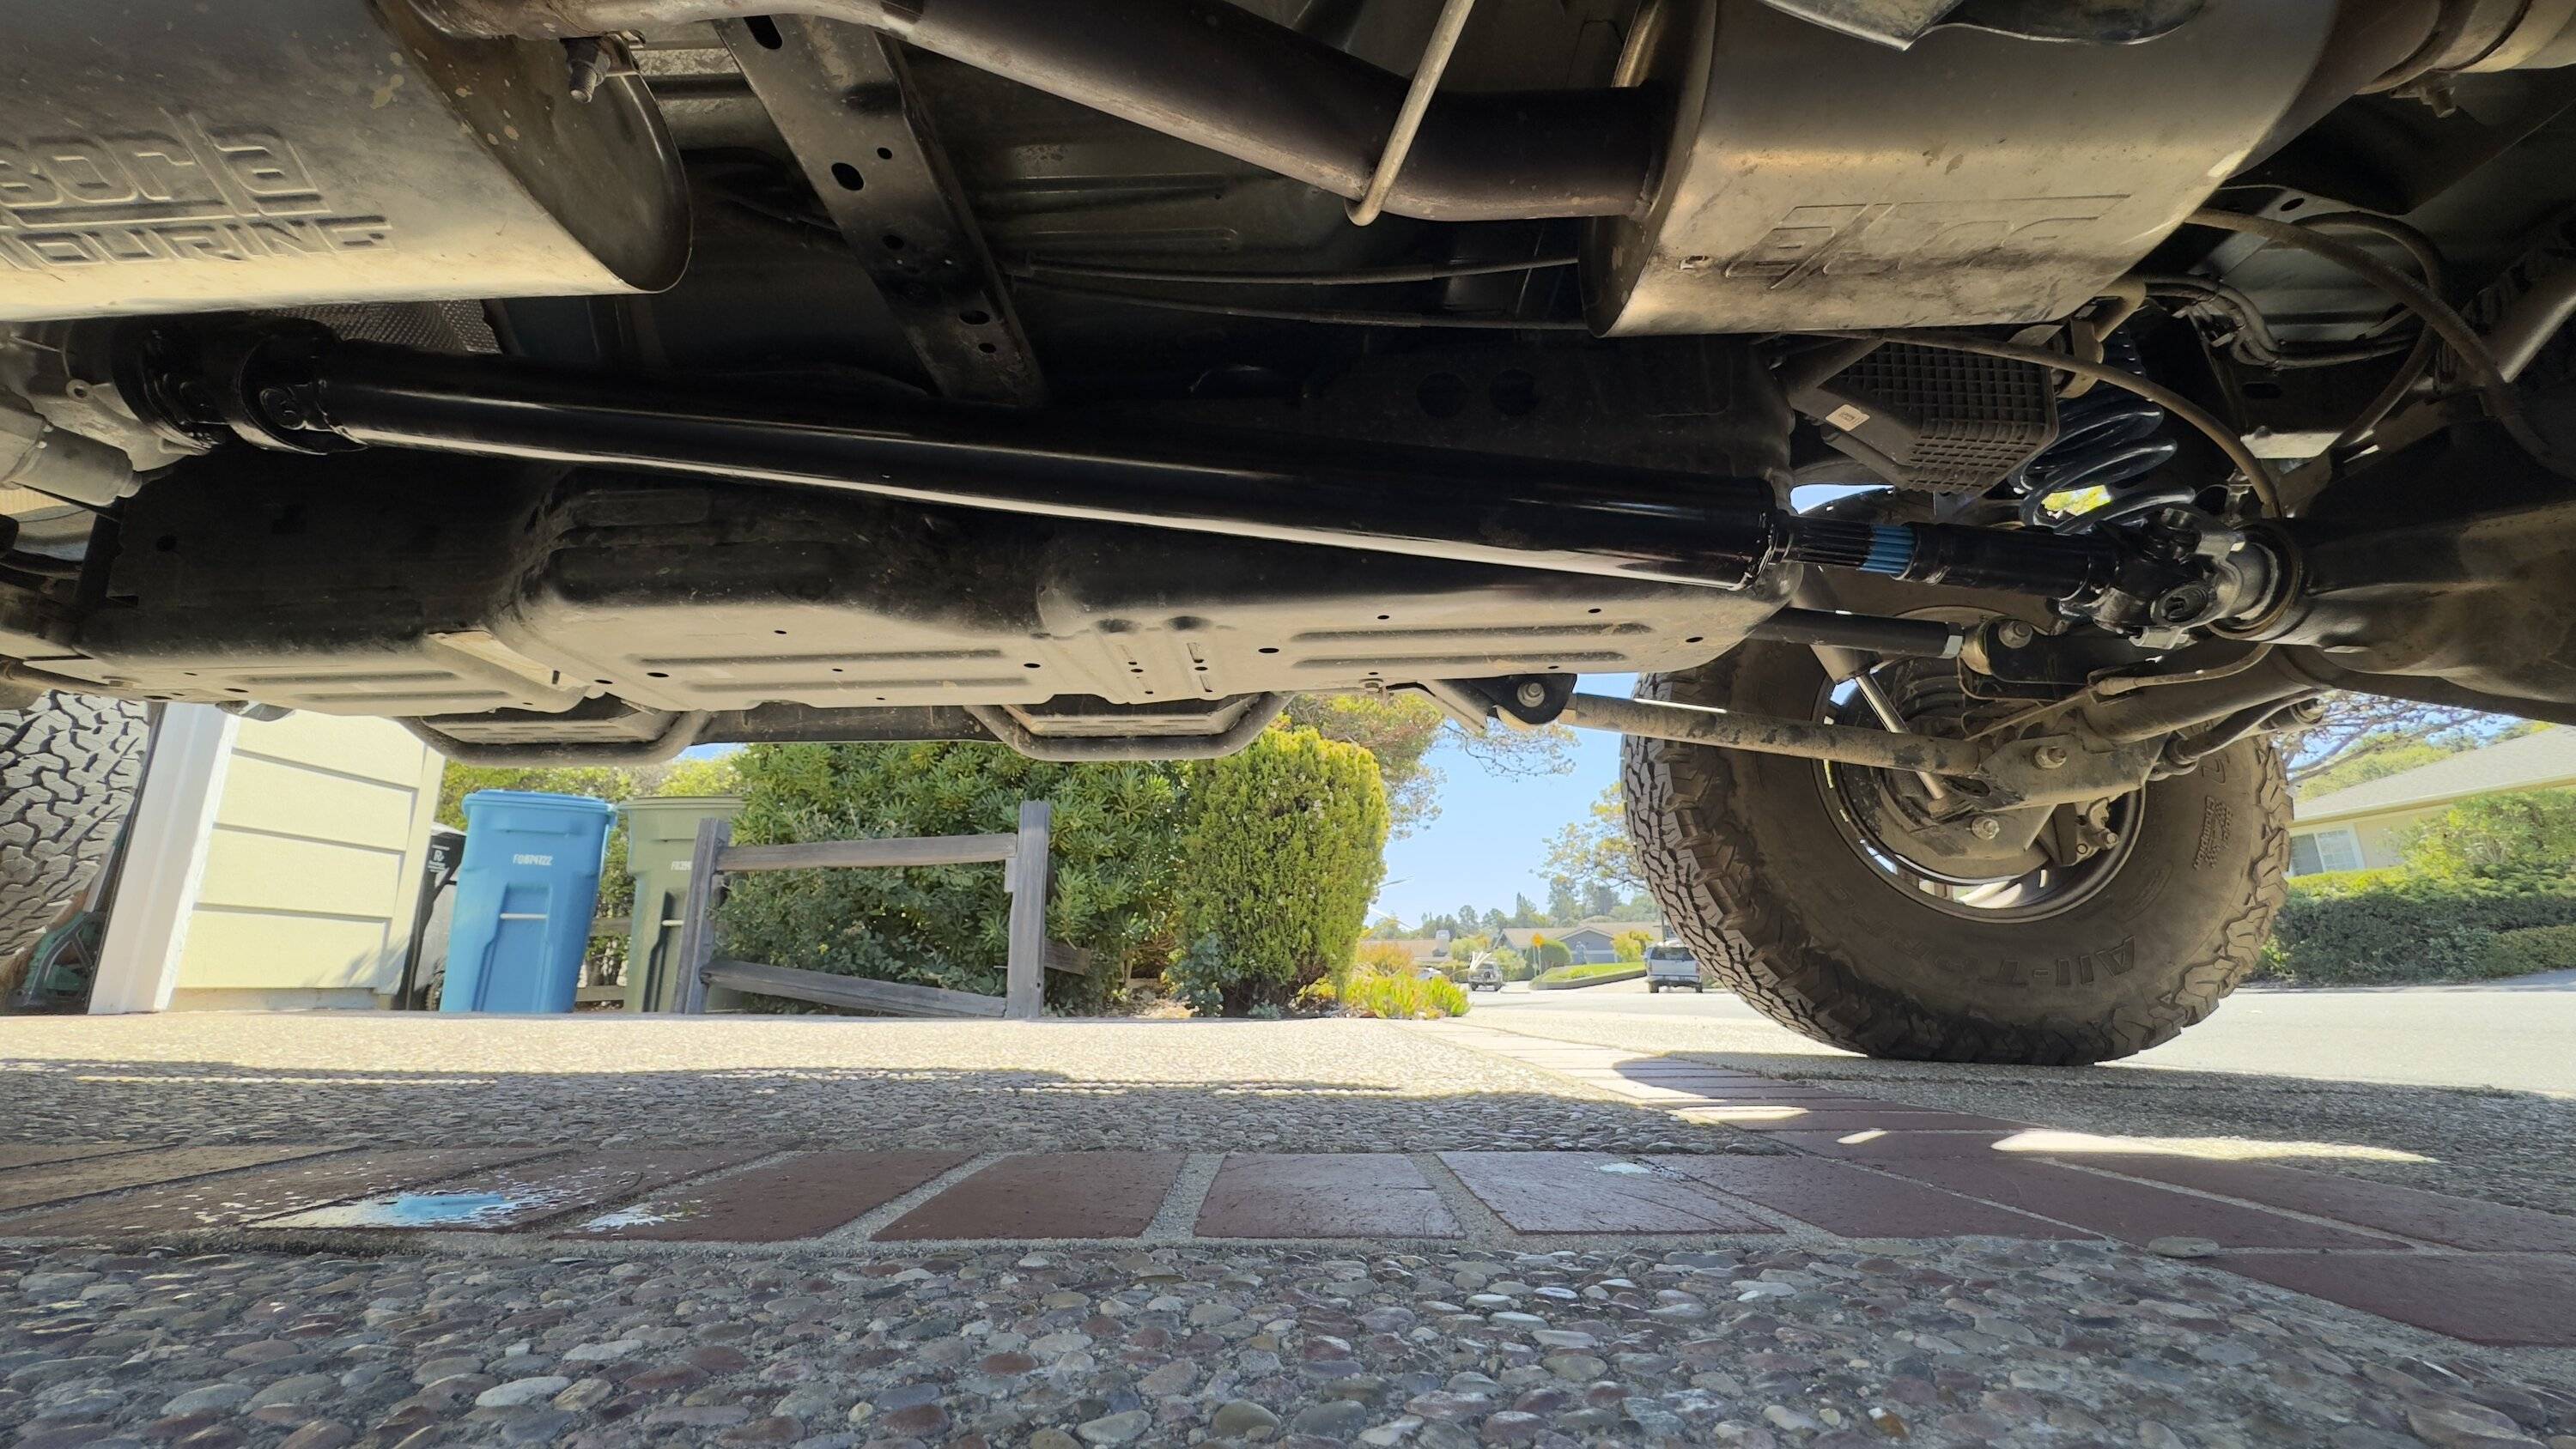
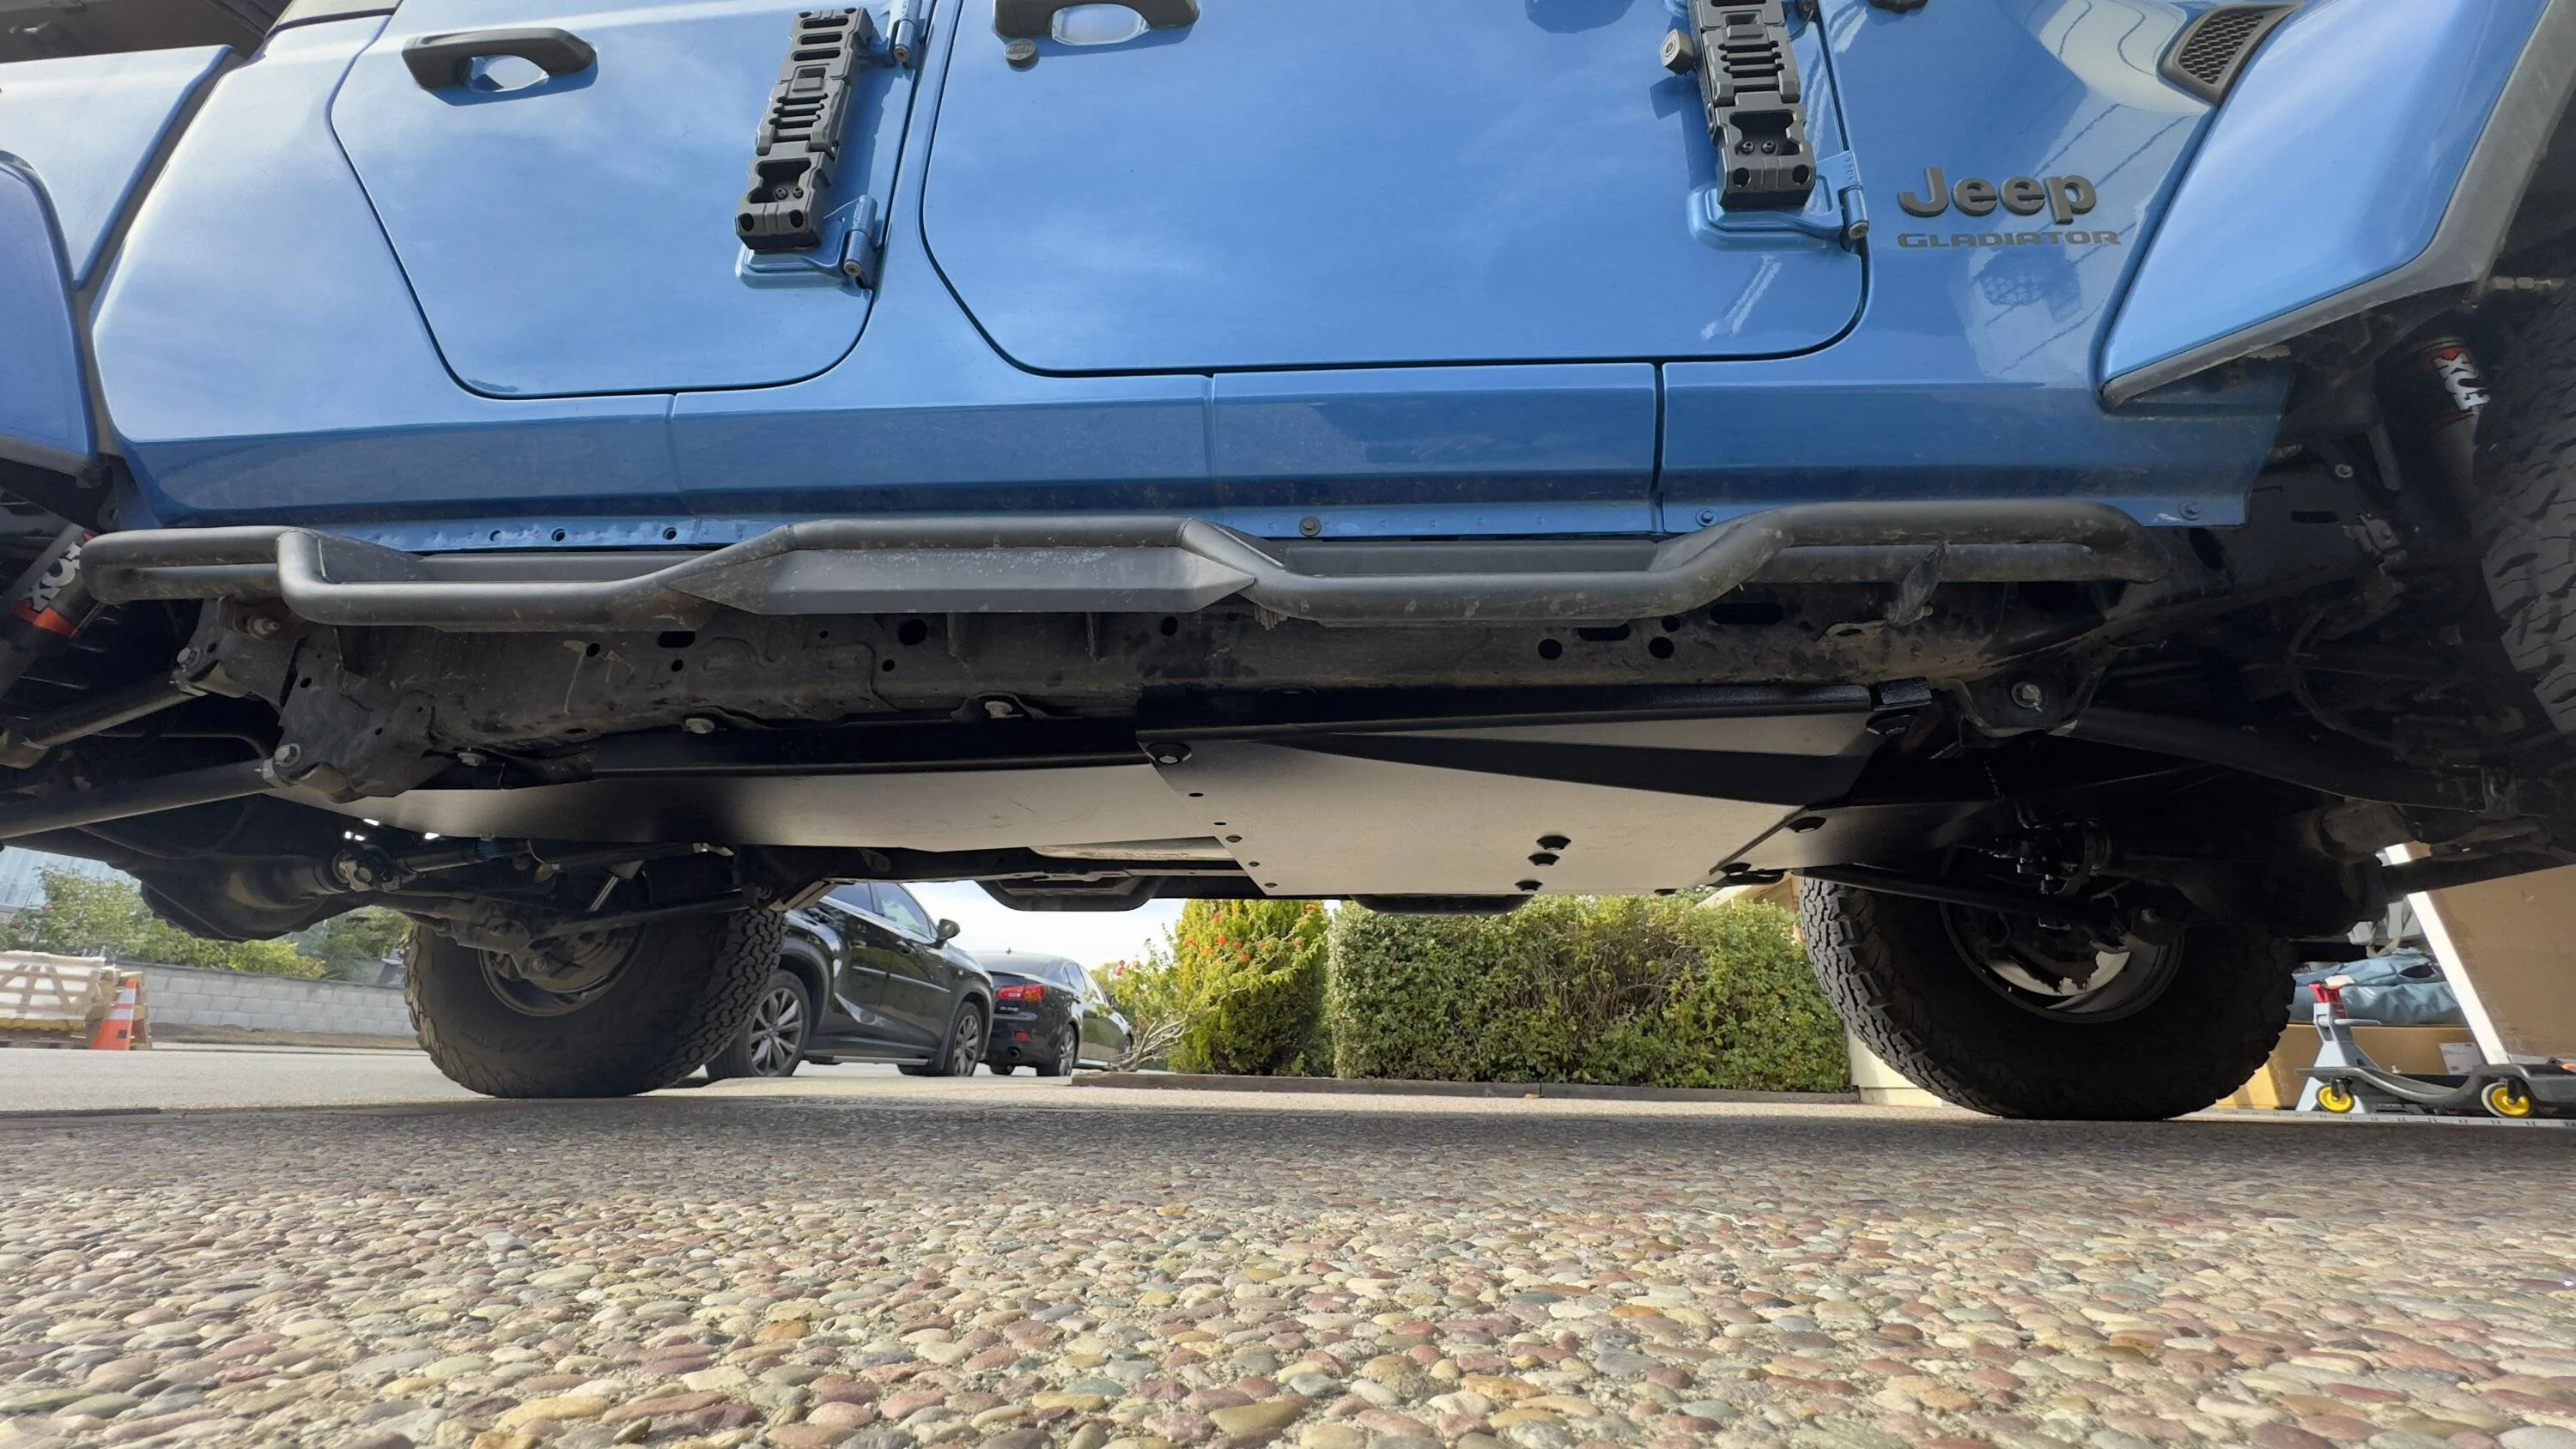
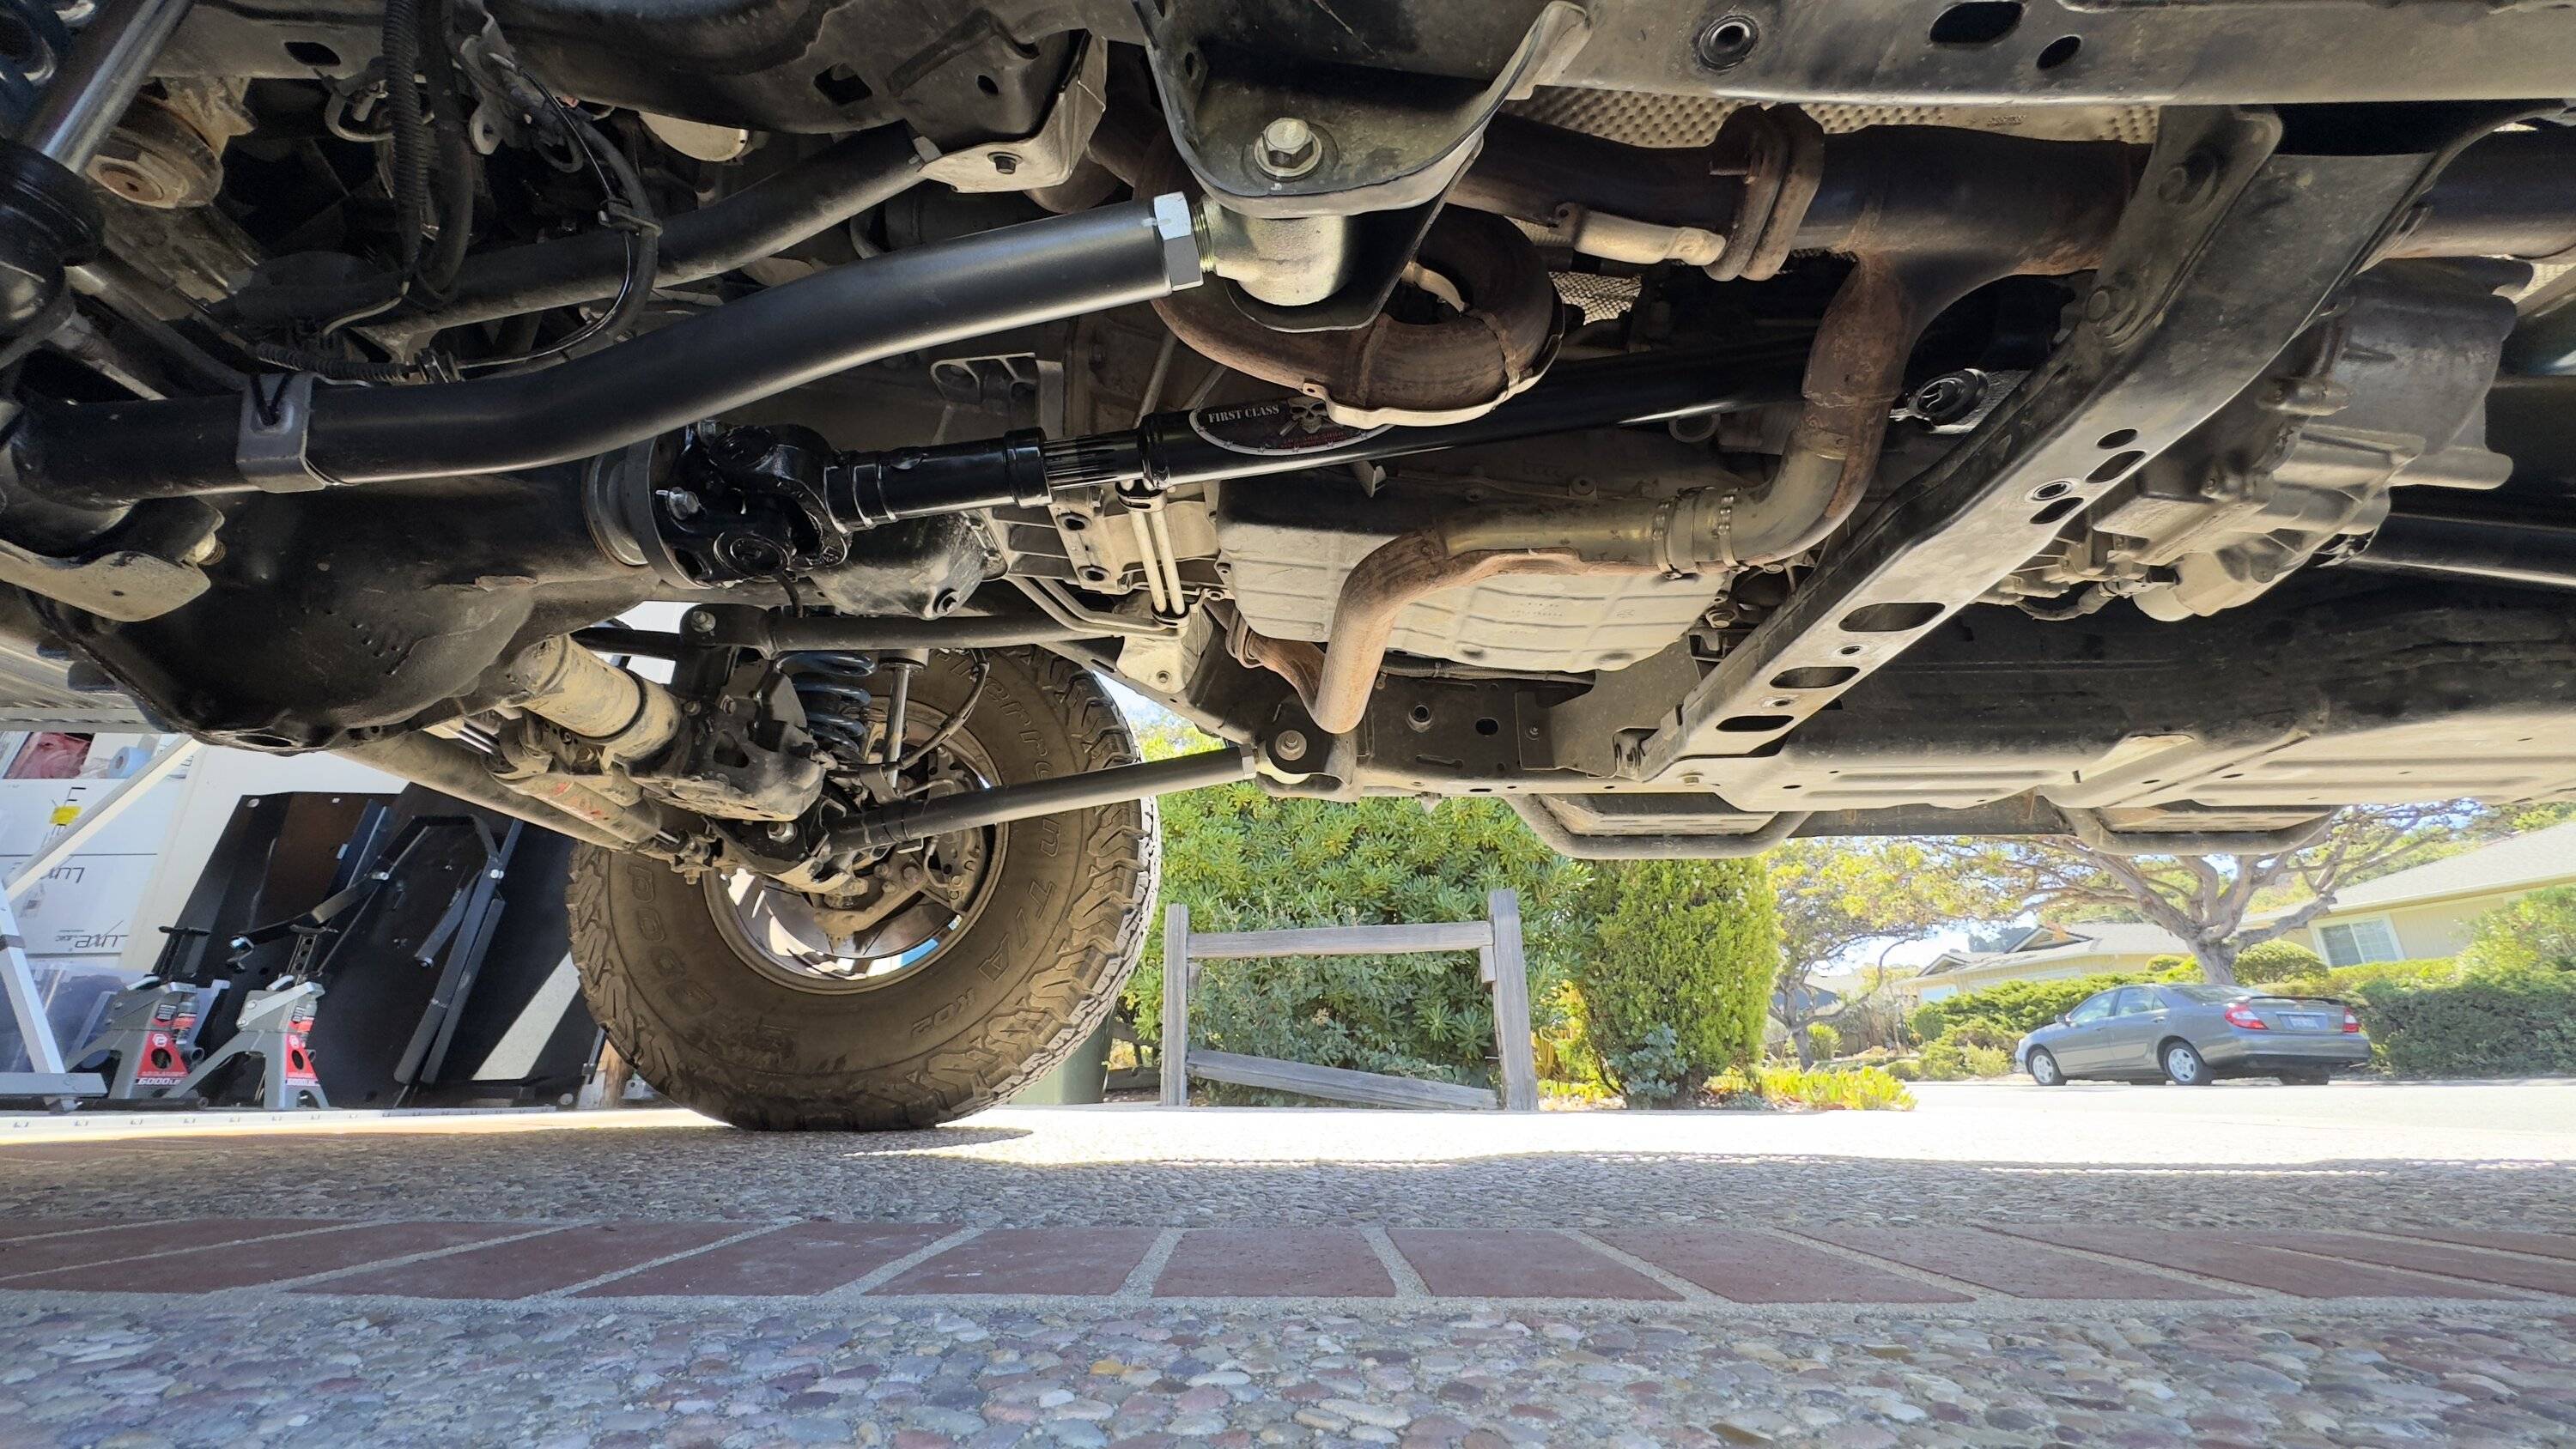
Got my Adam’s 1350 driveshafts in. With that out of the way, I finally got my RockHard 4x4 skids on after over a year. Decided to just do oil pan, belly pan, and gas tank. The resonator pan requires brackets that use a weld nut that is not on my frame.

IMG_6590.jpeg
IMG_6589.jpeg
IMG_6595.webp
How bad was the front? I replaced my rear a year ago, but have a new front in the shed. I don’t know what’s involved in removing it from the t-case. Any hints you’d care to share? Thanks.
Sponsored


JeepOfTheseus

Well-Known Member
Joined
May 26, 2021
Threads
56
Messages
1,050
Reaction score
1,875
Location
Bay Area
Vehicle(s)
Jeep Gladiator
How bad was the front? I replaced my rear a year ago, but have a new front in the shed. I don’t know what’s involved in removing it from the t-case. Any hints you’d care to share? Thanks.
Wasn’t nearly as bad as I expected. NorthRidge and other videos had me thinking it would be a pain. I’ll take a pic of all the tools I used later - they all fit perfectly.
 

Animal

Well-Known Member
First Name
Mitchell
Joined
Sep 14, 2019
Threads
1
Messages
226
Reaction score
619
Location
Olympia, WA
Vehicle(s)
JT
Occupation
CMMS Administrator
Installed the metalcloak rear away bar reenforcement bracket. Took a bit of modification to fit the brackets with the rokblokz already installed. Ended up notching the rokblokz bracket to make it all fit. First side took forever figuring out the bracket and notching, second side I had done in ten minutes in the dark ?
 

RudeJeepin

Well-Known Member
First Name
Carl
Joined
May 6, 2022
Threads
5
Messages
1,571
Reaction score
2,488
Location
Washington
Vehicle(s)
2022 JTRD
Build Thread
Link
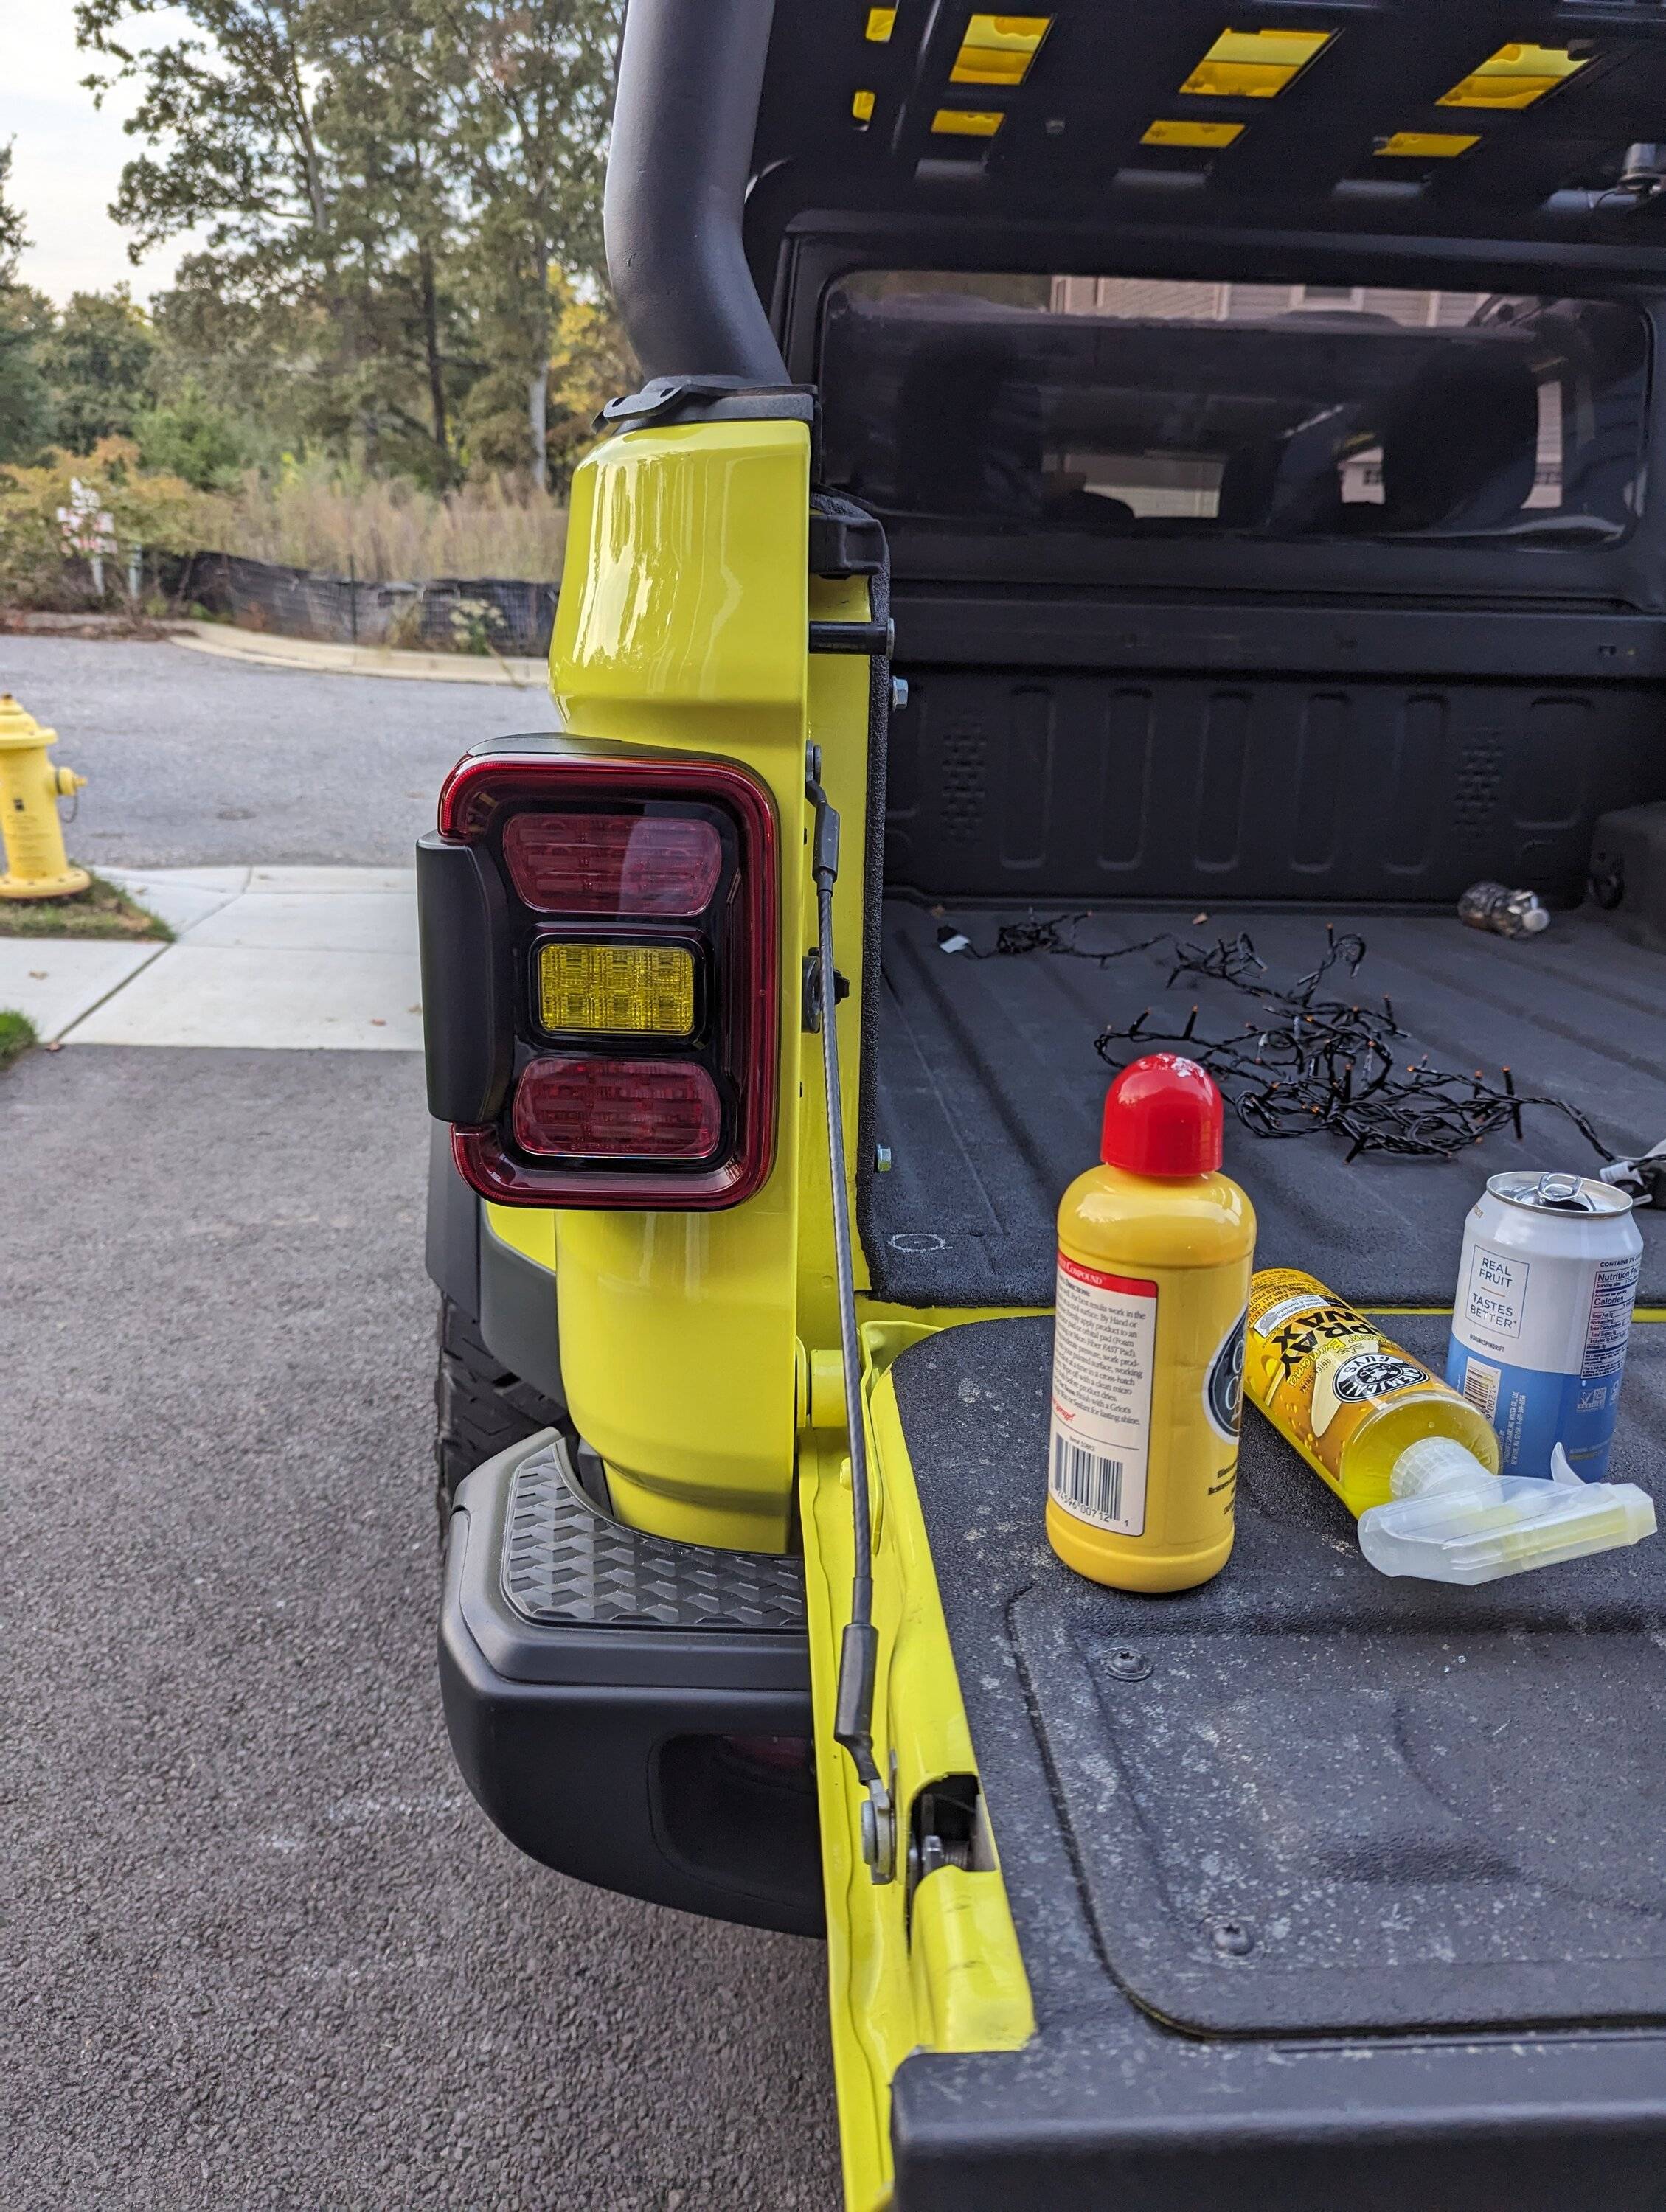
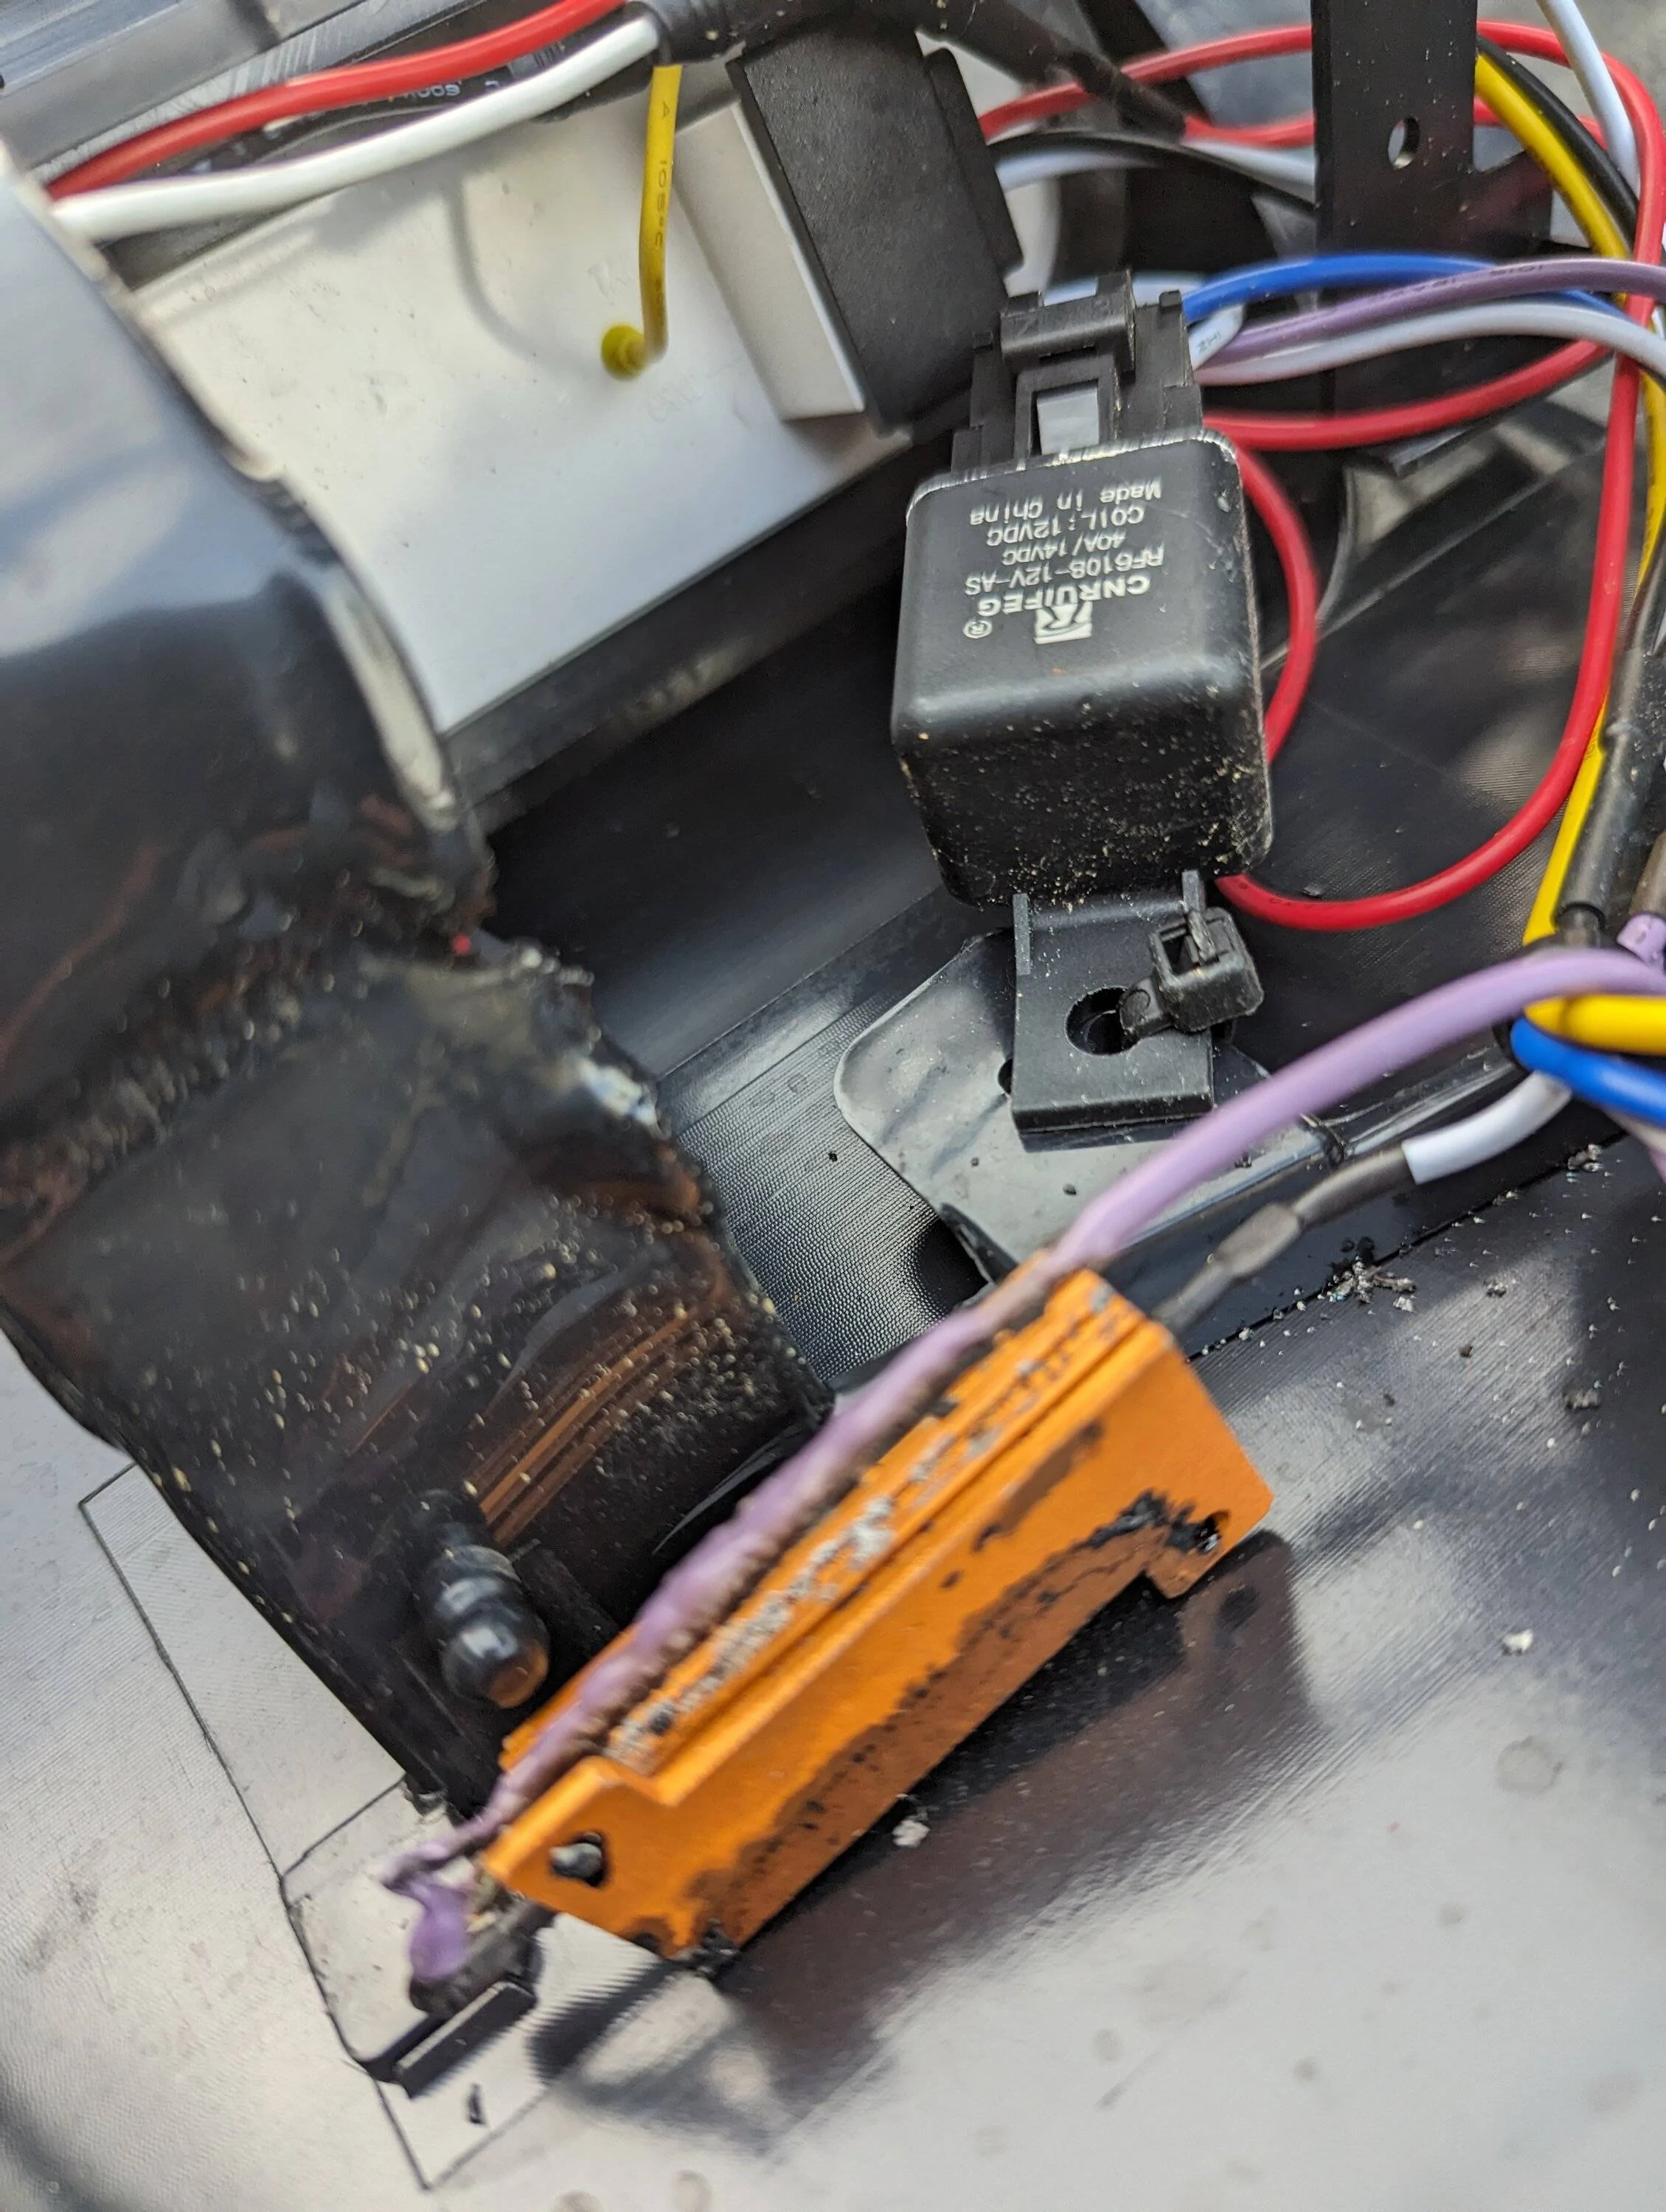
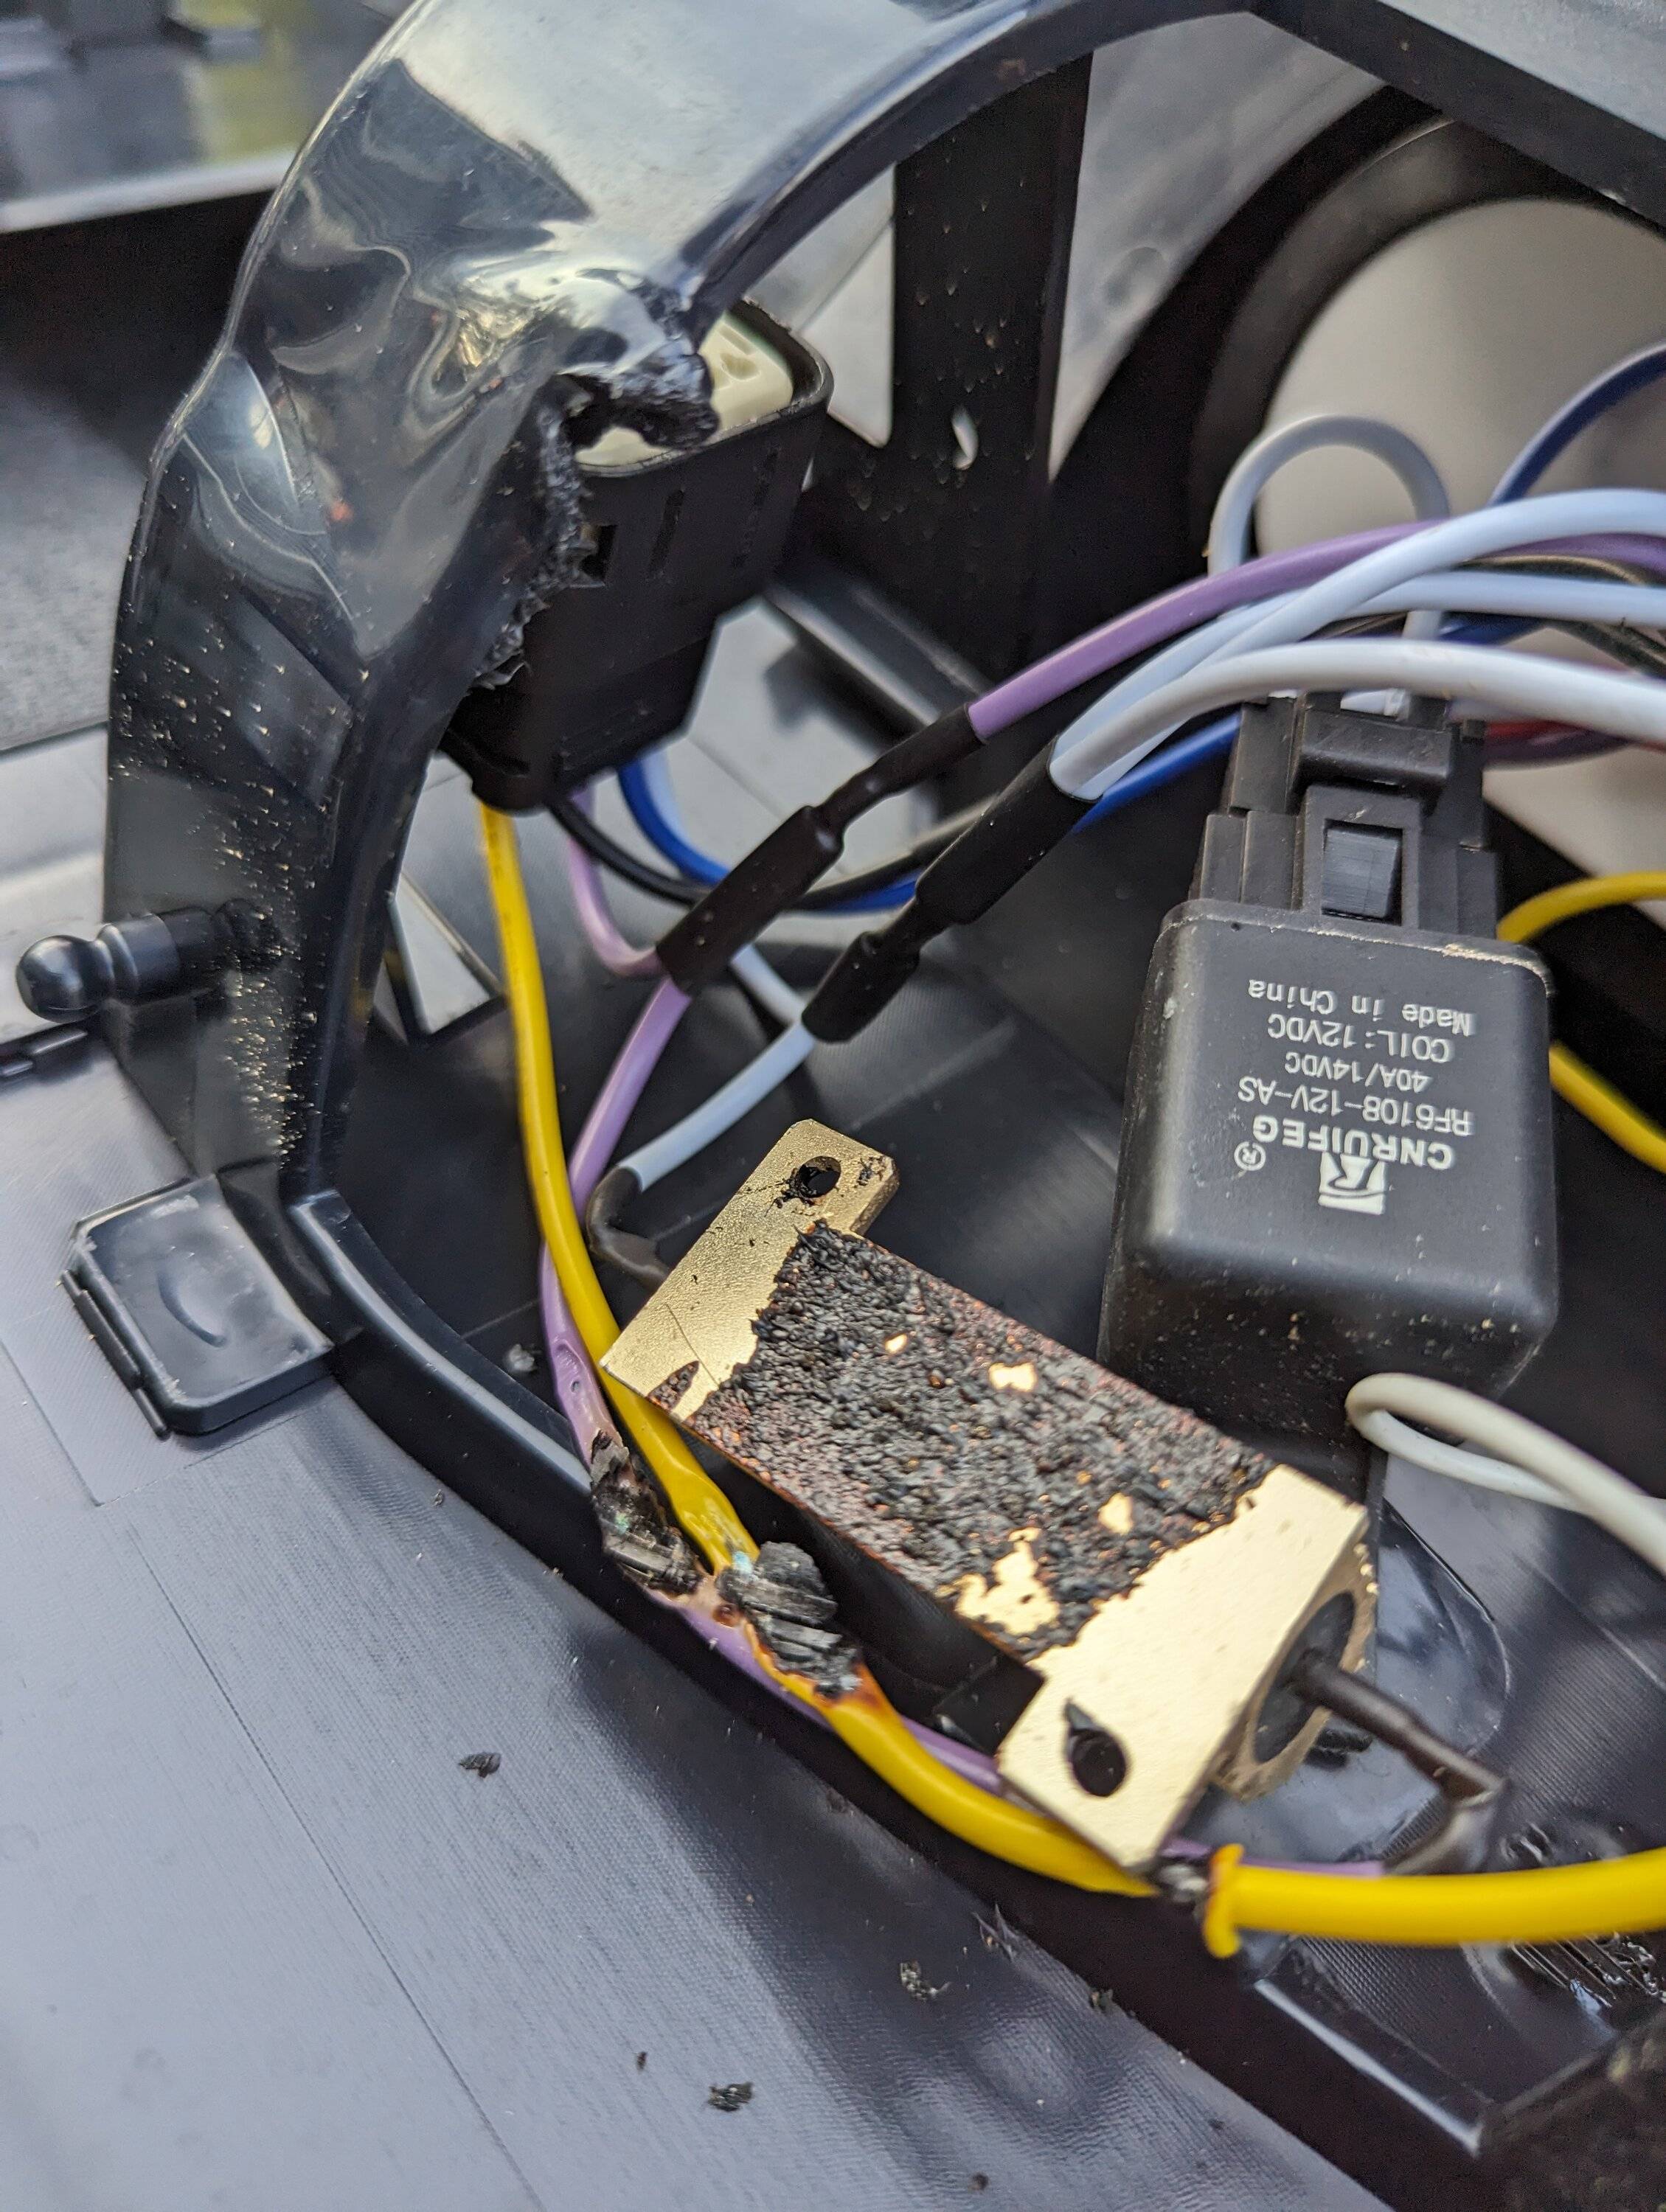
Reinstalled my OEM LED taillights since the Rugged Ridge flush mount LEDs want to burn themselves up and throwing codes.

Pics to follow

PXL_20231011_221806732.jpg


PXL_20231011_215931710.jpg


PXL_20231011_215926915.jpg
That's a bummer, I had my eye on those.
Any word from Rugged Ridge about a fix or replacement?
 

Minty JL

Well-Known Member
First Name
Jeremy
Joined
May 15, 2019
Threads
25
Messages
4,803
Reaction score
7,634
Location
Ft Meade, MD - AOR
Vehicle(s)
23 JTM - 19 JLUR - 22 Compass LTD - 04 355 ZQ8
Occupation
USA(R), DoD - Dirty Contractor
That's a bummer, I had my eye on those.
Any word from Rugged Ridge about a fix or replacement?
I didn't get around to emailing them today, possibly on Monday. I have to look up my email for the invoice
 

Sponsored

WILDHOBO

Well-Known Member
First Name
Dan
Joined
Sep 24, 2021
Threads
74
Messages
11,758
Reaction score
17,899
Location
Colorado
Vehicle(s)
2021 Gladiator Rubicon
Occupation
Network Engineer
Vehicle Showcase
1
Wasn’t nearly as bad as I expected. NorthRidge and other videos had me thinking it would be a pain. I’ll take a pic of all the tools I used later - they all fit perfectly.
Does yours require that the yoke at the t case be replaced? Mine does, as it’s a new 1350 joint. The pinion side looks super easy as it’s just 4 bolts.
 

TheDerb

Well-Known Member
First Name
Mike
Joined
May 26, 2022
Threads
43
Messages
322
Reaction score
771
Location
Murfreesboro, TN
Vehicle(s)
1984 CJ-7, 2025 Ford Maverick Hybrid XL.
I added a $39 front camera. The kit comes with the screen, wiring, mounts, and the camera for that price, which is the deal of the year in my eyes. And a remote I'll never use for the screen, too! I've been looking for a camera that meets the criteria of A) Low Price, and B) easy to install. I am not sure that the front camera will be something I find valuable, and I have spent too much money on modifications that ended being a waste of money.

I found this camera for $39 on Amazon. Installation was a breeze- drilled a hole through the plug that goes through the fire wall, duct tape, and zip ties. I am well aware that not everyone is willing to "cheap out" on installation, but this is my "test it out" stage, and if I can't live without it, I'll graduate to tapping the bull bar and using hardware to install it.

Conceptually, though, it works great right now.

Jeep Gladiator What did you do TO your Gladiator today? [ADMIN WARNING: NO POLITICS, NO GUN TALK] IMG_1539
Jeep Gladiator What did you do TO your Gladiator today? [ADMIN WARNING: NO POLITICS, NO GUN TALK] IMG_1534
 

KQL

Well-Known Member
Joined
Feb 17, 2022
Threads
4
Messages
231
Reaction score
467
Location
Wi
Vehicle(s)
Looking for gladiator
I added a $39 front camera. The kit comes with the screen, wiring, mounts, and the camera for that price, which is the deal of the year in my eyes. And a remote I'll never use for the screen, too! I've been looking for a camera that meets the criteria of A) Low Price, and B) easy to install. I am not sure that the front camera will be something I find valuable, and I have spent too much money on modifications that ended being a waste of money.

I found this camera for $39 on Amazon. Installation was a breeze- drilled a hole through the plug that goes through the fire wall, duct tape, and zip ties. I am well aware that not everyone is willing to "cheap out" on installation, but this is my "test it out" stage, and if I can't live without it, I'll graduate to tapping the bull bar and using hardware to install it.

Conceptually, though, it works great right now.

IMG_1539.jpeg
IMG_1534.jpeg
It appears you attached the monitor to the panel containing the passenger airbag…[insert worst case scenario]
 

KQL

Well-Known Member
Joined
Feb 17, 2022
Threads
4
Messages
231
Reaction score
467
Location
Wi
Vehicle(s)
Looking for gladiator

Sponsored

trust

Well-Known Member
First Name
terry
Joined
Apr 30, 2020
Threads
21
Messages
425
Reaction score
436
Location
northern New Mexico
Vehicle(s)
1982 Jeep Scrambler, 2020 Jeep Gladiator Rubicon
Occupation
Retired
Vehicle Showcase
1
Winch install begins.... i found only one a ftermarket winch mounting bumper that claims to mount an 8274 and its aluminum and costs 7.925 gigabucks so im a bit short... plan going in was to enlarge the existing winch access I n the top side of the stock steel bumper. Not sure that will work as elegantly as id hoped....

So good sirs and madams assuming i need a new bumper i ask you, rectagular steel tube bumper? Round steel tube bumper. Li kely prerunner style, or try to make the stocker work even if i have to chop it up.

I tried to post a pic but met with utter failure. Said it wasnt a readable format...

Input please
 

dmwphoto

Well-Known Member
First Name
Dave
Joined
Feb 4, 2023
Threads
10
Messages
387
Reaction score
565
Location
Longs, SC
Vehicle(s)
2022 Jeep Gladiator Overland
Occupation
Retired
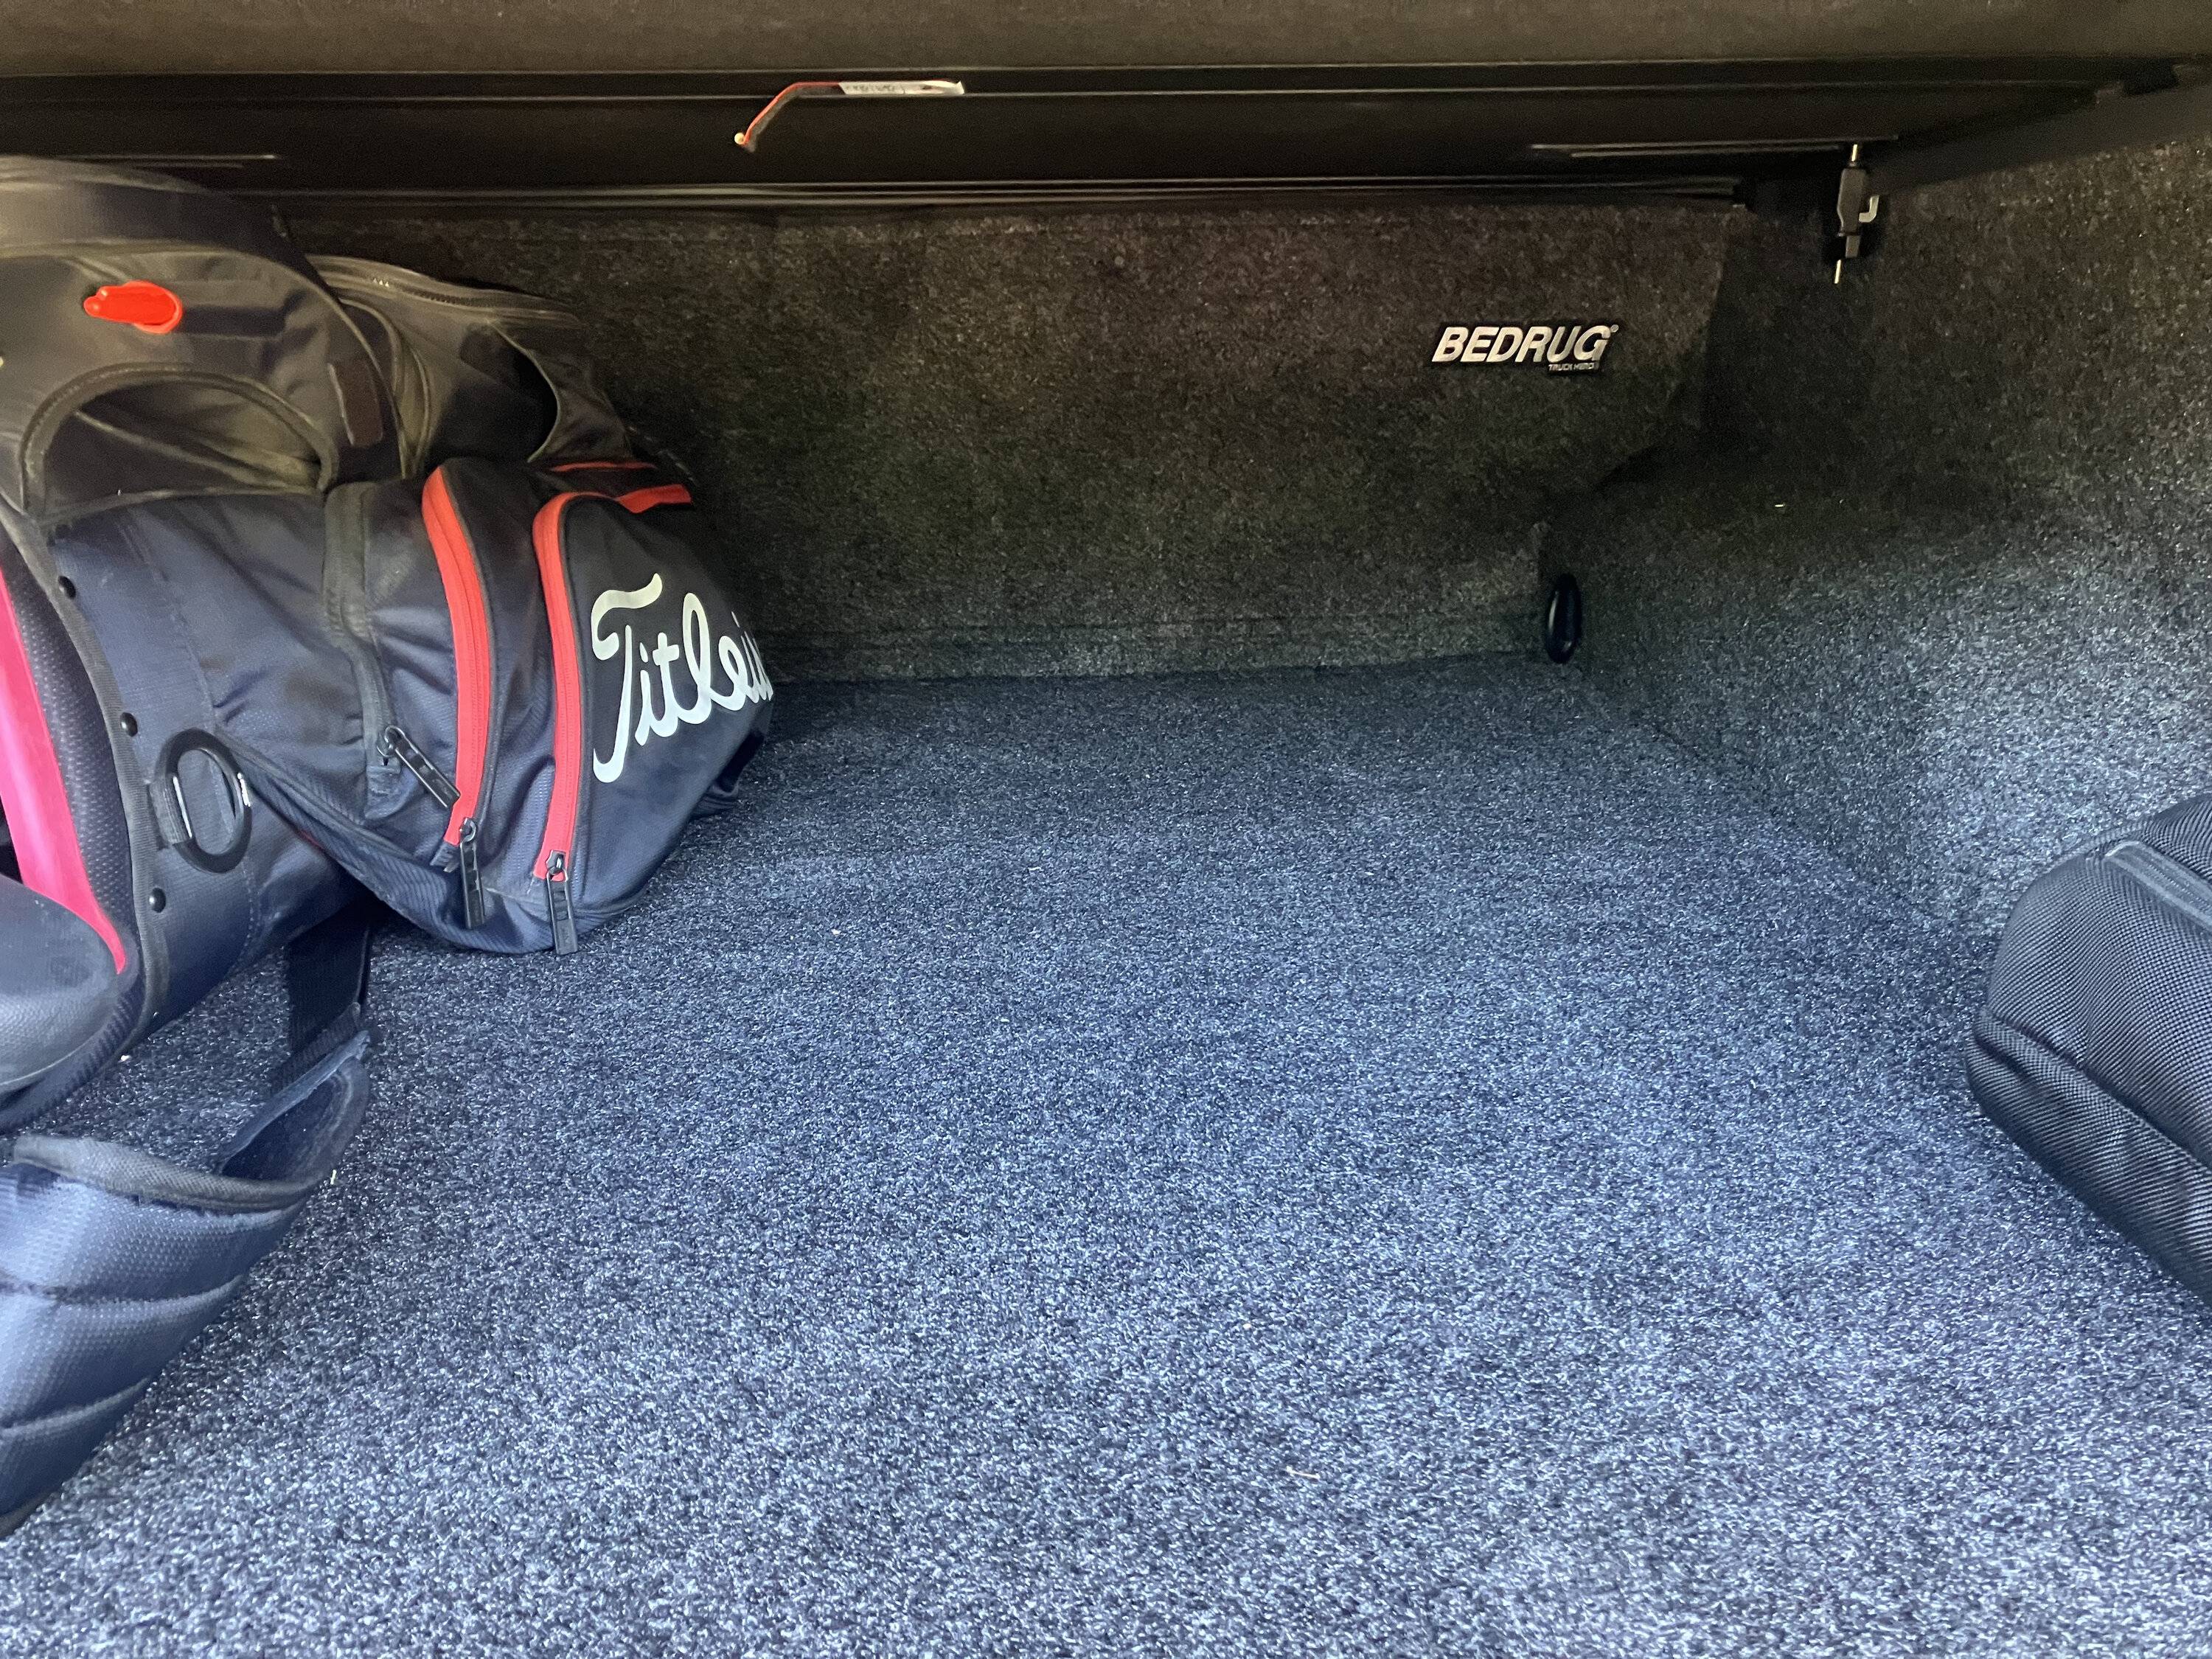
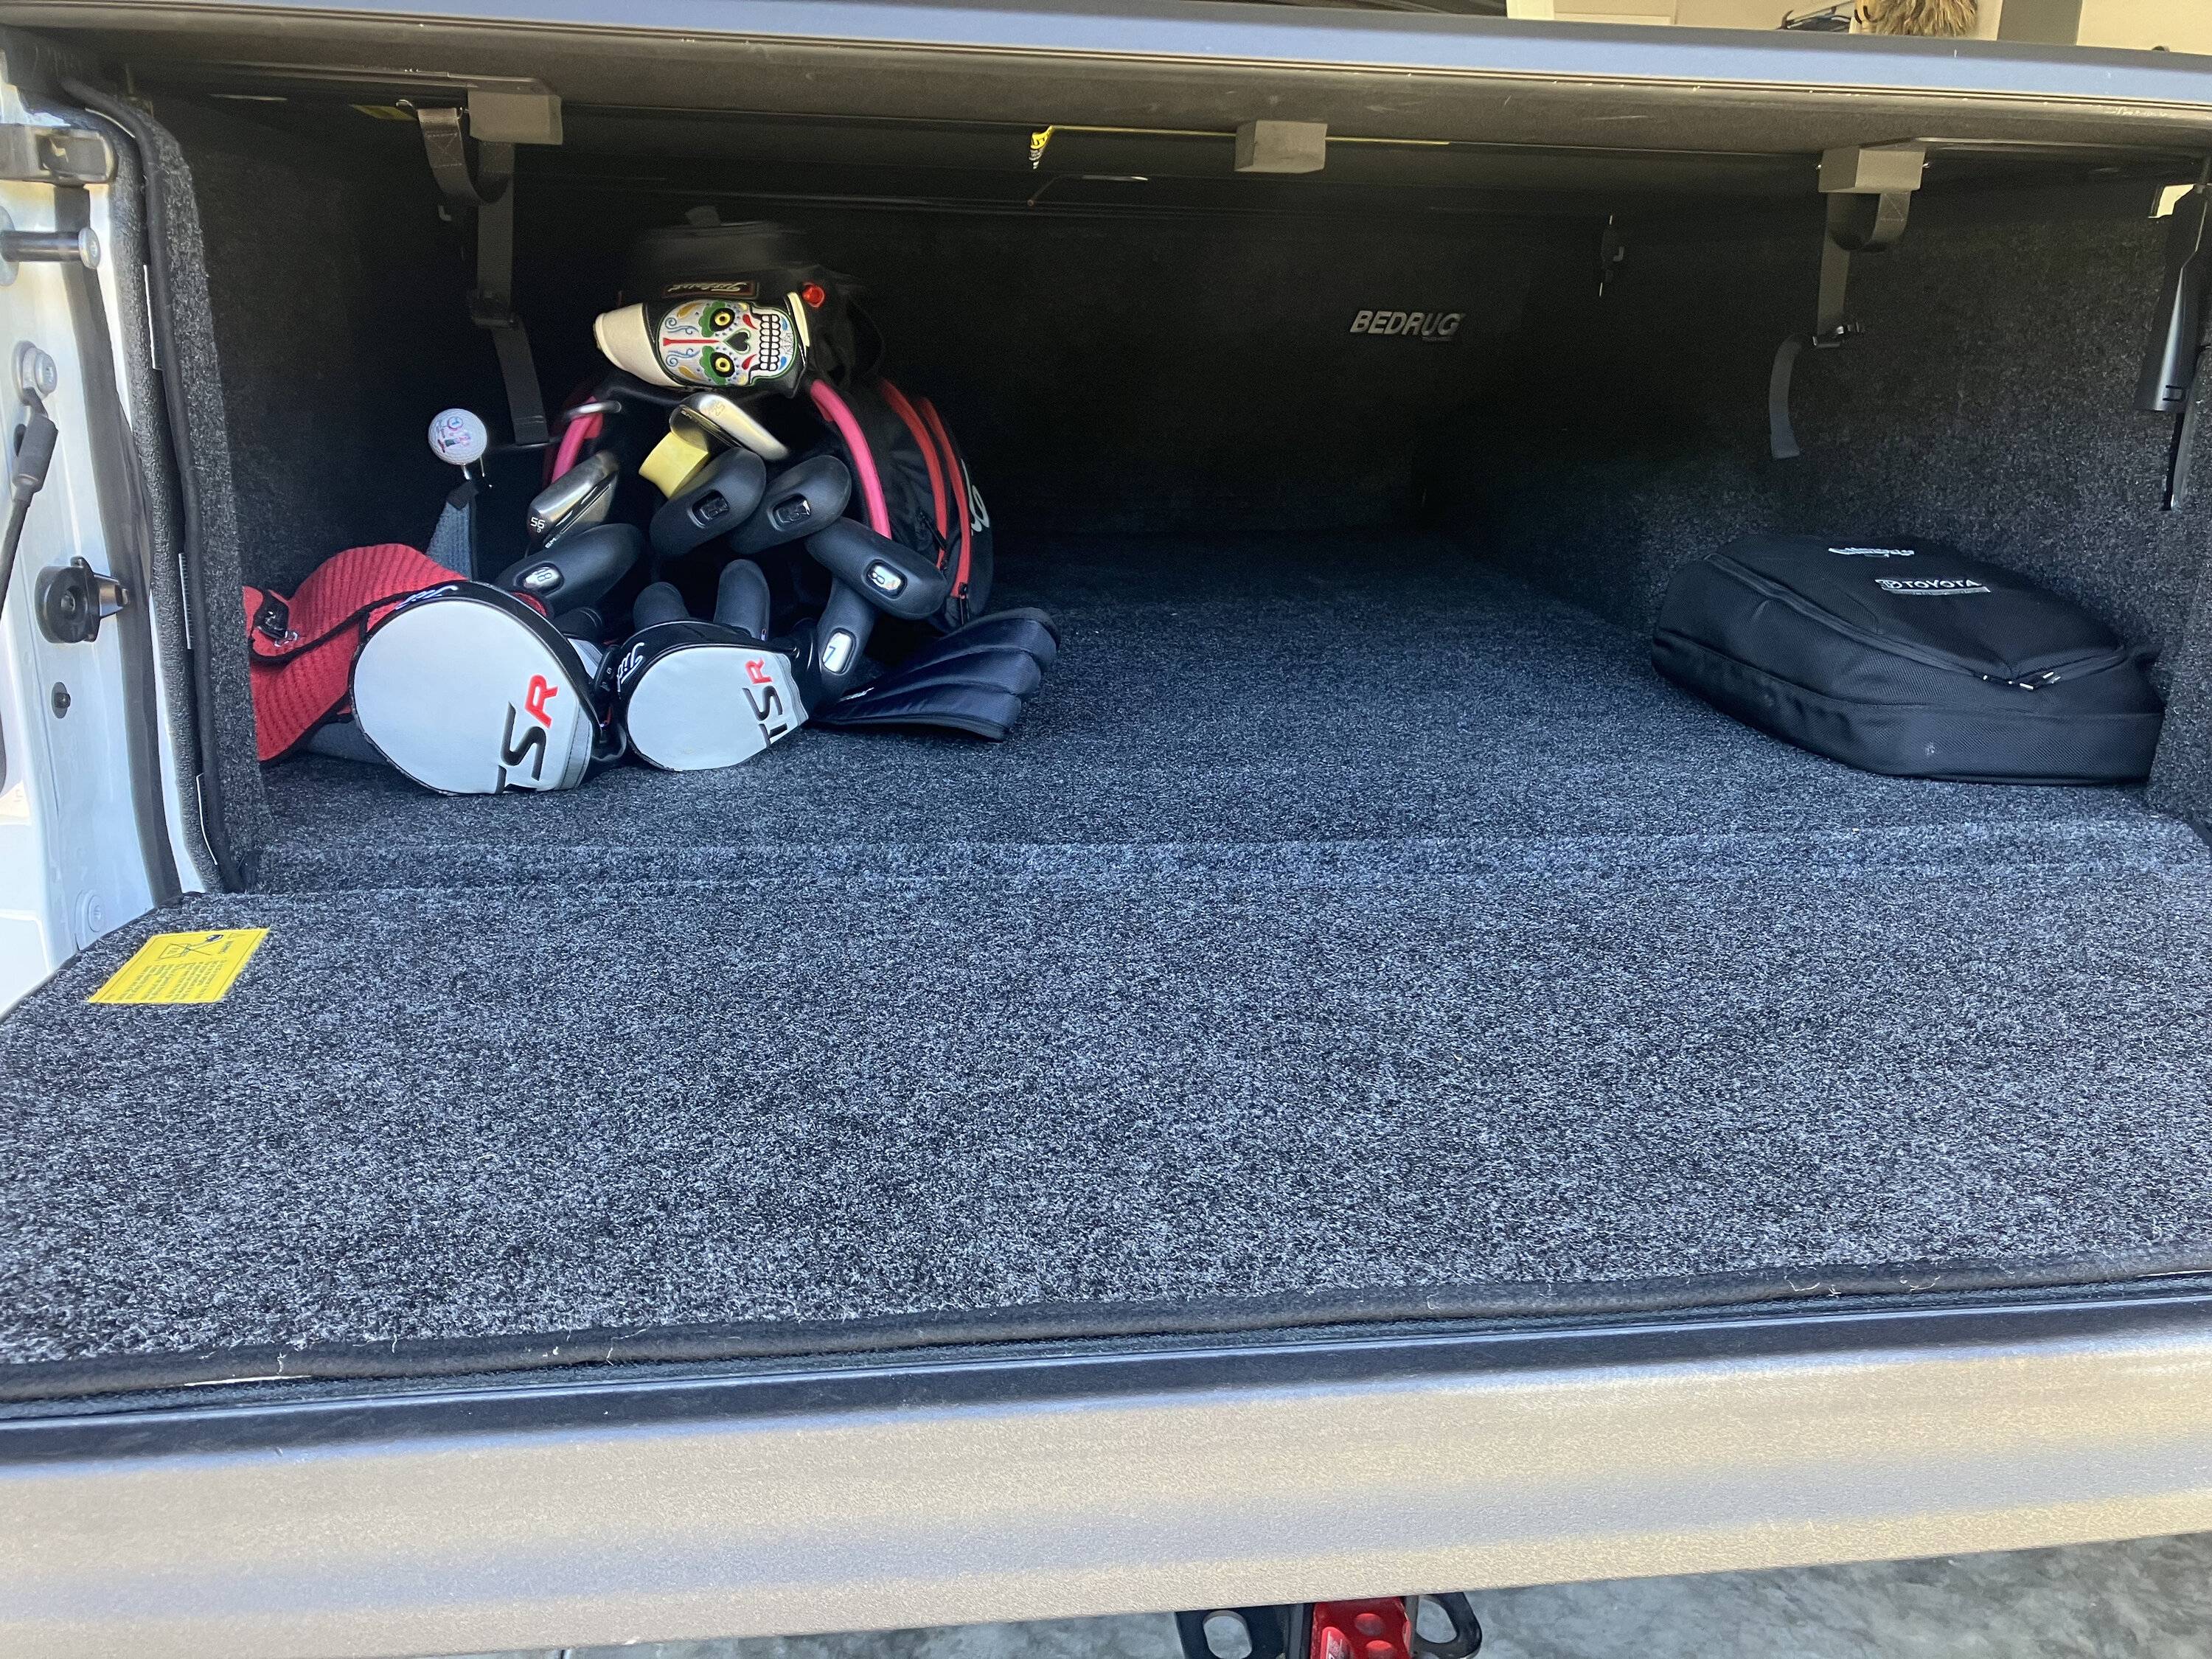
Just ordered one of these things, thought it might be an interesting alternative to a bed liner. Encounter any issues with it so far?
No issues at all. I did order the extra kit to use with the spray in liner. I do not have the bed rail system but I did run a die in the screw holes and purchased screws and used the to secure the top all the way around.
I can look and see what die it was andthe screw size if you need it.
 

JeepOfTheseus

Well-Known Member
Joined
May 26, 2021
Threads
56
Messages
1,050
Reaction score
1,875
Location
Bay Area
Vehicle(s)
Jeep Gladiator
Does yours require that the yoke at the t case be replaced? Mine does, as it’s a new 1350 joint. The pinion side looks super easy as it’s just 4 bolts.
Yes - since I got the 1350s, I had to replace 3 of them: front t-case, rear t-case, rear diff/pinion. All 3 required using a 3 jaw puller. The front t-case is obviously a small space to work in, but the puller I had fit (with just a couple inches to spare). Honestly the hardest part was removing the factory bolts because the front axle/t-case has to be engaged so that you can break free the bolts (technically it had to be in order to torque the nut on the yoke), but you will have to spin the axle throughout to get access to all the bolts.

The new ones that Adam's provided are 12 point 5/16", and they told me to torque to 18 ft/lbs - so I used my 1/4" drive wrench, but it was cutting it close...I only had a 3/8" drive socket, so I had to use an adapter which meant my wrench head was basically touching the t-case...I had to spin the bolt down all the way to snug first, and only then did my wrench slide in for final torquing. The diff/pinion side was a piece of cake since you're just removing 4 easily accessible bolts and reusing. I just had to use an extension to clear the joints.
Sponsored


Top