Stan H
Well-Known Member
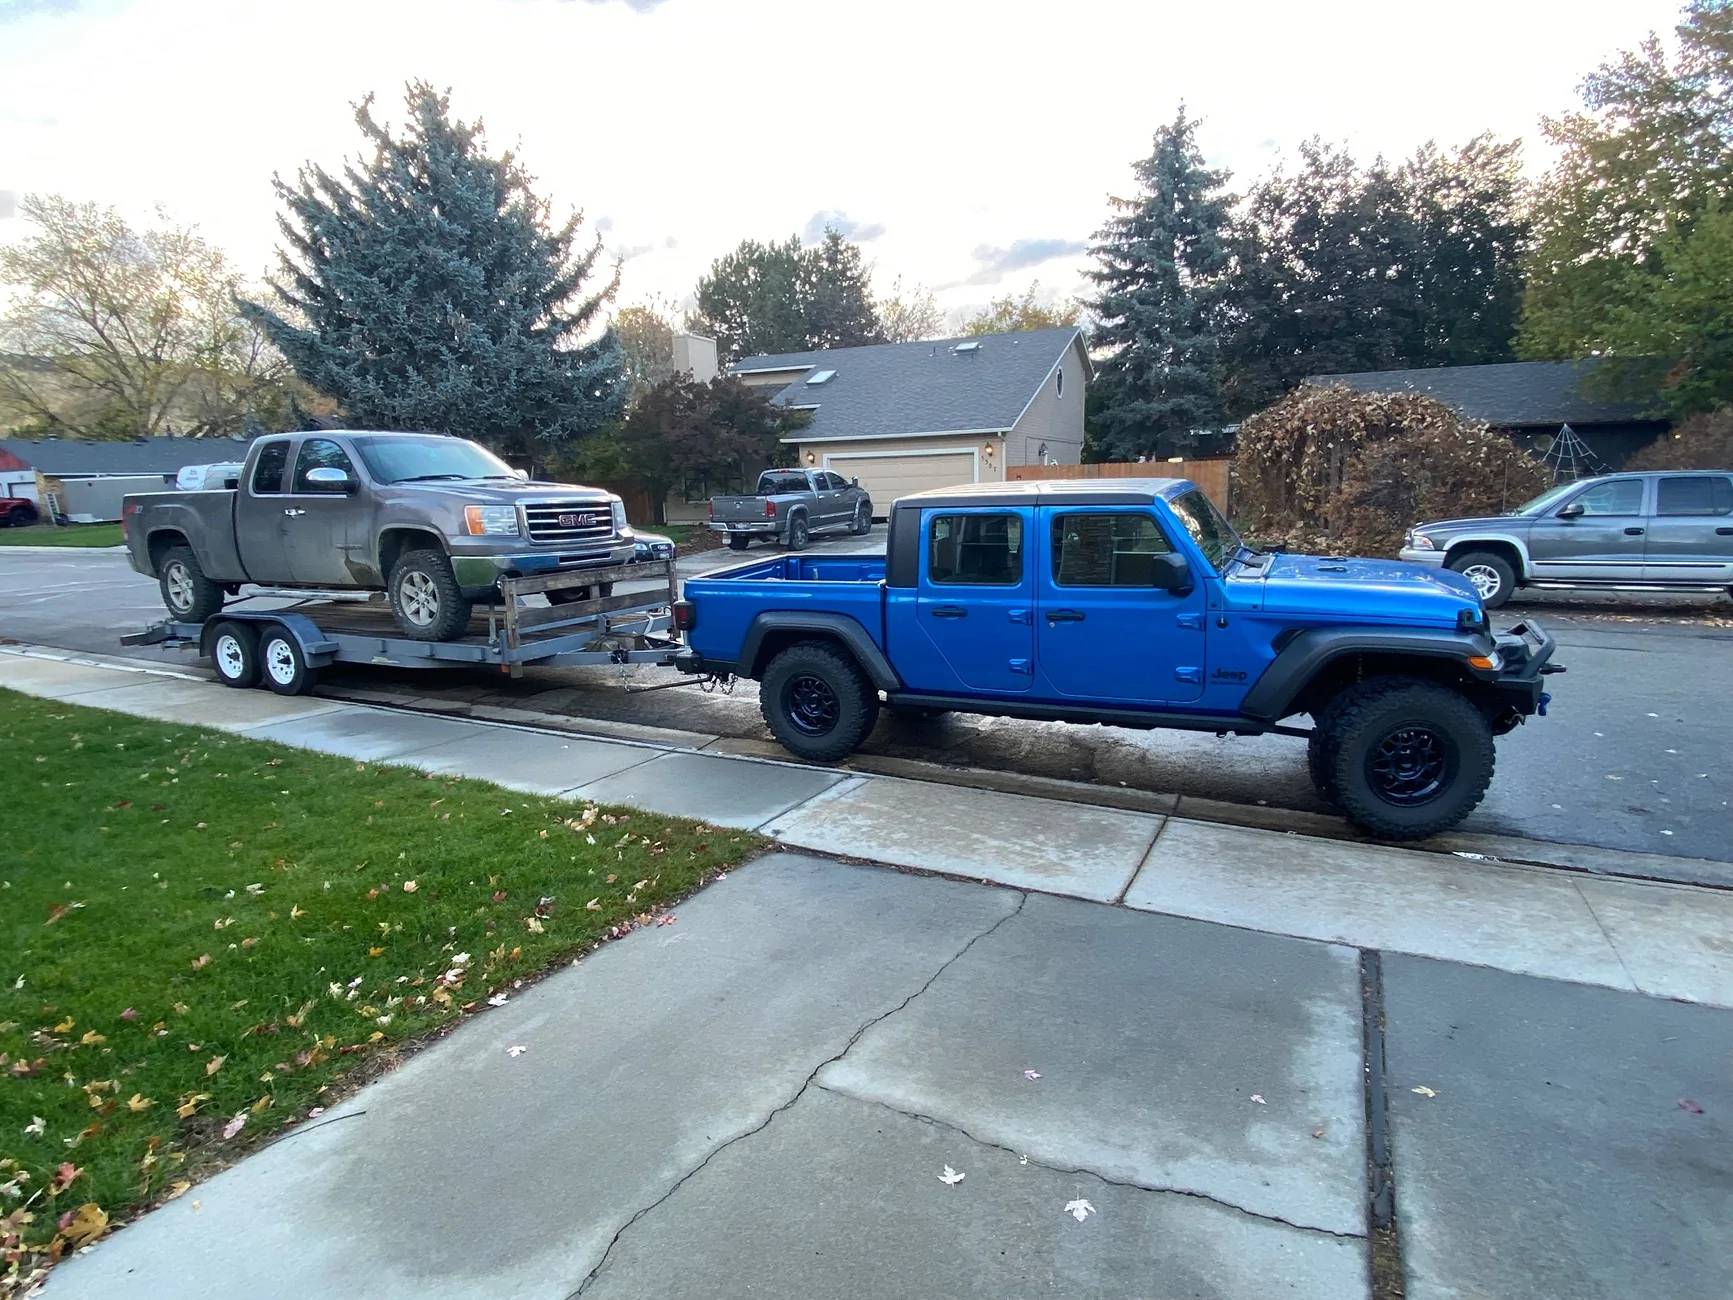
Your easily maxed out in thatHere was a bagged moment and a WDH. (Emergency towed him back from Elk hunting out in the bush about 40 miles his died.)


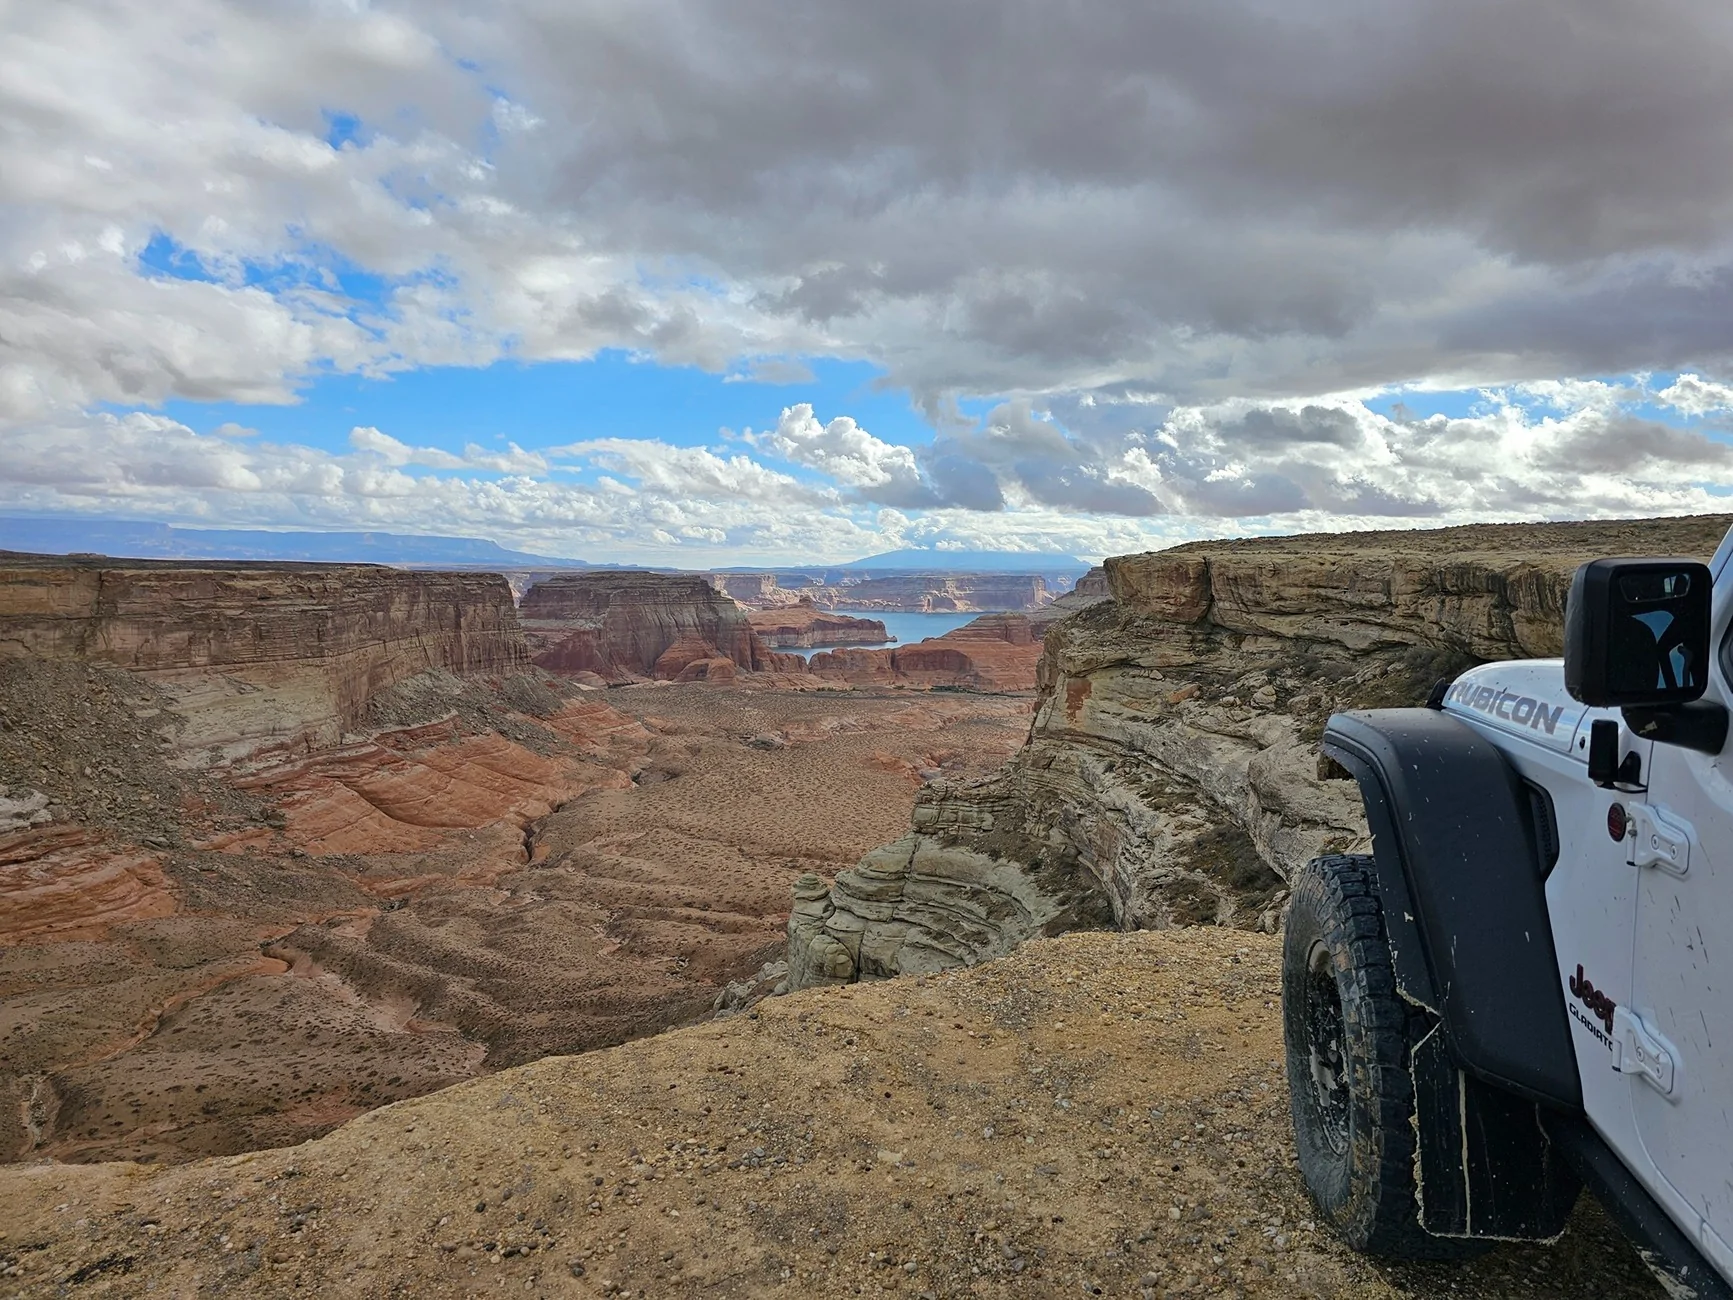
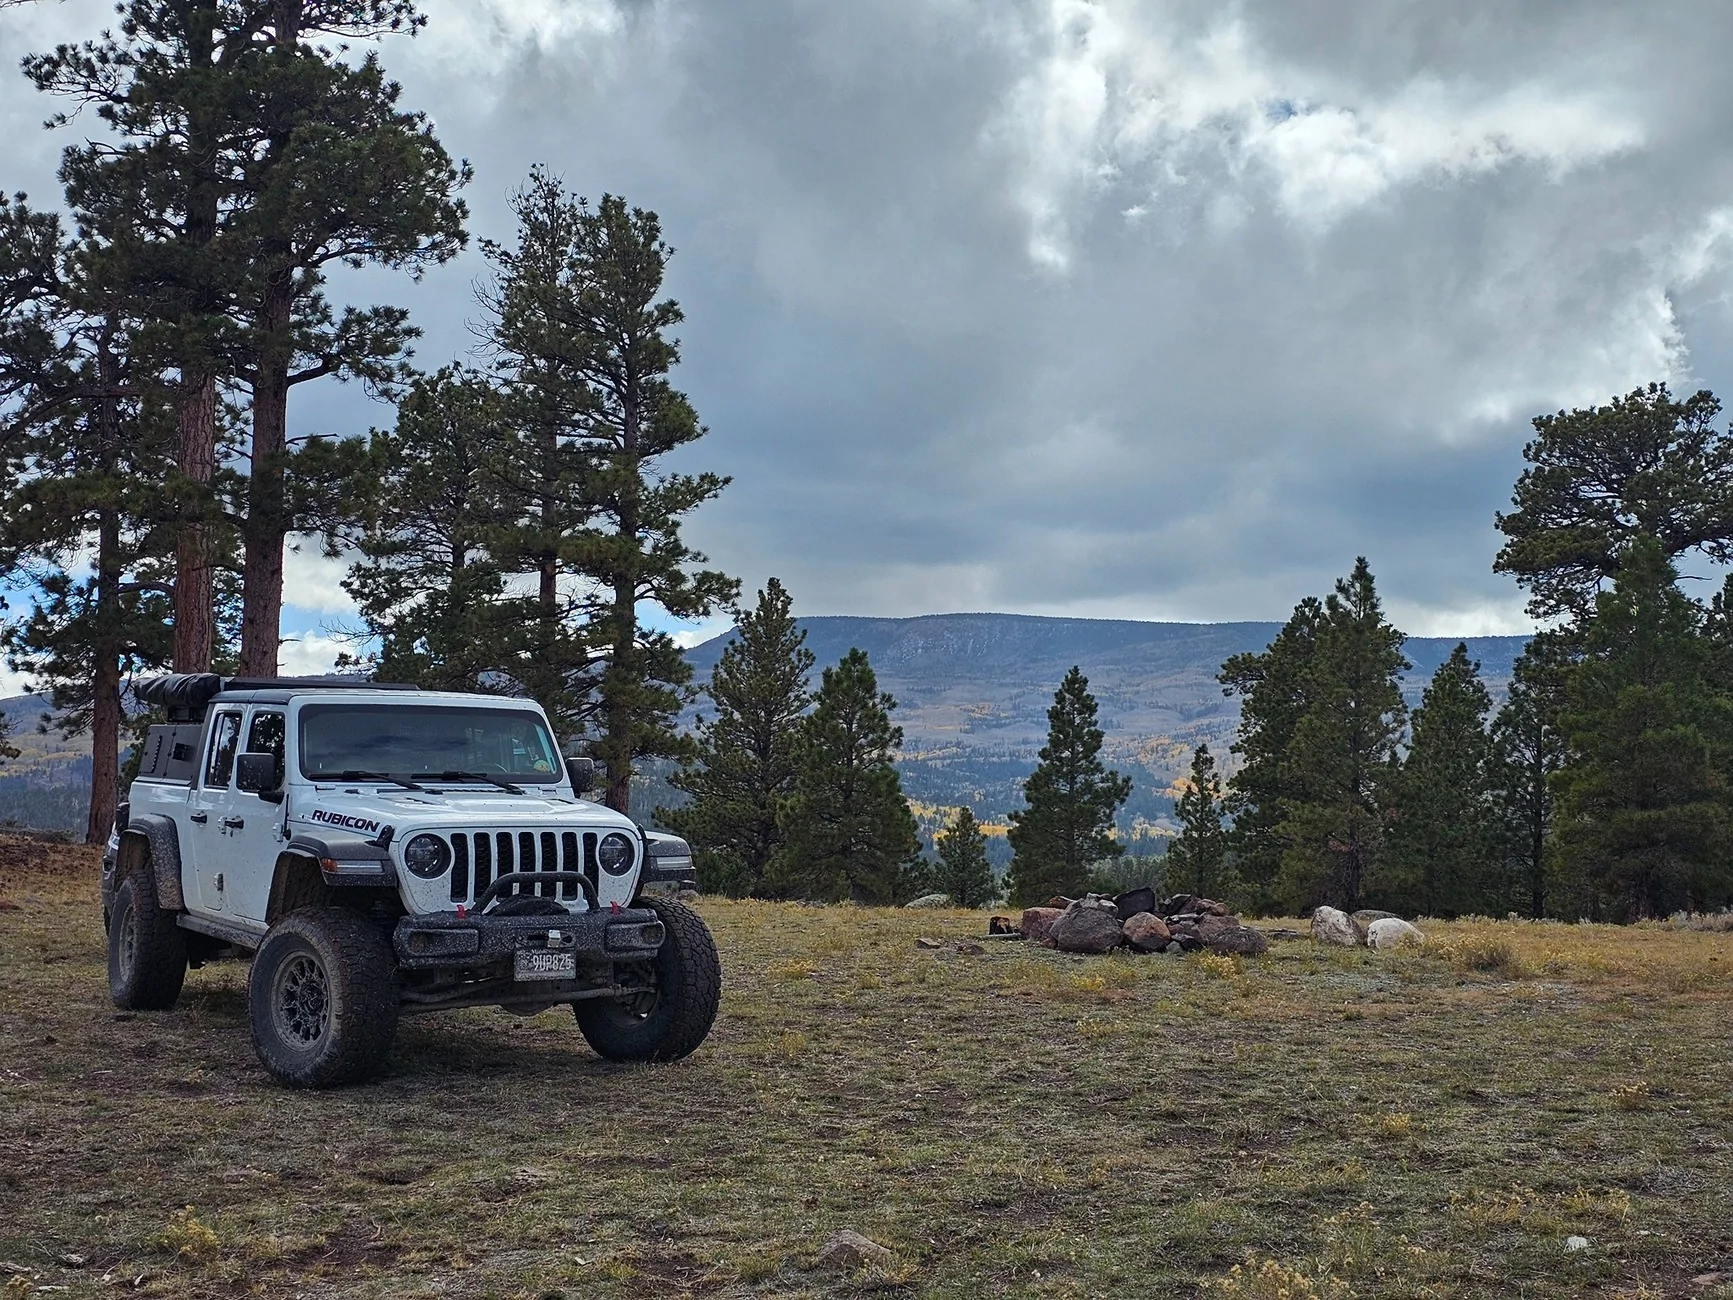
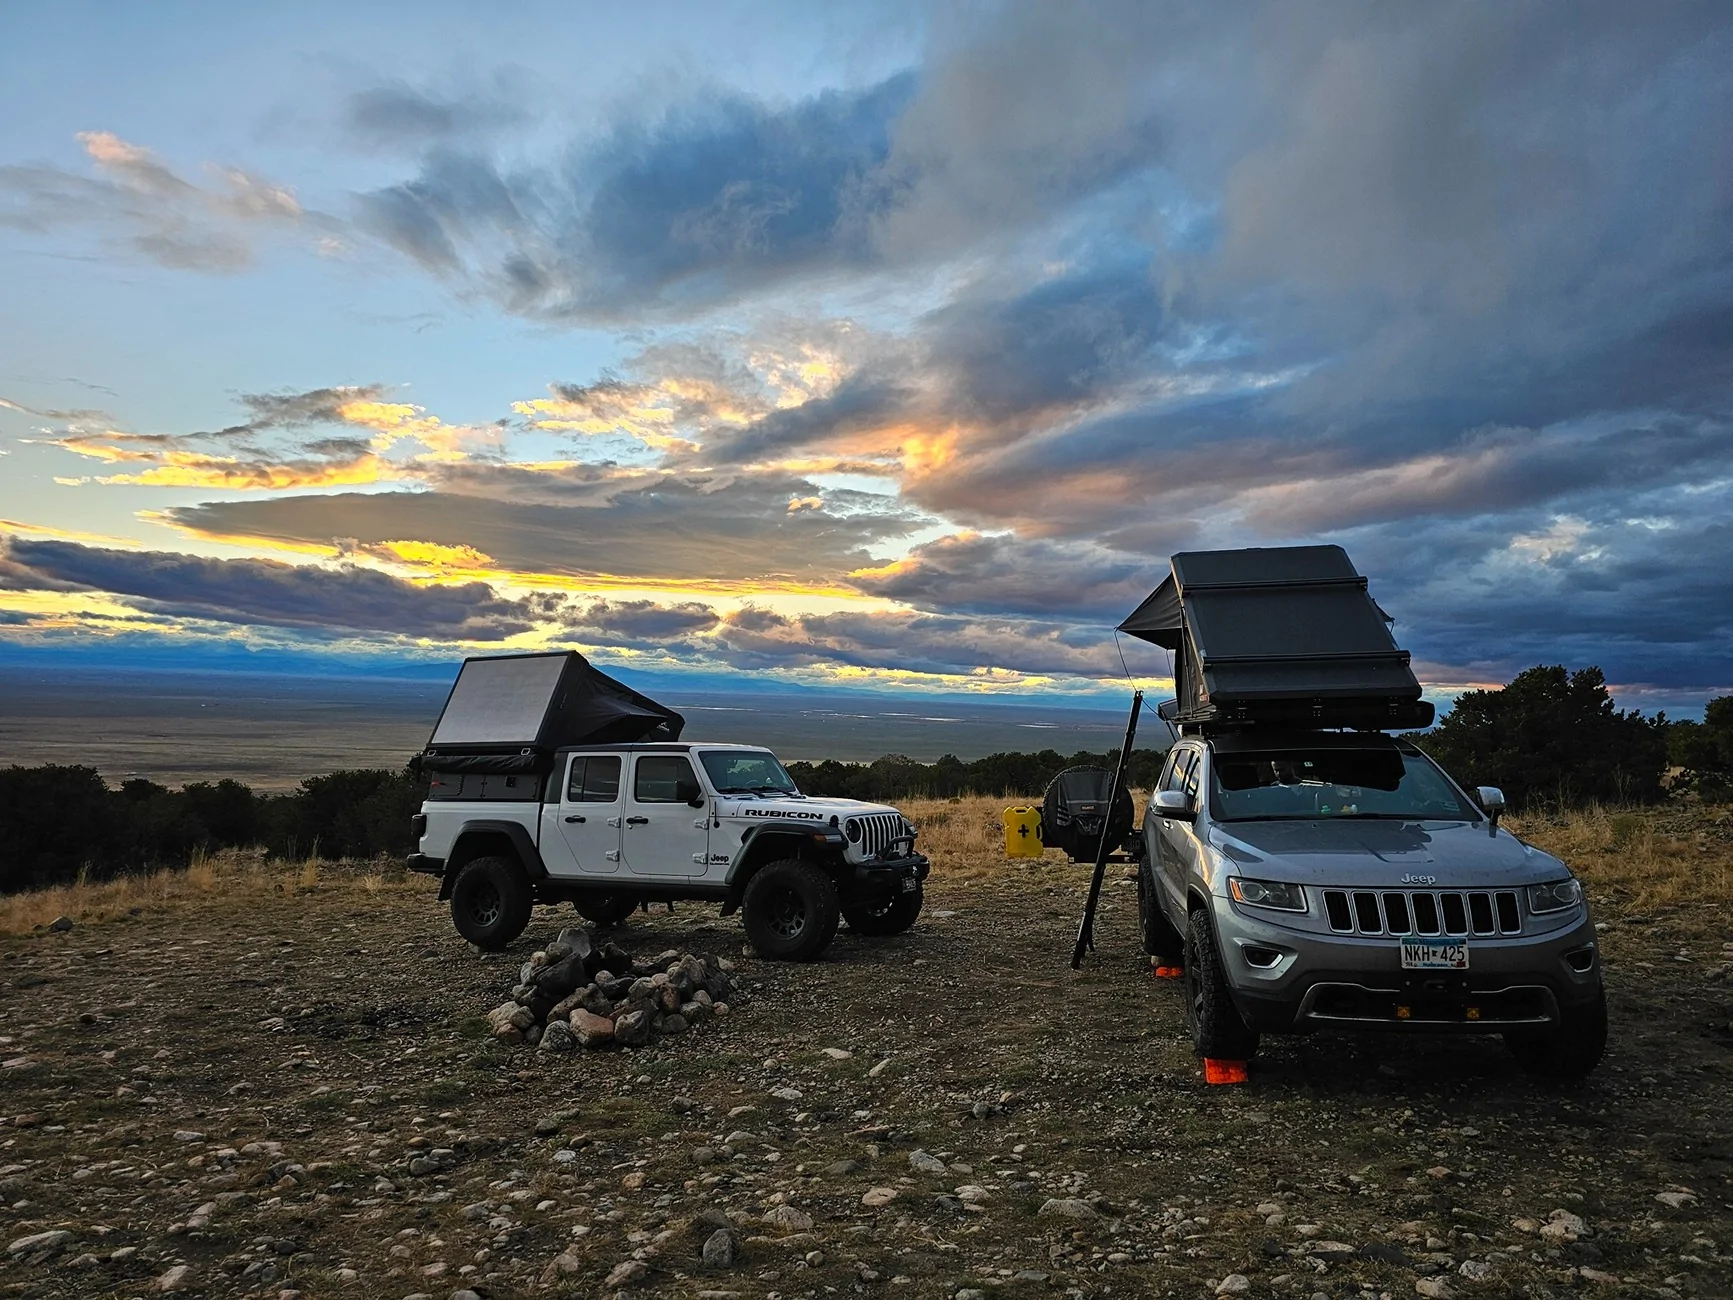
 pic 🫣🫣🫣
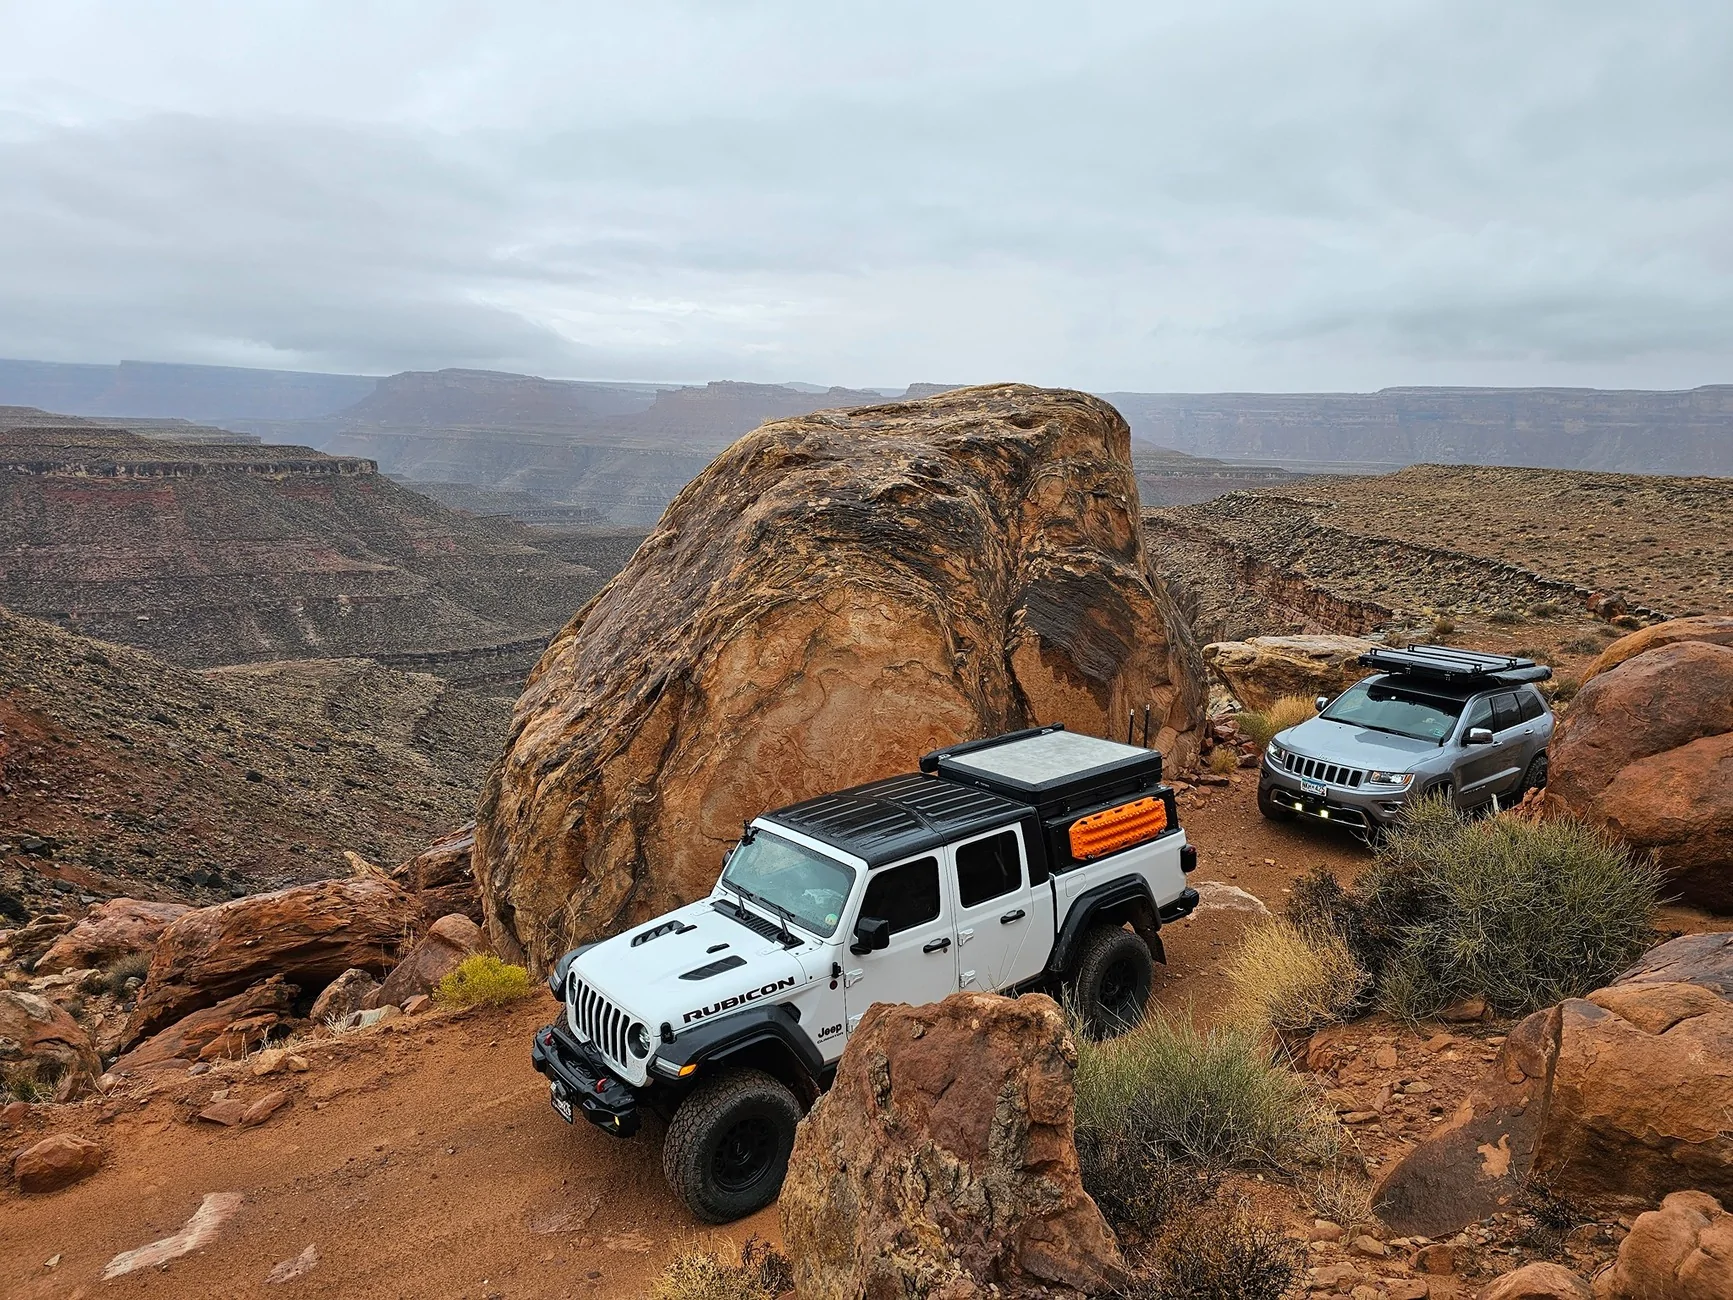
Sponsored
Your easily maxed out in thatHere was a bagged moment and a WDH. (Emergency towed him back from Elk hunting out in the bush about 40 miles his died.)
pic 🫣🫣🫣Yep, it handled it well.Your easily maxed out in that
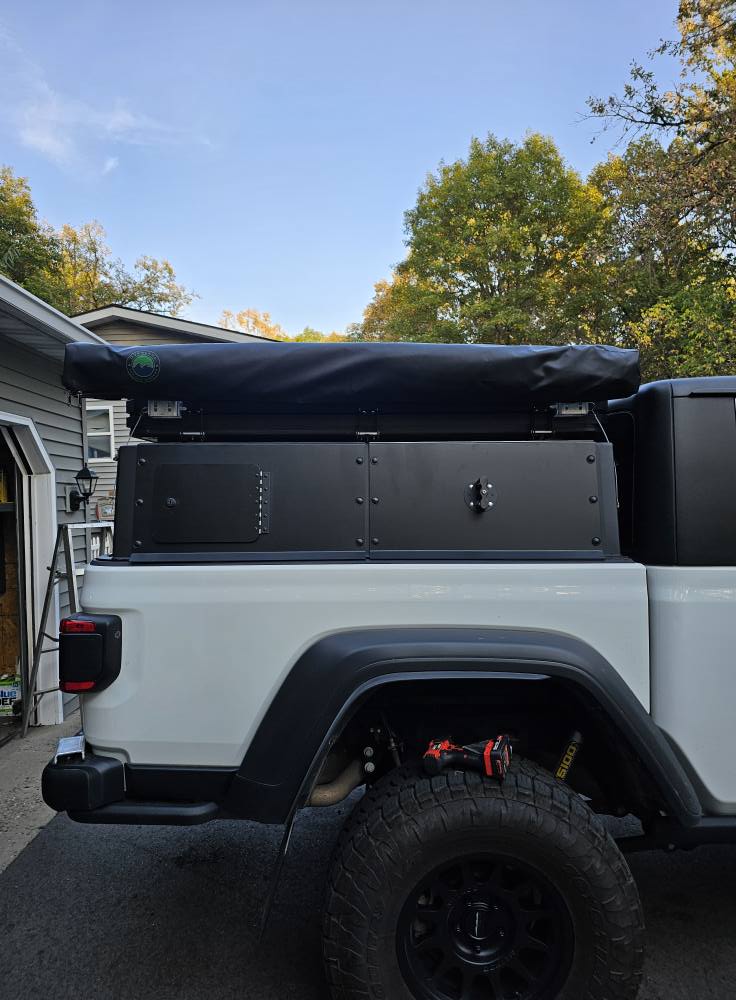
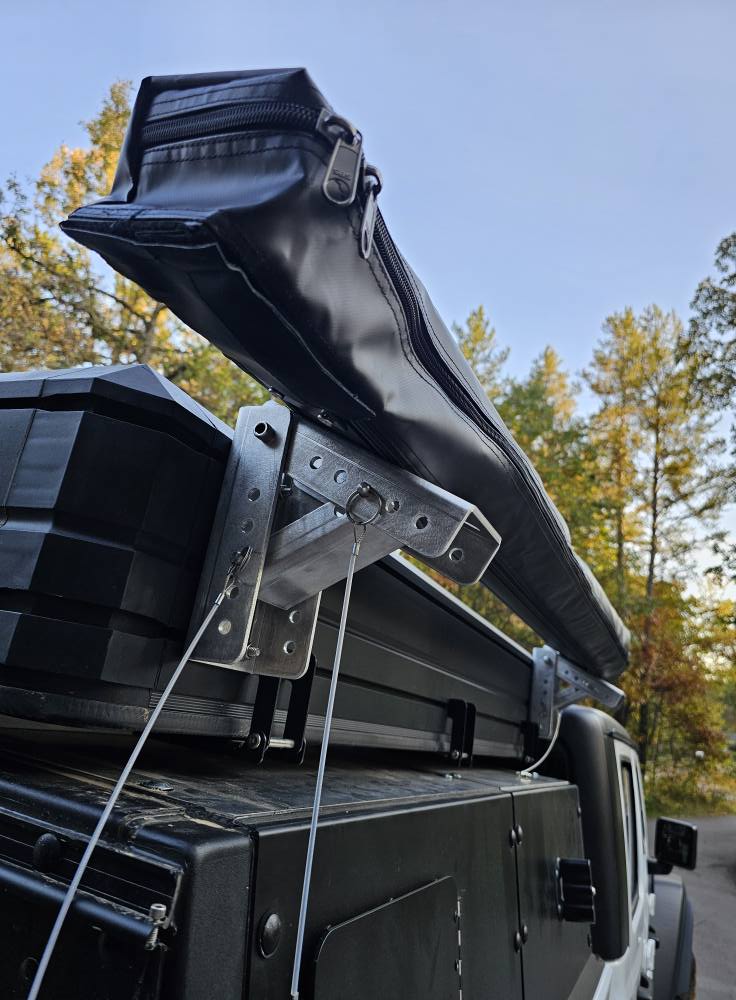
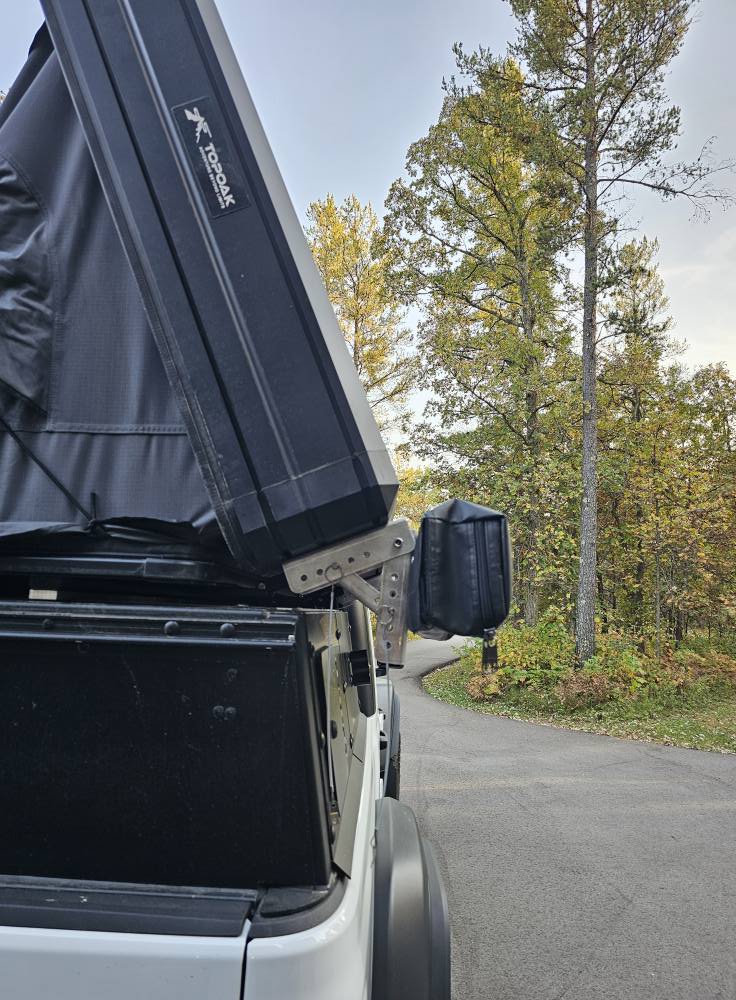


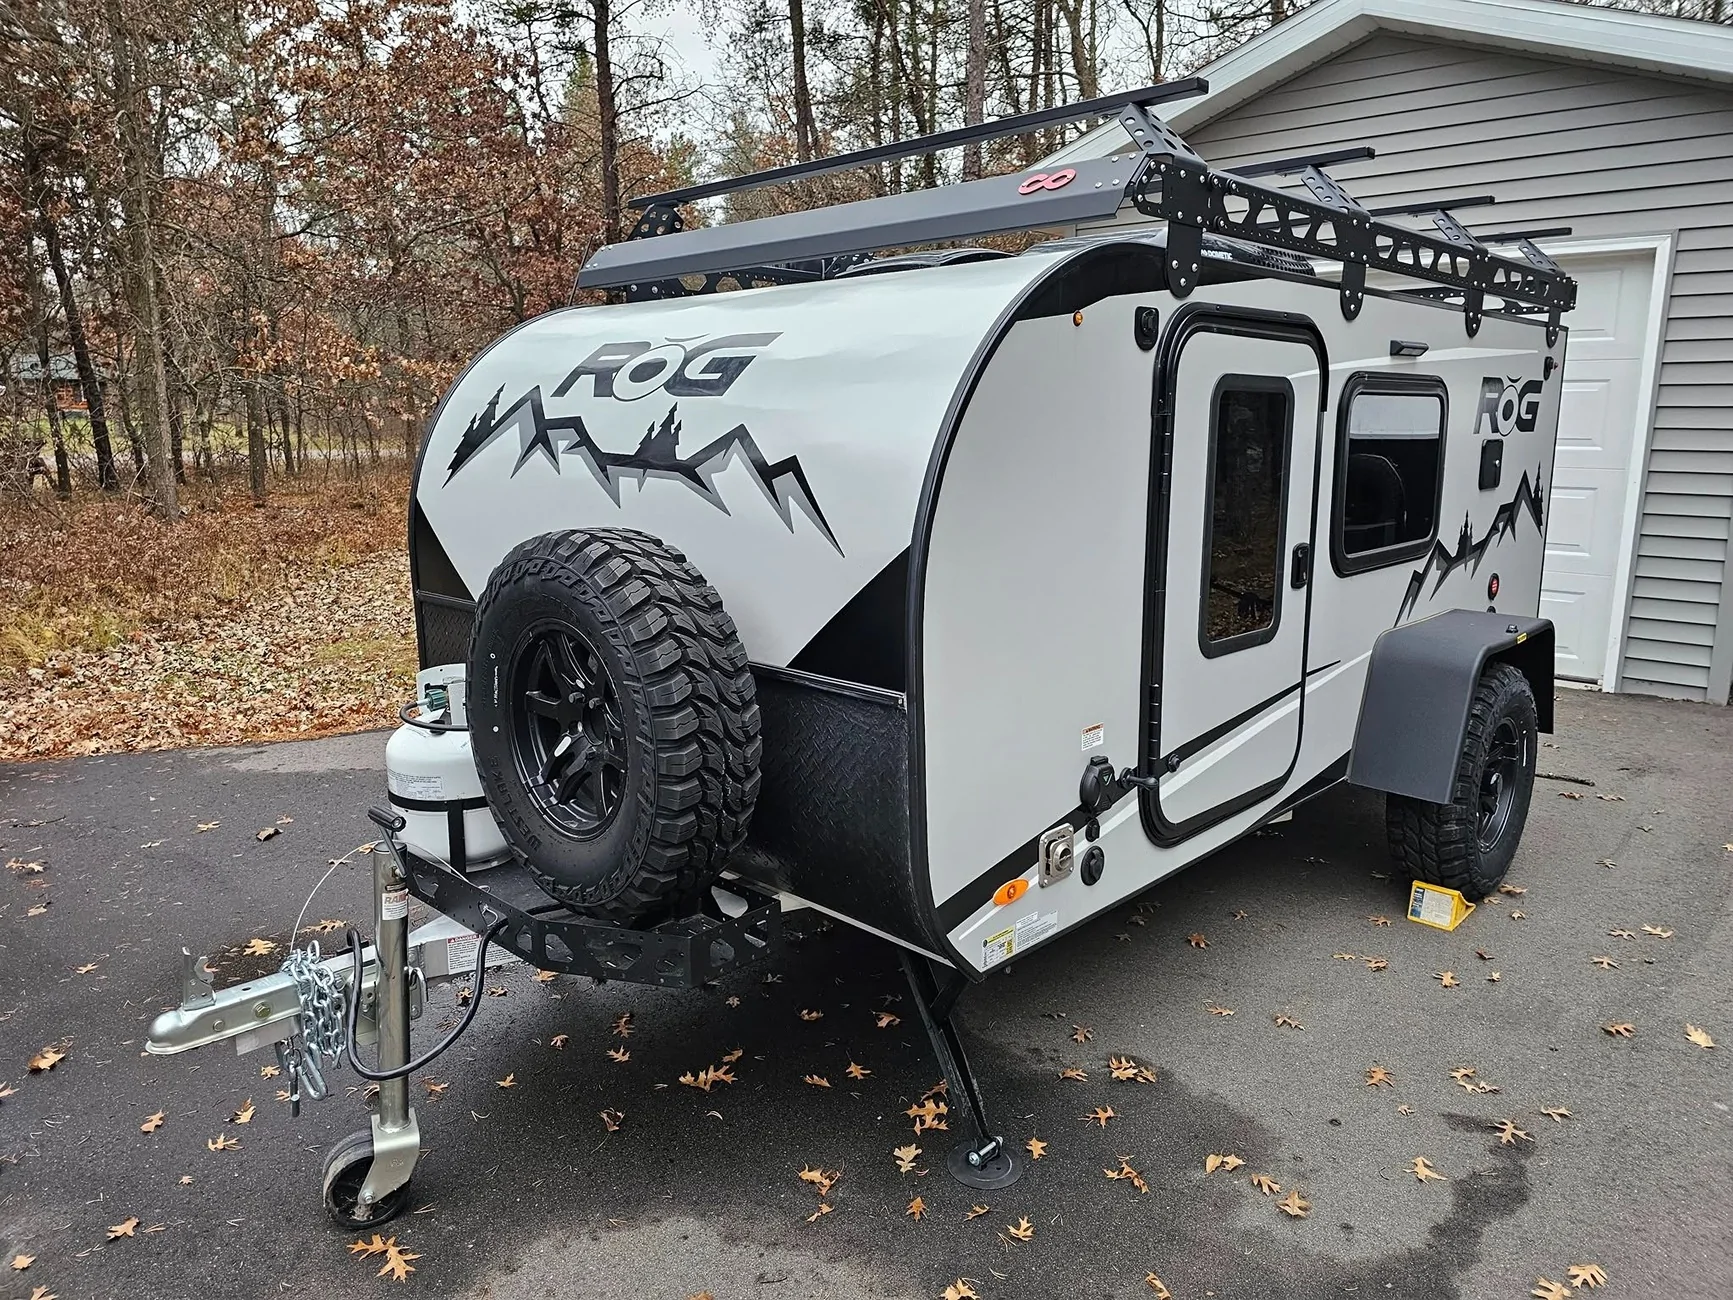
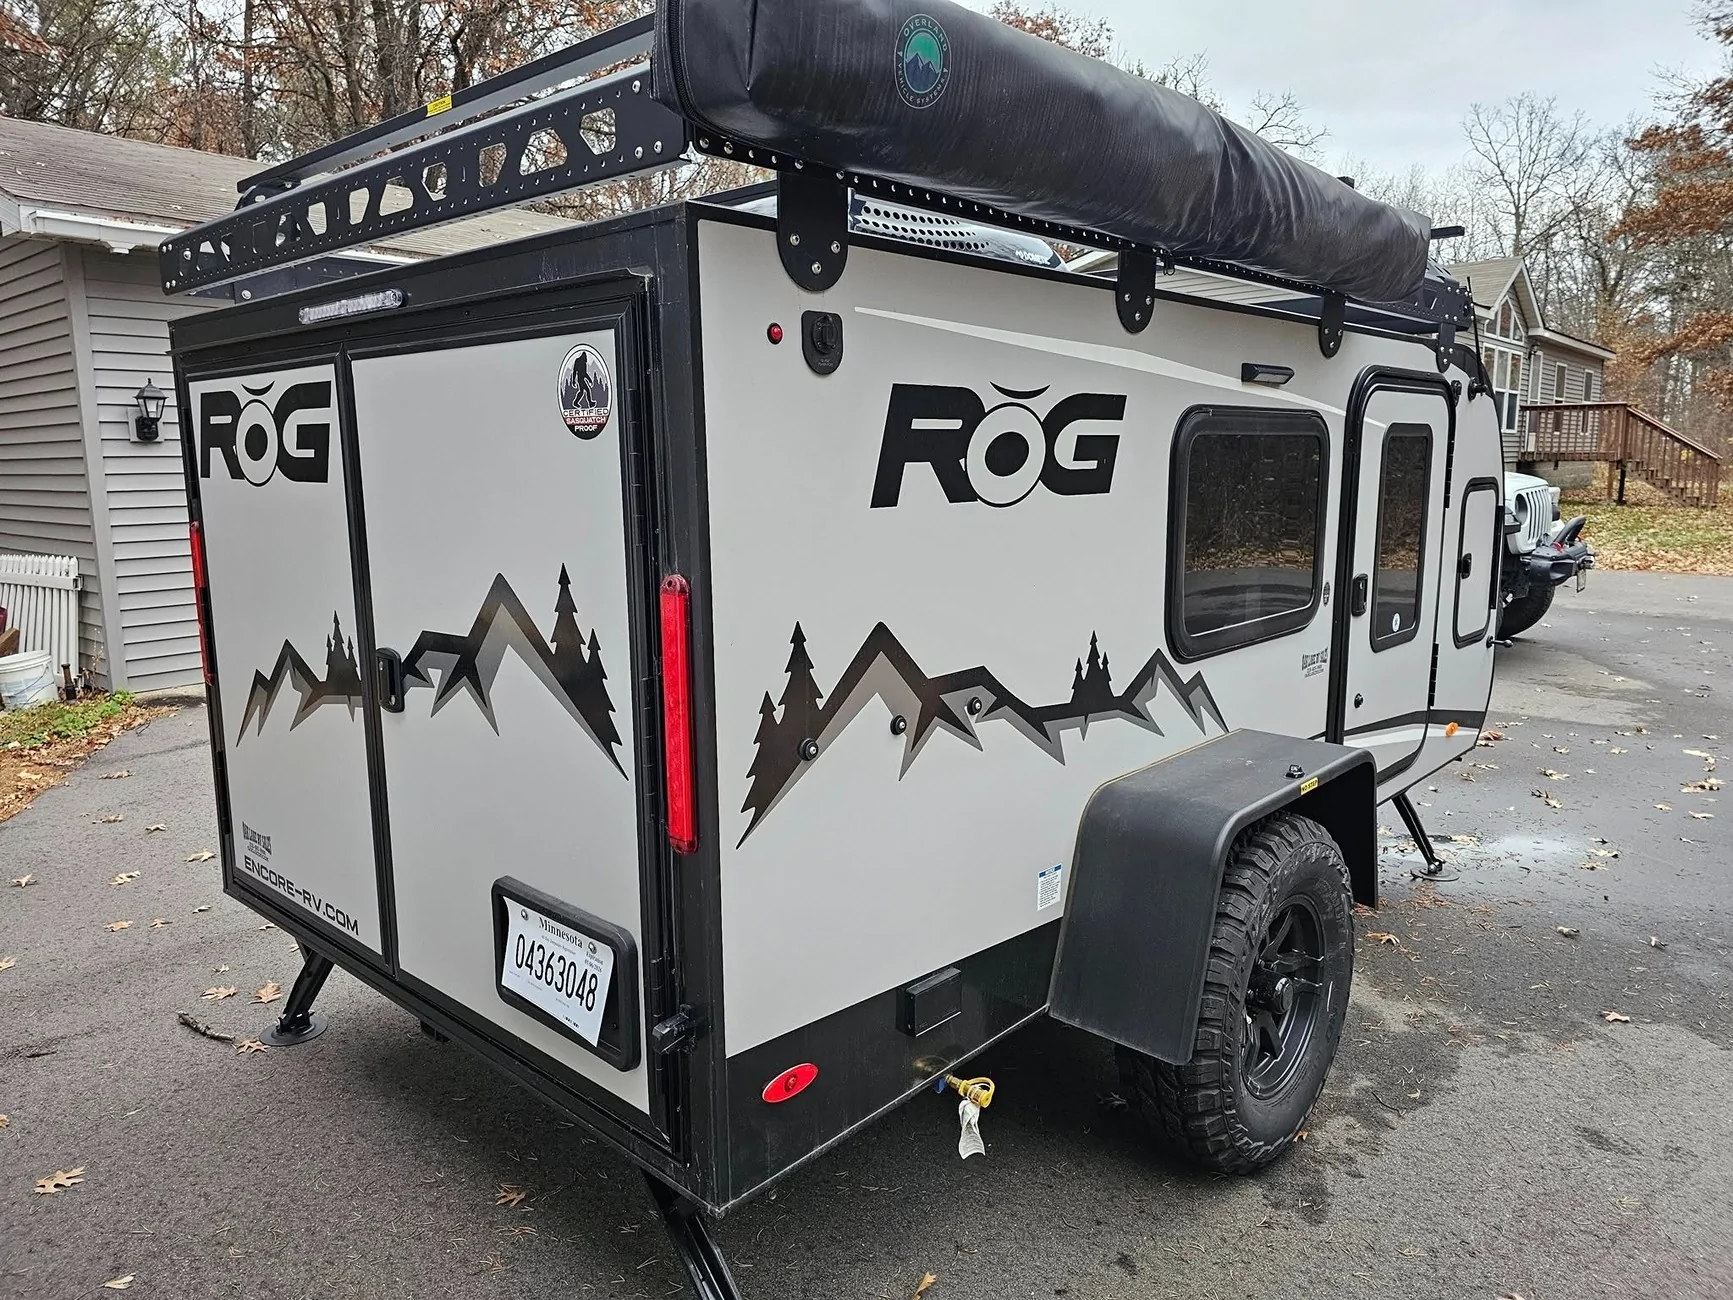
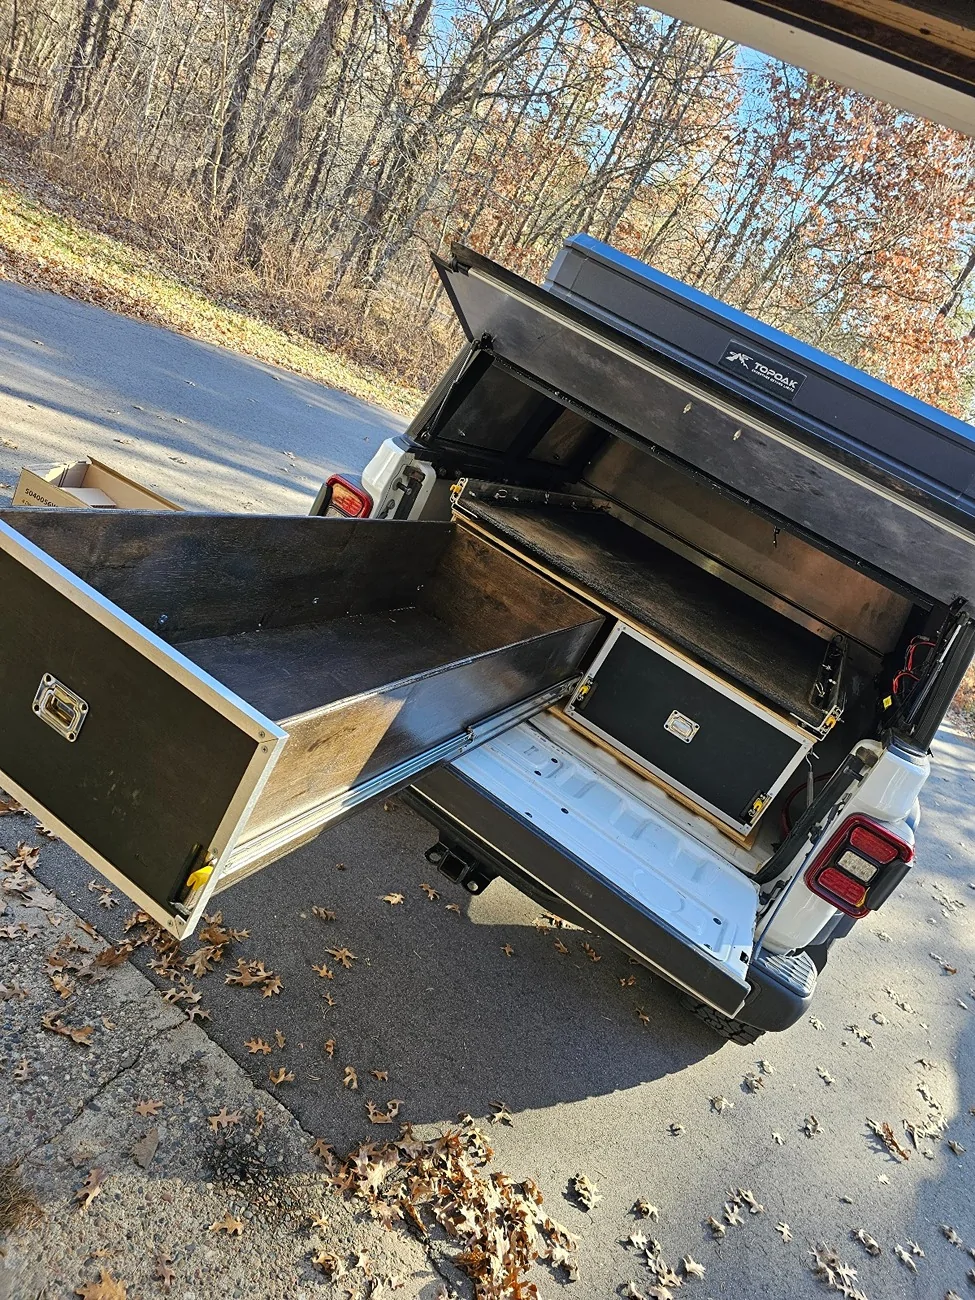
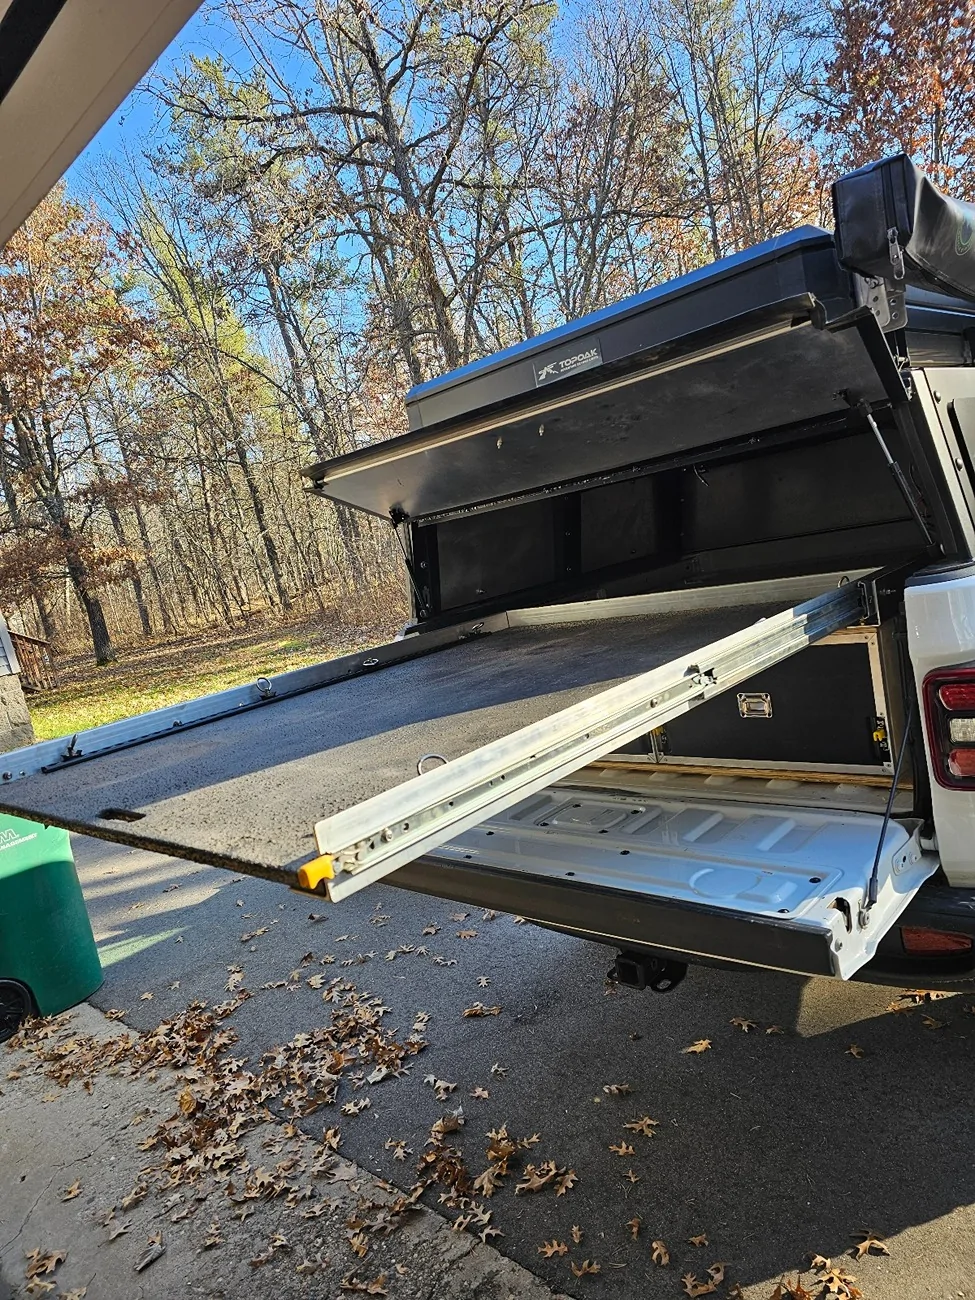
That looks slick.During my week of being furloughed I got a couple things done;
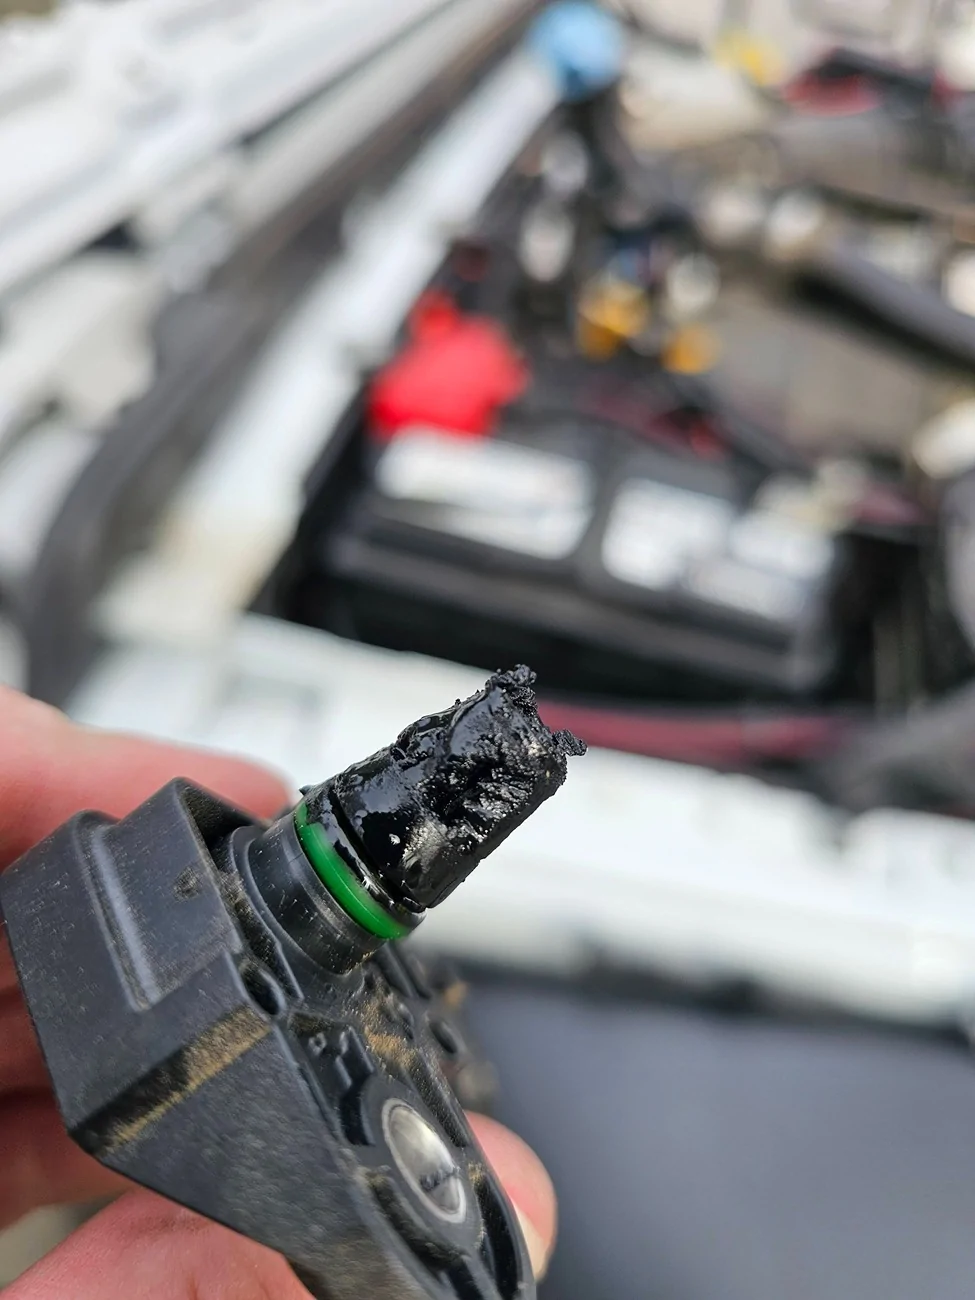
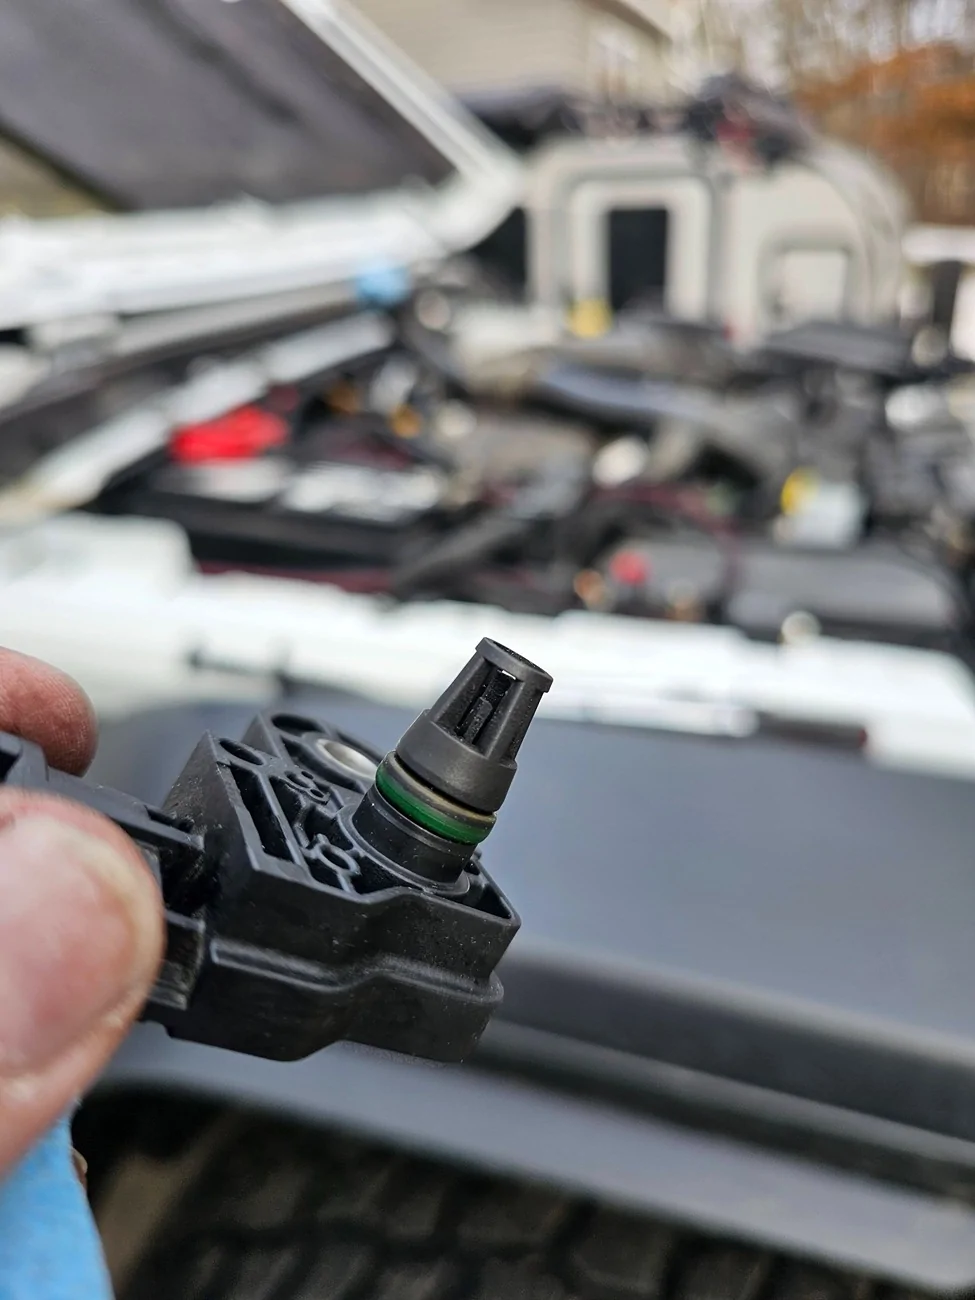
1) I taped everything I could think of in the truck to try and pinpoint where my damn whistle noise is coming from, and I STILL HAVEN"T FOUND IT!!!!! I taped the doors, door windows, freedom panels, hard top, various holes in the cab from bolts that aren't being used.... everything I could find. The only thing I didn't tape off was the rear window because the cap and tent are blocking access. My rear window leaks so I did the silicone hose trick to stop it, but I'm now wondering if I'm getting enough air leak through the window seal that it's causing the whistle?
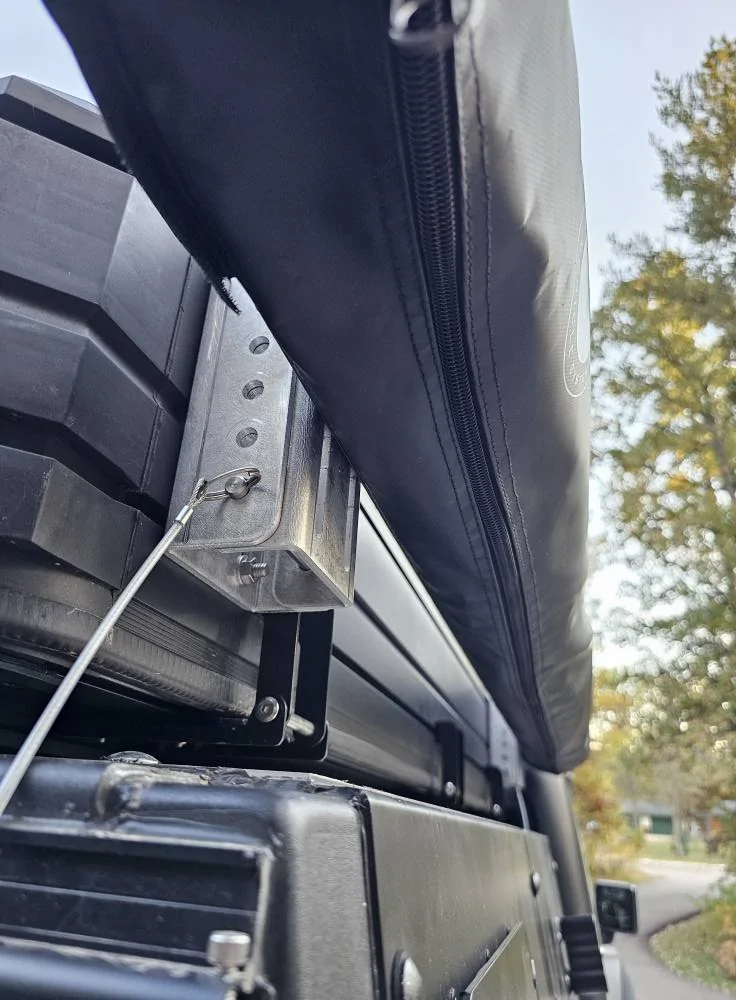
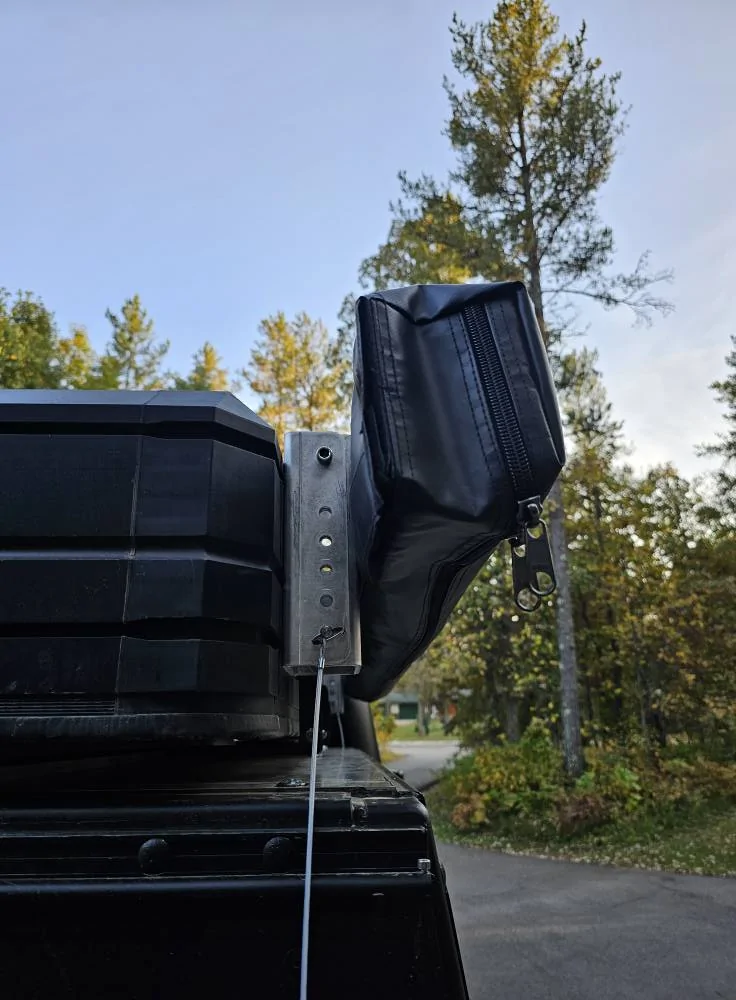
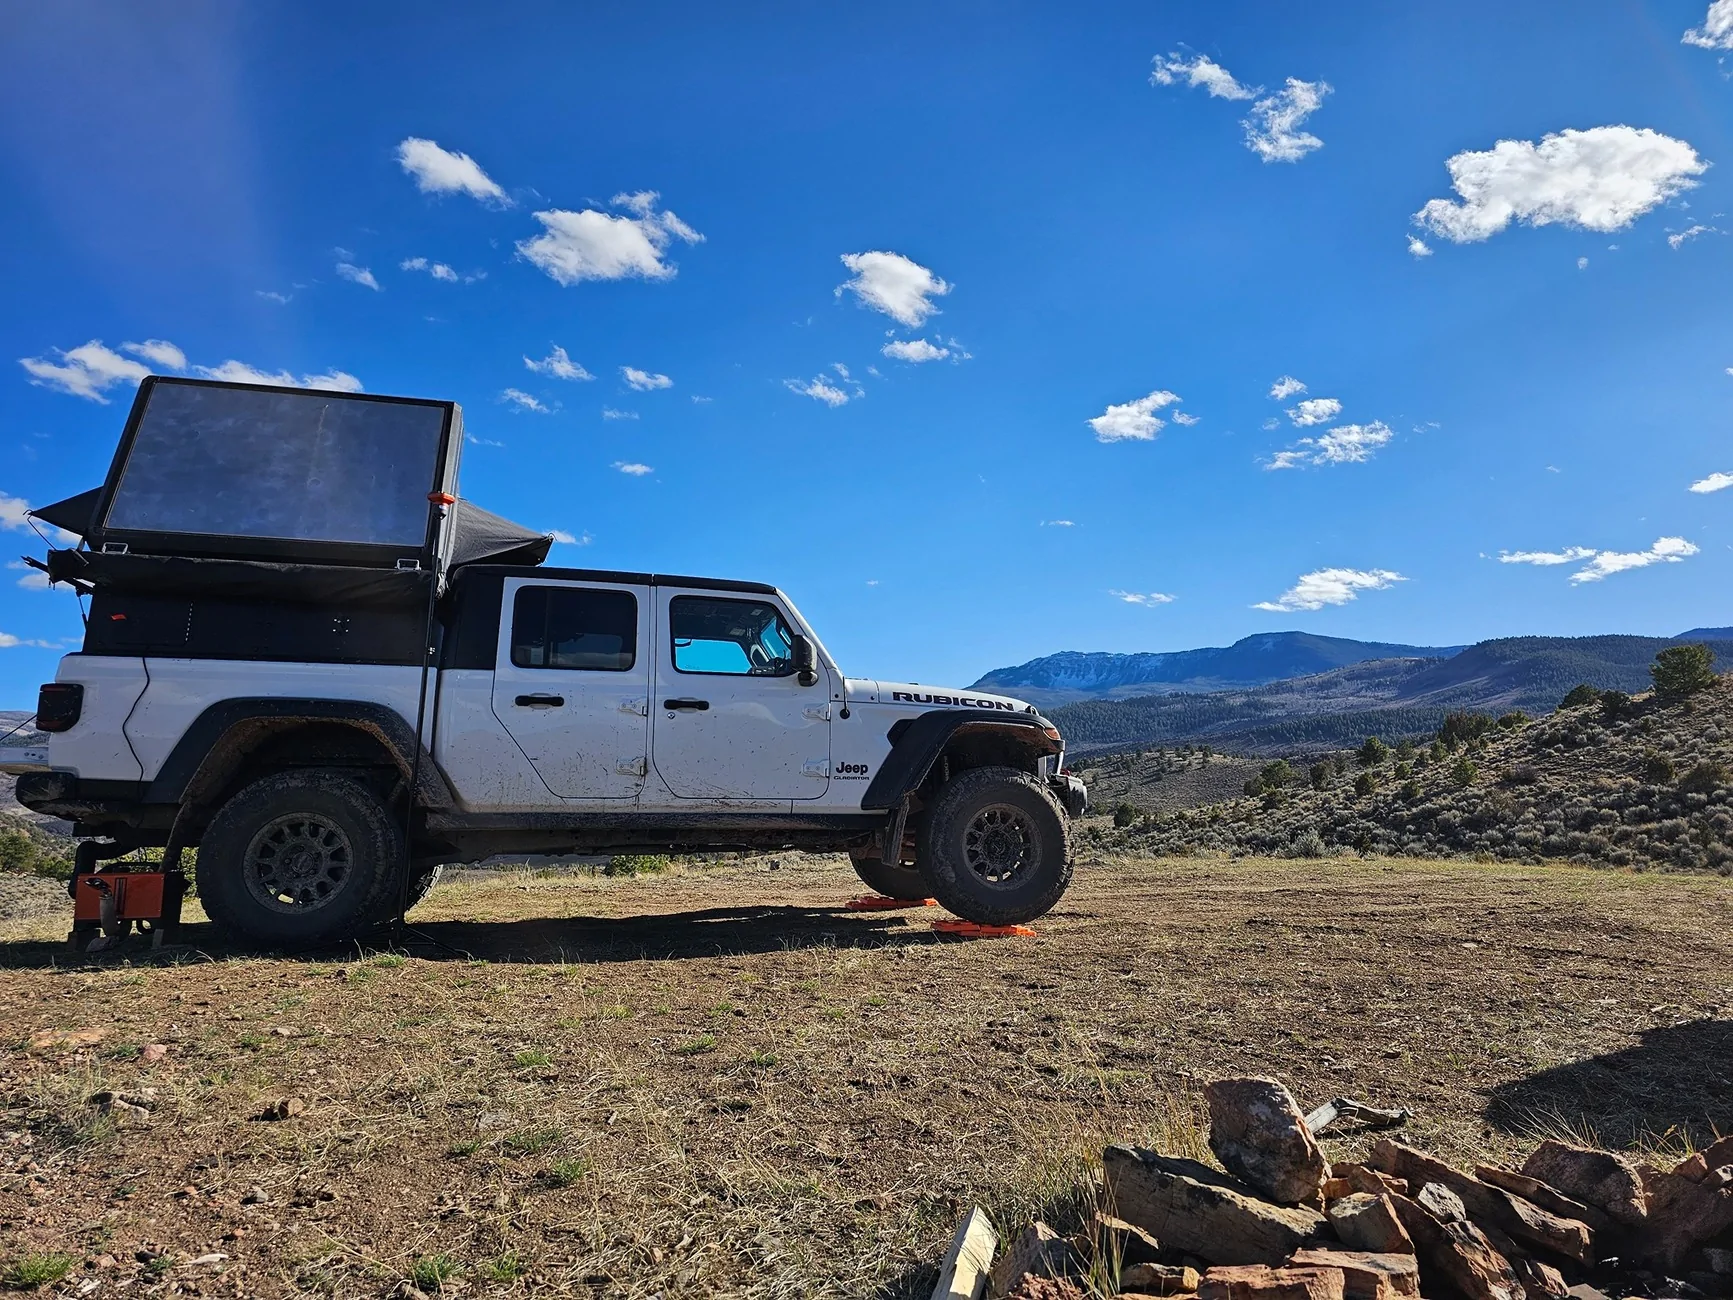
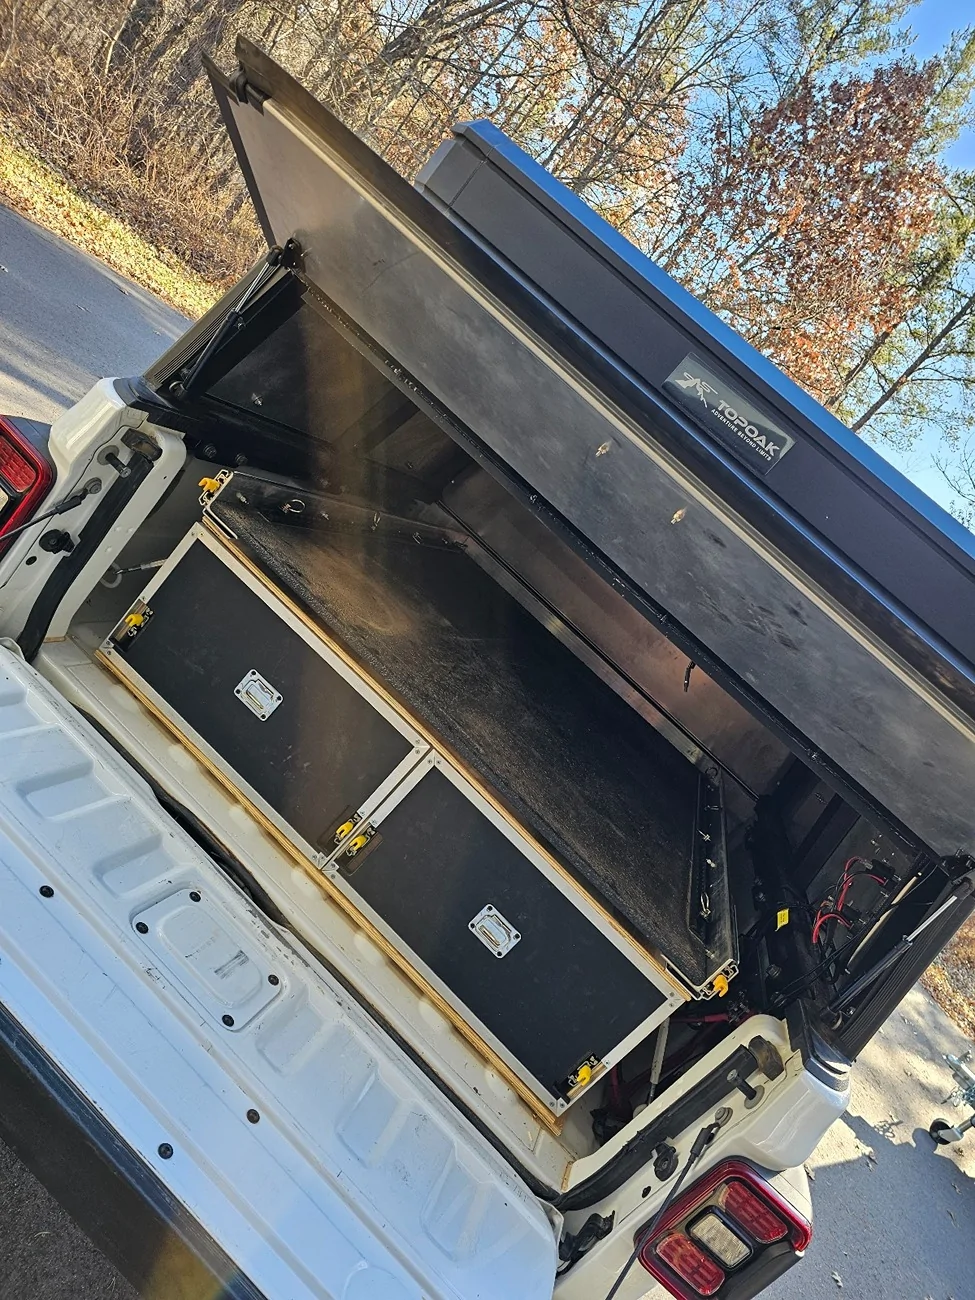
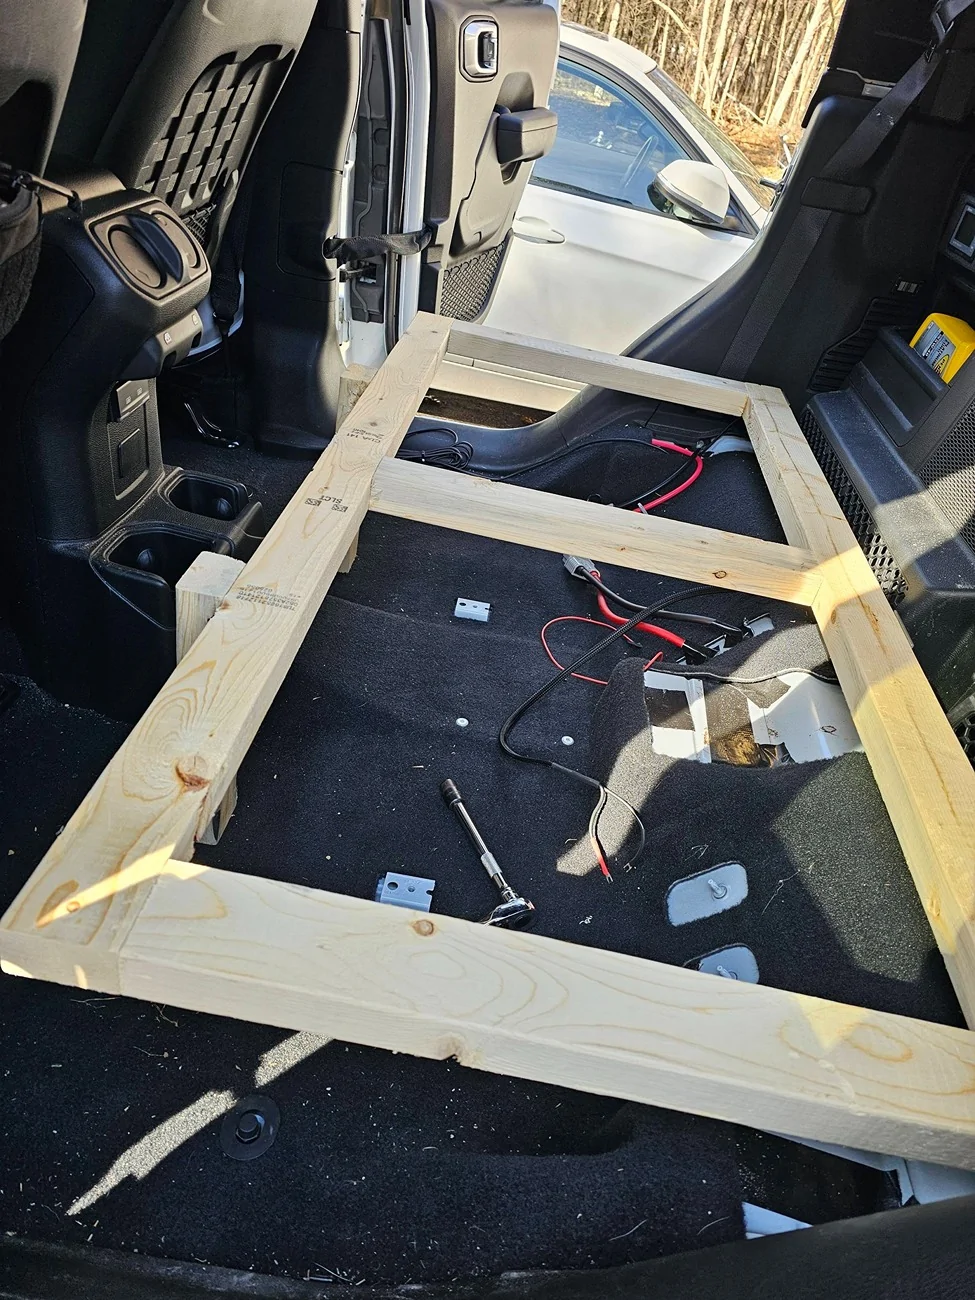
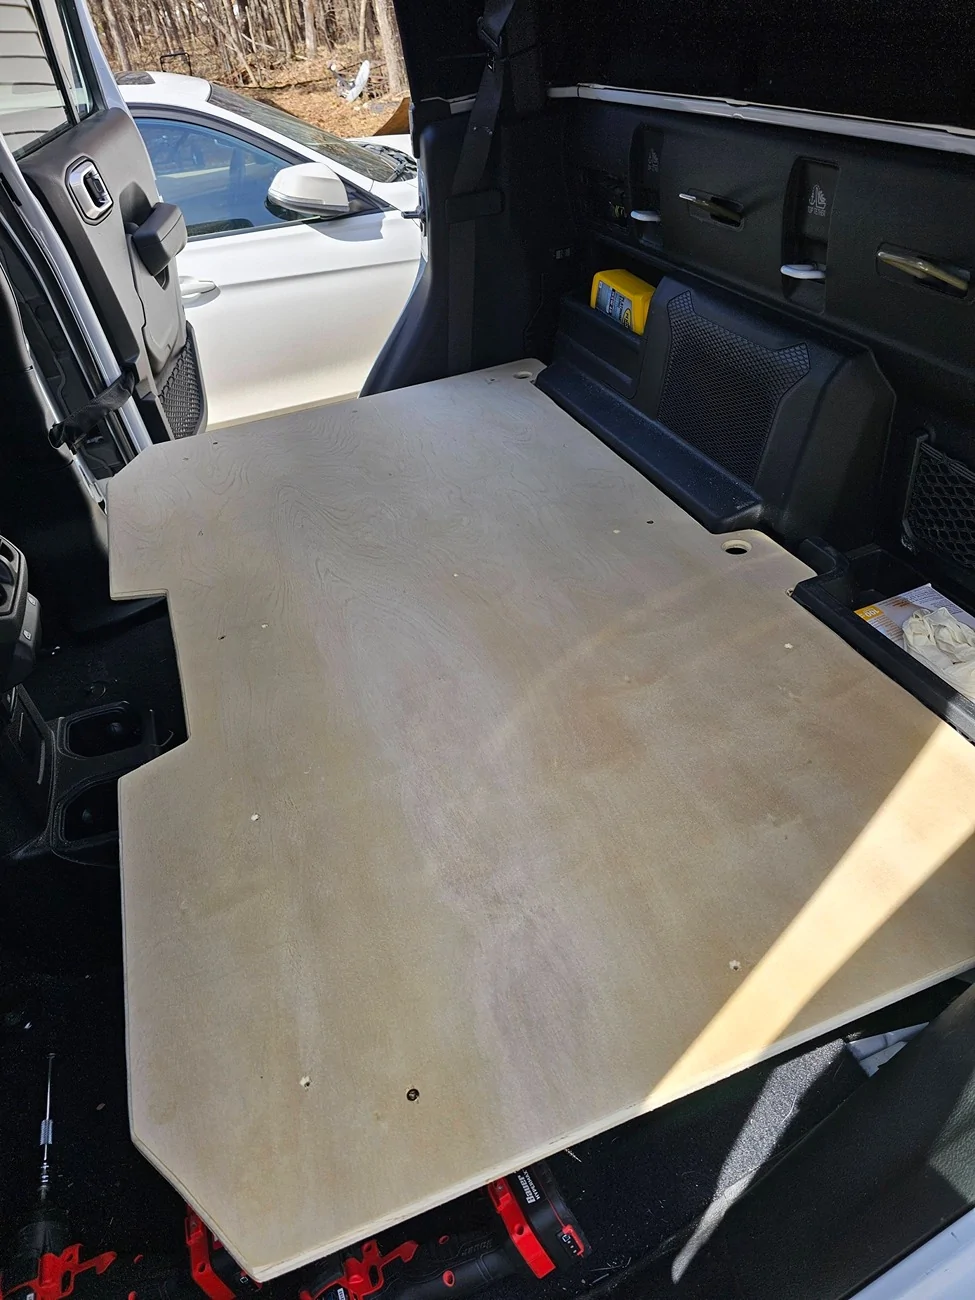
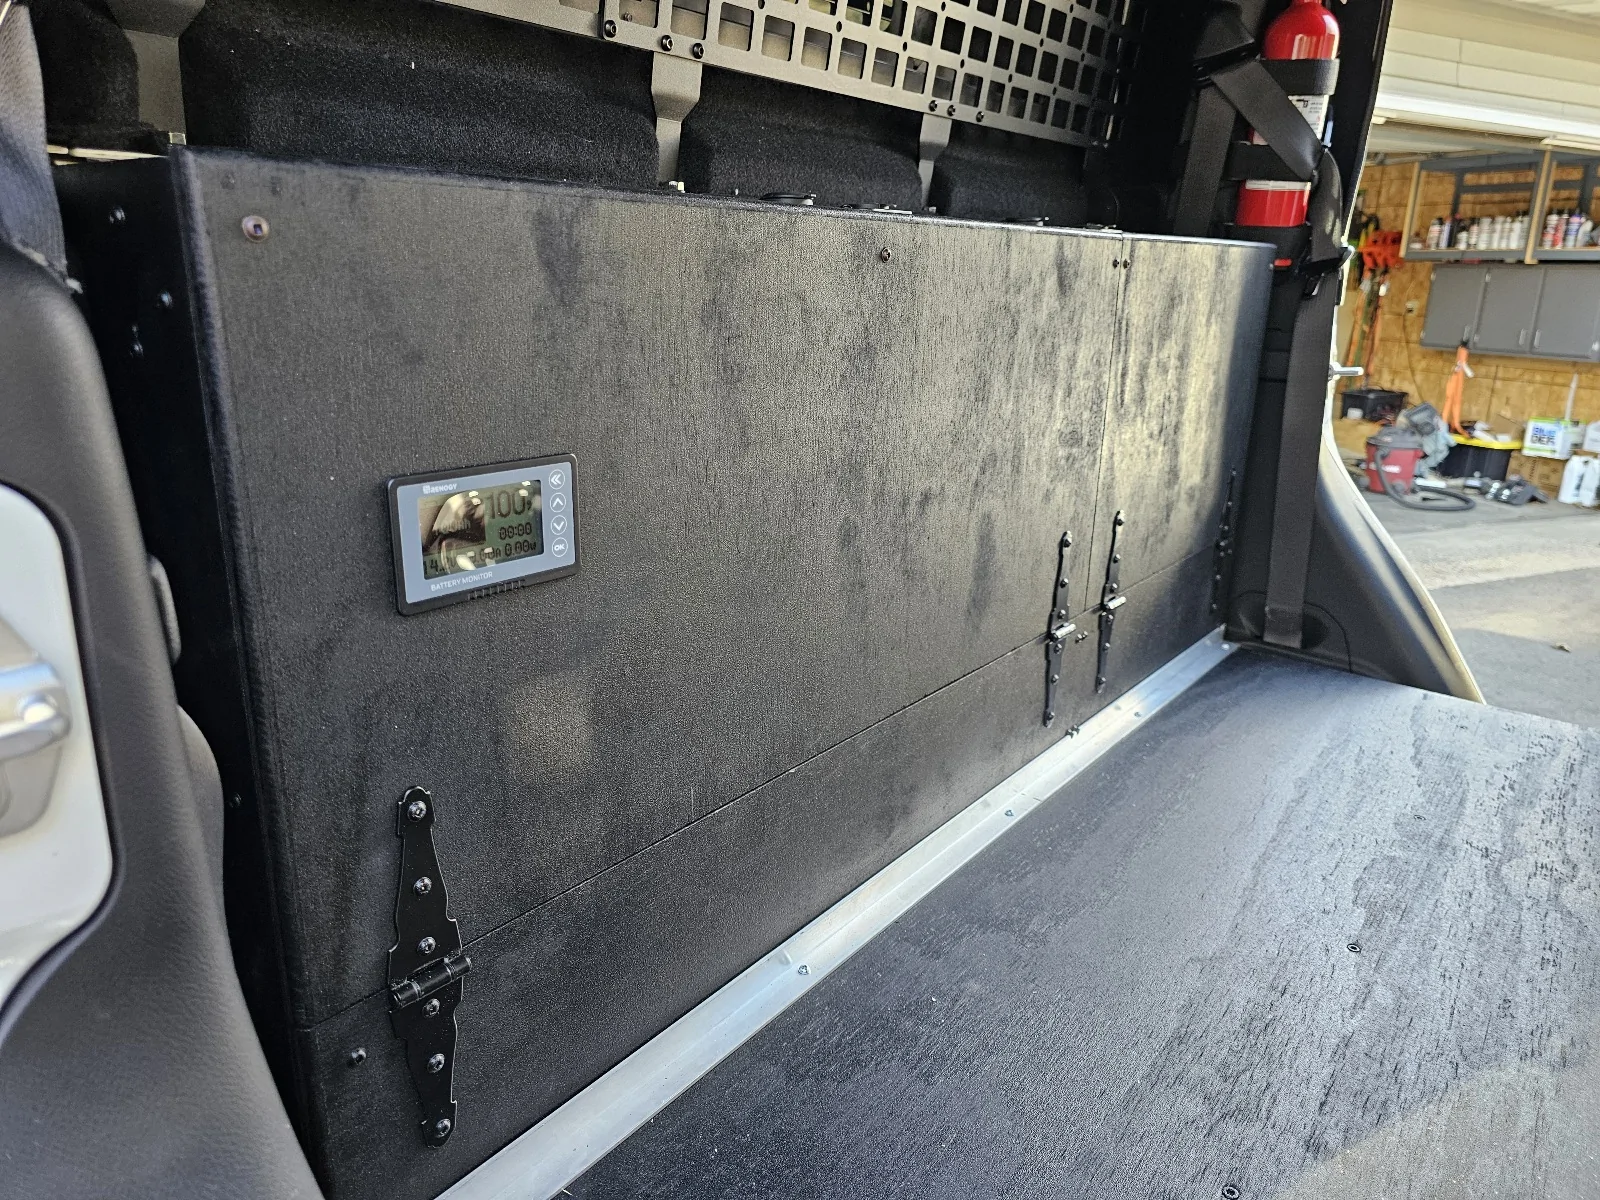
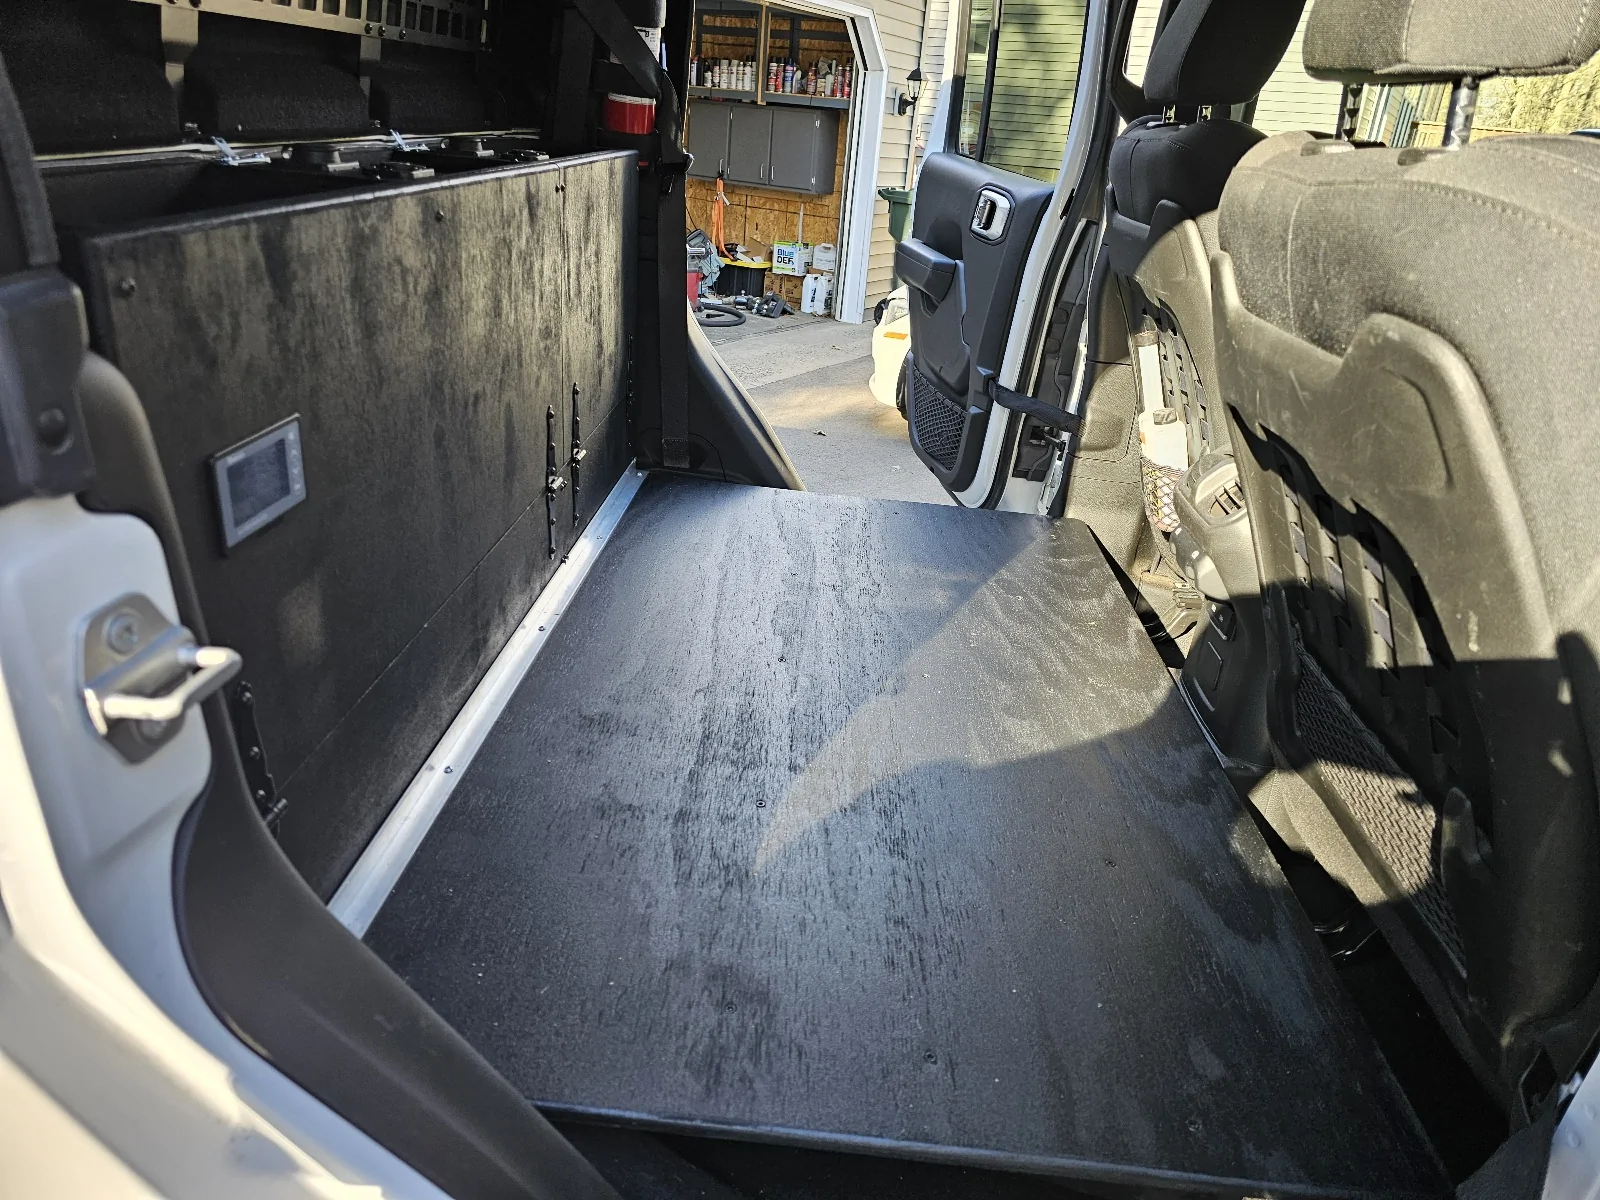
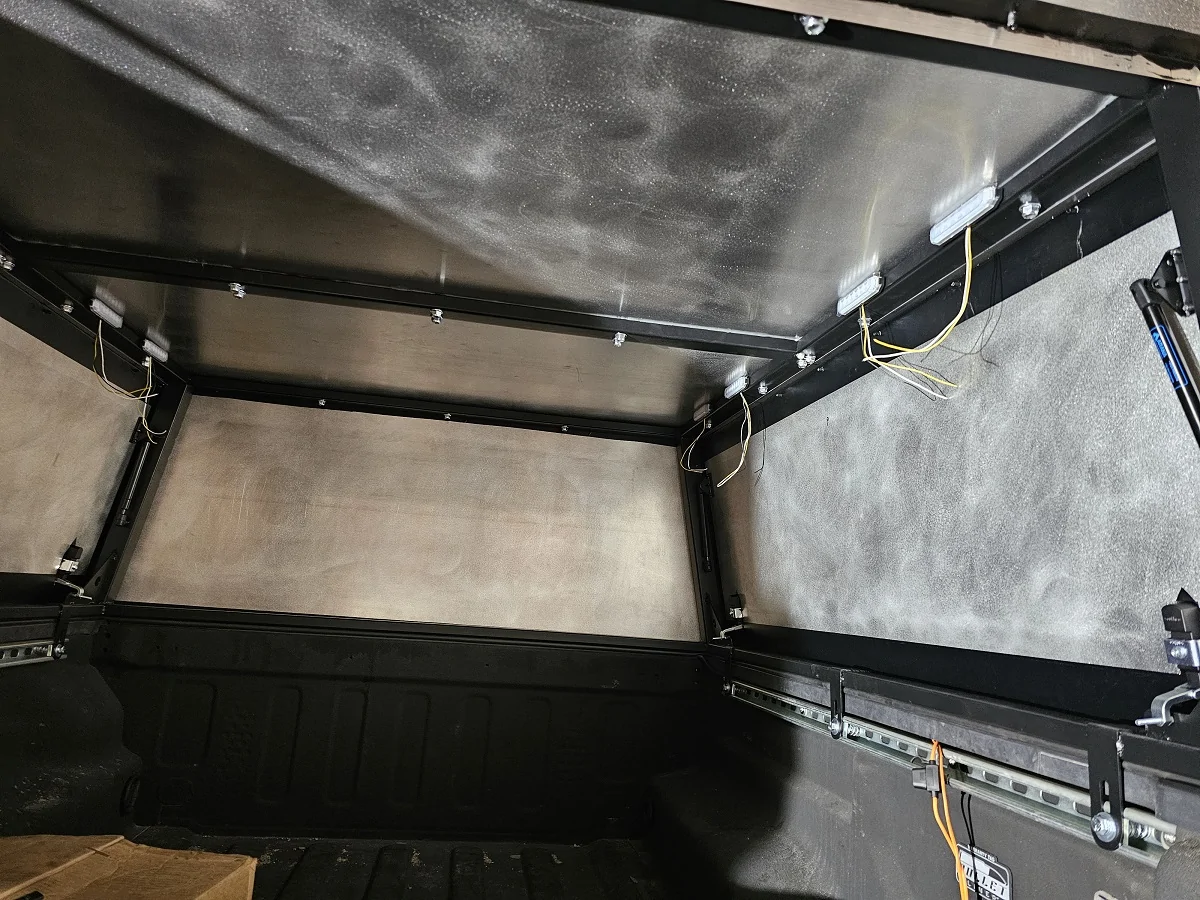
2) I build my proof of concept drawer system in the bed to test out. The drawers themselves are pretty much done, I need to add a couple dividers once I dial in how I want them packed, and work on sealing one side for kitchen items. The drawer box/frame is temporarily built out of 1/2 BCX plywood so I can test fit and determine how I really want it, and then I'll build the final product out of 3/4 Birch.
I found that the slides for the bedslide still function as they should, I just need to tweak placement to get them to function properly. But I'll rebuild that using steel tube framing and diamond plate decking.
I've got a short trip to Missouri next weekend to test it out. Not that theres really much to "test", really I just want to see if theres anything that annoys me about it before building the final version.


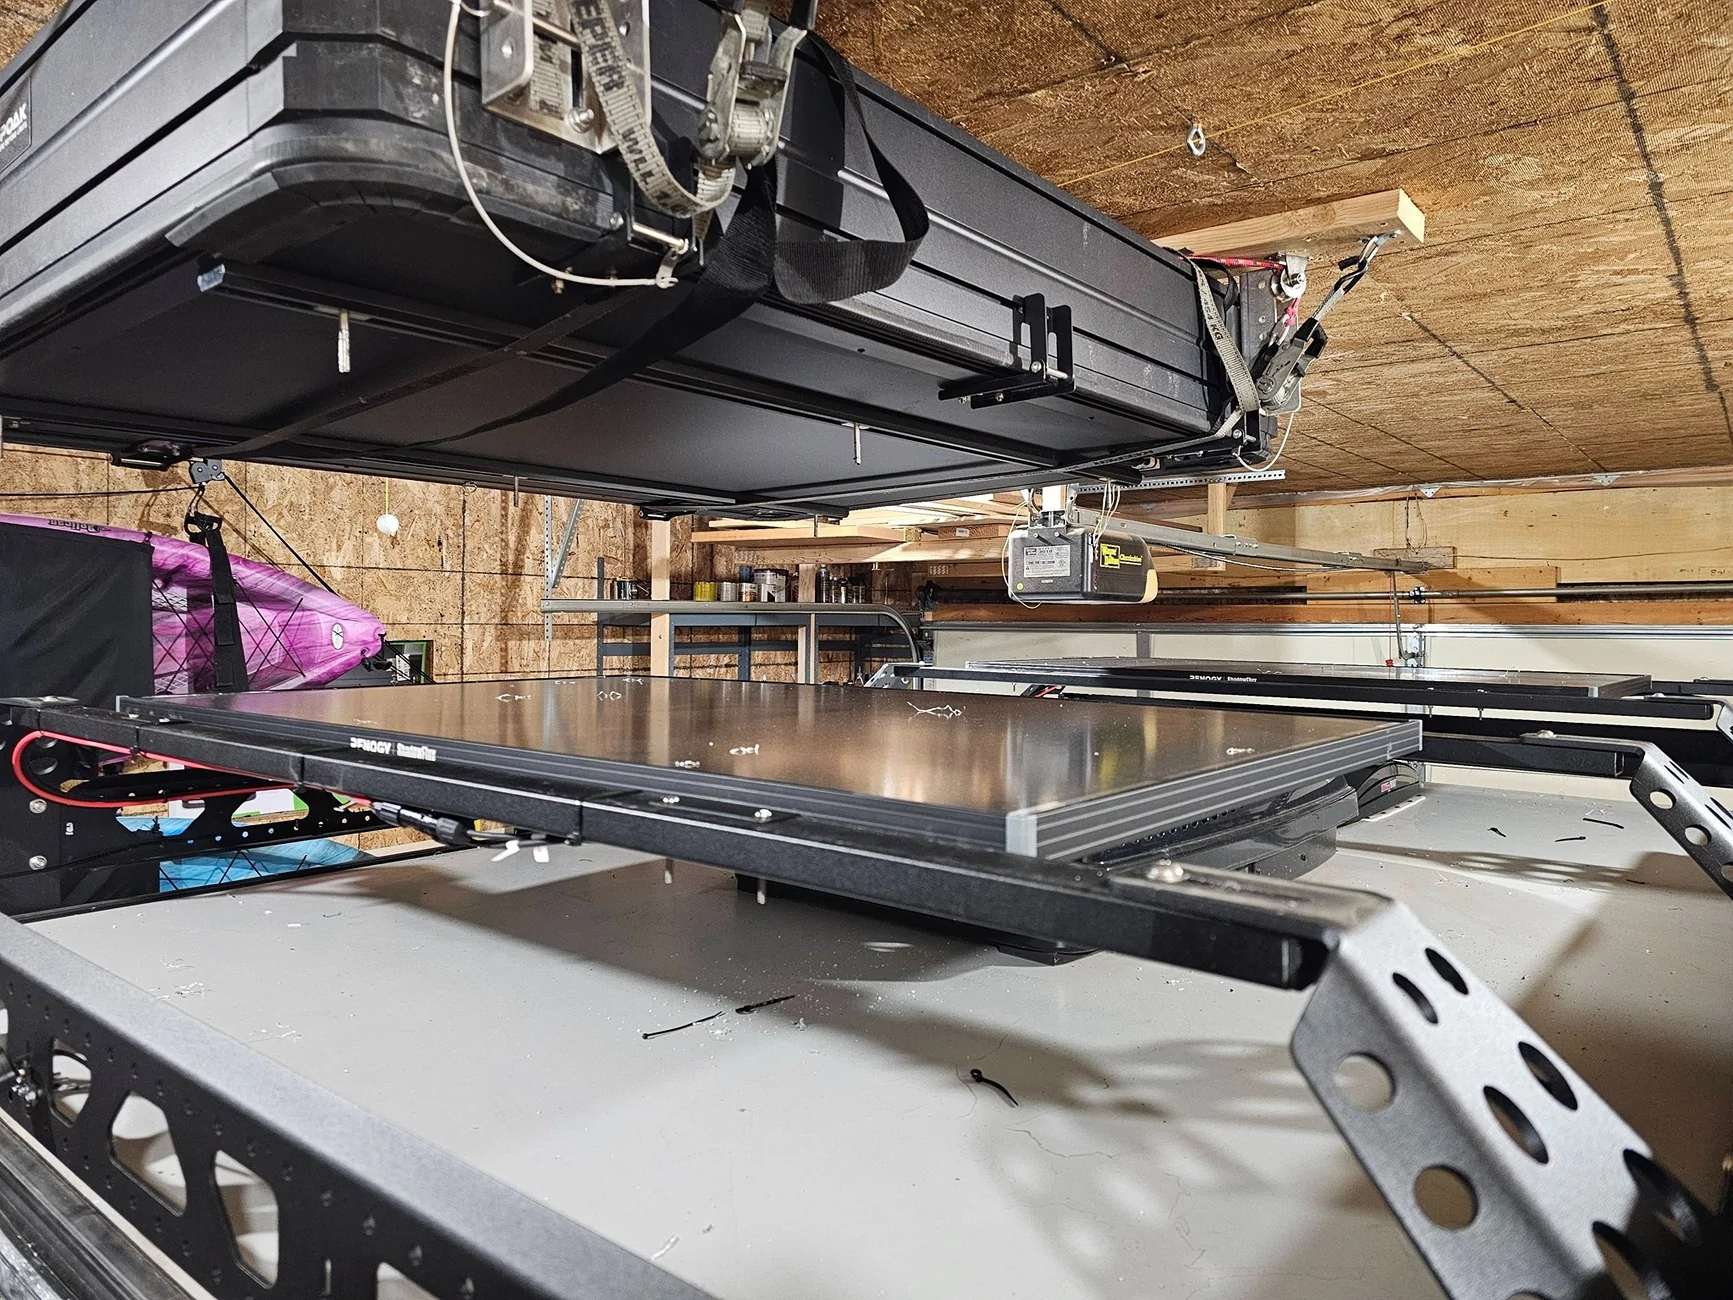
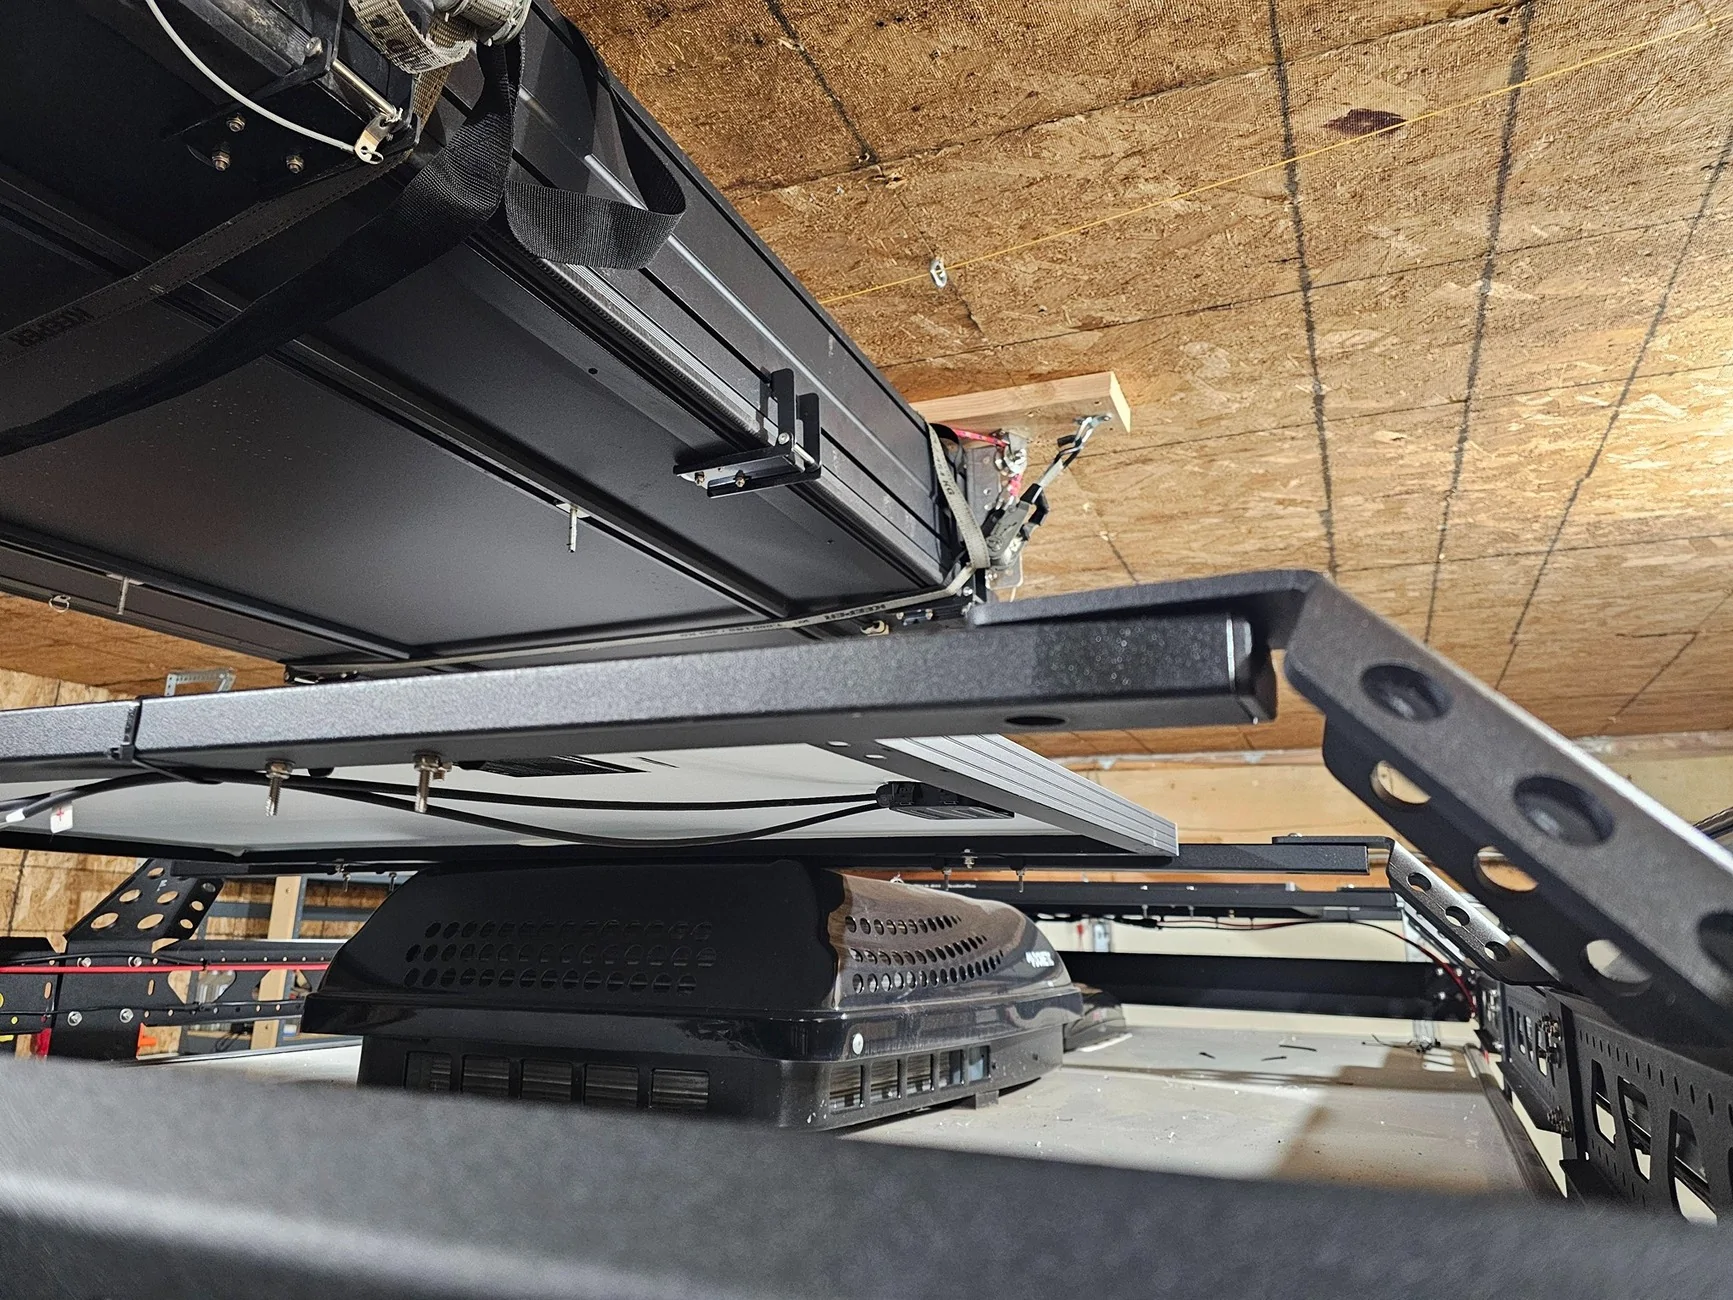

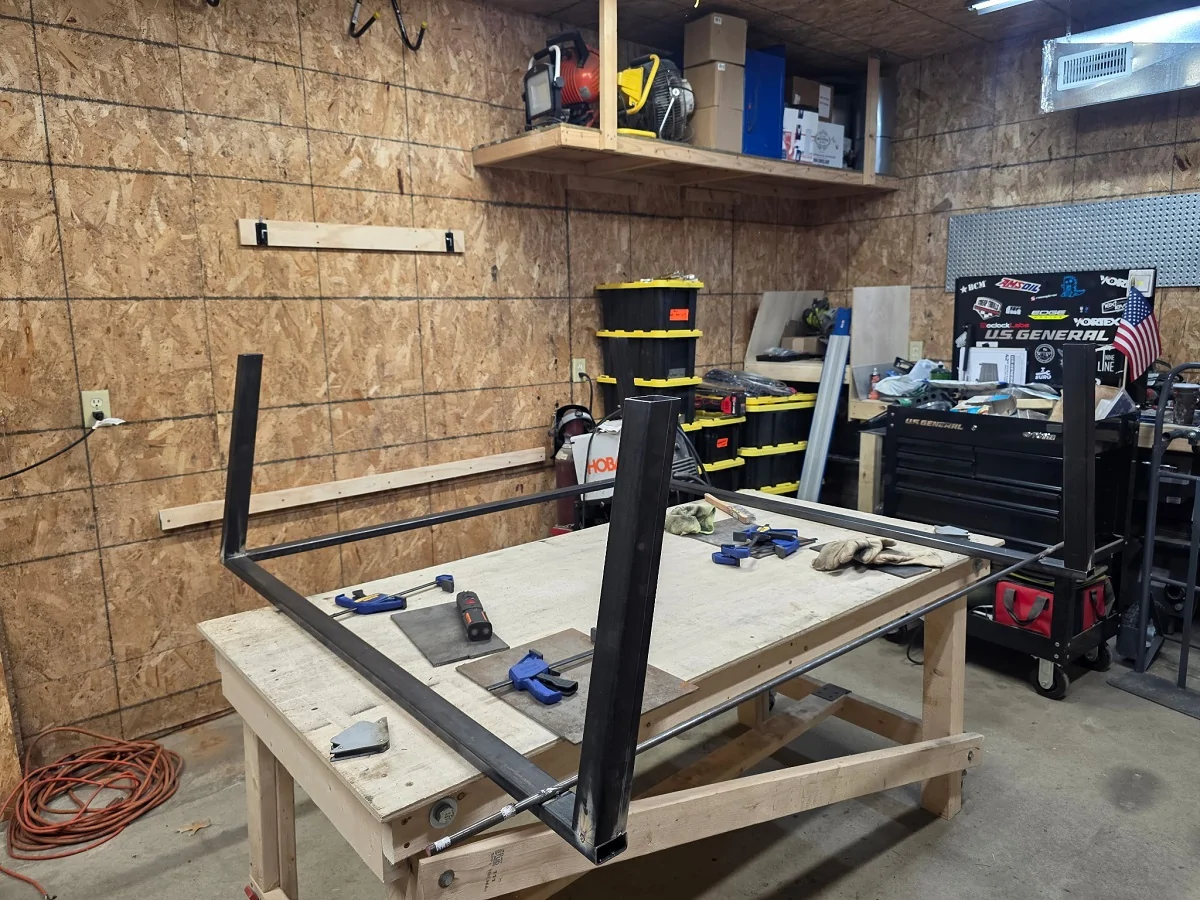

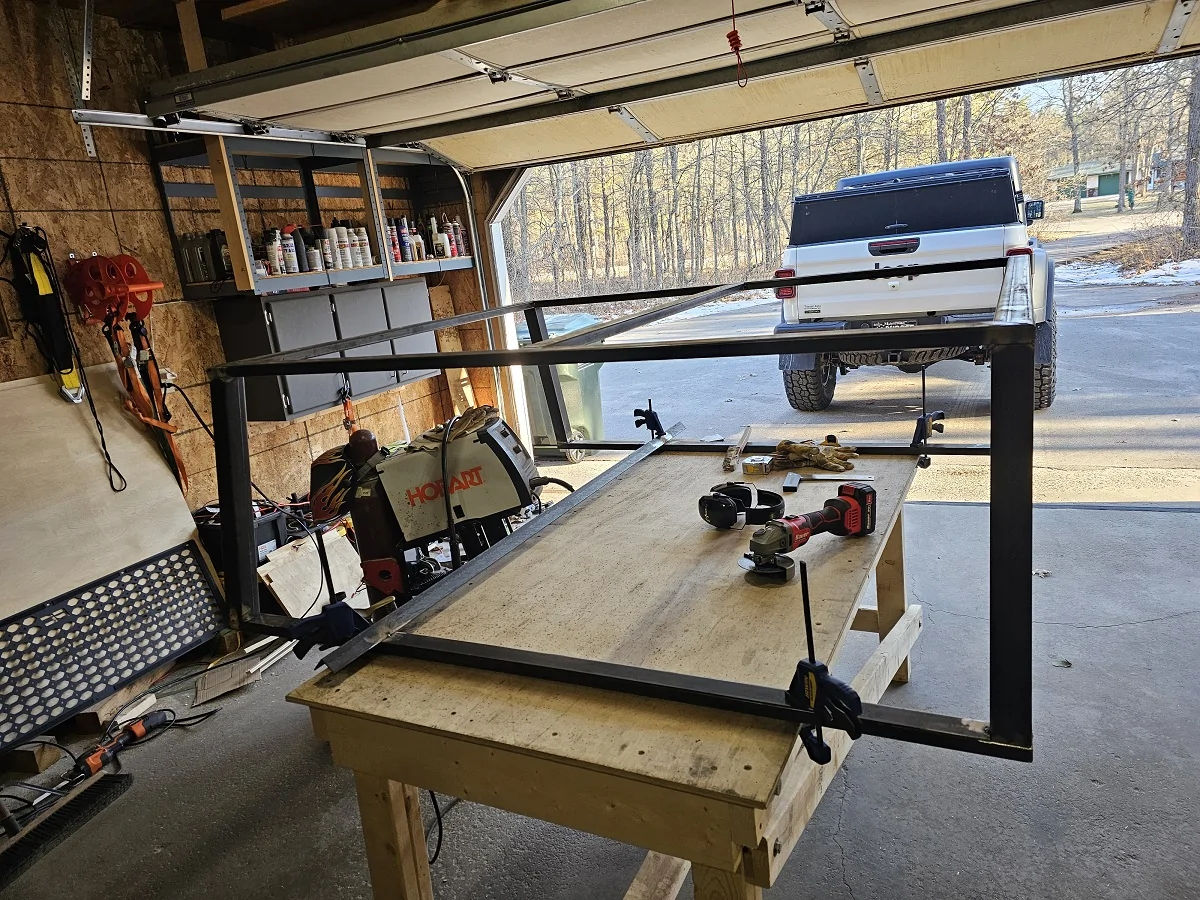
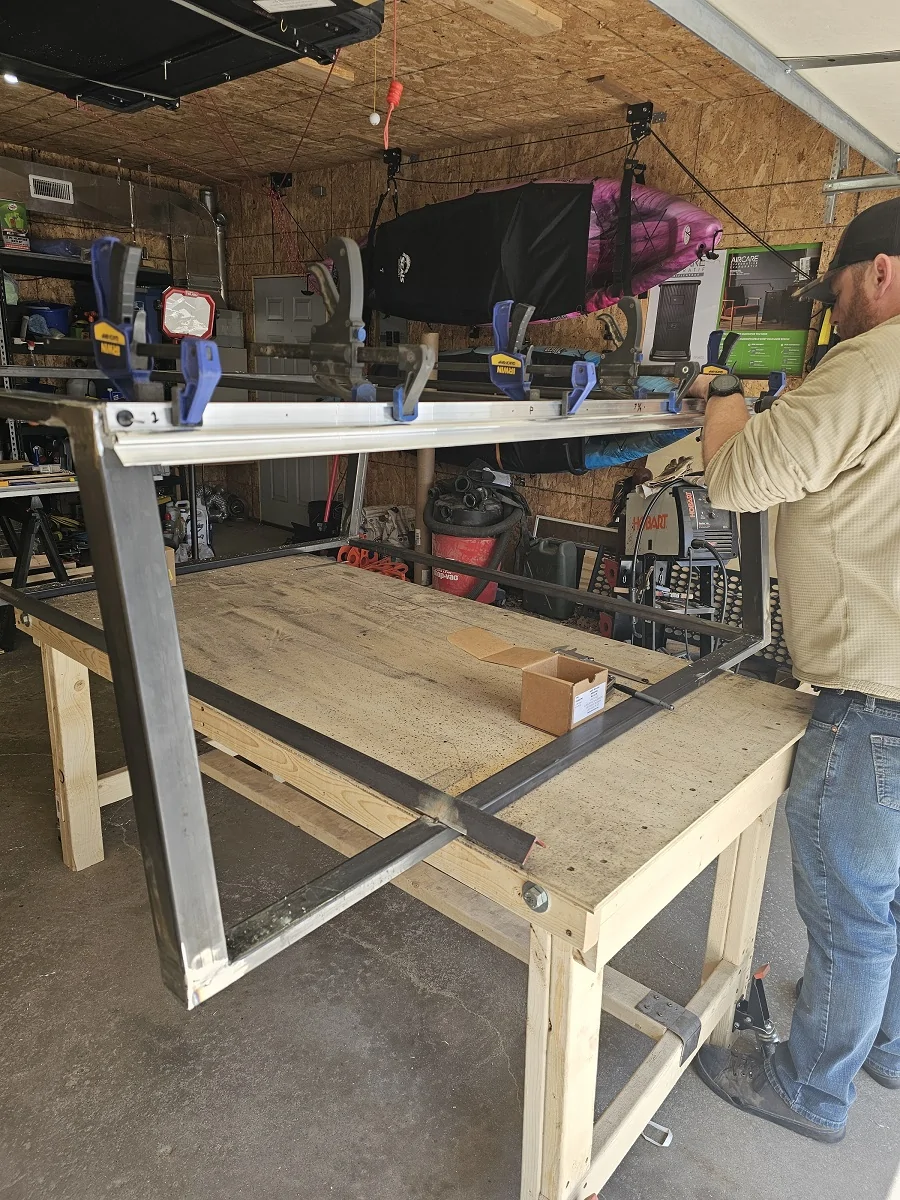
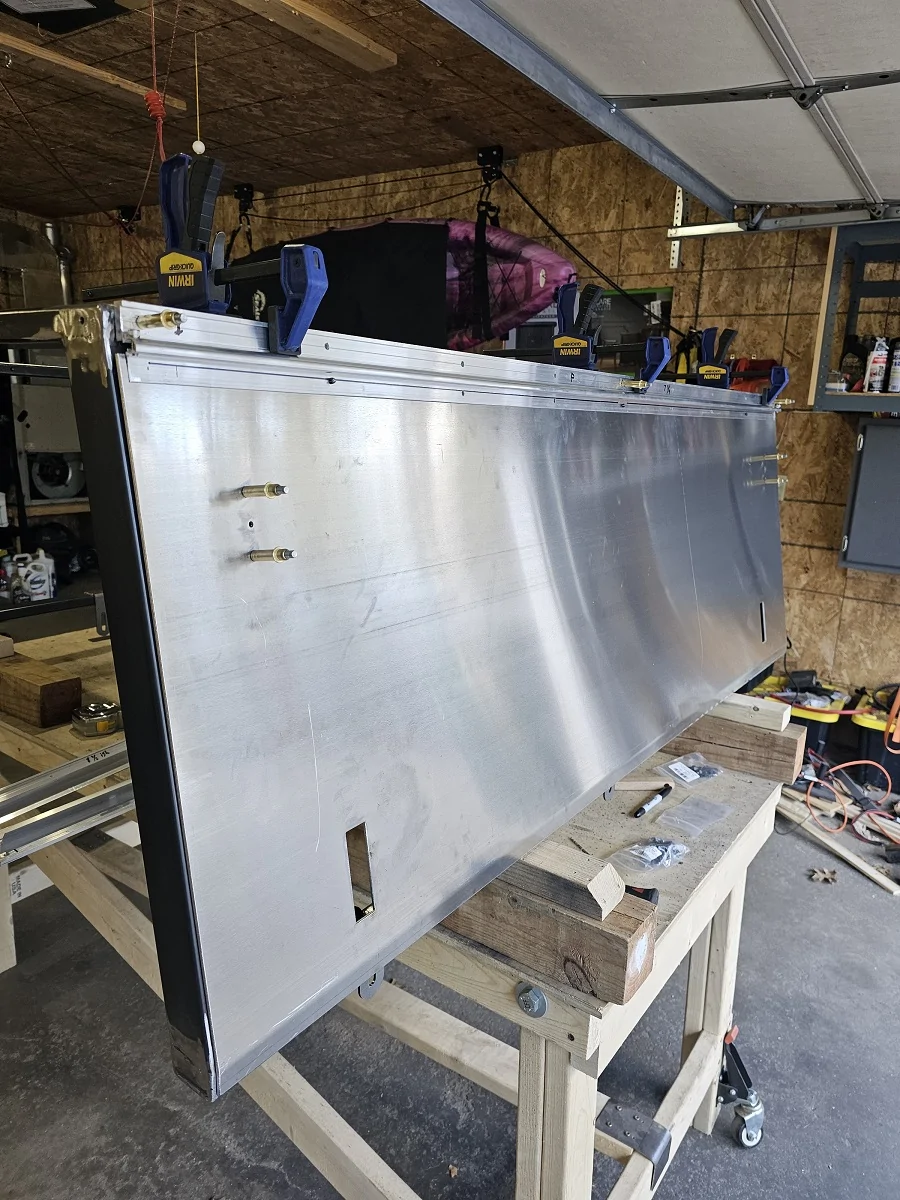
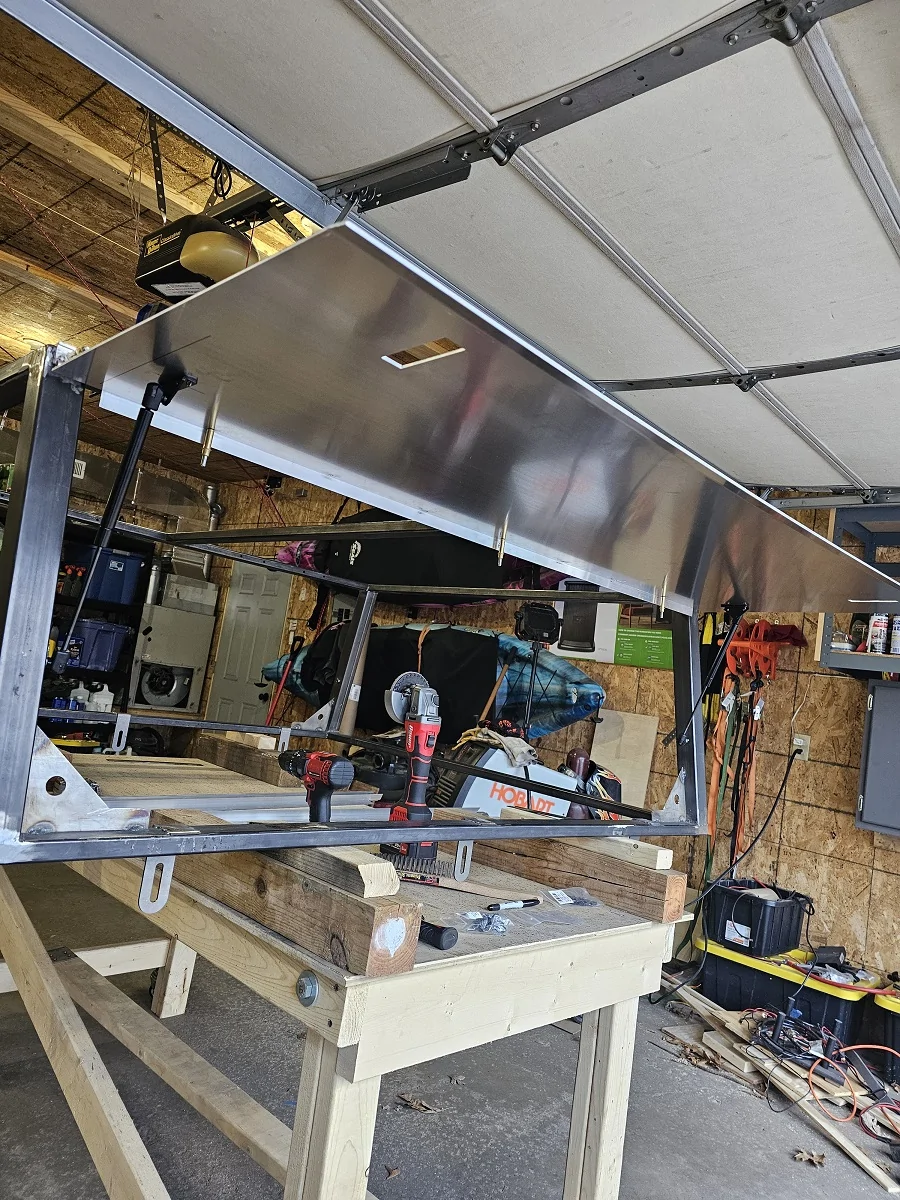
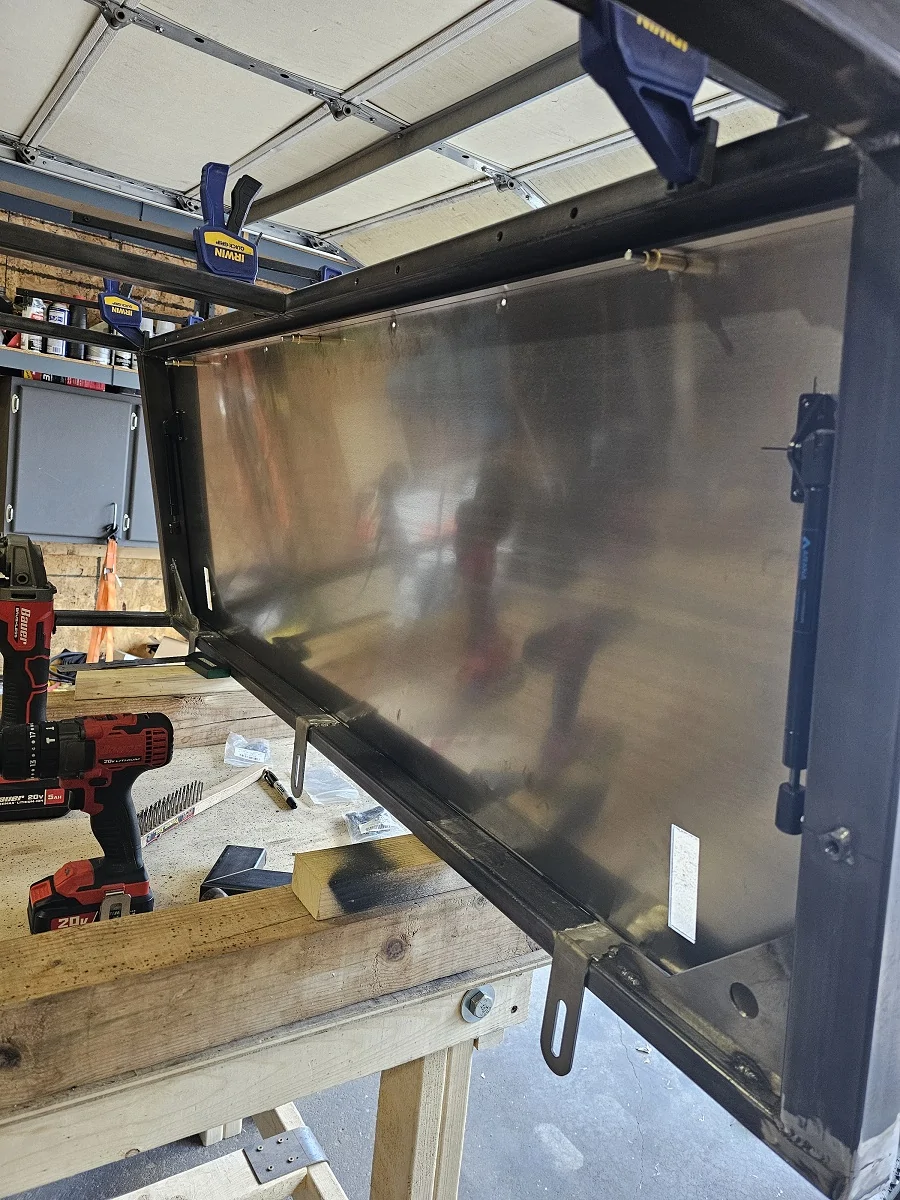
Looks good...I'd let you build me one.I've also decided I don't enjoy building these. This is my second full build, third if you count the partial build on my truck. I'd probably enjoy it more if I was better at welding. I can make two pieces of steel stick together, but I can't always make it I don't understand heat application enough to prevent warping. We ended up with a little sag in the middle, maybe 3/16 inch at its worst. Not enough to really cause an issue, but enough to frustrate me.

Yeah aluminum for the panels went up almost $400 in the past 6 months since I last had some made. I'd really like to make the frame out of extruded aluminum so it's adjustable, but the cost is insane.Looks good...I'd let you build me one.
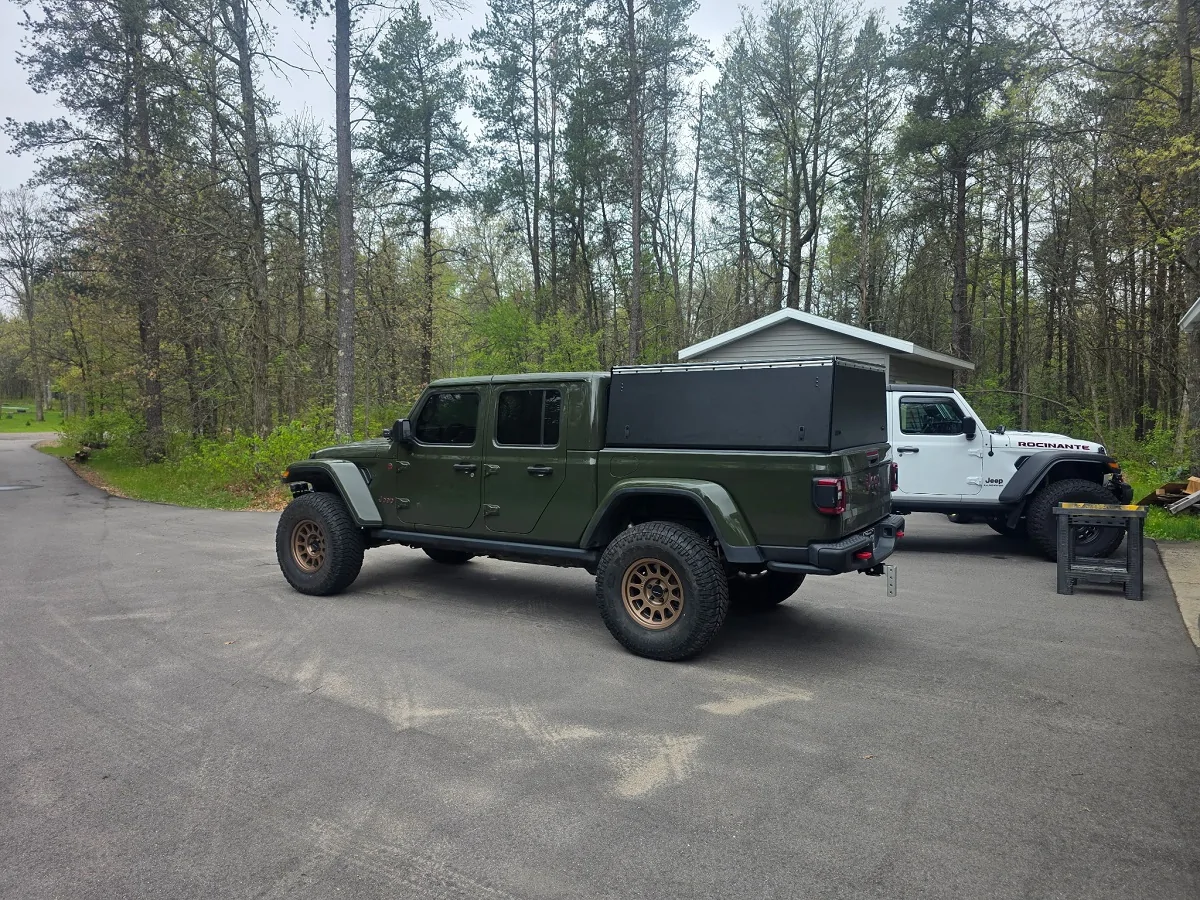
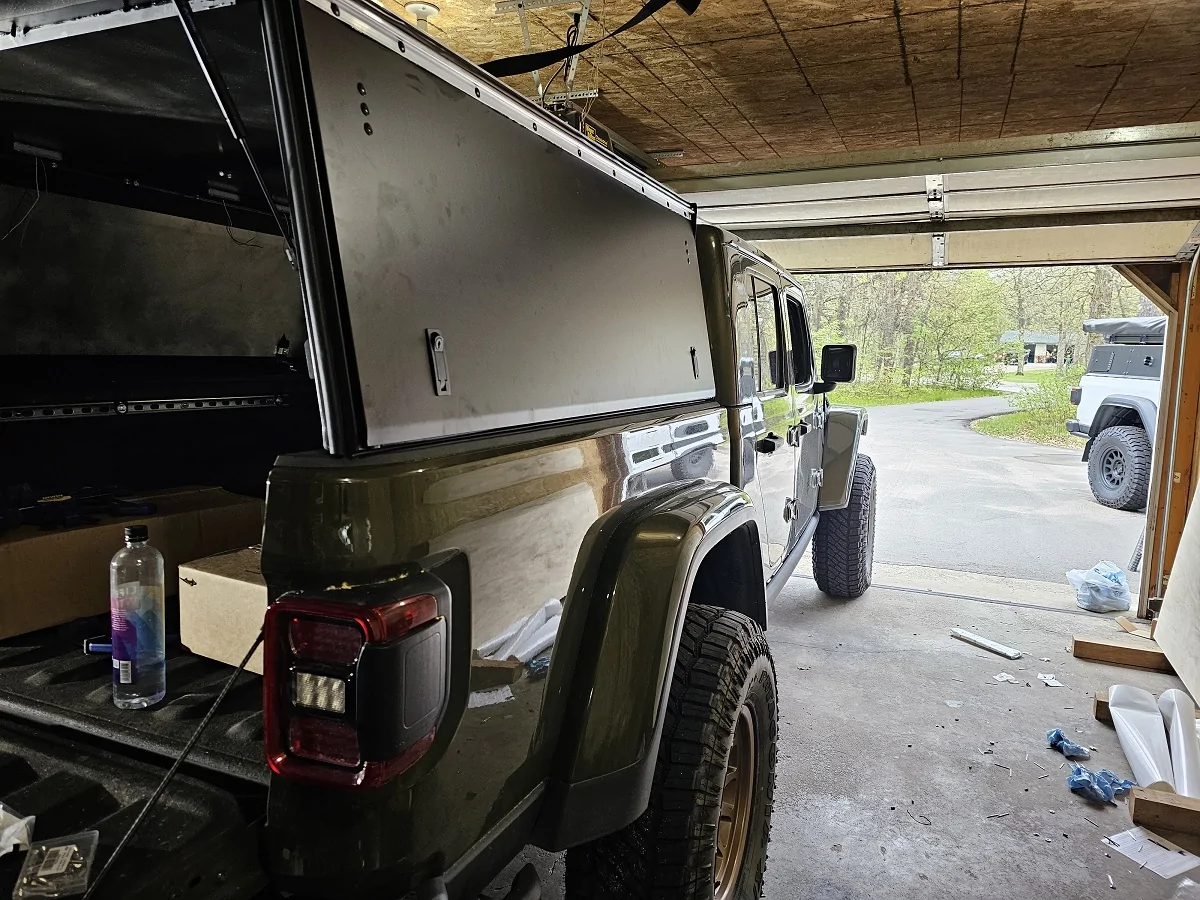
I'd like to add a cap, but waffle on size. Part of me wants 3/4 height with a RTT, so it doesn't cause much wind drag. Part of me says, just get full height and get one of those cap enclosures. I probably wouldn't use it enough to justify either setup at current market prices.
