Jeeperjamie
Well-Known Member
- First Name
- Jamie
- Joined
- Feb 12, 2020
- Threads
- 135
- Messages
- 4,754
- Reaction score
- 5,412
- Location
- Kannapolis nc
- Vehicle(s)
- 2020 jeep gladiator
- Occupation
- Weyerhaeuser
- Vehicle Showcase
- 1
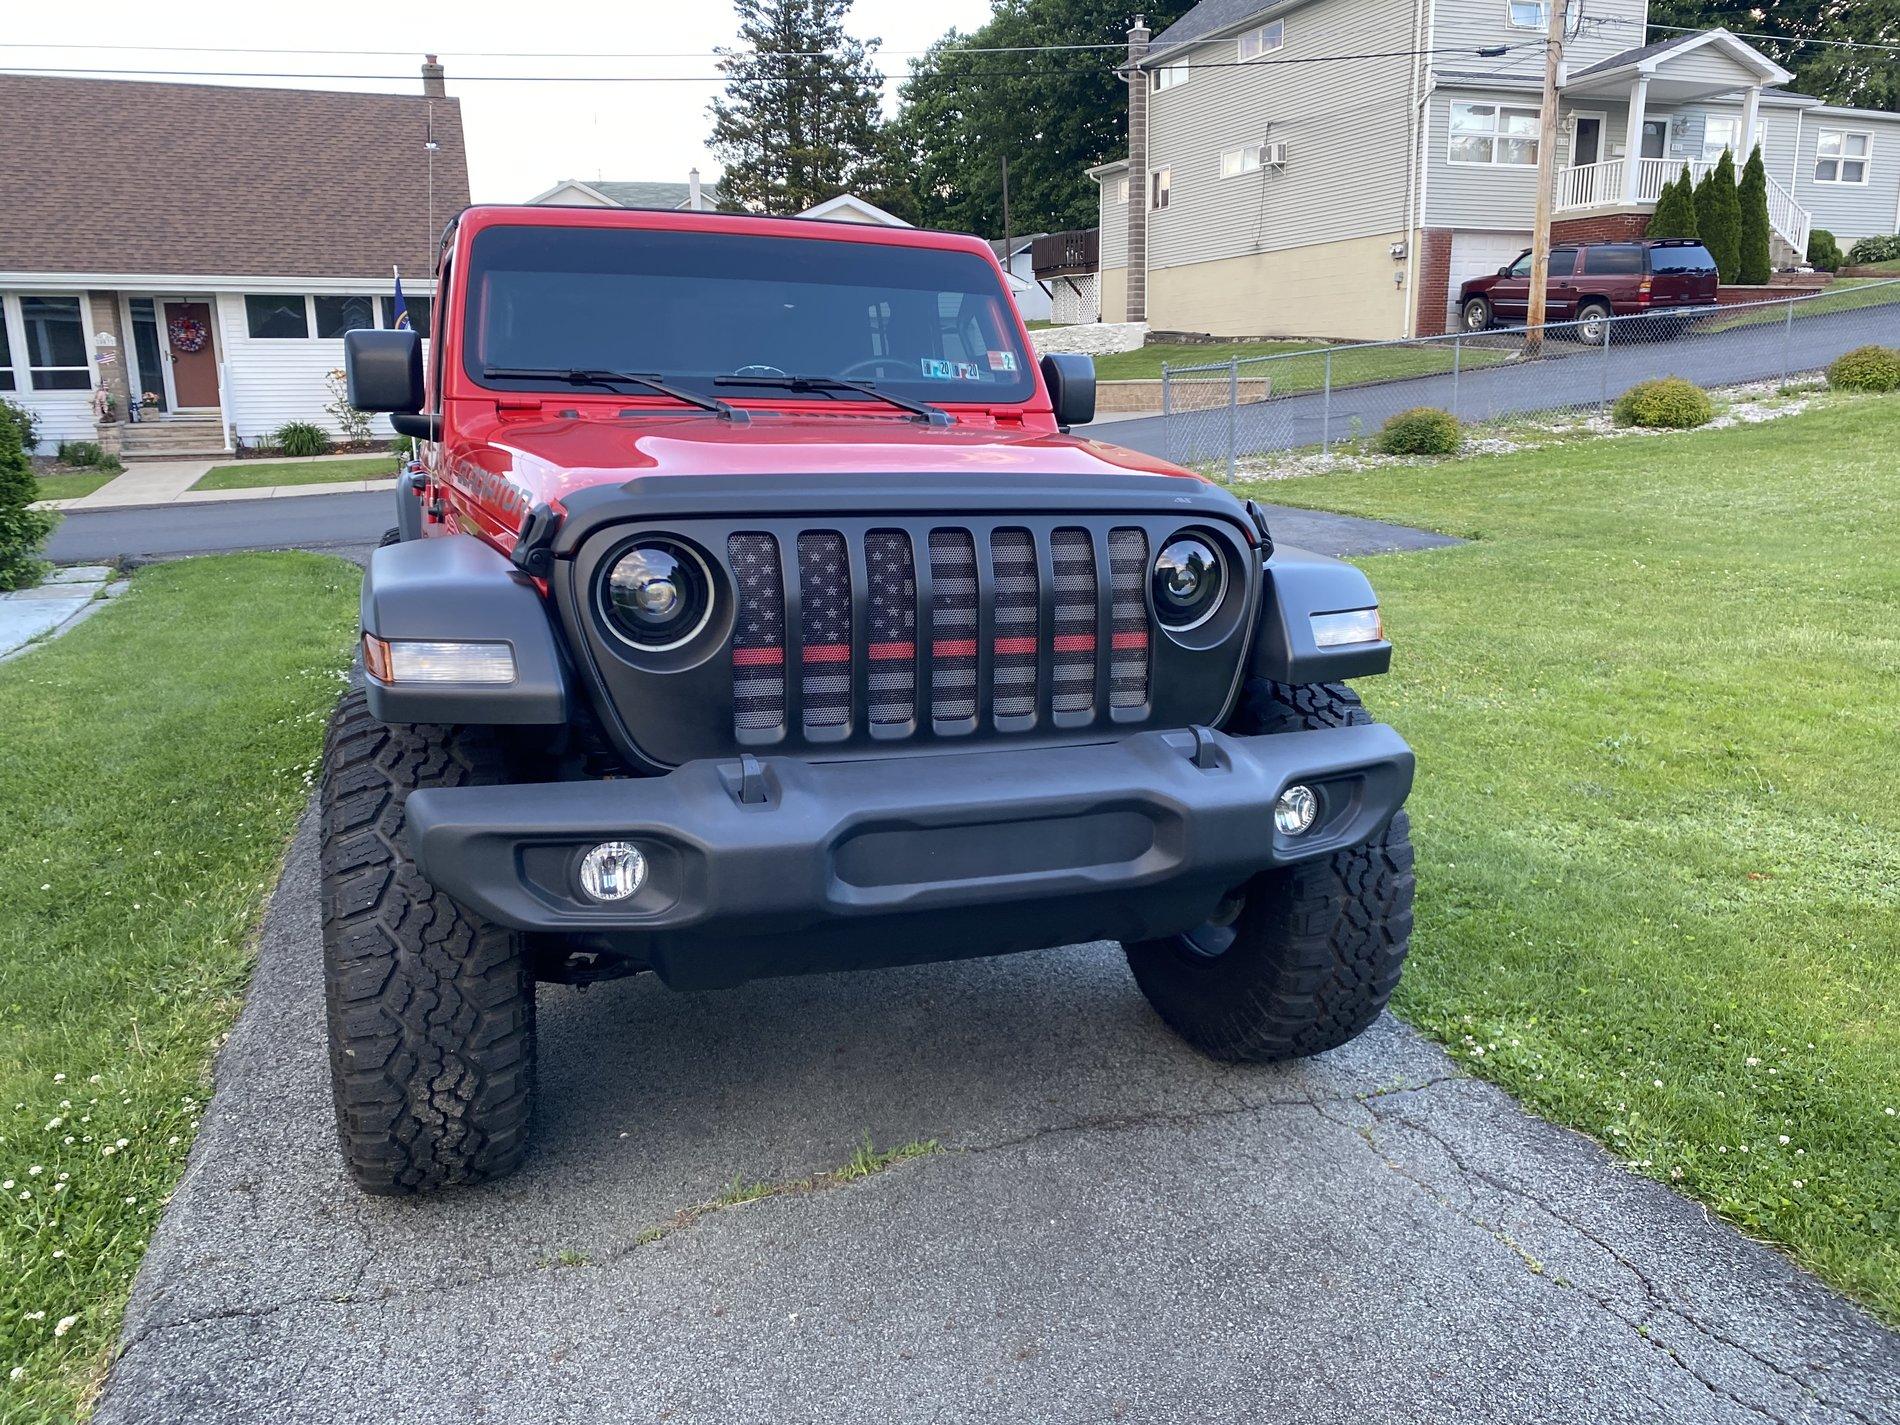
Installed my Badlands Apex Winch and absolutely love it. If I would of took my time I probably could of had it installed in about a hour or so, took 3 hours because I was being dumb. Also I bedlined my Fairlead, not recommend you do this. It looks ok now but I can see that it's going to rub off with use. I went ahead and ordered a rough country black one.
![Jeep Gladiator What did you do TO your Gladiator today? [ADMIN WARNING: NO POLITICS, NO GUN TALK] IMG_20200603_204148](data:image/svg+xml;charset=utf-8,%3Csvg xmlns%3D'http%3A%2F%2Fwww.w3.org%2F2000%2Fsvg' width='1200' height='1600' viewBox%3D'0 0 1200 1600'%2F%3E)
![Jeep Gladiator What did you do TO your Gladiator today? [ADMIN WARNING: NO POLITICS, NO GUN TALK] IMG_20200603_204148](https://cdn.jeepgladiatorforum.com/attachments/81/81579-621ae4f3c35e1e57ae06a86d1a9179b9.webp)
Sponsored
![Jeep Gladiator What did you do TO your Gladiator today? [ADMIN WARNING: NO POLITICS, NO GUN TALK] IMG_0595](https://cdn.jeepgladiatorforum.com/attachments/81/81580-e344847c1086024fc4c6d10f7001071d.jpg)
![Jeep Gladiator What did you do TO your Gladiator today? [ADMIN WARNING: NO POLITICS, NO GUN TALK] 20200603_190224](https://cdn.jeepgladiatorforum.com/attachments/81/81592-48999b79b98549b6e38f6d8ceb61d28c.jpg)
![Jeep Gladiator What did you do TO your Gladiator today? [ADMIN WARNING: NO POLITICS, NO GUN TALK] Md5_5298](https://cdn.jeepgladiatorforum.com/attachments/81/81636-db203340d03ba06f763c1cc3c7440b96.webp)
![Jeep Gladiator What did you do TO your Gladiator today? [ADMIN WARNING: NO POLITICS, NO GUN TALK] Gladiator, Jan 20, CP_124322, Three Mock LZR Lites (Front View)](https://cdn.jeepgladiatorforum.com/attachments/81/81637-d779a9ede822d0b93559b9a5fe126065.jpg)
![Jeep Gladiator What did you do TO your Gladiator today? [ADMIN WARNING: NO POLITICS, NO GUN TALK] Gladiator, Jan 20, CP_124354, Three Mock LZR Lites (Trail Cam View)](https://cdn.jeepgladiatorforum.com/attachments/81/81638-dc6ec9985ea6e6bfb56c643e620785c1.webp)
![Jeep Gladiator What did you do TO your Gladiator today? [ADMIN WARNING: NO POLITICS, NO GUN TALK] Gladiator, Jun 20, 5_5228, KC Lights Wiring Harness](https://cdn.jeepgladiatorforum.com/attachments/81/81640-e0b46cf4fa5e5ceeaff32b09a5369afa.jpg)
![Jeep Gladiator What did you do TO your Gladiator today? [ADMIN WARNING: NO POLITICS, NO GUN TALK] Gladiator, Jun 20, 5_5239, Cutting Up KC Harness](https://cdn.jeepgladiatorforum.com/attachments/81/81641-96b4446a8f583fba3a4fe5b1a26d9137.jpg)
![Jeep Gladiator What did you do TO your Gladiator today? [ADMIN WARNING: NO POLITICS, NO GUN TALK] Gladiator, Jun 20, 5_5246, Salvaging Loom](https://cdn.jeepgladiatorforum.com/attachments/81/81642-a15f99161db43398bfec013e802a72c0.webp)
![Jeep Gladiator What did you do TO your Gladiator today? [ADMIN WARNING: NO POLITICS, NO GUN TALK] Gladiator, Jun 20, 5_5249, Air Box Removed for Measurement Fit](https://cdn.jeepgladiatorforum.com/attachments/81/81643-1cbe3aa13c52fe0937eb8f3ac0a68de5.webp)
![Jeep Gladiator What did you do TO your Gladiator today? [ADMIN WARNING: NO POLITICS, NO GUN TALK] Gladiator, Jun 20, 5_5260, Measuring Light Spacing](https://cdn.jeepgladiatorforum.com/attachments/81/81644-b0e3c59a74551b23f34f25c736ff694e.webp)
![Jeep Gladiator What did you do TO your Gladiator today? [ADMIN WARNING: NO POLITICS, NO GUN TALK] Gladiator, Jun 20, 5_5265, Cutting Individual Light Wires](https://cdn.jeepgladiatorforum.com/attachments/81/81645-5b2156db28f5a4f38c955446e07c580d.webp)
![Jeep Gladiator What did you do TO your Gladiator today? [ADMIN WARNING: NO POLITICS, NO GUN TALK] Gladiator, Jun 20, 5_5266, Inserting Wires into Loom](https://cdn.jeepgladiatorforum.com/attachments/81/81646-339fc3d7dc49b61408d0ed9af6a6c7e9.webp)
![Jeep Gladiator What did you do TO your Gladiator today? [ADMIN WARNING: NO POLITICS, NO GUN TALK] Gladiator, Jun 20, 5_5287, Soldering Bifurcation](https://cdn.jeepgladiatorforum.com/attachments/81/81647-9b12ff05a69abd5756a17b407ee646f7.webp)
![Jeep Gladiator What did you do TO your Gladiator today? [ADMIN WARNING: NO POLITICS, NO GUN TALK] Gladiator, Jun 20, 5_5292, Inserting into Split Loom](https://cdn.jeepgladiatorforum.com/attachments/81/81648-05c472a00b2a1f815c5aad574610d42e.webp)
![Jeep Gladiator What did you do TO your Gladiator today? [ADMIN WARNING: NO POLITICS, NO GUN TALK] Gladiator, Jun 20, 5_5297, Shrinking Heat Shrink](https://cdn.jeepgladiatorforum.com/attachments/81/81649-da11578ddbb647b7d7d52810ed8b192e.webp)
![Jeep Gladiator What did you do TO your Gladiator today? [ADMIN WARNING: NO POLITICS, NO GUN TALK] Gladiator, Jun 20, 5_5298, Cable Installed for Light Test](https://cdn.jeepgladiatorforum.com/attachments/81/81650-fef5541947450ff039d818779b04f619.webp)
![Jeep Gladiator What did you do TO your Gladiator today? [ADMIN WARNING: NO POLITICS, NO GUN TALK] Gladiator, Jun 20, 5_5300. They Work!](https://cdn.jeepgladiatorforum.com/attachments/81/81651-0bd7eb435438cfb67d6230e7bb8f8243.webp)

![Jeep Gladiator What did you do TO your Gladiator today? [ADMIN WARNING: NO POLITICS, NO GUN TALK] 20200602_204554~2_resized](https://cdn.jeepgladiatorforum.com/attachments/81/81669-907dfebf9dfd45692f6c90d6b8f877cd.webp)
![Jeep Gladiator What did you do TO your Gladiator today? [ADMIN WARNING: NO POLITICS, NO GUN TALK] B1A3E59D-DCFC-42FD-A926-90243357FA44](https://cdn.jeepgladiatorforum.com/attachments/81/81681-86bcd13fb6d3a6f08aa541cf872c1450.webp)
