- Thread starter
- Banned
- #1
Here is a quick guide for removing the antenna and base from the outside of the Jeep and moving it to the interior. I was inspired by @sblaine. Thanks my friend!
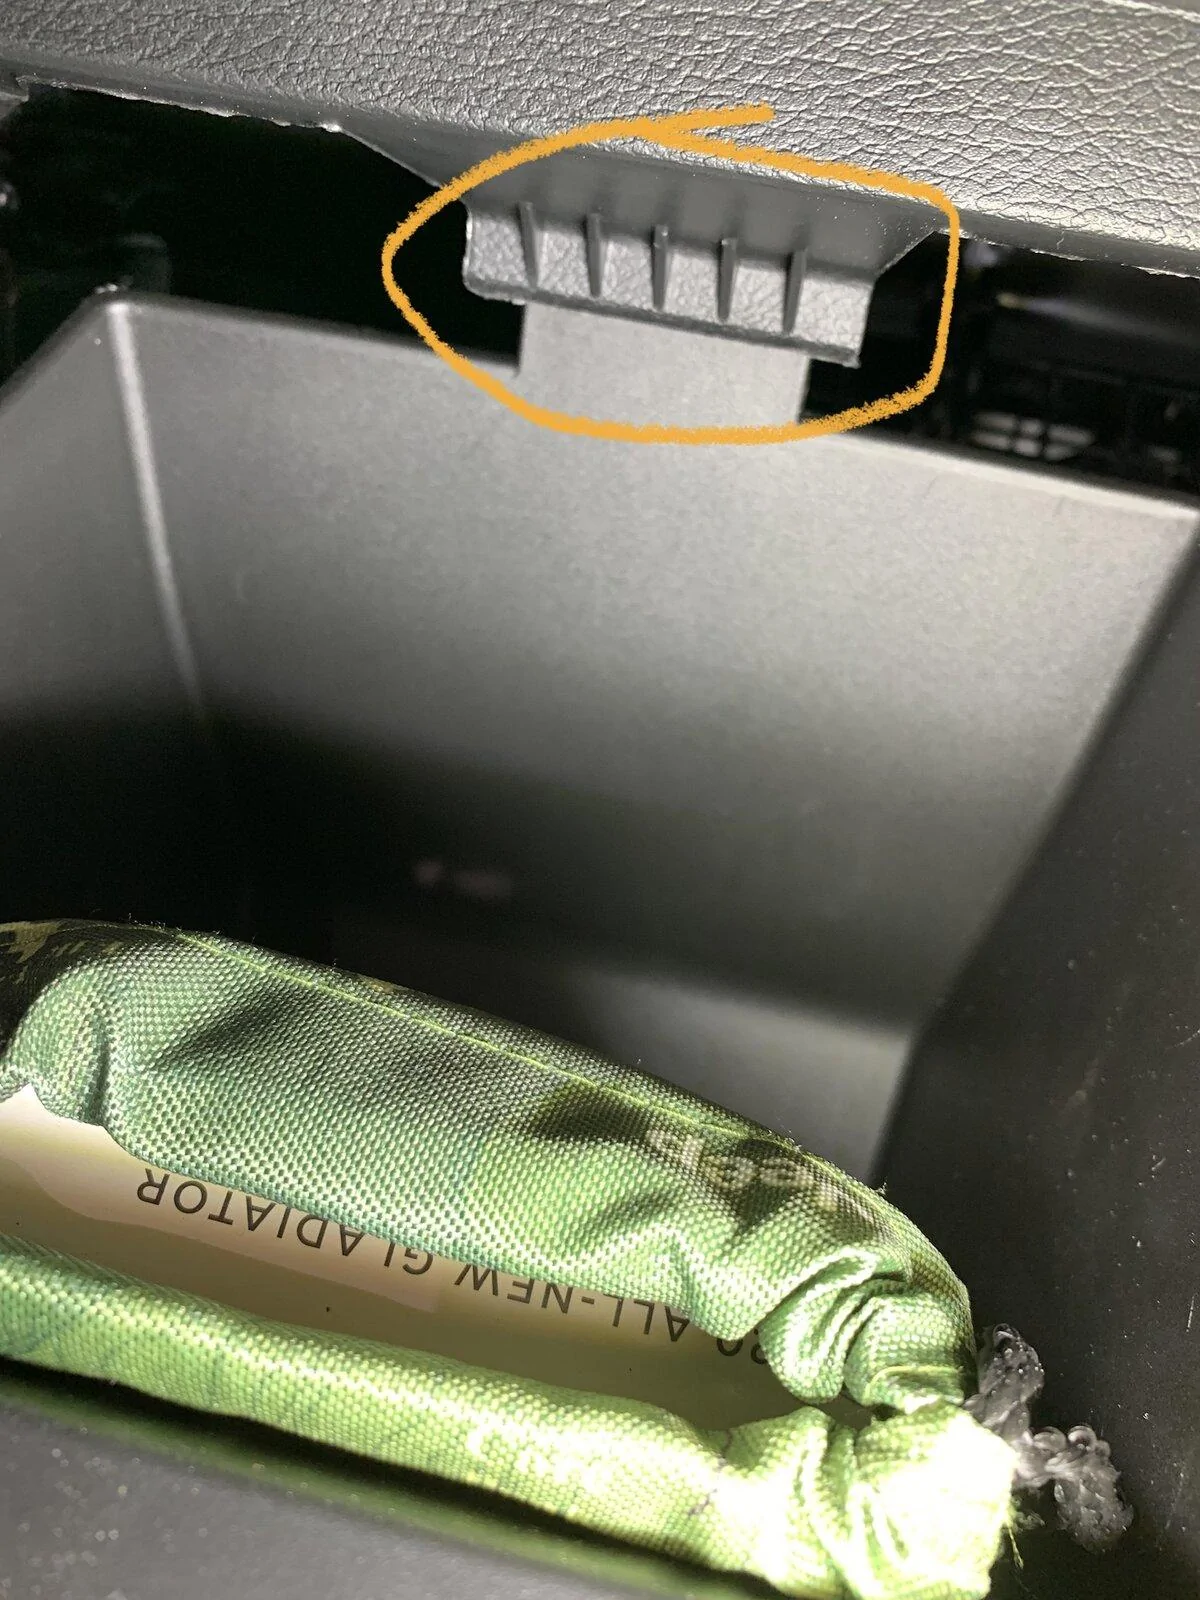
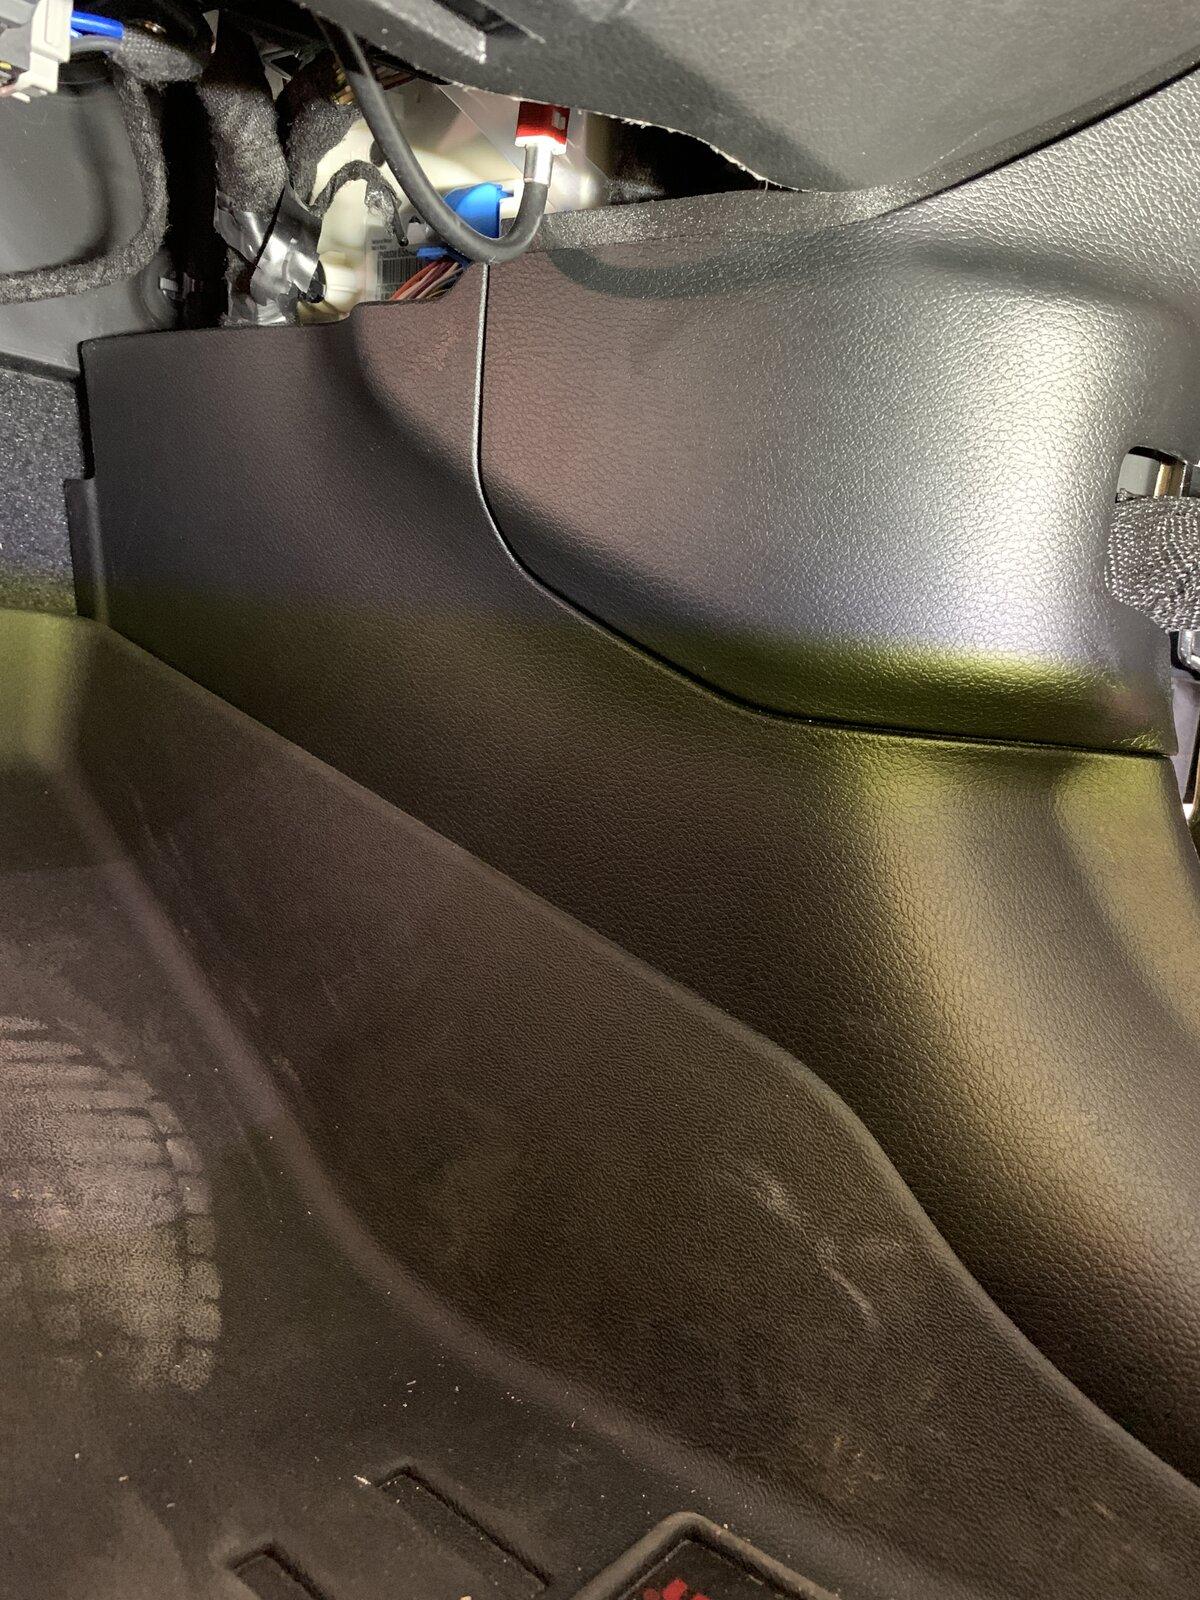
Prep: Remove the glove box and lower passenger door cable cover. The glovebox is removed by popping the left side arm upwards out of its hole and fishing it out of the socket. After that, push up on the upper lip and pull the glovebox down. The passenger door cable cover is held on by a couple push clips. Don’t break any of this!

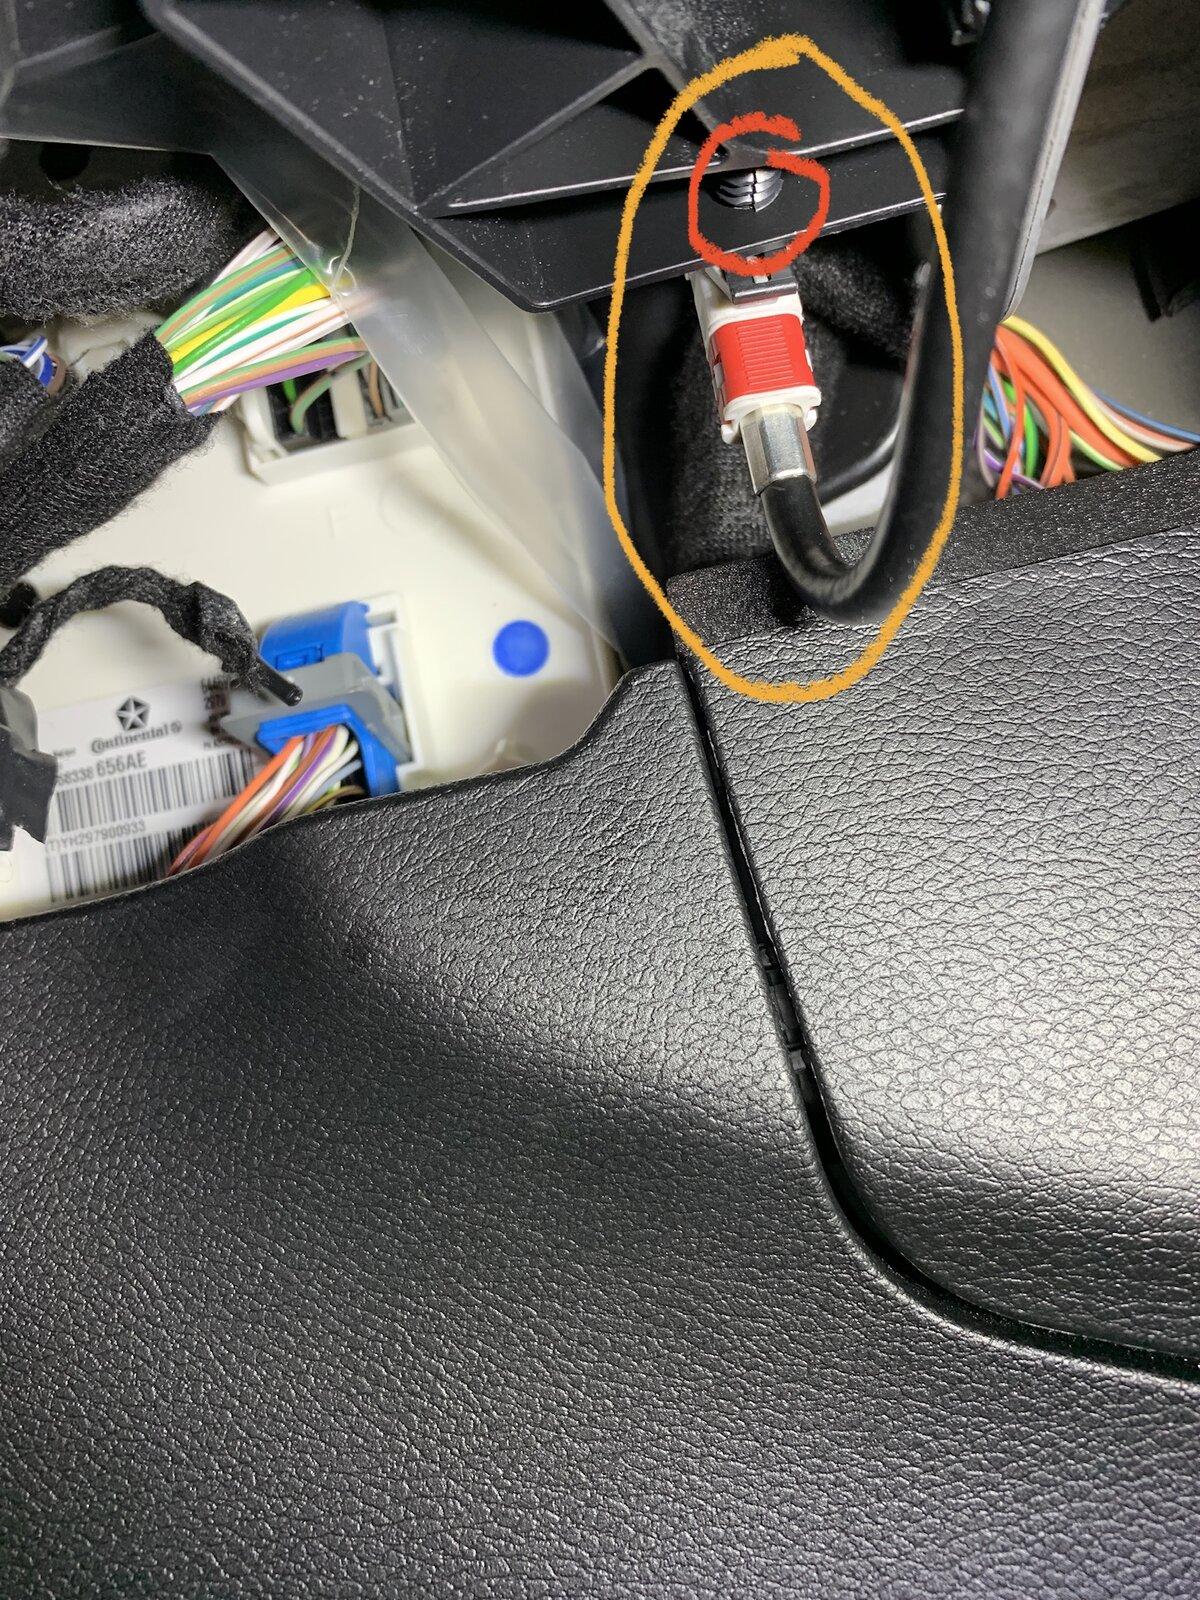
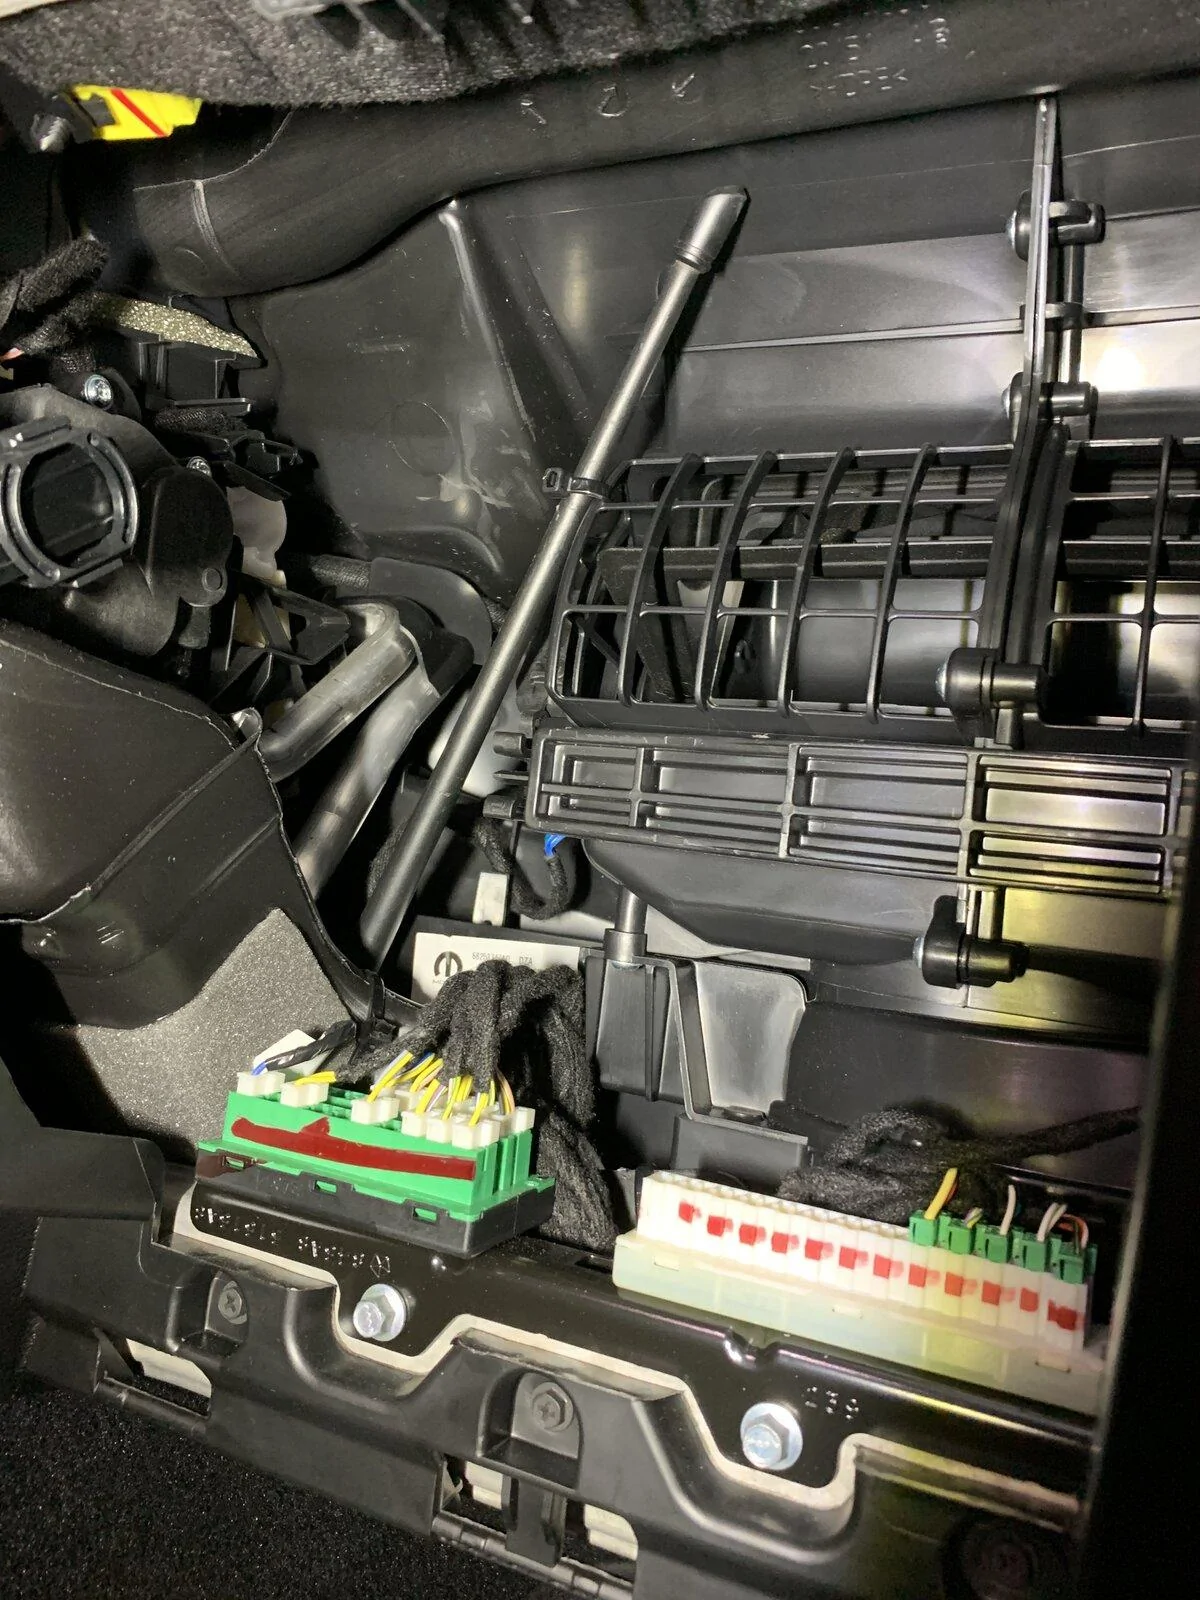
Step 1: Get into the passenger footwell and unplug the radio antenna wire. It is a single plug. The radio-side wire is held on by two push pin retainer pins (circled in red in photo). They are attached to the dash. I removed these from their holes for a bit more movement and easier access. Once they’re removed, the connection will spin freely and you can depress the cable clip to disconnect the cables. Stay calm, because there is not much room and it can be a booger.
Step 2: Go outside and remove the antenna from the base. Pretty straightforward. If yours is tight use pliers or a wrench. Be careful with your paint!
Step 3: Remove the black cover on the antenna base. I used the following video to help figure this out. Again, be careful not to gouge your paint!
Step 4: Remove the three 8mm bolts holding the base onto the vehicle. Don’t let it drop down on your paint.
Step 5: Now it’s time to pull the antenna cable completely out of the vehicle from the outside. There is a tight fitting grommet that holds the cable securely to the vehicle. Shine a light into the hole and you’ll see what I mean. You’ll have to trust me on this one, but just pull the cable and it will come free. It’s tight, so just wiggle it around as you’re pulling and it will come free. Don’t pull like King Kong....just use some finesse. Neither the cable or the base broke on me. You can do it! Once it comes free, the cable will pull out completely. There is a 90 degree elbow in the cable on the interior side of the grommet, so you may need to use finesse and fish it out through the hole. I found that if you reach behind the passenger knee speaker box you can feel this elbow. Once you get the cable out the hardest part is over.

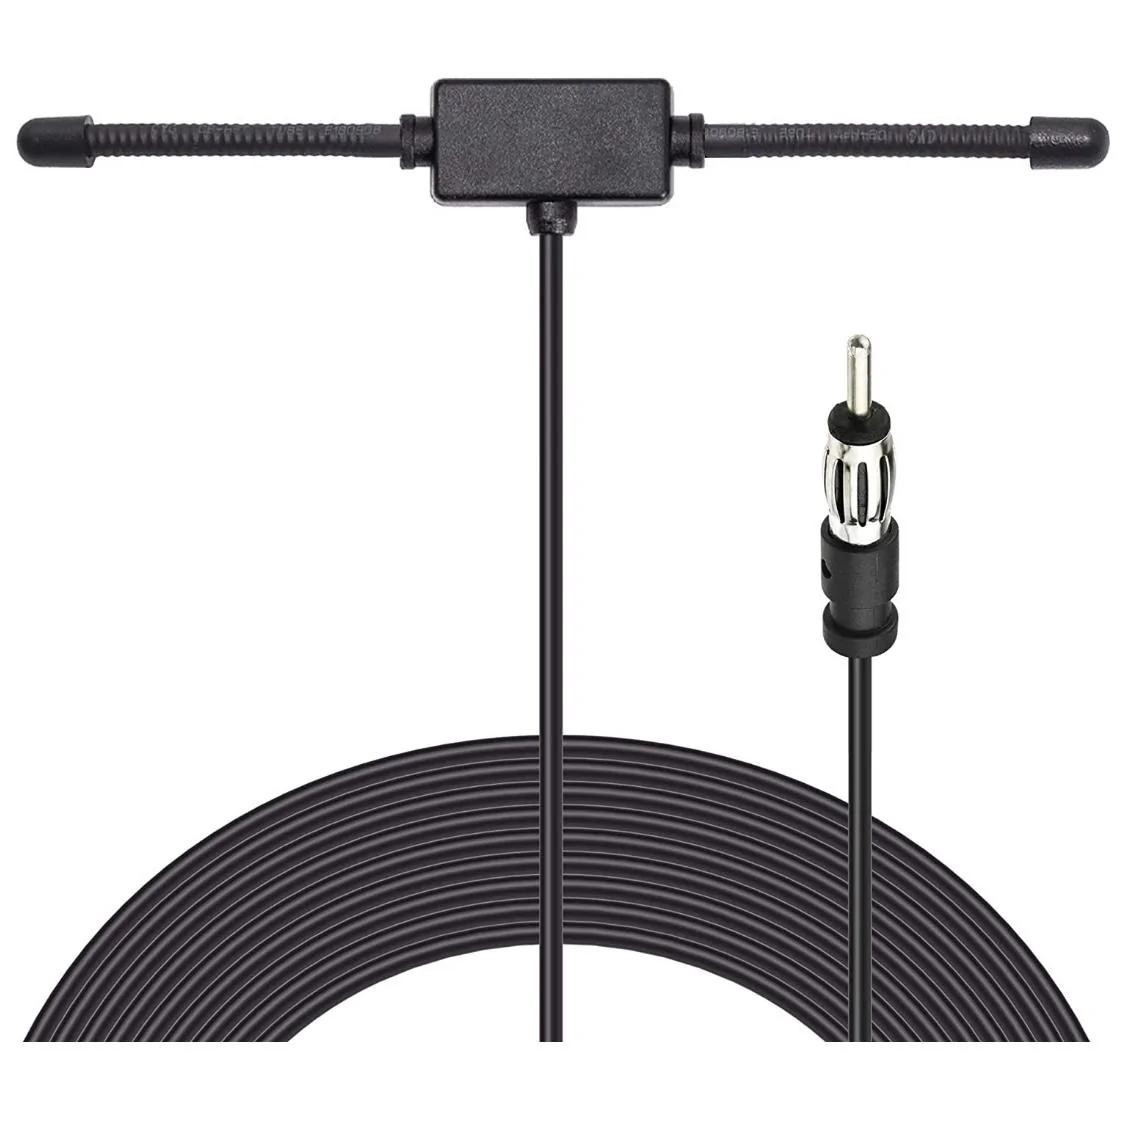
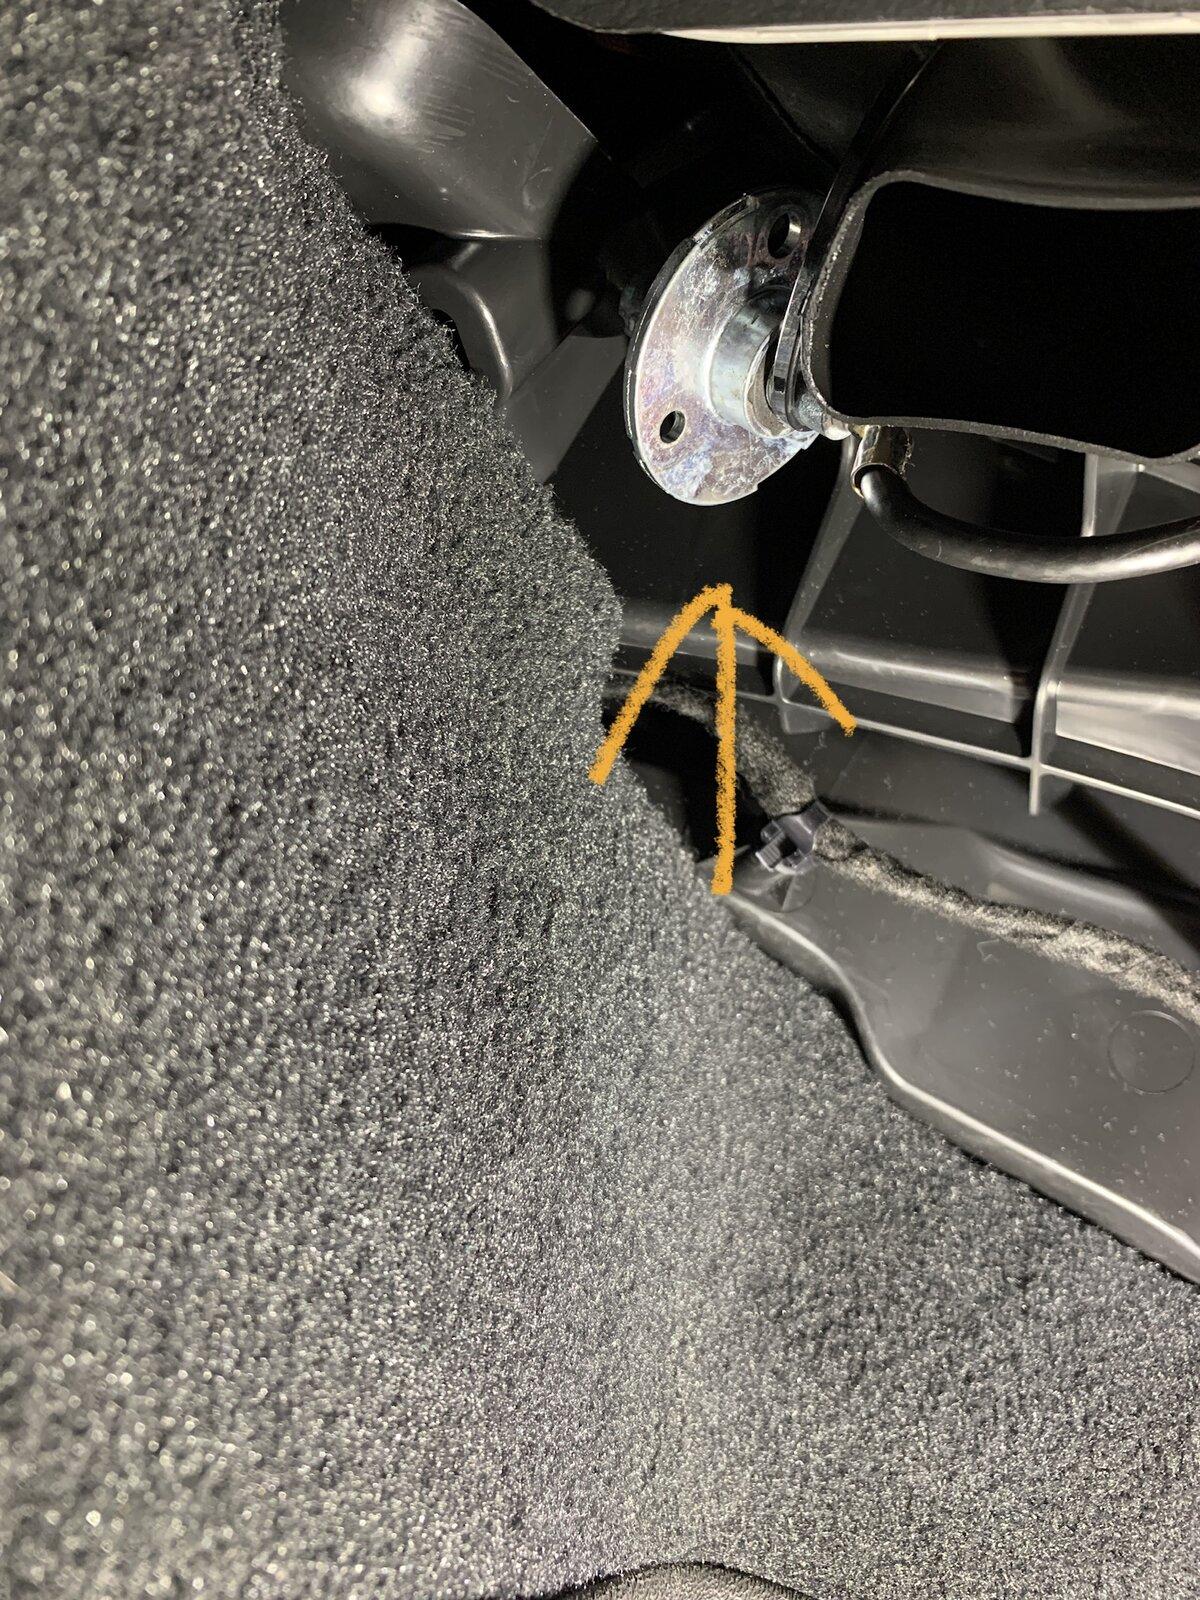
Step 6: Attach the antenna back to the base and find a good spot for it inside of the vehicle. For me, it was simply under the dash on the passenger side. I already had a 13 inch Raydonair antenna in place of the factory one. Obviously, the shorter the antenna the easier it is to hide and mount, but you may run into reception issues with smaller antennas. This mod isn’t for someone who needs the best reception anyhow. I plugged the antenna cable back in and turned the radio on while searching for decent reception. Once you find a suitable spot, put some zip ties around the cable/antenna/base to secure it in place. *Photos of my location are further down.*
Step 7: Button up your Jeep interior and get all the panels back in place exactly how you took them out.
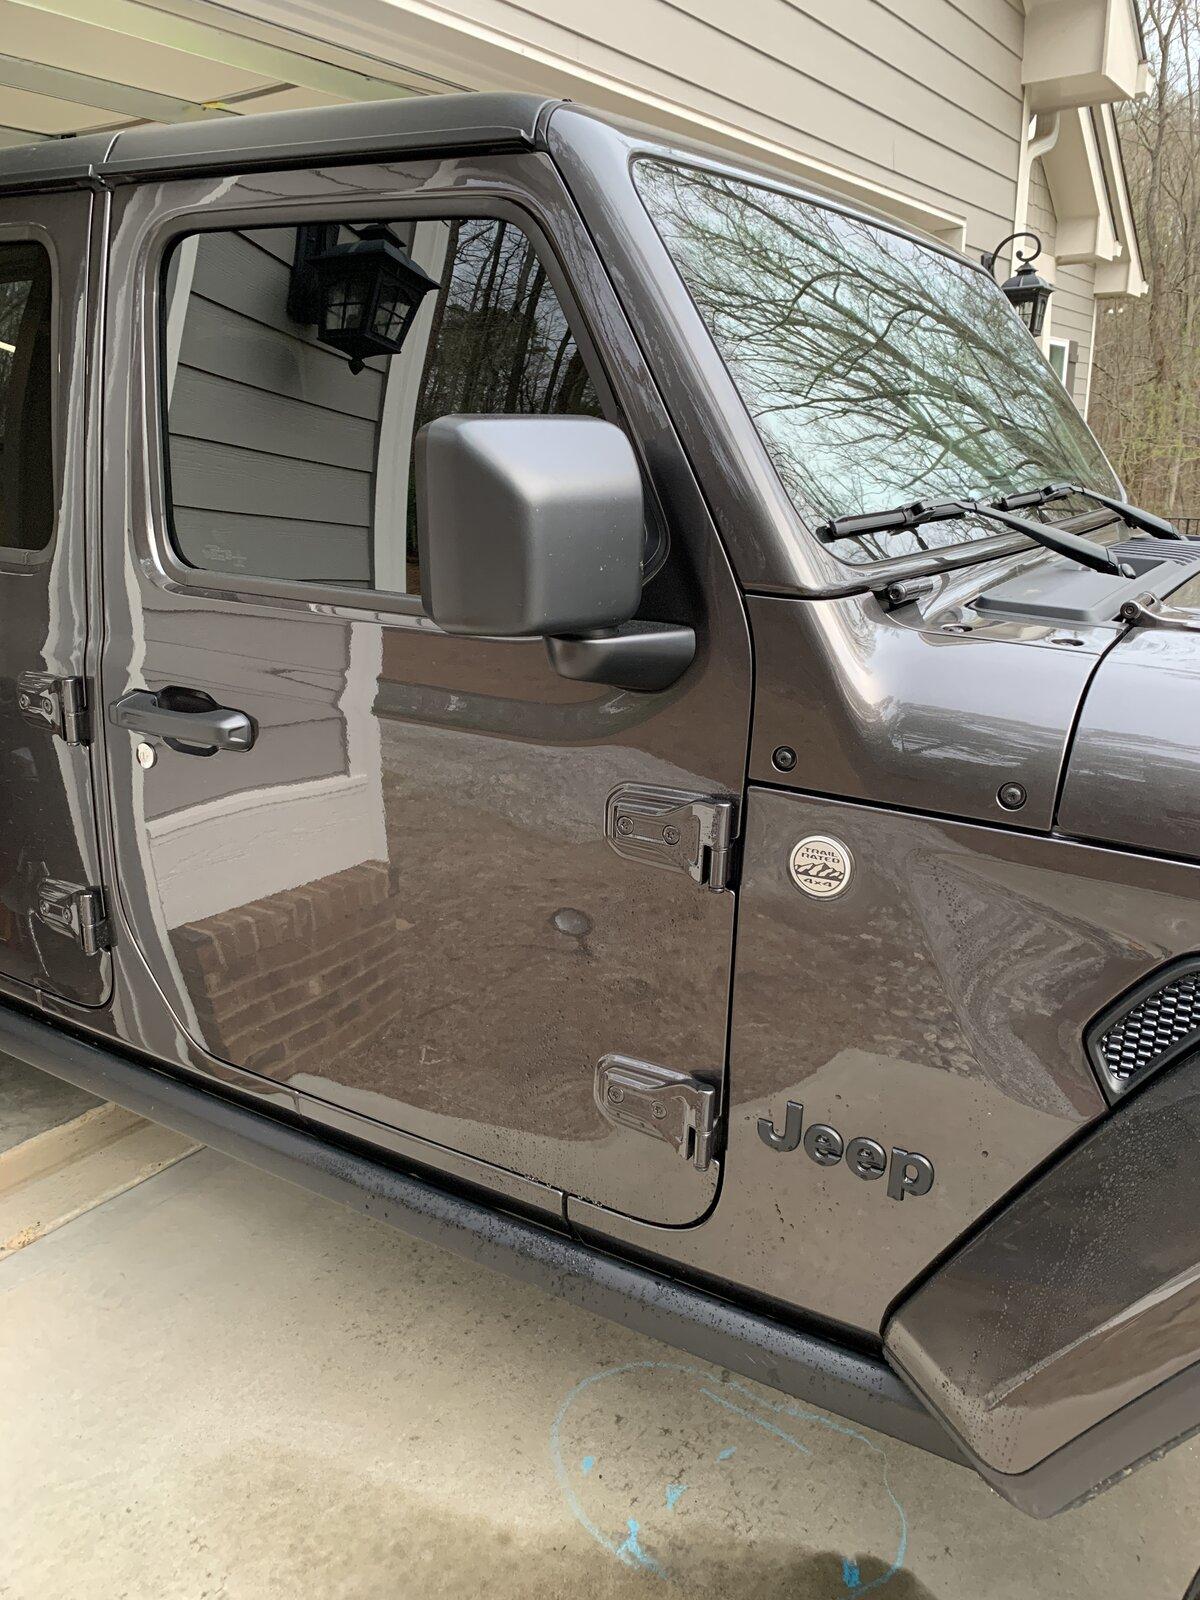
Step 8: I found a Trail badge at my local dealer to cover the holes on the outside where the antenna was. Wash up the area real nice and mount your new badge. I did not fill the grommet hole or antenna base holes with anything. Time will tell if this was a bad idea or not. So far, the adhesive badge feels really secure.
Final Step: Enjoy the new clean look!
All in all, I did lose a little bit of reception. This reception loss only amounted to losing one “favorite” radio station completely and gaining some static on another. Otherwise, radio reception is acceptable. @sblaine moved his antenna behind the passenger grab handle, but I was getting a lot of static with mine there. I simply placed mine under the passenger side of the dash. It tucked up out of the way nicely. The base sits close to the center of the dash and the antenna runs up next to the plastic air blower system.
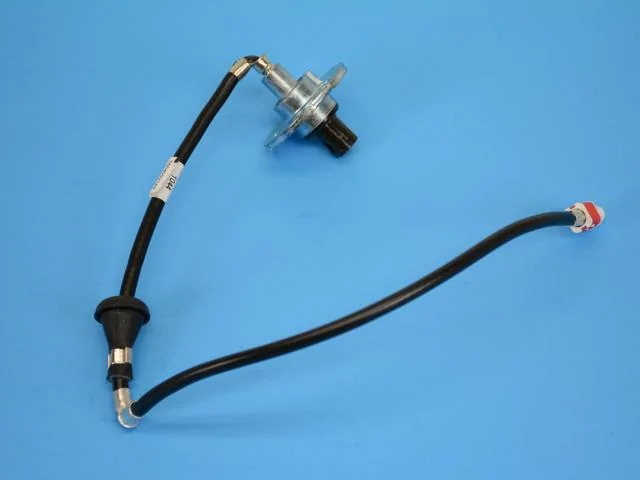
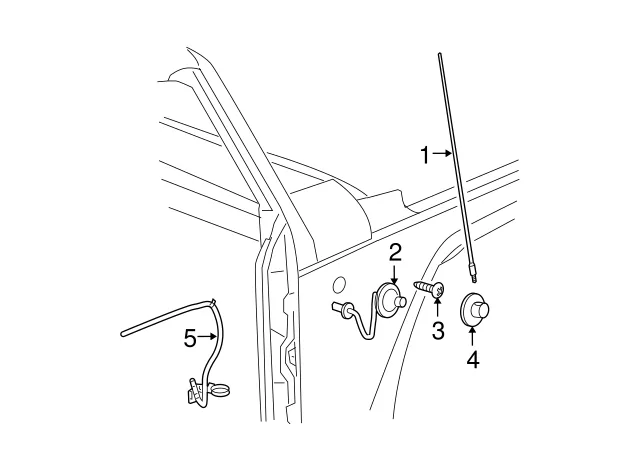
Here is a photo of the parts diagram to show you what you’re working with. It helped me understand what I was removing and come up with an idea of how to remove it.

Thanks and good luck!
Prep: Remove the glove box and lower passenger door cable cover. The glovebox is removed by popping the left side arm upwards out of its hole and fishing it out of the socket. After that, push up on the upper lip and pull the glovebox down. The passenger door cable cover is held on by a couple push clips. Don’t break any of this!

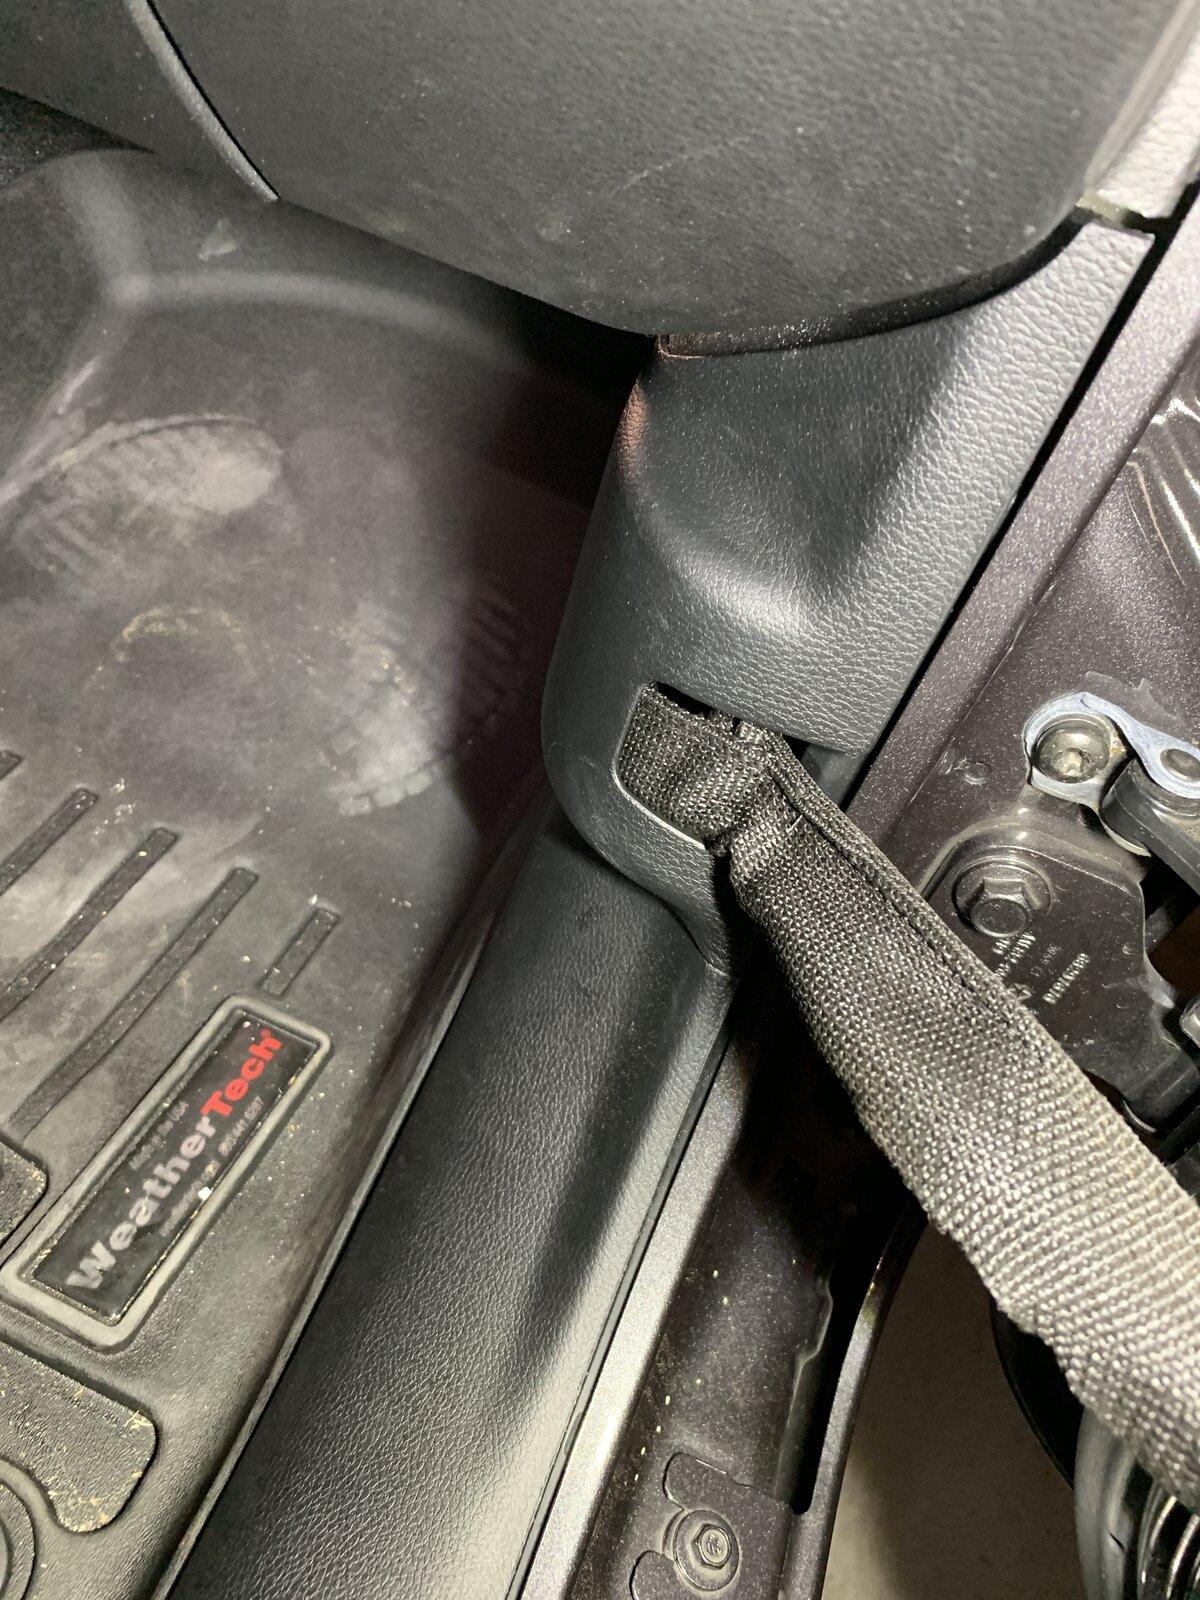
Step 1: Get into the passenger footwell and unplug the radio antenna wire. It is a single plug. The radio-side wire is held on by two push pin retainer pins (circled in red in photo). They are attached to the dash. I removed these from their holes for a bit more movement and easier access. Once they’re removed, the connection will spin freely and you can depress the cable clip to disconnect the cables. Stay calm, because there is not much room and it can be a booger.
Step 2: Go outside and remove the antenna from the base. Pretty straightforward. If yours is tight use pliers or a wrench. Be careful with your paint!
Step 3: Remove the black cover on the antenna base. I used the following video to help figure this out. Again, be careful not to gouge your paint!
Step 4: Remove the three 8mm bolts holding the base onto the vehicle. Don’t let it drop down on your paint.
Step 5: Now it’s time to pull the antenna cable completely out of the vehicle from the outside. There is a tight fitting grommet that holds the cable securely to the vehicle. Shine a light into the hole and you’ll see what I mean. You’ll have to trust me on this one, but just pull the cable and it will come free. It’s tight, so just wiggle it around as you’re pulling and it will come free. Don’t pull like King Kong....just use some finesse. Neither the cable or the base broke on me. You can do it! Once it comes free, the cable will pull out completely. There is a 90 degree elbow in the cable on the interior side of the grommet, so you may need to use finesse and fish it out through the hole. I found that if you reach behind the passenger knee speaker box you can feel this elbow. Once you get the cable out the hardest part is over.
Step 6: Attach the antenna back to the base and find a good spot for it inside of the vehicle. For me, it was simply under the dash on the passenger side. I already had a 13 inch Raydonair antenna in place of the factory one. Obviously, the shorter the antenna the easier it is to hide and mount, but you may run into reception issues with smaller antennas. This mod isn’t for someone who needs the best reception anyhow. I plugged the antenna cable back in and turned the radio on while searching for decent reception. Once you find a suitable spot, put some zip ties around the cable/antenna/base to secure it in place. *Photos of my location are further down.*
Step 7: Button up your Jeep interior and get all the panels back in place exactly how you took them out.
Step 8: I found a Trail badge at my local dealer to cover the holes on the outside where the antenna was. Wash up the area real nice and mount your new badge. I did not fill the grommet hole or antenna base holes with anything. Time will tell if this was a bad idea or not. So far, the adhesive badge feels really secure.
Final Step: Enjoy the new clean look!
All in all, I did lose a little bit of reception. This reception loss only amounted to losing one “favorite” radio station completely and gaining some static on another. Otherwise, radio reception is acceptable. @sblaine moved his antenna behind the passenger grab handle, but I was getting a lot of static with mine there. I simply placed mine under the passenger side of the dash. It tucked up out of the way nicely. The base sits close to the center of the dash and the antenna runs up next to the plastic air blower system.
Here is a photo of the parts diagram to show you what you’re working with. It helped me understand what I was removing and come up with an idea of how to remove it.
Thanks and good luck!
Sponsored
Last edited: