JBahr
Well-Known Member
- First Name
- Jonathan
- Joined
- Oct 24, 2020
- Threads
- 11
- Messages
- 87
- Reaction score
- 136
- Location
- Denver Colorado
- Vehicle(s)
- 2020 Gladiator Stingray Gray
- Occupation
- Sales
- Thread starter
- #1
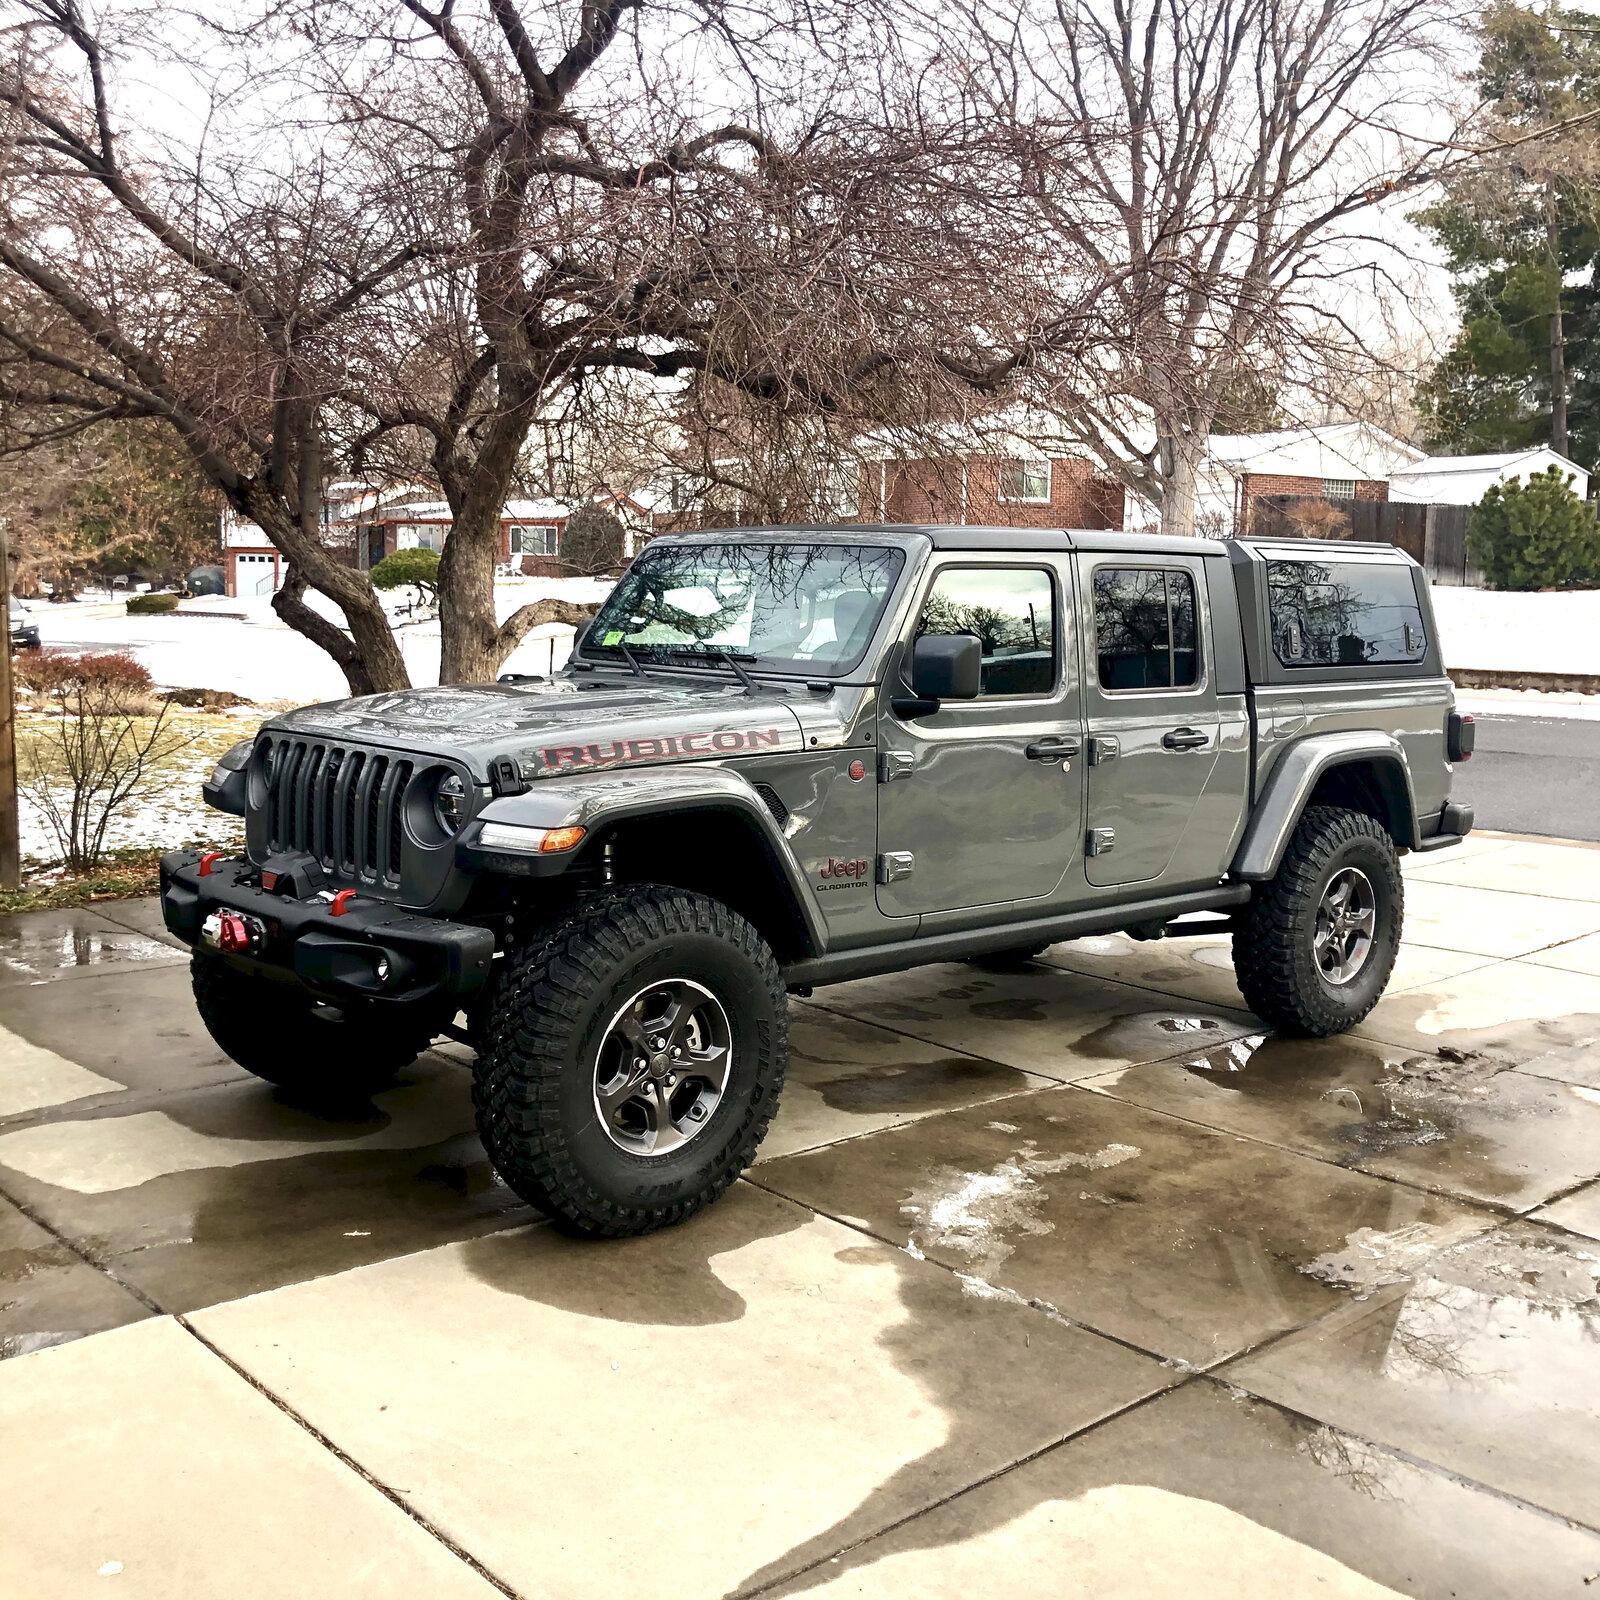
Saved my pennies and convinced the wife to contribute to an early Christmas gift and sprung for the @Clayton Off Road 2.5" Overland lift for the Gladiator. This is my daily driver and hunting/camping rig so I was looking for something reasonable but still more capable than the 2010 4runner I left for the Gladiator. This fit my bill after all my research and some great support from each manufacturer I reached out to. Disclaimer: I have never installed a lift before, I'm mechanically inclined, but often rush to get stuff done... this was my experience, but it might not be yours if you are considering the same lift. Tools used, hydraulic jack, (2) jack stands, metric socket set, deep metric impact set, impact wrench, large crescent wrench, gorilla tape, sawsaw, pliers.
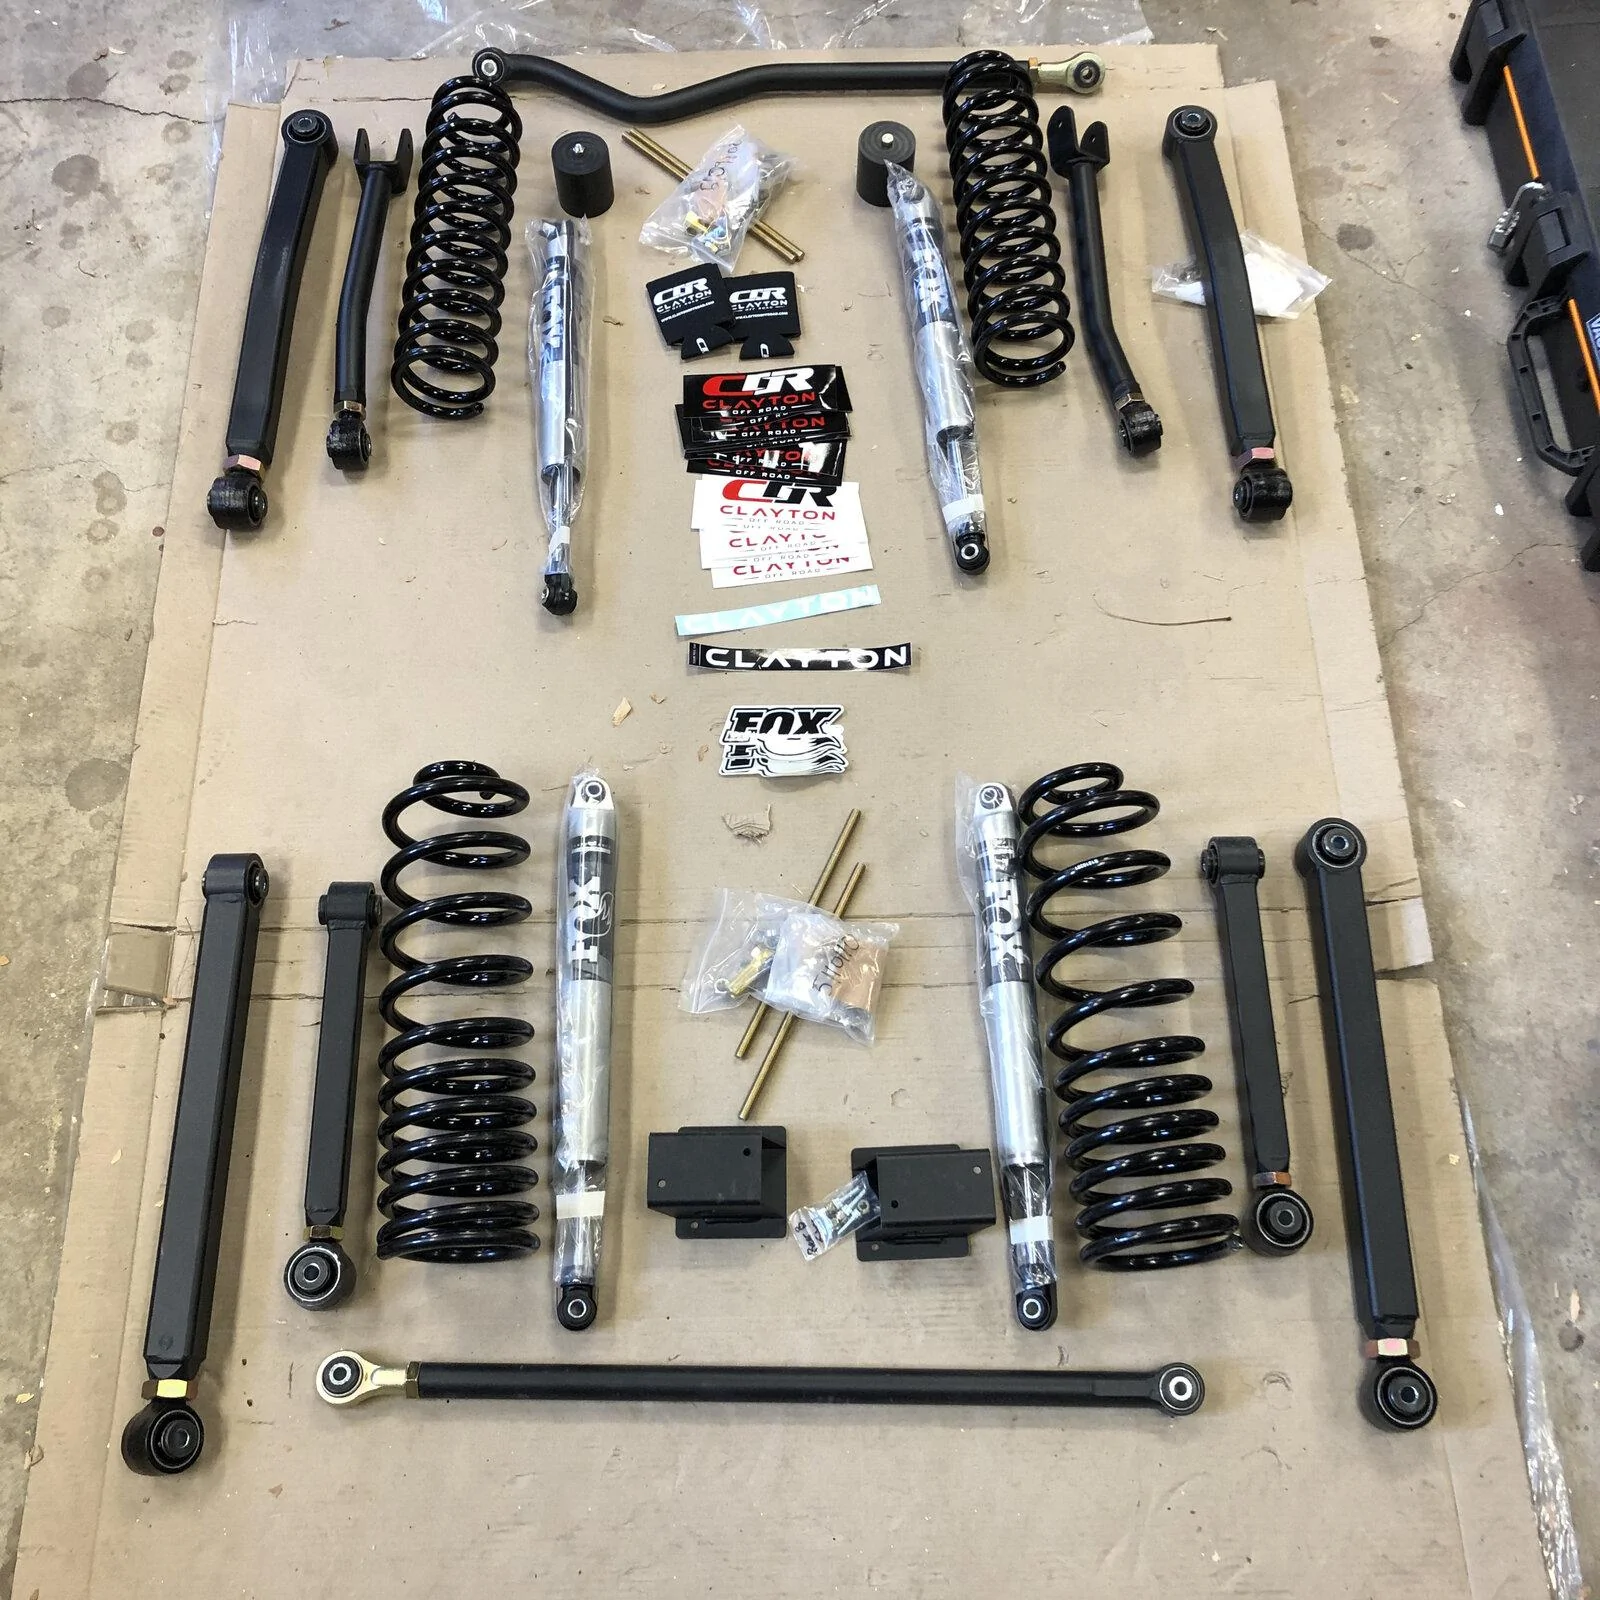
Clayton packaged everything like a boss in 13 packages (including the shocks and steering stabilizer [installed earlier]), with a sh*t ton of stickers, but no instructions. No big deal, they are available from their website for download and are very detailed. Additionally this video from JK Gear and Gadgets was very helpful.
I laid everything out front to rear so I could make a plan of action, decided to start with springs. shocks, sway bar links, track bar and bump stops in the front.

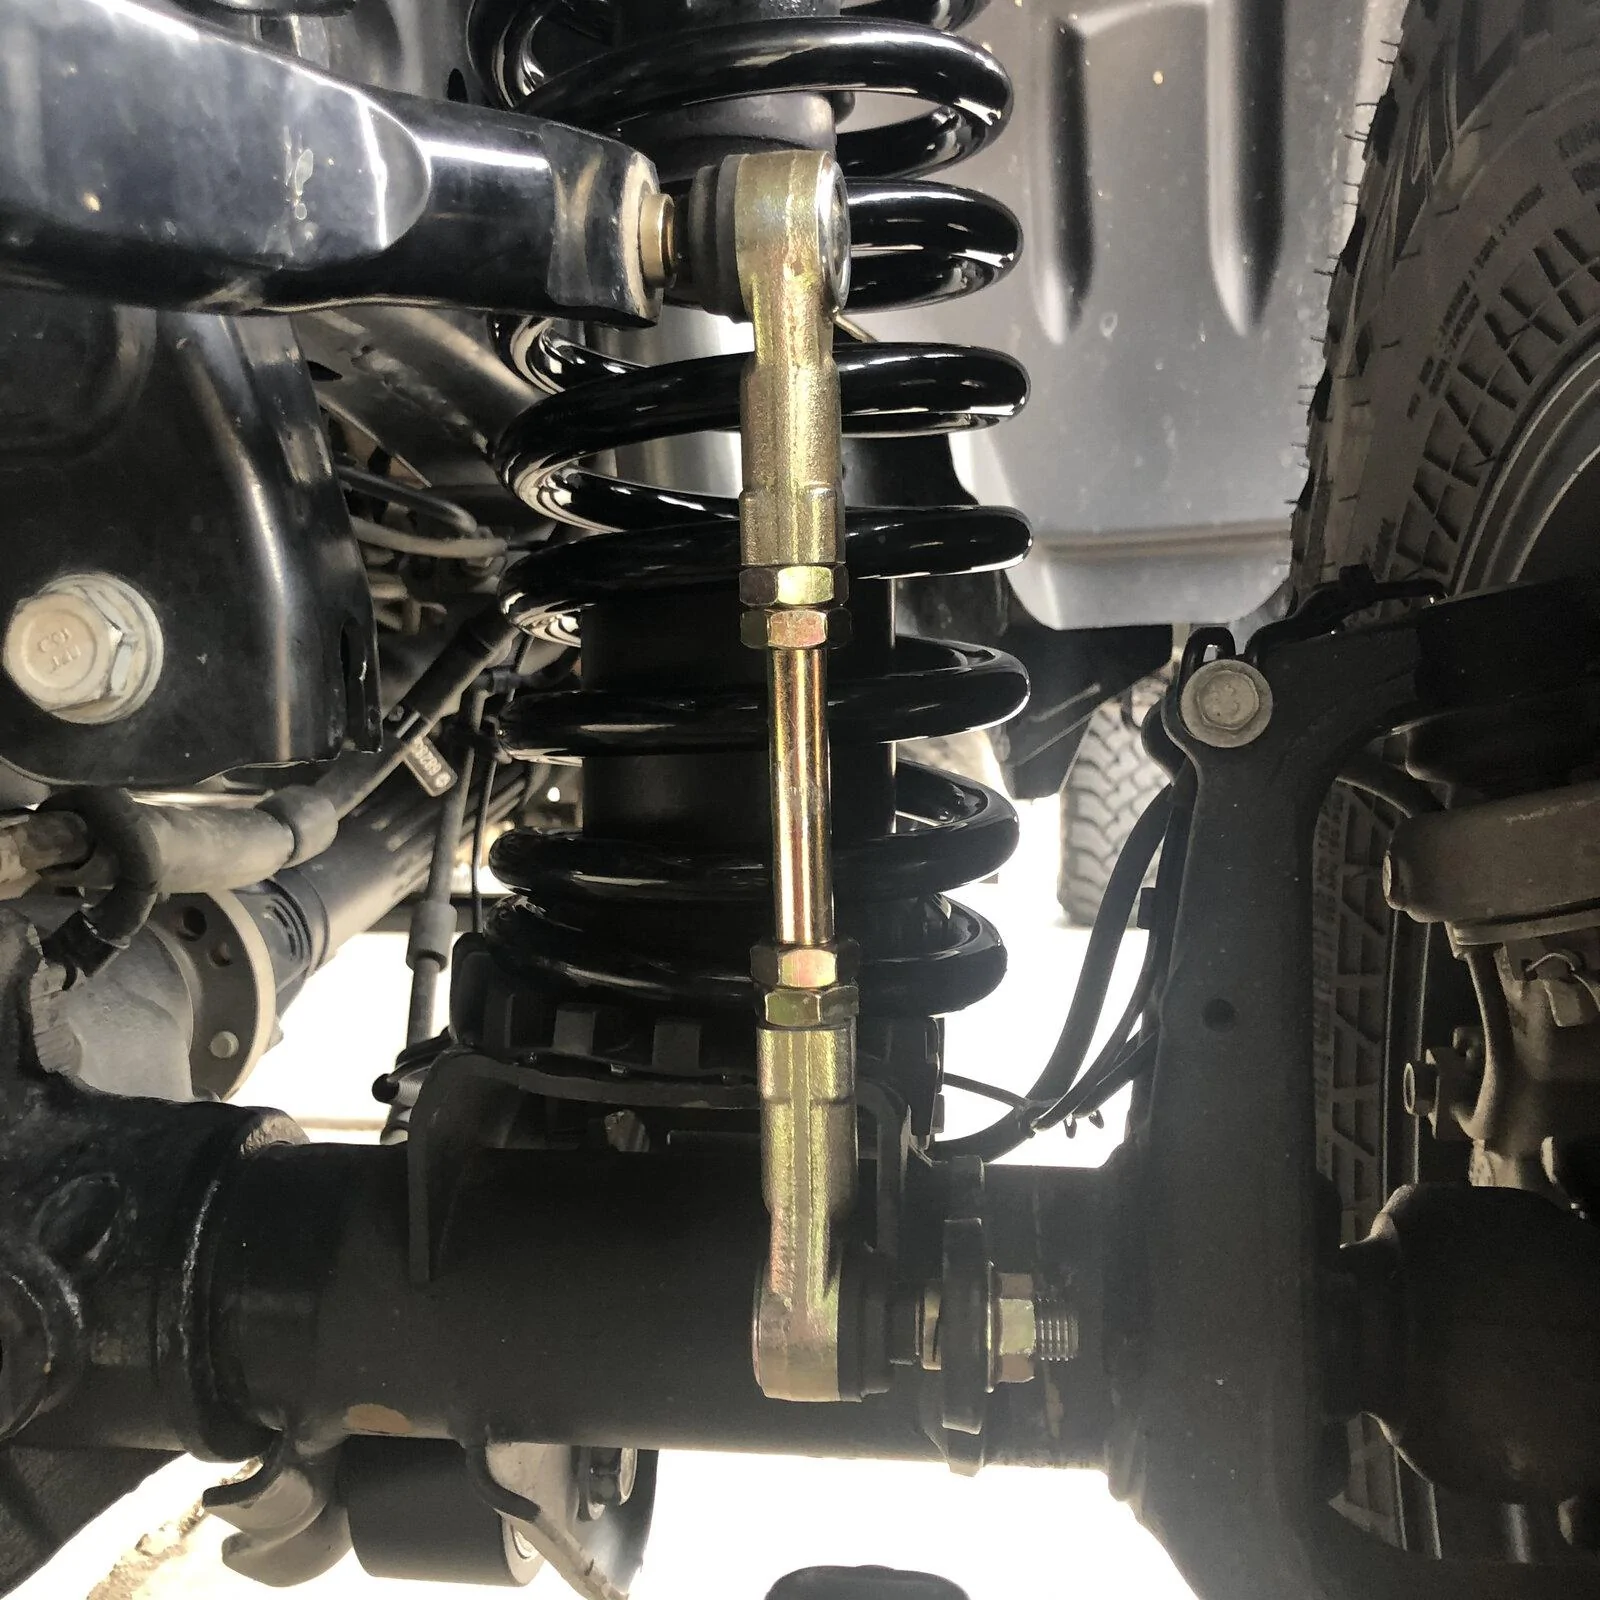
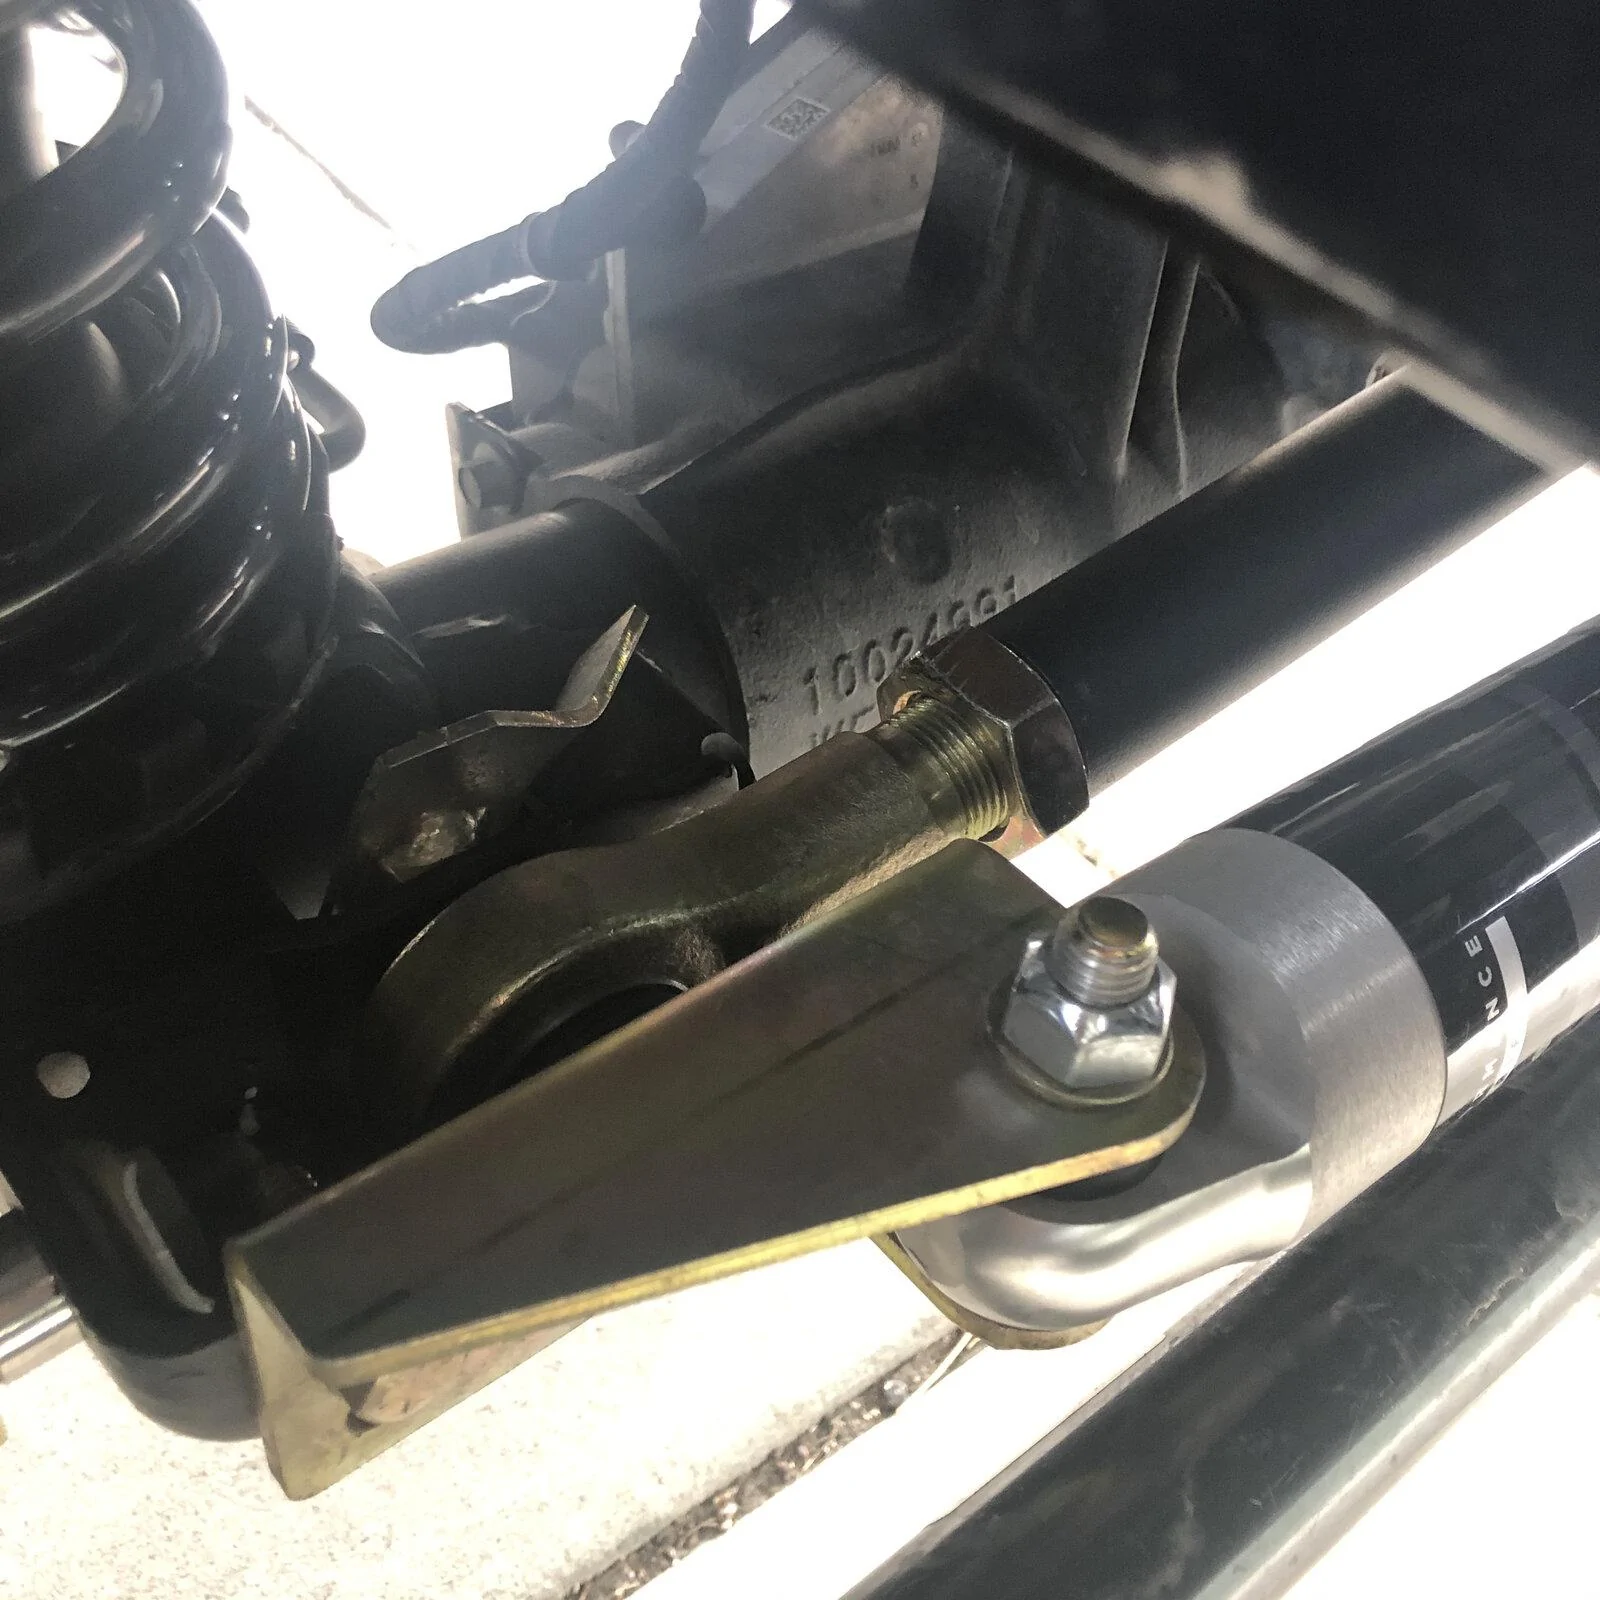
These instructions are pretty detailed but without the video and some calls to Clayton, I would have been in trouble. The shocks, springs and track bar were pretty straight forward. I found that if you use gorilla tape to keep the spring rubber vibration isolator in the right position taped to the frame you will save tons of time. I also found the bump stops did not need holes drilled, the bolts fit through the existing holes just fine, although the nuts underneath are a Bit&H!!! Leave the coil spring positioned under the bump stop, instructions leave that out. The front sway bar link instructions need a few edits they say to "Install sway bar links with the studs facing in" on the Driver side the top and bottom need to oppose each other, see below. I followed their instructions first and it was severely angled, reviewed my before photos and saw that they were opposed.
Additionally they tell you to cut 3.5" inches from each side to achieve the recommended 8.063" length for the 2.5" lift. If you do that, install both jam nuts to each end and the Johnny joints and thread everything all the way down you end up at 8.25" center to center. If the threads went all the way to center this would be a non issue. Note, the track bar jam nut is very hard to tighten in this location, I ended up pulling the steering stabilizer to get on it.
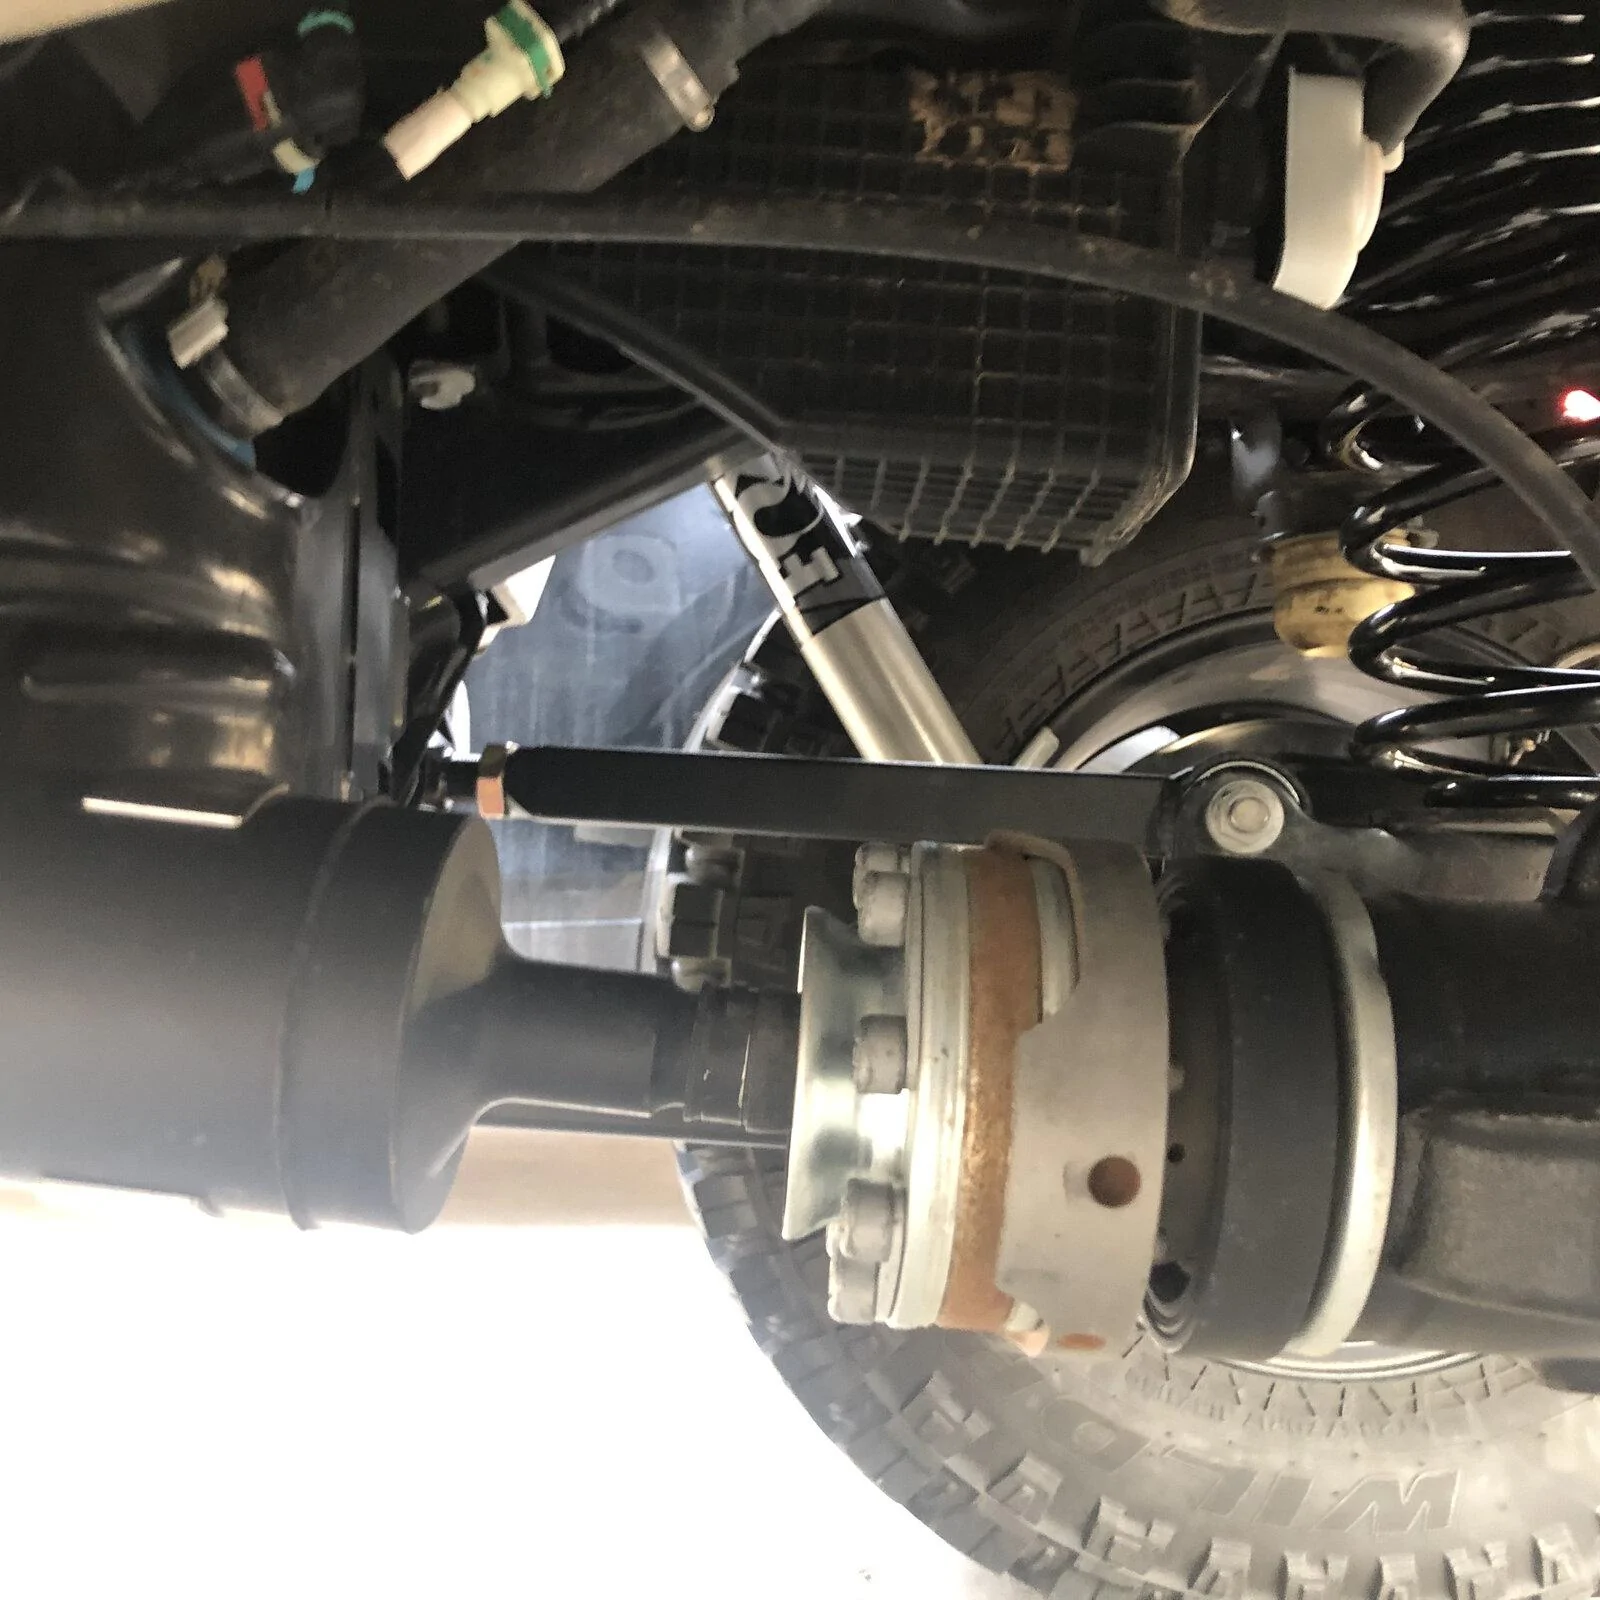
Moving on to the rear coil springs, shocks, track bar, bump stops and sway bar links. Again straight forward instructions for the most part. Definitely loosen the all the track bar and controls arm bolts, and remove the brake line bolts and clips, you will need every inch and then some to get the longer coil springs in there. I ended up having to use a ratchet strap to compress the spring and then sit on the axle and hop to get it in place. Also used the tape trick on the vibration isolator. There's probably a better way... again, newb here. All of that took me the better part of 7.5 hrs.
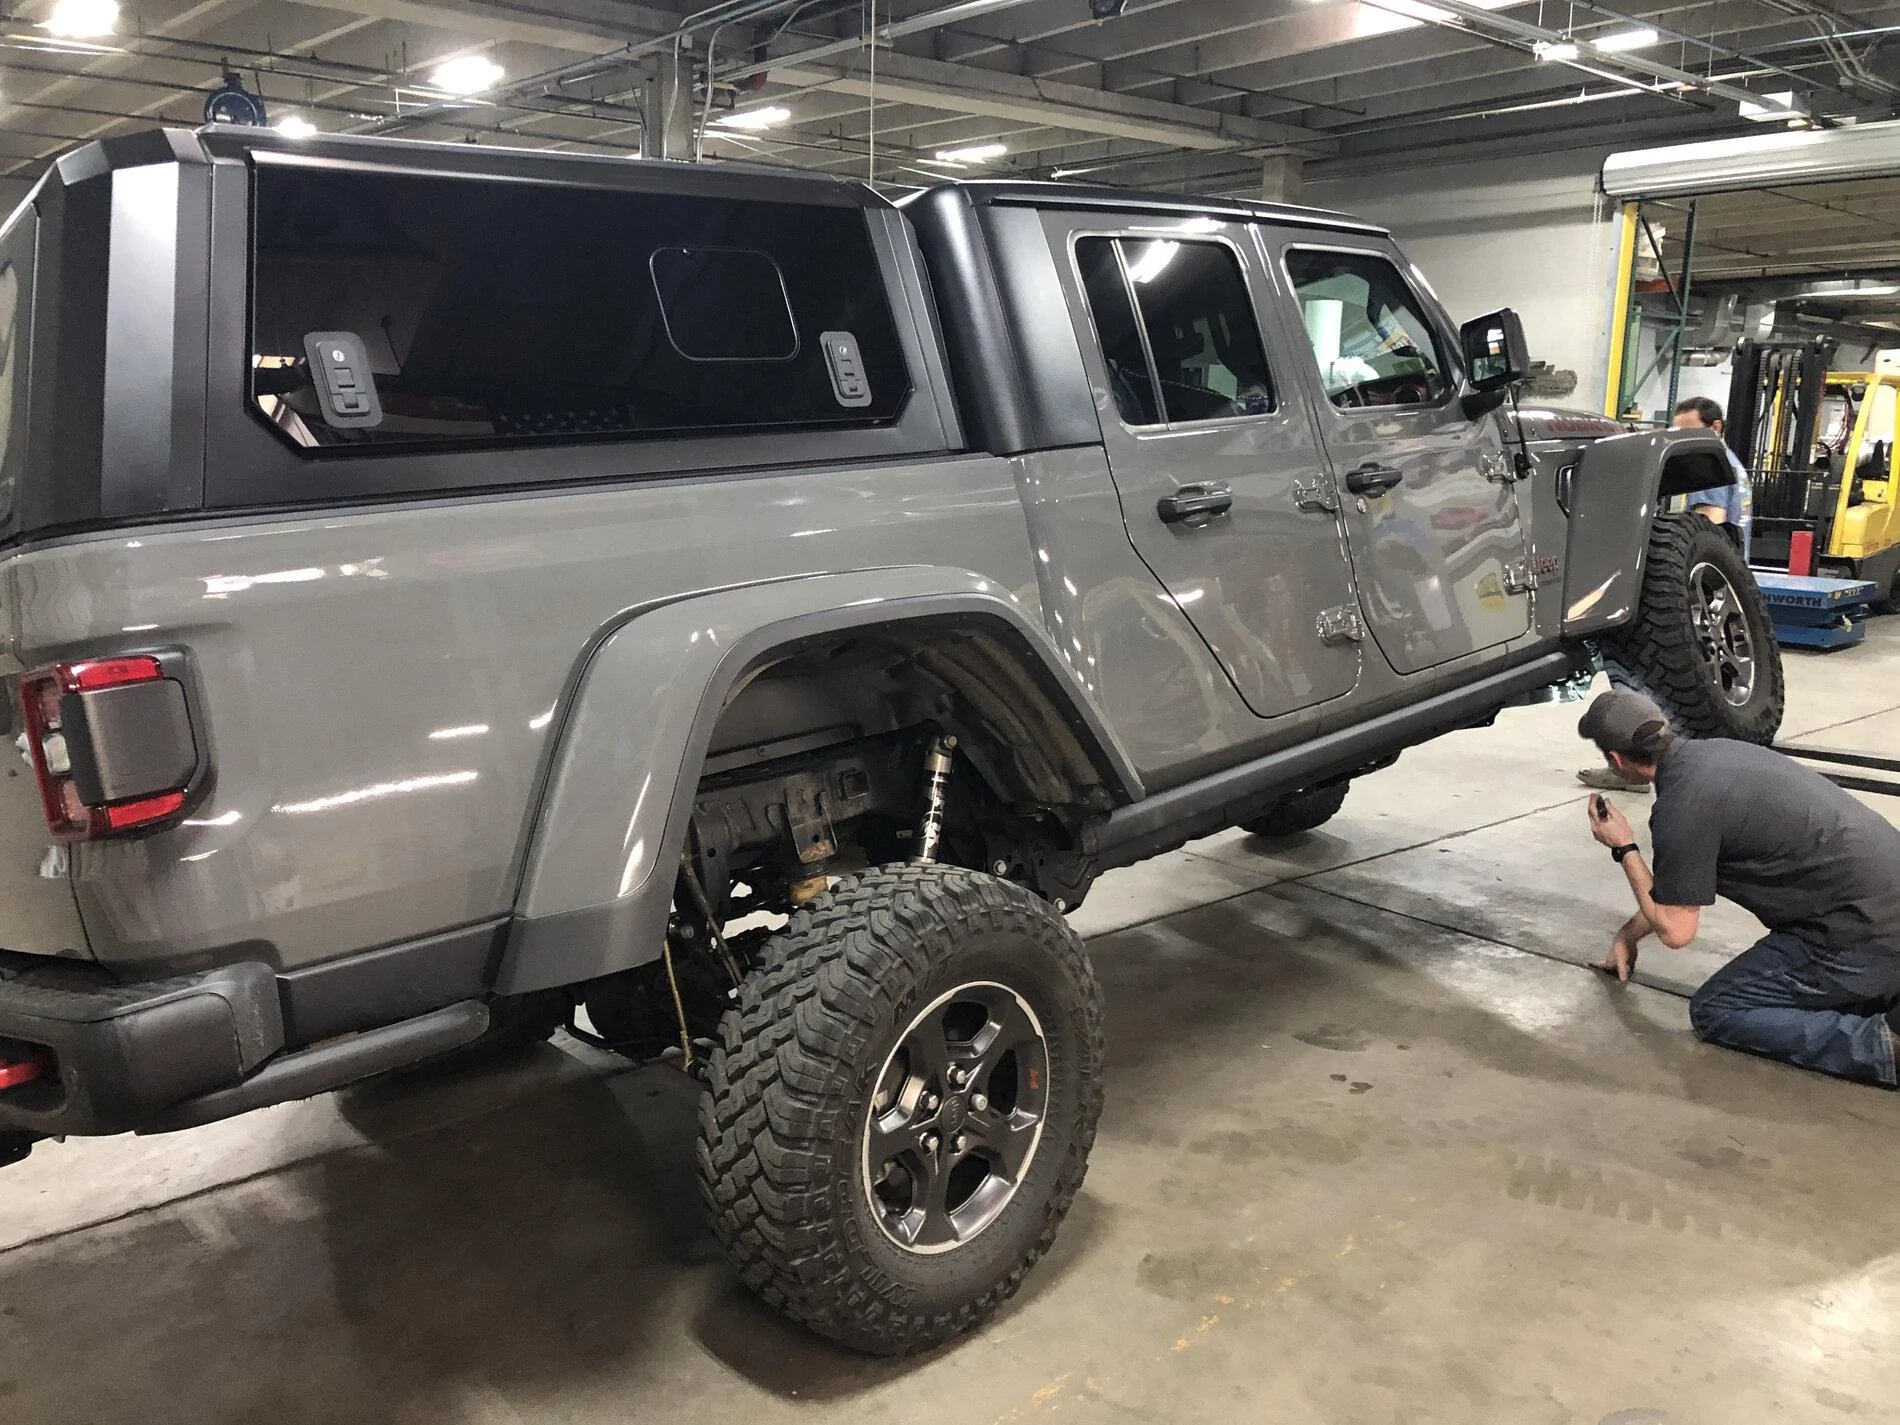
I saved the control arms for the next day. They went smoothly except for being able to torque everything from underneath the jeep at drive height, really needed more room to do that appropriately but did get everything to spec and some probably past spec with the impact wrench. One note, all of the Clayton recommended lengths for the 2.5" lift were spot on with the exception of the rear upper control arm. They listed 16.577" and to get the appropriate rear pinion angle I had to adjust mine to 16.875". The axle is centered and pinion angle is correct so I went with it.
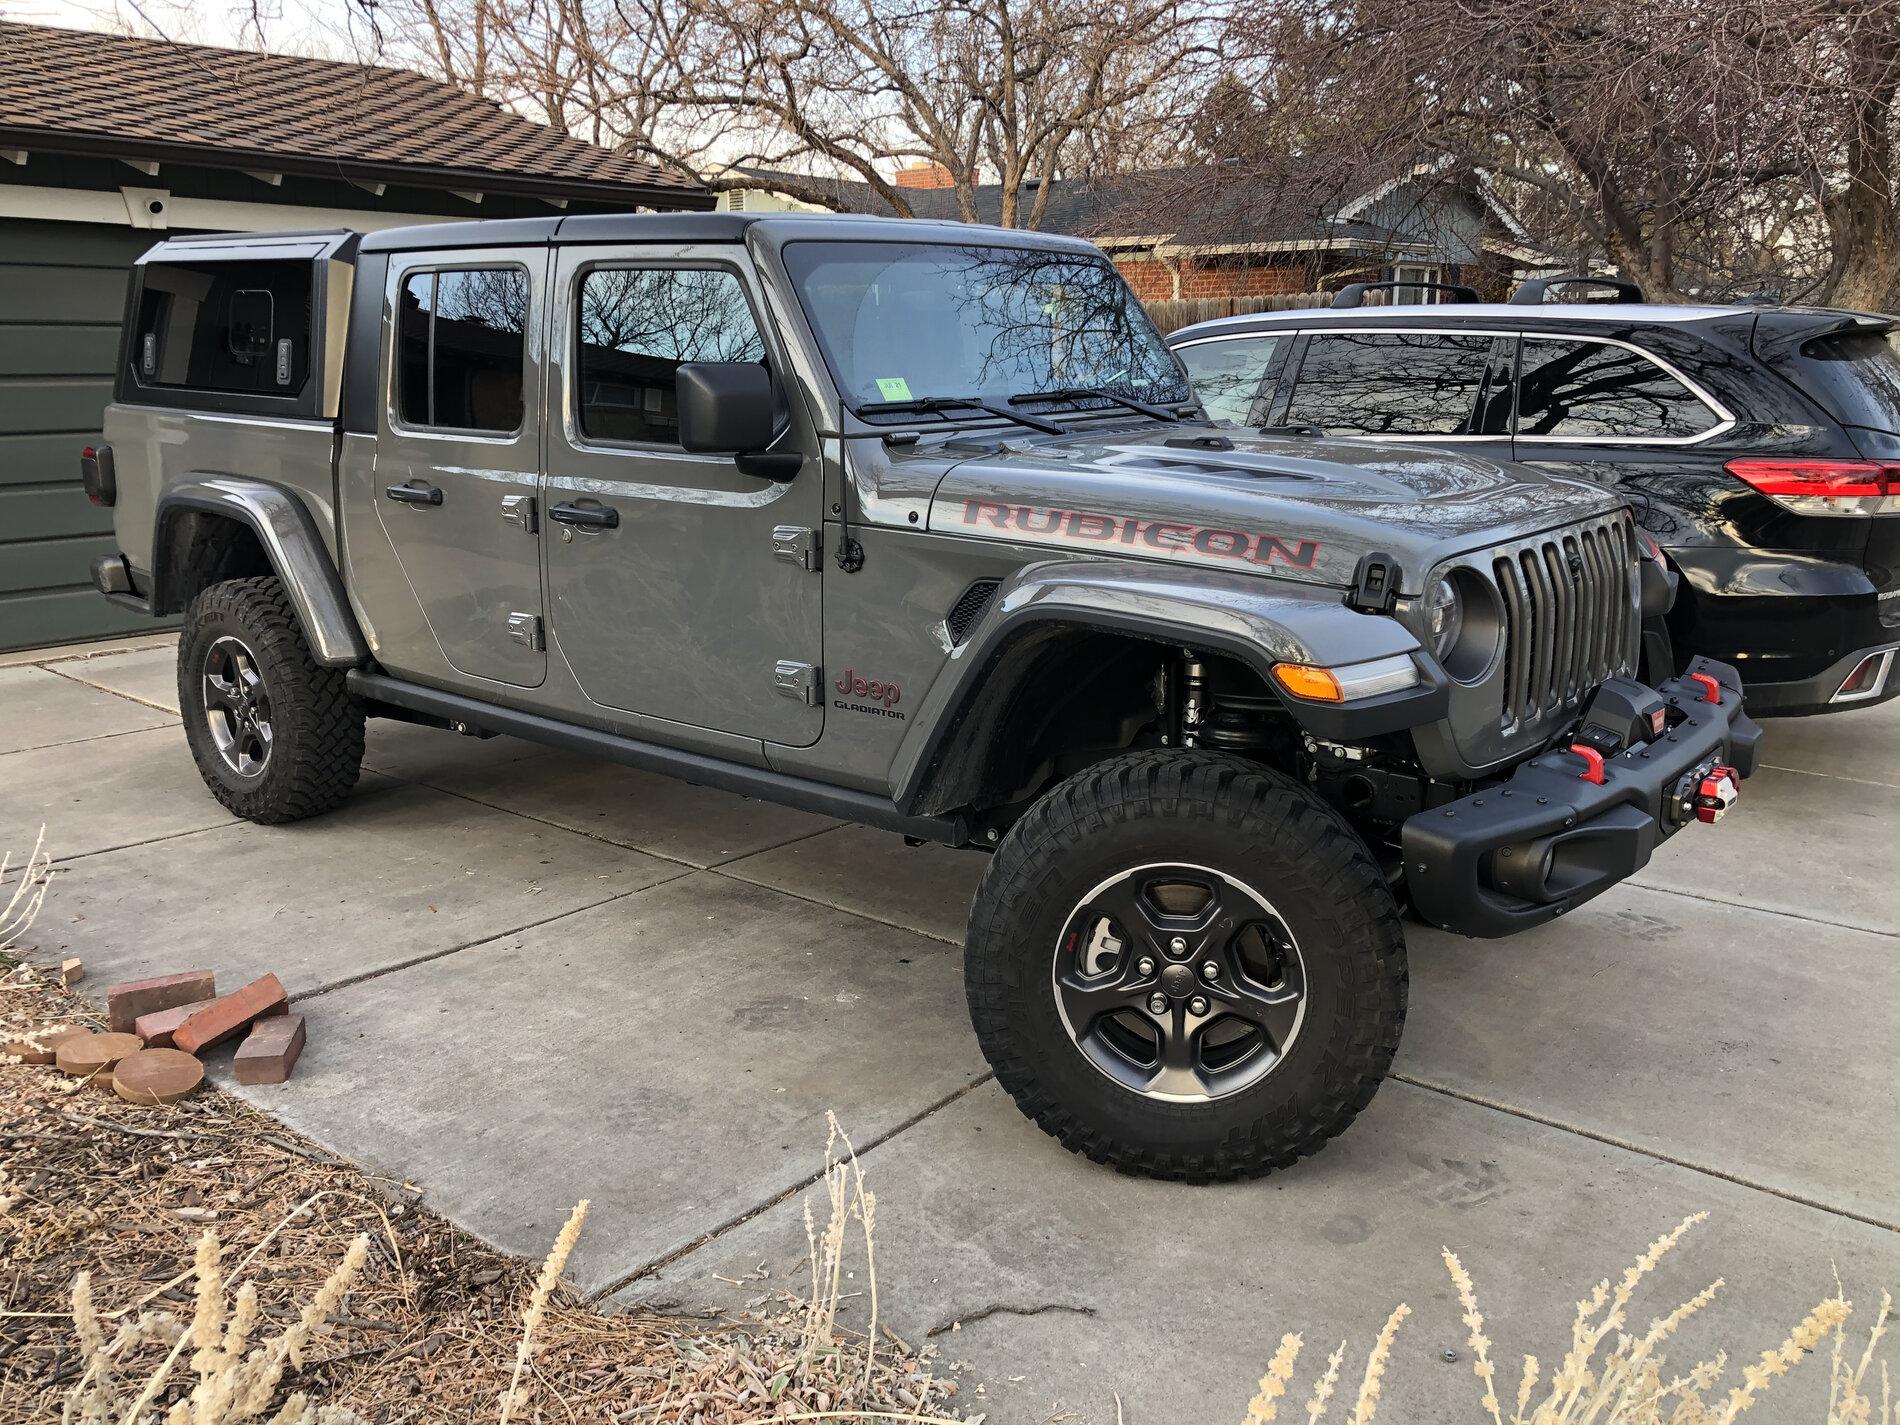
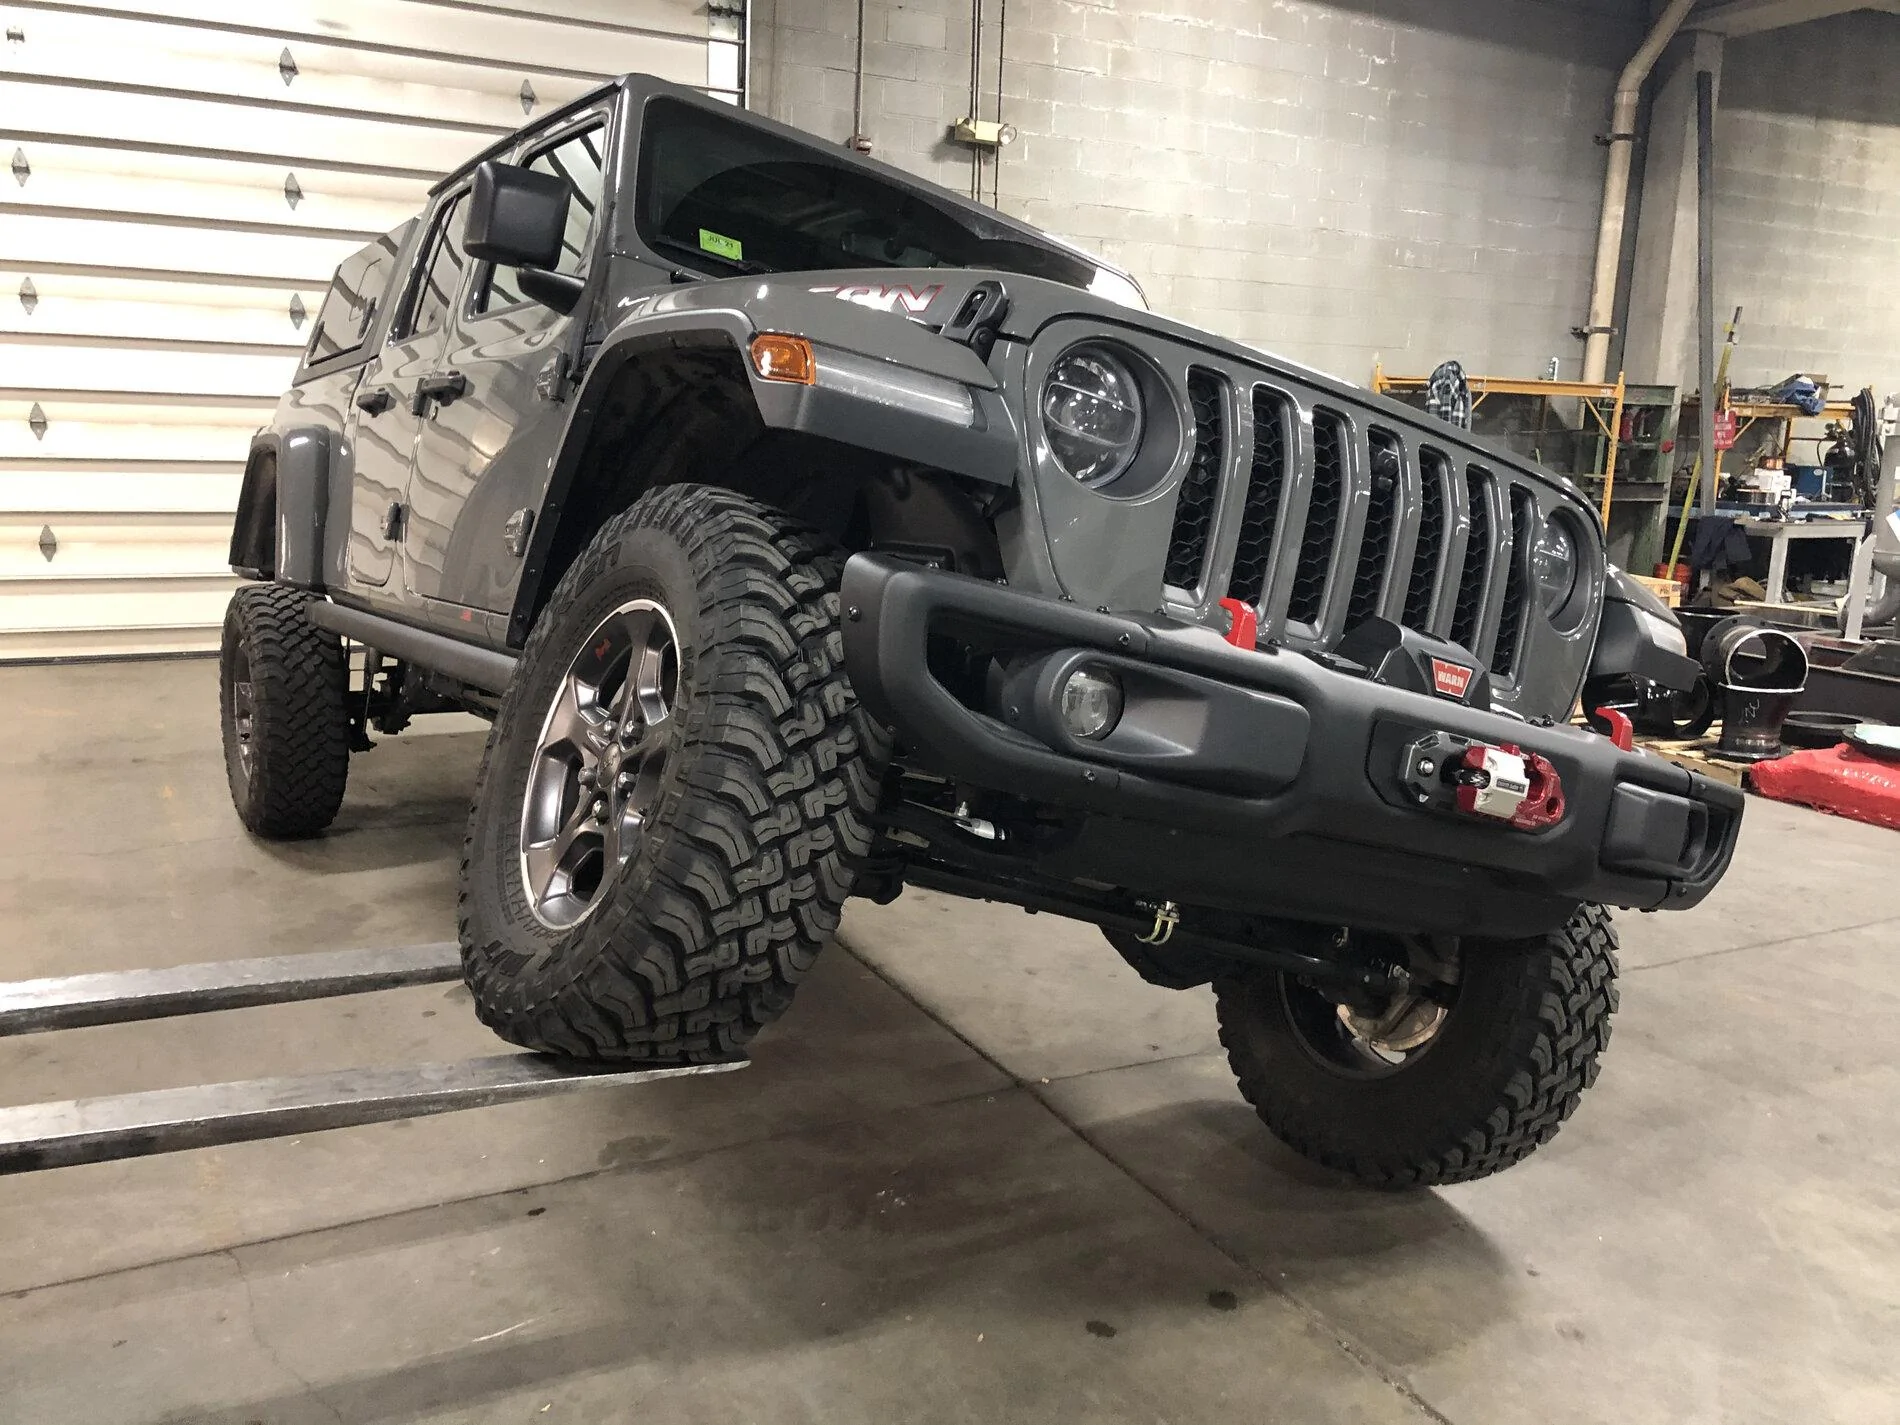
The front specs I followed exactly and castor angle seems perfect and this sucker drives like it's on rails. Still taking it for an alignment after the 37's go on next week. Might do 4.88's at the same time if I can find the right shop. Very pleased with this lift and the quality of all the components! A human picked up the phone each time I called them and they were very helpful! Beauty shots...

Clayton packaged everything like a boss in 13 packages (including the shocks and steering stabilizer [installed earlier]), with a sh*t ton of stickers, but no instructions. No big deal, they are available from their website for download and are very detailed. Additionally this video from JK Gear and Gadgets was very helpful.
I laid everything out front to rear so I could make a plan of action, decided to start with springs. shocks, sway bar links, track bar and bump stops in the front.
These instructions are pretty detailed but without the video and some calls to Clayton, I would have been in trouble. The shocks, springs and track bar were pretty straight forward. I found that if you use gorilla tape to keep the spring rubber vibration isolator in the right position taped to the frame you will save tons of time. I also found the bump stops did not need holes drilled, the bolts fit through the existing holes just fine, although the nuts underneath are a Bit&H!!! Leave the coil spring positioned under the bump stop, instructions leave that out. The front sway bar link instructions need a few edits they say to "Install sway bar links with the studs facing in" on the Driver side the top and bottom need to oppose each other, see below. I followed their instructions first and it was severely angled, reviewed my before photos and saw that they were opposed.
Additionally they tell you to cut 3.5" inches from each side to achieve the recommended 8.063" length for the 2.5" lift. If you do that, install both jam nuts to each end and the Johnny joints and thread everything all the way down you end up at 8.25" center to center. If the threads went all the way to center this would be a non issue. Note, the track bar jam nut is very hard to tighten in this location, I ended up pulling the steering stabilizer to get on it.
Moving on to the rear coil springs, shocks, track bar, bump stops and sway bar links. Again straight forward instructions for the most part. Definitely loosen the all the track bar and controls arm bolts, and remove the brake line bolts and clips, you will need every inch and then some to get the longer coil springs in there. I ended up having to use a ratchet strap to compress the spring and then sit on the axle and hop to get it in place. Also used the tape trick on the vibration isolator. There's probably a better way... again, newb here. All of that took me the better part of 7.5 hrs.
I saved the control arms for the next day. They went smoothly except for being able to torque everything from underneath the jeep at drive height, really needed more room to do that appropriately but did get everything to spec and some probably past spec with the impact wrench. One note, all of the Clayton recommended lengths for the 2.5" lift were spot on with the exception of the rear upper control arm. They listed 16.577" and to get the appropriate rear pinion angle I had to adjust mine to 16.875". The axle is centered and pinion angle is correct so I went with it.
The front specs I followed exactly and castor angle seems perfect and this sucker drives like it's on rails. Still taking it for an alignment after the 37's go on next week. Might do 4.88's at the same time if I can find the right shop. Very pleased with this lift and the quality of all the components! A human picked up the phone each time I called them and they were very helpful! Beauty shots...
Sponsored