staying_tuned
Well-Known Member
- Thread starter
- #1
:: UPDATE - The top liner is still fantastic but I wanted to add that it seems as though CoverKing treats some folks like annoyances. Read some of the responses from folks like @beachyetti who ordered one color, was sent another, then was told no returns. Their website is fresh out of 1995 and the swatch ordering process is extremely fraught. Proceed with caution. It's starting to sound like my issue-free ordering experience was the exception, not the norm. Call your order in. Since it seems as though they can't accurately reflect their own colors with a camera, I wouldn't risk ordering anything other than black. Again, I have zero regrets but it's frustrating to see folks dealing with these kinds of issues. ::
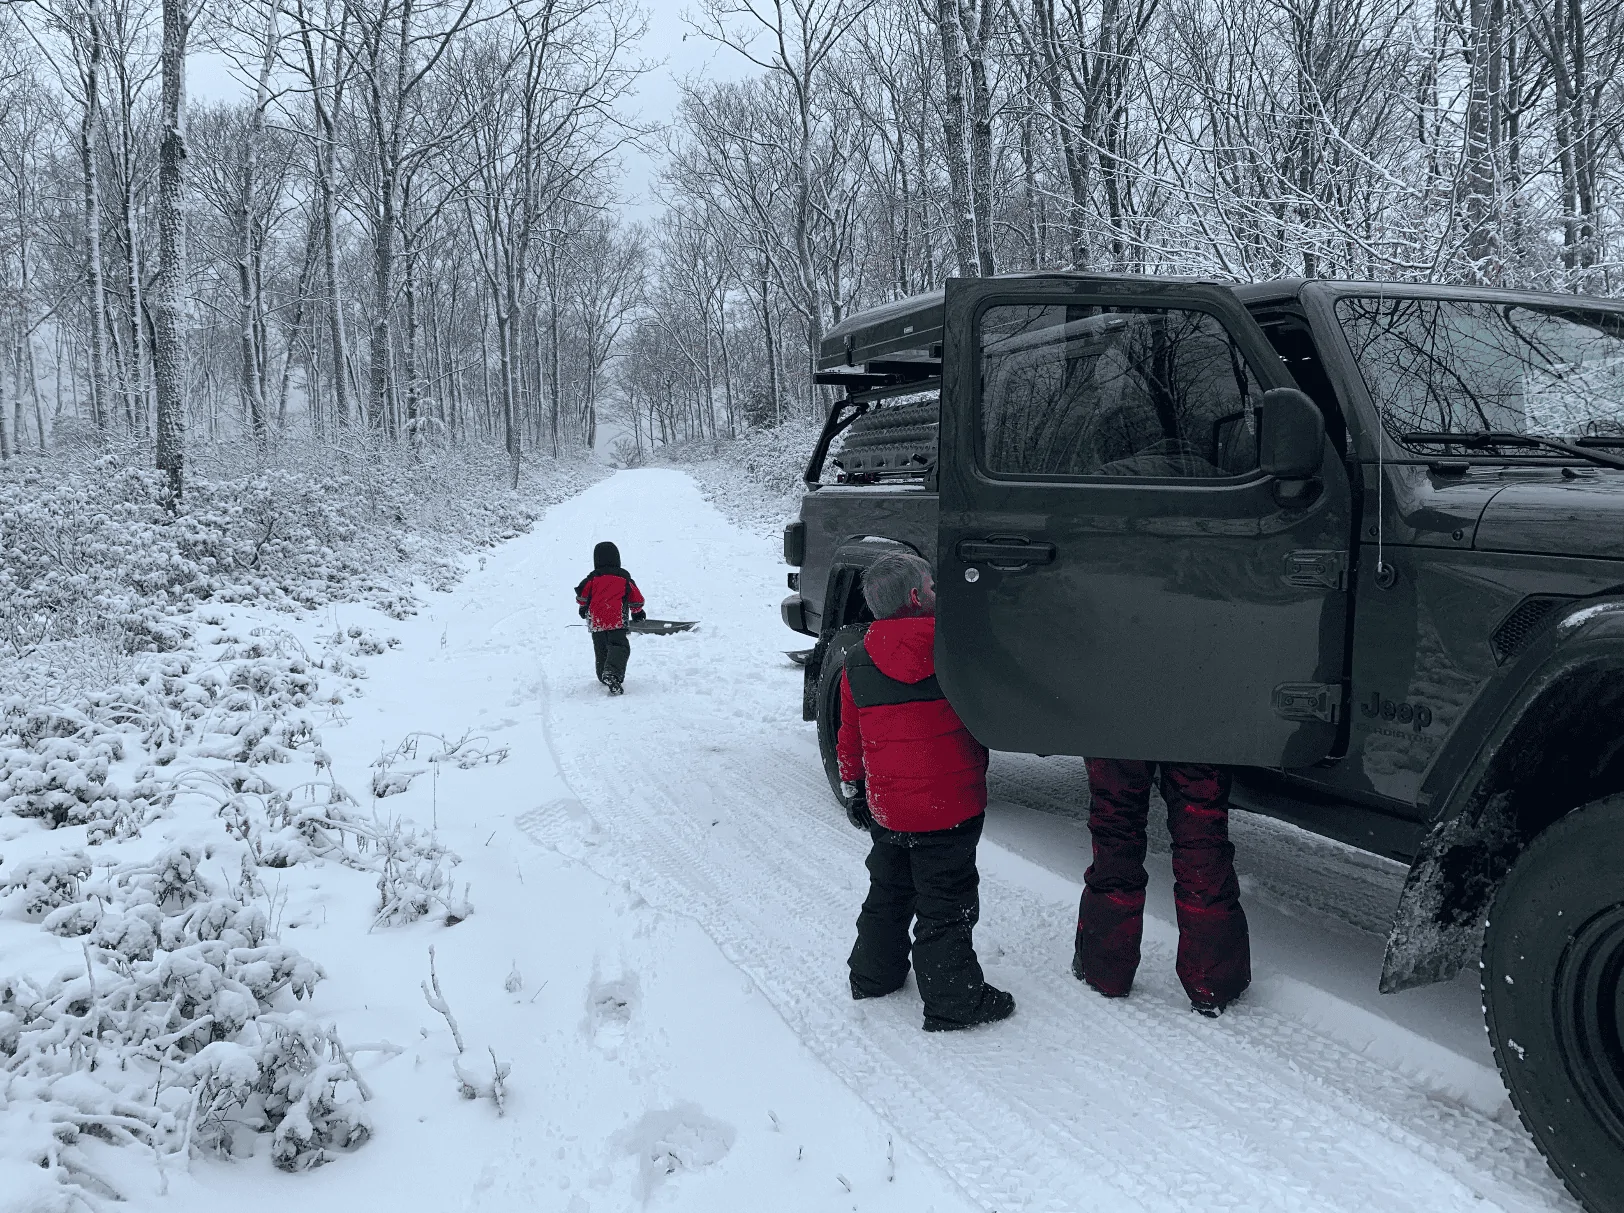
Howdy folks, after a trip from PA down to FL and back one thing that started bothering me on the ride back was general wind and road noise. We had our little ones with us so I couldn't crank the radio. I love sound deadening, it has been such a rewarding process in past projects and while it can be time consuming, it's incredibly easy. My goals were to drastically reduce sound while aiming for an OEM look & feel.
I'll refrain from any this vs. that product. I'm thrilled where I landed on this and the results are beyond my expectations. Easily the most impactful sound deadening install I've done, primarily because the panels are just so horrid at preventing intrusive sounds from entering the cabin. Anything is an improvement. This is transformative.
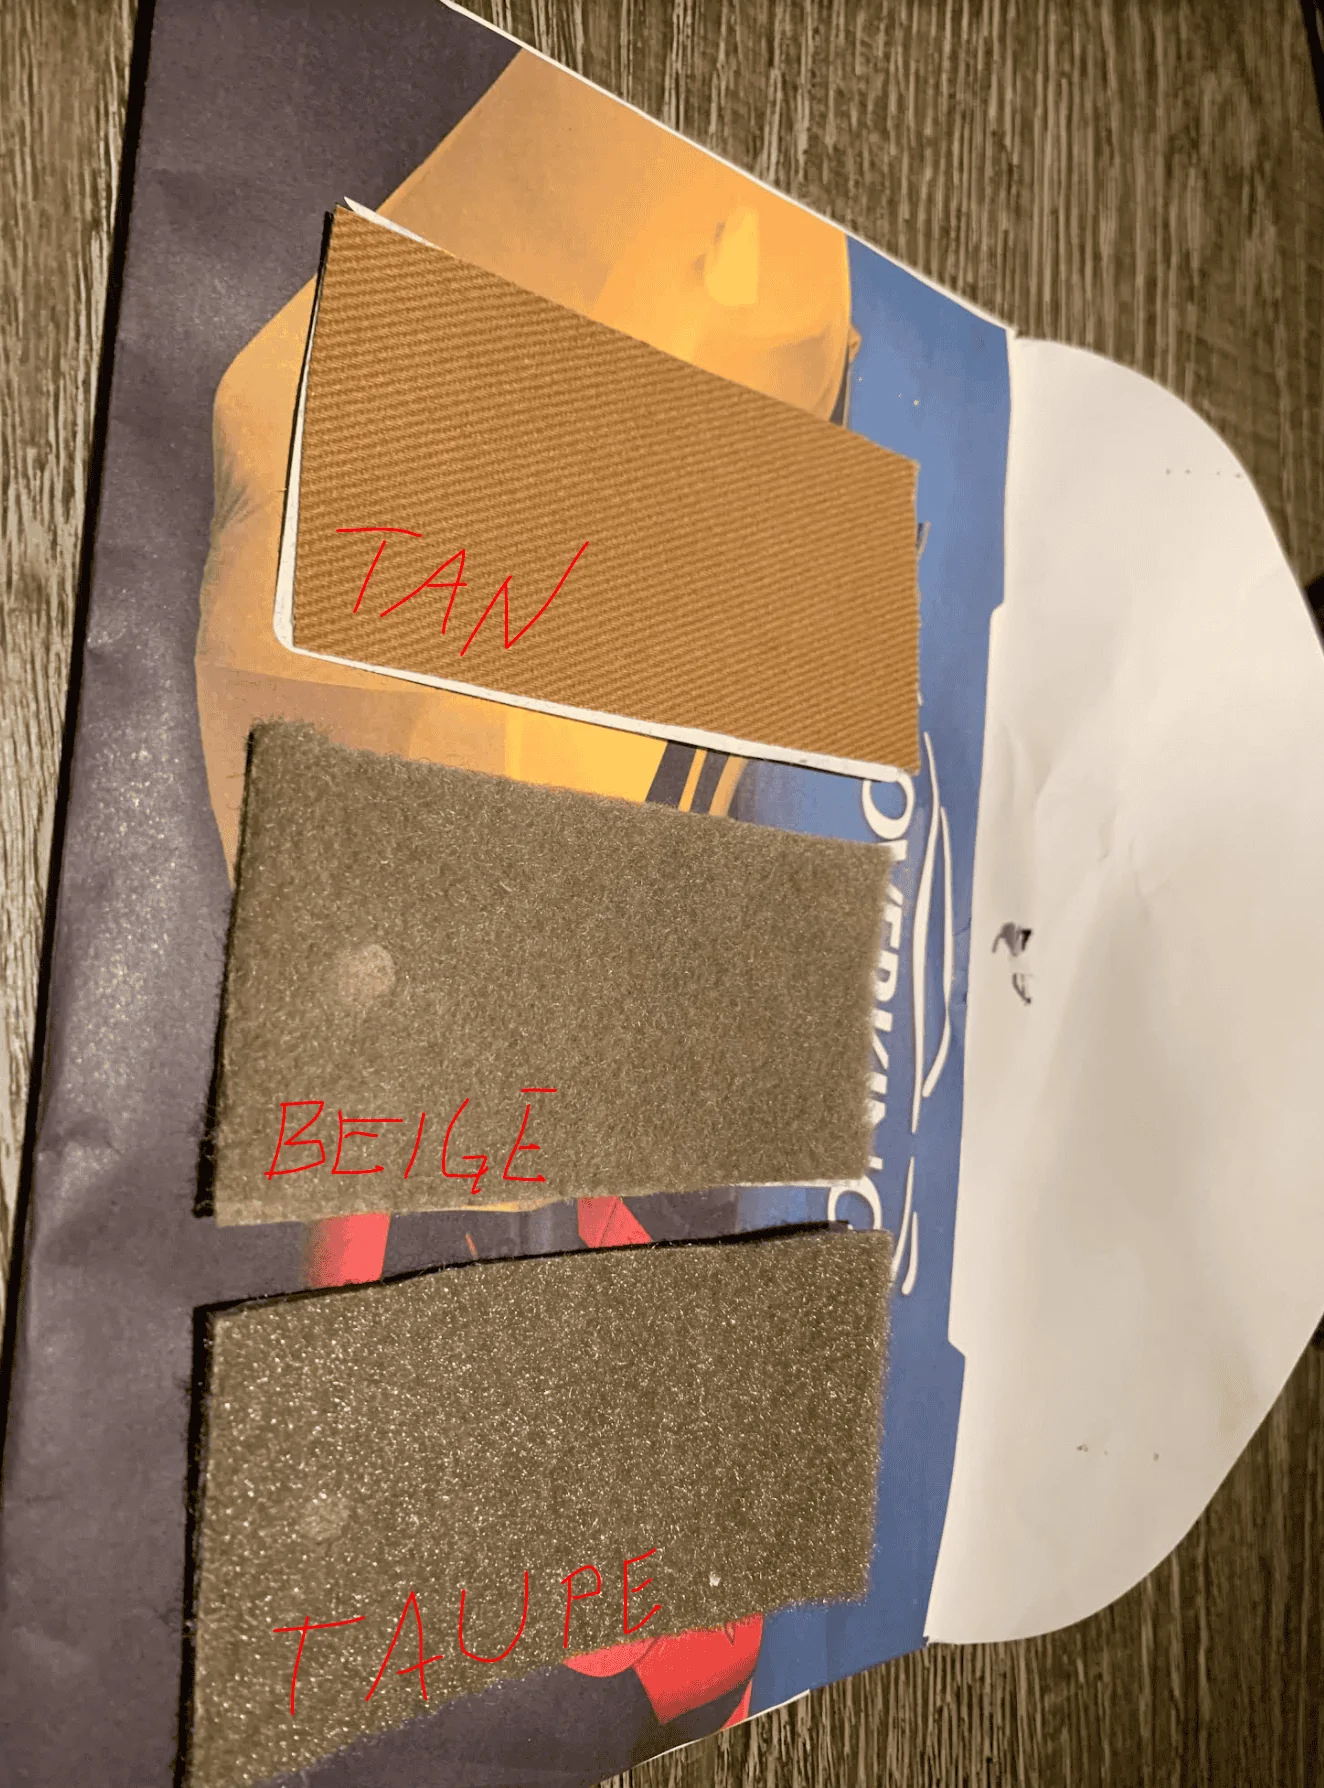
Ordered the topliner with 10% off (code -> BYEBYE2021) over the phone. They were fantastic to deal with. I was planning to go charcoal but the lady I spoke to said, with jeeps specifically, many owners who get charcoal say its far too light. I opted for black and received the topliner 4 days after I ordered it.
I was originally planning to go with 50 mil deadener. Once I realized how poorly the panels insulate against sound, coupled with the slight tolerance on the topliner itself for variation, I decided to bump it up to NVX 80 mil. A 20 sq/ft roll is $55. I used about 3/4 of the roll.
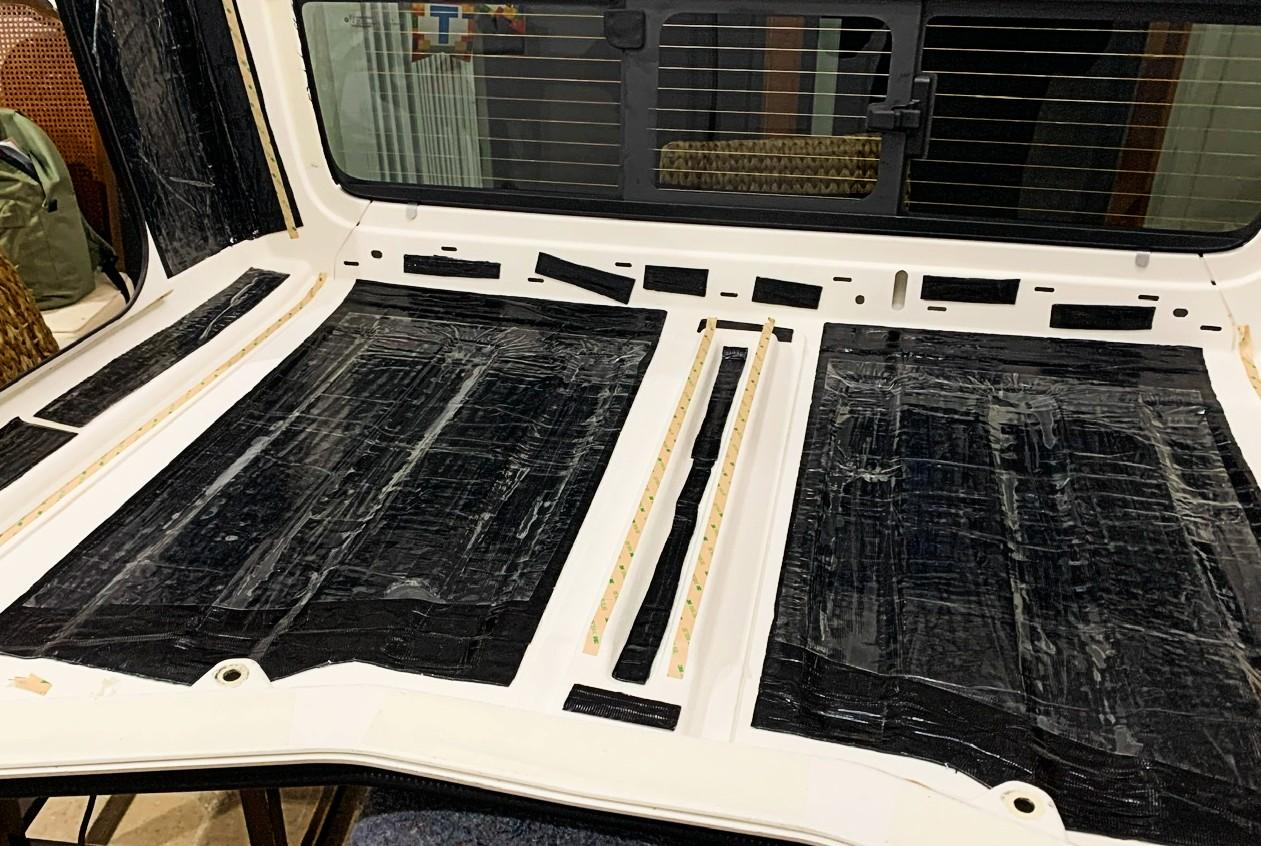
I opted to pick up a few rolls of 3M auto grade double-sided adhesive tape. You'll see my additional tape lines in the pics. I'd highly recommend doing this.
Results: Everything from the way the radio now sounds inside to the gratifying thud of the door closing to the drastically reduced road noise leaves me thinking I should have done this first. My sons and I no longer have to talk loudly to hear each other while they are in back, wife loves them. All in I'm at just below $500.
Random Tips:
- Get extra double-backed adhesive tape. You'll want to shore up a few lines (see pics) and like others have reported, I was missing two small adhesive sheets that apply to the freedom panels. I ended up just cutting another wider piece lengthwise to cover for it while bolstering it with my own tape.
- Number your clamp feet as you remove them. I used sharpie.
- Roll the deadener in. Rollers are $5 and well worth it. Prep well.
- Use new razors when trimming excess material, they glide through quickly and produce sharp fuzz-free lines.
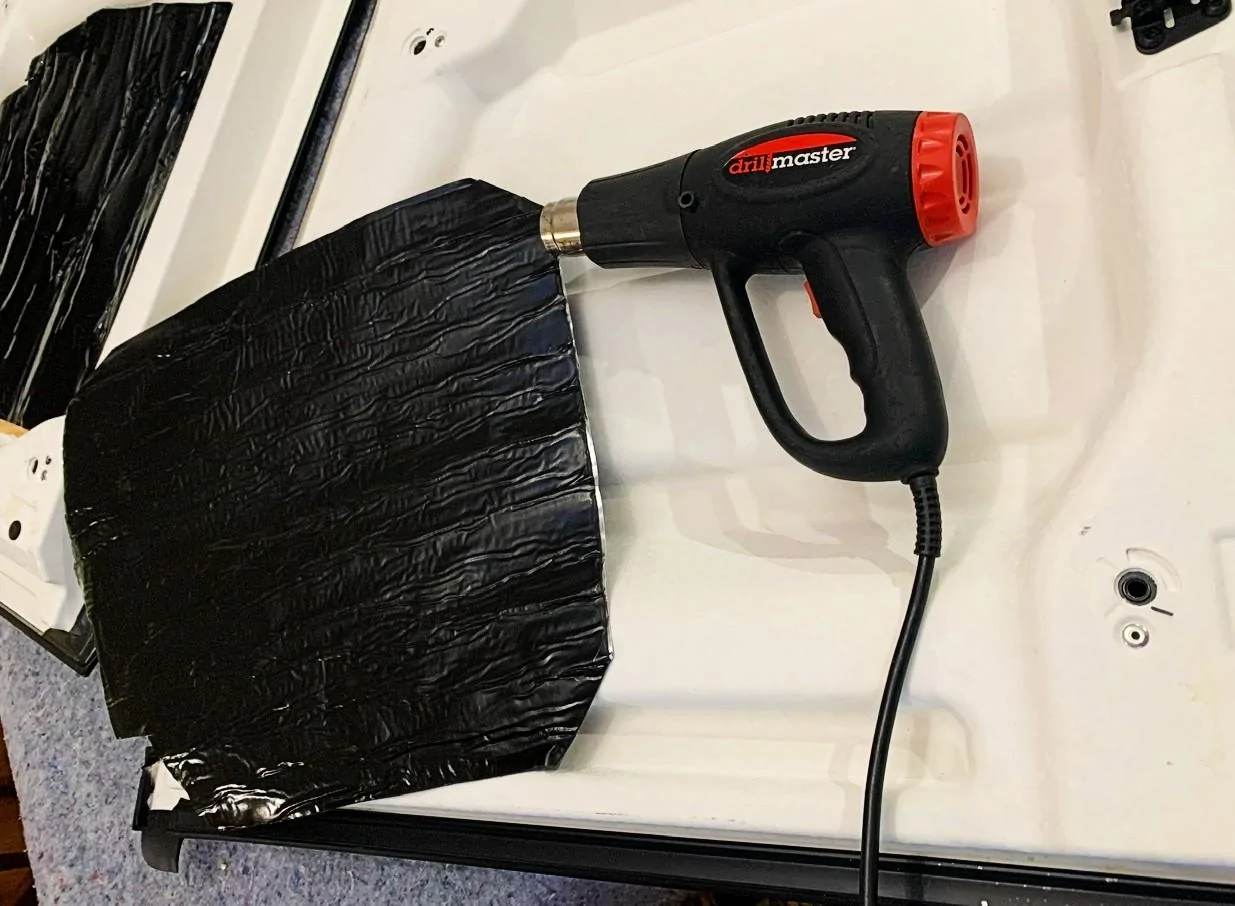
- Heat all adhesive surfaces and their target with a hair dryer or heat gun. Makes deadener easier to lay down and greatly improves overall adhesion.
- I ended up taking twice as much time and I had planned only because it was enjoyable and I'm half OCD. If I had to do it all over again by myself, I'd plan for an entire weekend. These newer panels are lighter so I was able to remove and re-install all panels myself but the overall working space to get this done needs to be pretty big.
Onto pics & notes:
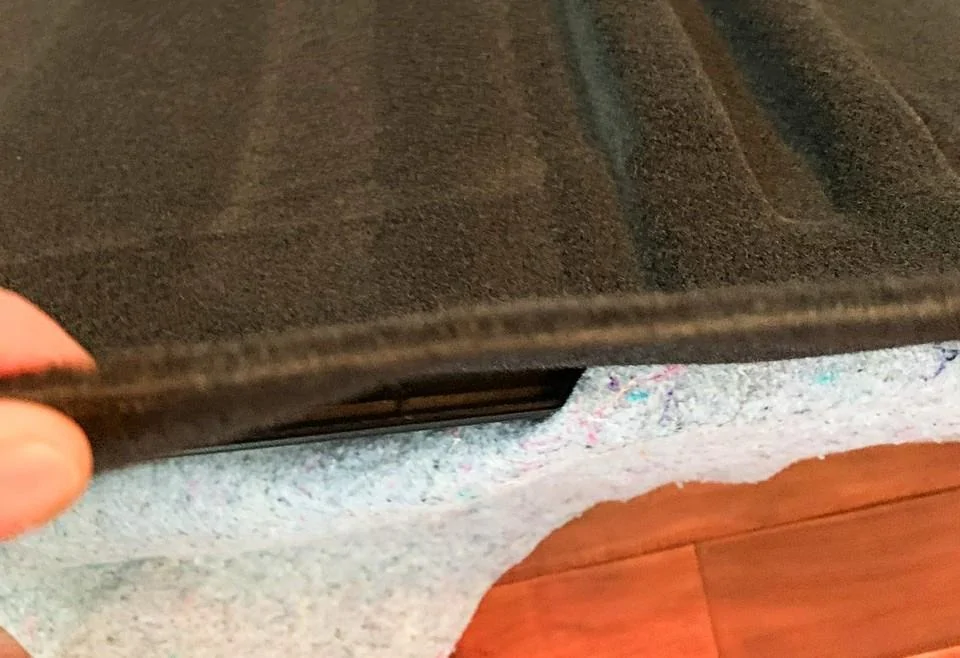
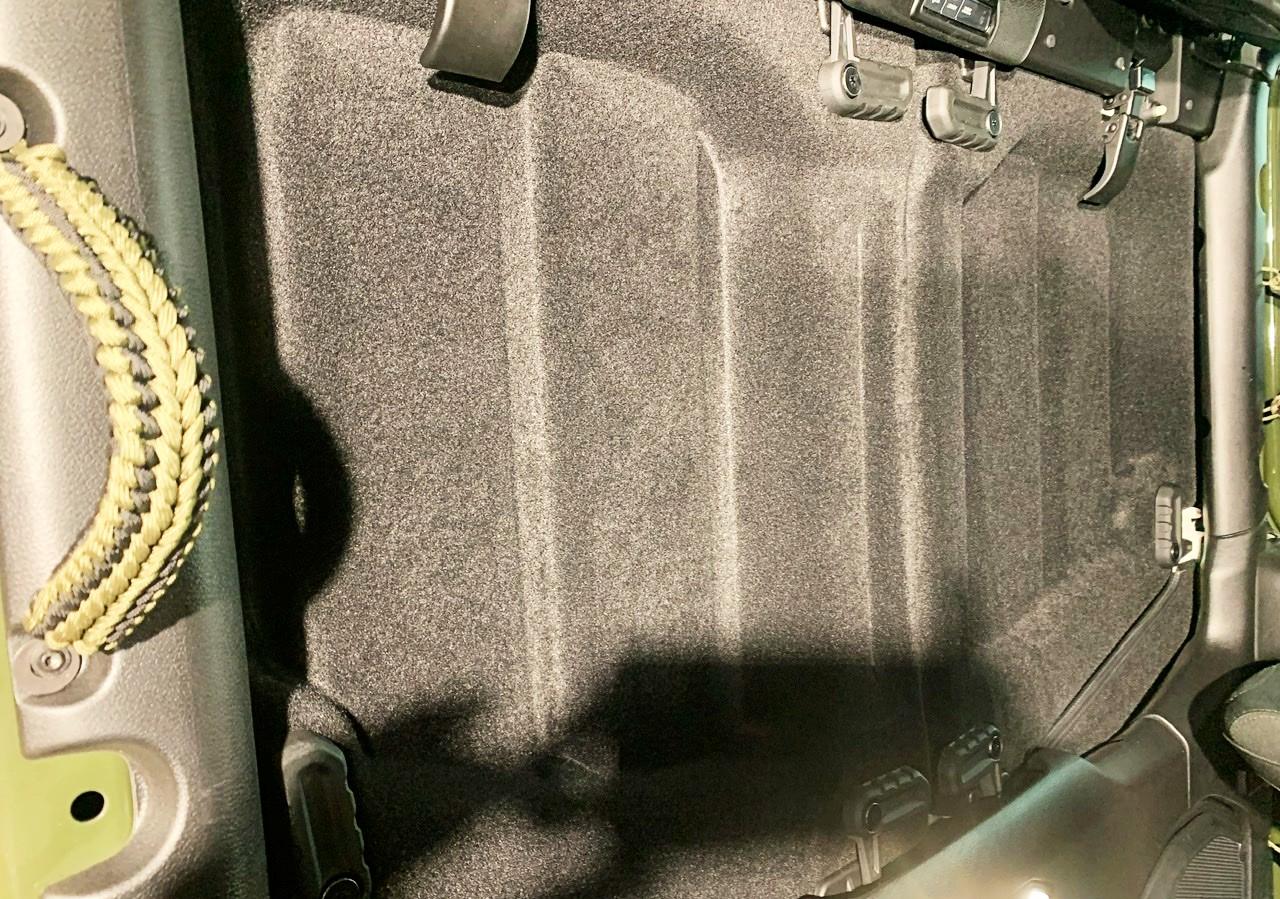
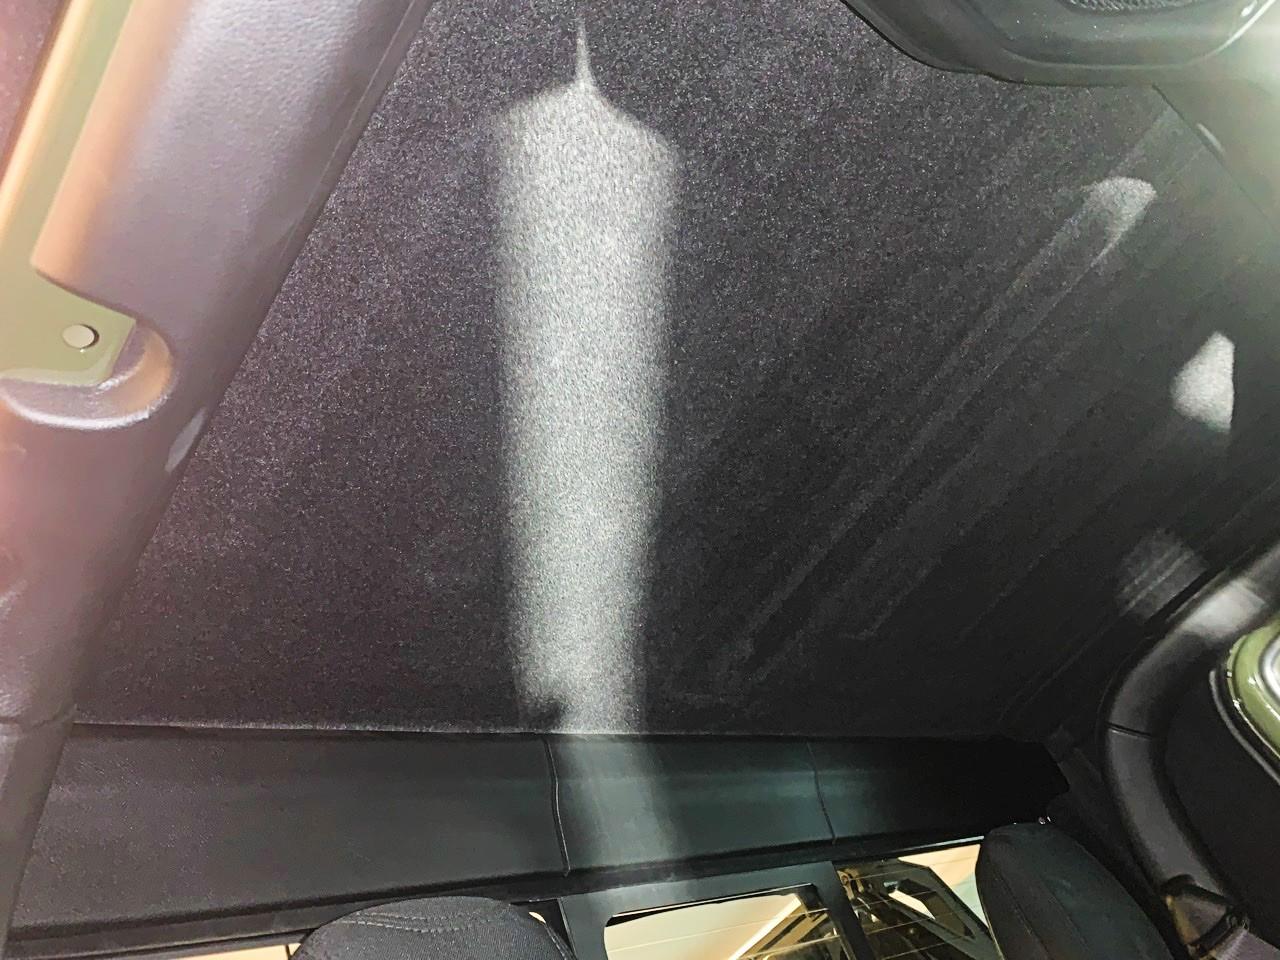
The material itself is quite plush. There were some reviews where someone mentioned being able to see through it. That was not the case for me at all, I had my iPhones flashlight backed flush against it and could barely see any specs of light.

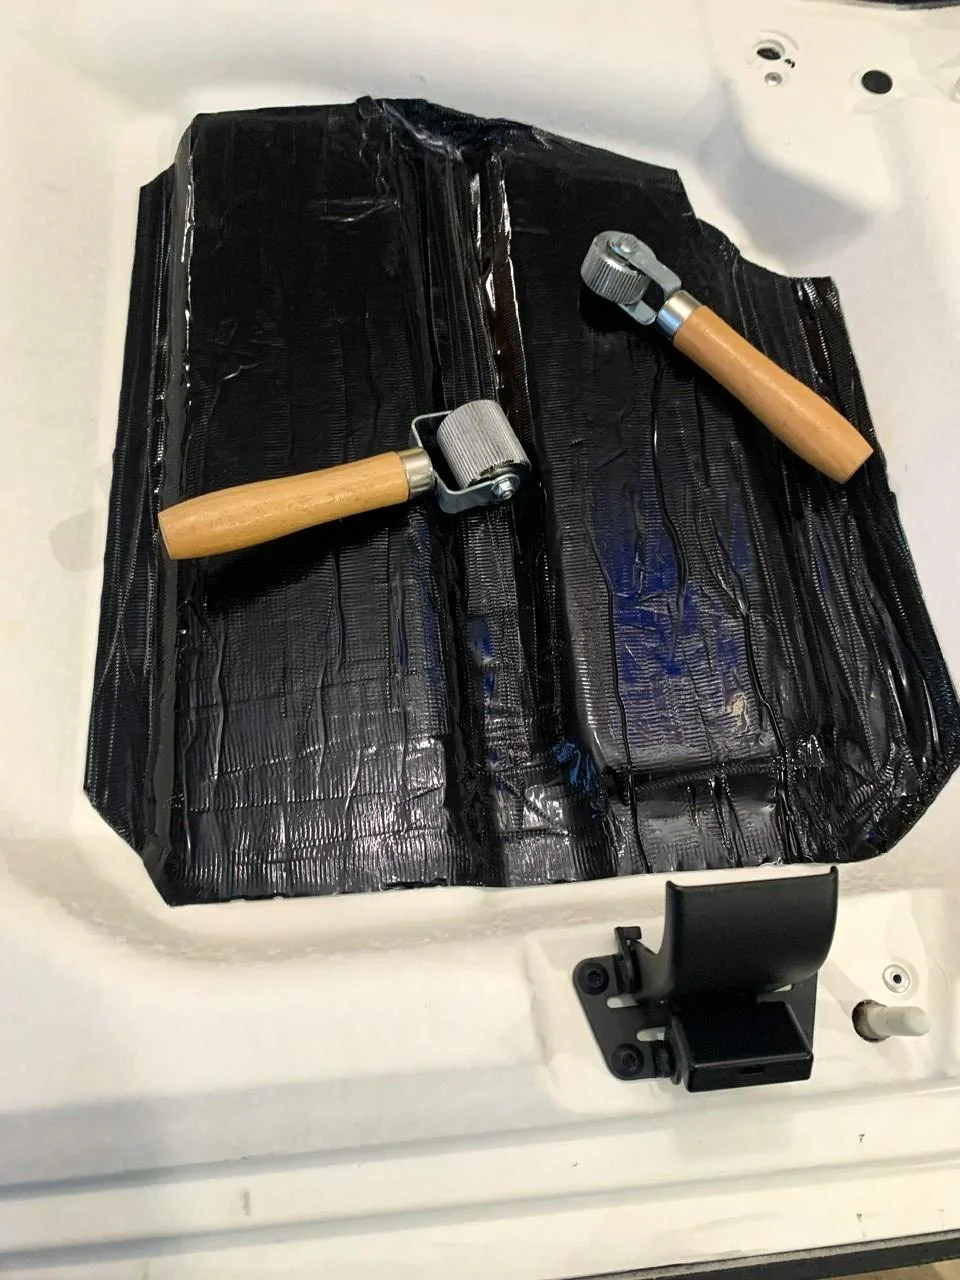
NVX 80 mil sound deadener.

General process goes as follows.
1. Pull rubber stoppers & rotating clamp feet. Coverking includes a small set of tools to help. Very easy.
2. Wipe down with alcohol
3. Heat both the the panel and the adhesive surface of the deadener. Apply then roll the s*it out of it. I've got rollers from past projects but get a $5 roller on prime, well worth it and necessary when dealing with vertically hung deadener.
4. Peel back adhesive panels and place. Go back over it with heat (heat gun on low or hair dryer on high will do) and apply the carpeted piece from the center outward. Roll the carpet as well, using your hands to get get into all nooks and crannies.


Once a panel is done, set it aside and allow the glue to setup. You'll need a razor blade (ideally with a few fresh blades to cycle) to trim material in a few places where they simply include too much. With a new blade, it cuts easily.


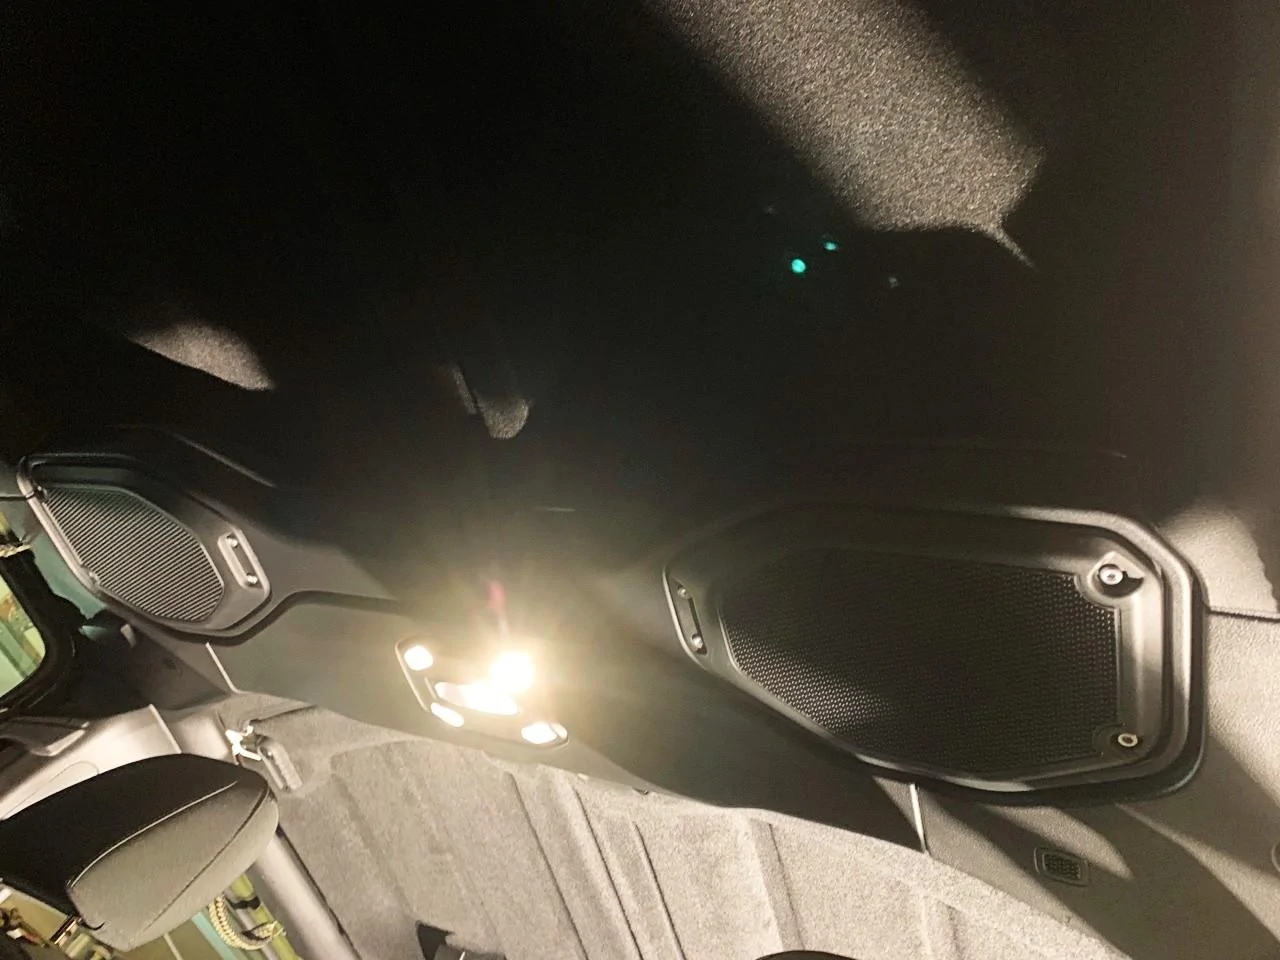
Installed pics. It's a bit hard to try to get good angles but essentially the results look & feel OEM in my opinion.


Howdy folks, after a trip from PA down to FL and back one thing that started bothering me on the ride back was general wind and road noise. We had our little ones with us so I couldn't crank the radio. I love sound deadening, it has been such a rewarding process in past projects and while it can be time consuming, it's incredibly easy. My goals were to drastically reduce sound while aiming for an OEM look & feel.
I'll refrain from any this vs. that product. I'm thrilled where I landed on this and the results are beyond my expectations. Easily the most impactful sound deadening install I've done, primarily because the panels are just so horrid at preventing intrusive sounds from entering the cabin. Anything is an improvement. This is transformative.
Ordered the topliner with 10% off (code -> BYEBYE2021) over the phone. They were fantastic to deal with. I was planning to go charcoal but the lady I spoke to said, with jeeps specifically, many owners who get charcoal say its far too light. I opted for black and received the topliner 4 days after I ordered it.
I was originally planning to go with 50 mil deadener. Once I realized how poorly the panels insulate against sound, coupled with the slight tolerance on the topliner itself for variation, I decided to bump it up to NVX 80 mil. A 20 sq/ft roll is $55. I used about 3/4 of the roll.
I opted to pick up a few rolls of 3M auto grade double-sided adhesive tape. You'll see my additional tape lines in the pics. I'd highly recommend doing this.
Results: Everything from the way the radio now sounds inside to the gratifying thud of the door closing to the drastically reduced road noise leaves me thinking I should have done this first. My sons and I no longer have to talk loudly to hear each other while they are in back, wife loves them. All in I'm at just below $500.
Random Tips:
- Get extra double-backed adhesive tape. You'll want to shore up a few lines (see pics) and like others have reported, I was missing two small adhesive sheets that apply to the freedom panels. I ended up just cutting another wider piece lengthwise to cover for it while bolstering it with my own tape.
- Number your clamp feet as you remove them. I used sharpie.
- Roll the deadener in. Rollers are $5 and well worth it. Prep well.
- Use new razors when trimming excess material, they glide through quickly and produce sharp fuzz-free lines.
- Heat all adhesive surfaces and their target with a hair dryer or heat gun. Makes deadener easier to lay down and greatly improves overall adhesion.
- I ended up taking twice as much time and I had planned only because it was enjoyable and I'm half OCD. If I had to do it all over again by myself, I'd plan for an entire weekend. These newer panels are lighter so I was able to remove and re-install all panels myself but the overall working space to get this done needs to be pretty big.
Onto pics & notes:
The material itself is quite plush. There were some reviews where someone mentioned being able to see through it. That was not the case for me at all, I had my iPhones flashlight backed flush against it and could barely see any specs of light.
NVX 80 mil sound deadener.

General process goes as follows.
1. Pull rubber stoppers & rotating clamp feet. Coverking includes a small set of tools to help. Very easy.
2. Wipe down with alcohol
3. Heat both the the panel and the adhesive surface of the deadener. Apply then roll the s*it out of it. I've got rollers from past projects but get a $5 roller on prime, well worth it and necessary when dealing with vertically hung deadener.
4. Peel back adhesive panels and place. Go back over it with heat (heat gun on low or hair dryer on high will do) and apply the carpeted piece from the center outward. Roll the carpet as well, using your hands to get get into all nooks and crannies.
Once a panel is done, set it aside and allow the glue to setup. You'll need a razor blade (ideally with a few fresh blades to cycle) to trim material in a few places where they simply include too much. With a new blade, it cuts easily.

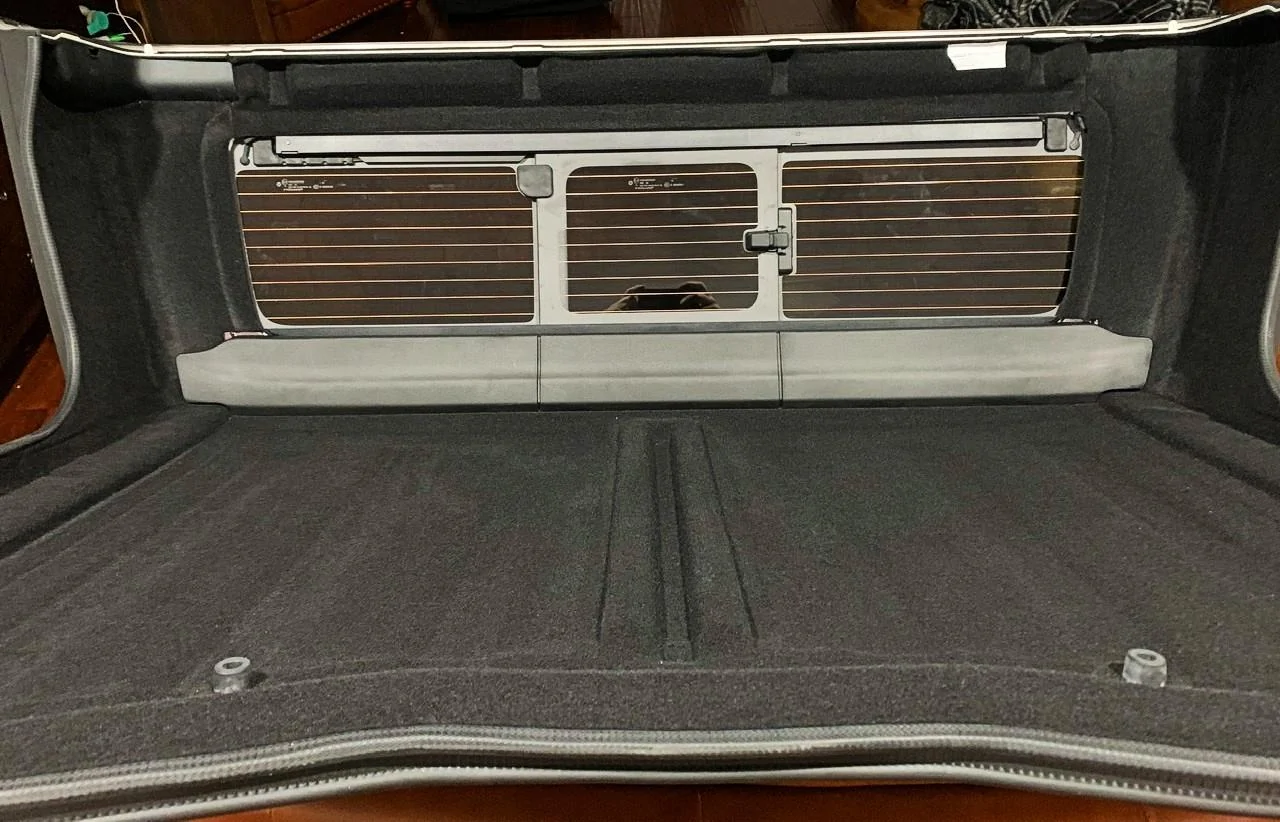
Installed pics. It's a bit hard to try to get good angles but essentially the results look & feel OEM in my opinion.
Sponsored
Last edited: