OP
OP
chorky
Well-Known Member
- First Name
- Chad
- Joined
- Feb 26, 2022
- Threads
- 175
- Messages
- 3,466
- Reaction score
- 3,801
- Location
- Montana
- Website
- www.youtube.com
- Vehicle(s)
- '22JTR, '06 LJ, '06 TJ GE
- Build Thread
- Link
- Occupation
- GIS Specialist
- Thread starter
- #136
Today I got the water heater installed. This was the plan all along as I dont like being nasty sweaty in bed and cold water is not fun. Not to mention wanting to ensure I have ample opportunities to wash my surgery site if camping for a week or so.
If you want to see the water system install go back to post # 93 and 95
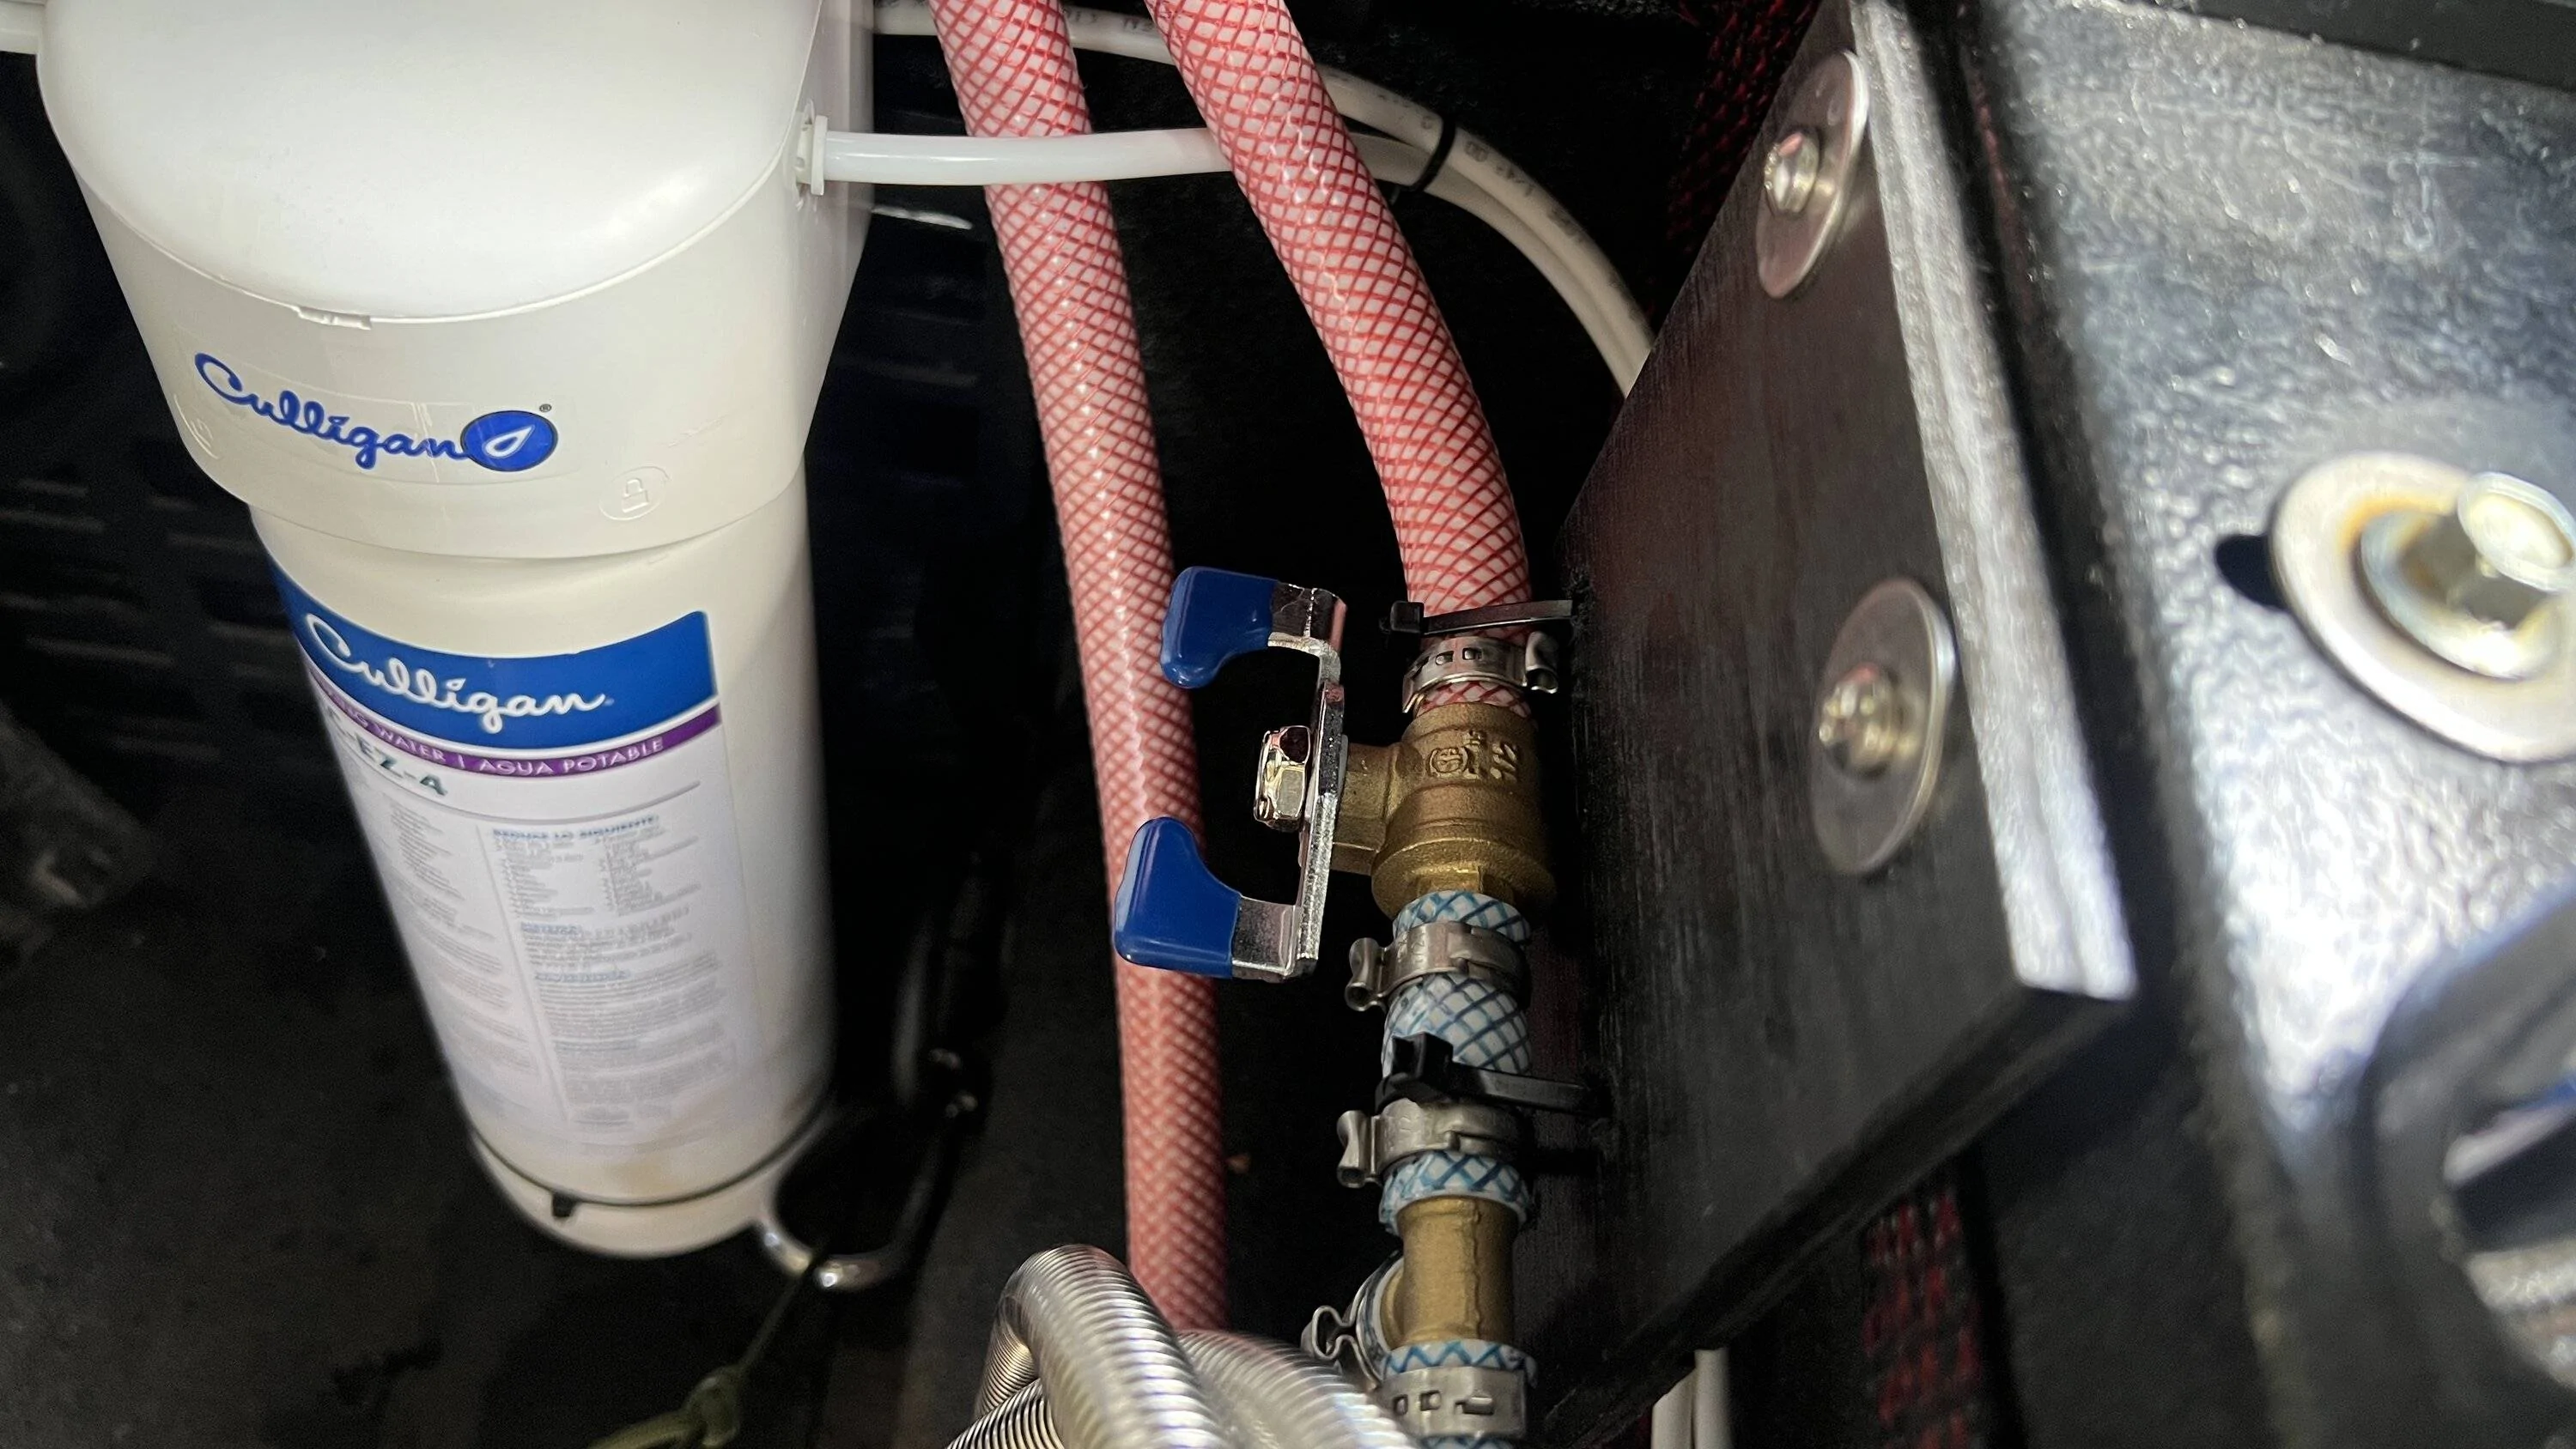
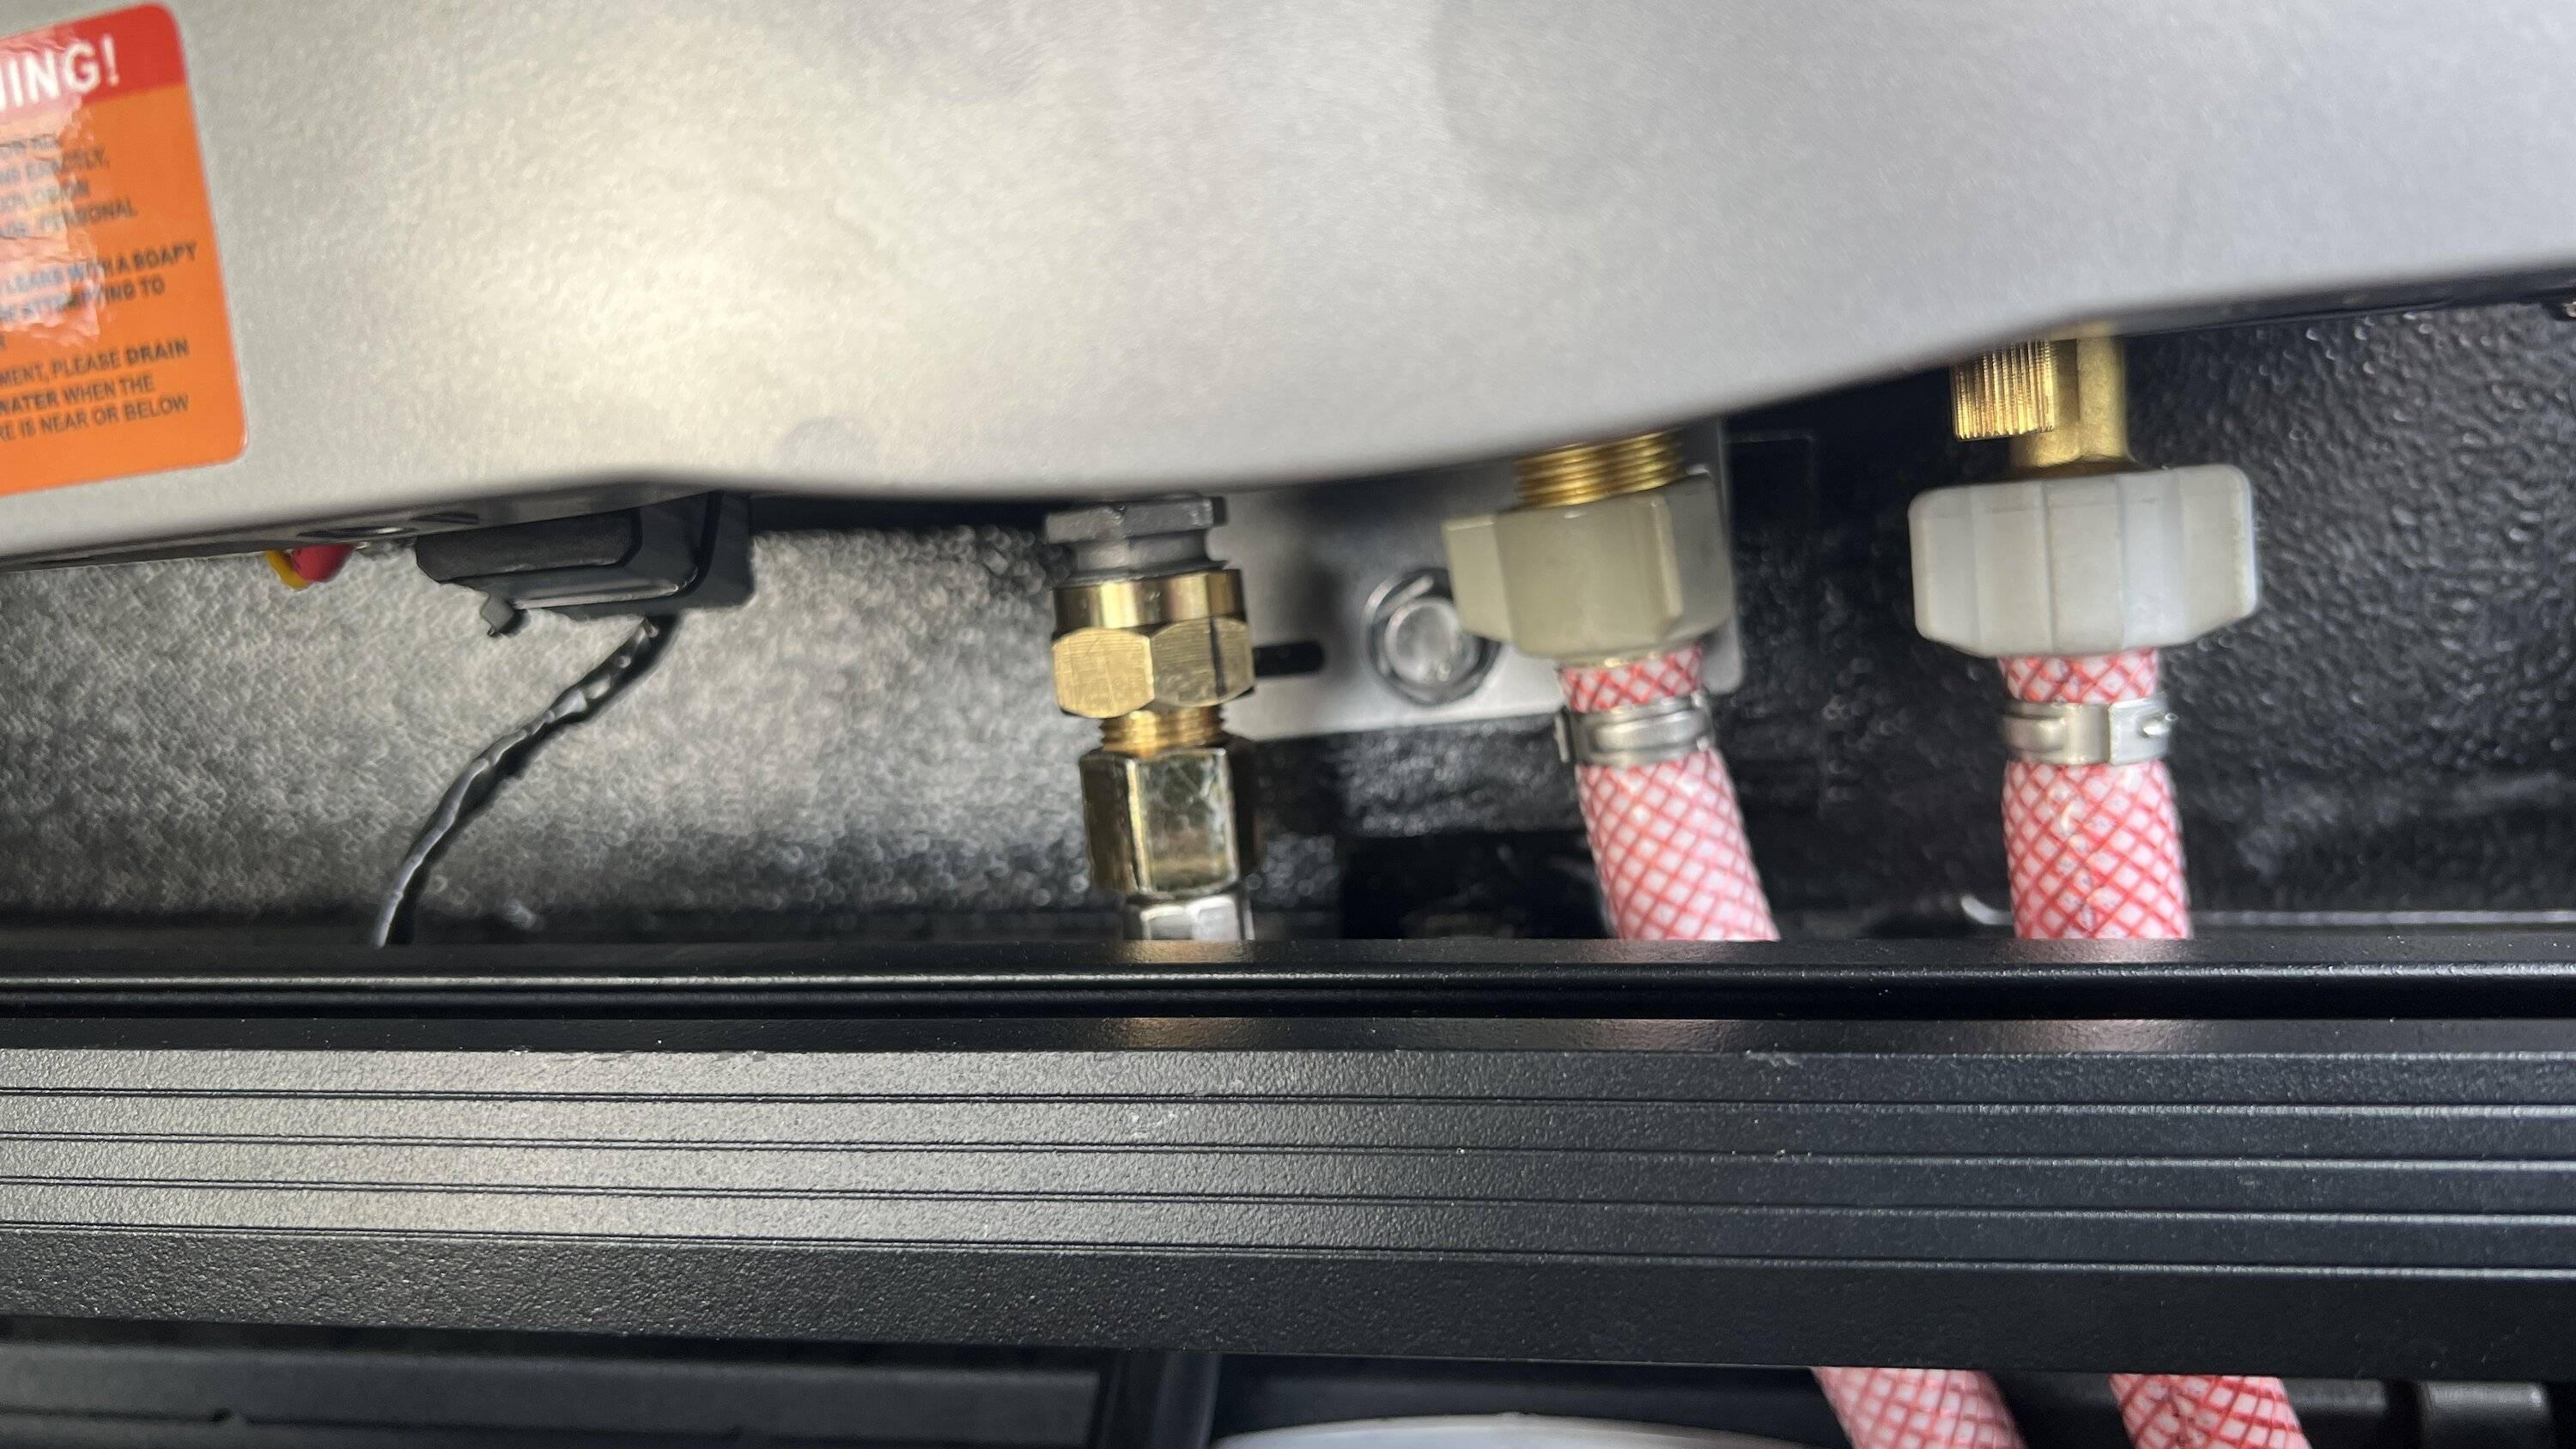
I already had provisions for the water heater and temporary water lines ran Since this was the plan all along. I included a shutoff valve as well so that water wont flow backwards if the hot side is pressurized as well as being able to shut that side off entirely if the heater blows a seal or leaks.

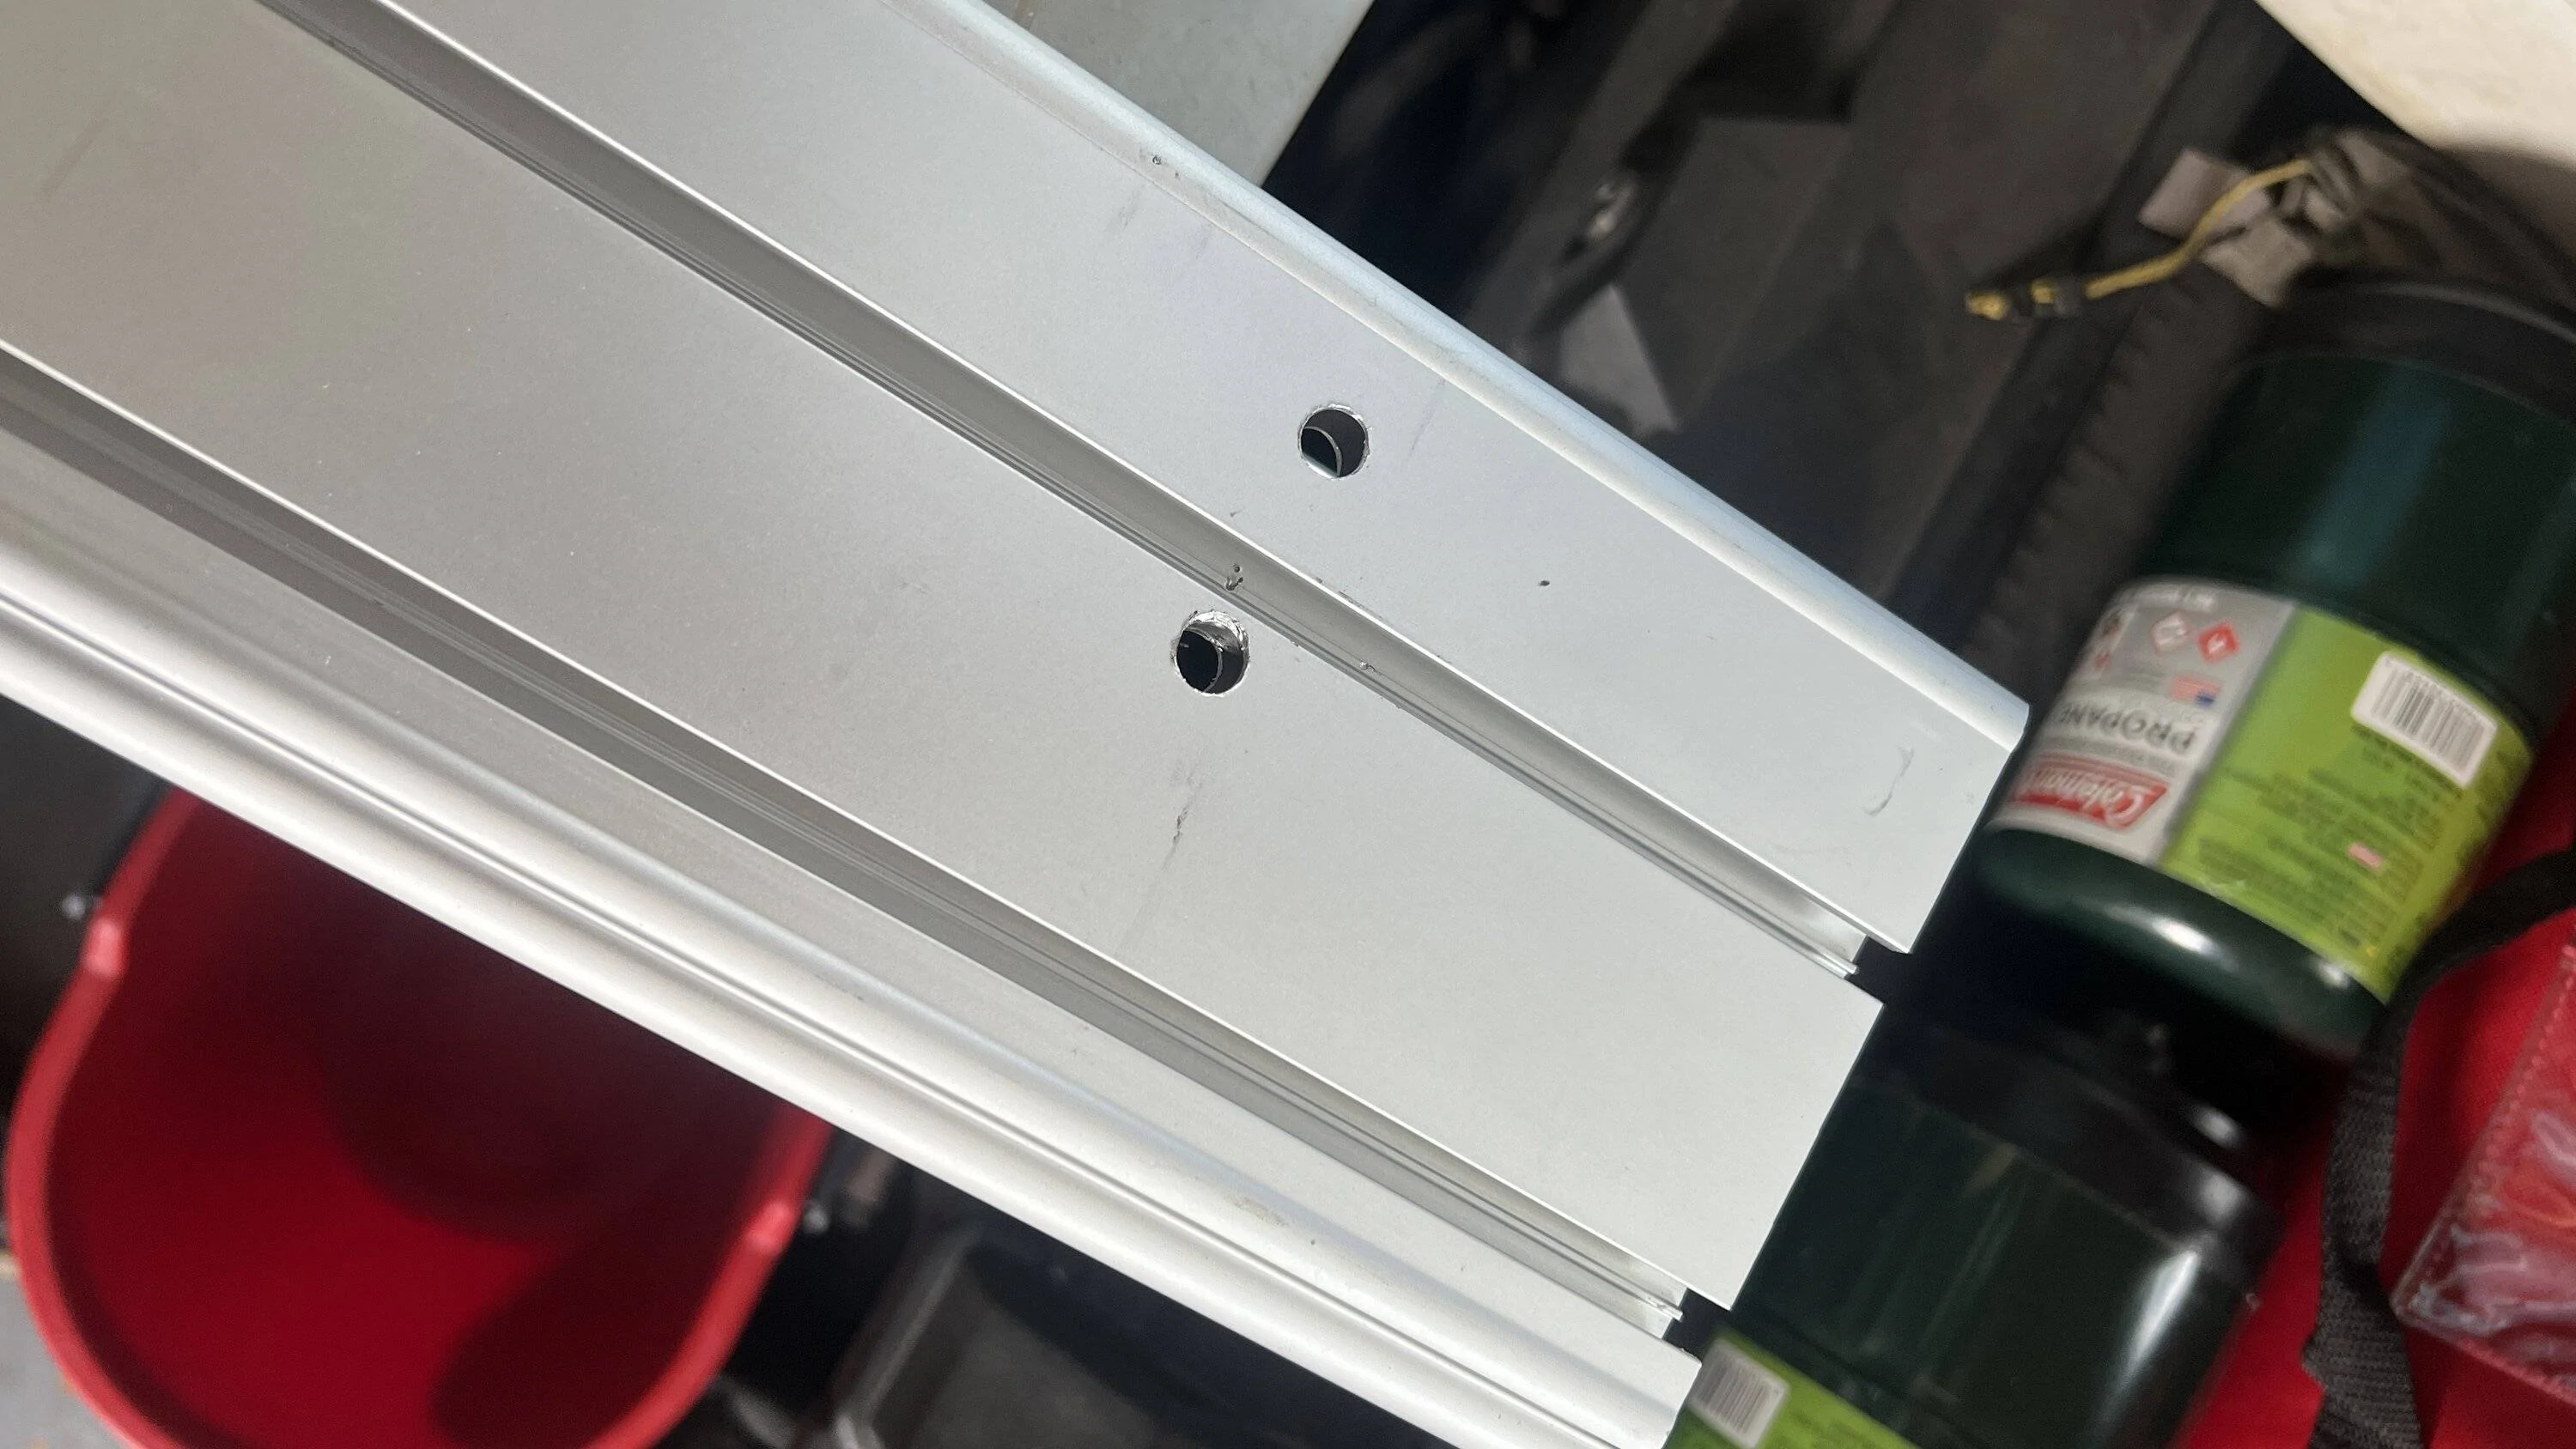
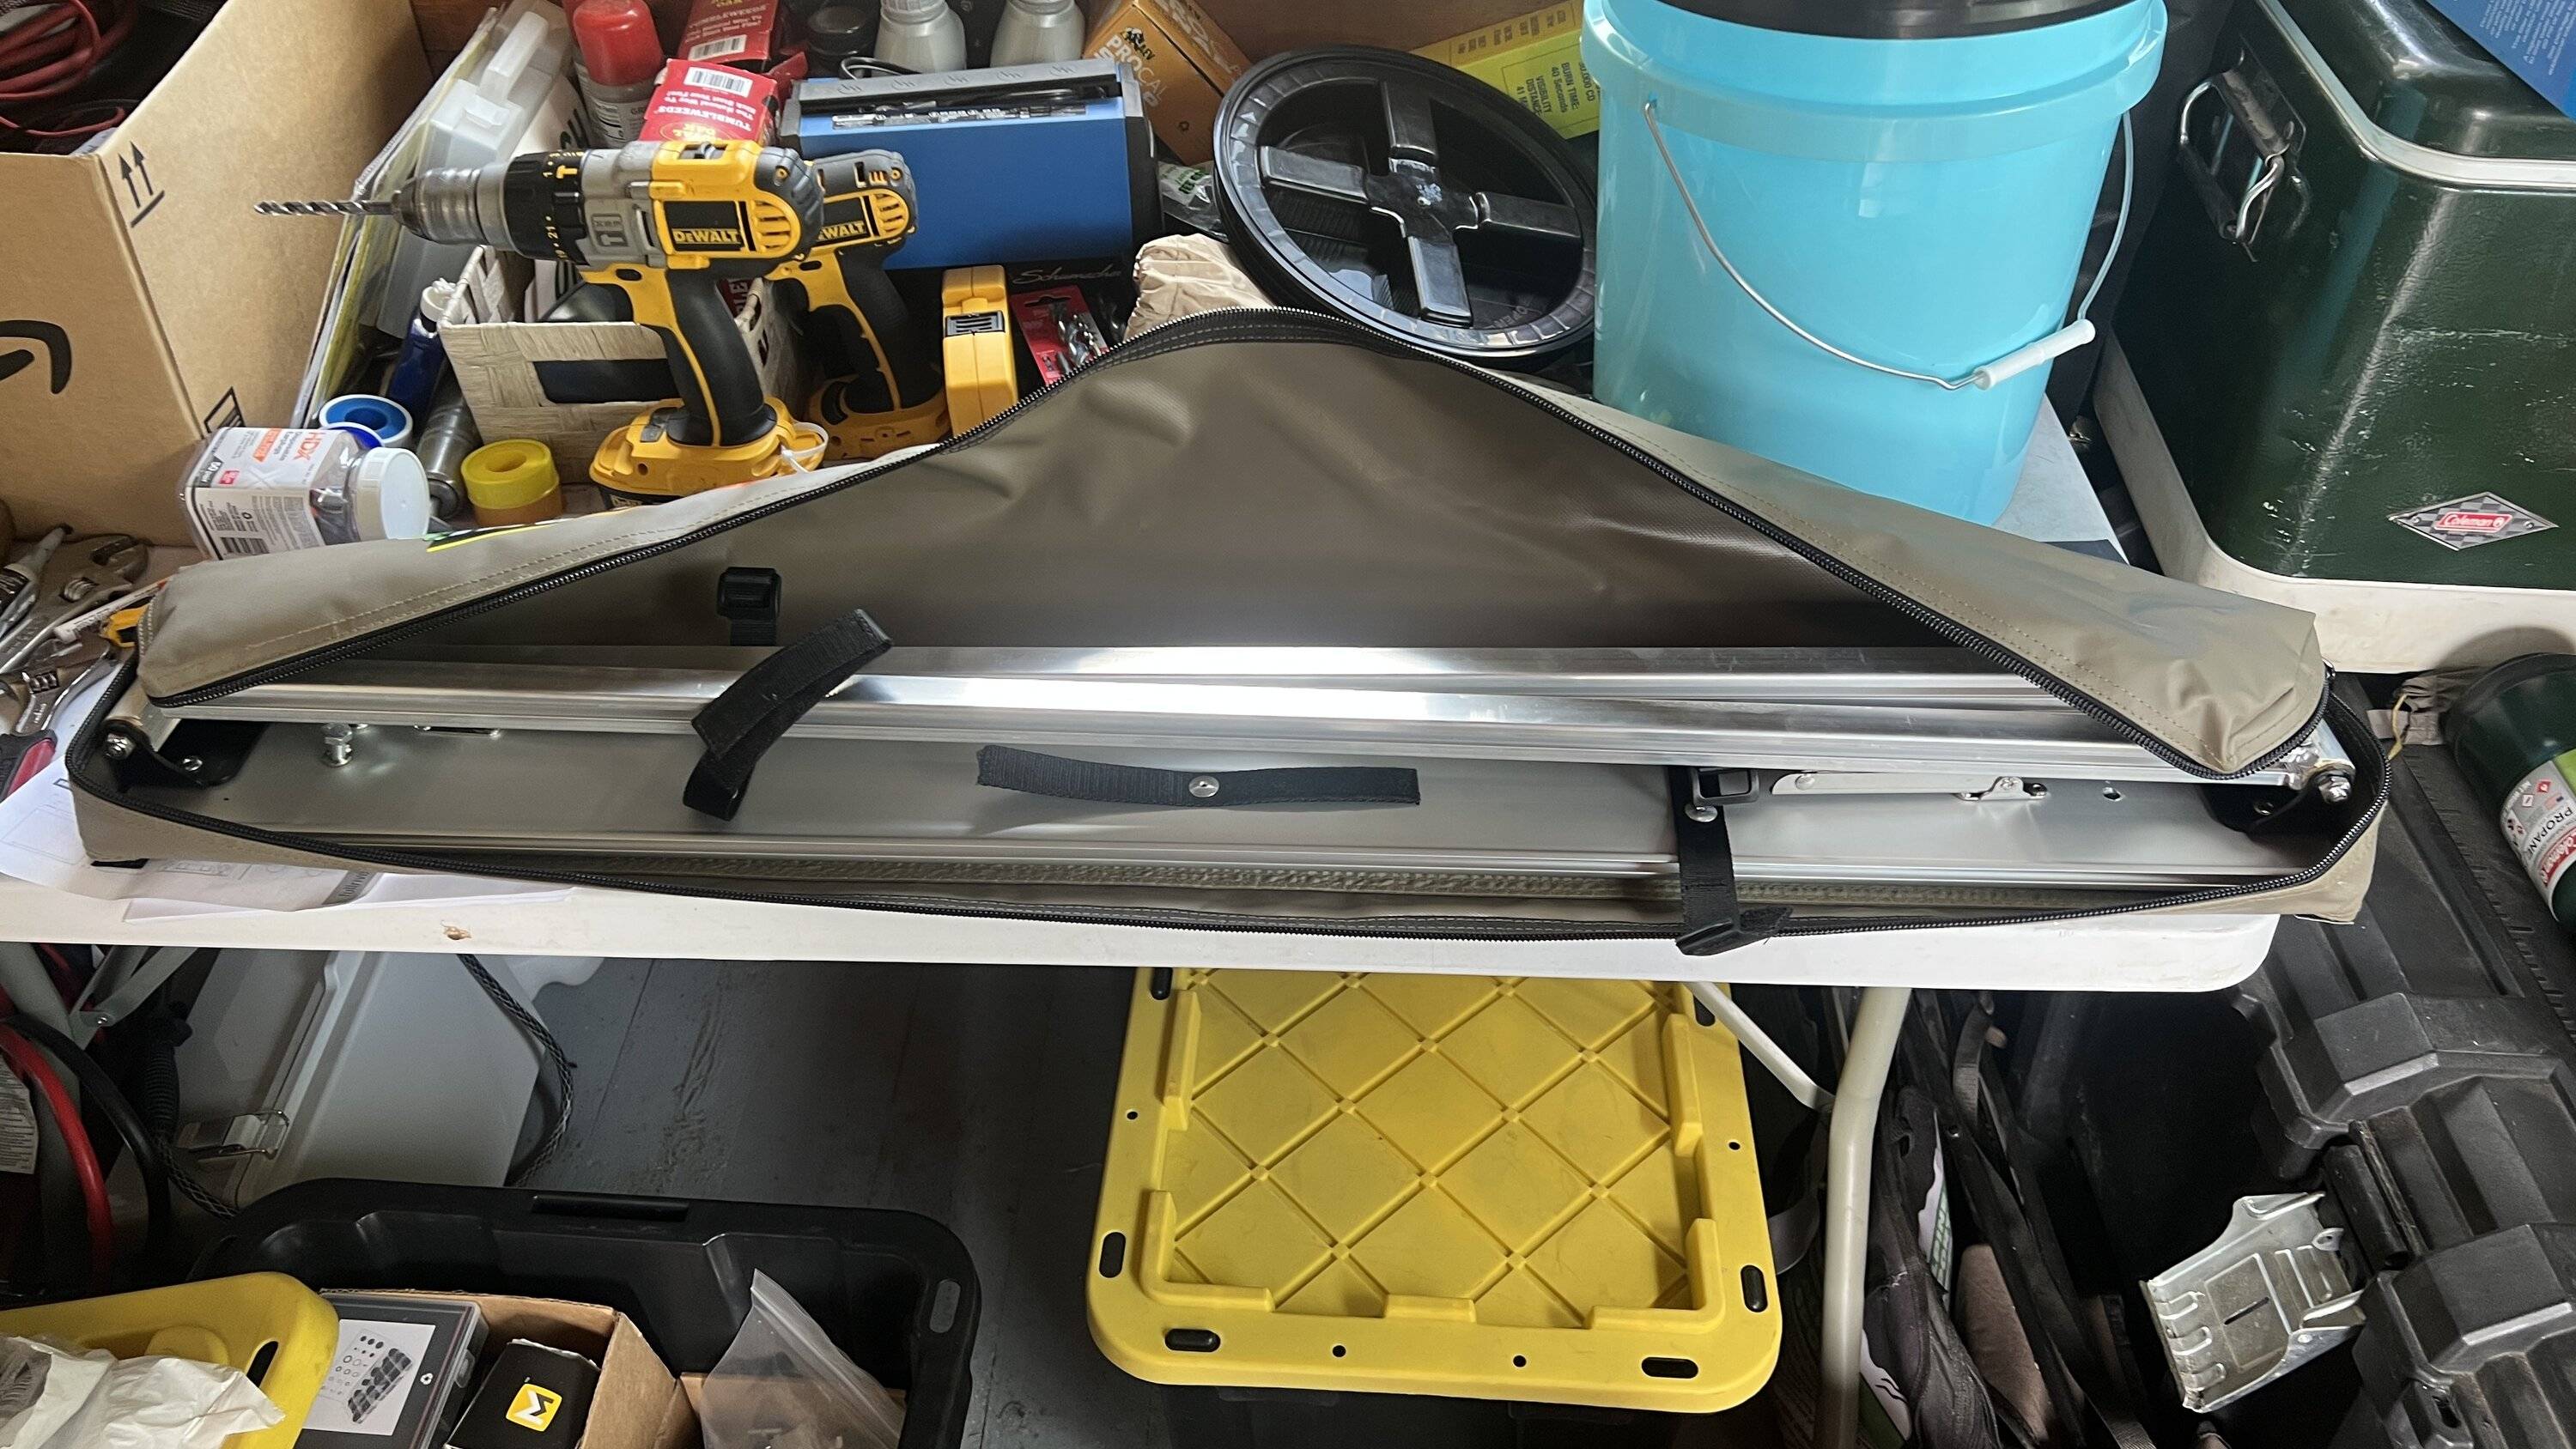
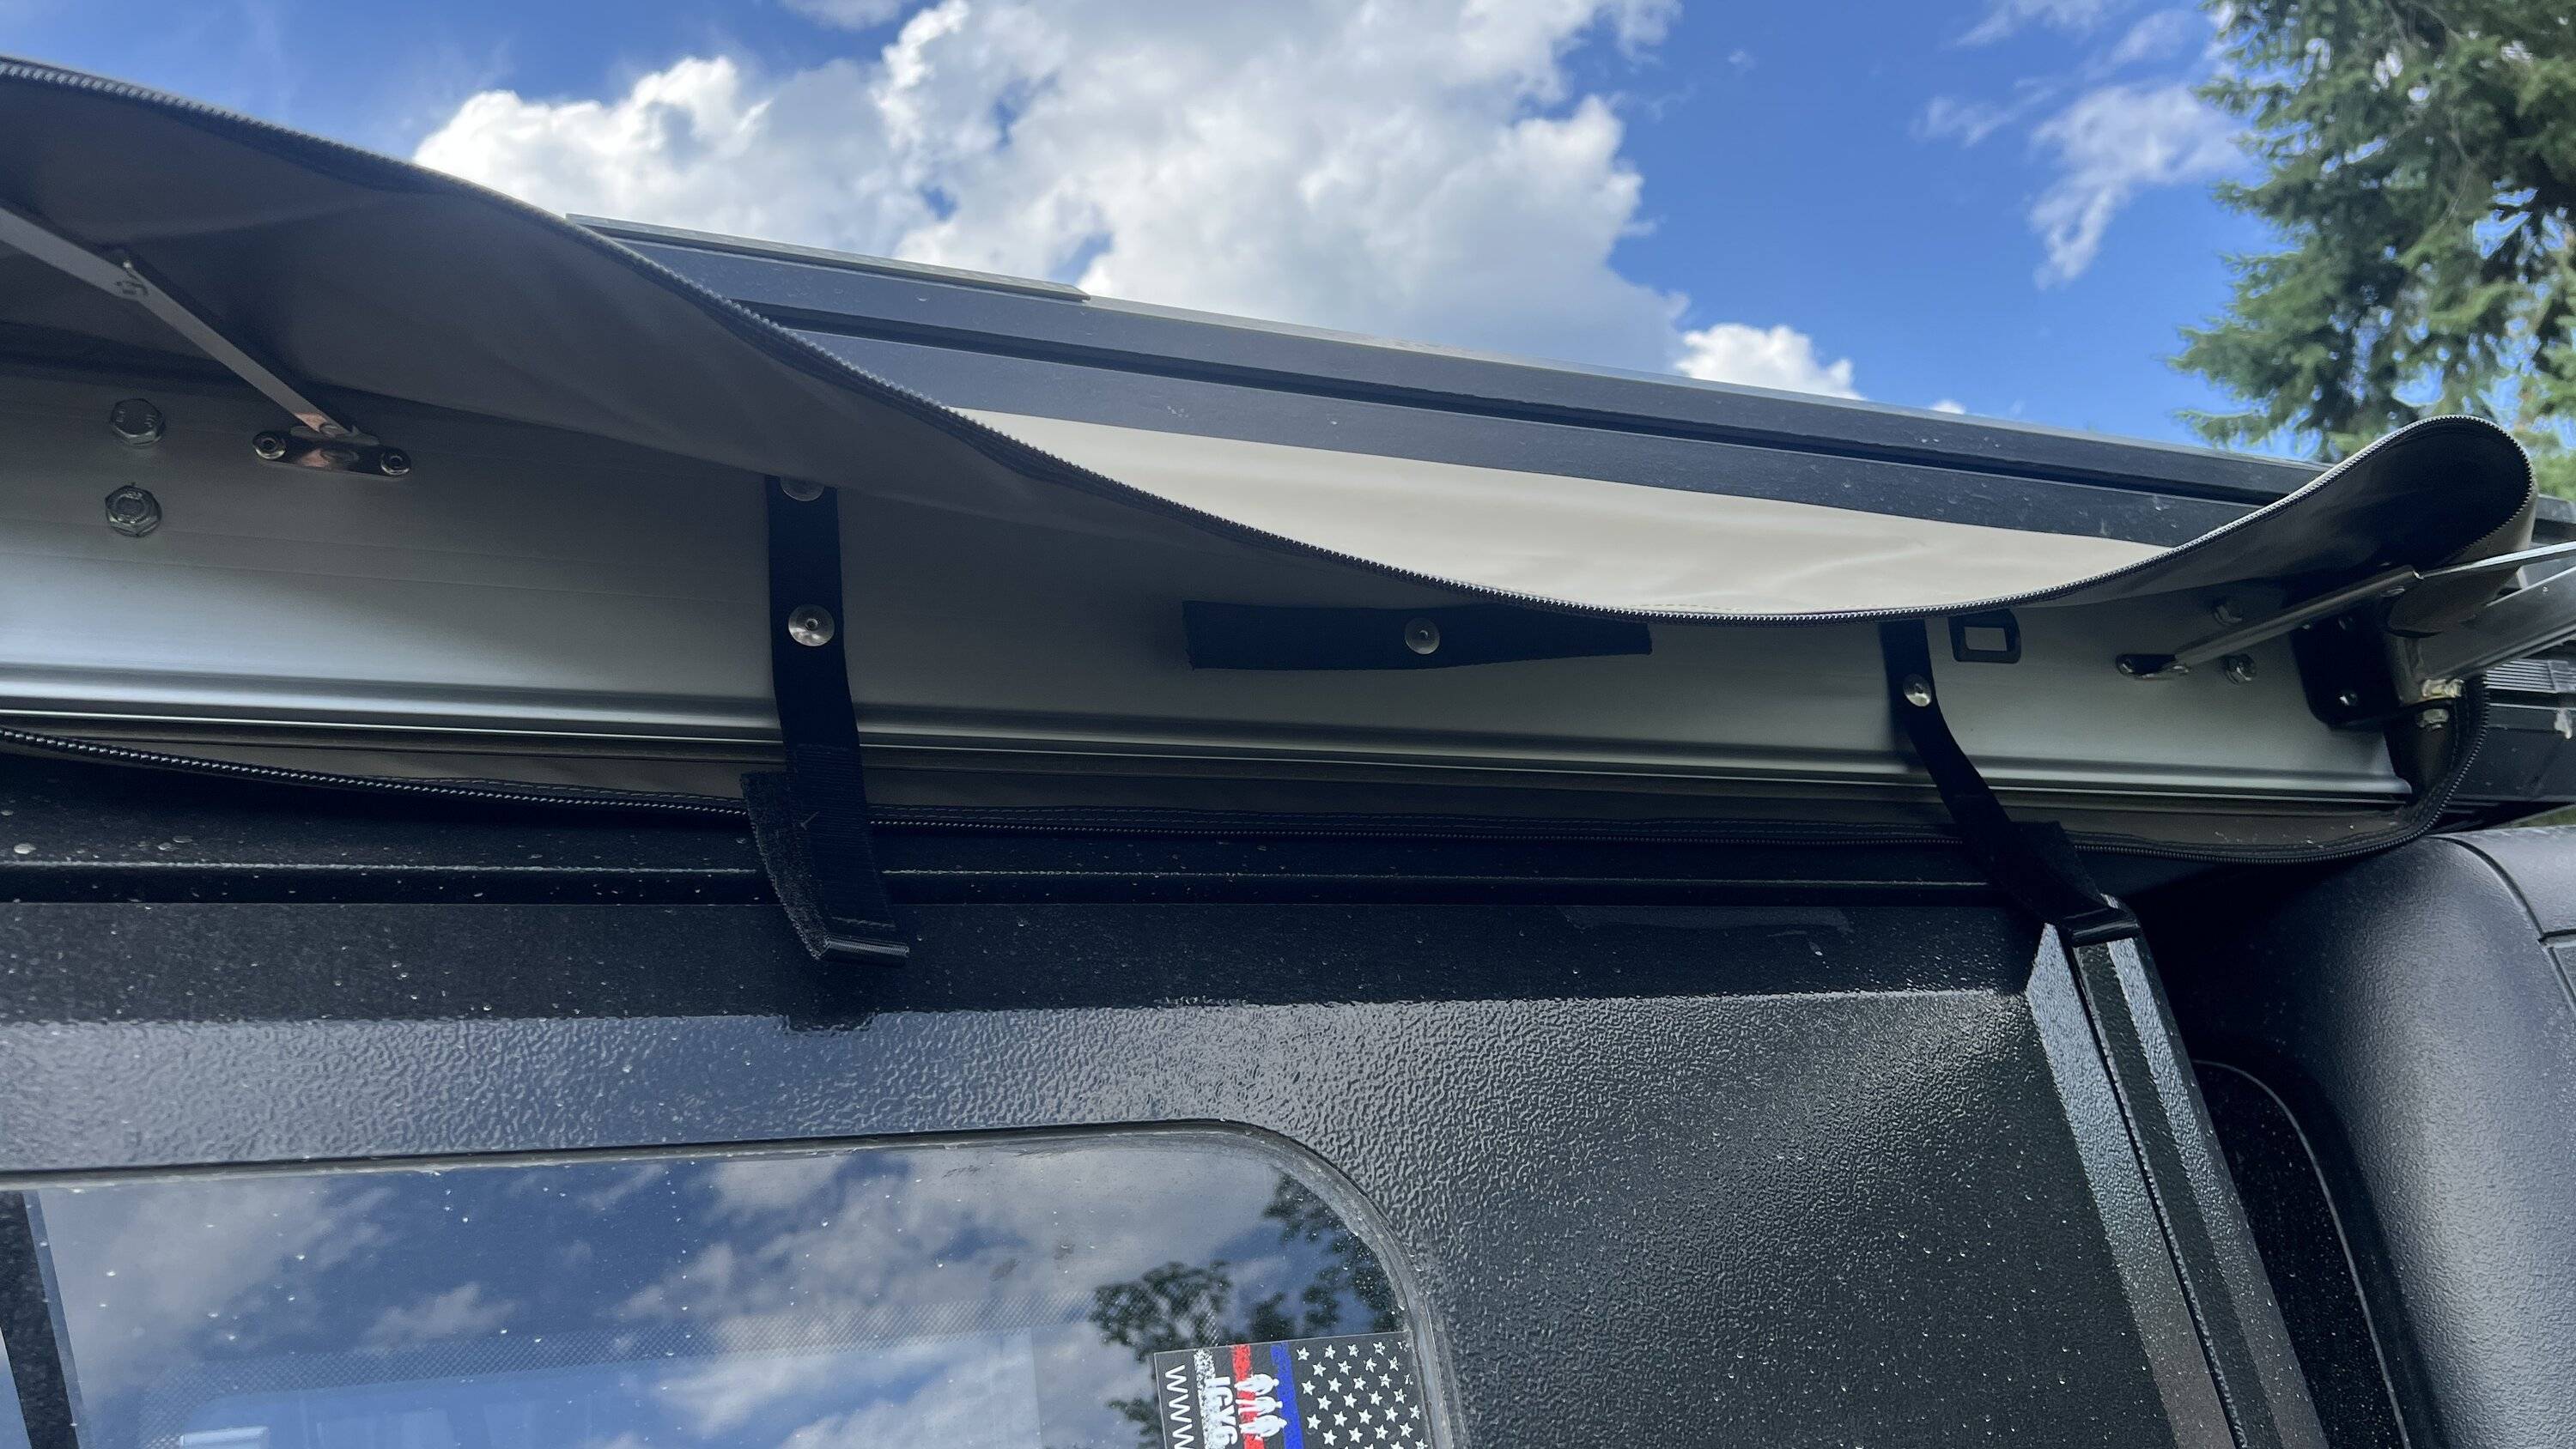
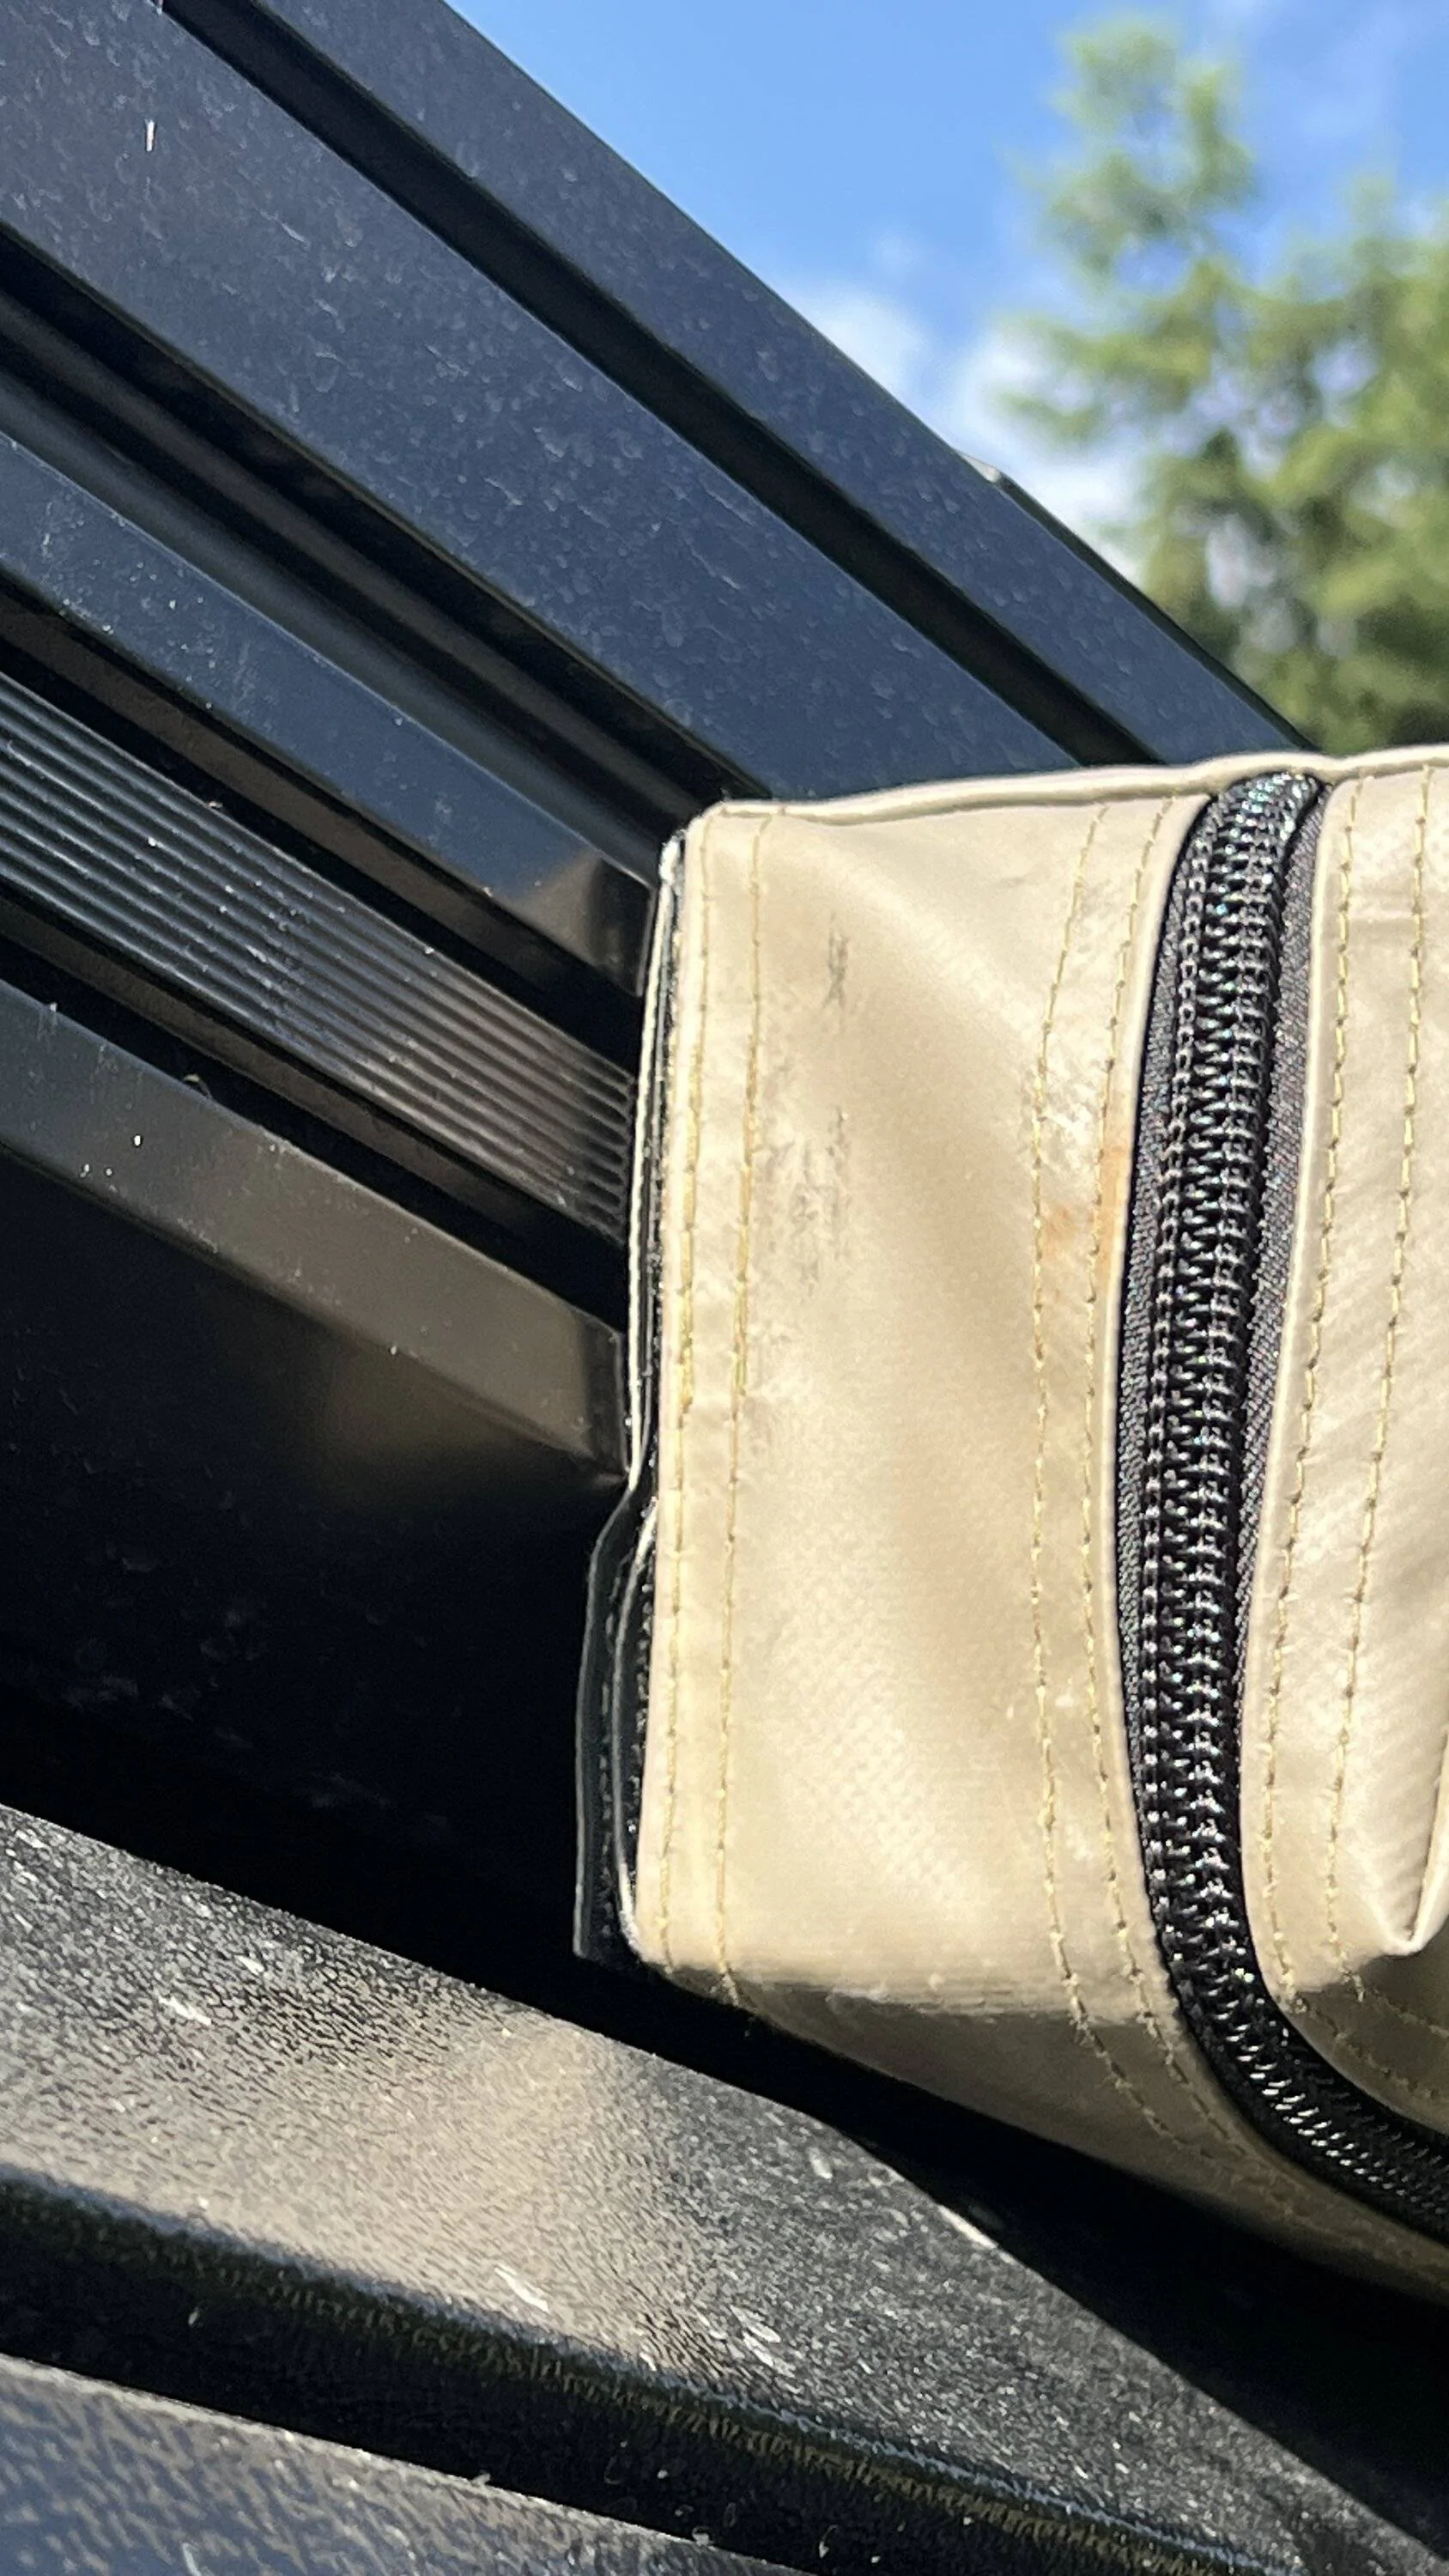
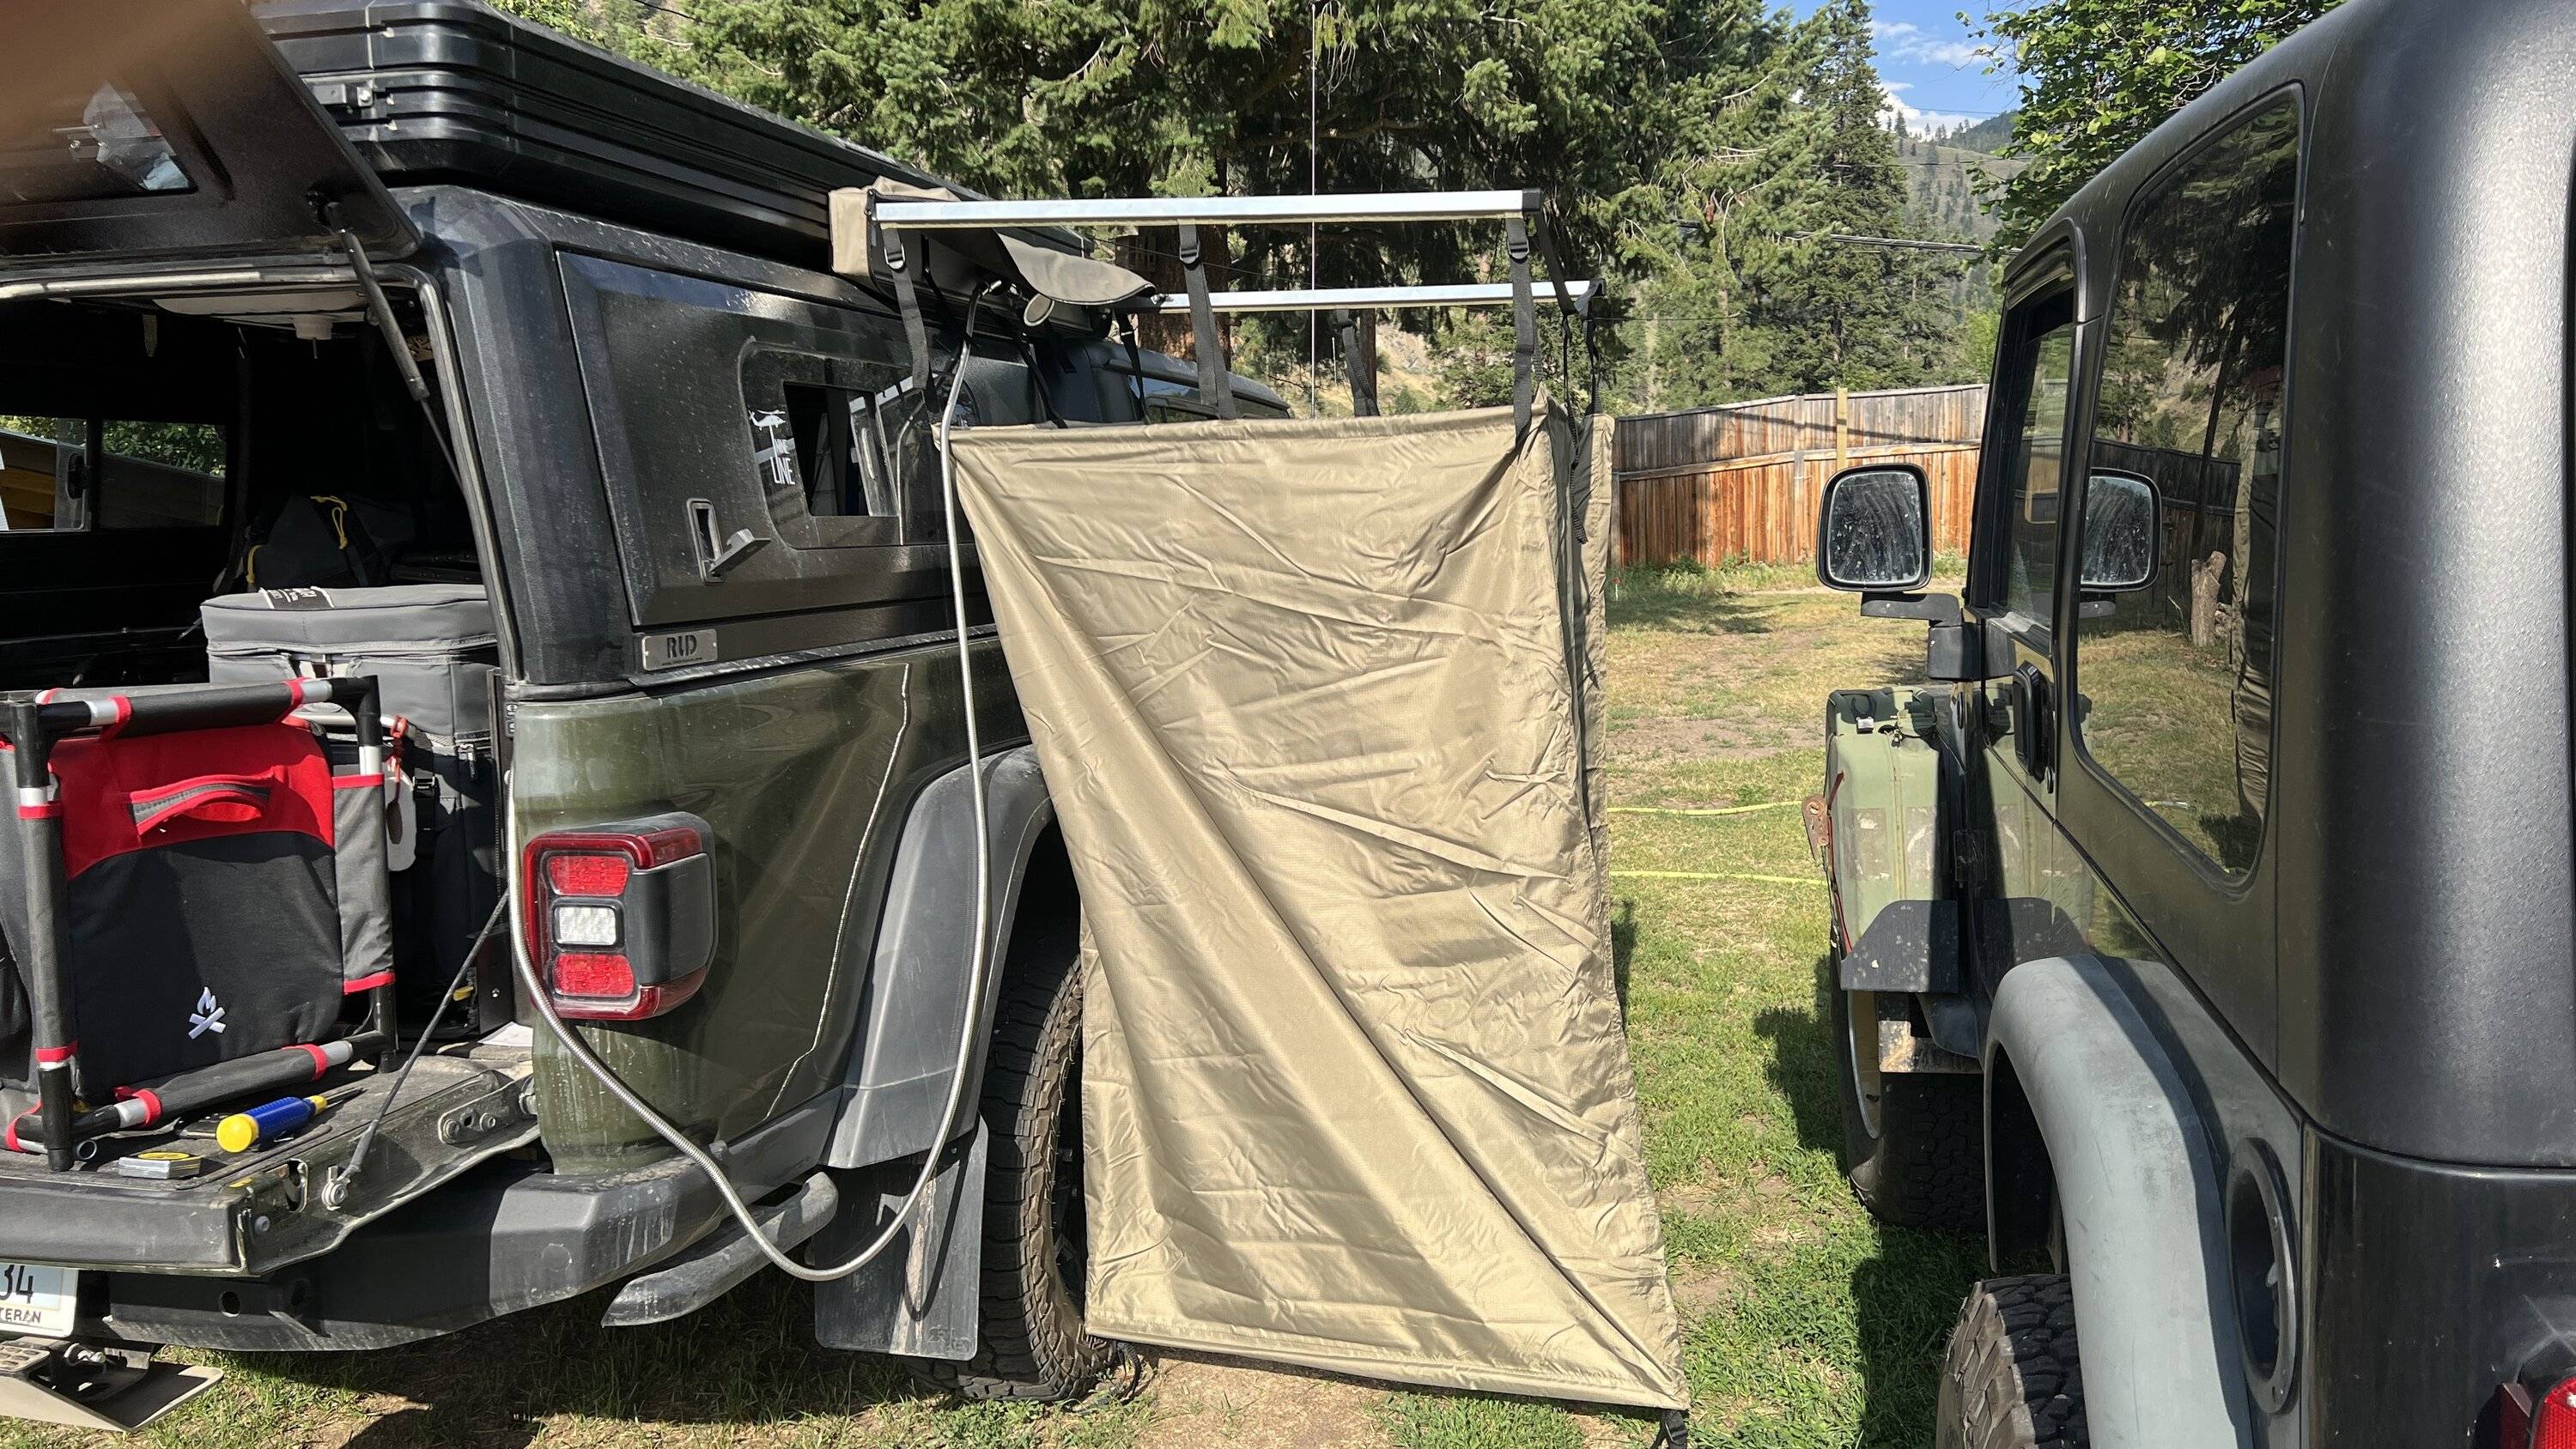
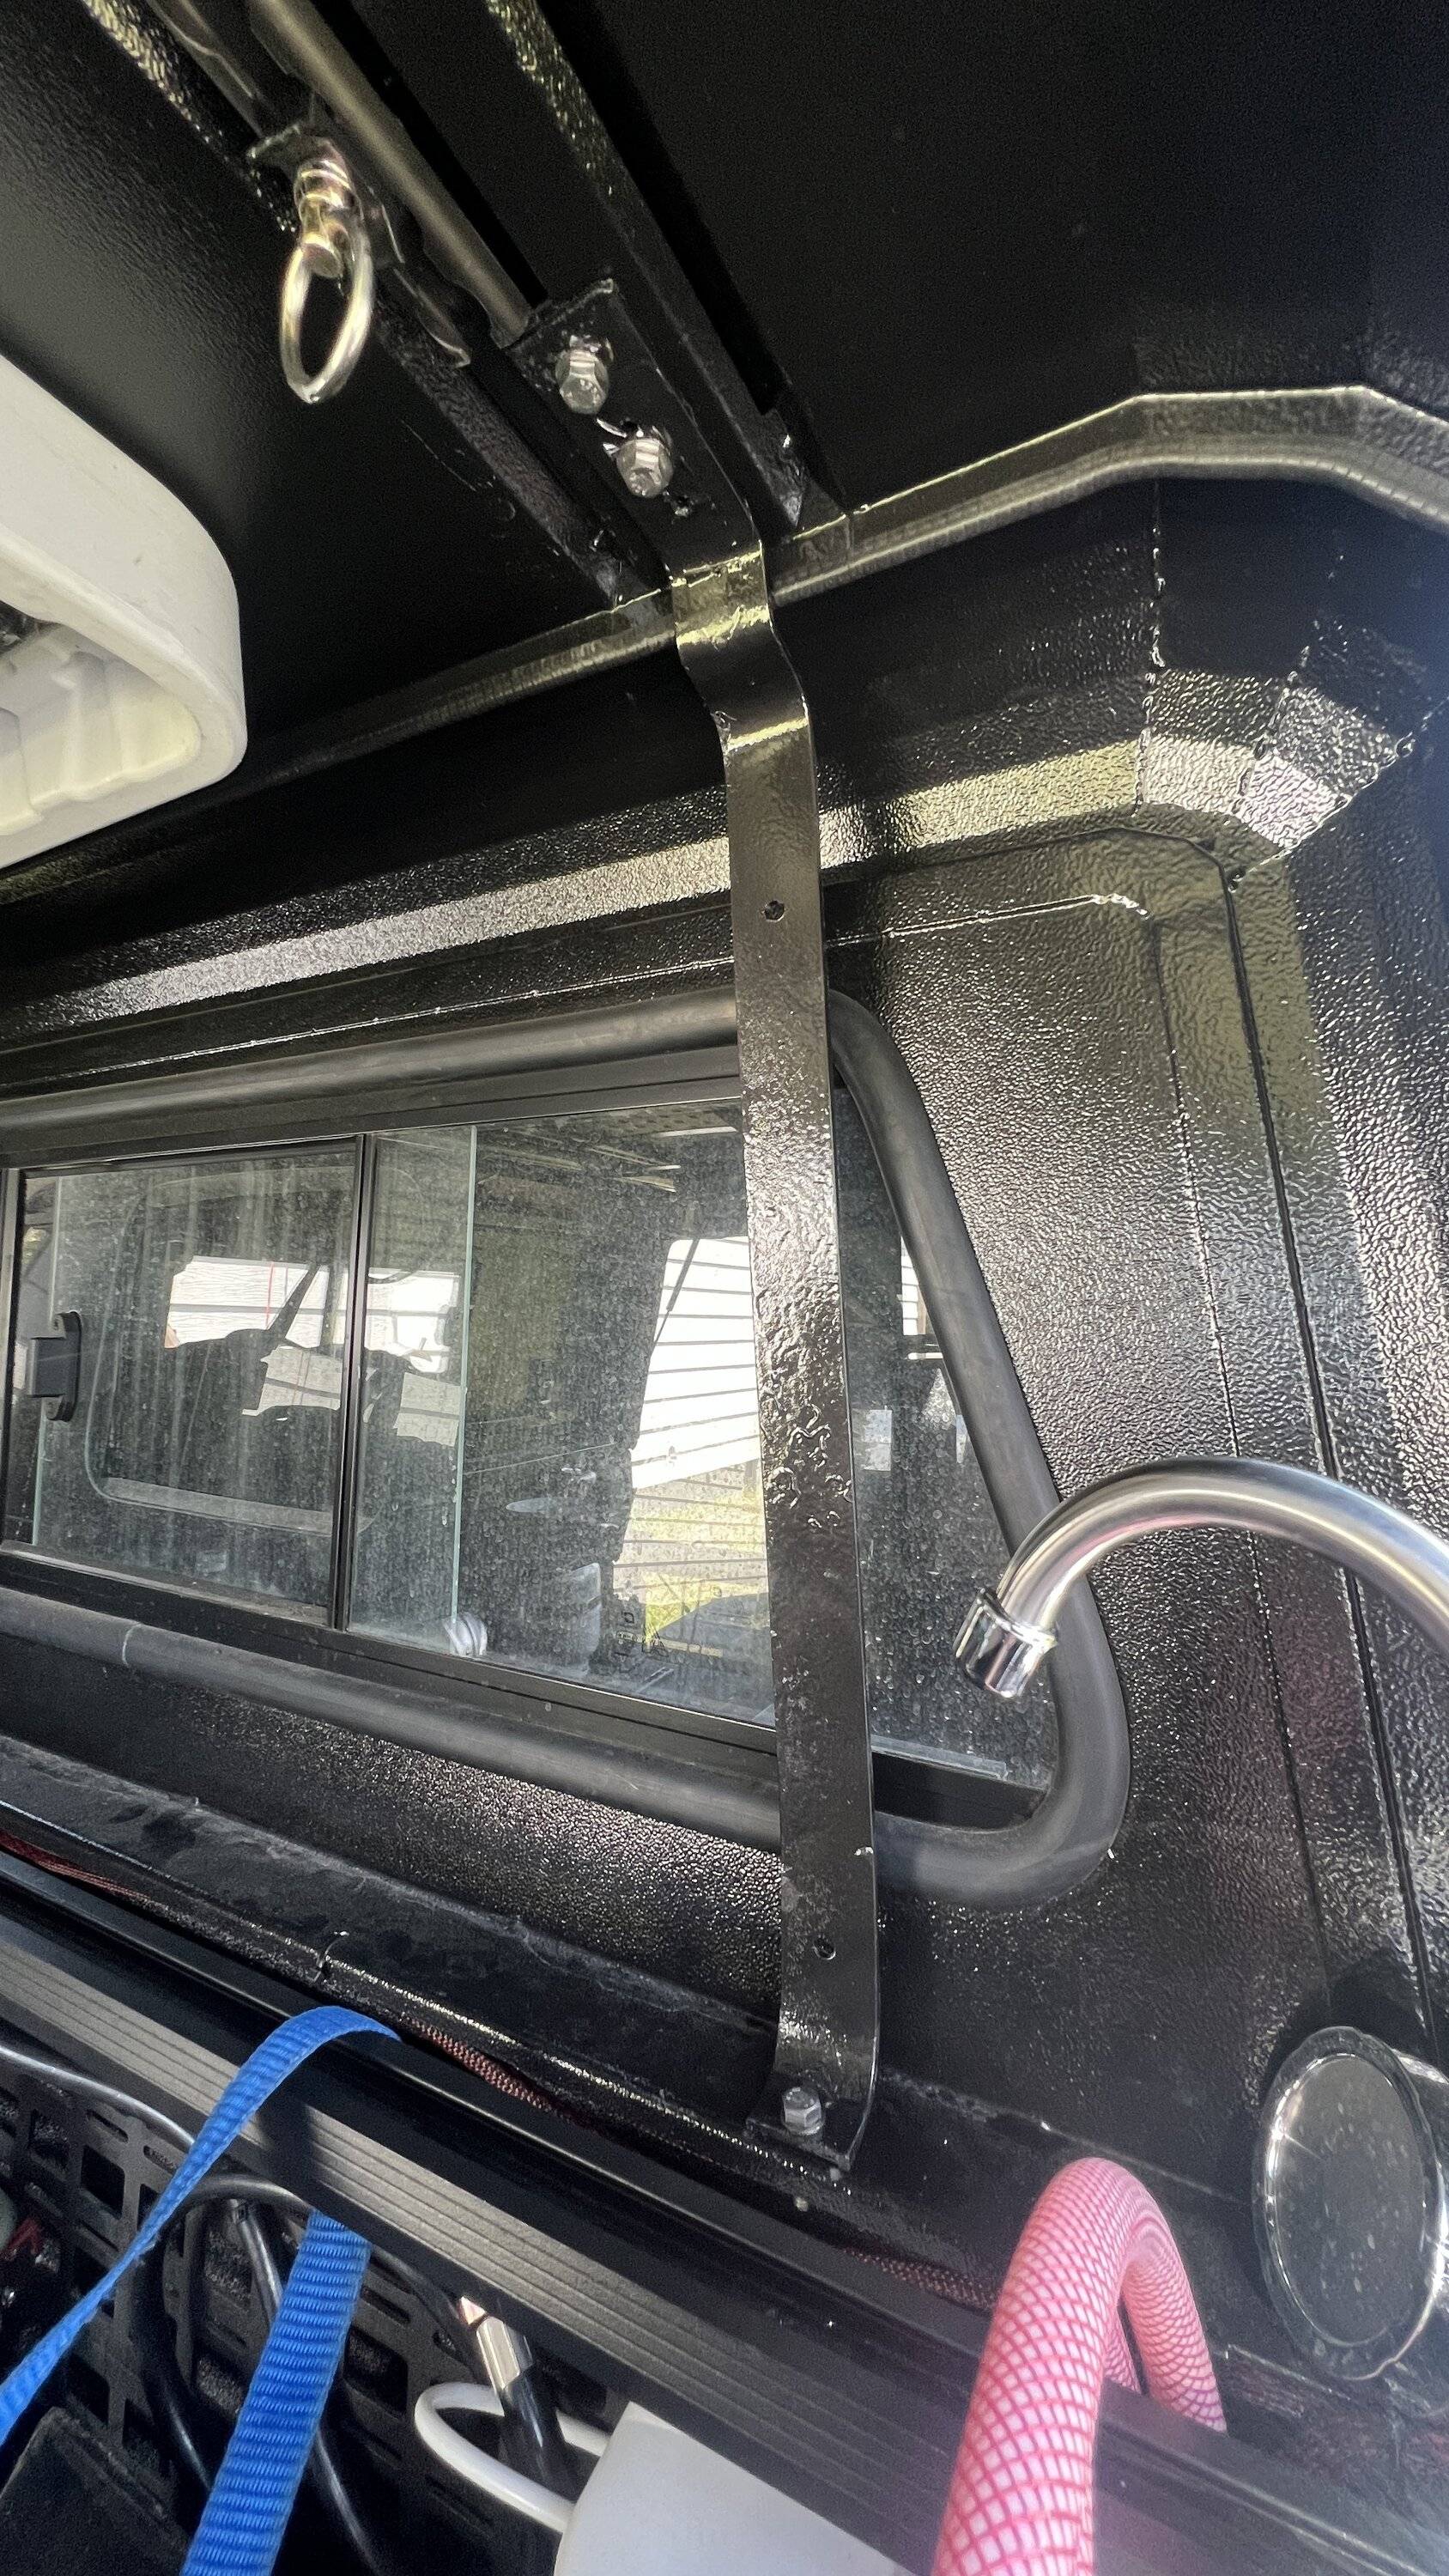
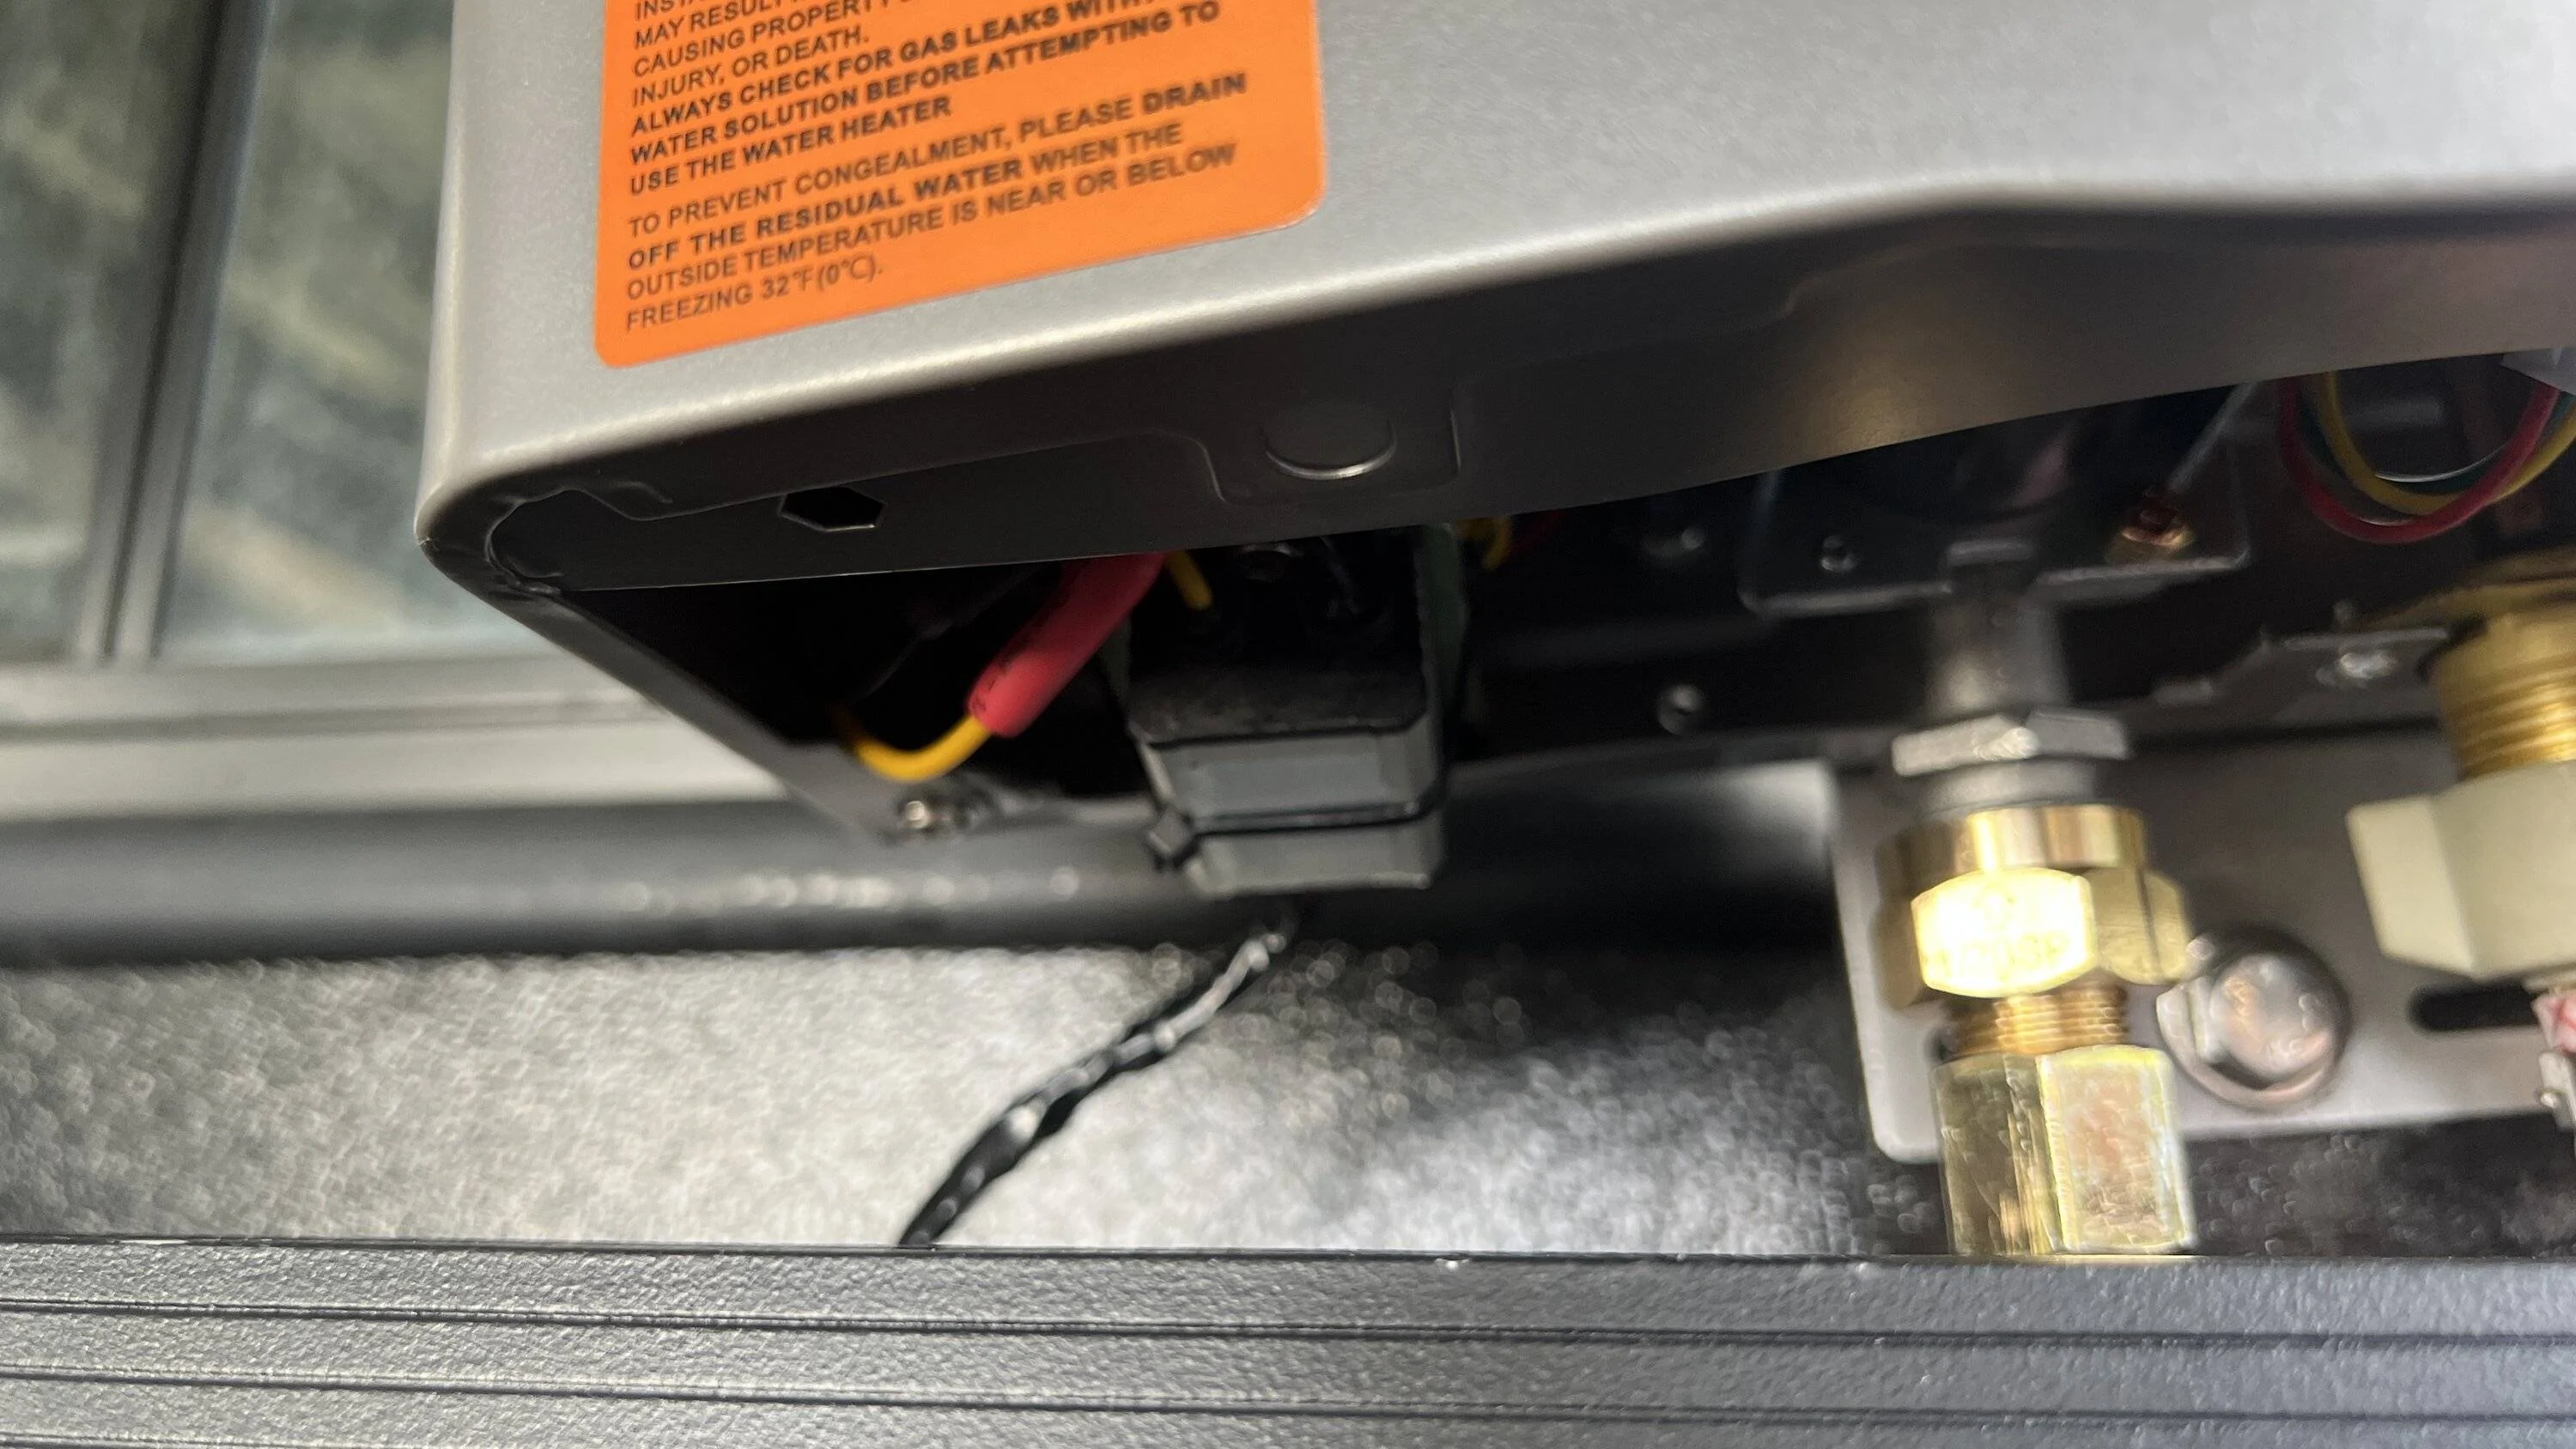
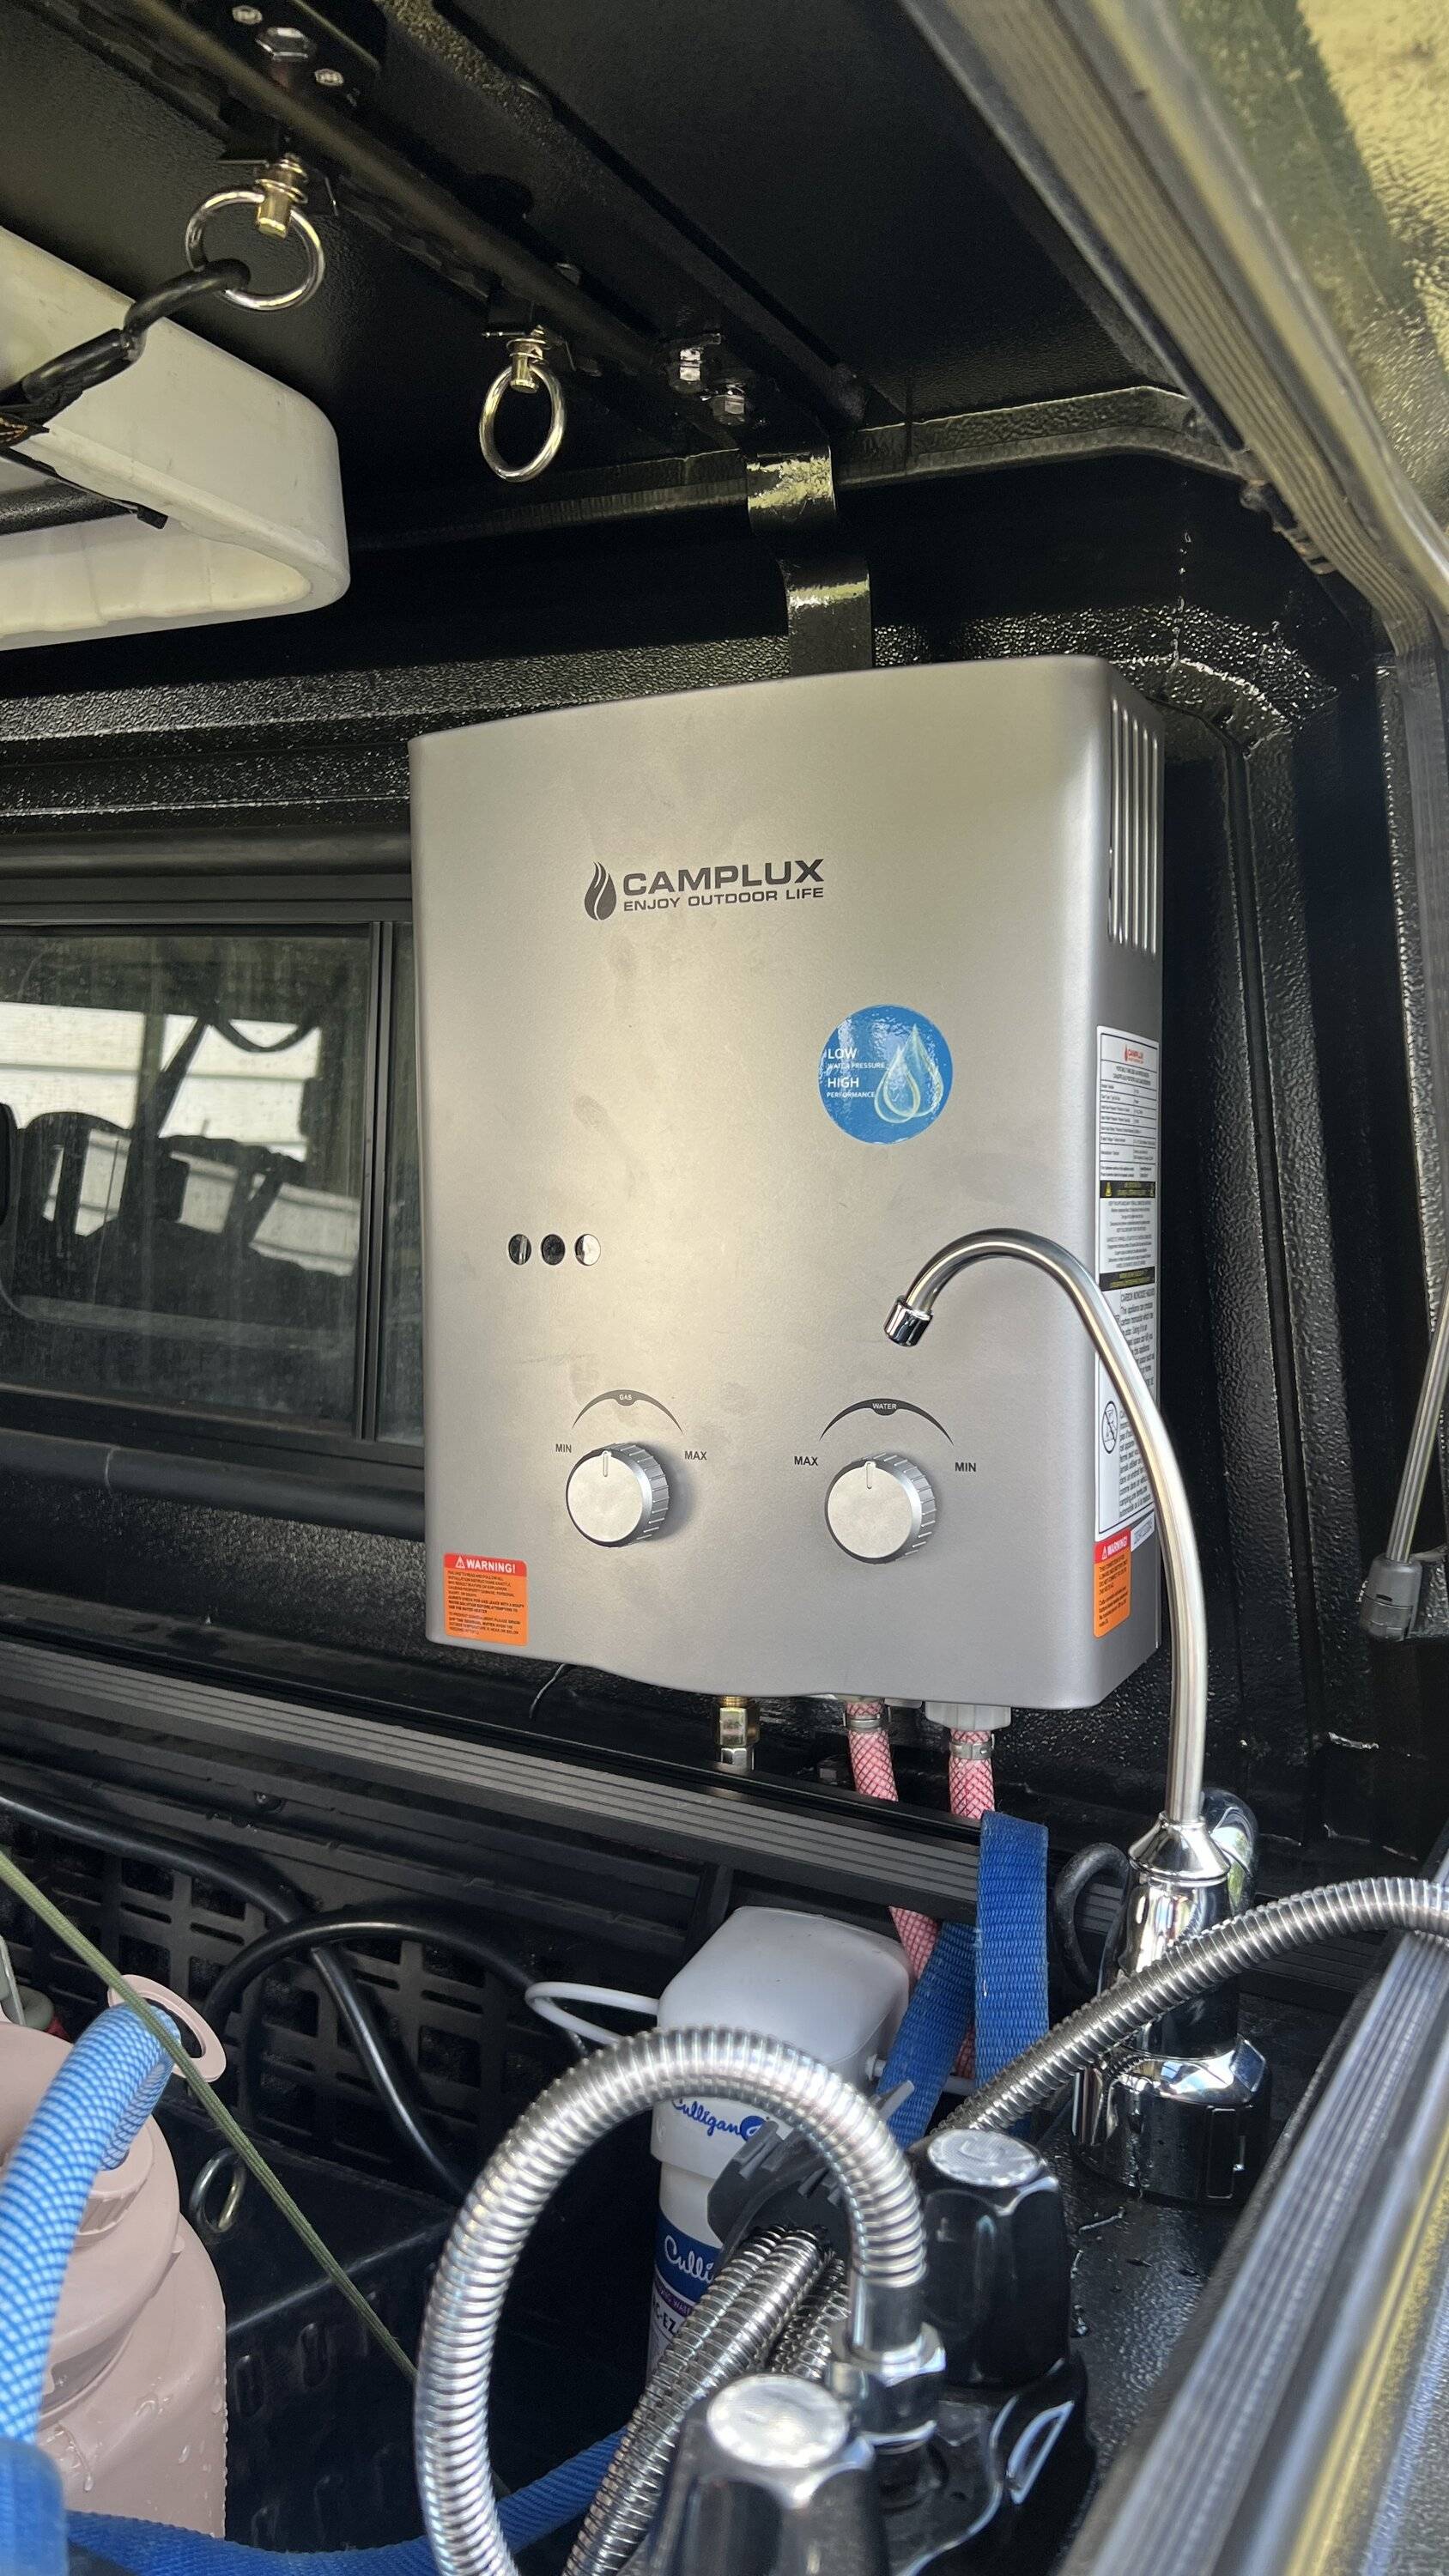
The most difficult part of this project was figuring a place to mount. Initially I wanted to mount it on the 813 panels, however, being unable to source a 90 degree compression fitting it was clear that location would not work. My second option was up against the rear window somehow. This was an issue, as stated several times, I dont have access to equipment for good quality fabrication. But, in this case it worked out ok. I had a piece of 1.5” angle alum with just the right amount of length. Cutting the angle part off, I was able to bend it by hand enough to make it form a C. this way I could bolt it to the top and bottom of the canopy, and bolt the heater to it. However, it is not the most structurally sound option and I am concerned of its longevity. So I used two bolts up top and one down below. Because of the lack of fabrication tools it is clearly not level or plum, but it will hopefully work. Time will tell how washboard roads treat this.

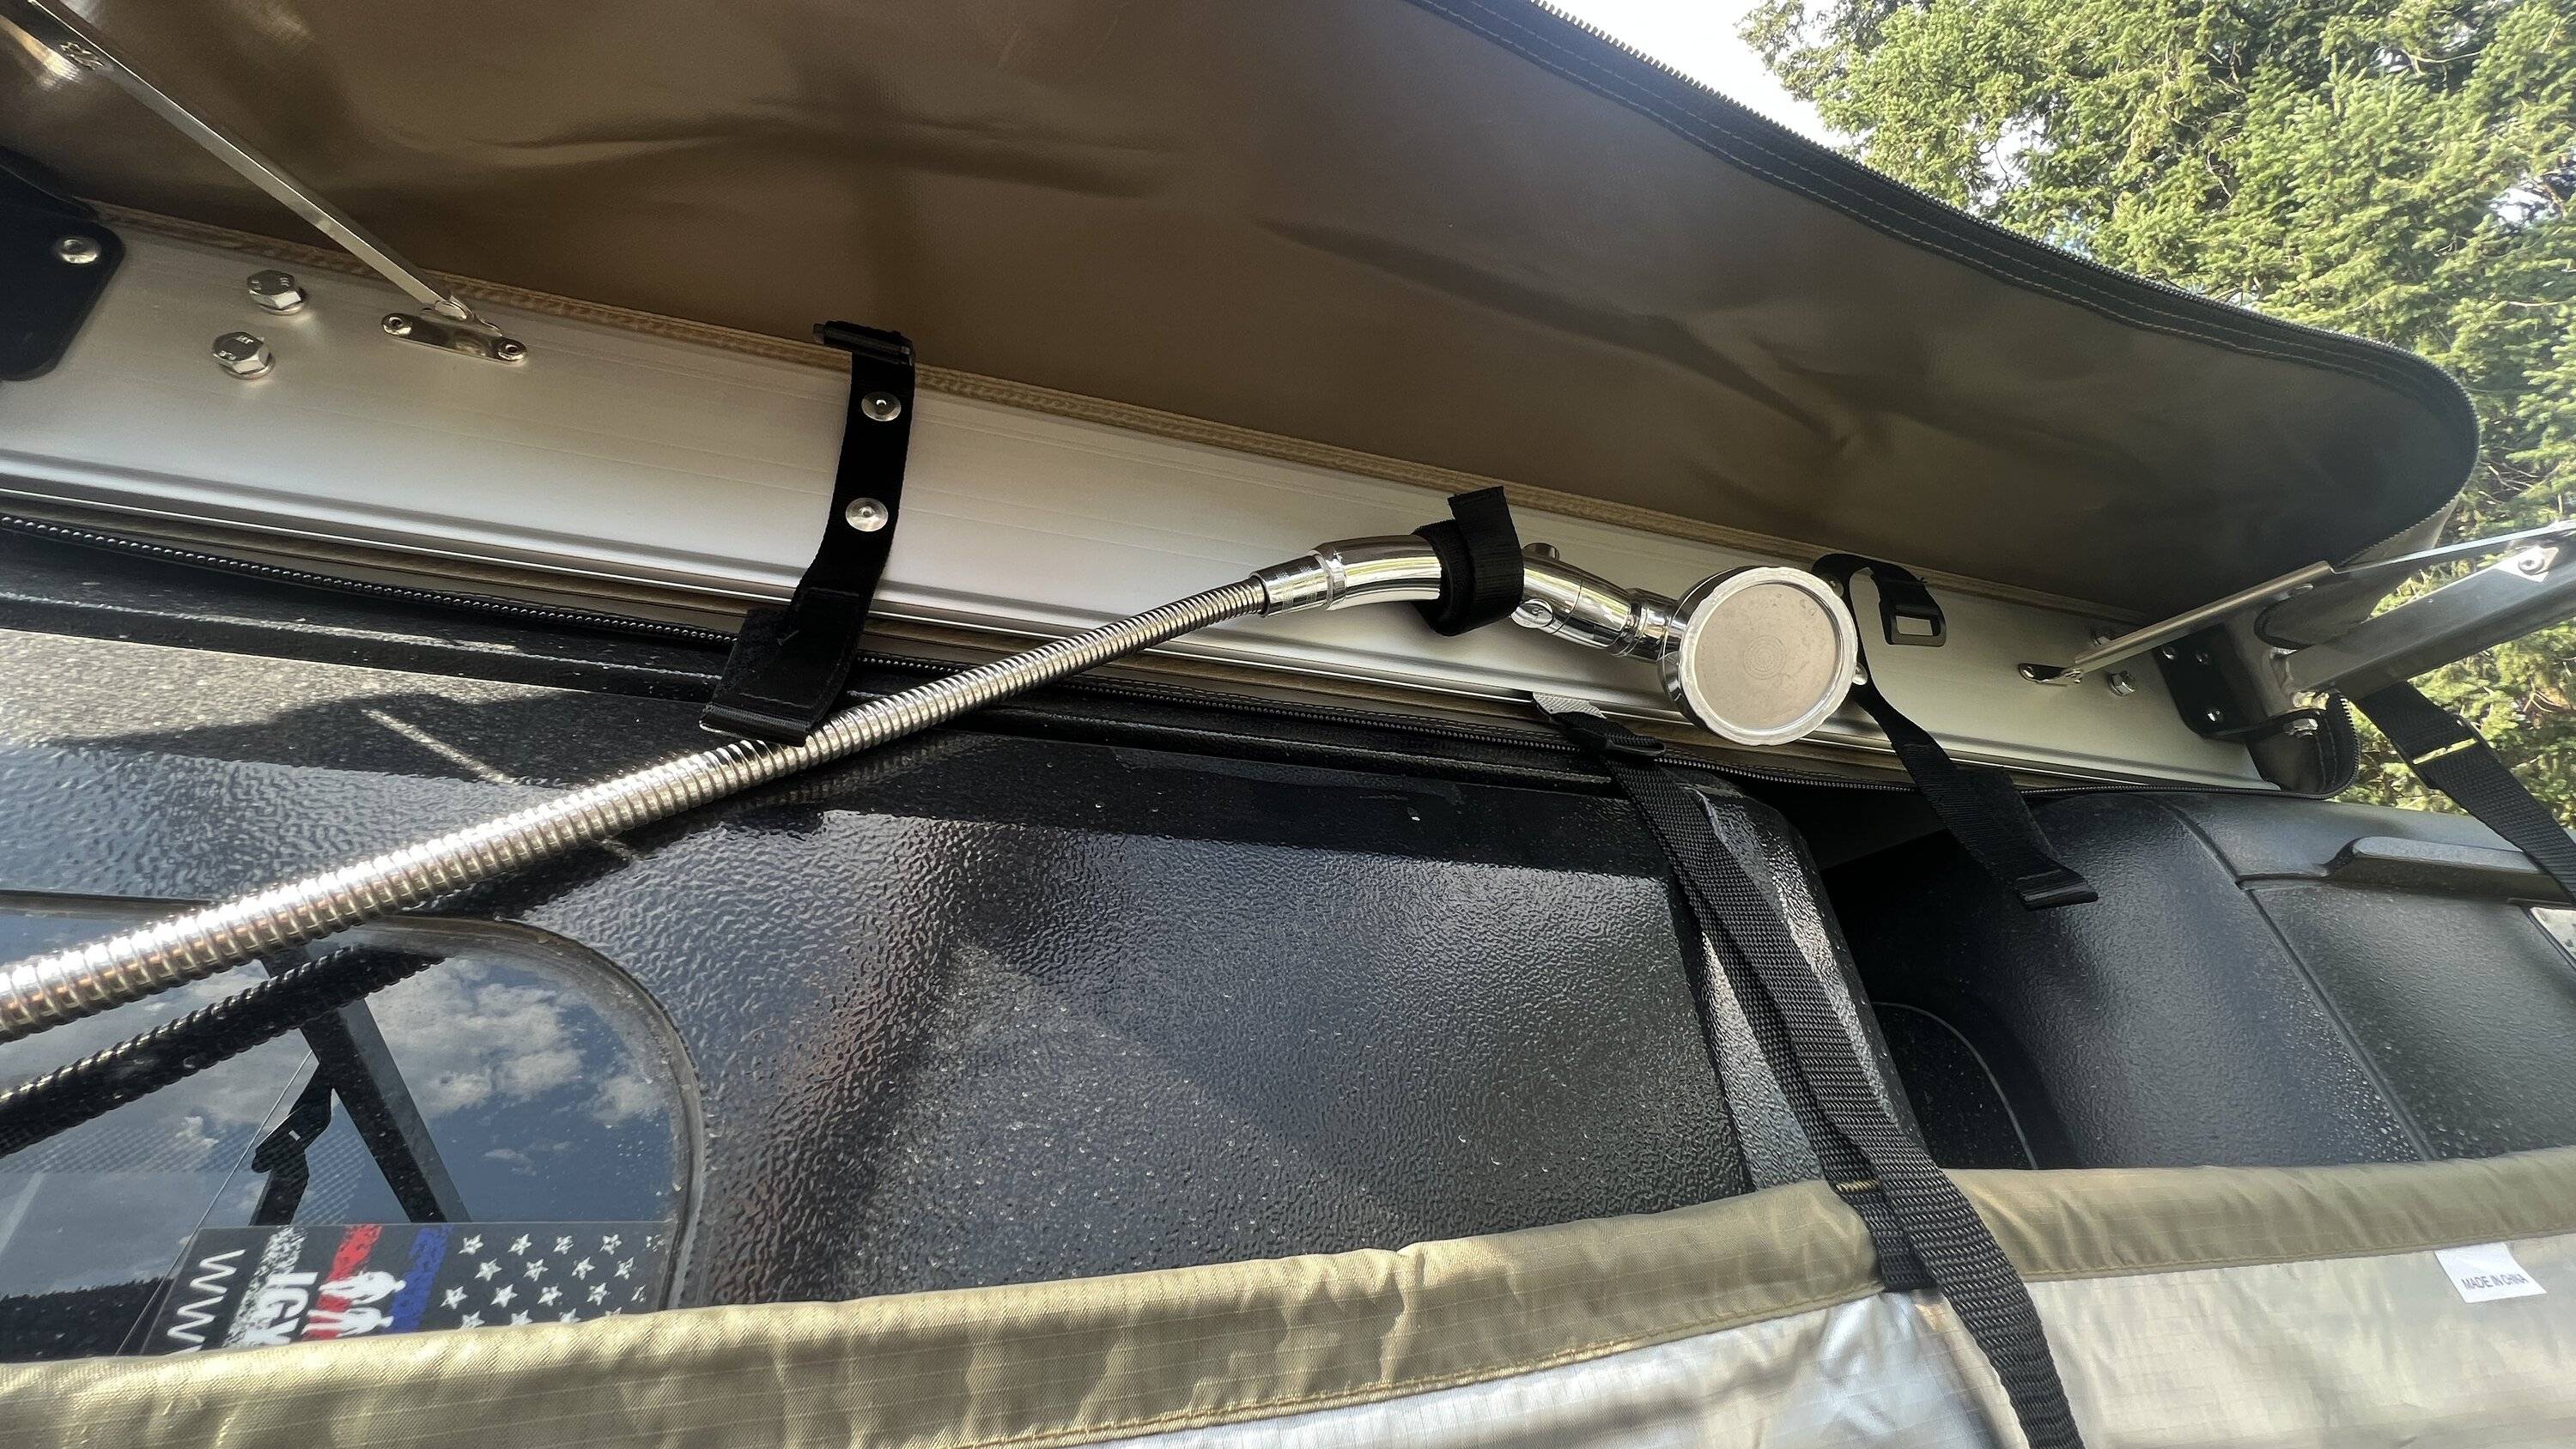
Next was to run the propane line. It turns out the propane dual output line along with the line included from camplux with their regulator was about 2’ too long. Which is actually perfect in order to allow extra in a coil should it need to be removed. The other side of the T is to be used with the jetboil stove.
I ran the line behind and under the lip of the canopy to ensure protection.
When getting ready to mount the tank itself I realized it would sit back a little too much to allow for easy connection of the water and LP lines. So I just grabbed some plywood, cut and painted, and used it to push the bottom
of the tank out just a bit. This turned out to be the perfect amount, so on went the lines.
Now everything is easy to access should any of it need to be removed. So time to pressurize the water and LP system and check for leaks.
Before the tank even went on, I was researching what to do about the ignitor. These tanks typically use D cell batteries. However, the last thing I wanted to deal with was batteries. They go bad at the worst time, they corrode, and just are a pain. So looking at how the batteries are connected I deducted the box was removable and could be replaced with a hardwired setup. One problem existed though, two D cell batteries wired in series equal only 3v. So connecting directly to my power system would probably cause a problem. But since Amazon has instant access to everything, a quick search revealed a voltage converter. So I was able to direct wire To my power system like everything else and step down voltage to 3.0v
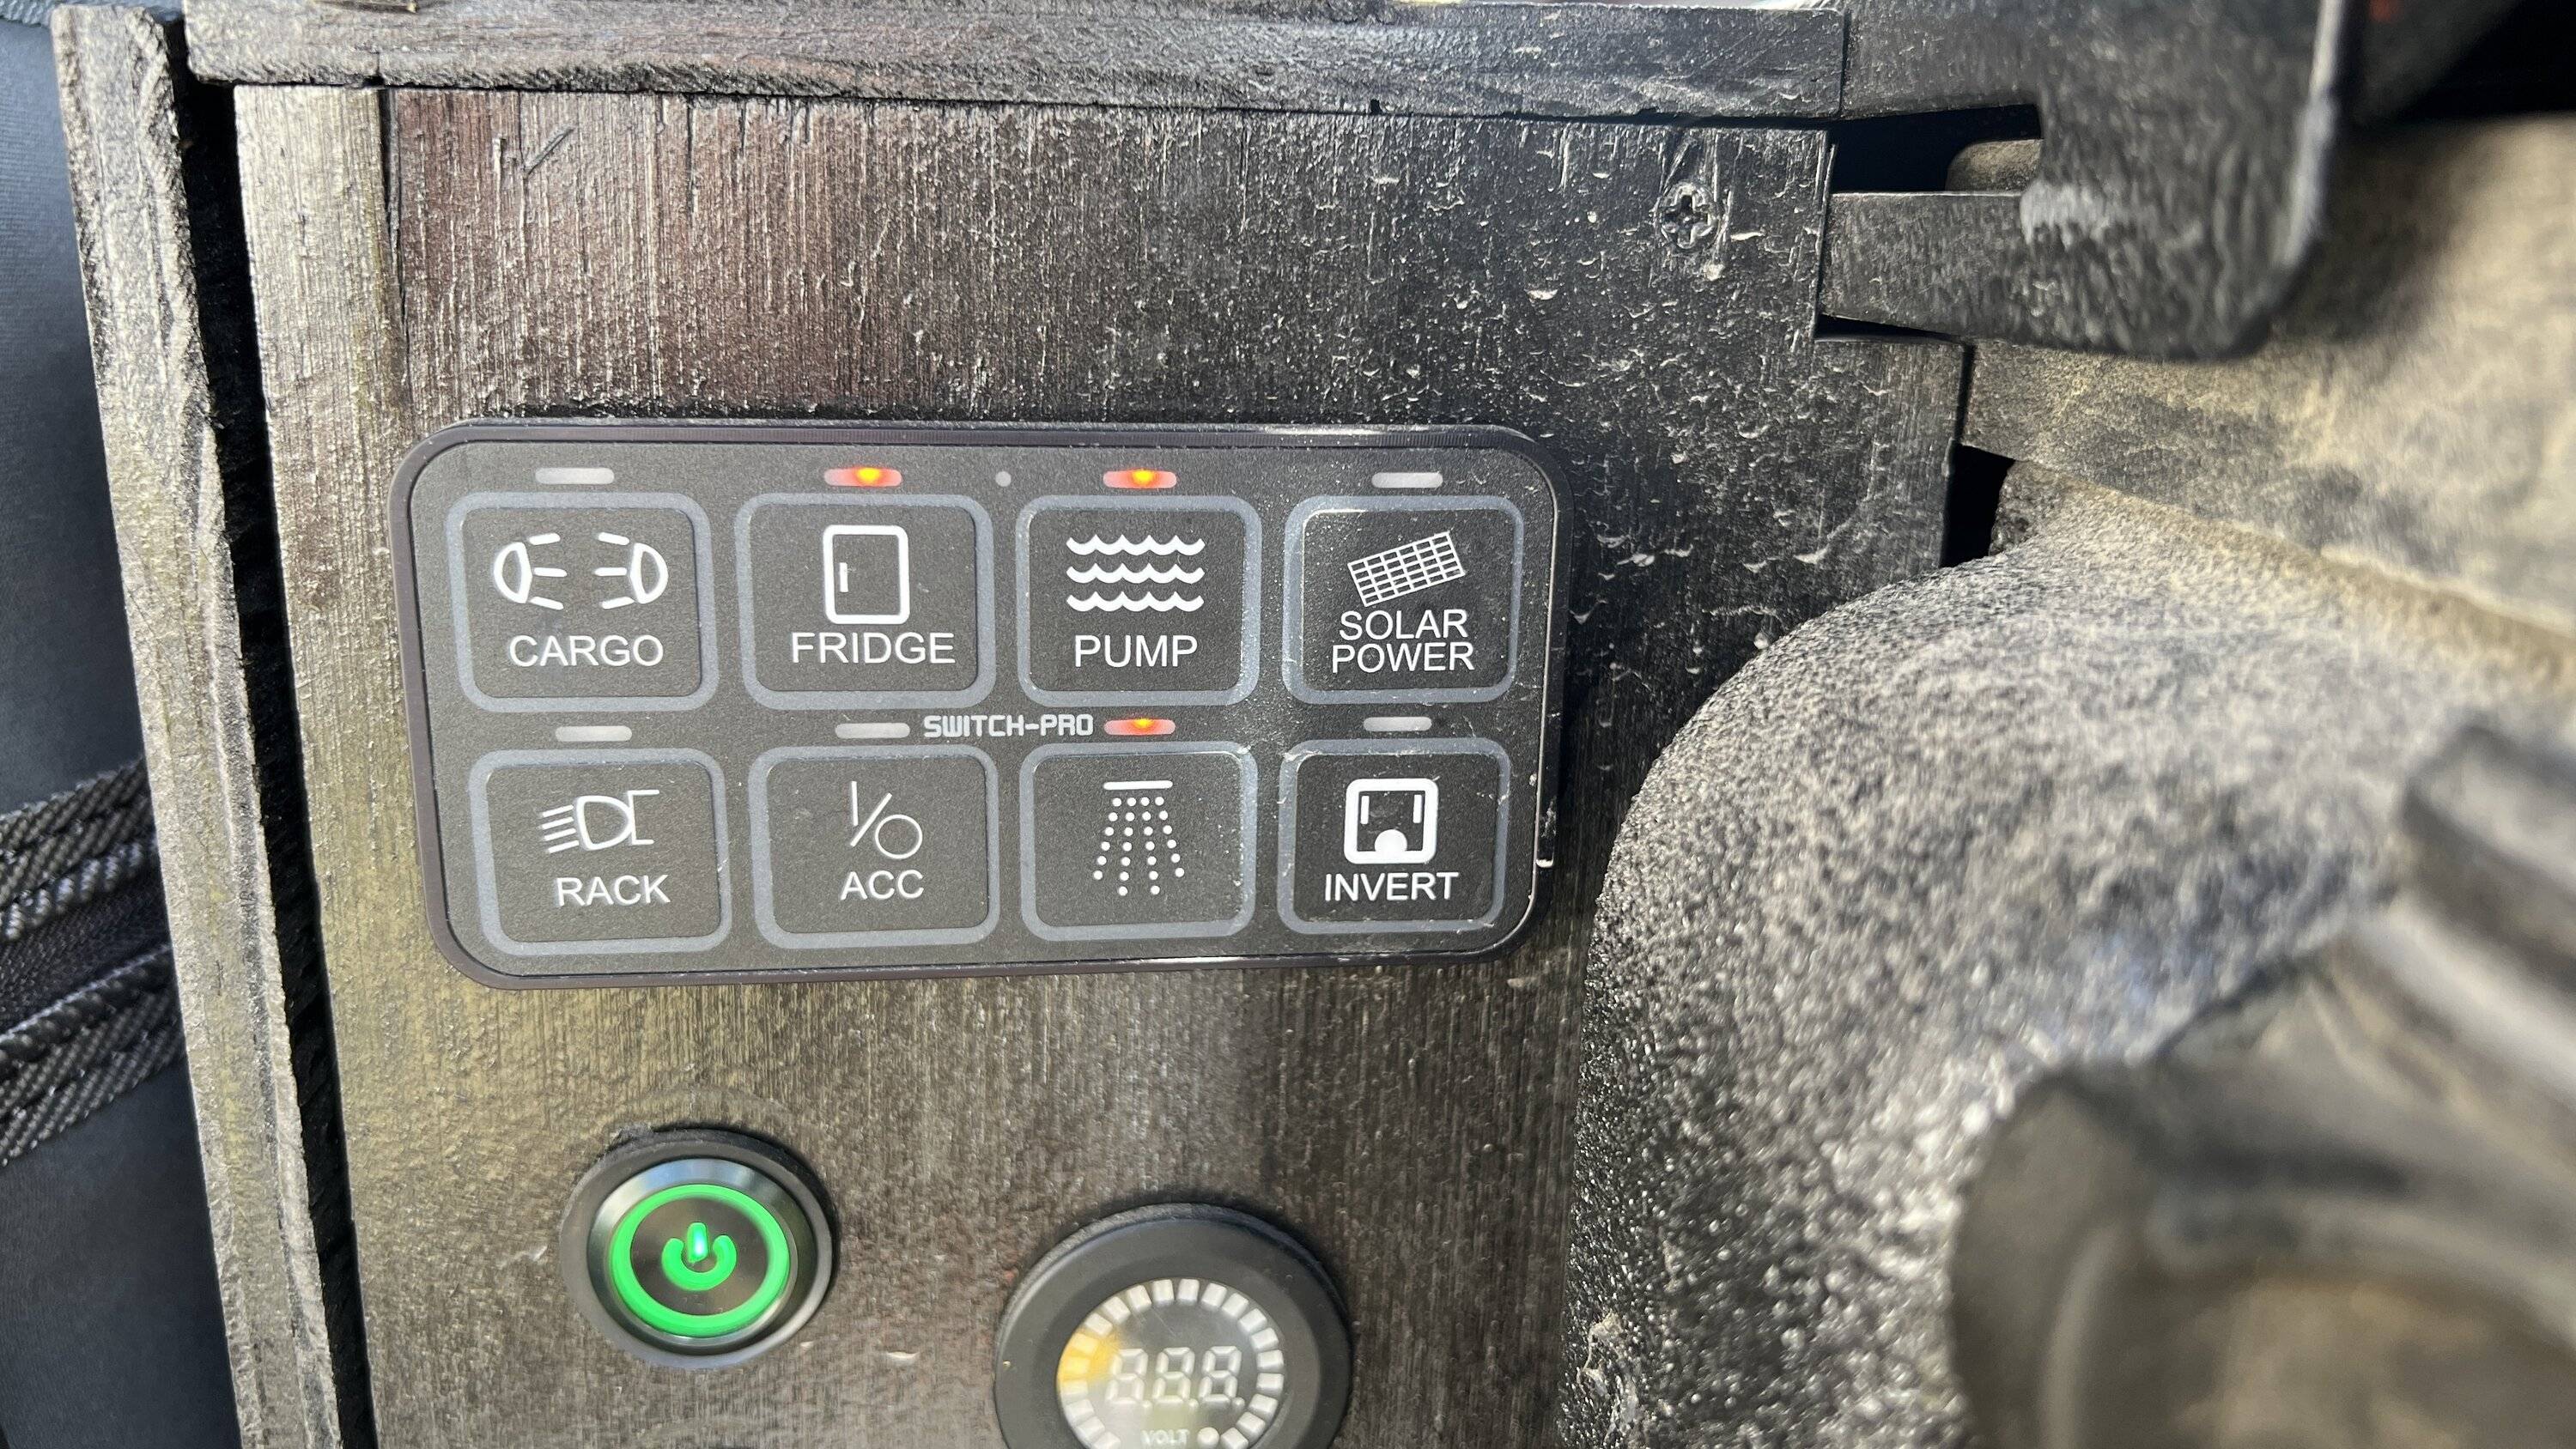
I wired it to one of the outputs of the switch pros panel so that the water pump and heater could be operated separately in the event that the heater had a problem.
So lets fill up a scepter can, and test it out!
Success!!! Hot water! And very hot indeed! So I turned it down and it is perfect. Now I can take hot showers and wash dishes comfortably. But caution must be taken because this setup will blow through water like nobodys business.
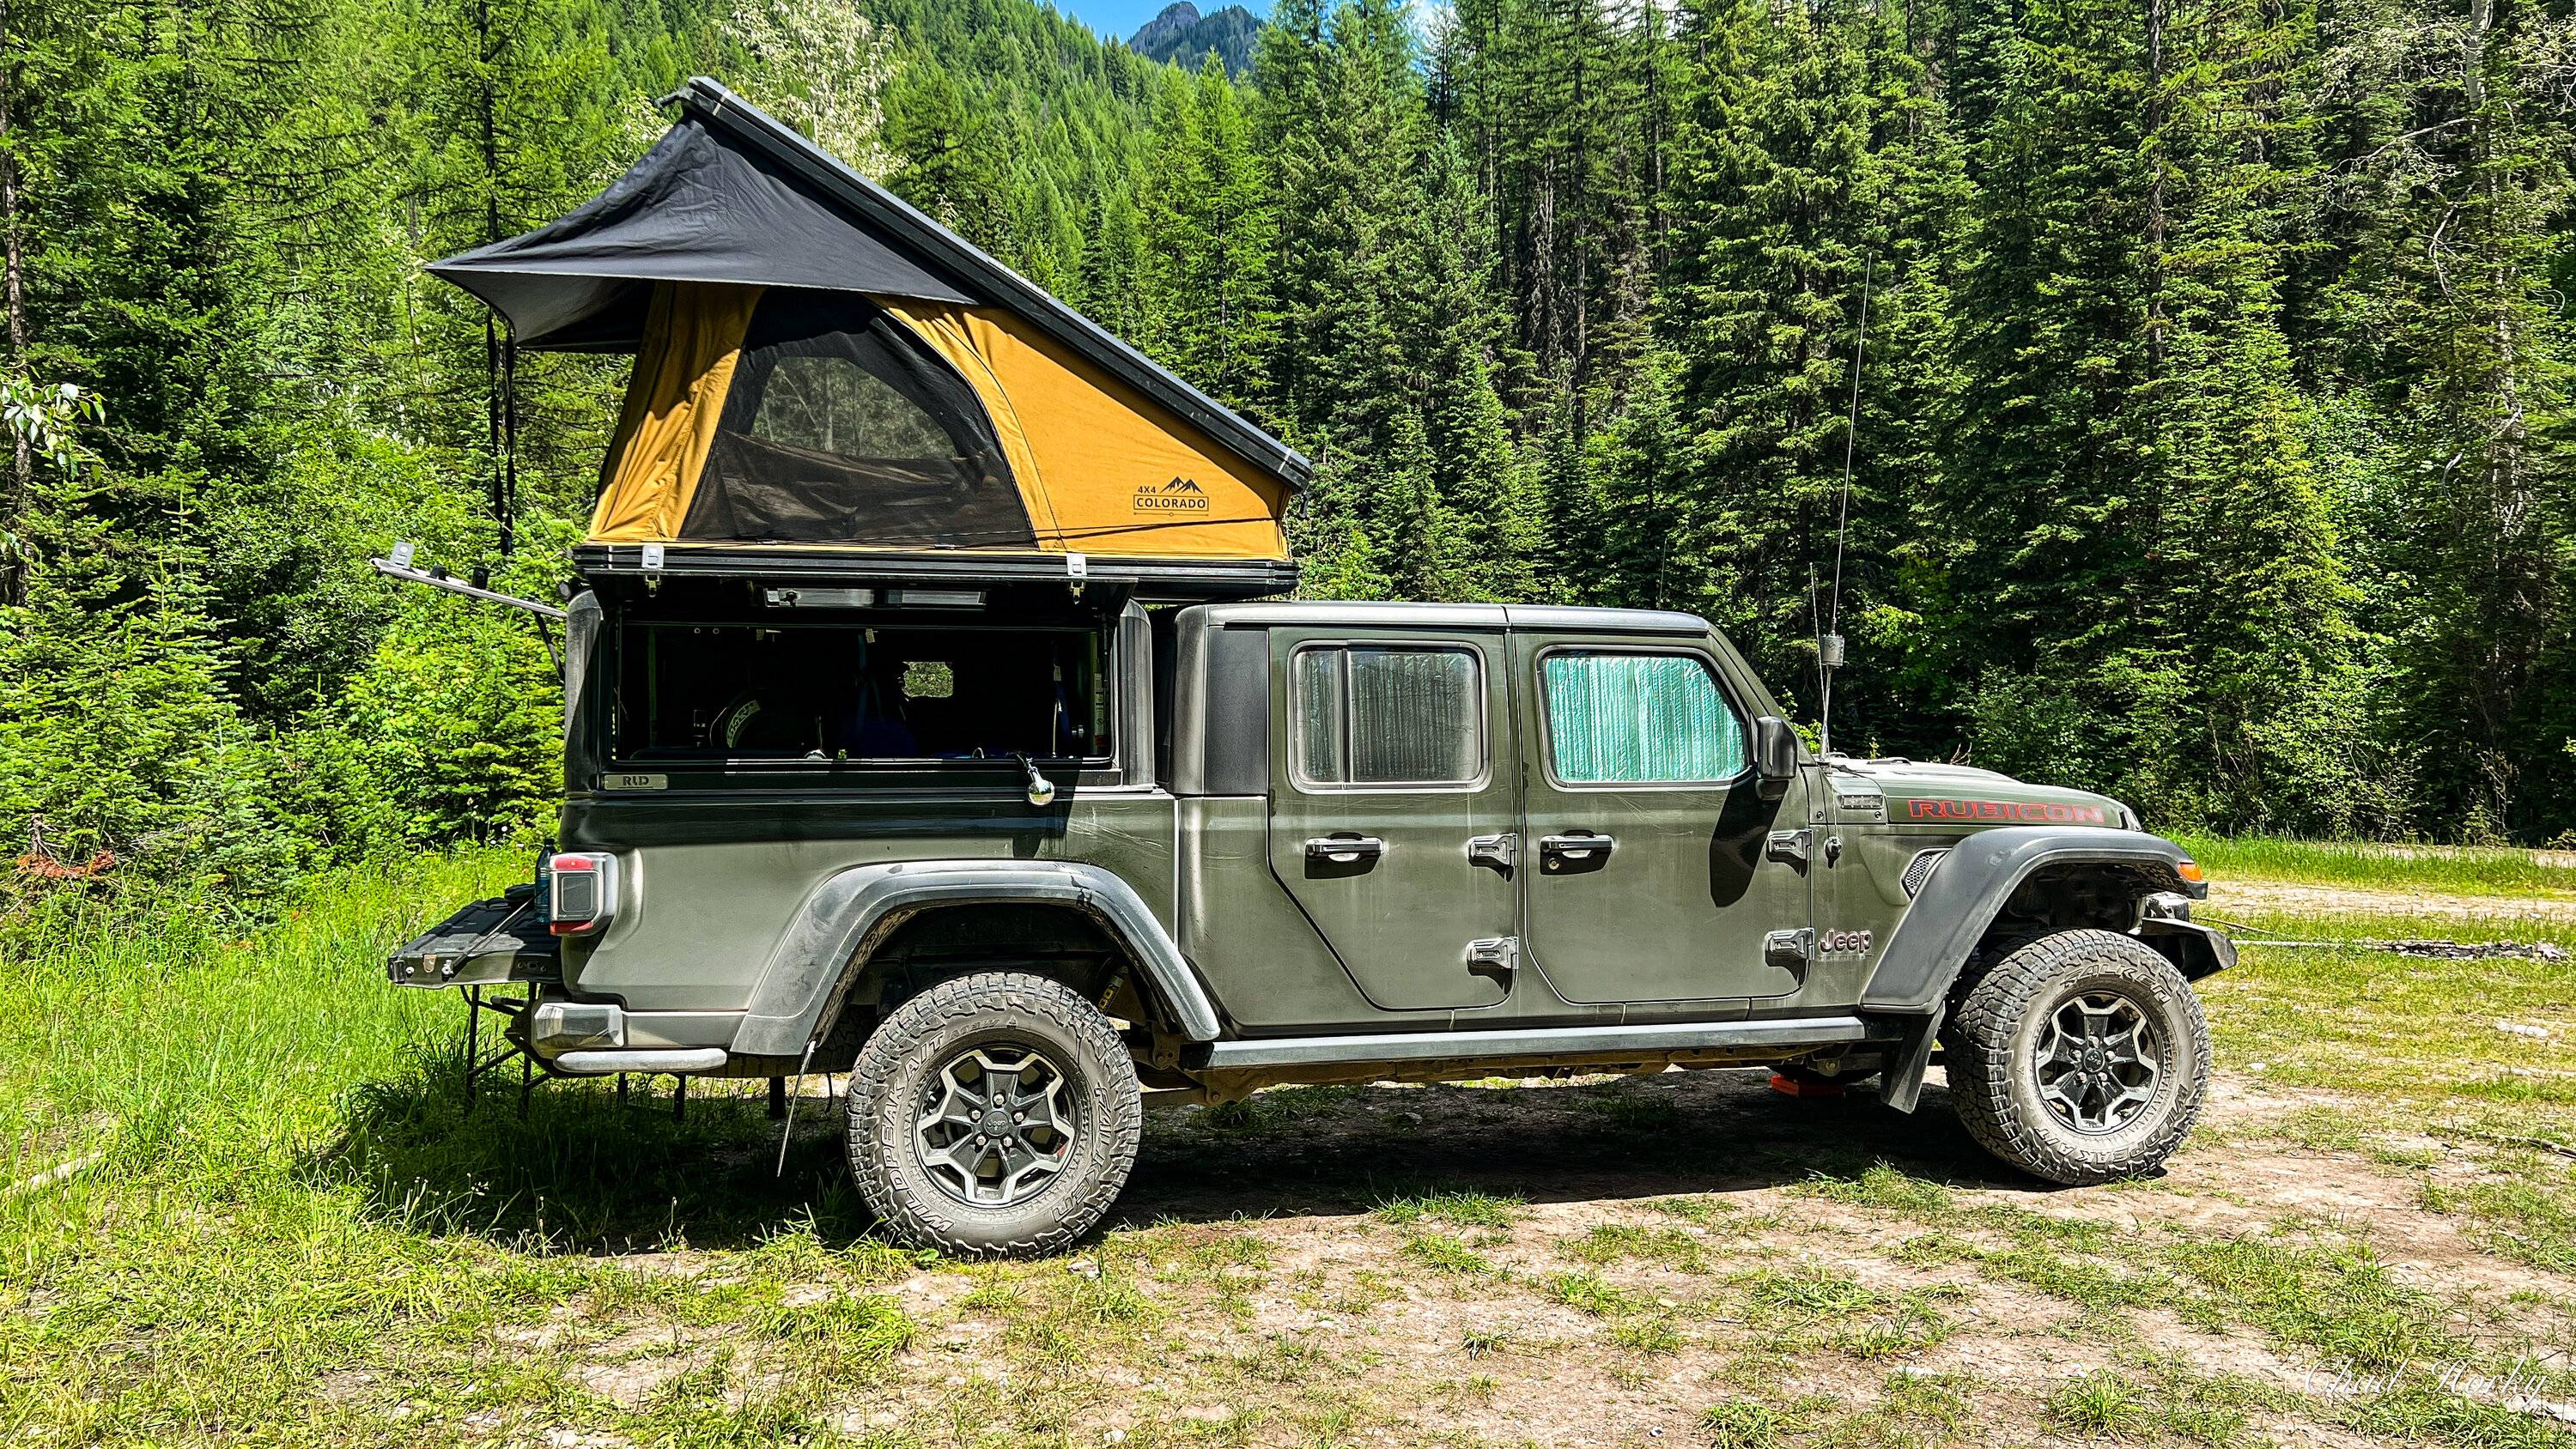
And with that the water system is in! Now I am fully ready for several week long trips this summer!
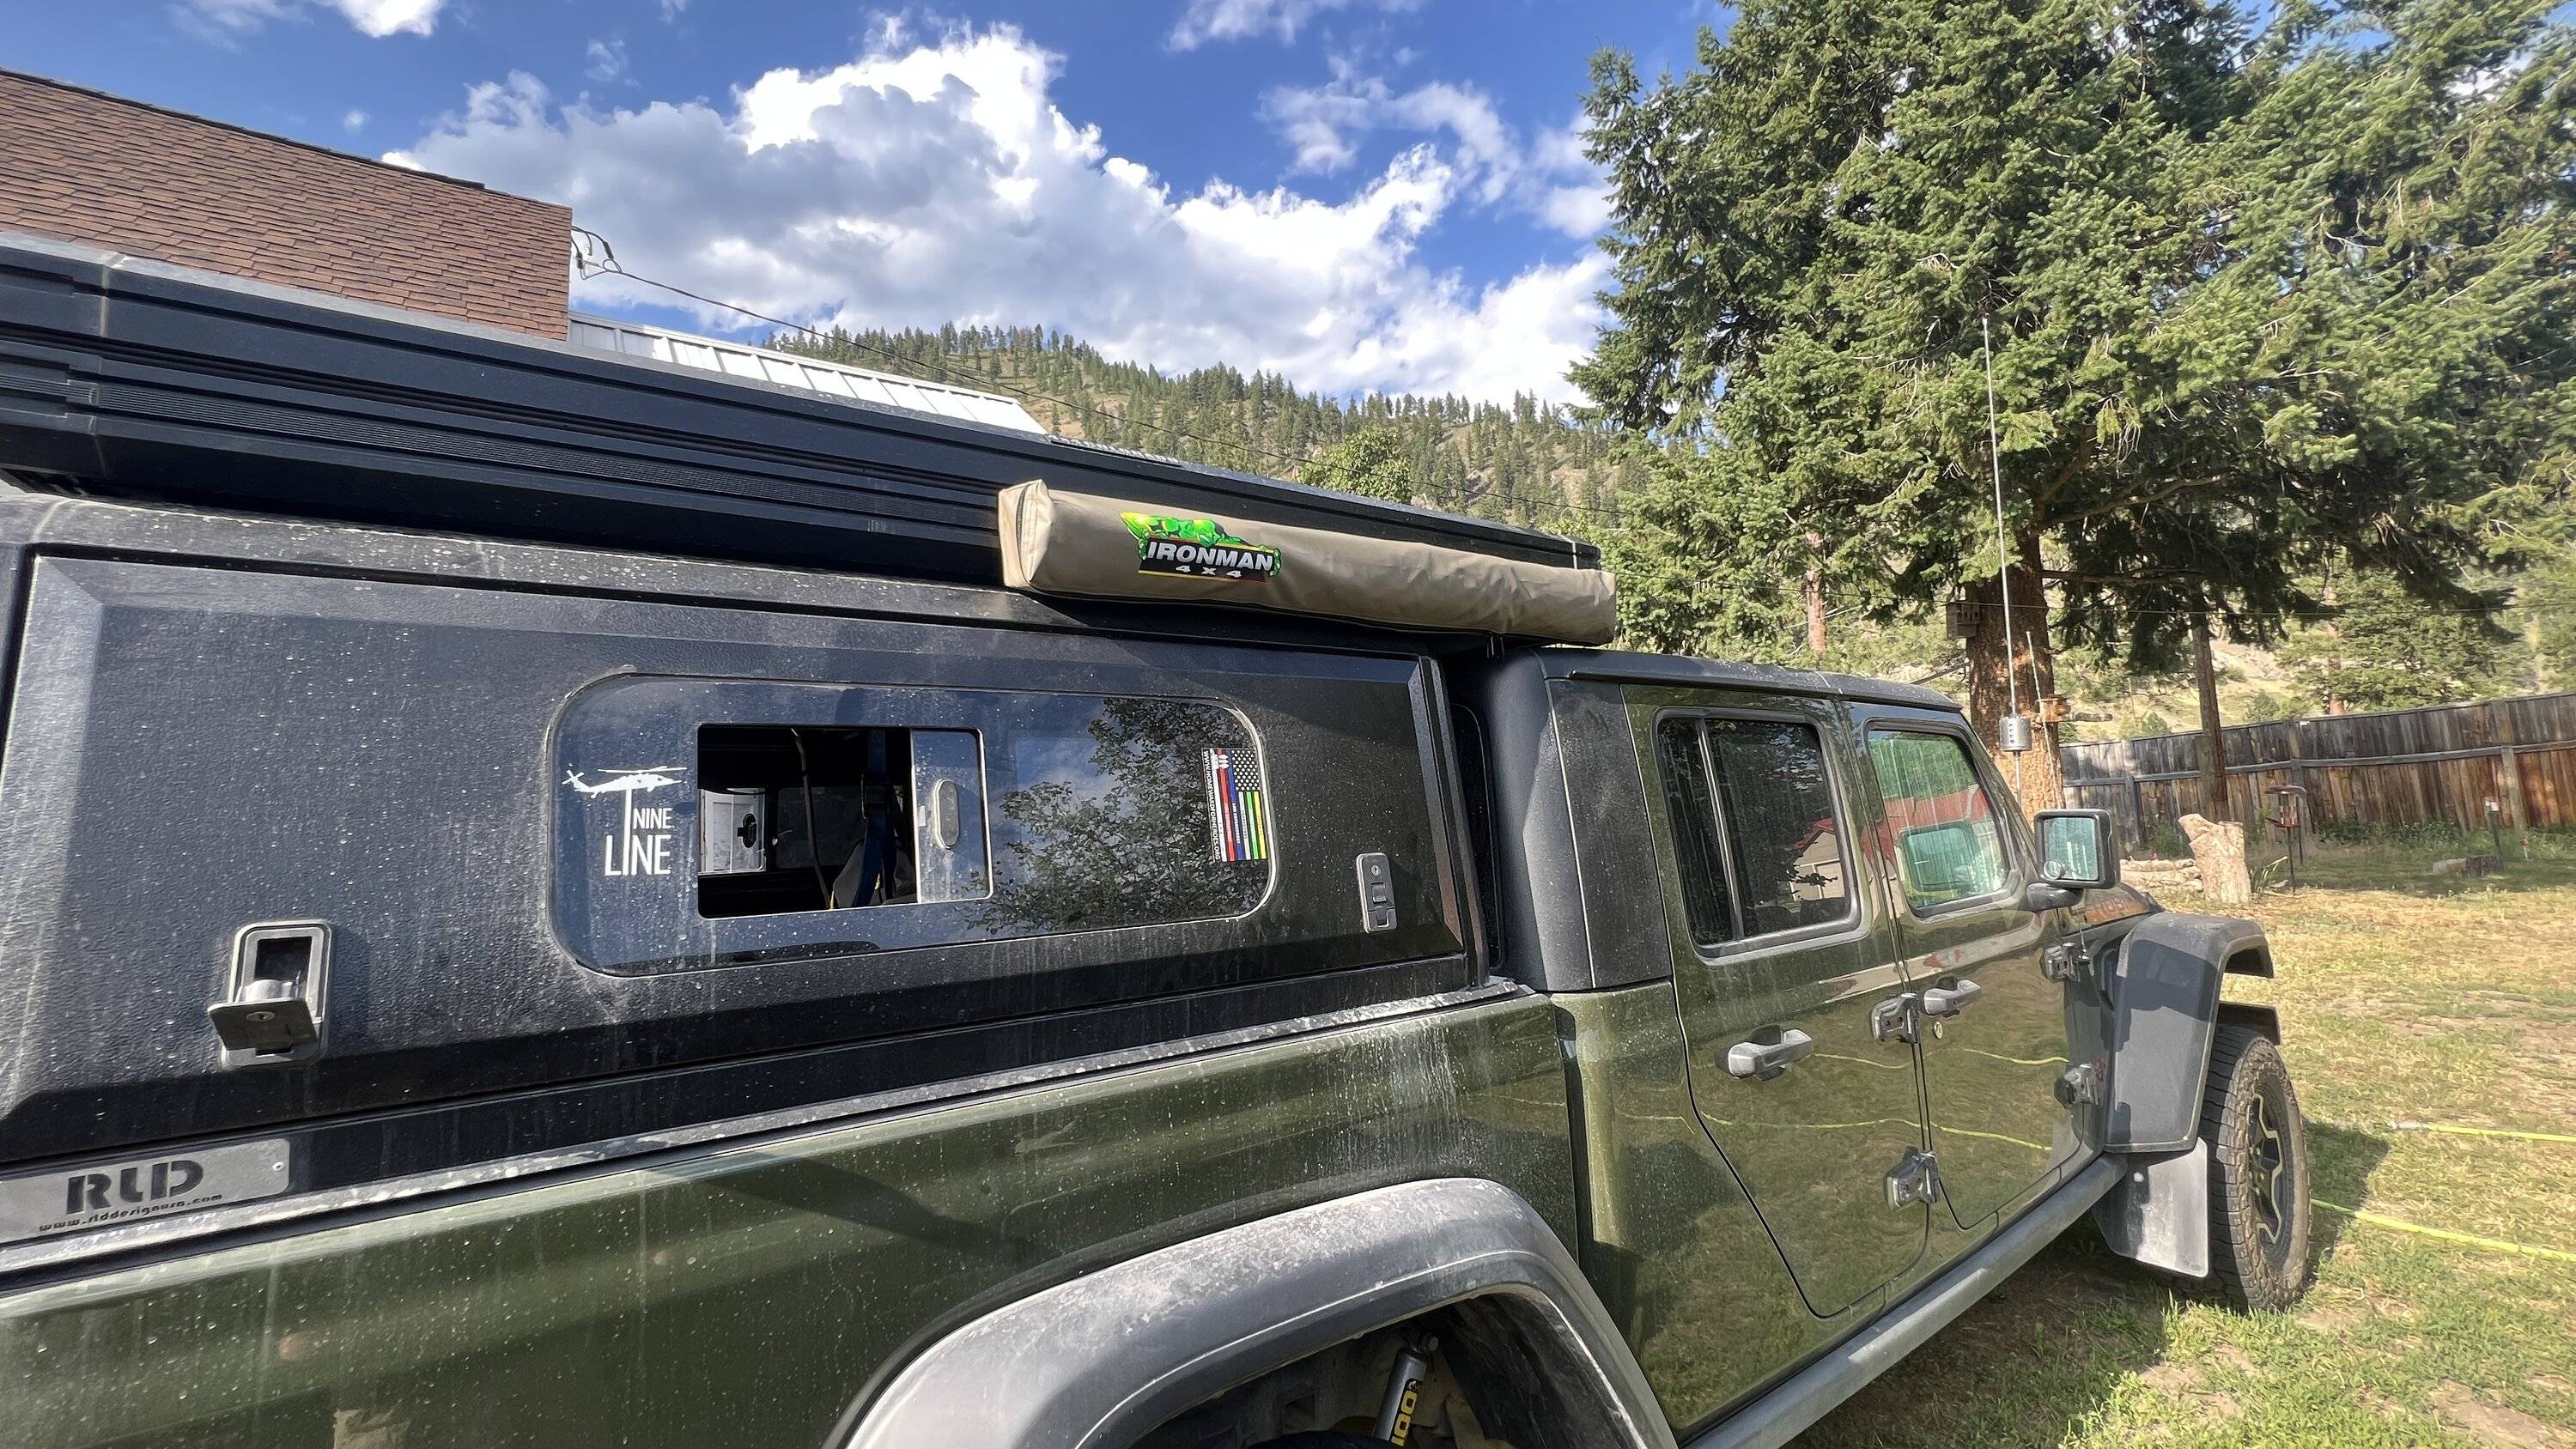
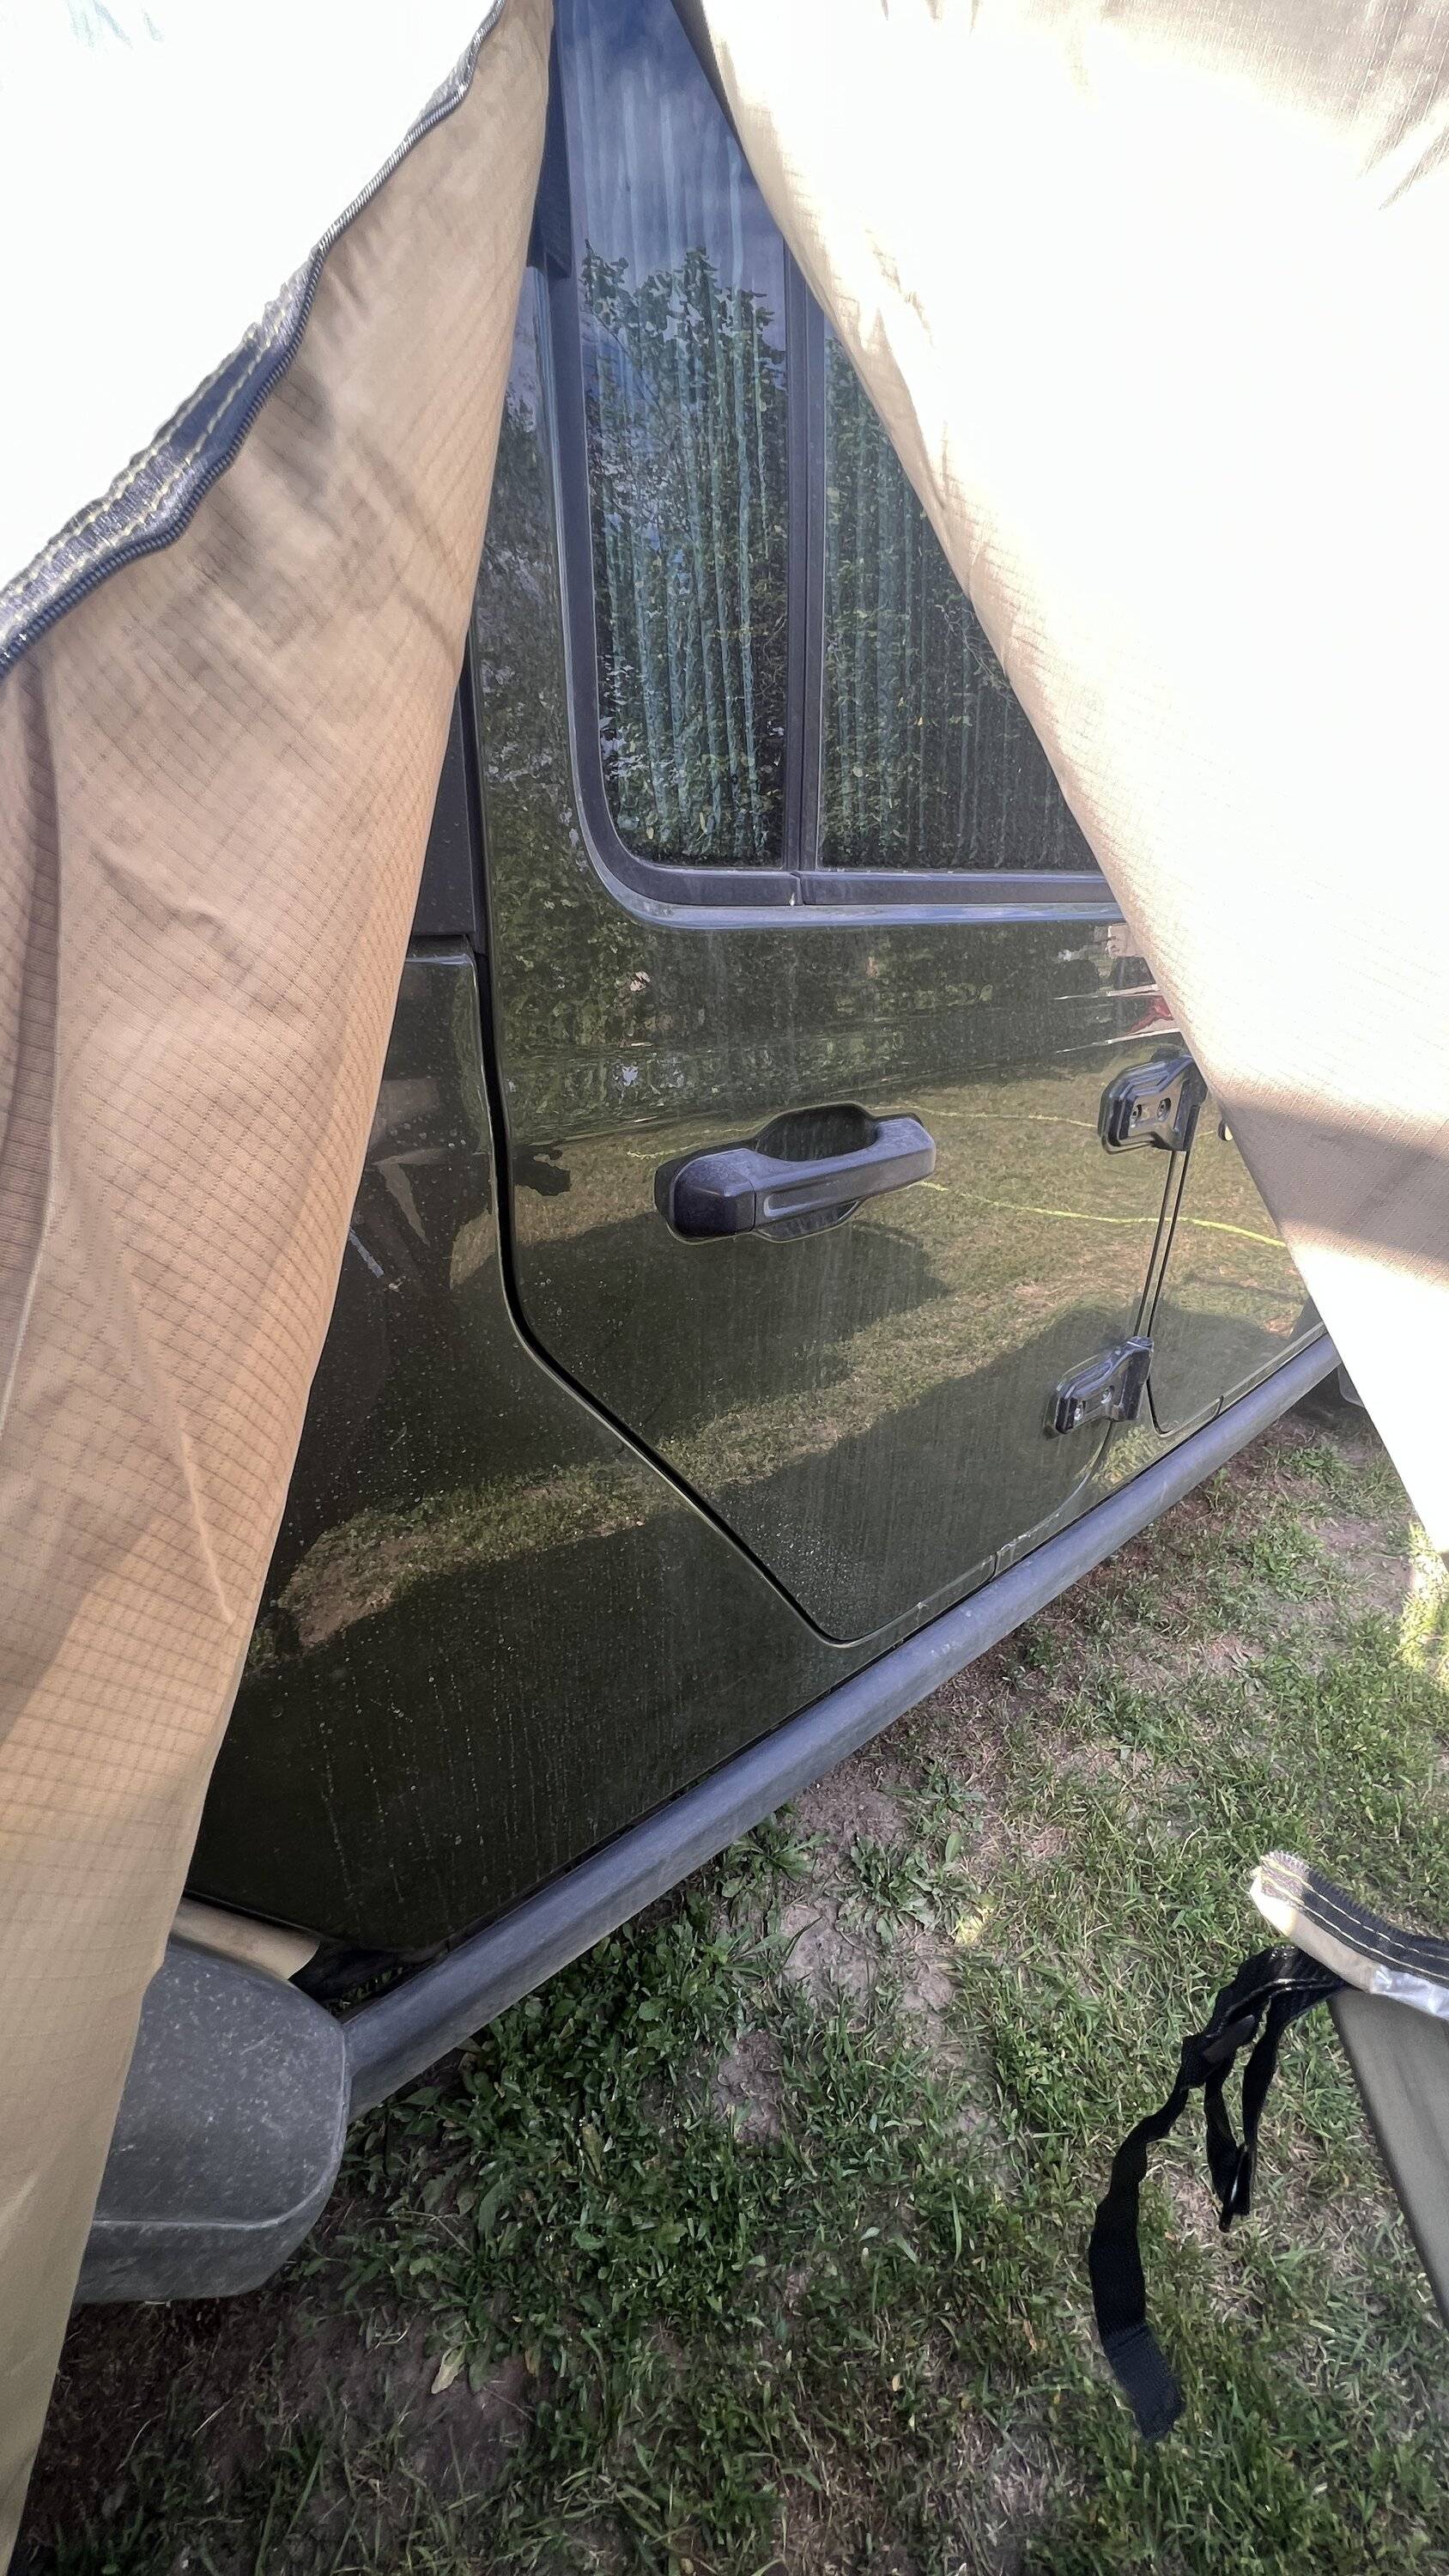
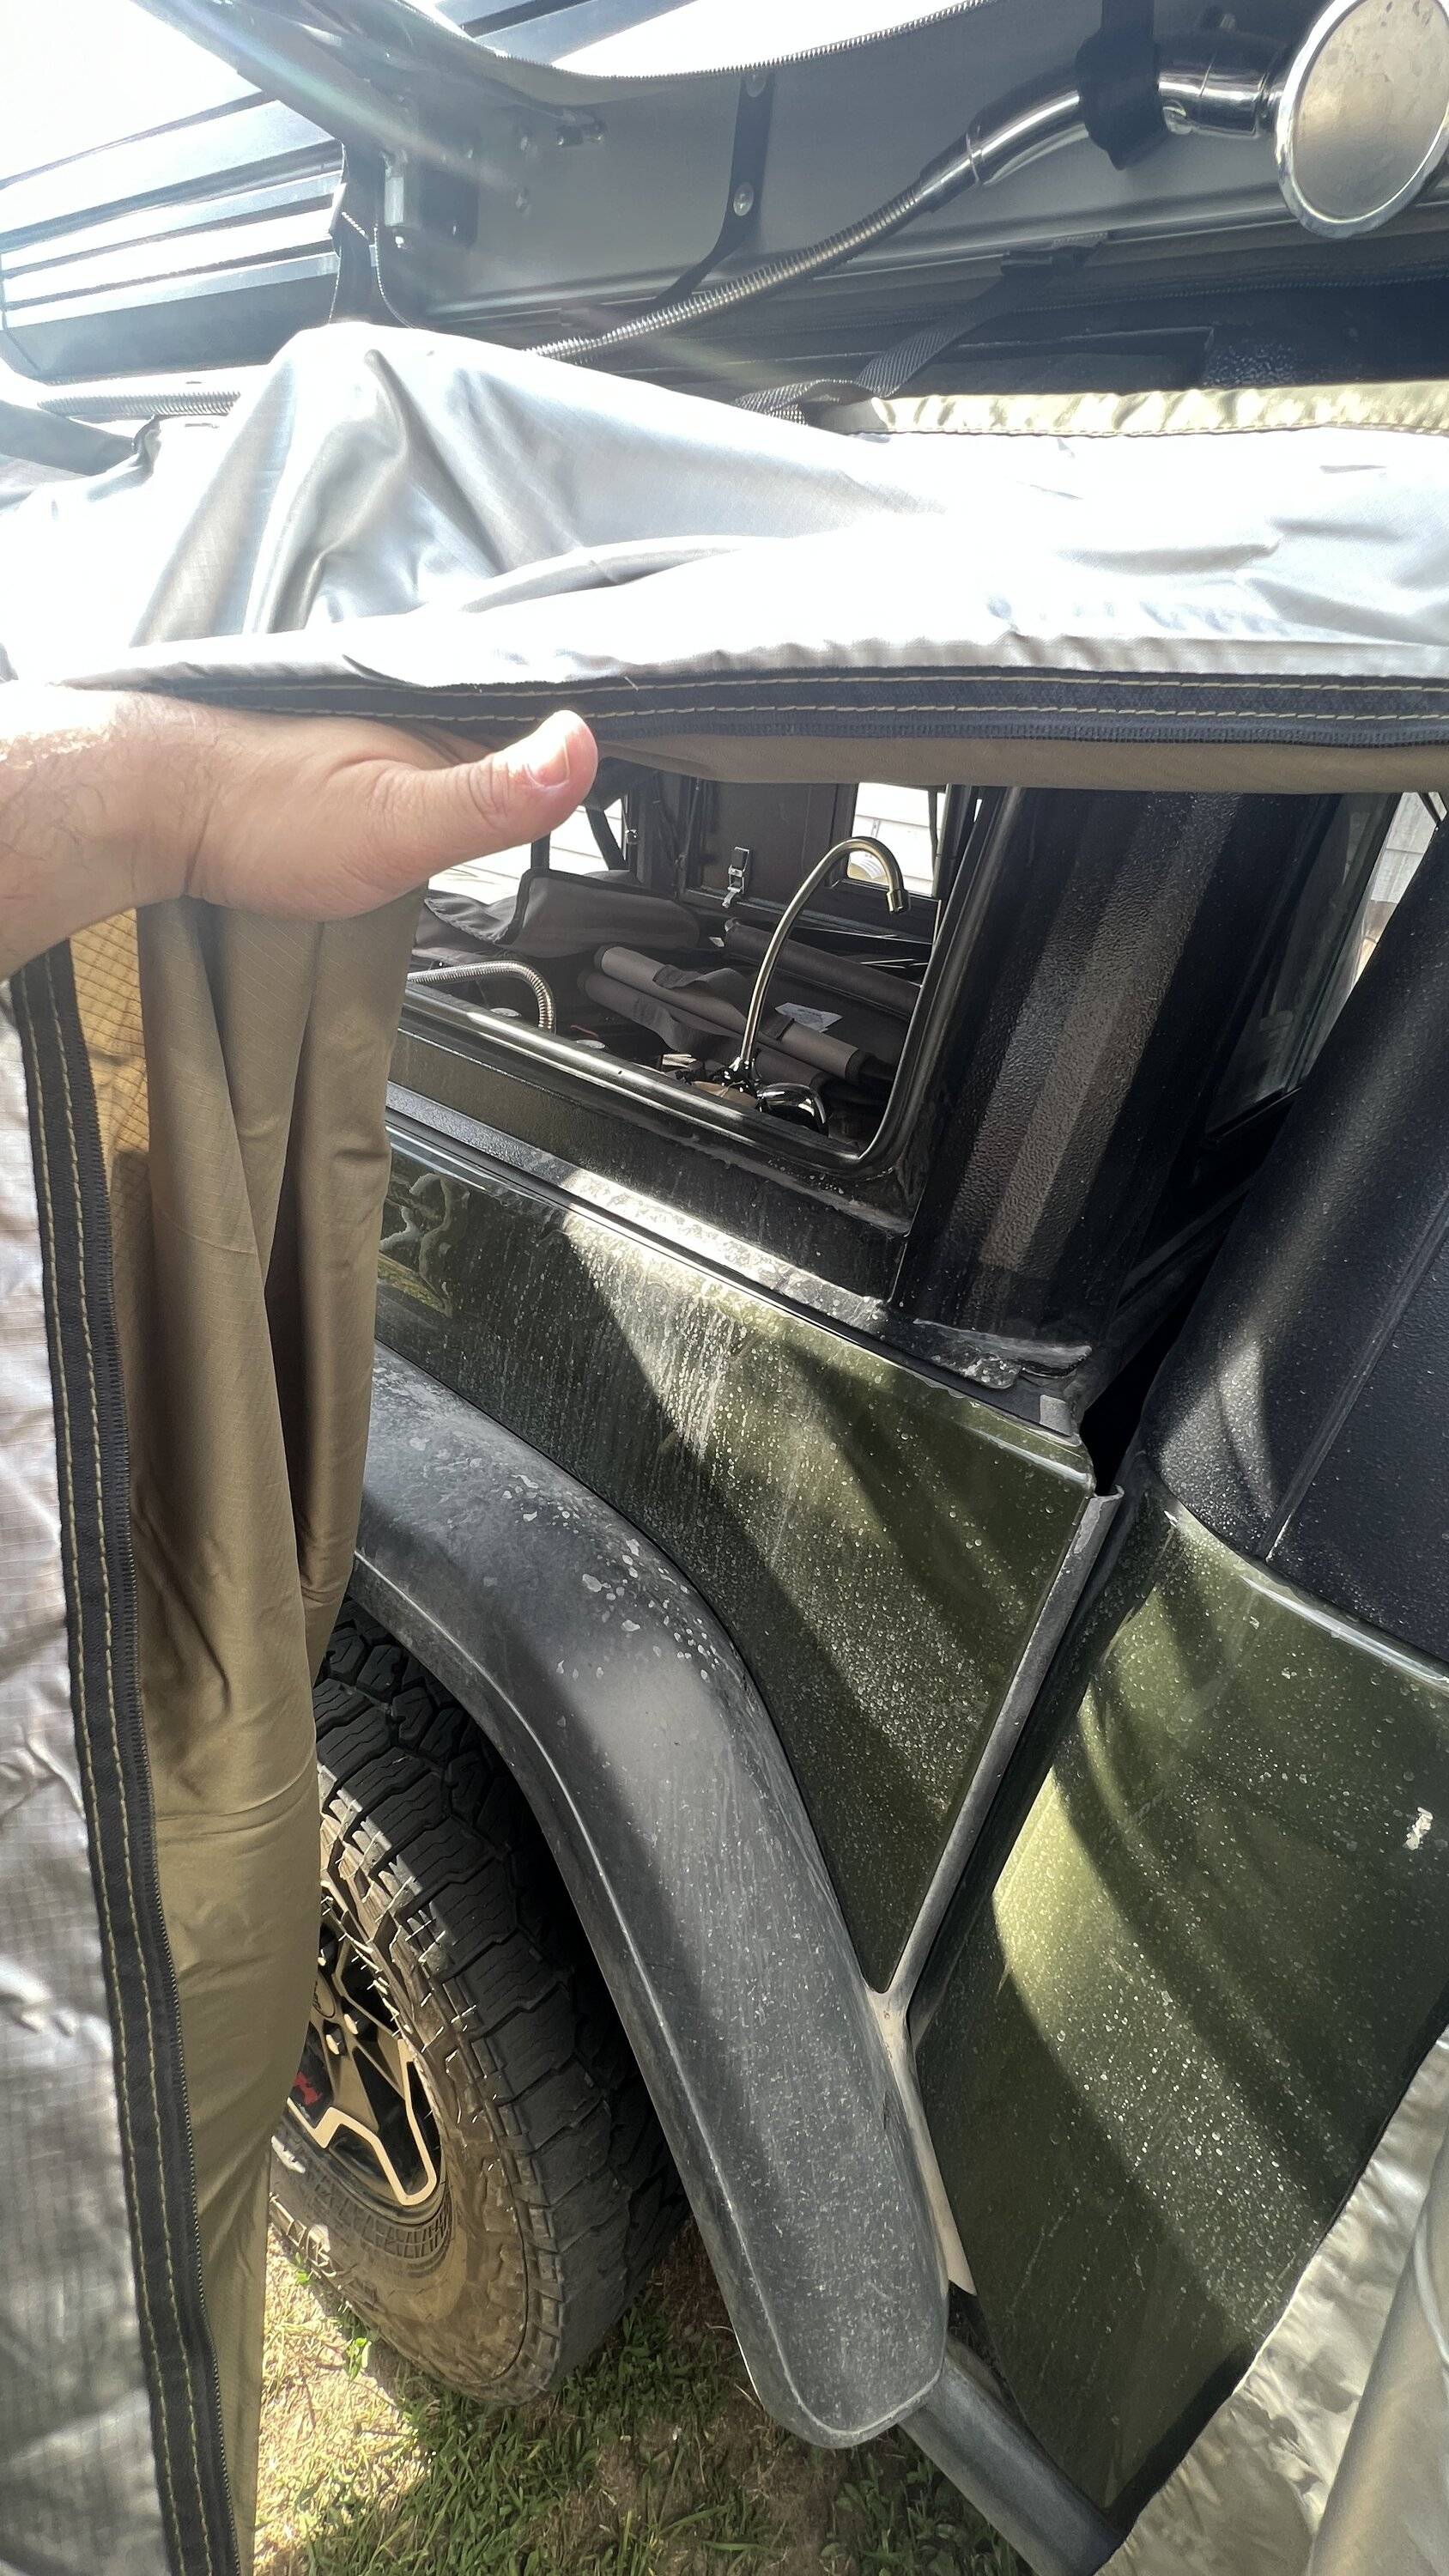
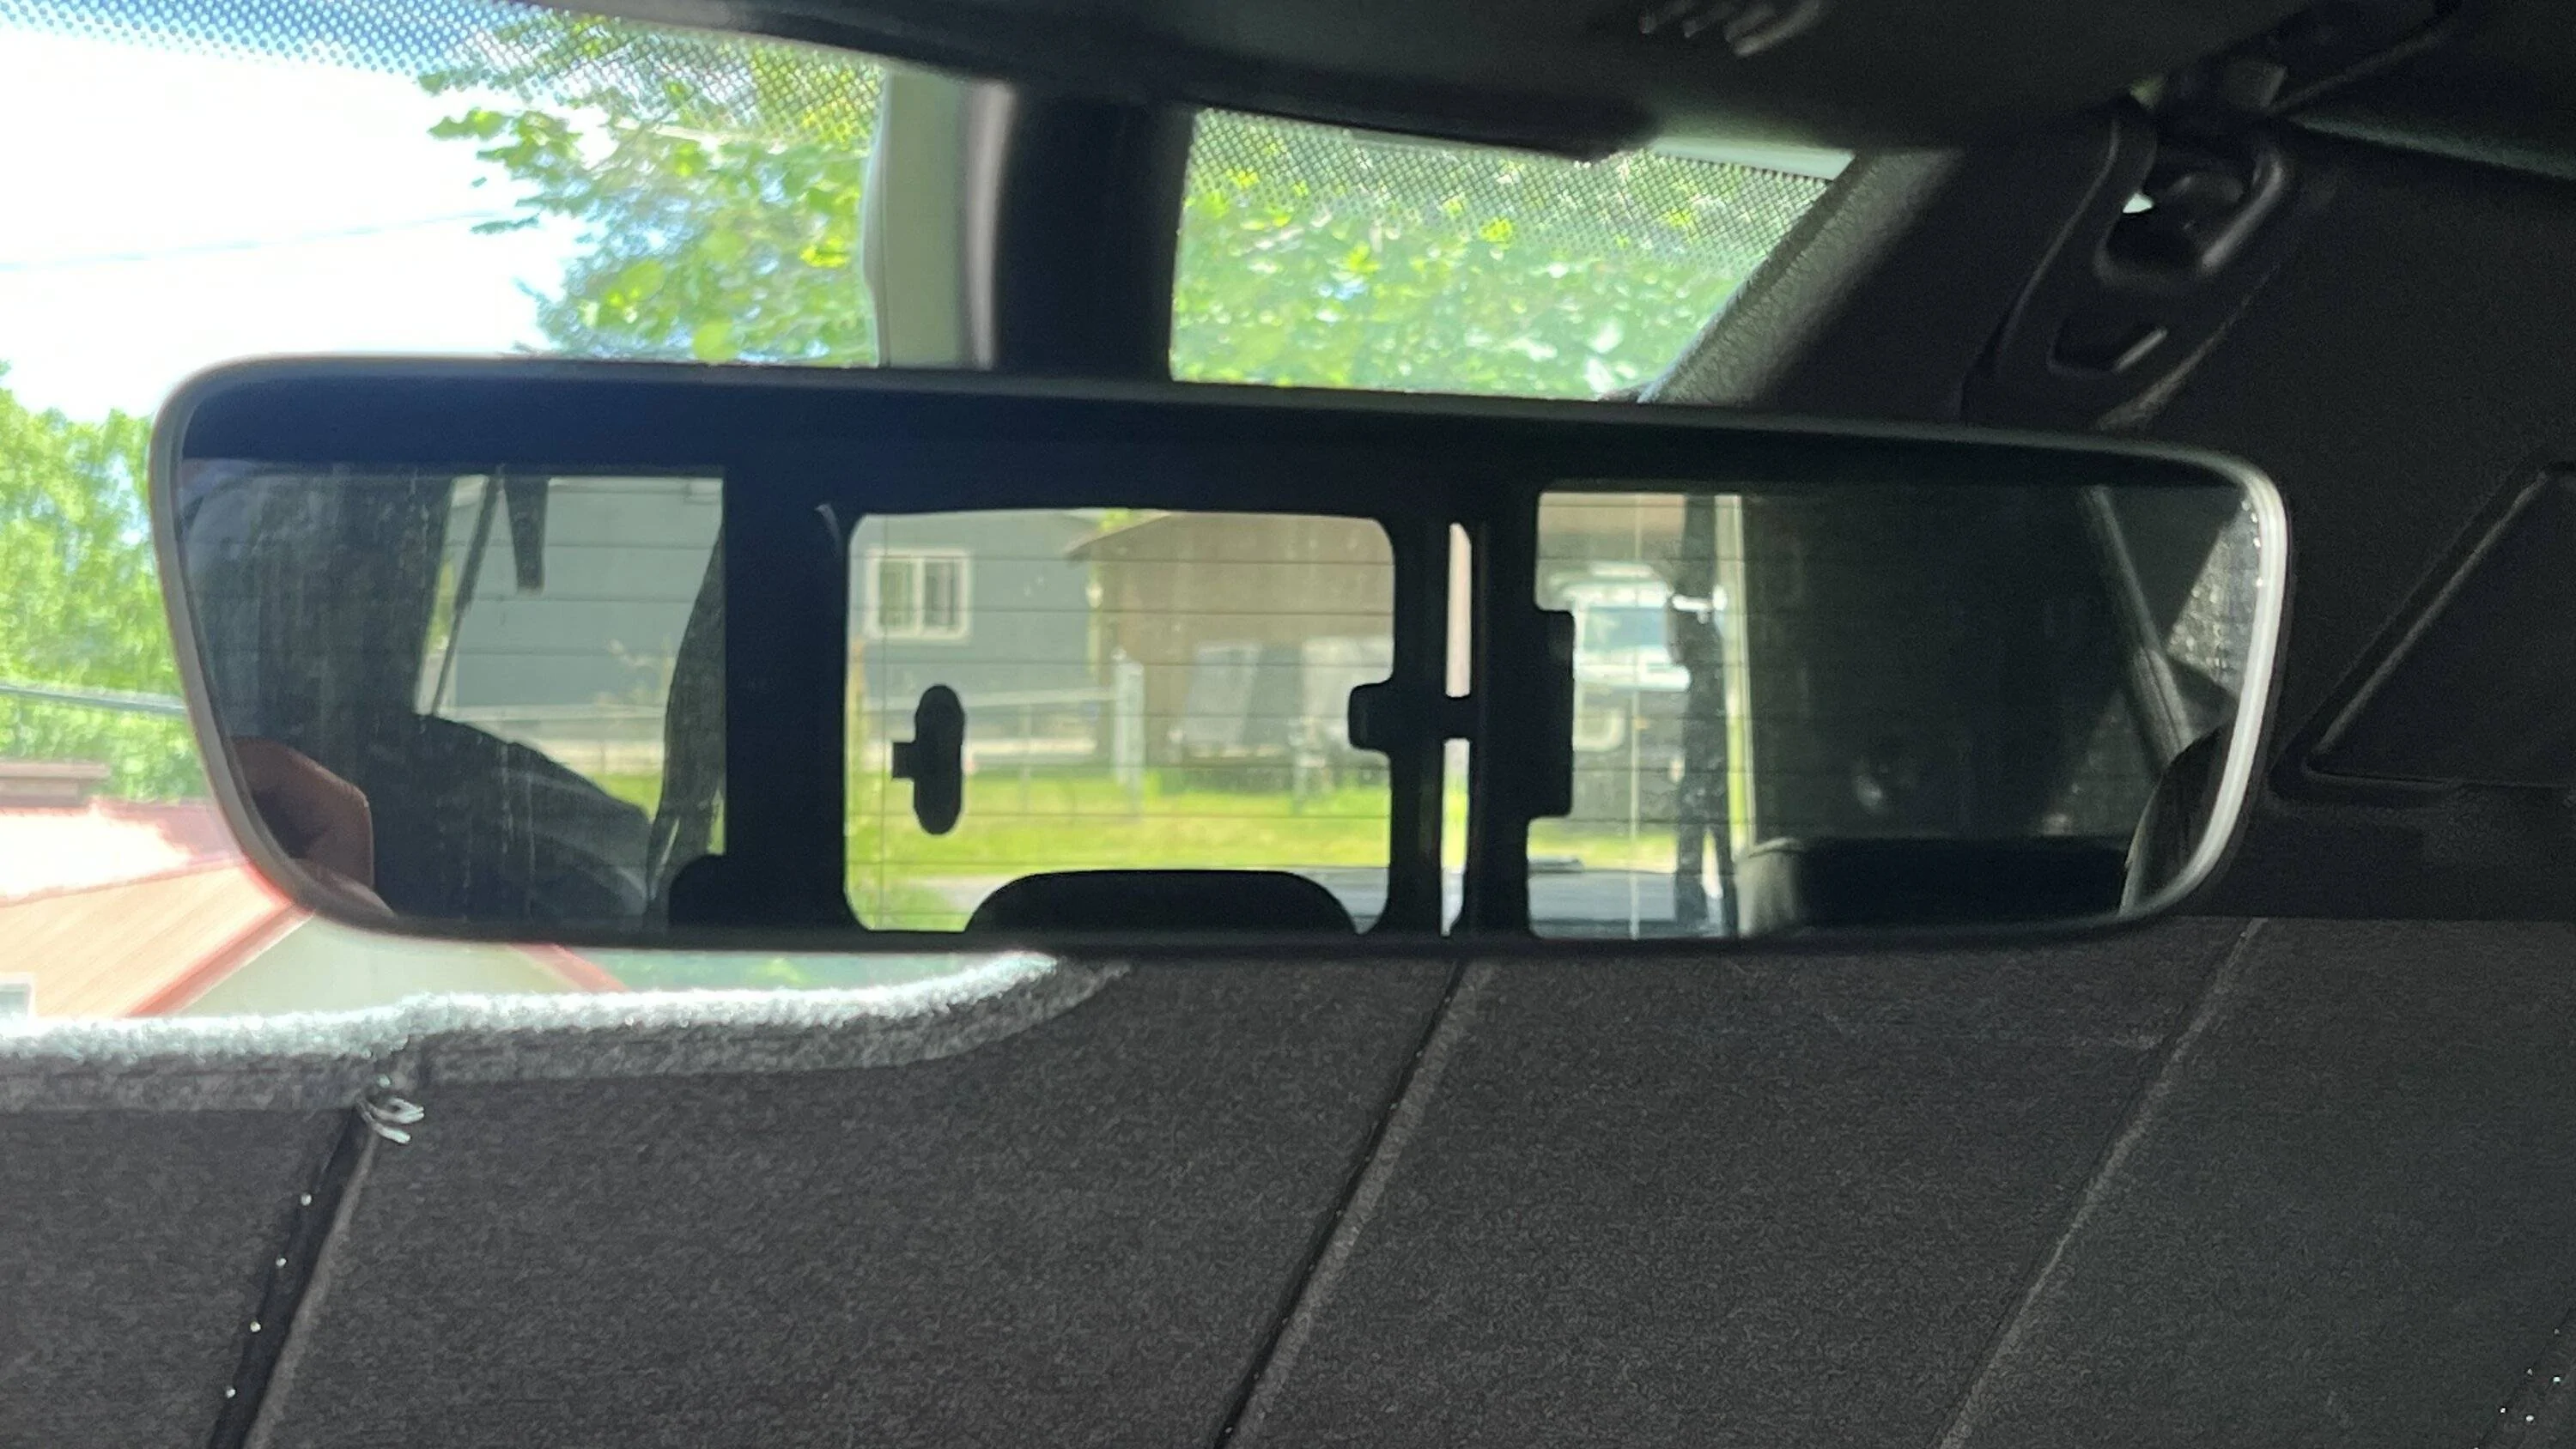
And for those wondering, rear view is not hampered. This is taken from where my head sits and only a small tiny corner is cut off.
If you want to see the water system install go back to post # 93 and 95
I already had provisions for the water heater and temporary water lines ran Since this was the plan all along. I included a shutoff valve as well so that water wont flow backwards if the hot side is pressurized as well as being able to shut that side off entirely if the heater blows a seal or leaks.
The most difficult part of this project was figuring a place to mount. Initially I wanted to mount it on the 813 panels, however, being unable to source a 90 degree compression fitting it was clear that location would not work. My second option was up against the rear window somehow. This was an issue, as stated several times, I dont have access to equipment for good quality fabrication. But, in this case it worked out ok. I had a piece of 1.5” angle alum with just the right amount of length. Cutting the angle part off, I was able to bend it by hand enough to make it form a C. this way I could bolt it to the top and bottom of the canopy, and bolt the heater to it. However, it is not the most structurally sound option and I am concerned of its longevity. So I used two bolts up top and one down below. Because of the lack of fabrication tools it is clearly not level or plum, but it will hopefully work. Time will tell how washboard roads treat this.
Next was to run the propane line. It turns out the propane dual output line along with the line included from camplux with their regulator was about 2’ too long. Which is actually perfect in order to allow extra in a coil should it need to be removed. The other side of the T is to be used with the jetboil stove.
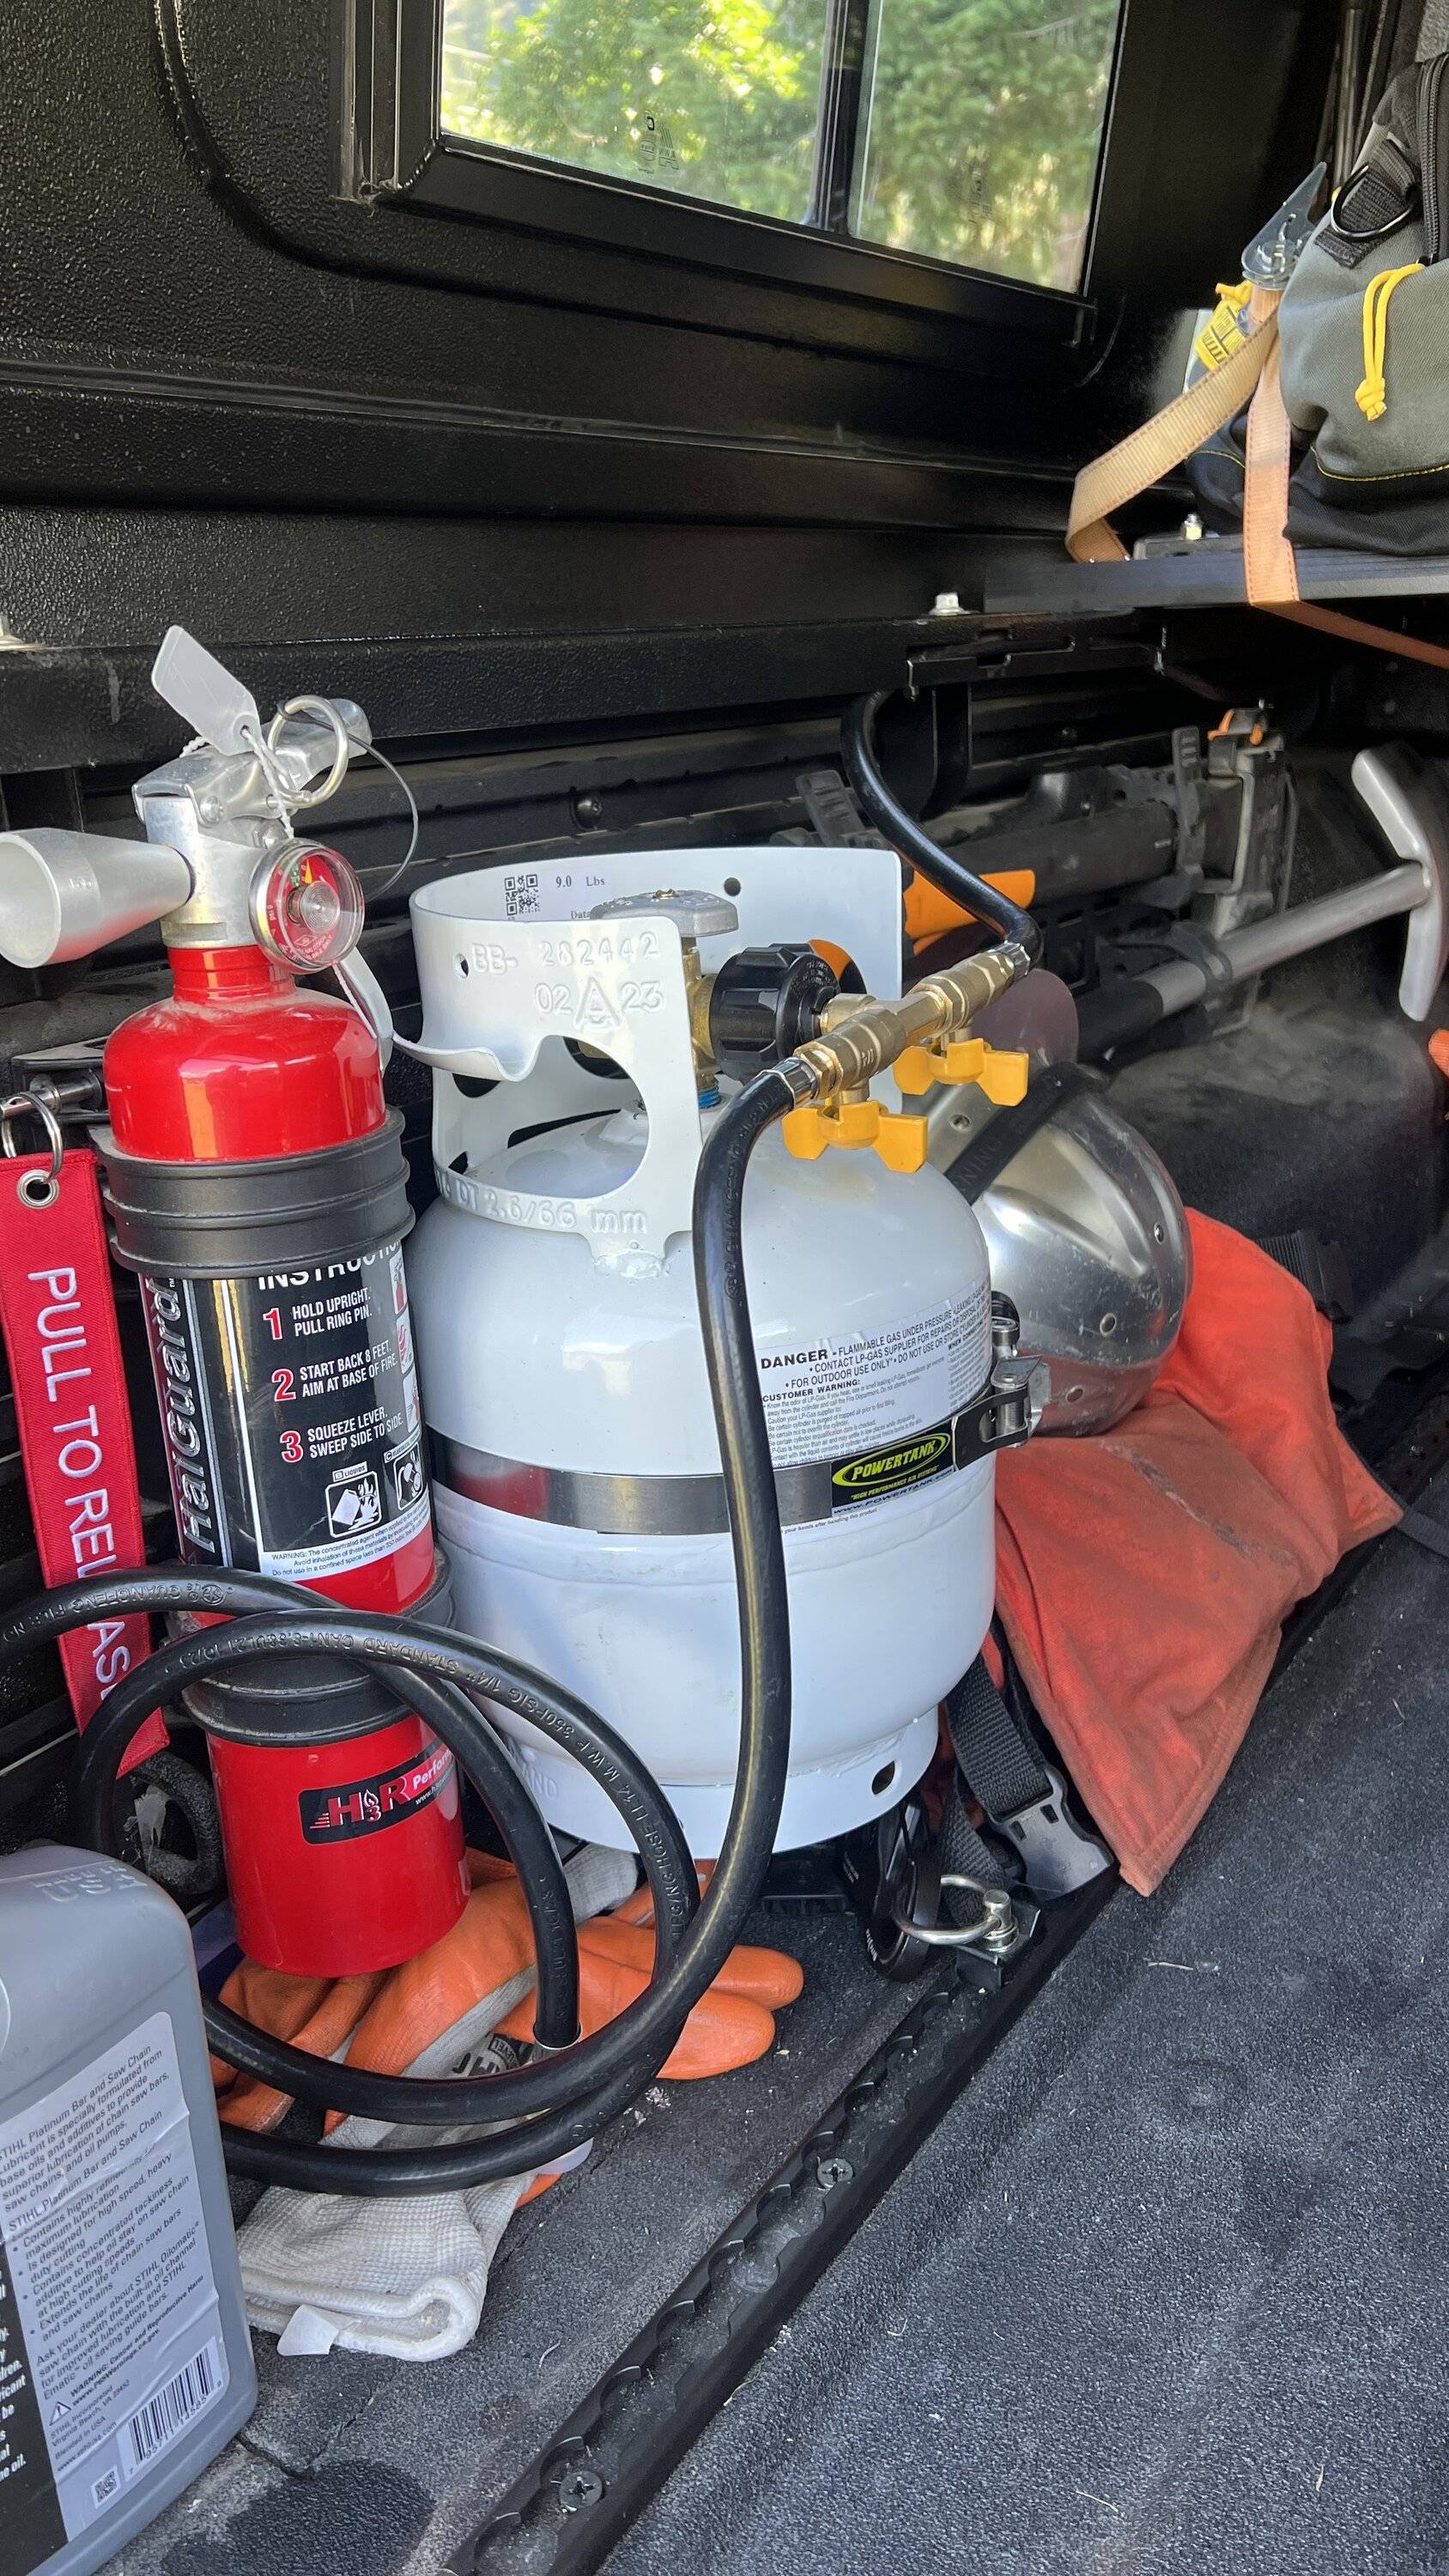
I ran the line behind and under the lip of the canopy to ensure protection.
When getting ready to mount the tank itself I realized it would sit back a little too much to allow for easy connection of the water and LP lines. So I just grabbed some plywood, cut and painted, and used it to push the bottom
of the tank out just a bit. This turned out to be the perfect amount, so on went the lines.

Now everything is easy to access should any of it need to be removed. So time to pressurize the water and LP system and check for leaks.
Before the tank even went on, I was researching what to do about the ignitor. These tanks typically use D cell batteries. However, the last thing I wanted to deal with was batteries. They go bad at the worst time, they corrode, and just are a pain. So looking at how the batteries are connected I deducted the box was removable and could be replaced with a hardwired setup. One problem existed though, two D cell batteries wired in series equal only 3v. So connecting directly to my power system would probably cause a problem. But since Amazon has instant access to everything, a quick search revealed a voltage converter. So I was able to direct wire To my power system like everything else and step down voltage to 3.0v
I wired it to one of the outputs of the switch pros panel so that the water pump and heater could be operated separately in the event that the heater had a problem.
So lets fill up a scepter can, and test it out!
Success!!! Hot water! And very hot indeed! So I turned it down and it is perfect. Now I can take hot showers and wash dishes comfortably. But caution must be taken because this setup will blow through water like nobodys business.
And with that the water system is in! Now I am fully ready for several week long trips this summer!
And for those wondering, rear view is not hampered. This is taken from where my head sits and only a small tiny corner is cut off.
Sponsored