OP
OP
Mules
Well-Known Member
- First Name
- Mike
- Joined
- Aug 27, 2020
- Threads
- 4
- Messages
- 1,195
- Reaction score
- 3,252
- Location
- St. Louis MO
- Vehicle(s)
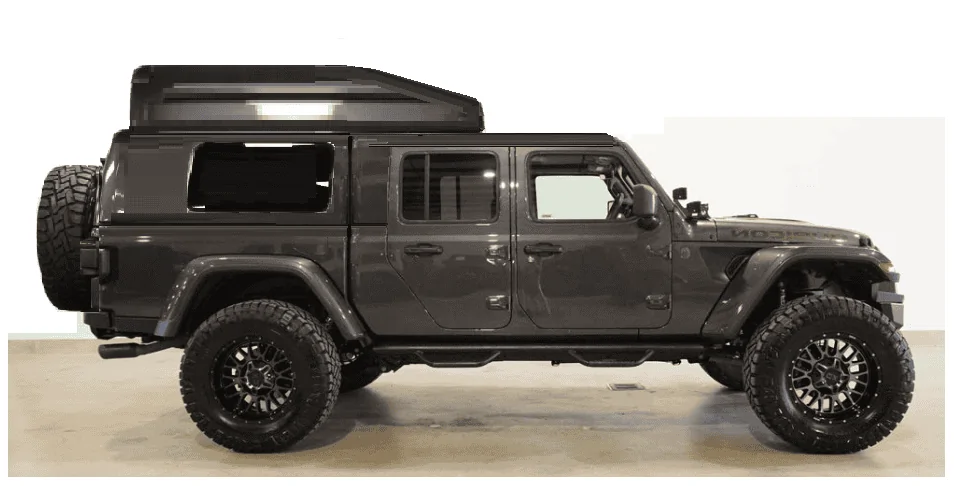
- '20 Gladiator, '93 Landcruiser, '77 CJ, '88 Bronco
- Occupation
- Engineer
- Vehicle Showcase
- 1
- Thread starter
- #586
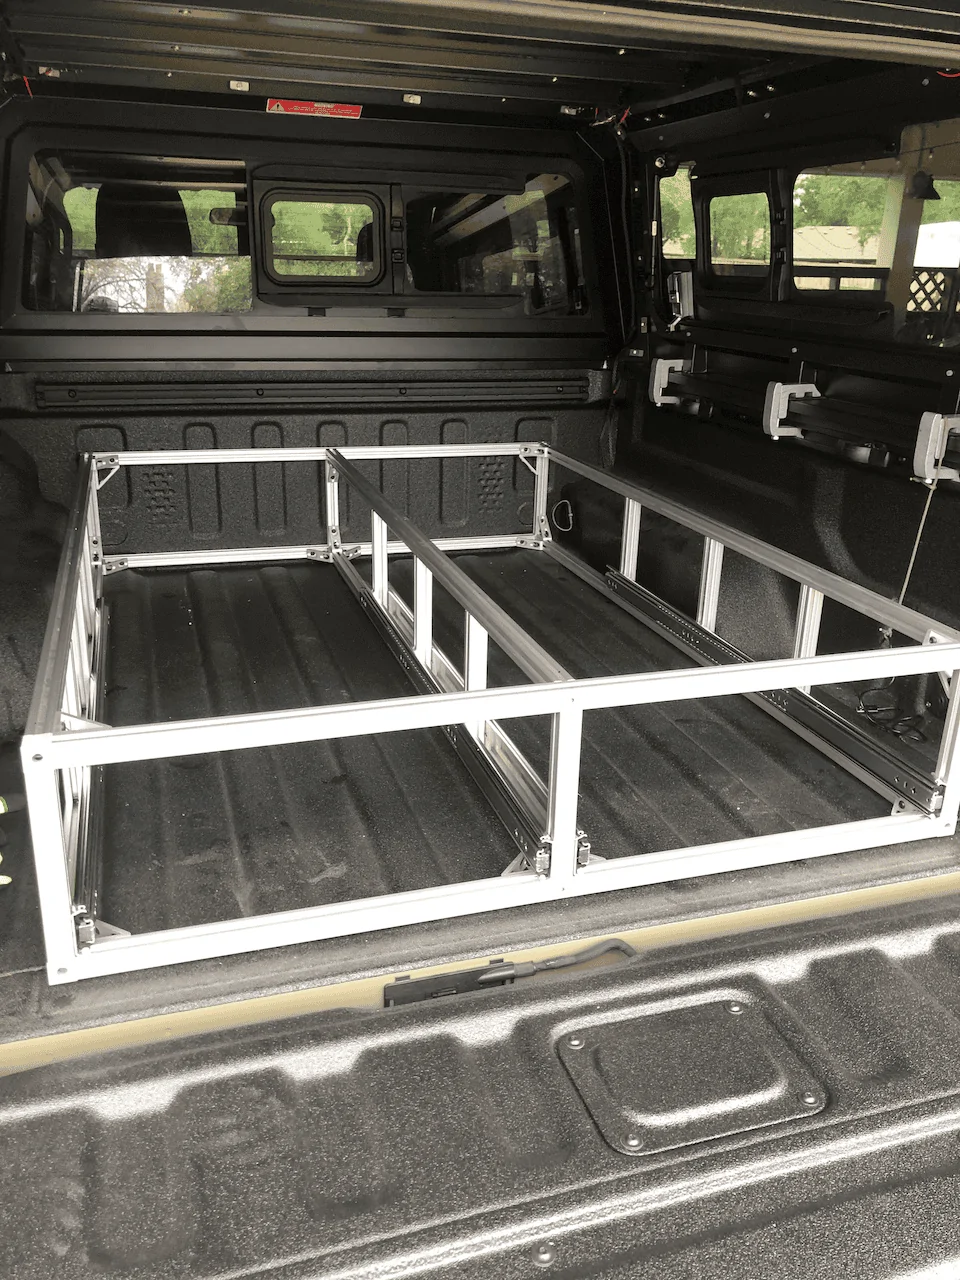
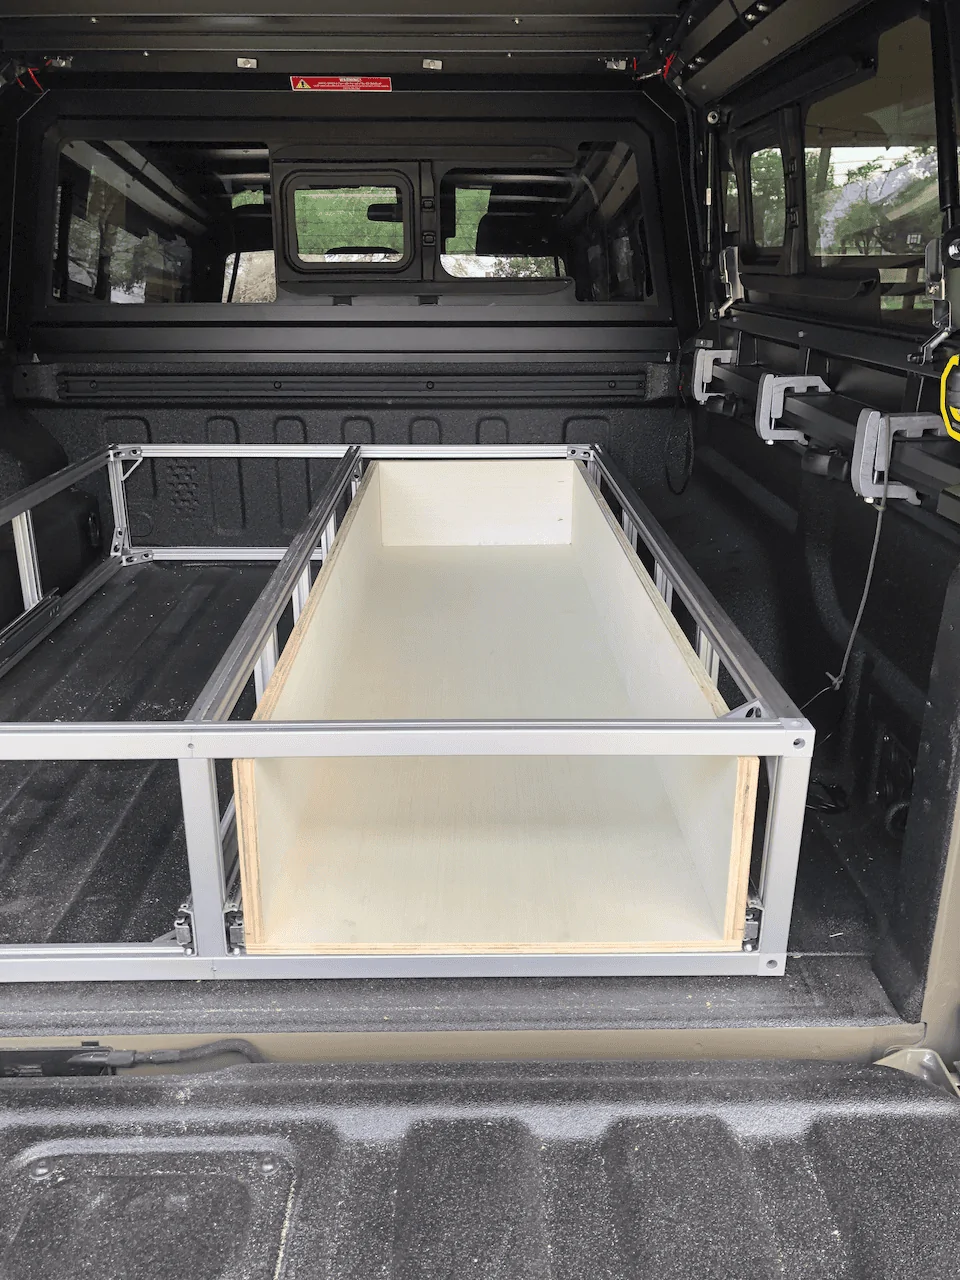
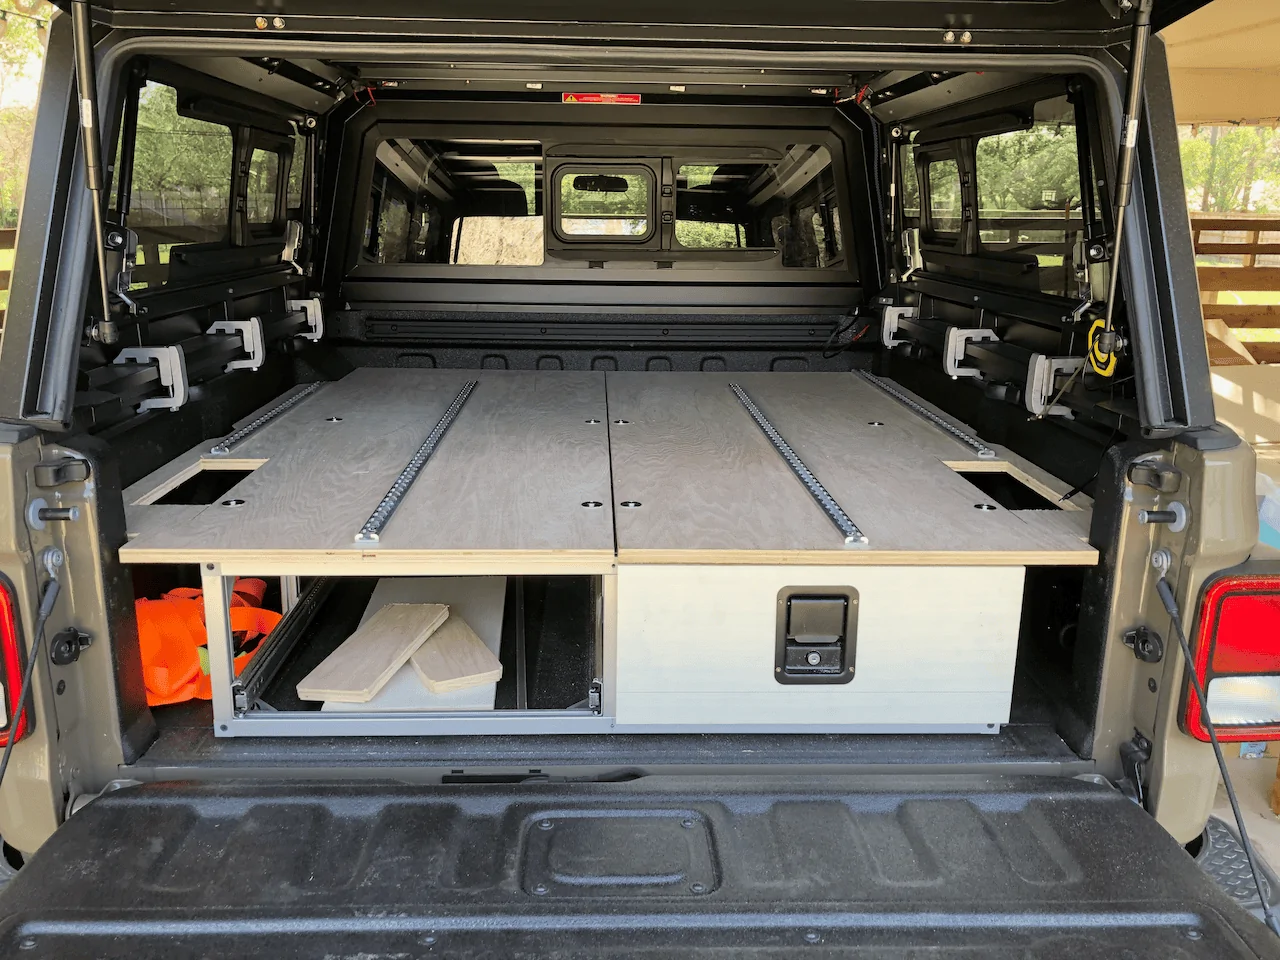
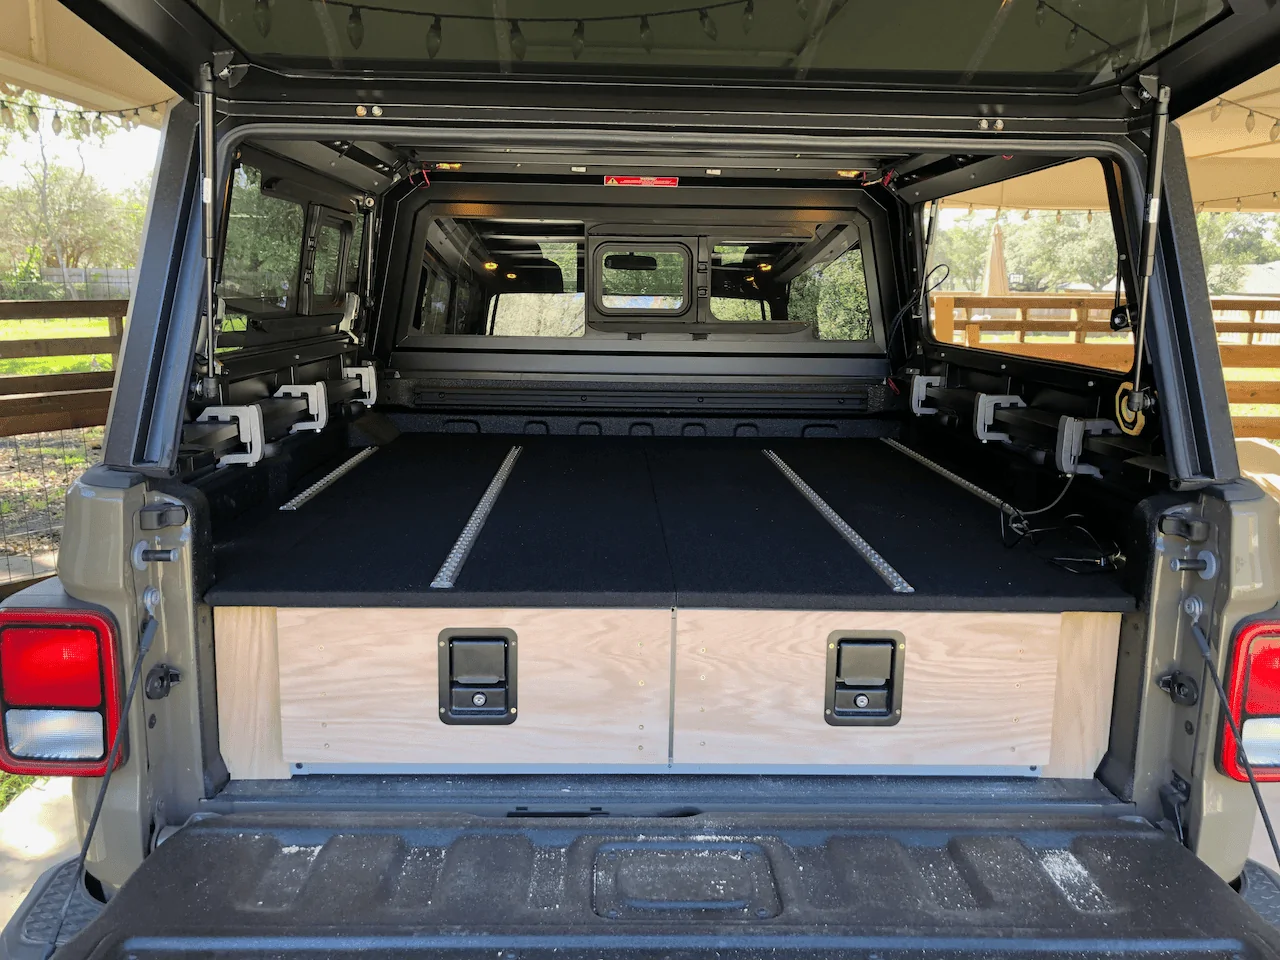
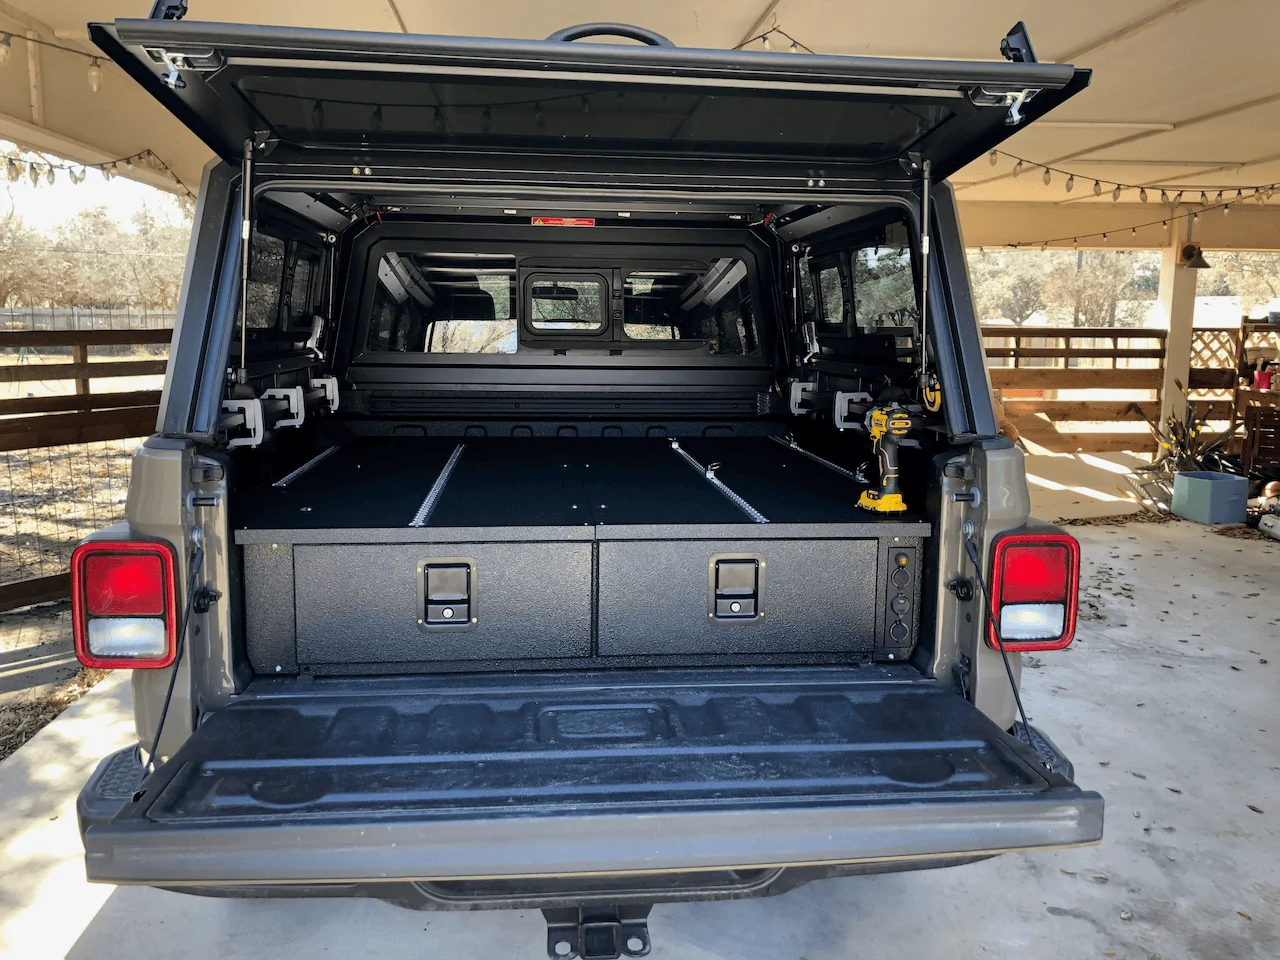
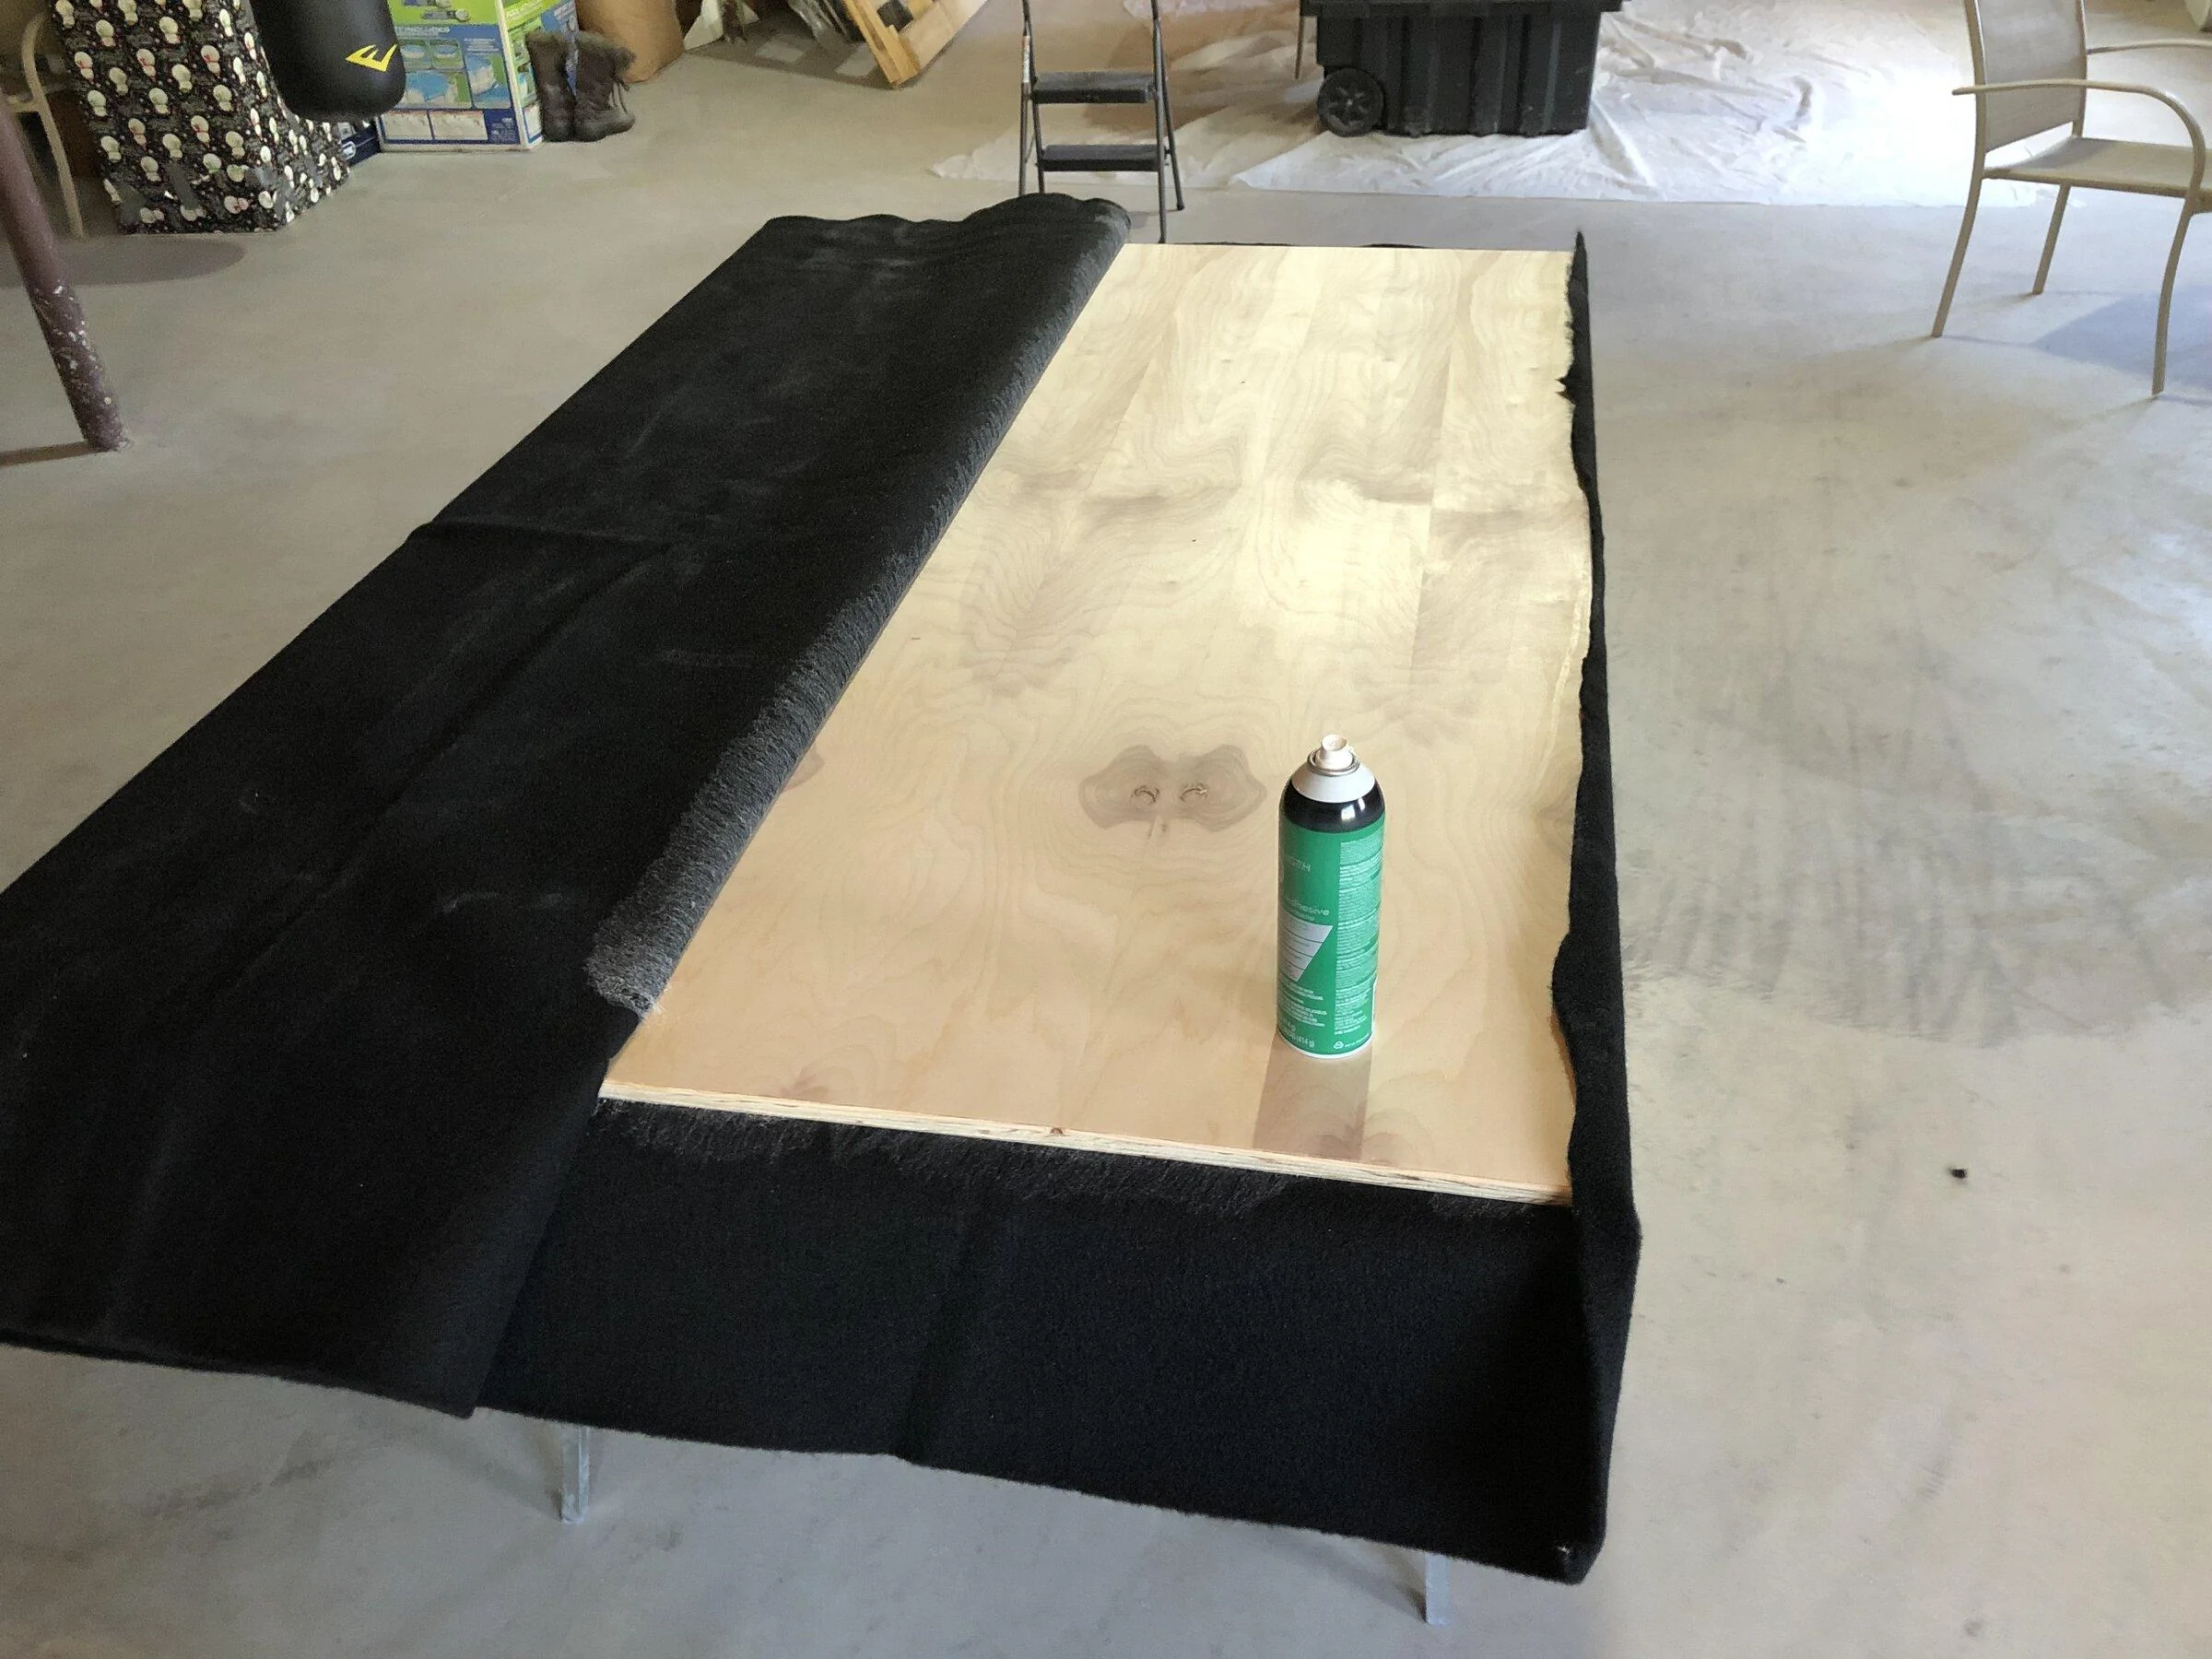
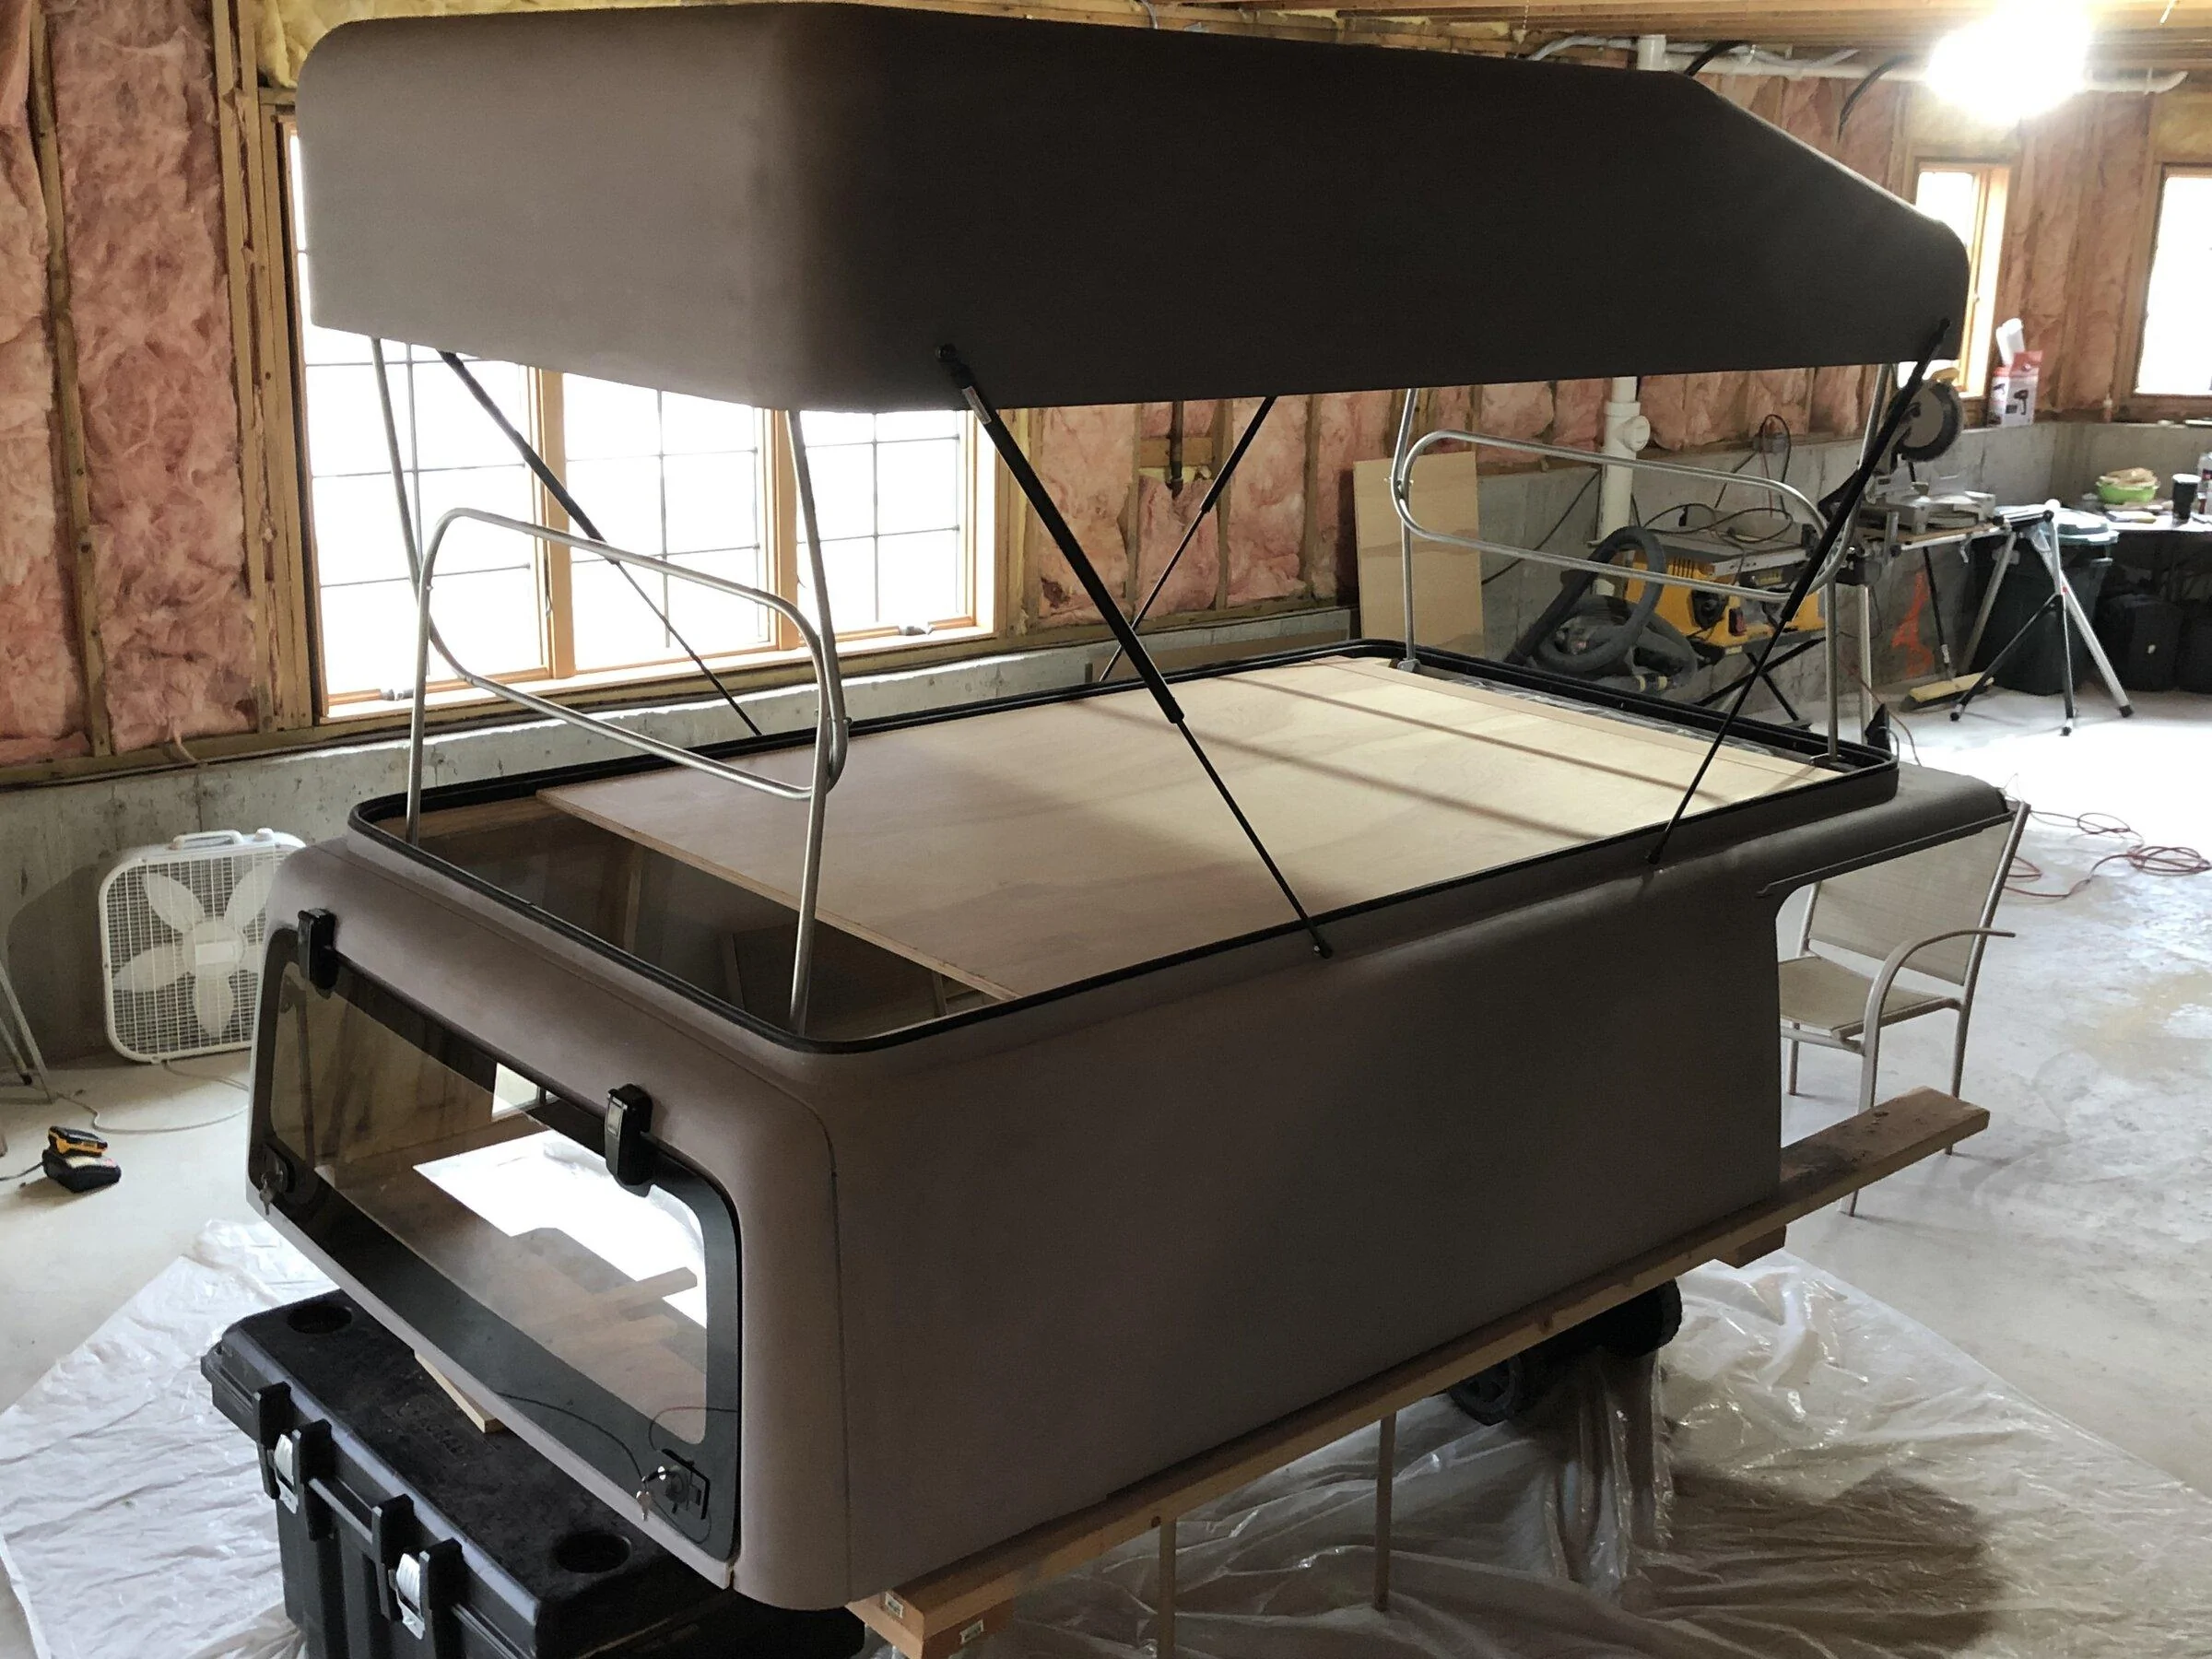
Example of push up bed, which would be nice.
Sponsored
")
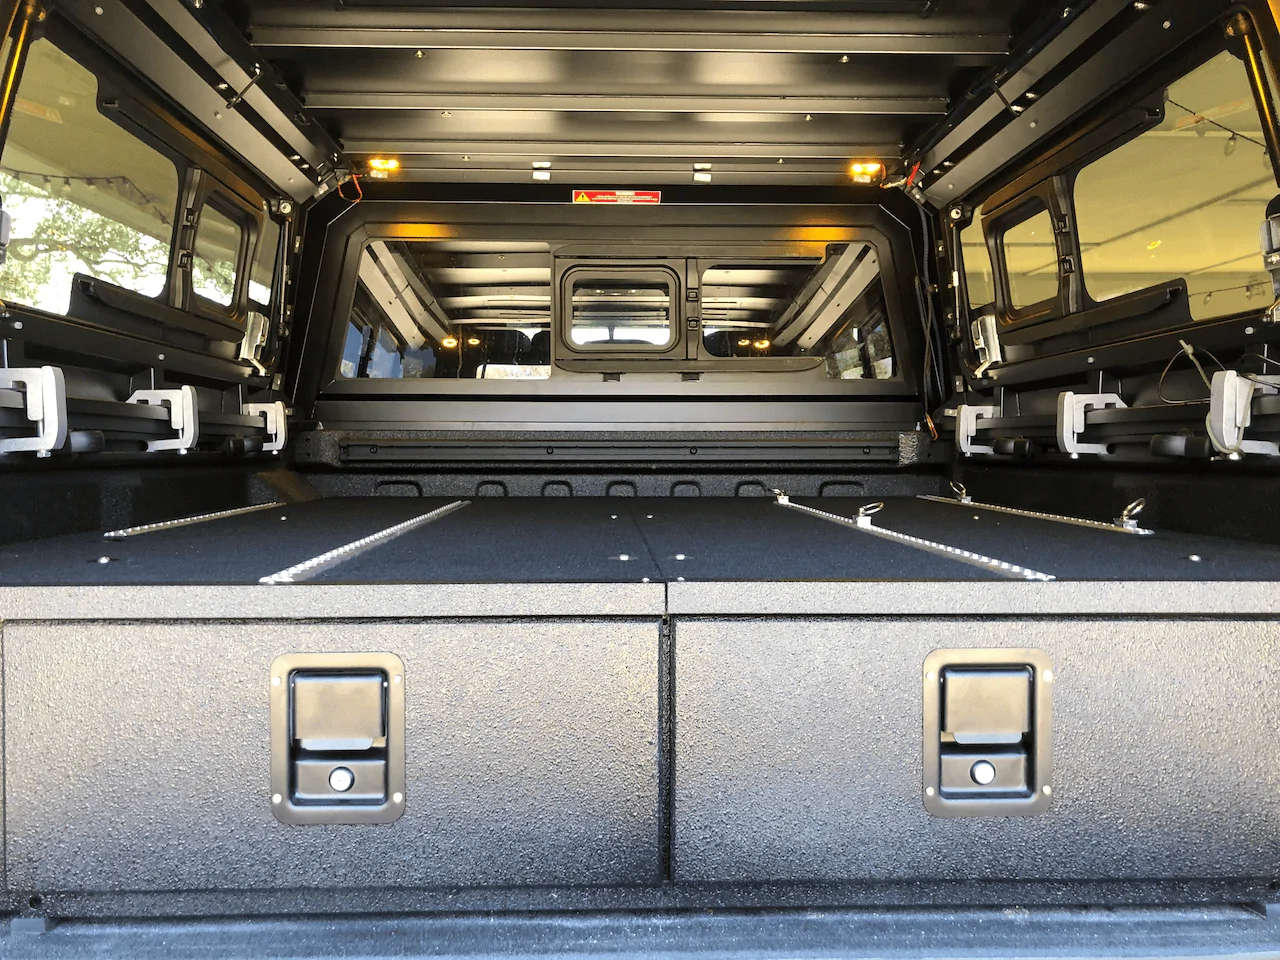
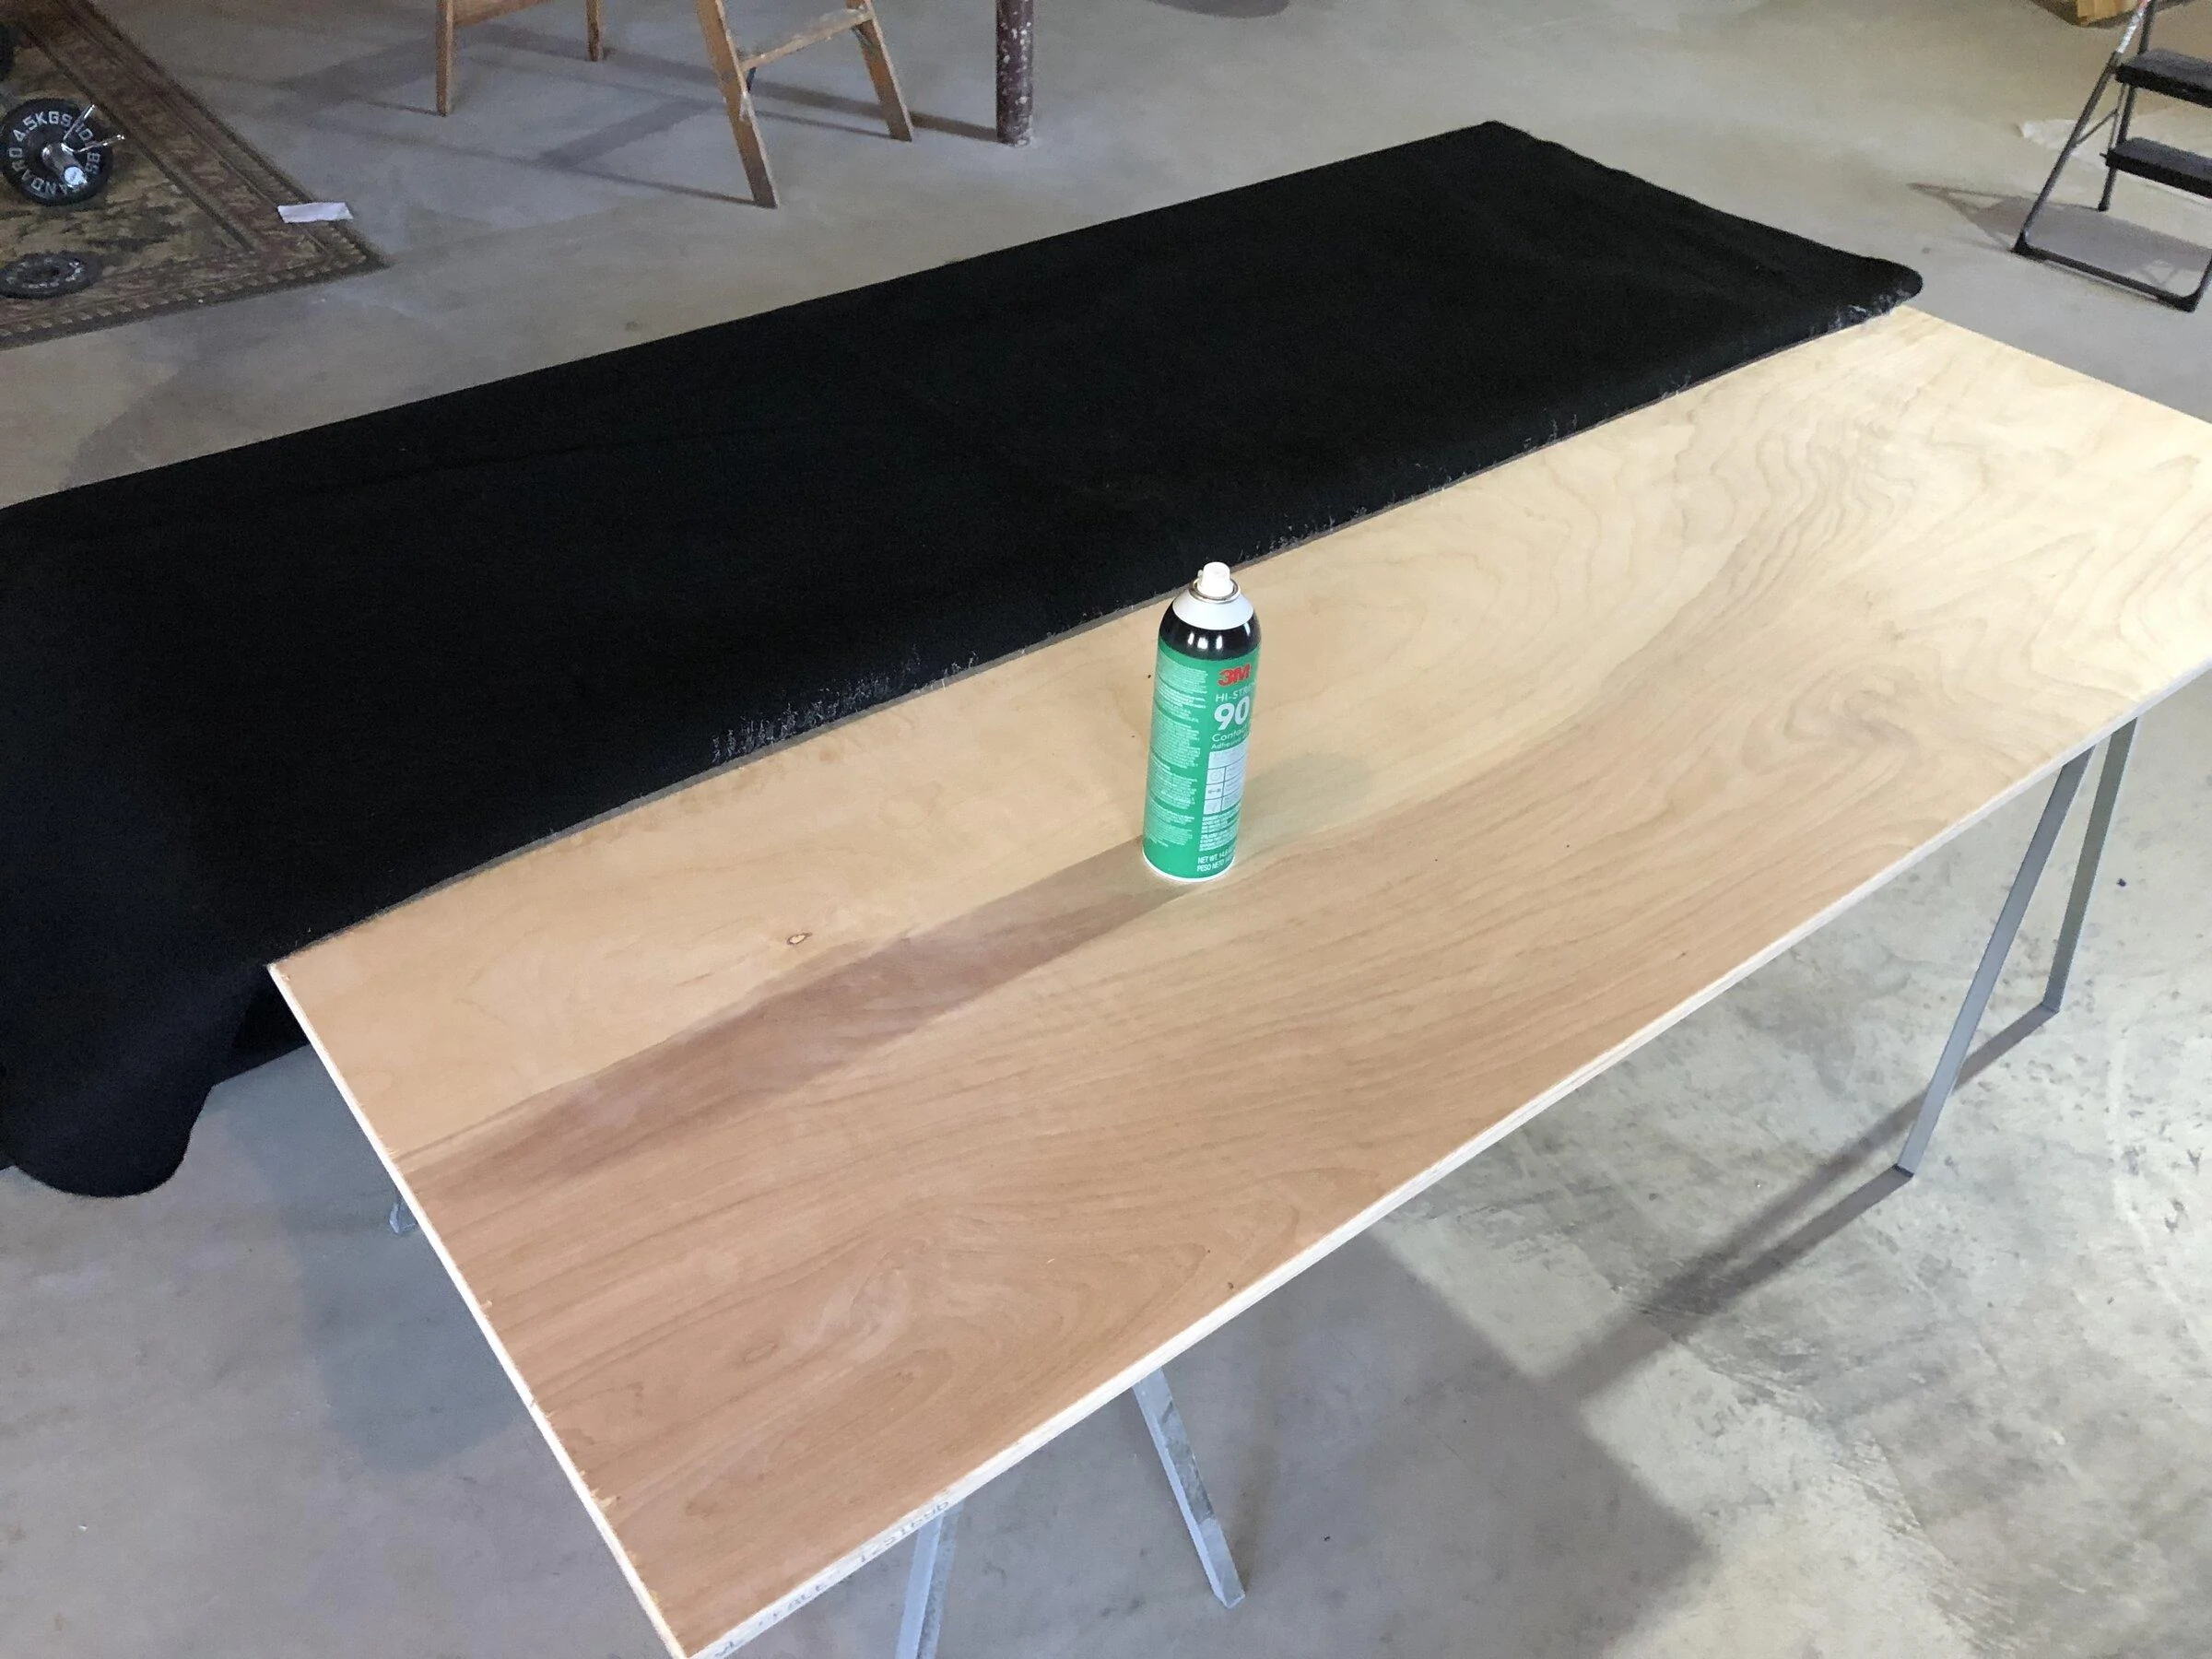
 . Two, I wanted to be able to easily remove the drawers if necessary. Three, I like to do stuff myself
 .
.