OP
OP
JTdiRtyD
Well-Known Member
- Thread starter
- #46
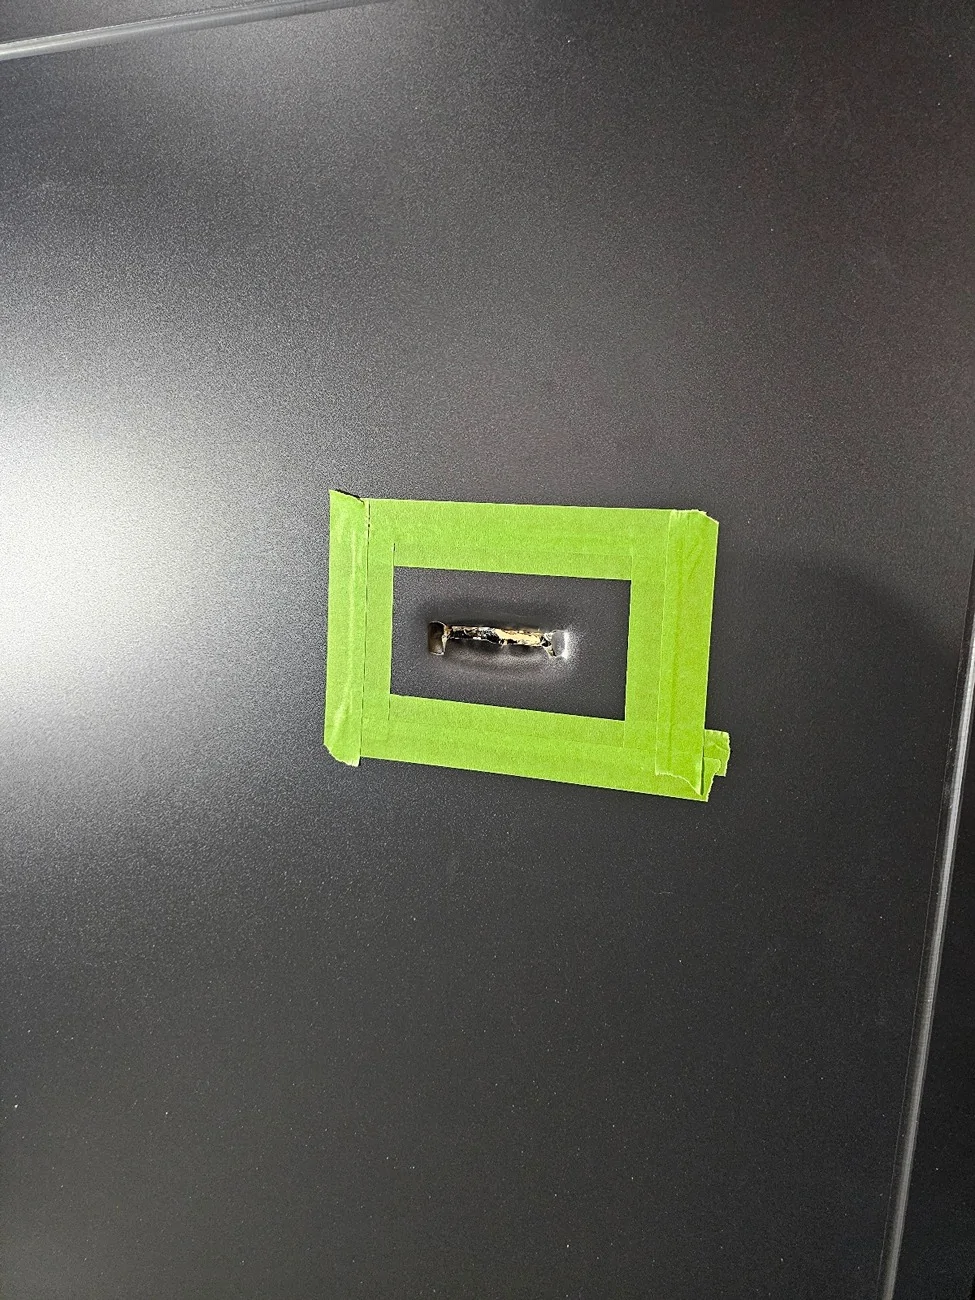
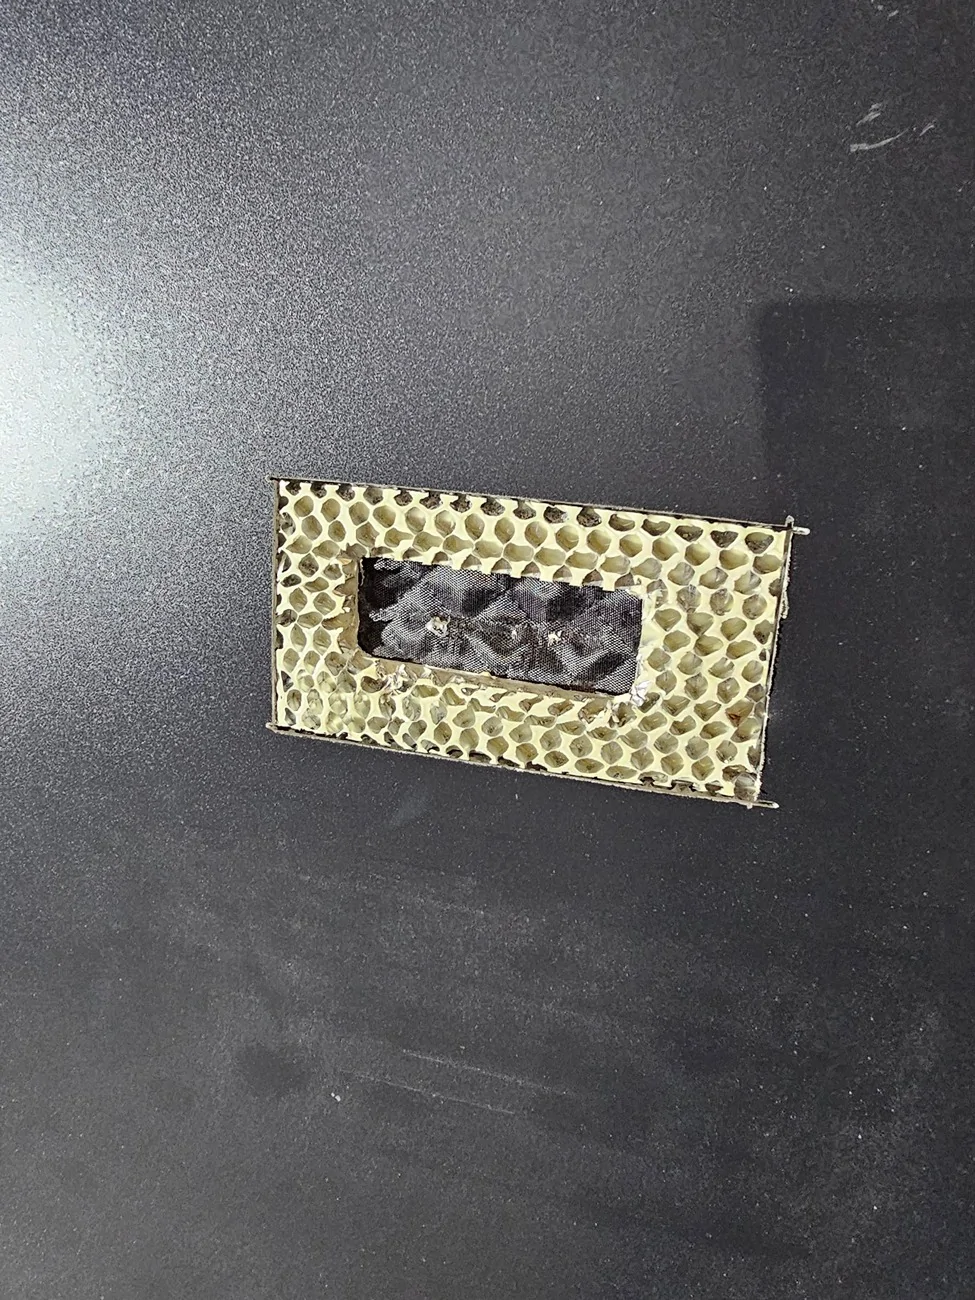
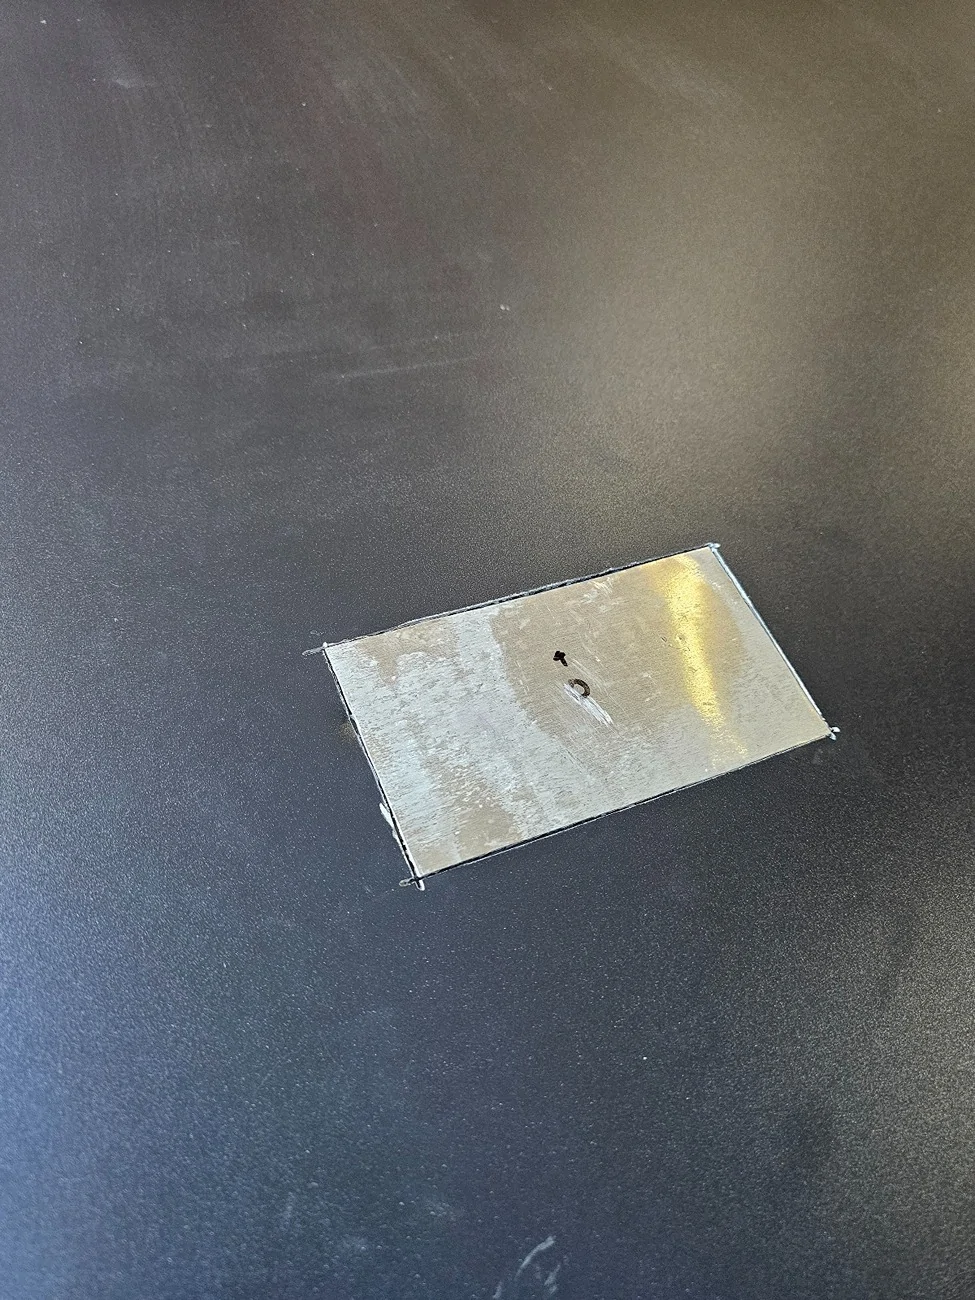
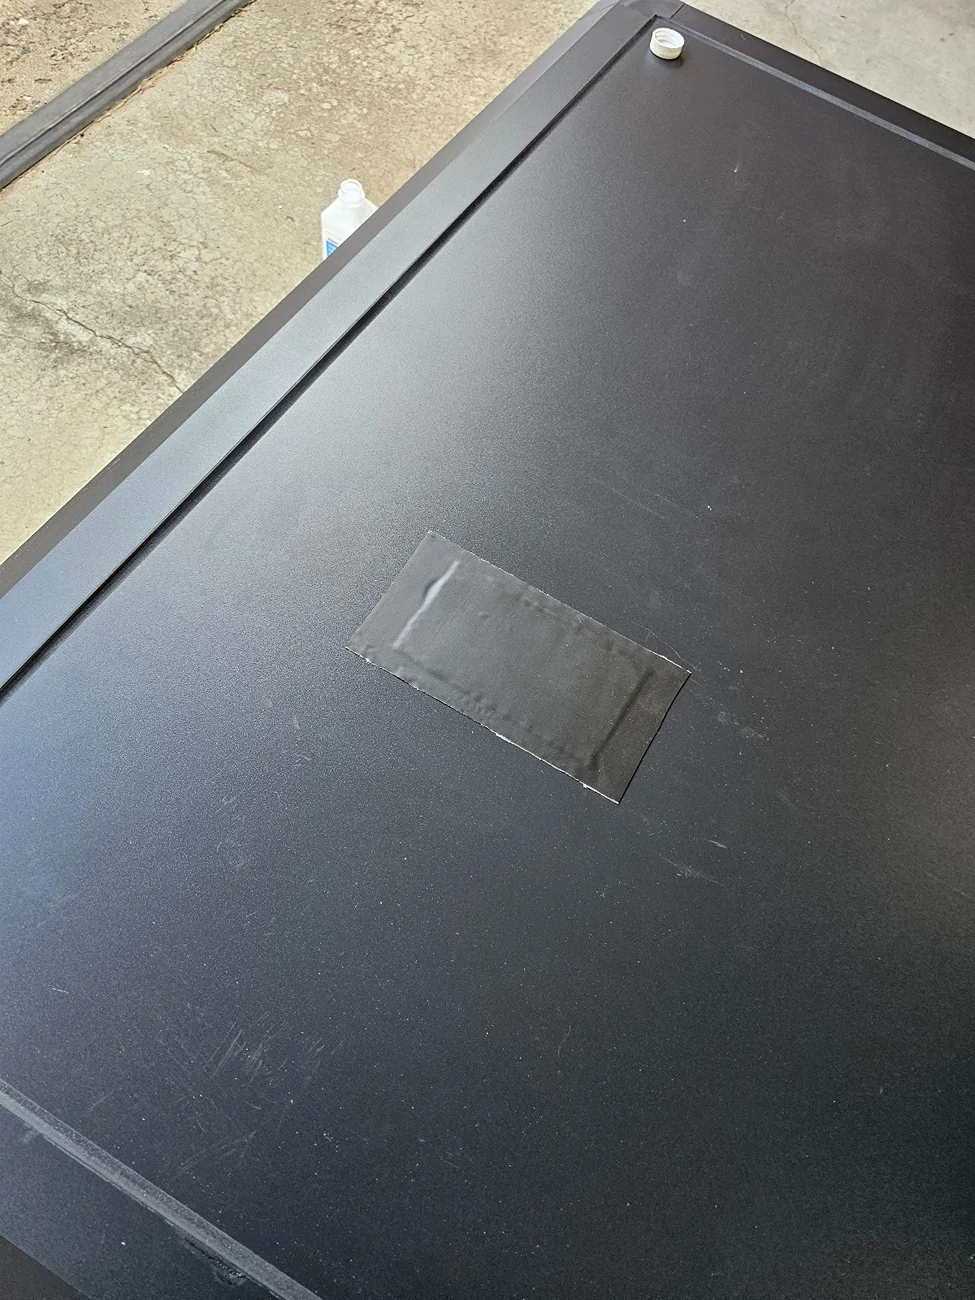
Evening update:
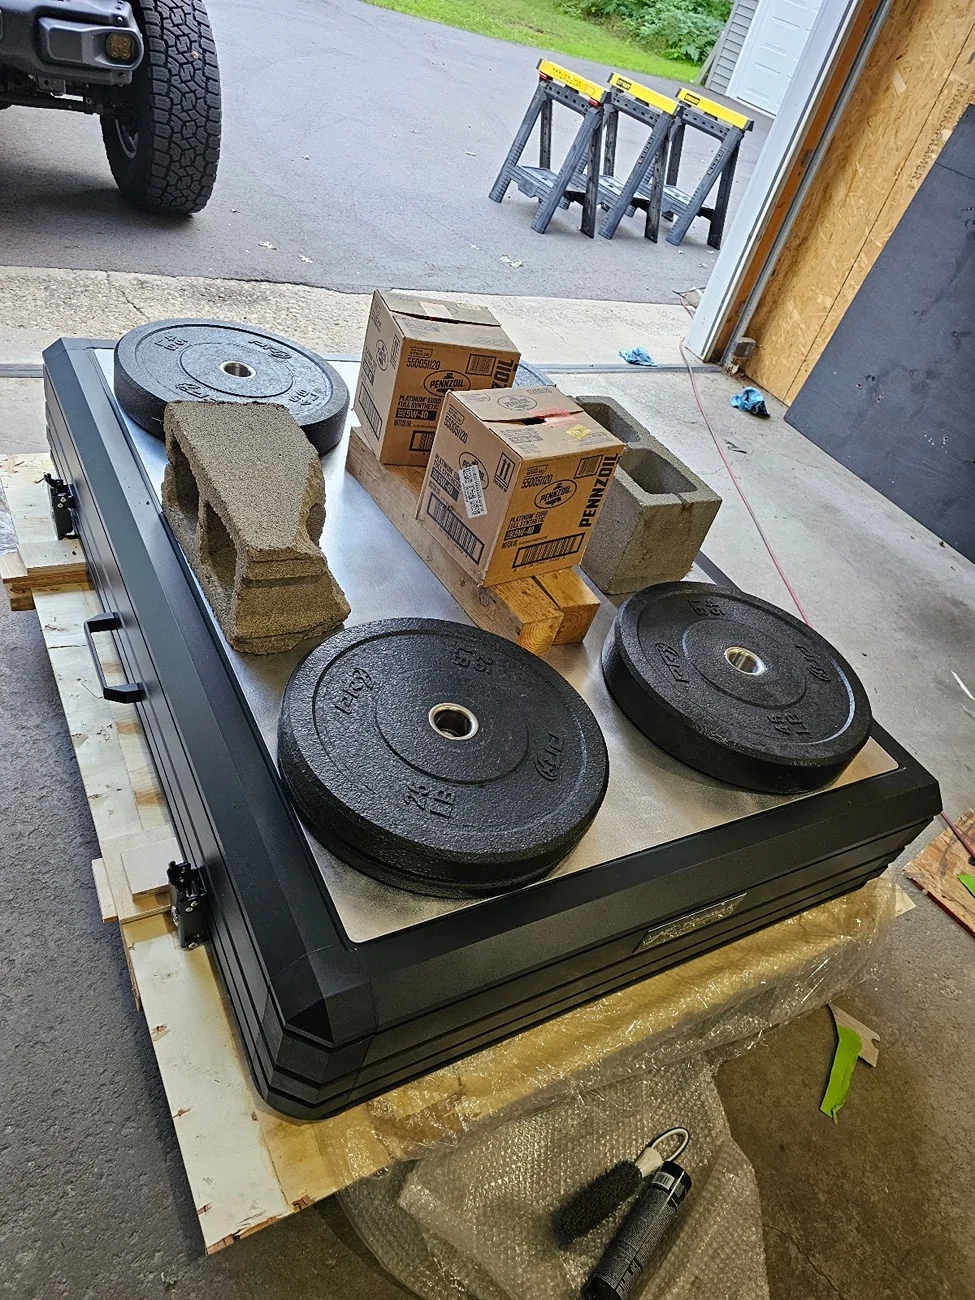
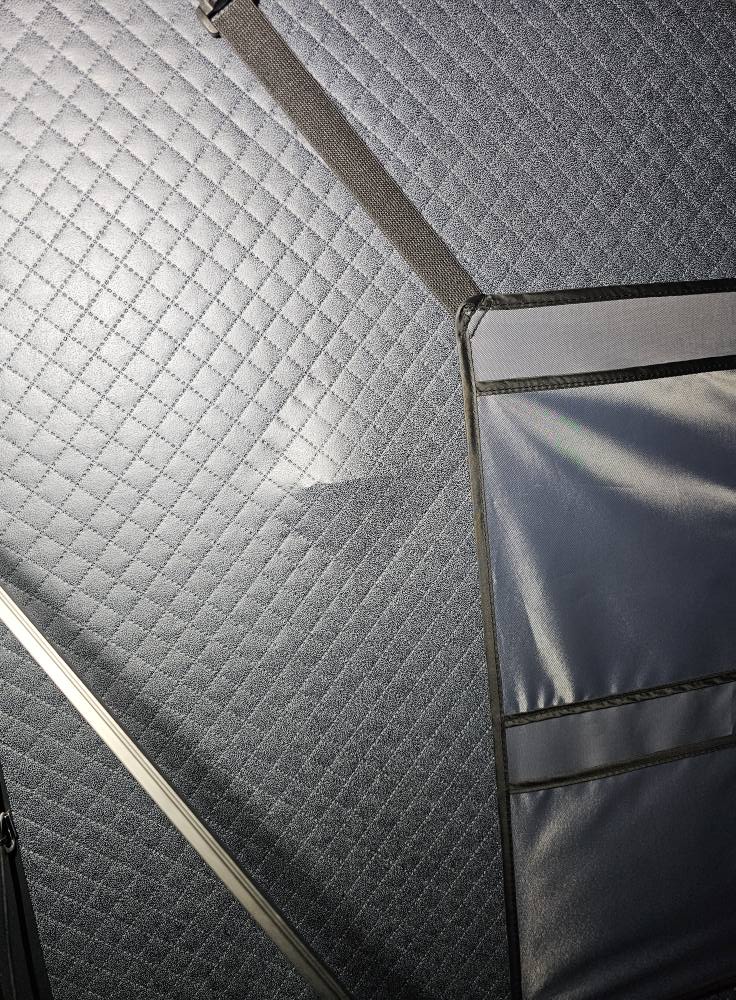
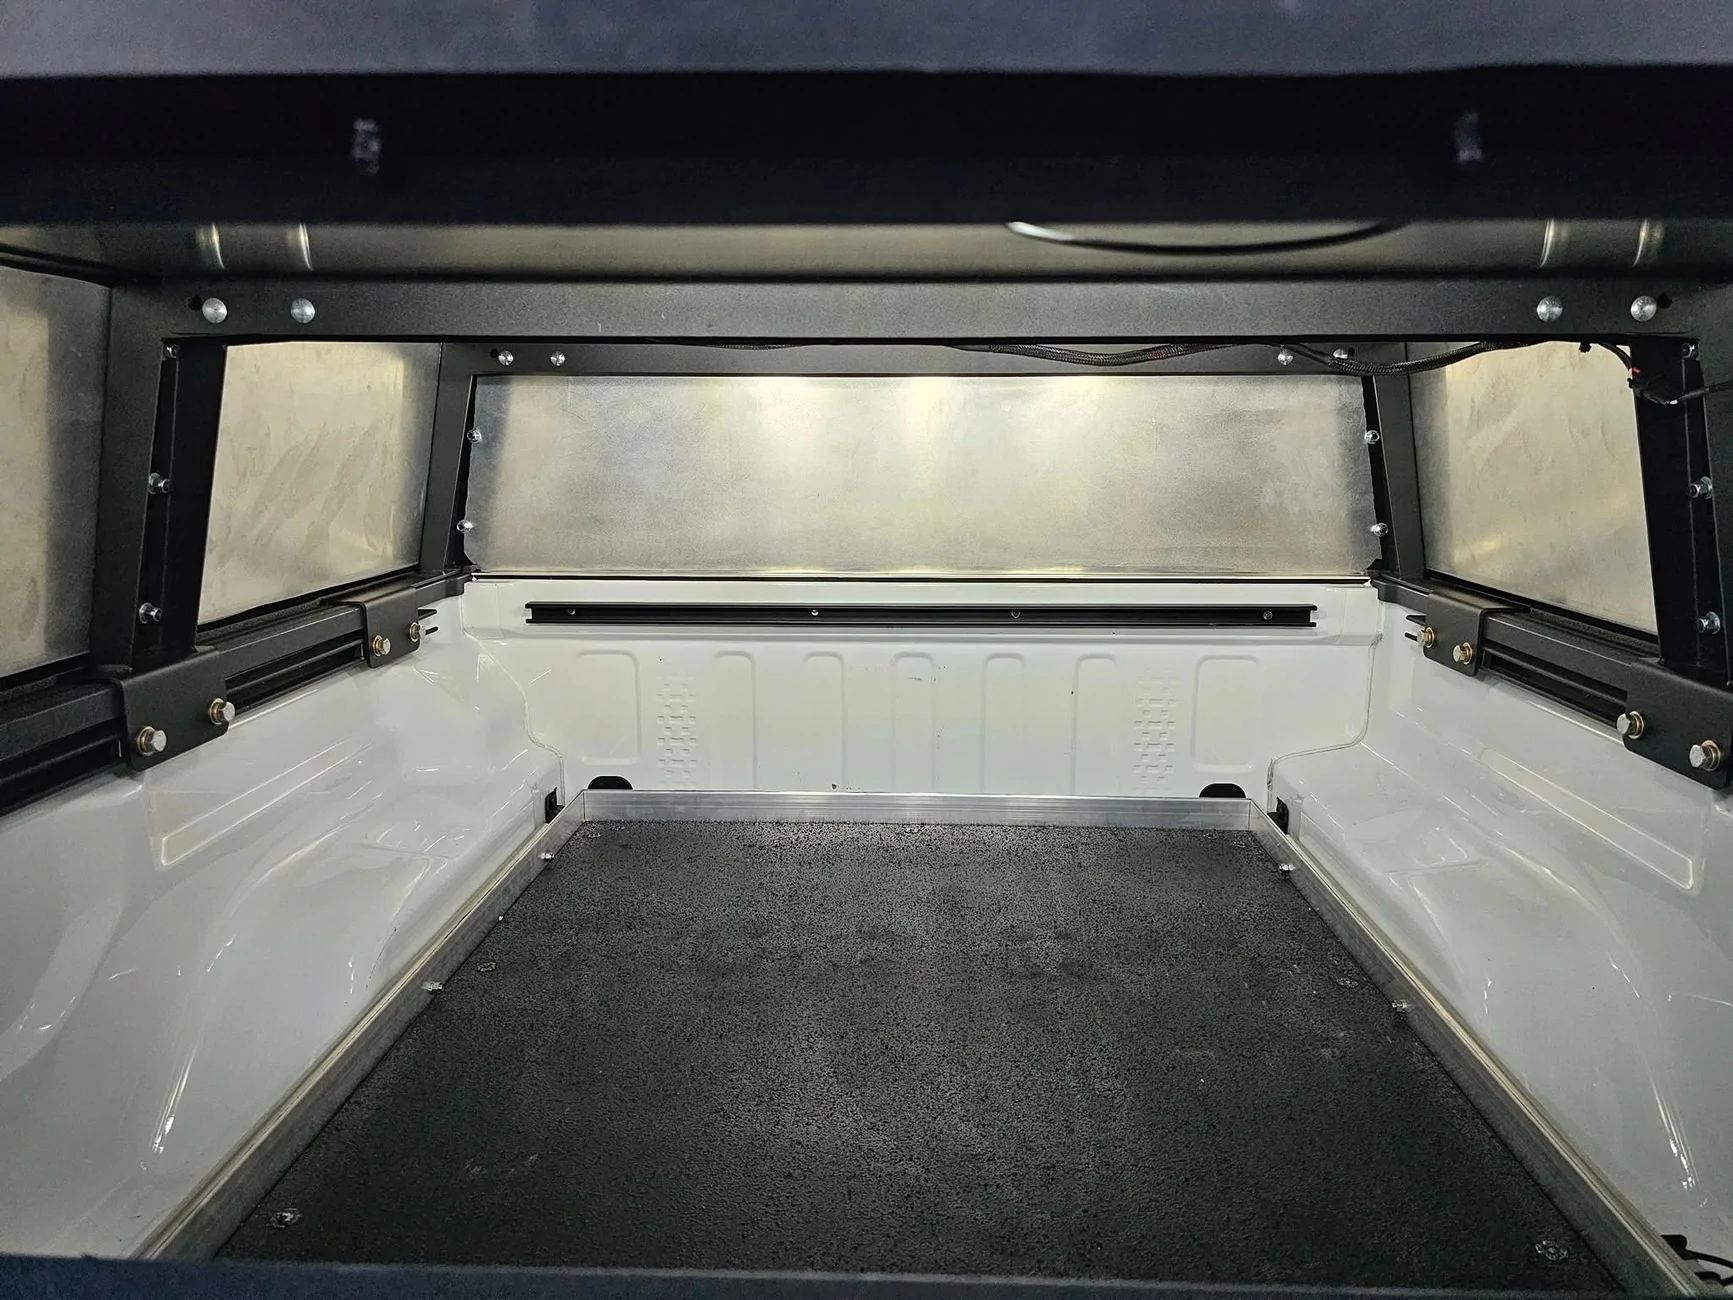
Opened and inspected the rest of the tent. The forklift dented the interior roof panel as well but it didn't break through. Other than that everything looks great, so I'll move forward with patching it myself. Sent the CAD file off to get a new panel cut out of .063 aluminum.

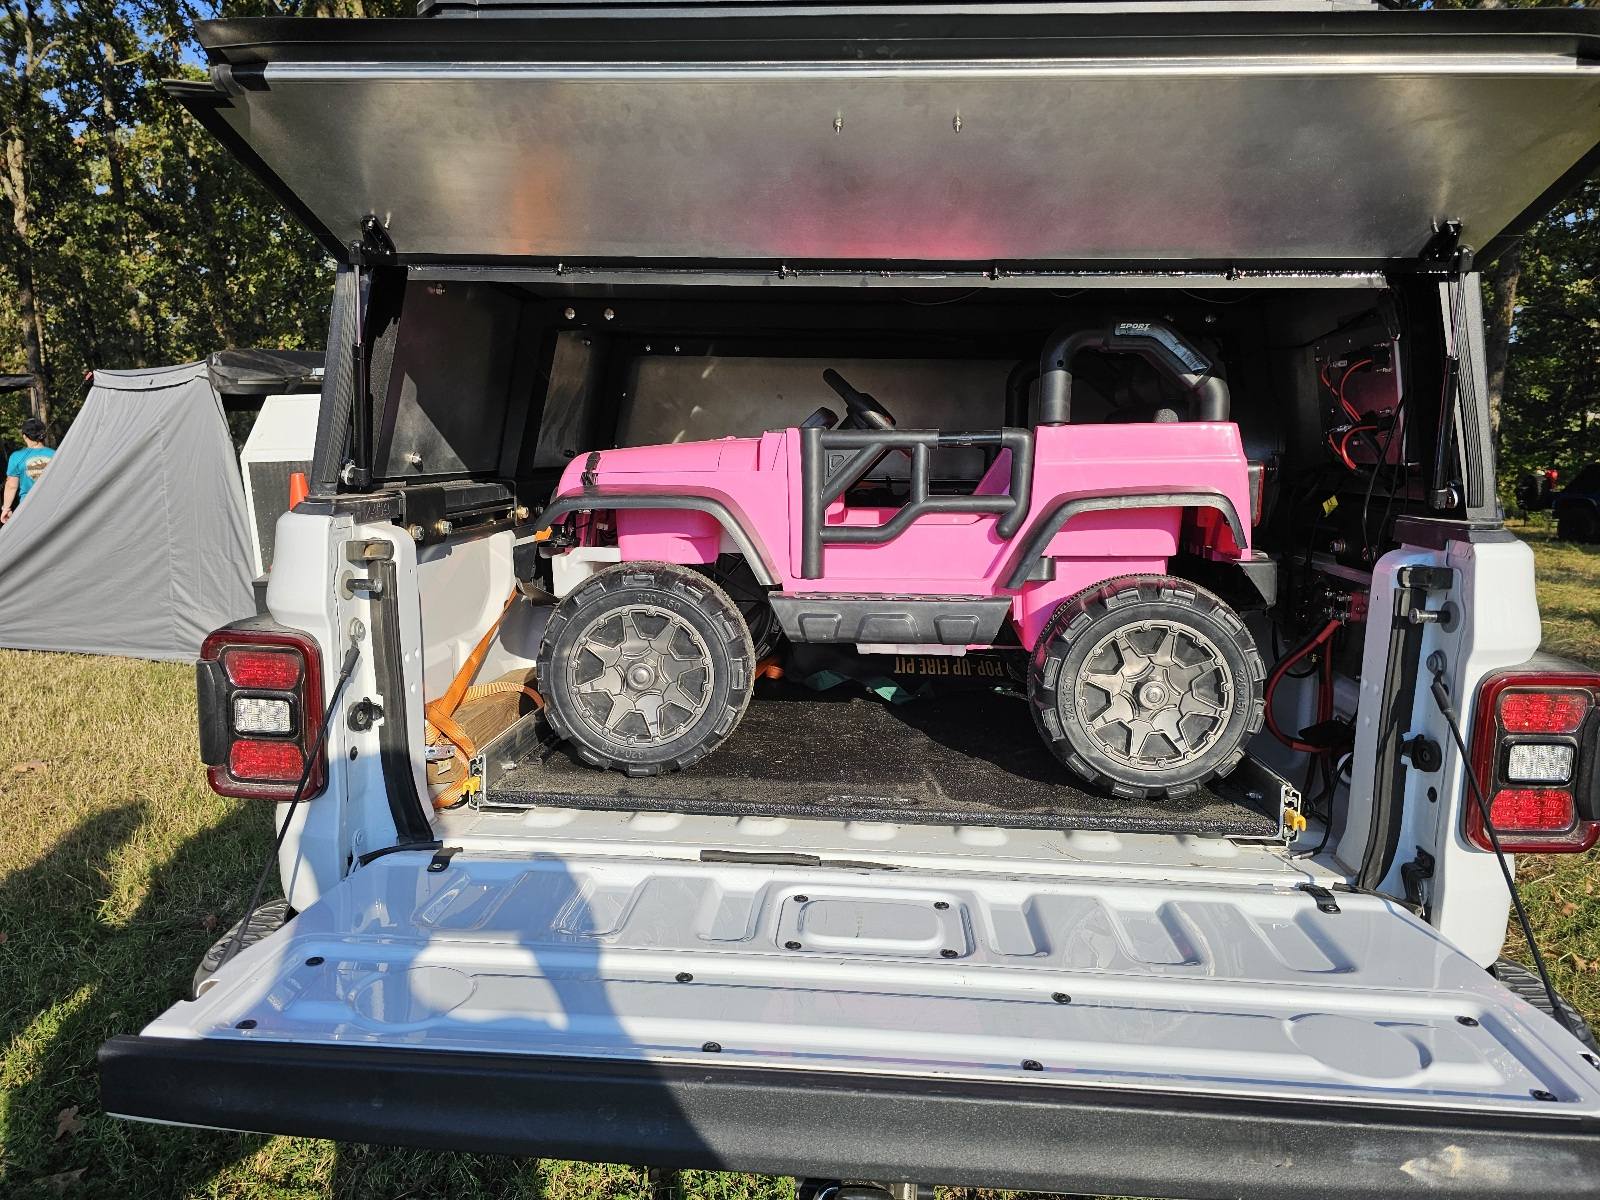
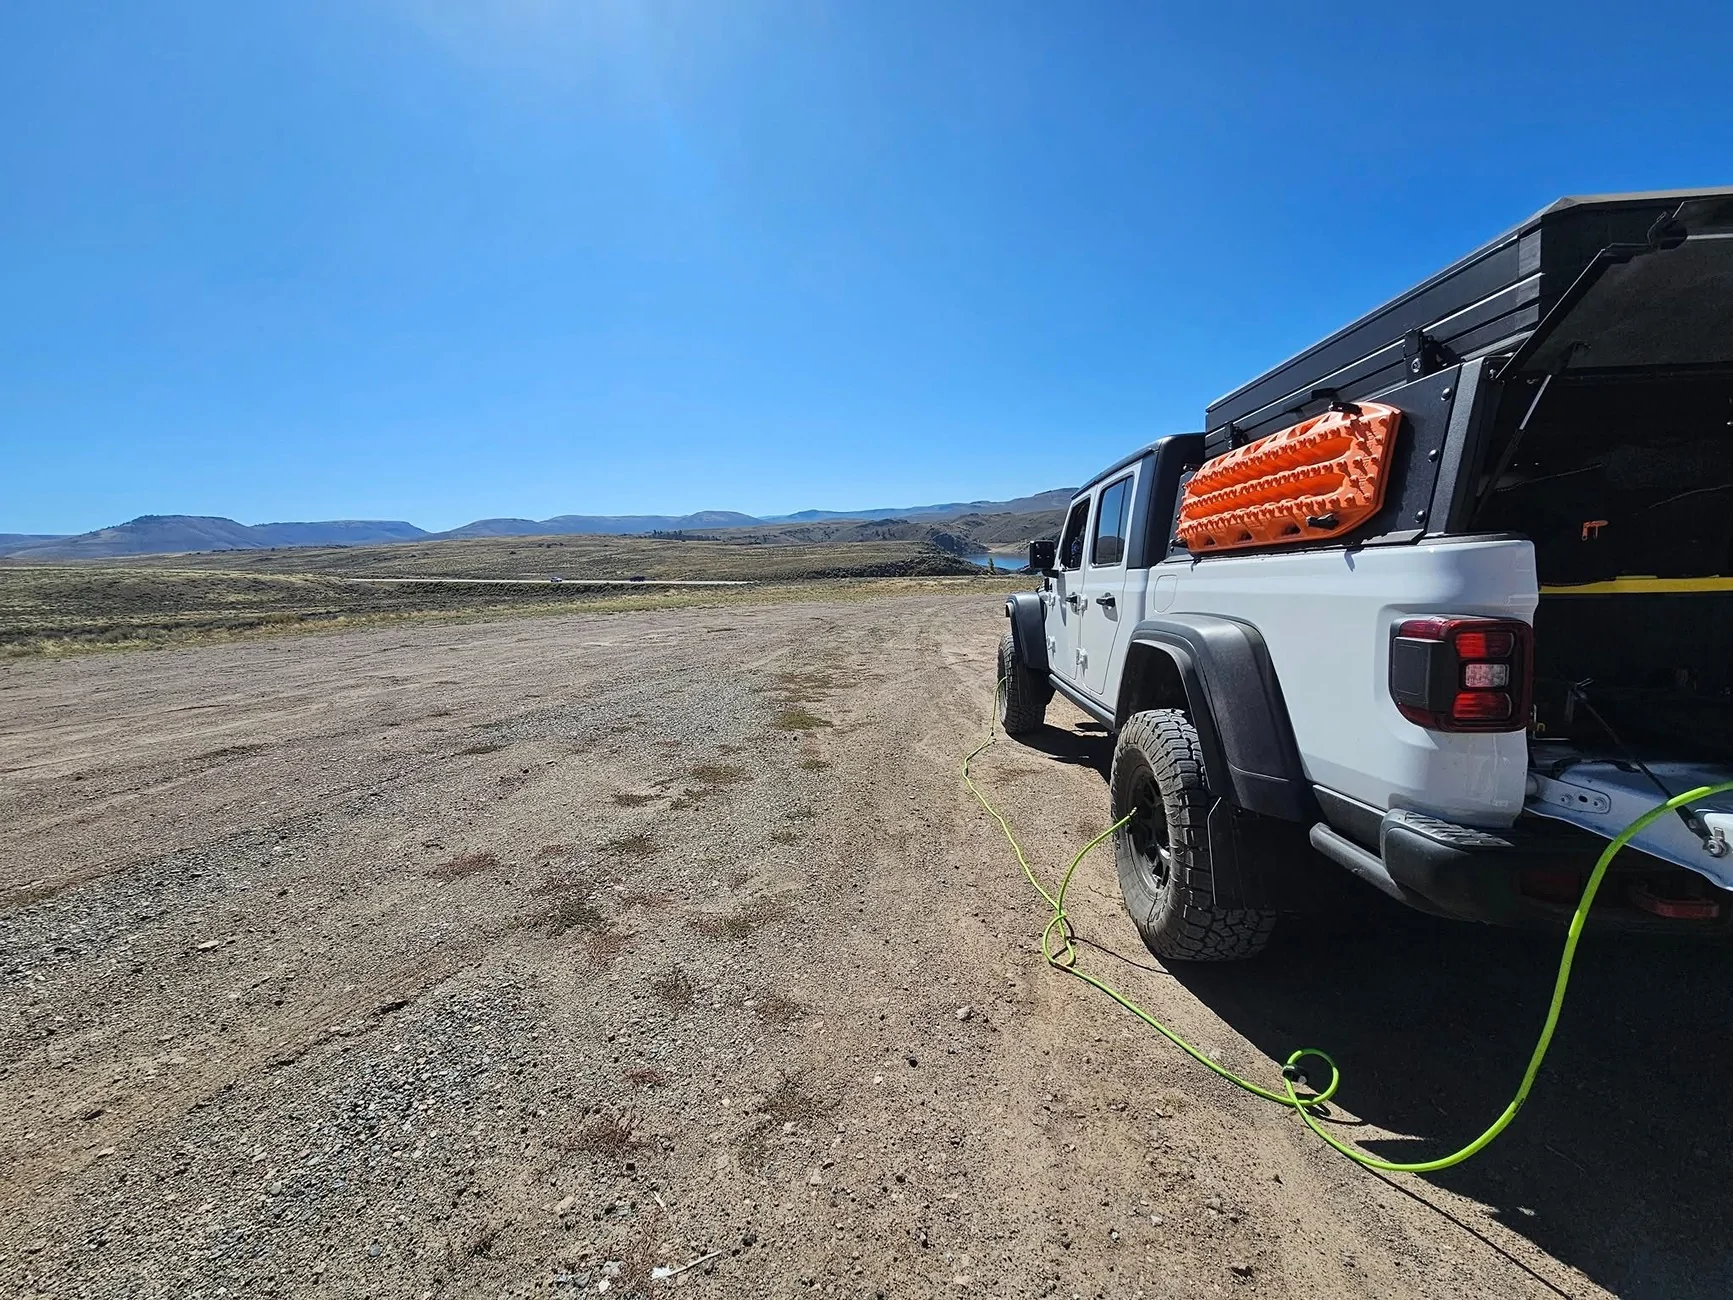
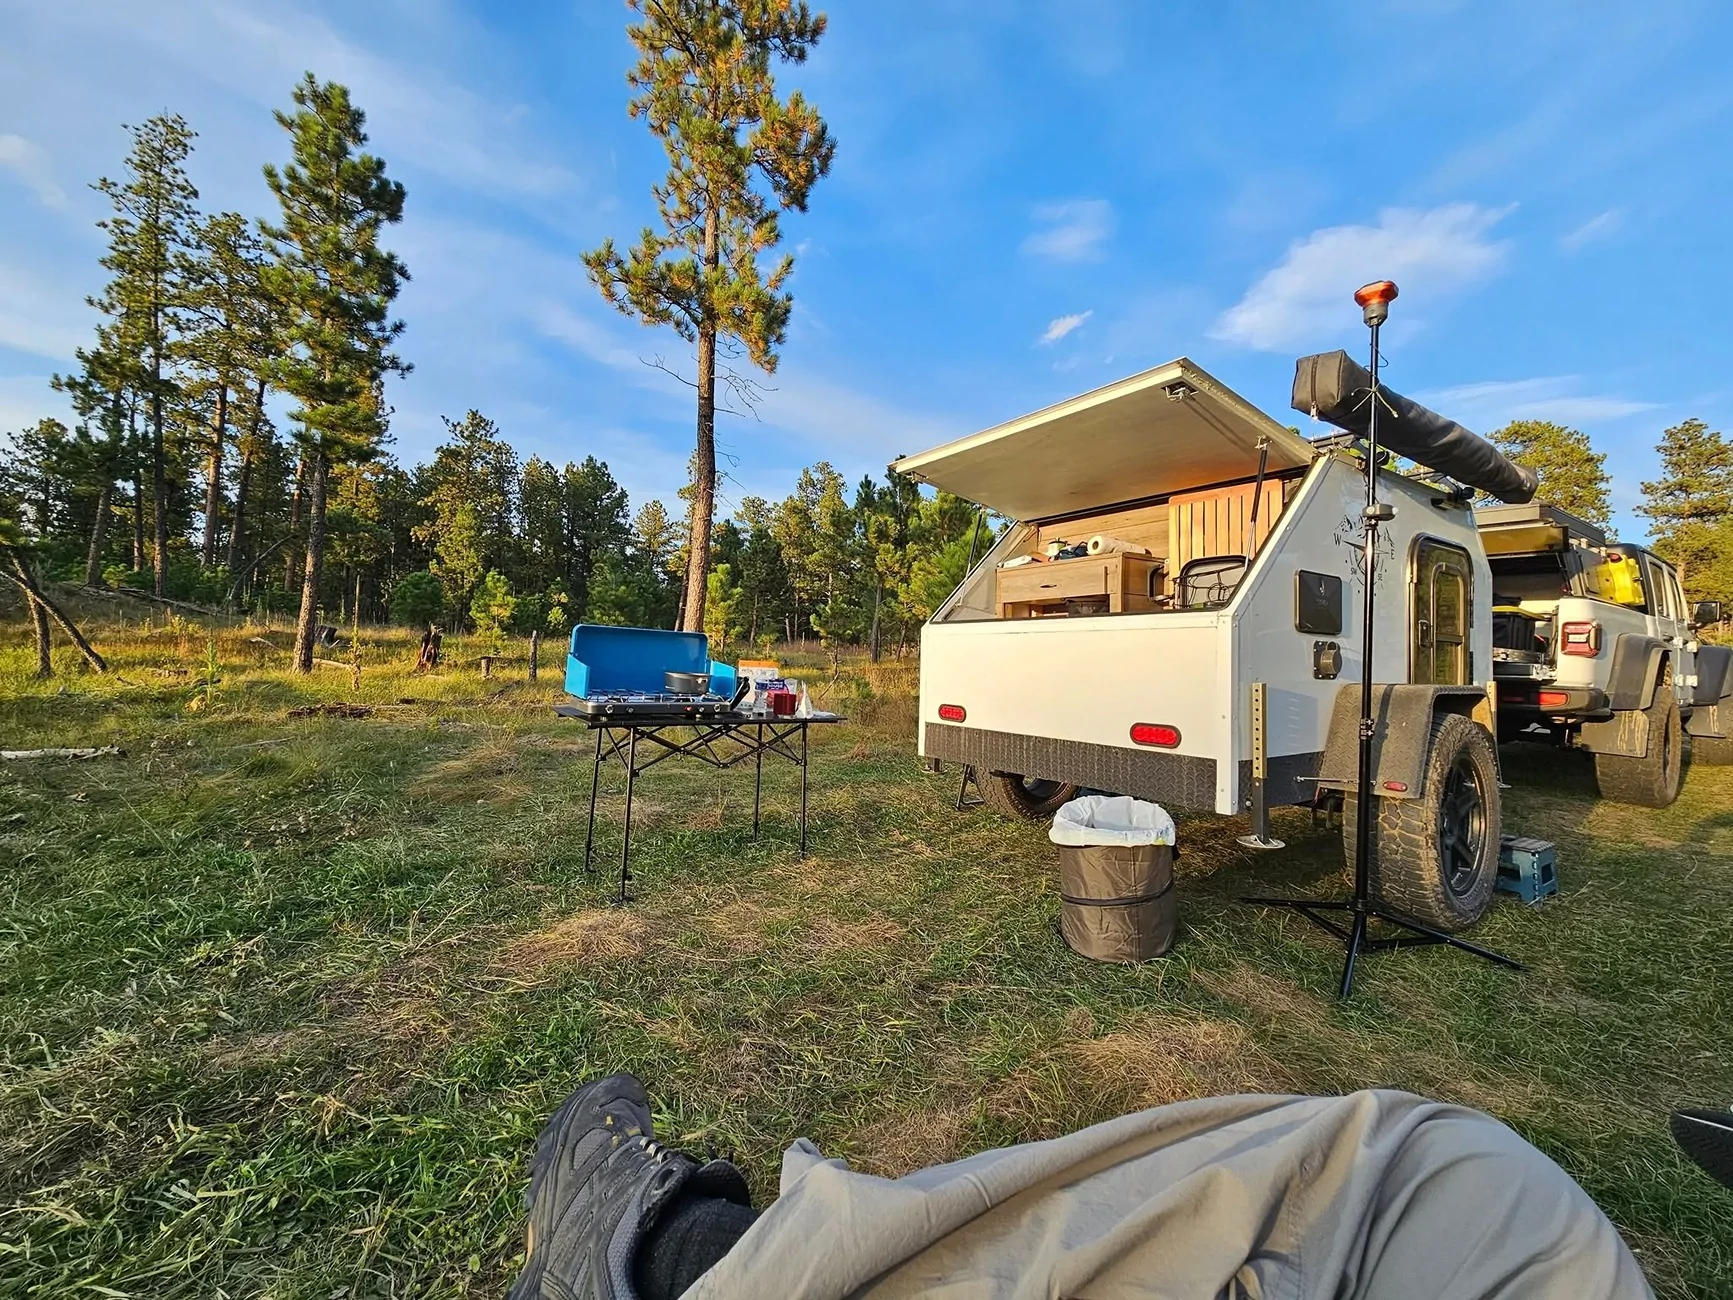
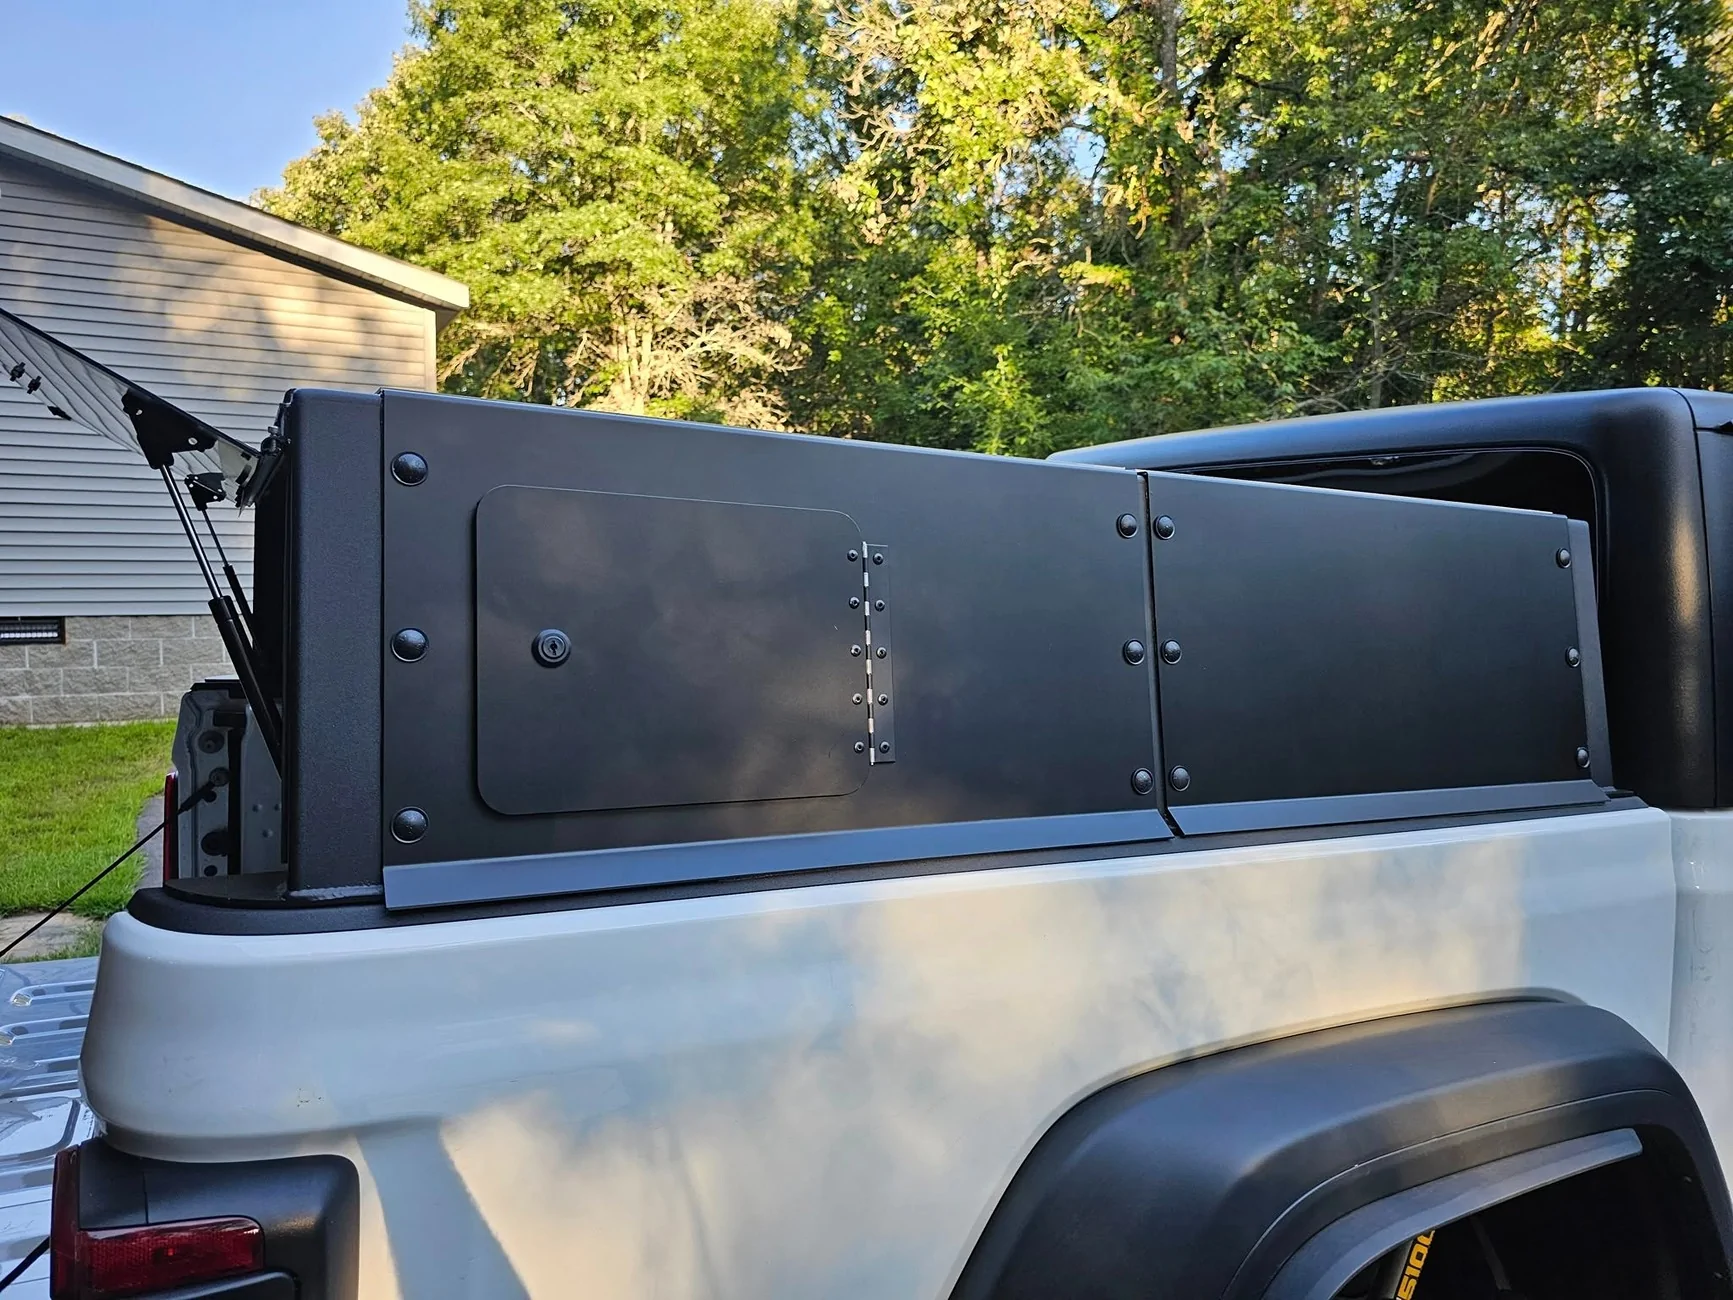
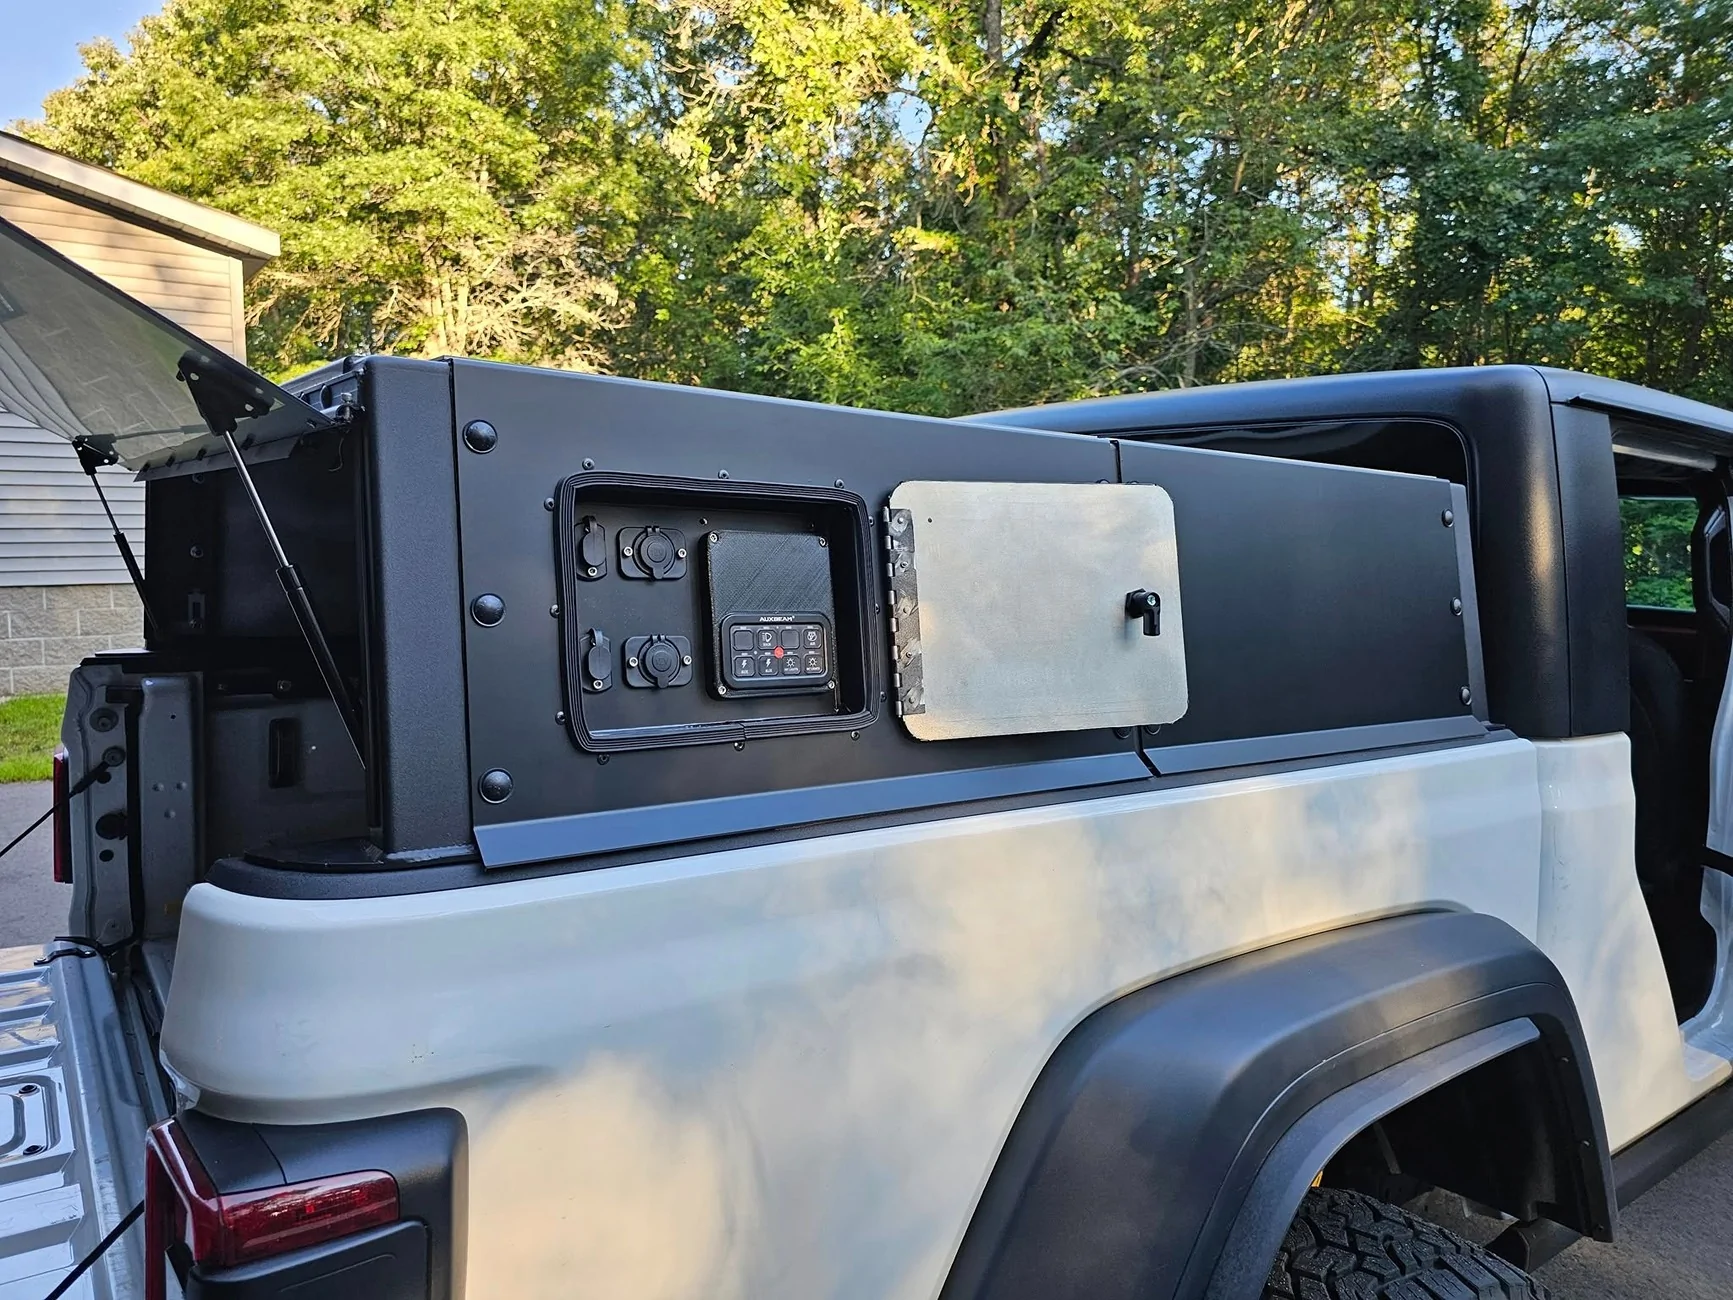
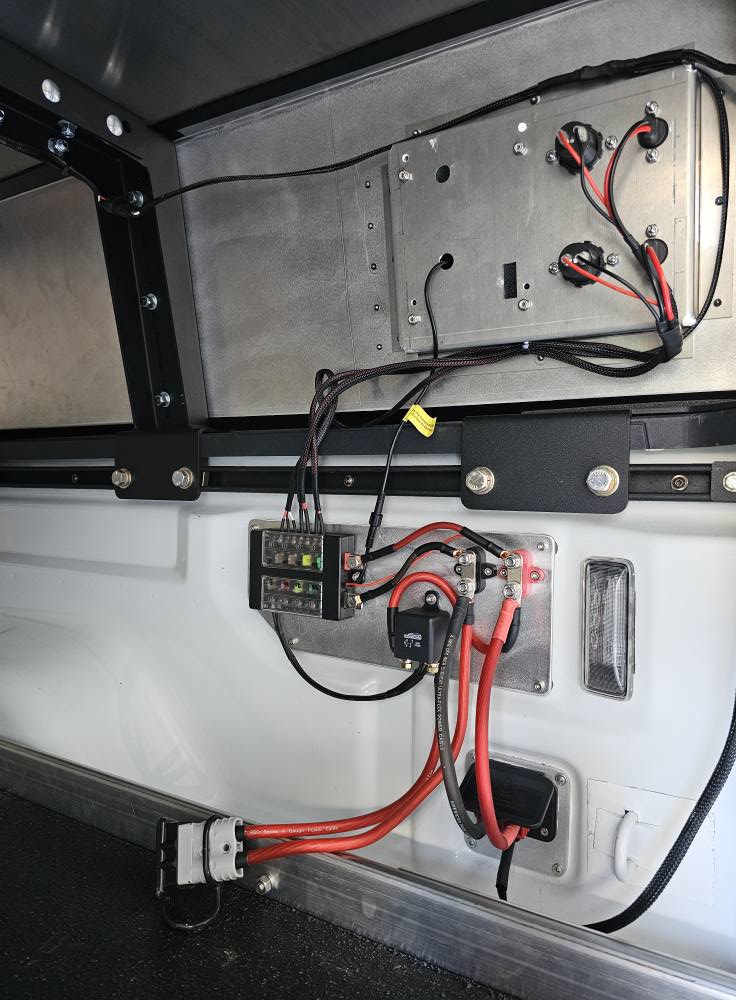
I also finished up the rear electrical. Used some .125 alum sheet I had laying around and cut a panel to fit the shape of the inner bed side and used rivnuts to secure it. Auxbeam and accessory outlets installed in the access panel I built into the enclosure. Exterior lights (once I get some), bed interior lights in both white and amber, accessory outlets and air compressor (SB120 connector) will all be controlled from the Auxbeam. Need to tidy up the wiring a little better, too spaghetti looking for my likes.
Auxbeam mount is 3dprinted from TPU. Not sure how long the TPU will maintain shape but this a temporary solution. My original plan was to have the Renogy battery monitor in here as well, hence the big wasted space above the Auxbeam, but after moving the house battery into the cab I decided it was easier to put the monitor in the cab as well vs wiring up an extension and plug for it, so now I have this big blank space glaring at me when I open the panel. I think I might re-print the mount in ASA and add an SB50 connection point. What for? No idea, but it'll be available if I ever need one. Or better yet, maybe a solar panel or trickle charger hookup. That would probably make more sense.


I also realized my Wolfbox camera hotswapping idea isn't going to work as I have it because I didn't pay attention to the connection types, they are both female ends! So I have an male/female extension cable on the way that I can use to make it work. Right idea, wrong execution!
Opened and inspected the rest of the tent. The forklift dented the interior roof panel as well but it didn't break through. Other than that everything looks great, so I'll move forward with patching it myself. Sent the CAD file off to get a new panel cut out of .063 aluminum.
I also finished up the rear electrical. Used some .125 alum sheet I had laying around and cut a panel to fit the shape of the inner bed side and used rivnuts to secure it. Auxbeam and accessory outlets installed in the access panel I built into the enclosure. Exterior lights (once I get some), bed interior lights in both white and amber, accessory outlets and air compressor (SB120 connector) will all be controlled from the Auxbeam. Need to tidy up the wiring a little better, too spaghetti looking for my likes.
Auxbeam mount is 3dprinted from TPU. Not sure how long the TPU will maintain shape but this a temporary solution. My original plan was to have the Renogy battery monitor in here as well, hence the big wasted space above the Auxbeam, but after moving the house battery into the cab I decided it was easier to put the monitor in the cab as well vs wiring up an extension and plug for it, so now I have this big blank space glaring at me when I open the panel. I think I might re-print the mount in ASA and add an SB50 connection point. What for? No idea, but it'll be available if I ever need one. Or better yet, maybe a solar panel or trickle charger hookup. That would probably make more sense.

I also realized my Wolfbox camera hotswapping idea isn't going to work as I have it because I didn't pay attention to the connection types, they are both female ends! So I have an male/female extension cable on the way that I can use to make it work. Right idea, wrong execution!
Sponsored