Sponsored
OP
OP
vmiaptetr
Well-Known Member
- Thread starter
- #32
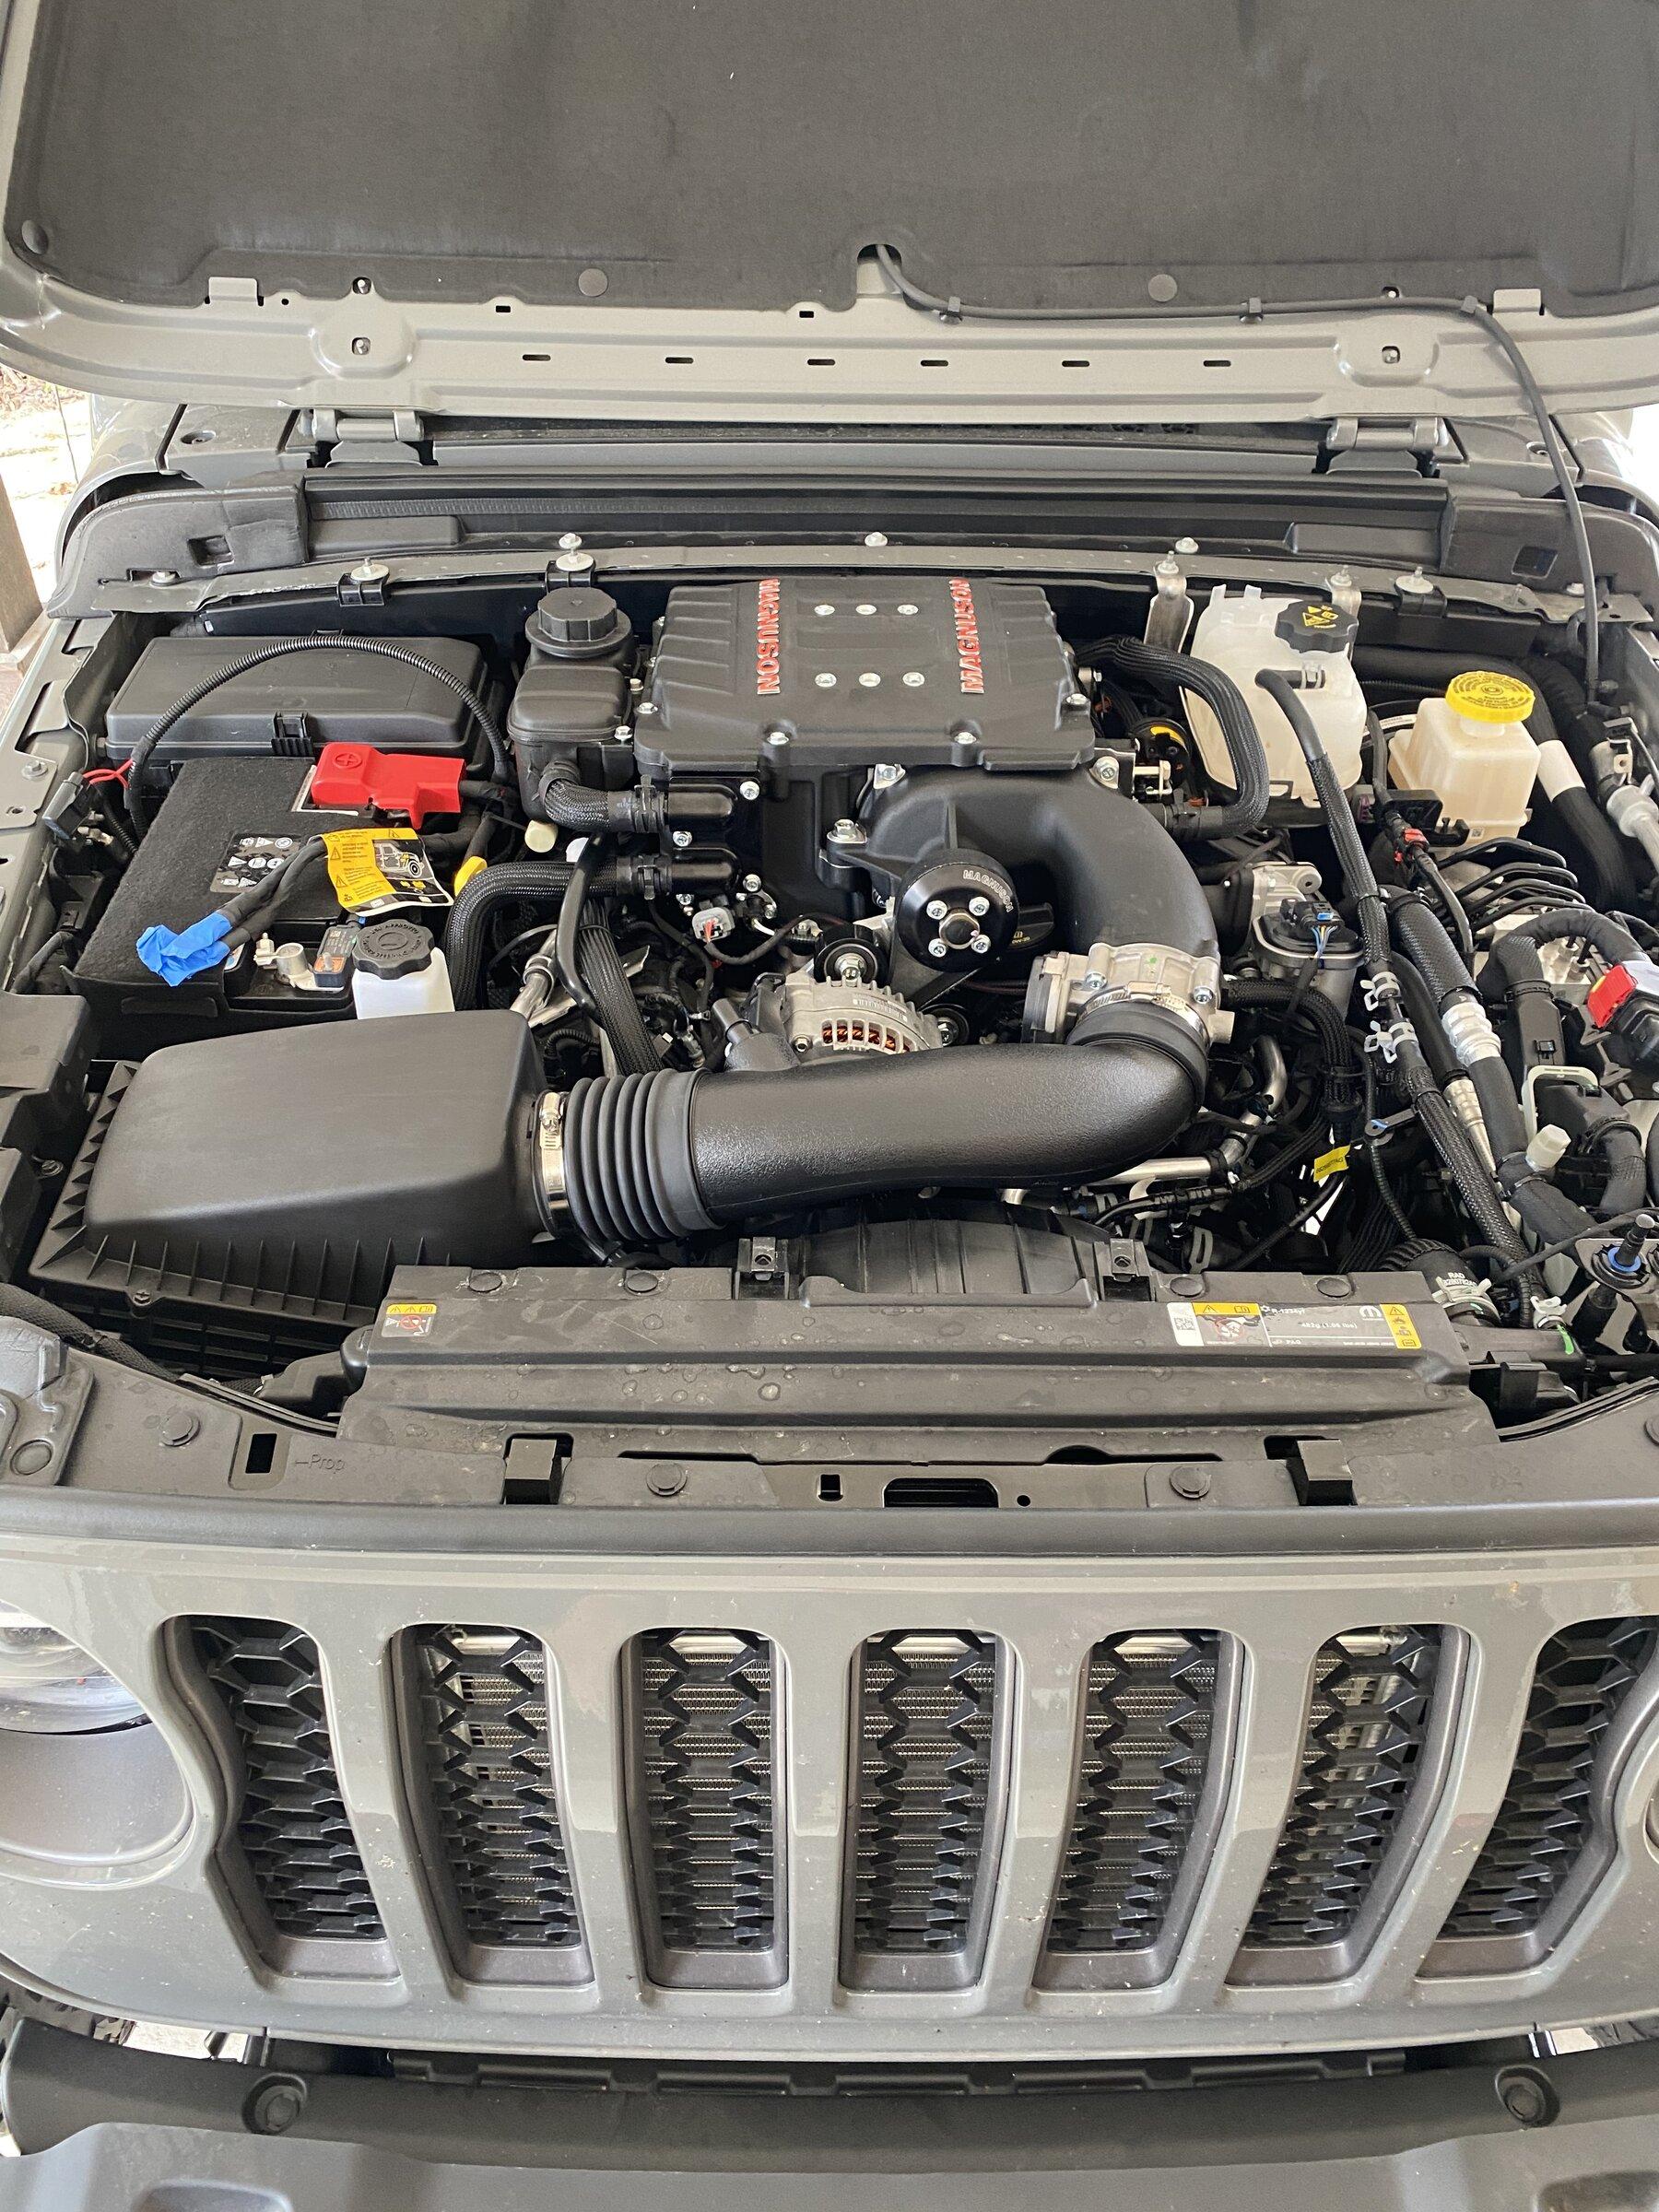
Got further along in the install today. I called it quits after I got the upper intake manifold on. My kids were ready for some attention, so I’ll probably finish up tomorrow. I have a couple of questions for anyone who has experience with this install.
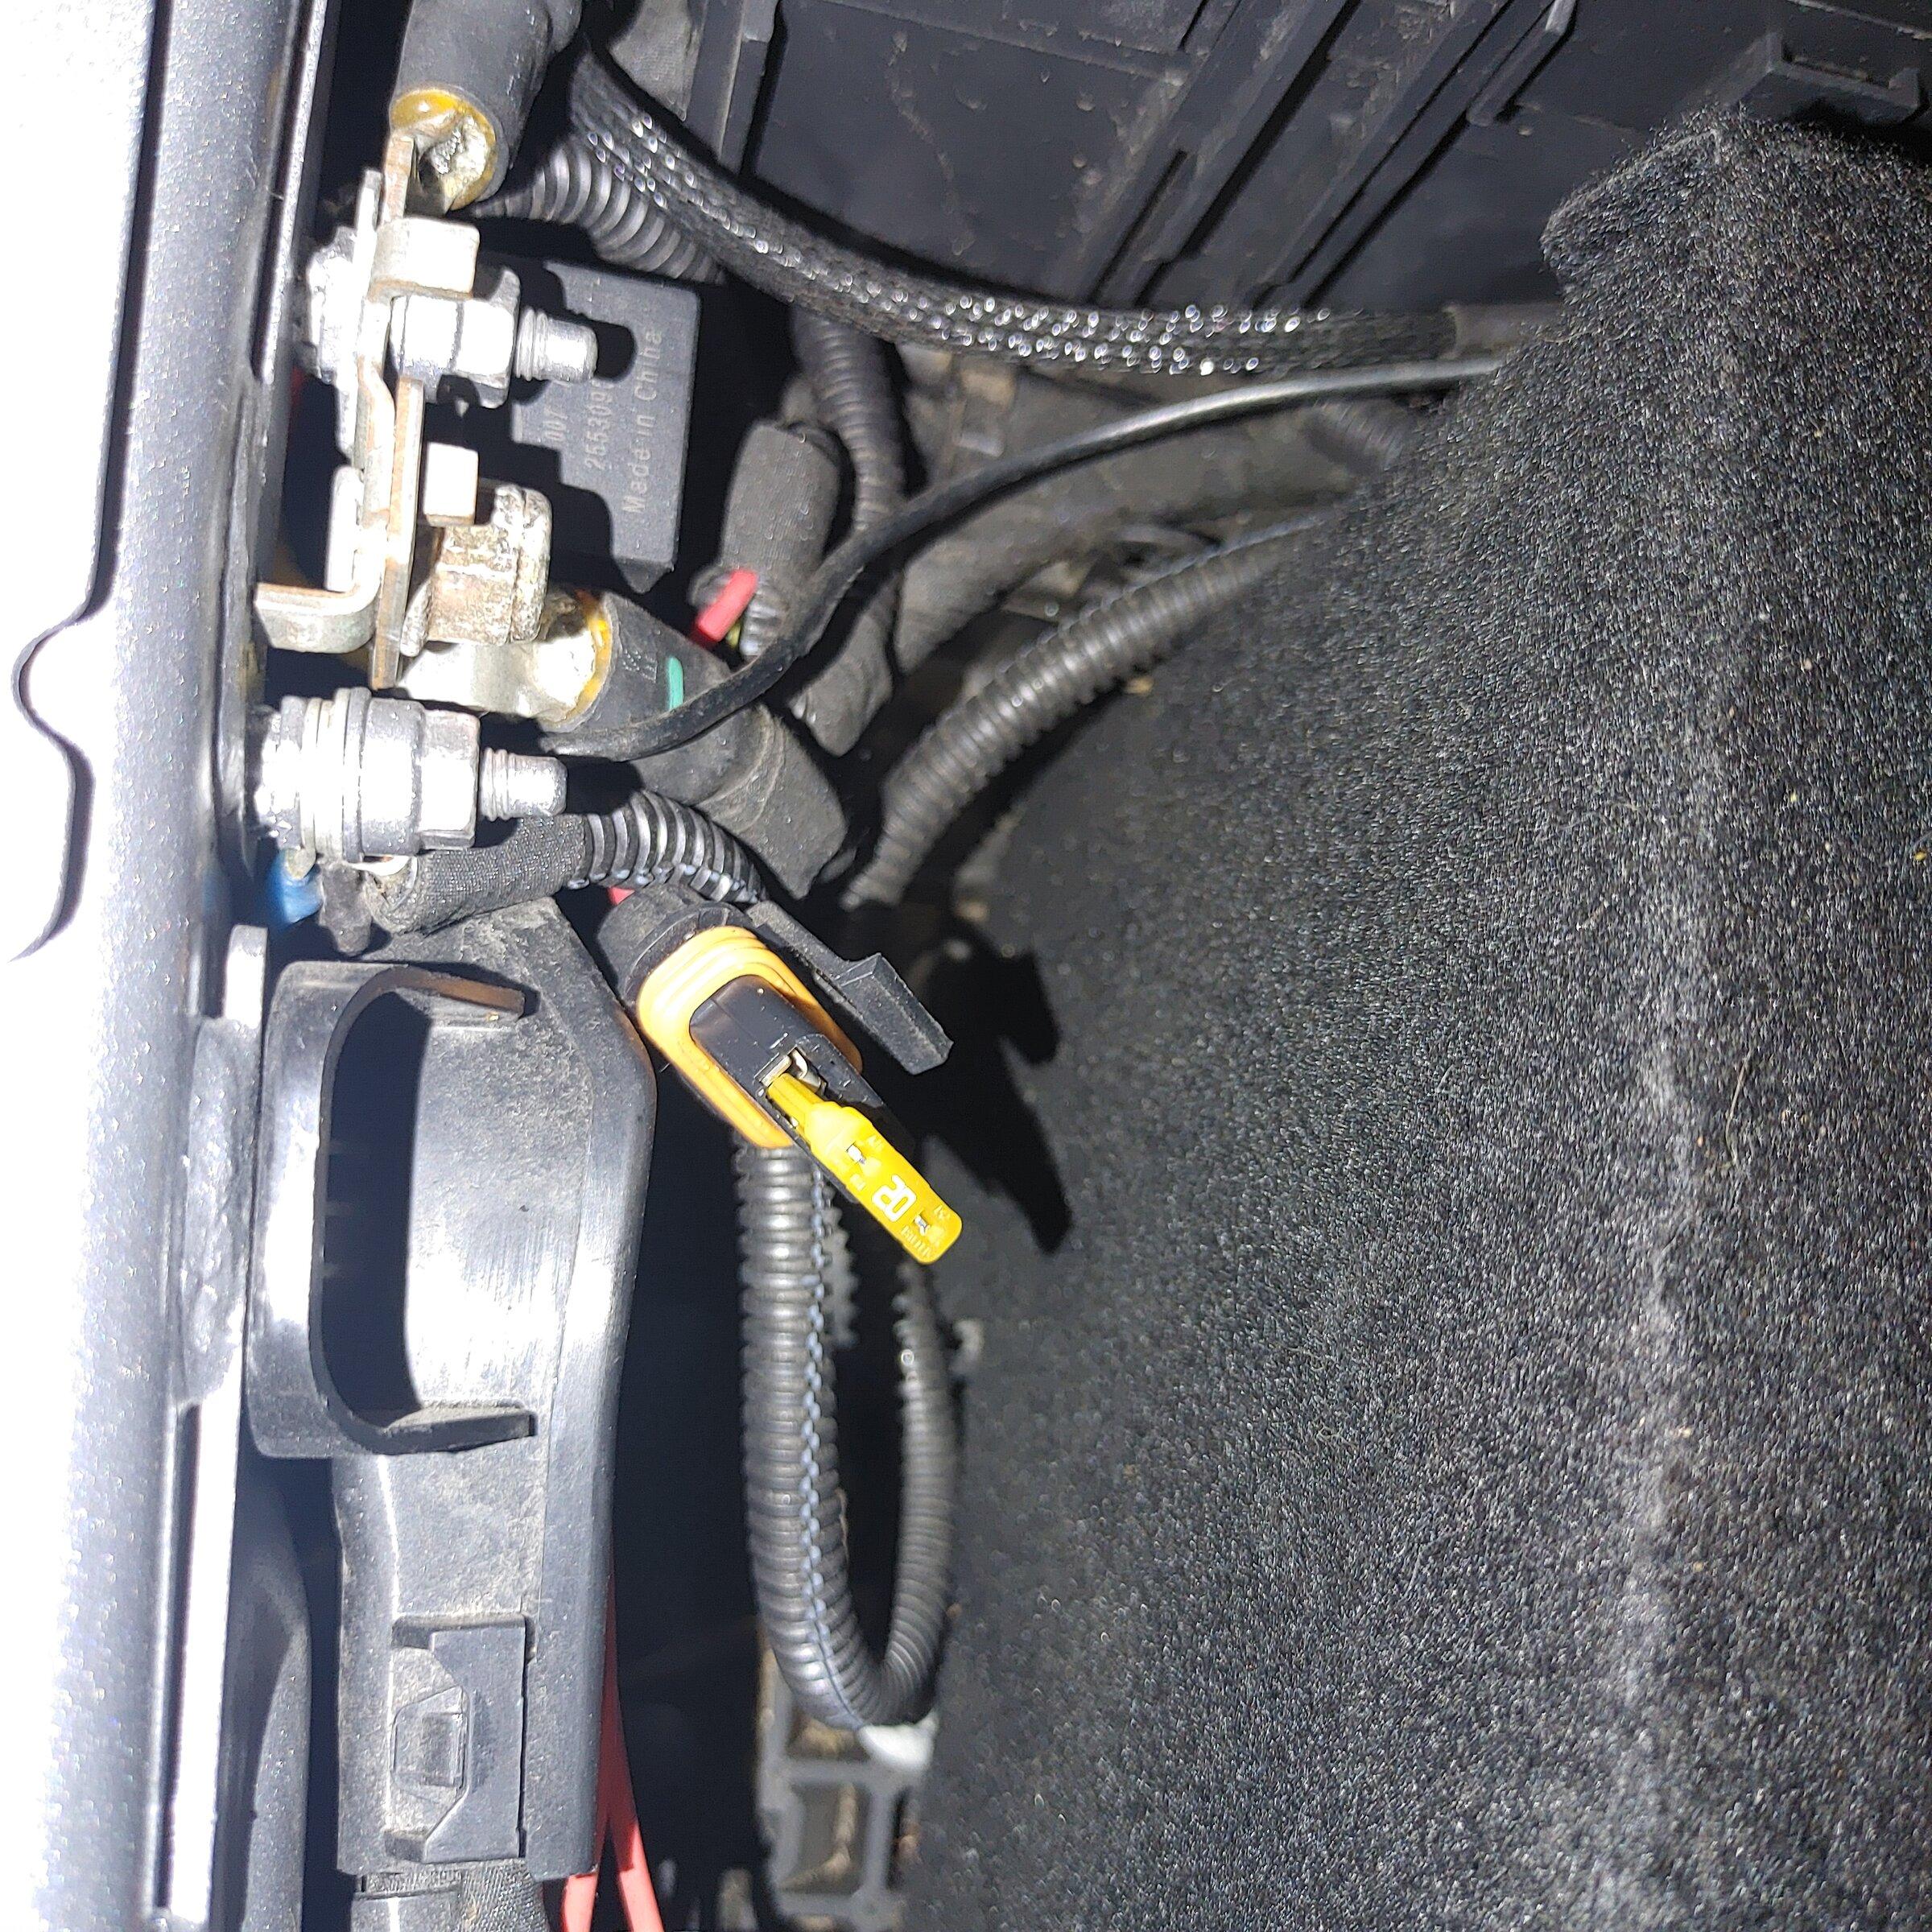
1. During the wiring process, the manual says “Install the provided 30 amp fuse for the I/C harness into fuse housing. The kit I have came with a 15 amp fuse. Anyone know what should go in there? The online manual says 15 amp.
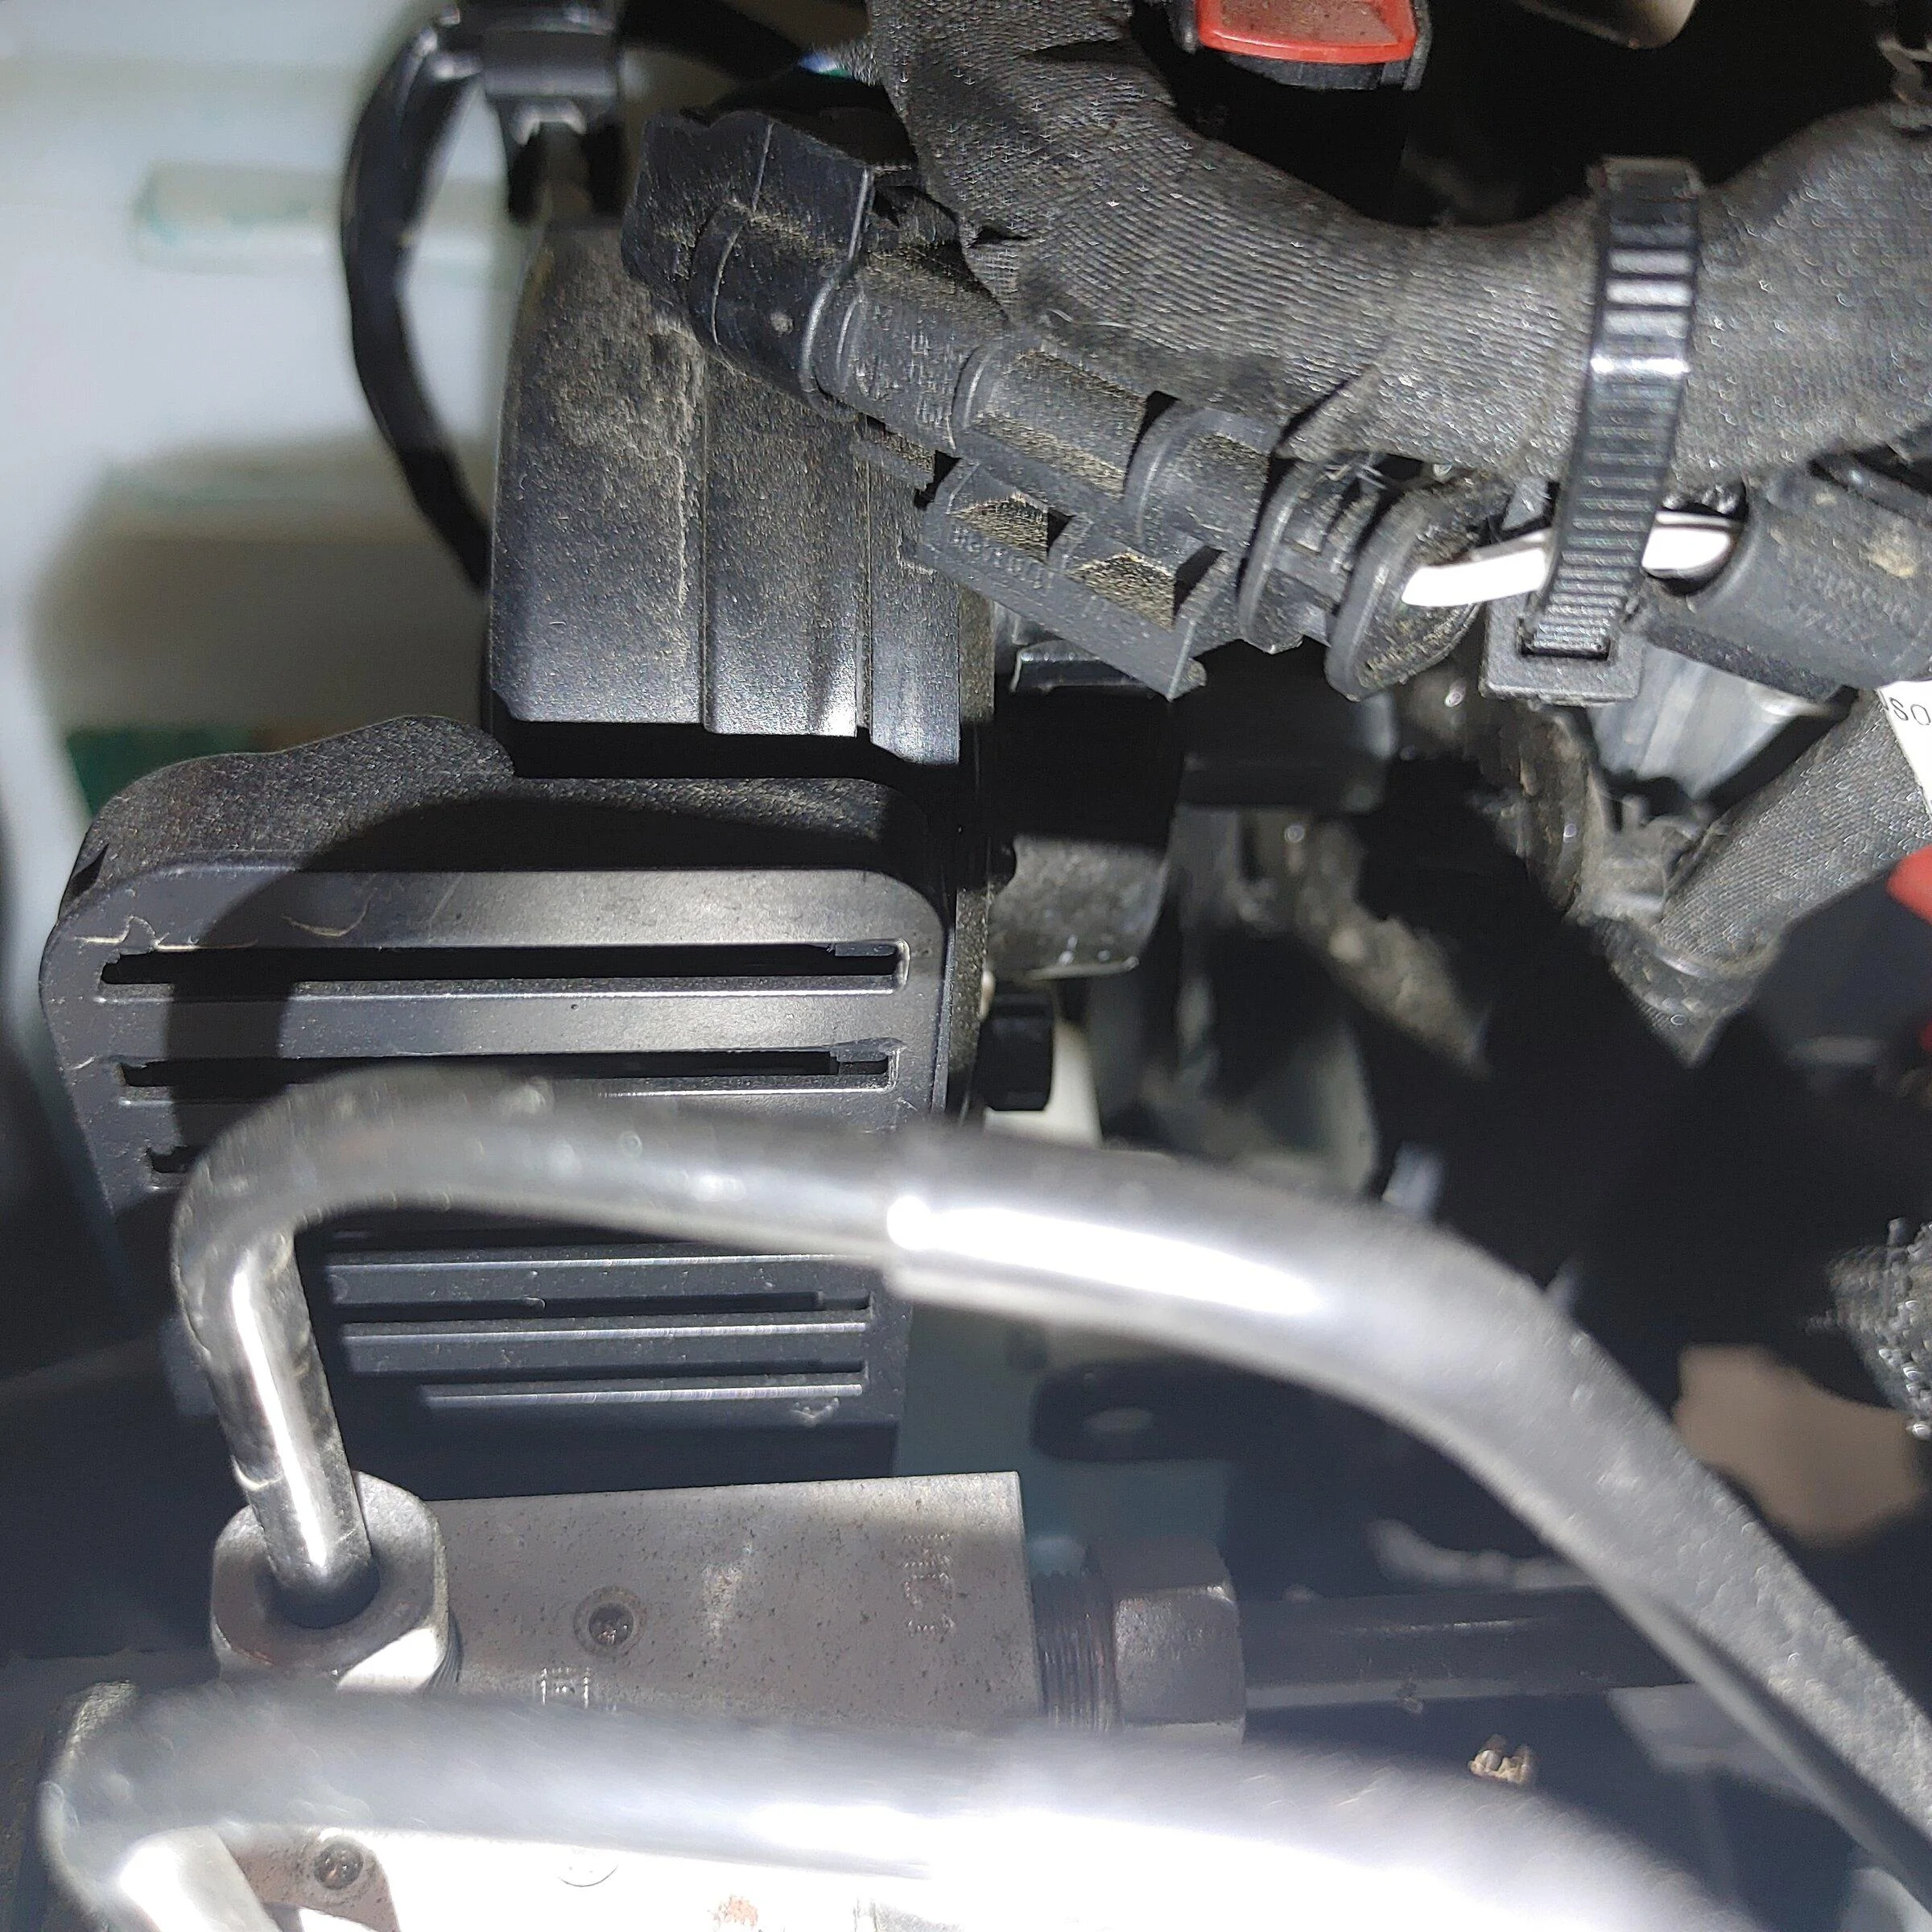
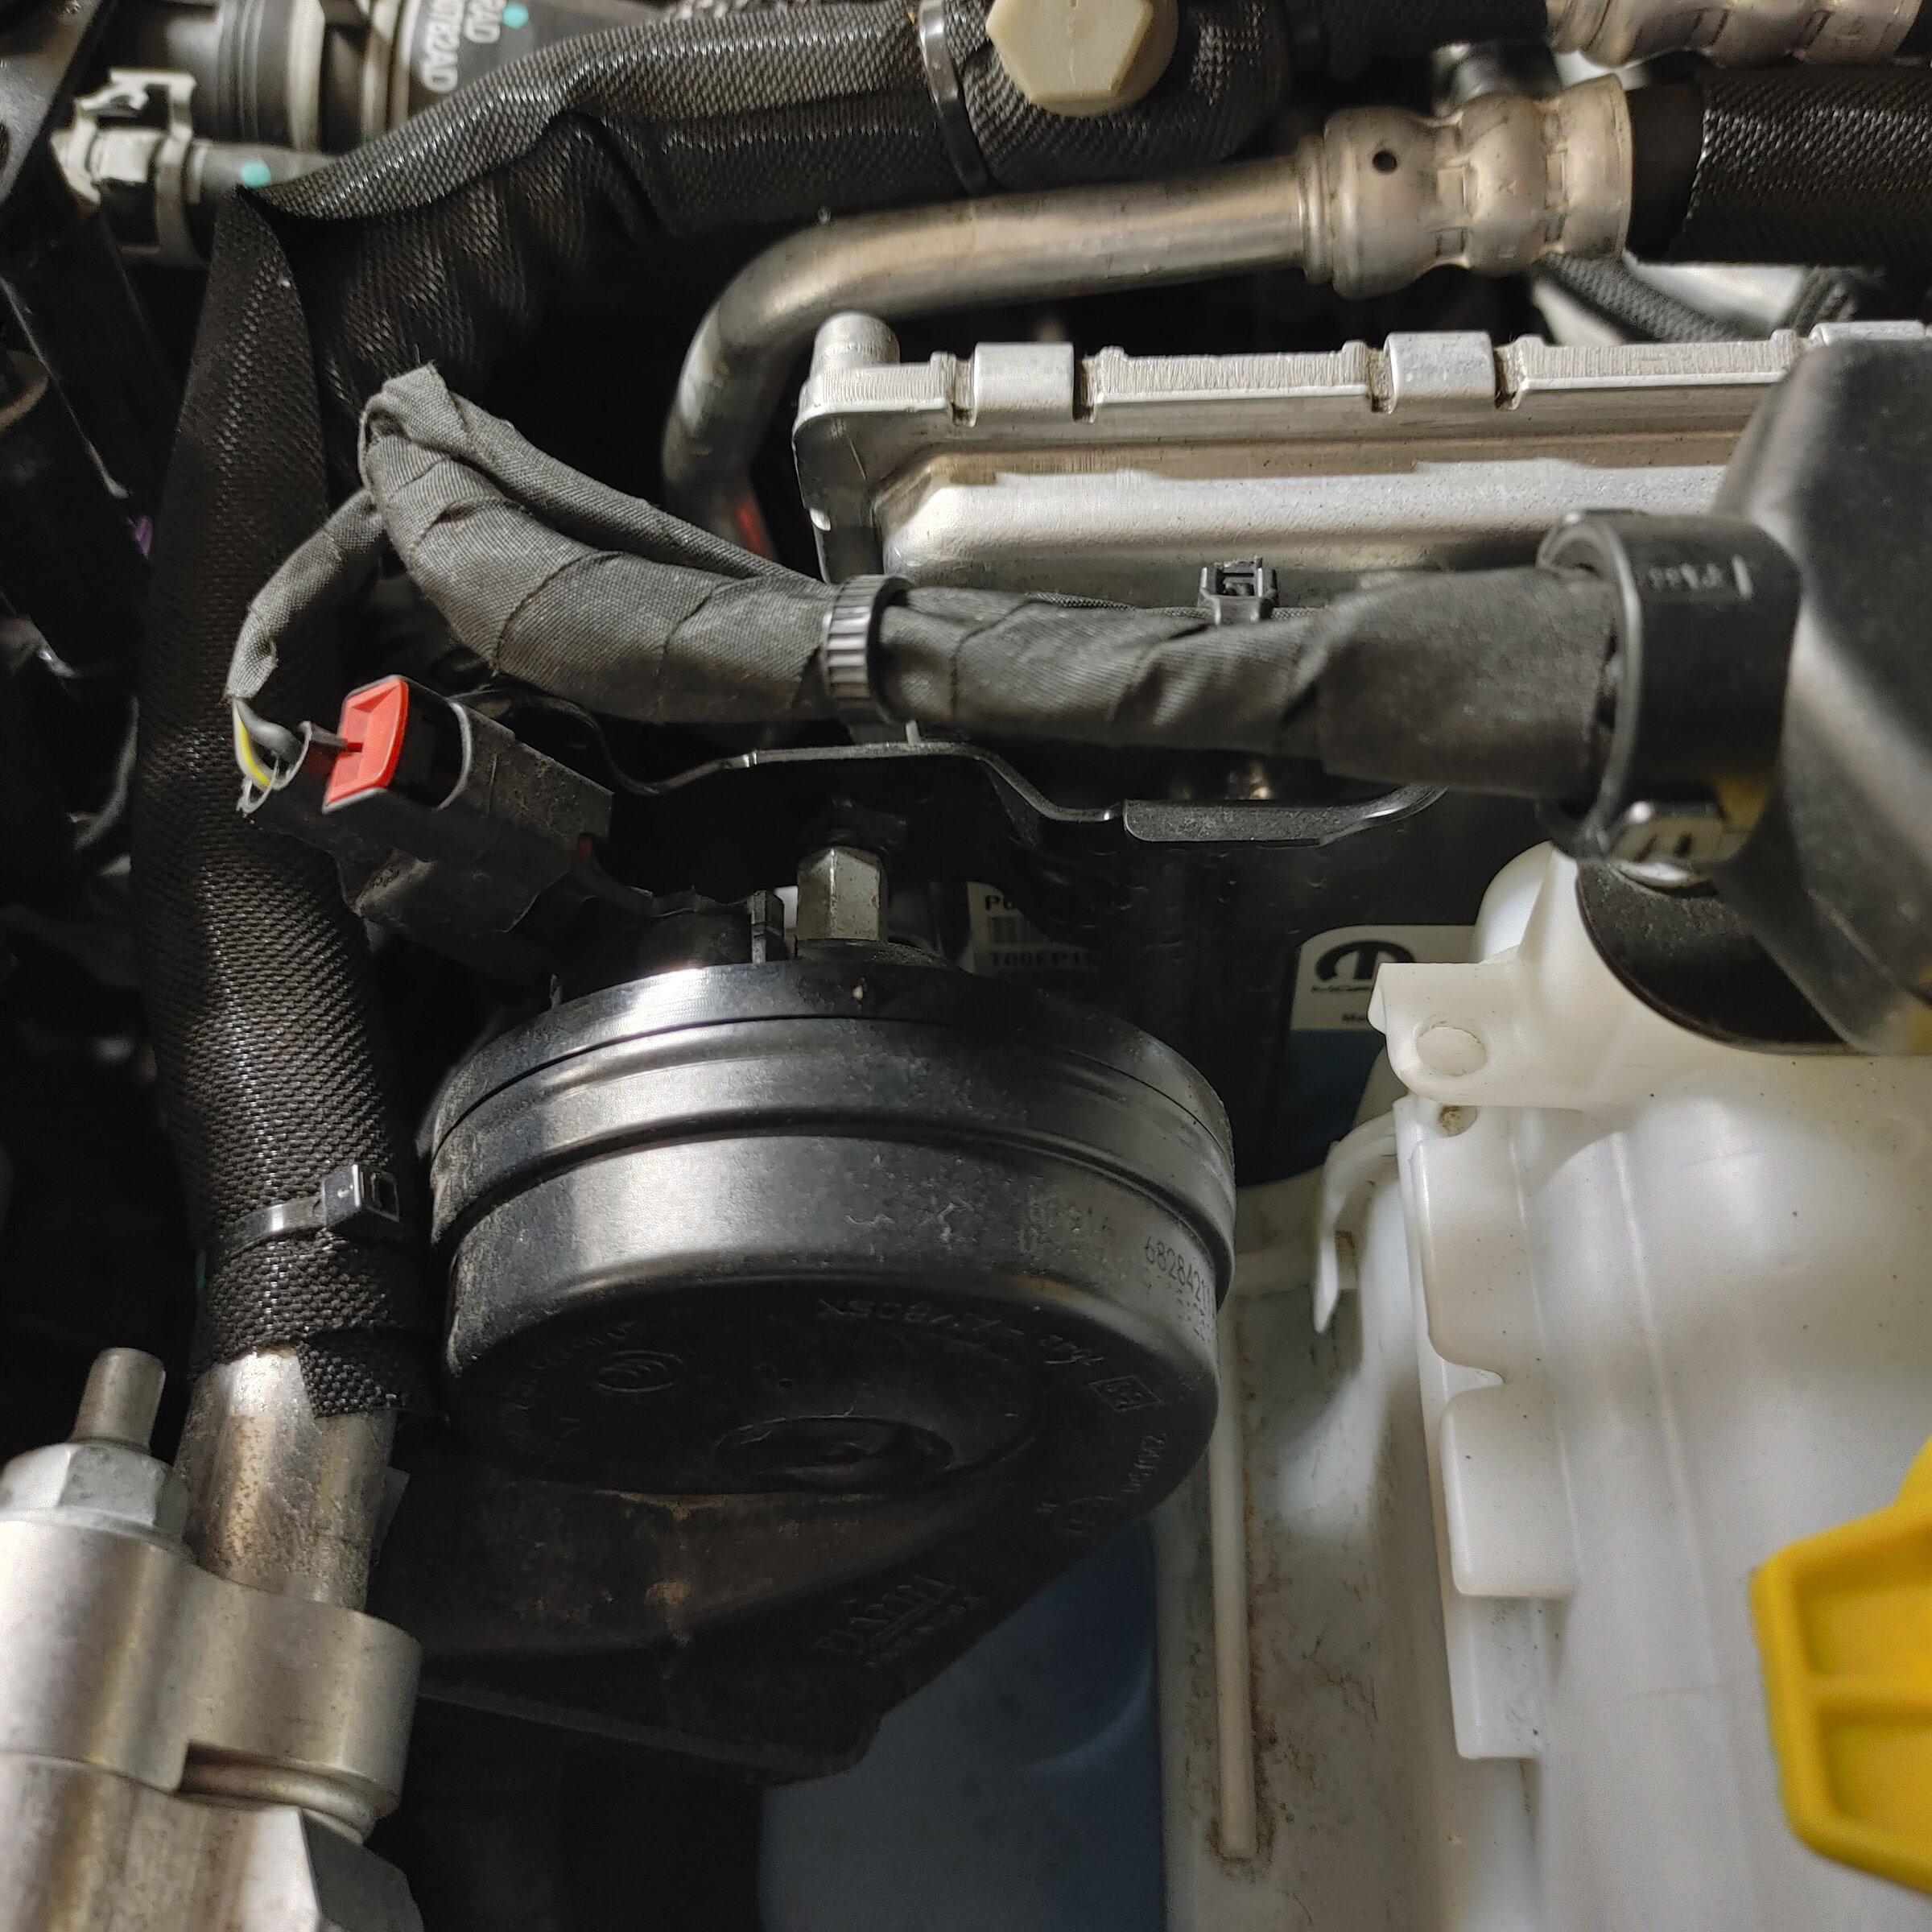
2. When relocating the horn, the manual says “use a 1/4” drill to increase the size of 2 existing unused holes in PCM mounting bracket.” I don’t know if it is specific for ‘21 models, but there is definitely no unused holes on my PCM mounting bracket. How did ya’ll mount the horn, or where did you relocate it.
Thanks for everyone’s help.
1. During the wiring process, the manual says “Install the provided 30 amp fuse for the I/C harness into fuse housing. The kit I have came with a 15 amp fuse. Anyone know what should go in there? The online manual says 15 amp.
2. When relocating the horn, the manual says “use a 1/4” drill to increase the size of 2 existing unused holes in PCM mounting bracket.” I don’t know if it is specific for ‘21 models, but there is definitely no unused holes on my PCM mounting bracket. How did ya’ll mount the horn, or where did you relocate it.
Thanks for everyone’s help.
DAVECS1
Well-Known Member
- First Name
- David
- Joined
- Jan 24, 2020
- Threads
- 56
- Messages
- 1,861
- Reaction score
- 2,538
- Location
- Peoria, IL
- Vehicle(s)
- 2020 Gladiator Sport S Max Tow
Got further along in the install today. I called it quits after I got the upper intake manifold on. My kids were ready for some attention, so I’ll probably finish up tomorrow. I have a couple of questions for anyone who has experience with this install.
1. During the wiring process, the manual says “Install the provided 30 amp fuse for the I/C harness into fuse housing. The kit I have came with a 15 amp fuse. Anyone know what should go in there? The online manual says 15 amp.
2. When relocating the horn, the manual says “use a 1/4” drill to increase the size of 2 existing unused holes in PCM mounting bracket.” I don’t know if it is specific for ‘21 models, but there is definitely no unused holes on my PCM mounting bracket. How did ya’ll mount the horn, or where did you relocate it.
Thanks for everyone’s help.

OP
OP
vmiaptetr
Well-Known Member
- Thread starter
- #34
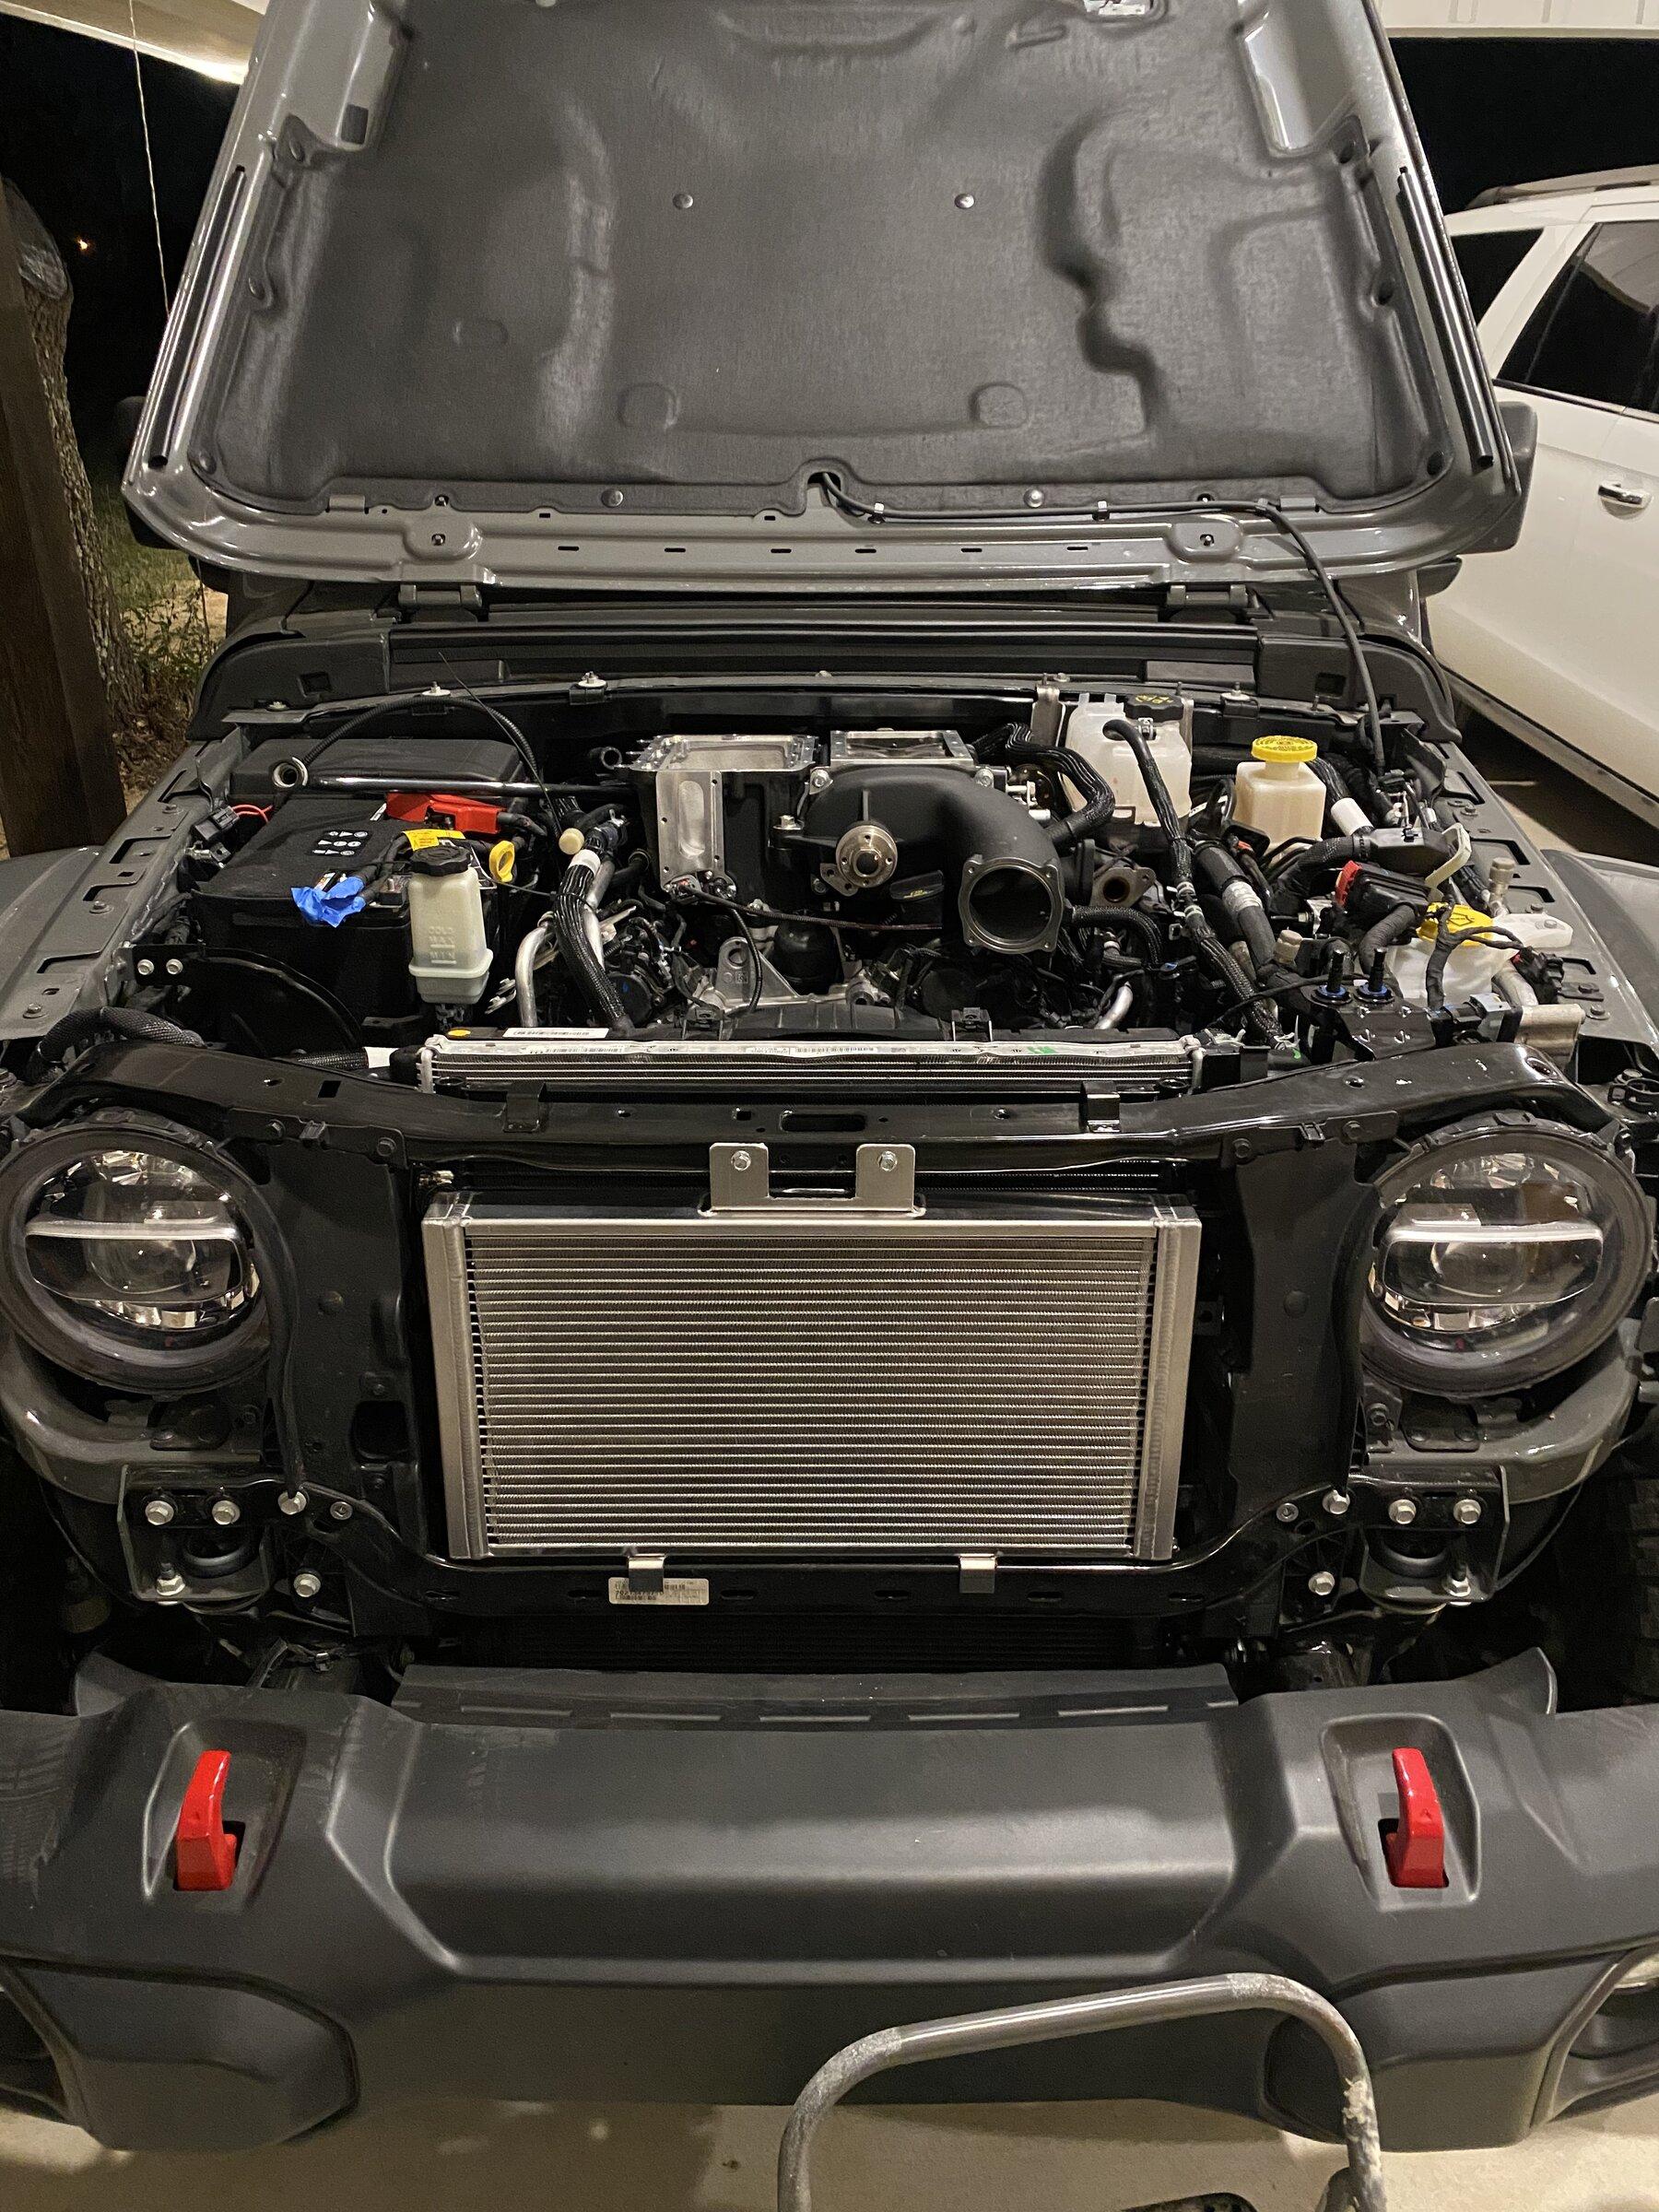
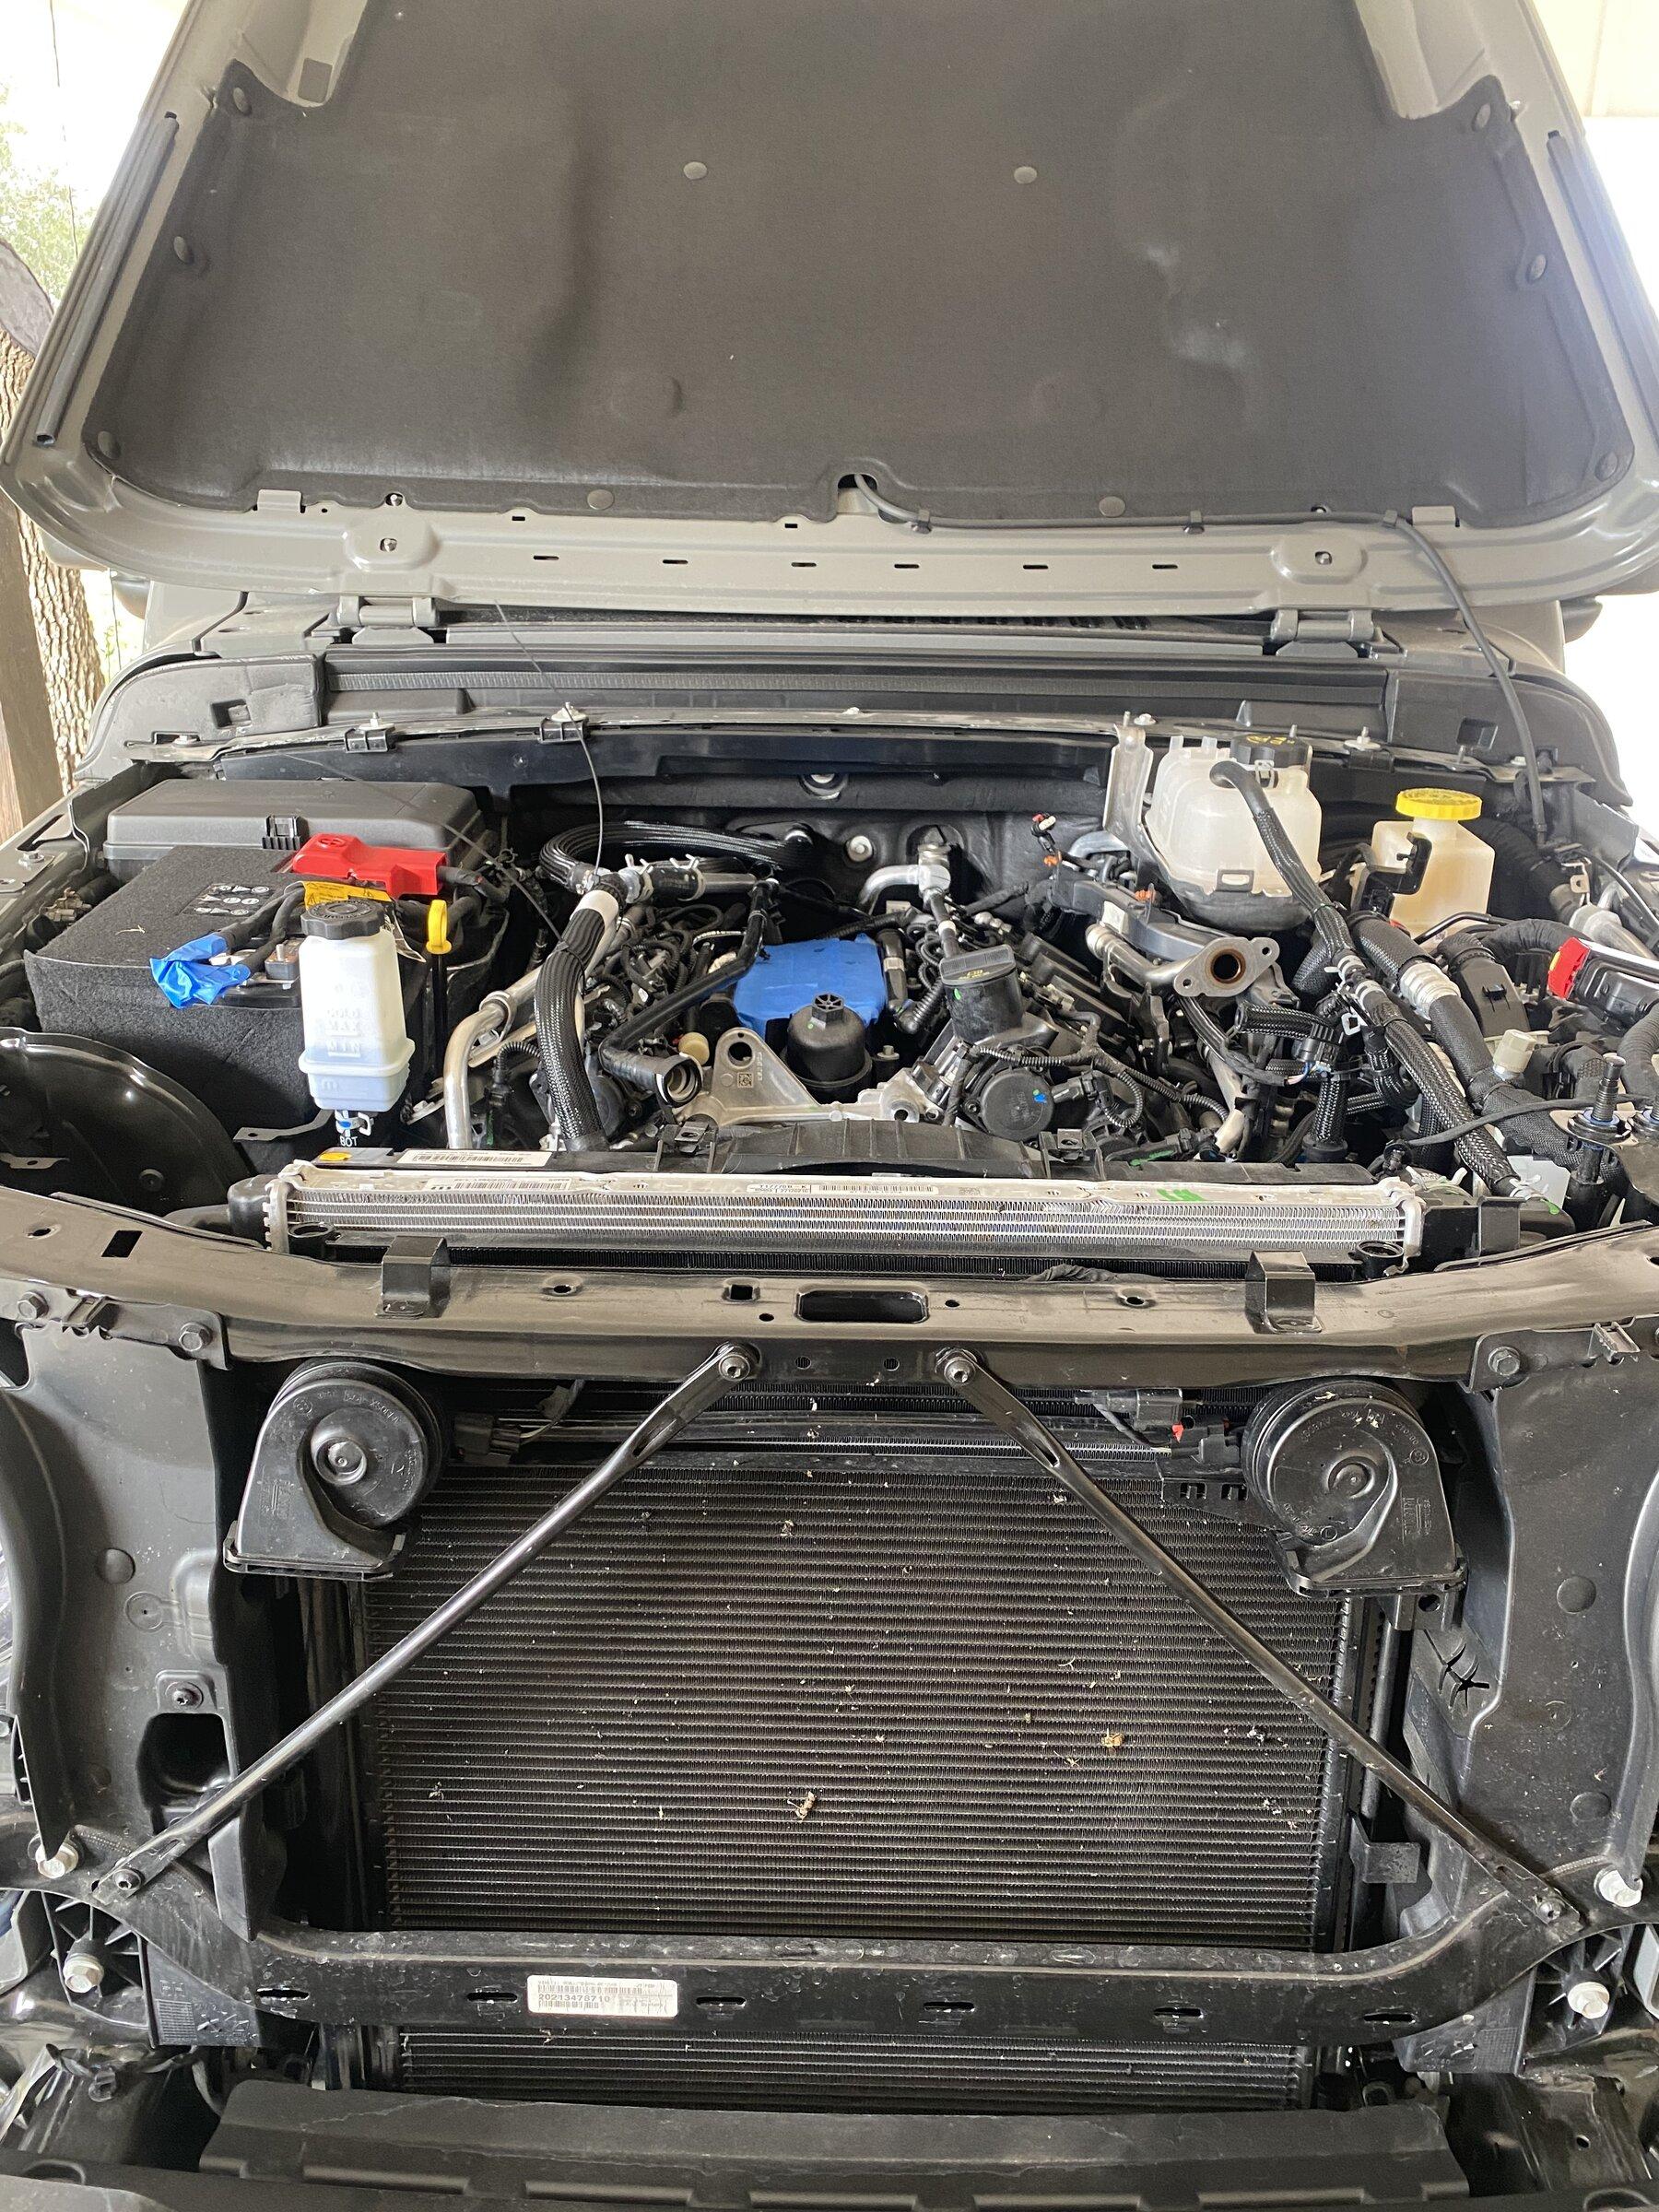
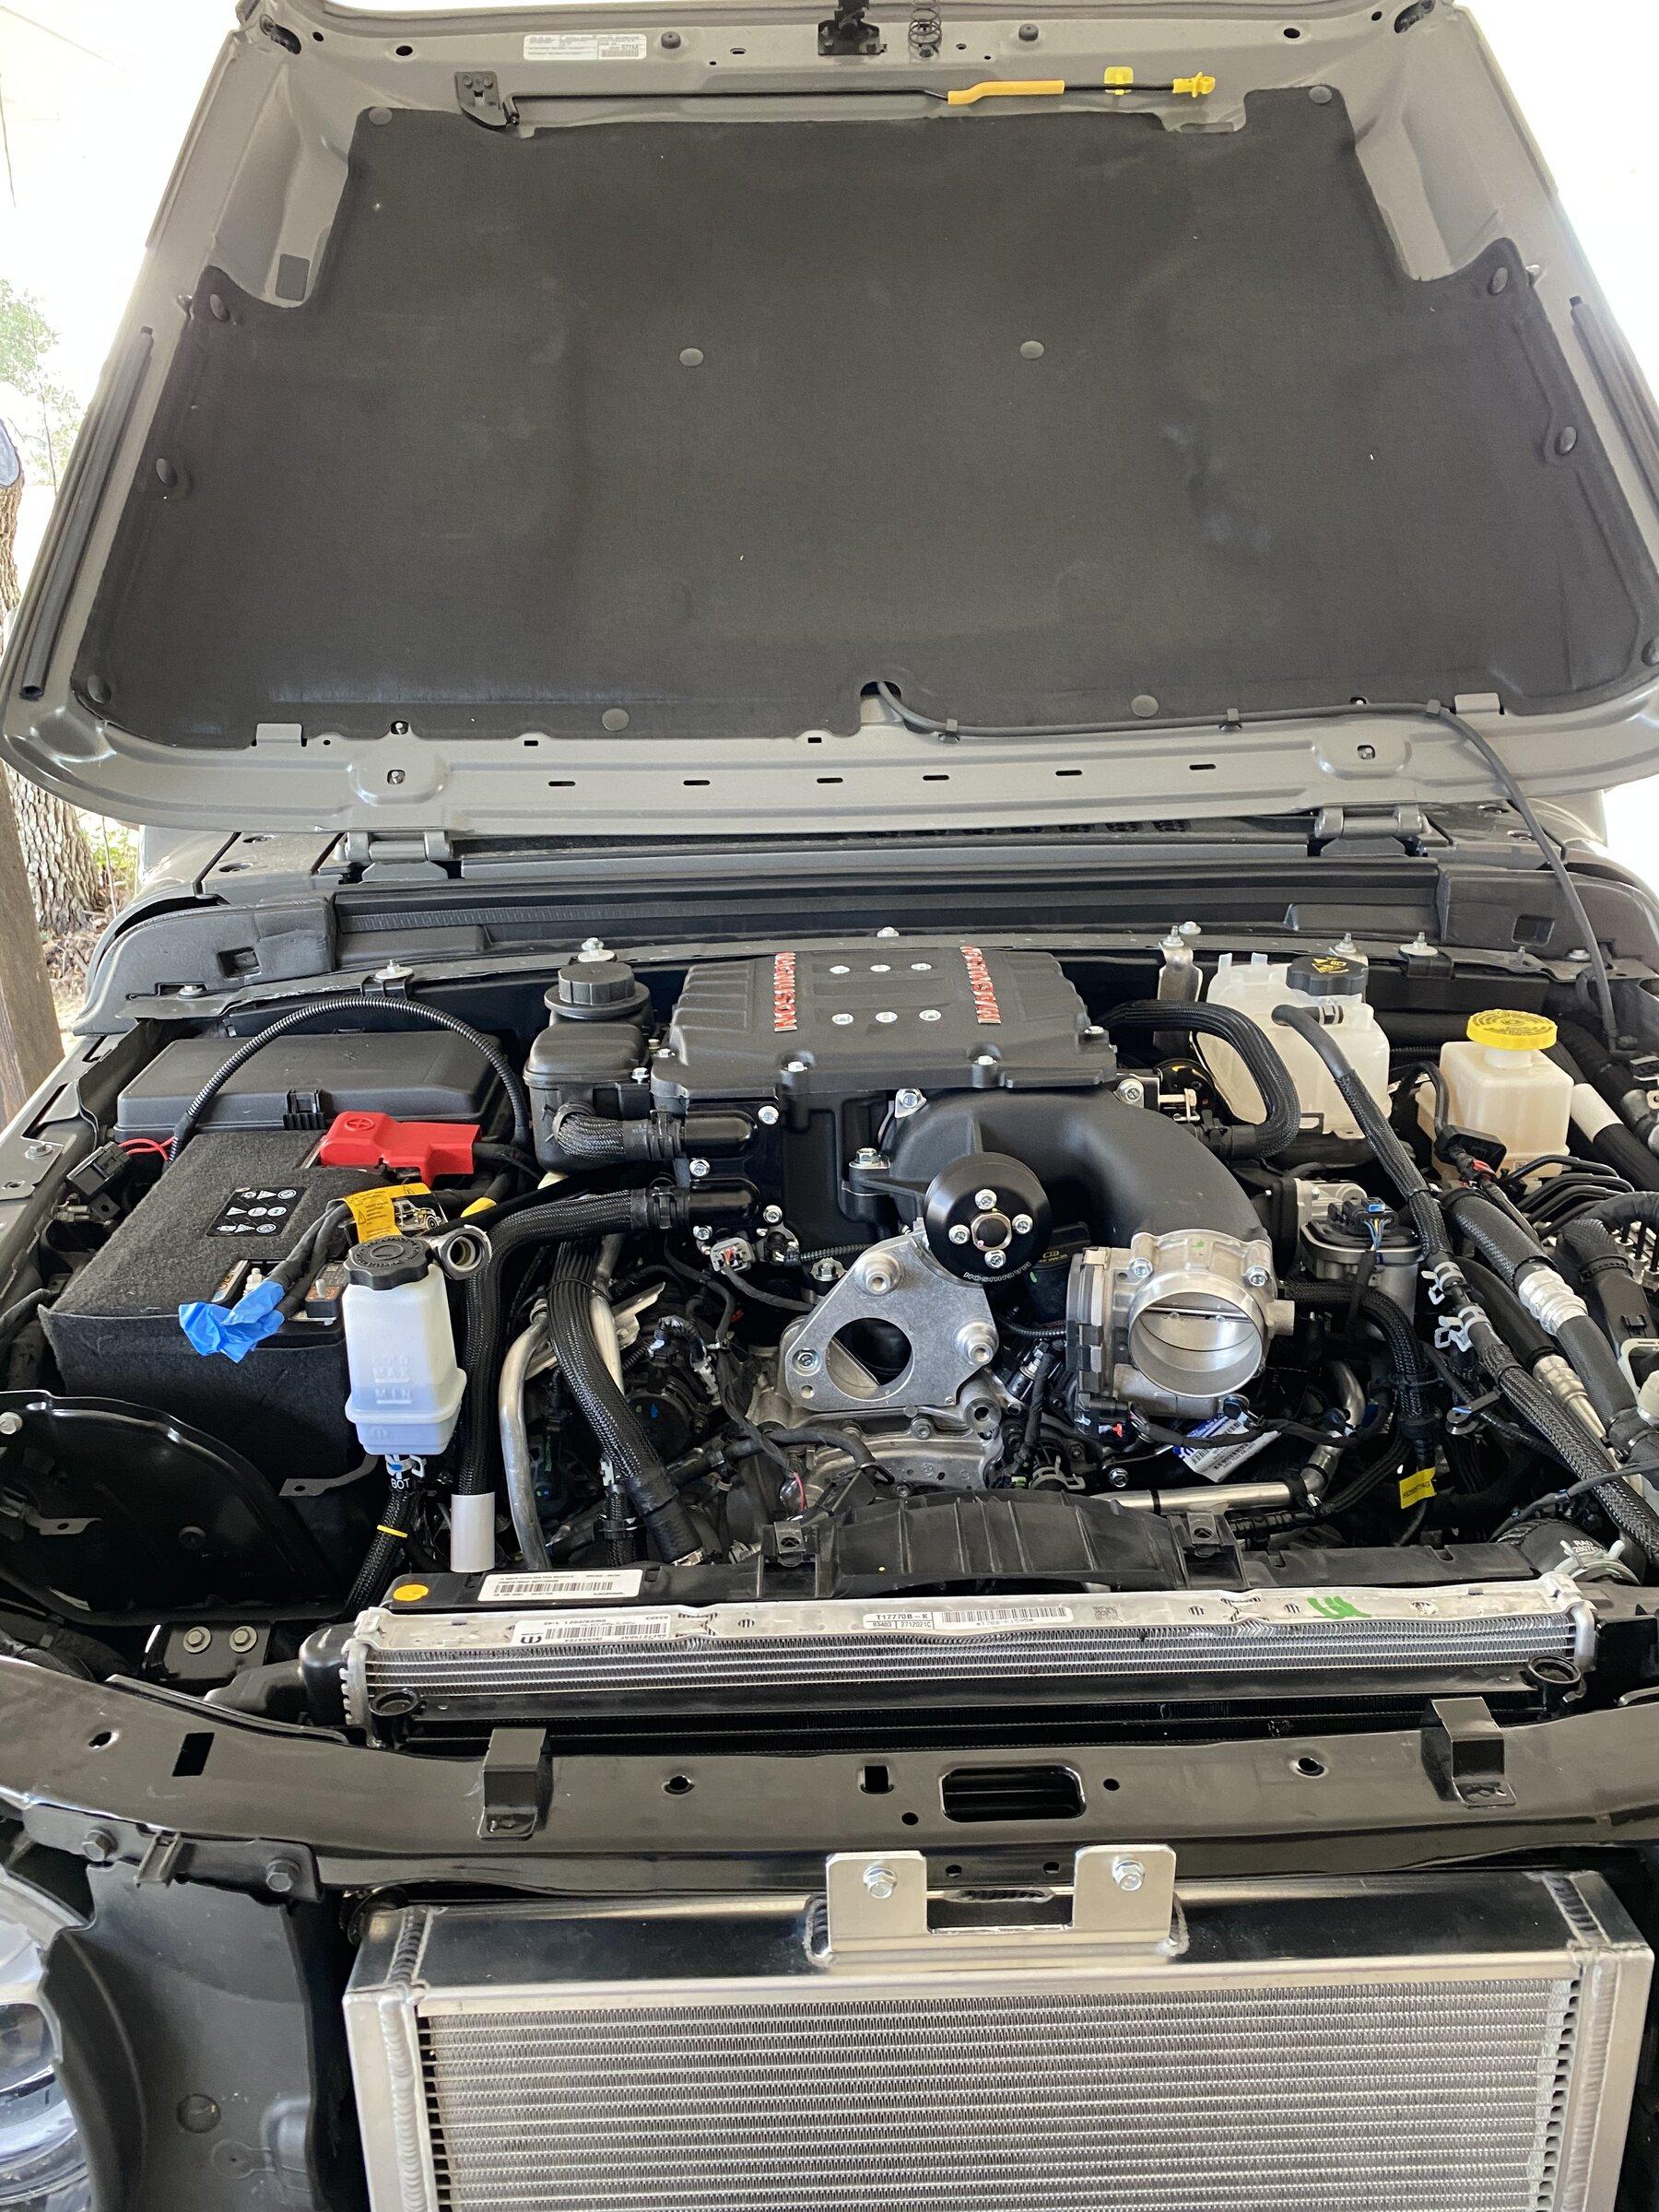
Excuse my language, but today was a real bitch. I realized I forgot to install the spark plugs after I gapped them. Off comes the upper intake. I get them installed, and as I am re-installing the upper intake, on my last bolt, I drop it right right into the engine. Off comes the upper AND lower. I get the bolt out, and as I’m putting the lower on, I strip a bolt. My torque wrench was set correctly. Anyway, after a trip to town, I got the lower and upper intake installed, and I’m back to where my day started. So I got the supercharger installed and that’s it.
On a bright note, my small pulley came in from Magnuson, and the correct Timken pulleys should be here tomorrow. Maybe my ECM too. That would be great. As long as it doesn’t blow up when I first start it, I will consider it a success. Big thanks to Dave for providing the photos on horn placement and what fuse to use.

On a bright note, my small pulley came in from Magnuson, and the correct Timken pulleys should be here tomorrow. Maybe my ECM too. That would be great. As long as it doesn’t blow up when I first start it, I will consider it a success. Big thanks to Dave for providing the photos on horn placement and what fuse to use.
GEETCH
Well-Known Member
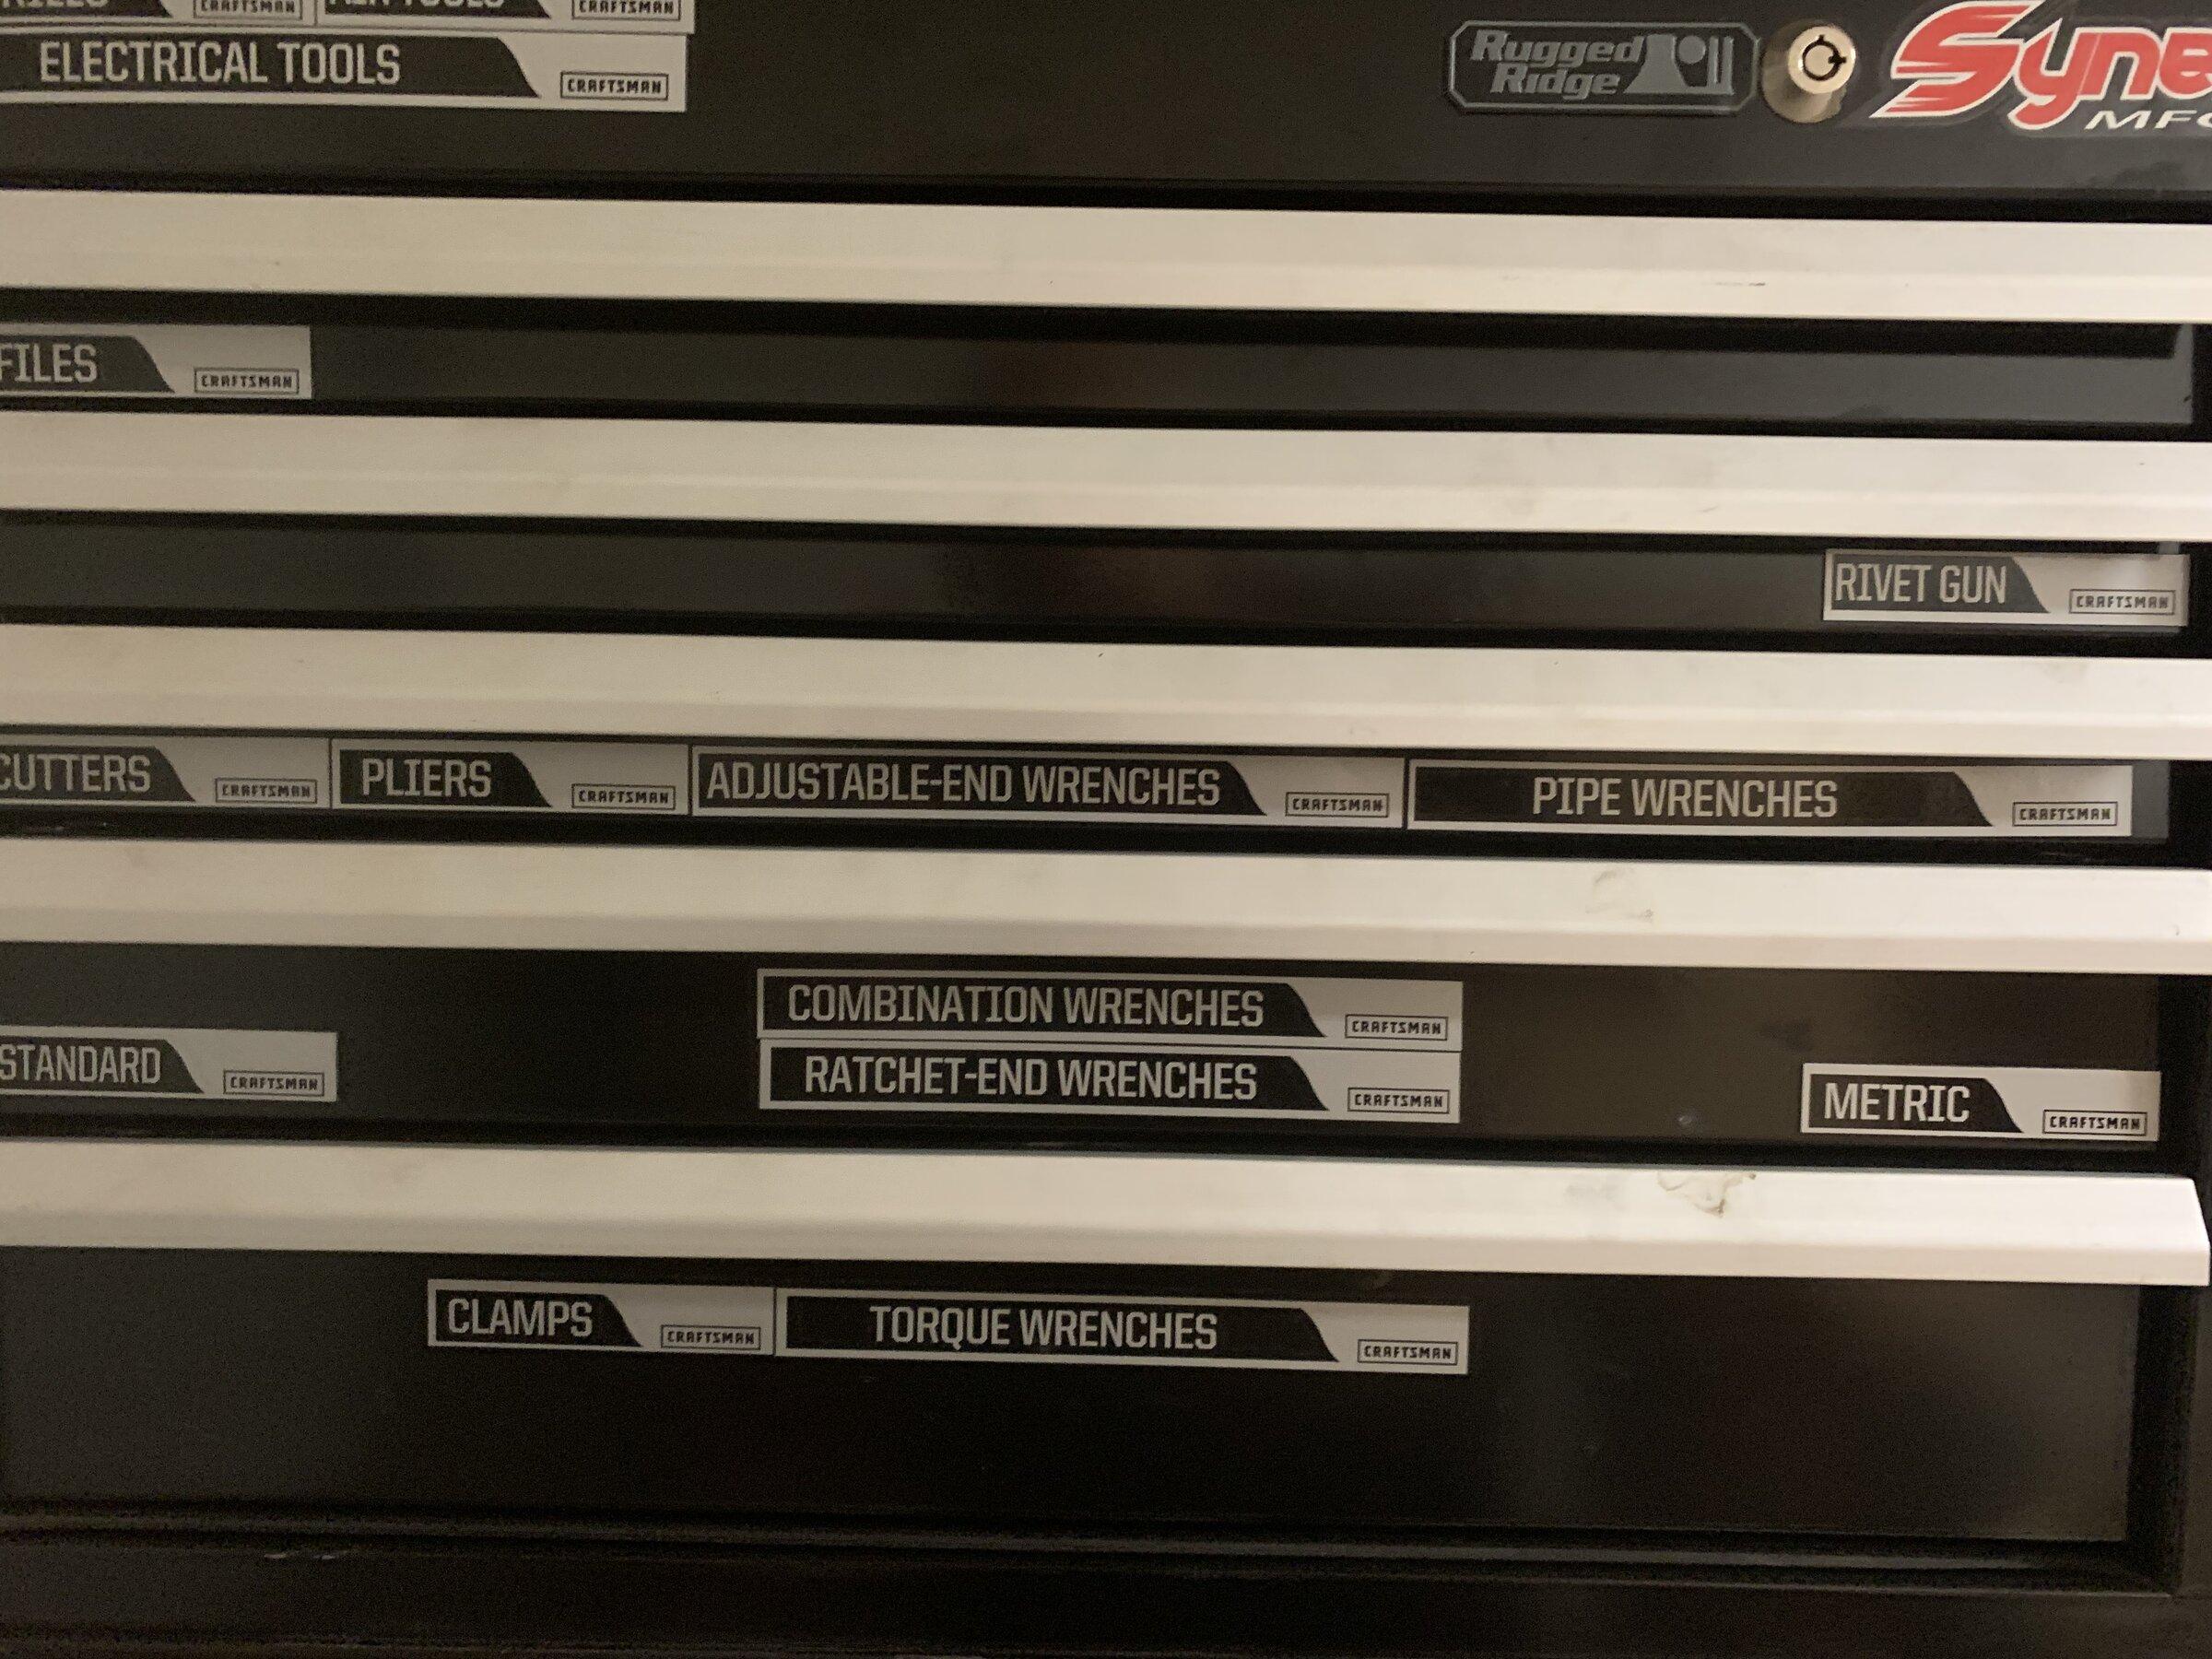
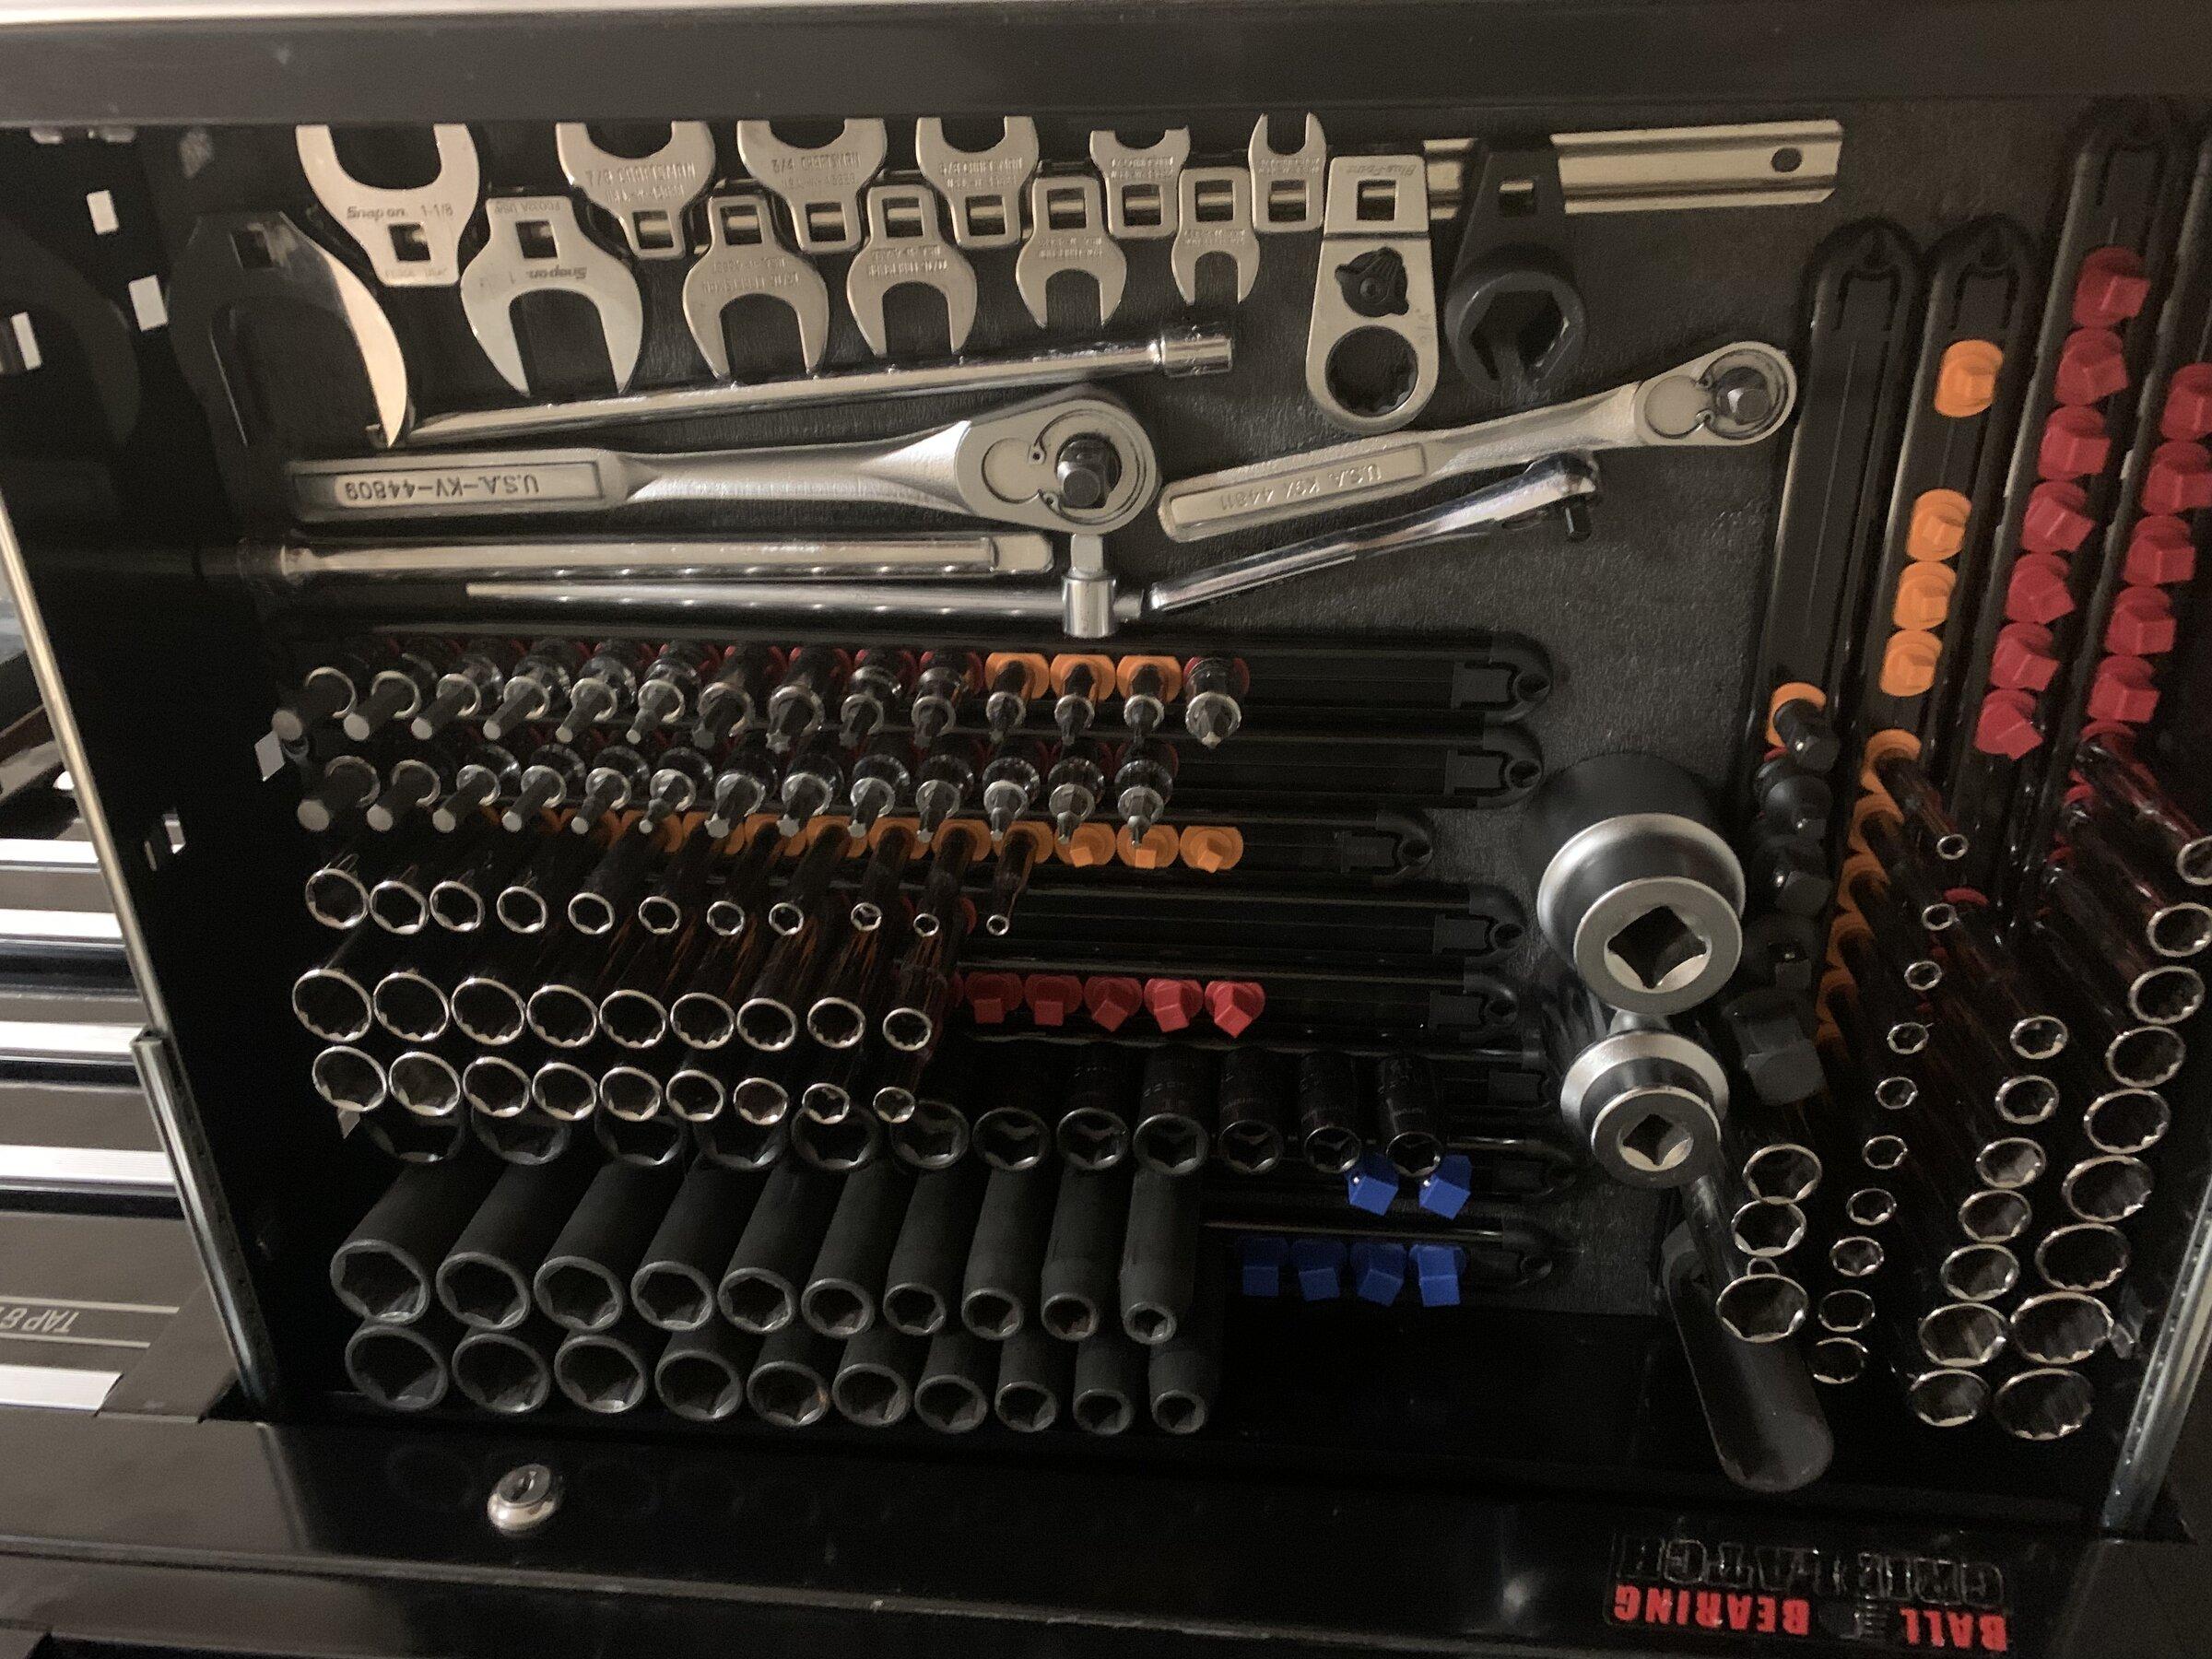
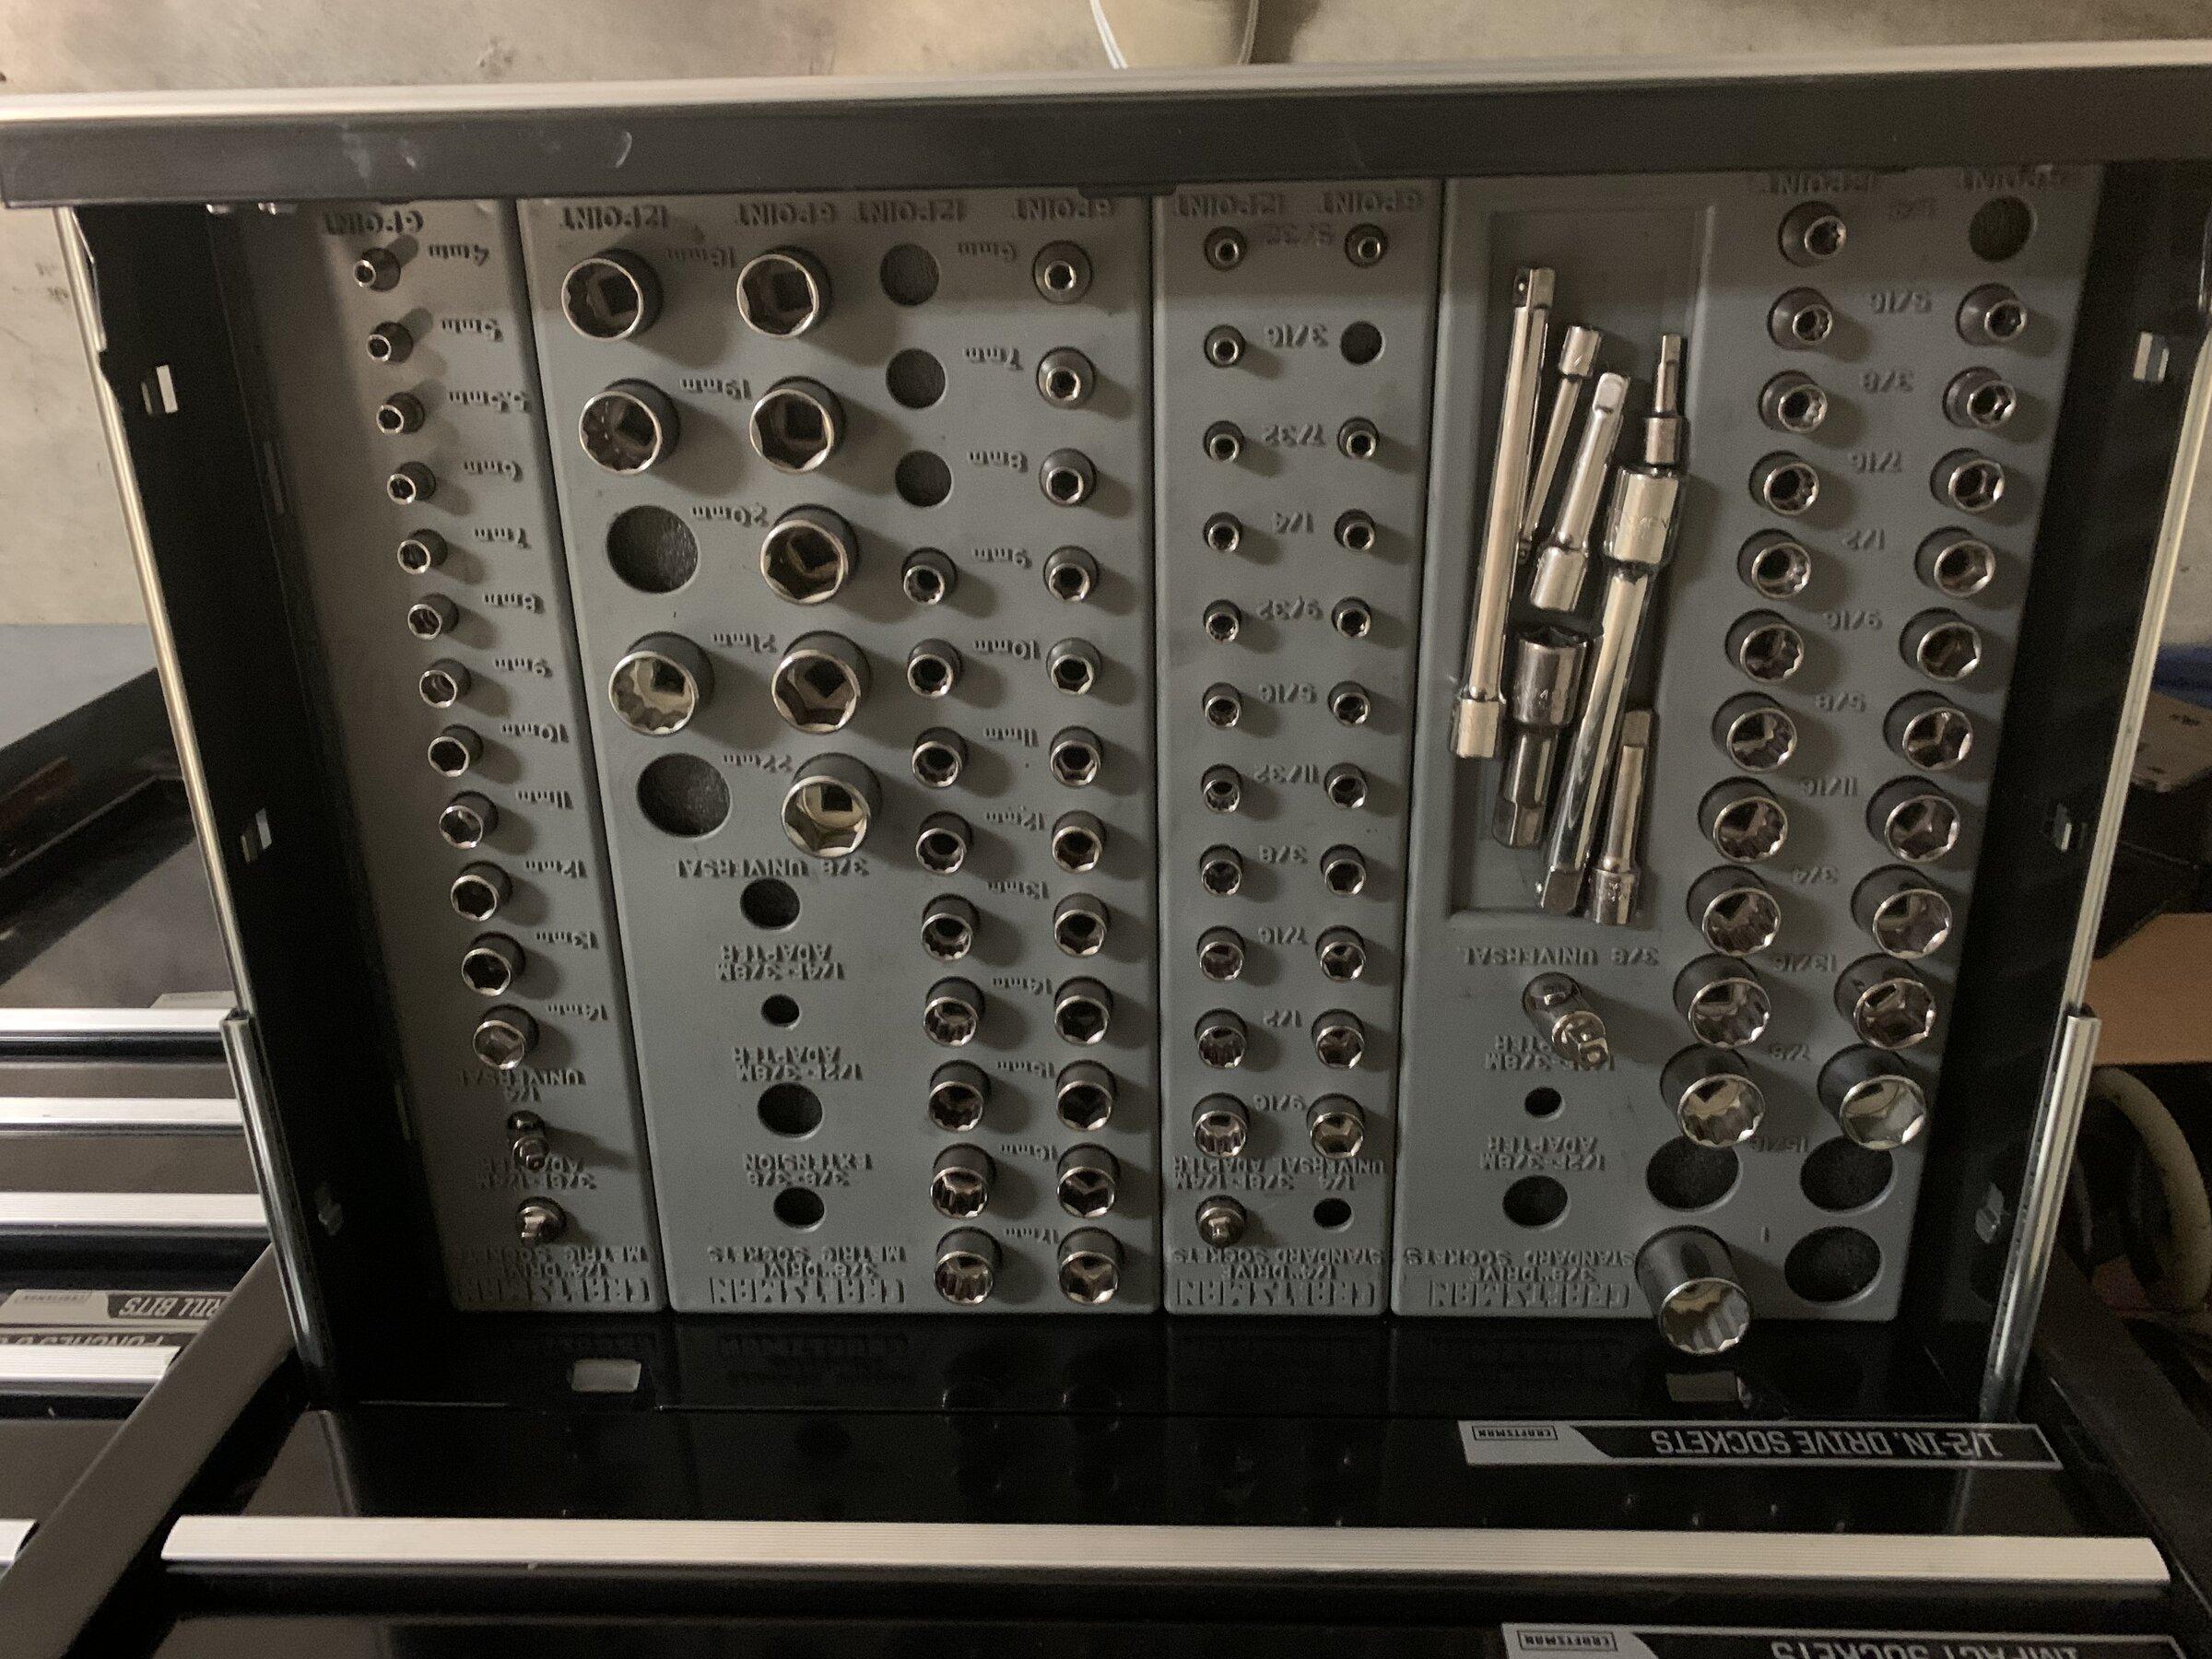
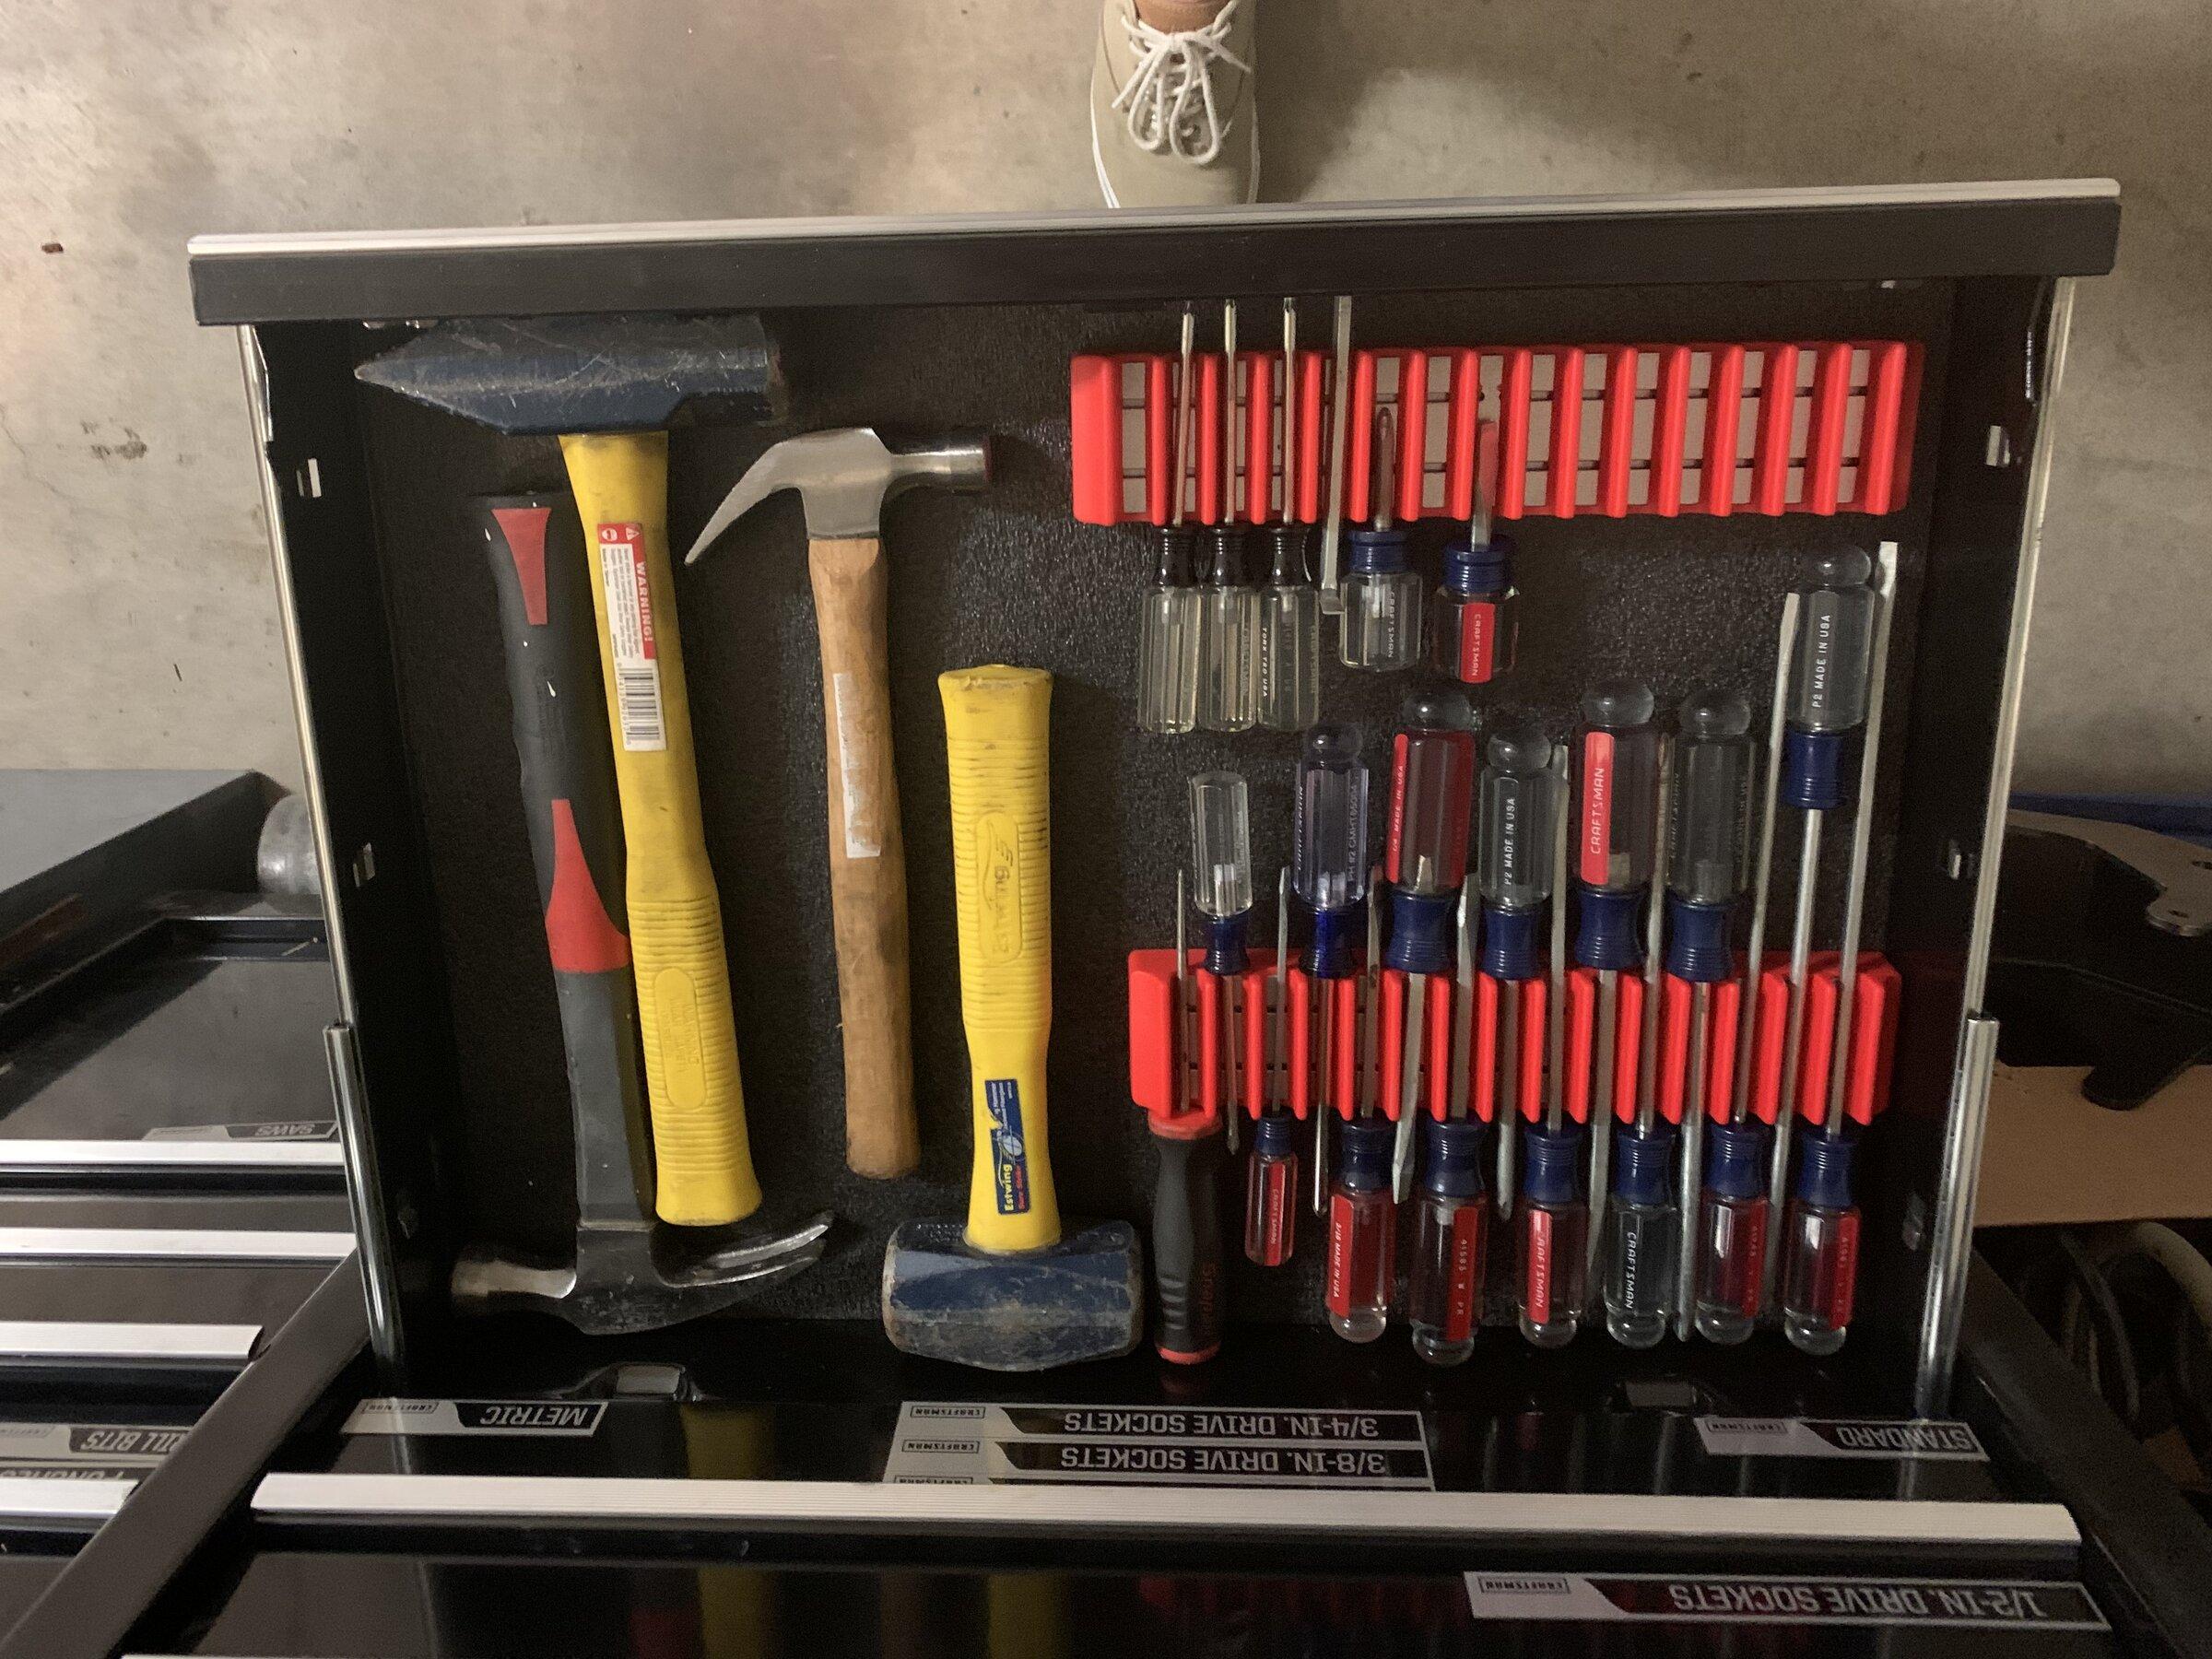
Looking good for sure, I want to use Dave’s tune, however never done any tuning before so a little apprehensive about it, I’m sure I’ll pull the trigger eventually. Reading your post though the line about tools, lol got me thinking of mine and how I became a little anal about them:Got to work on the install today. Between watching kids and looking around for where I sat my tools down, I made it to step 92…of 282. Installation manual is great. They estimate it takes 10 hours to install. For someone like me, I’d probably bump that up to 30.
Sponsored
OP
OP
vmiaptetr
Well-Known Member
- Thread starter
- #36
That’s a hell of a tool kit. Every time I start a project, I have the best intentions of keeping up with my tools. I always get a little lax about 3/4 of the way through. I am good about finding it all and getting it put up when the job is complete.Looking good for sure, I want to use Dave’s tune, however never done any tuning before so a little apprehensive about it, I’m sure I’ll pull the trigger eventually. Reading your post though the line about tools, lol got me thinking of mine and how I became a little anal about them:
cmb396
Well-Known Member
Curious as to your "mechanical skills" prior to tackling this install? I've never done anything this technical, but watching videos and talking to folks, the install seems pretty straight forward.Got to the part where I put the pulleys and belt on, and then my kids asked me to make ravioli, and that takes longer than installing a supercharger.
Oh well, I don’t have my ECM back yet, so it’s not like I’m going anywhere.
OP
OP
vmiaptetr
Well-Known Member
- Thread starter
- #39
Up to this point, the most mechanical thing I have done to a vehicle is change out an AC compressor or change the brakes.Curious as to your "mechanical skills" prior to tackling this install? I've never done anything this technical, but watching videos and talking to folks, the install seems pretty straight forward.
The instructions are very straight forward. I’ve been going slow for a couple of reasons. First, out of an abundance of caution. I want to make sure I do it right. Every part, nut, and bolt that I removed was labeled for future reference. Second, it’s finding time to do it between my other responsibilities.
cmb396
Well-Known Member
That would be my approach as well. MY JTR isn't my dd, but I seem to drive it the most, lol.Up to this point, the most mechanical thing I have done to a vehicle is change out an AC compressor or change the brakes.
The instructions are very straight forward. I’ve been going slow for a couple of reasons. First, out of an abundance of caution. I want to make sure I do it right. Every part, nut, and bolt that I removed was labeled for future reference. Second, it’s finding time to do it between my other responsibilities.
I've always worked on my own vehicles, boats, even my dozer and tractors. This is a slightly complex bolt on kit. Keep us posted on the progress!
Sponsored
DAVECS1
Well-Known Member
- First Name
- David
- Joined
- Jan 24, 2020
- Threads
- 56
- Messages
- 1,861
- Reaction score
- 2,538
- Location
- Peoria, IL
- Vehicle(s)
- 2020 Gladiator Sport S Max Tow
You can always drop it off here?That would be my approach as well. MY JTR isn't my dd, but I seem to drive it the most, lol.
I've always worked on my own vehicles, boats, even my dozer and tractors. This is a slightly complex bolt on kit. Keep us posted on the progress!
cmb396
Well-Known Member
If it wasn't so dang far away, I would!You can always drop it off here?