ShadowsPapa
Well-Known Member
- First Name
- Bill
- Joined
- Oct 12, 2019
- Threads
- 247
- Messages
- 40,442
- Reaction score
- 53,860
- Location
- Runnells, Iowa
- Vehicle(s)
- '25 JTMX, '23 JLU 4xe, '82 SX4, '73 Javelin
- Occupation
- Retired auto mechanic, frmr gov't ntwrk security admin
- Vehicle Showcase
- 3
- Thread starter
- #1
Mods can move if there's a better spot for this.
I decided to not put this in another thread, or in the "what did you do TO........" thread as it's going to grow as I run into more issues, or make more progress without issues.
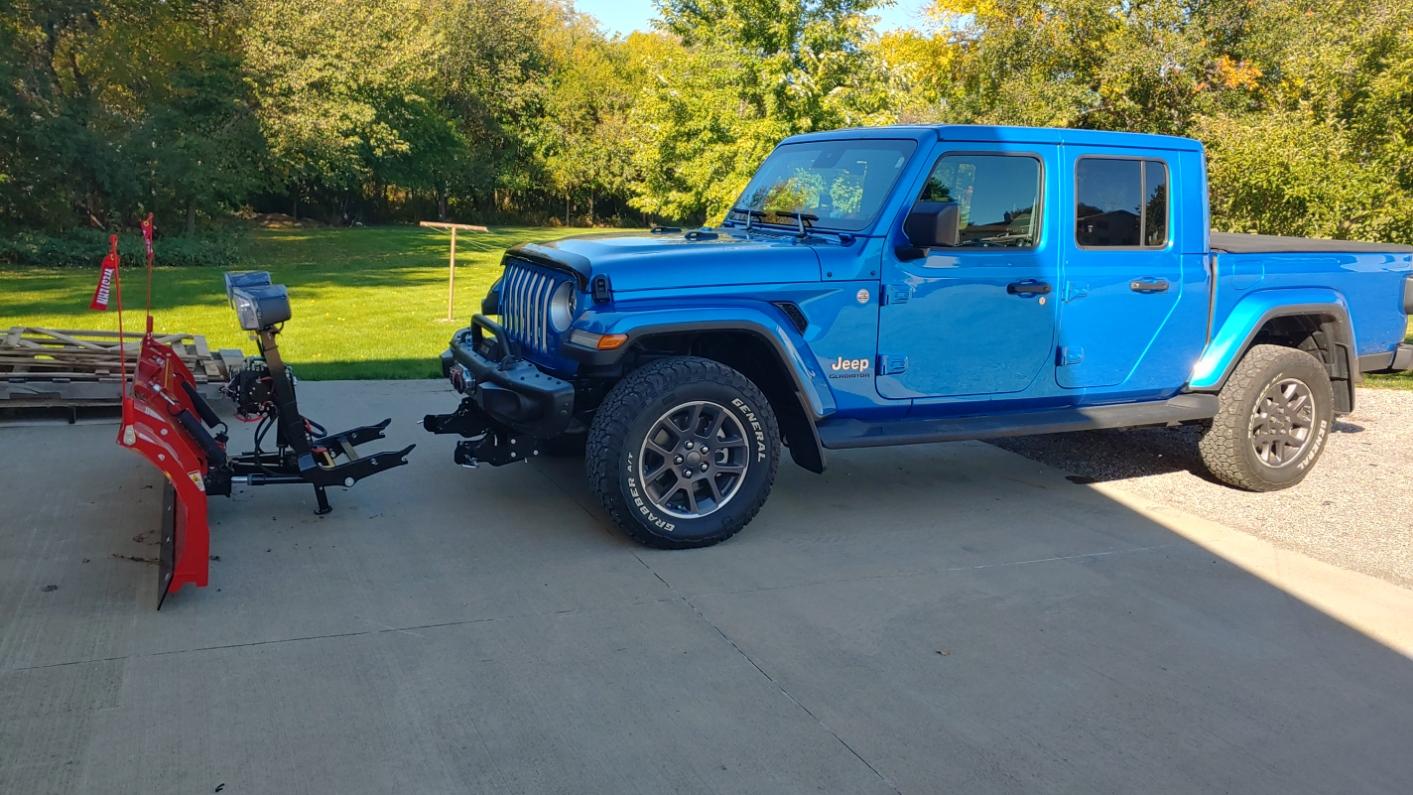
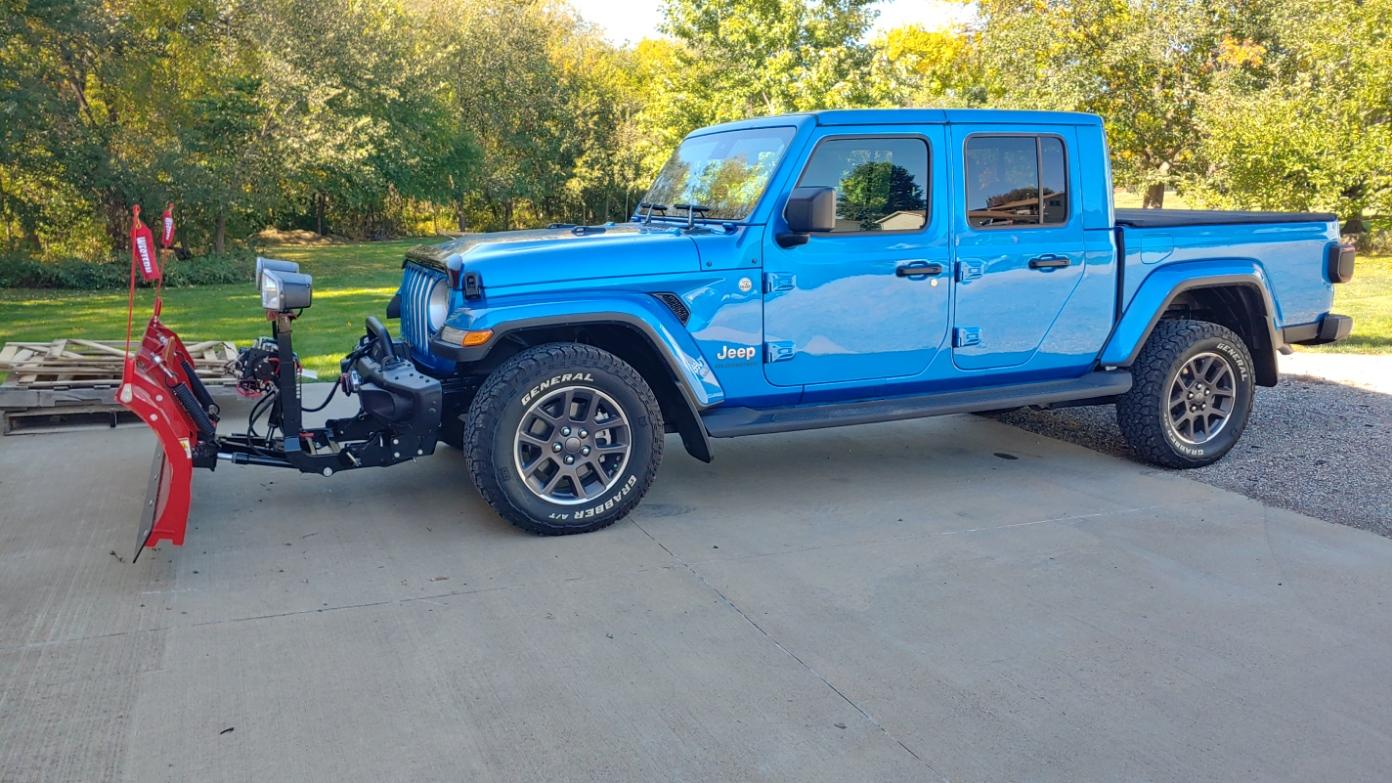
I'll start by saying whoever said this could be done in a leasurely afternoon obviously had a fully stock Jeep with plastic bumper, no front receiver, and the earlier brackets were a bit different than those used on the Gladiator with a frame to ground distance of under 22". Maybe the brackets for a lifted JT are different? Doubt if they connect to the frame any differently.
Anyway, here goes!
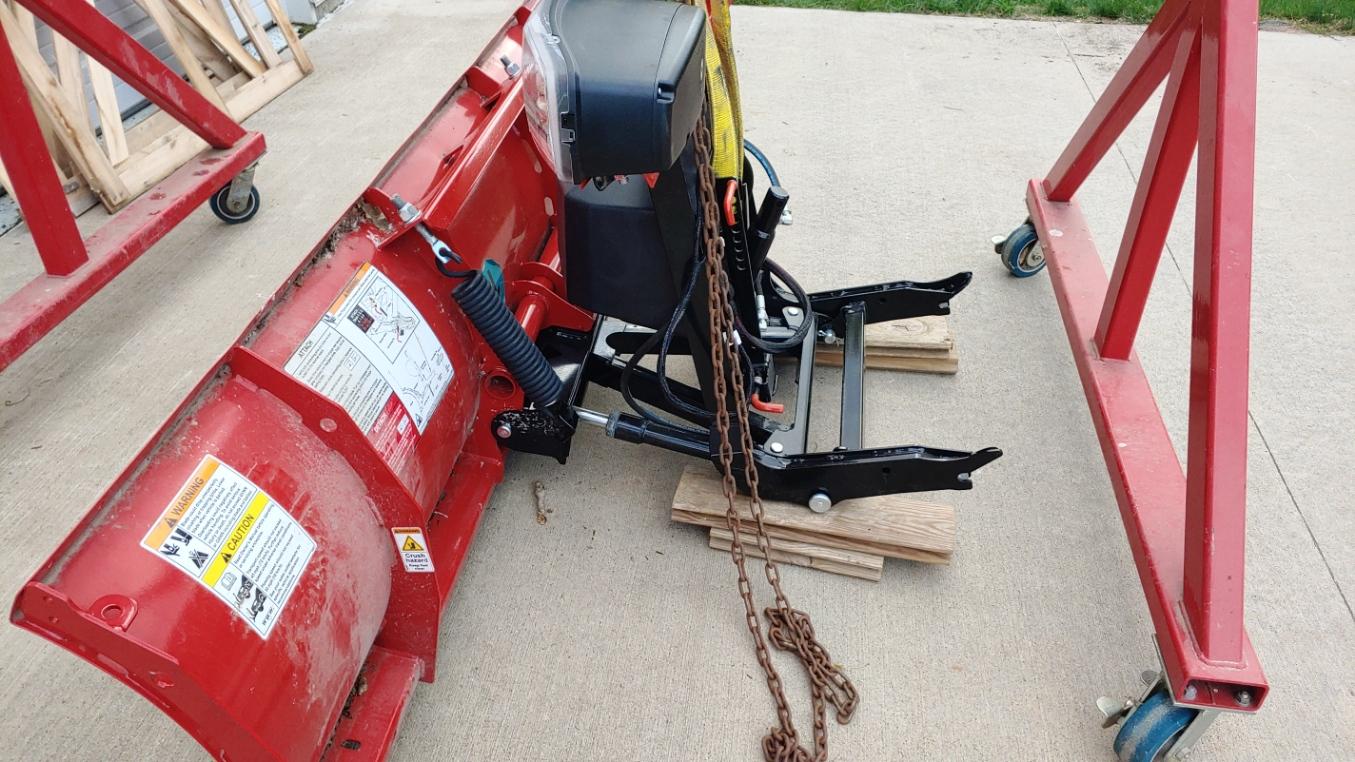
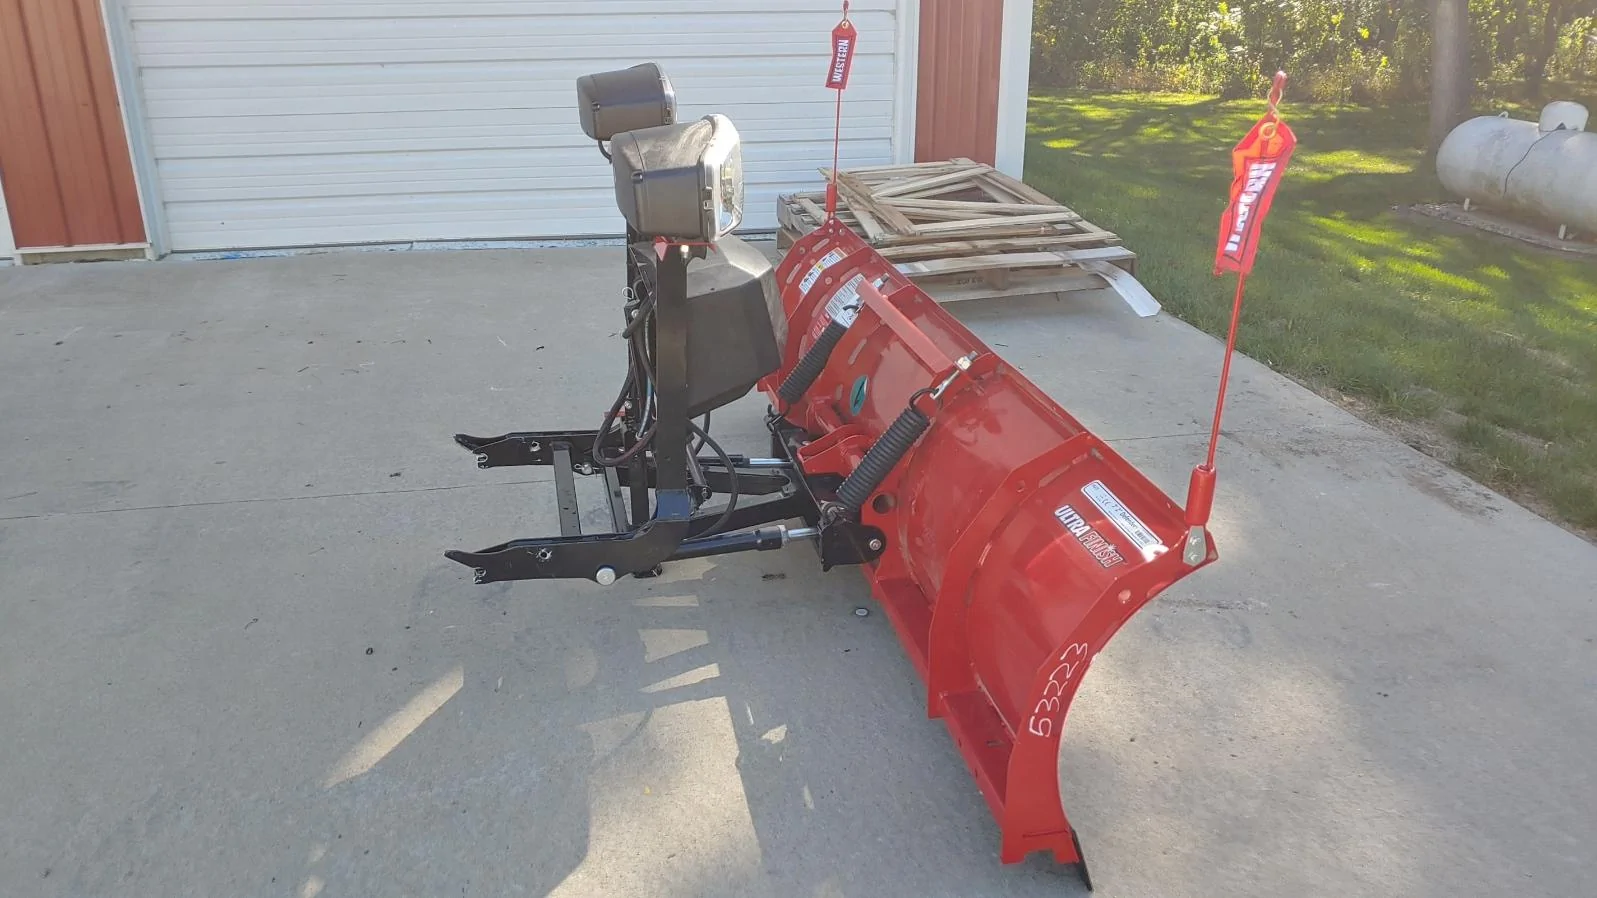
First - it takes a while to unpack everything, open bags, find instructions and so on.
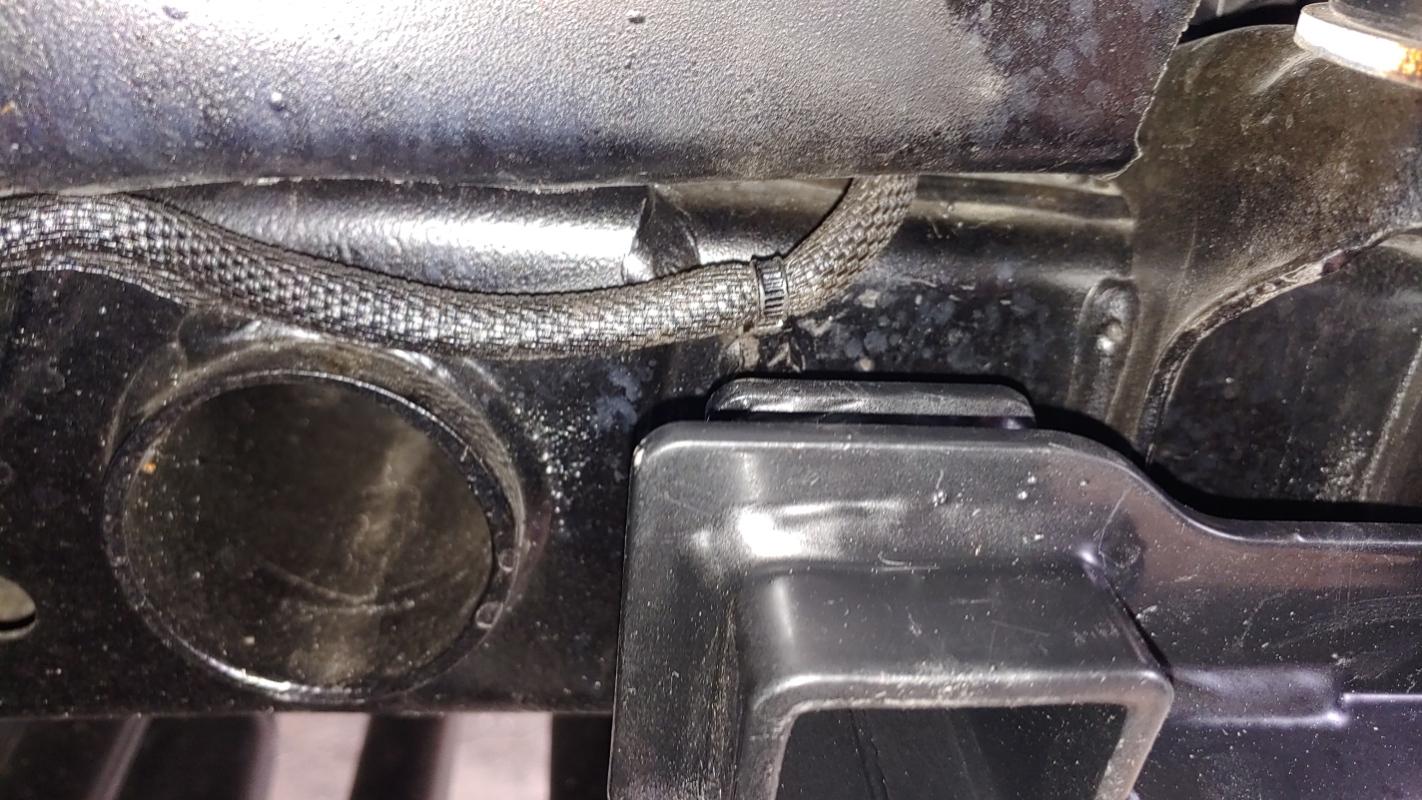
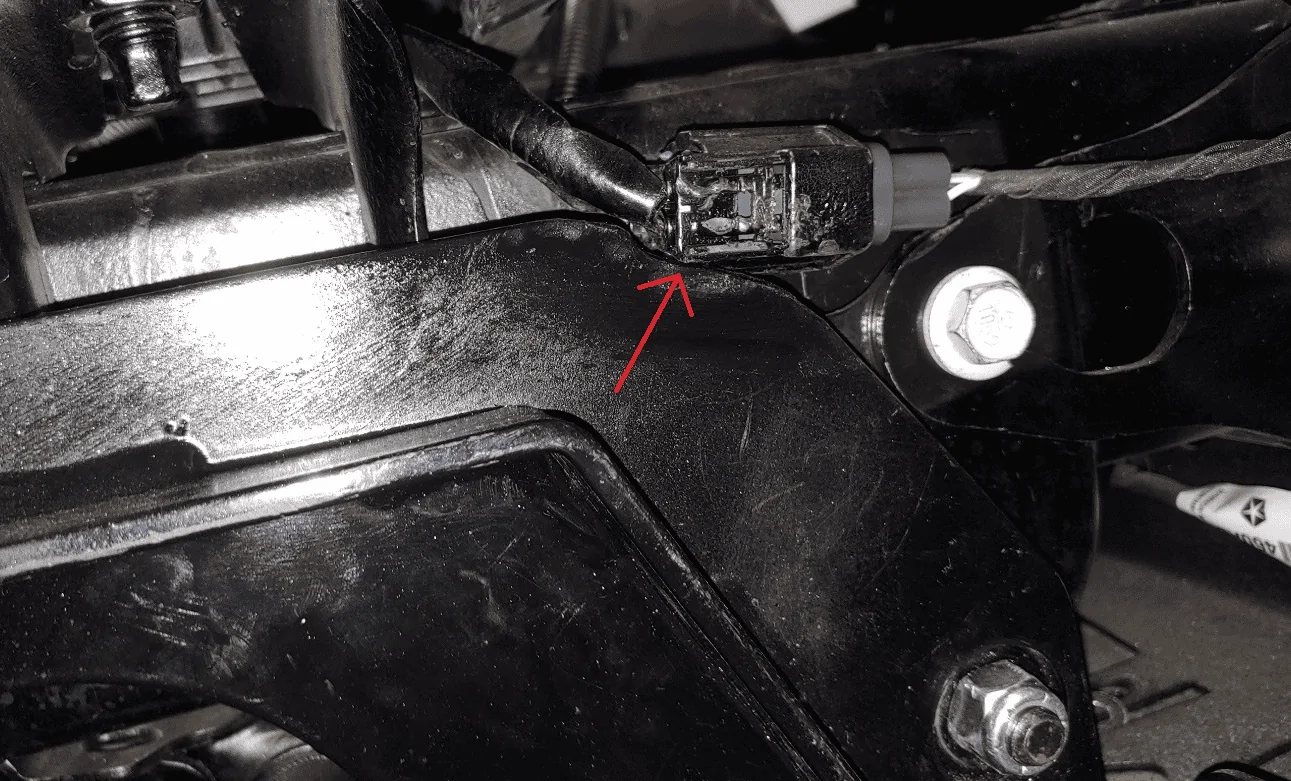
The first things you'll want to check out are the brackets interfering with the fog light connector at the right frame rail. I had to notch the plow bracket.
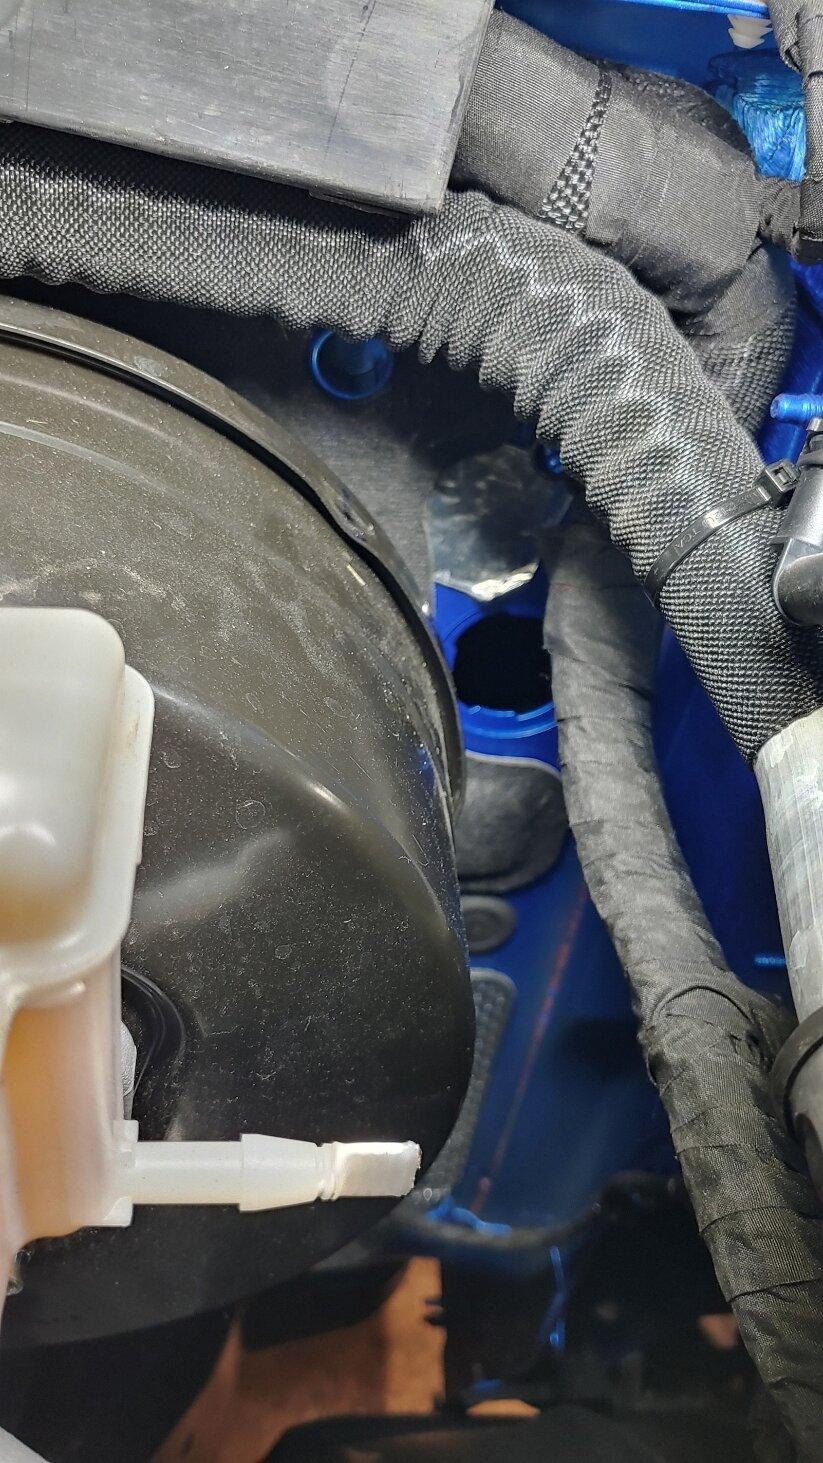
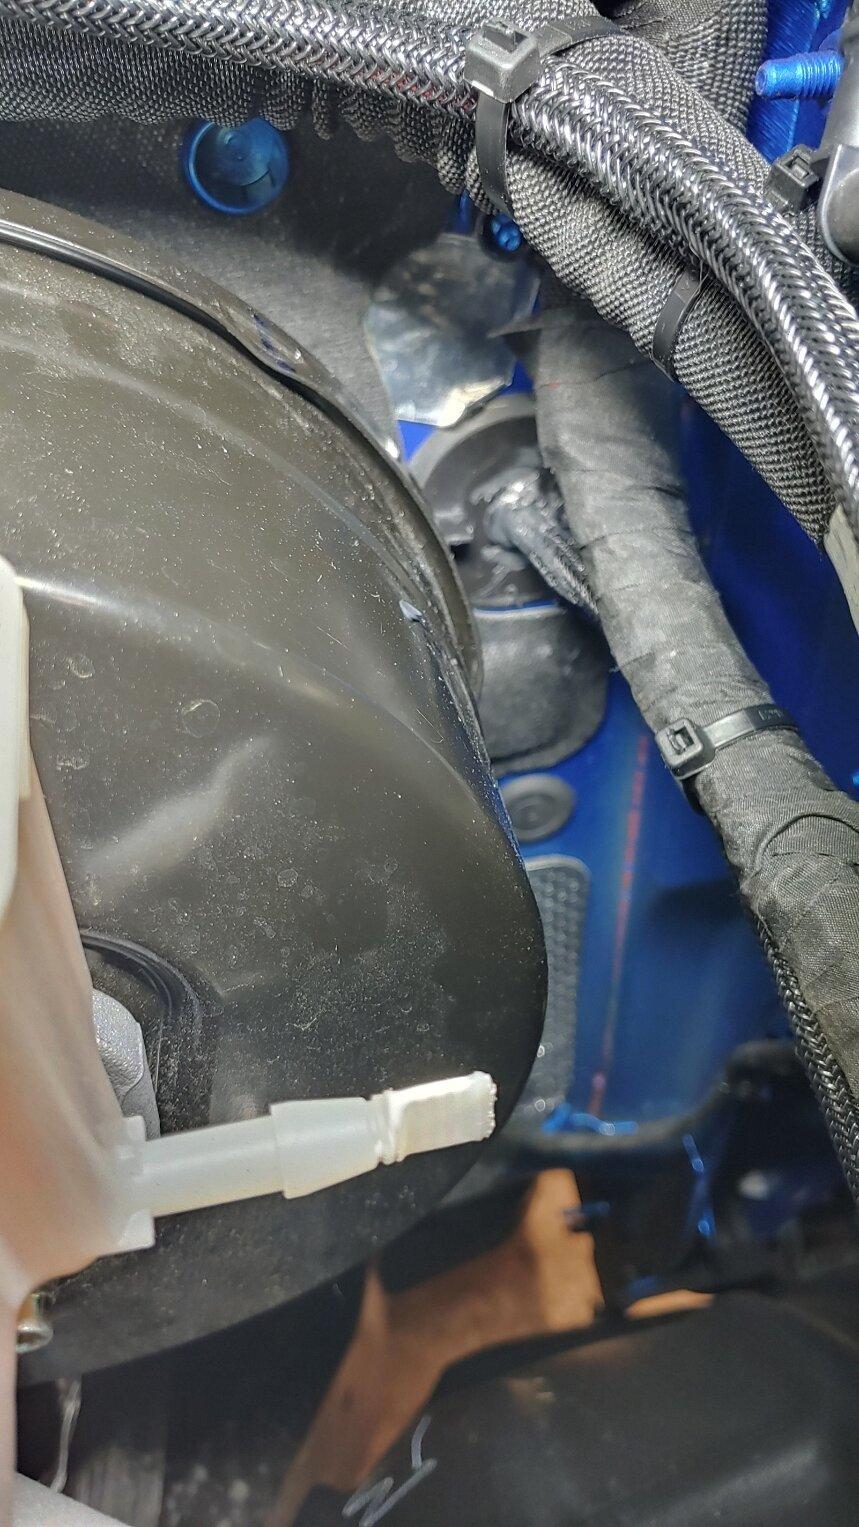
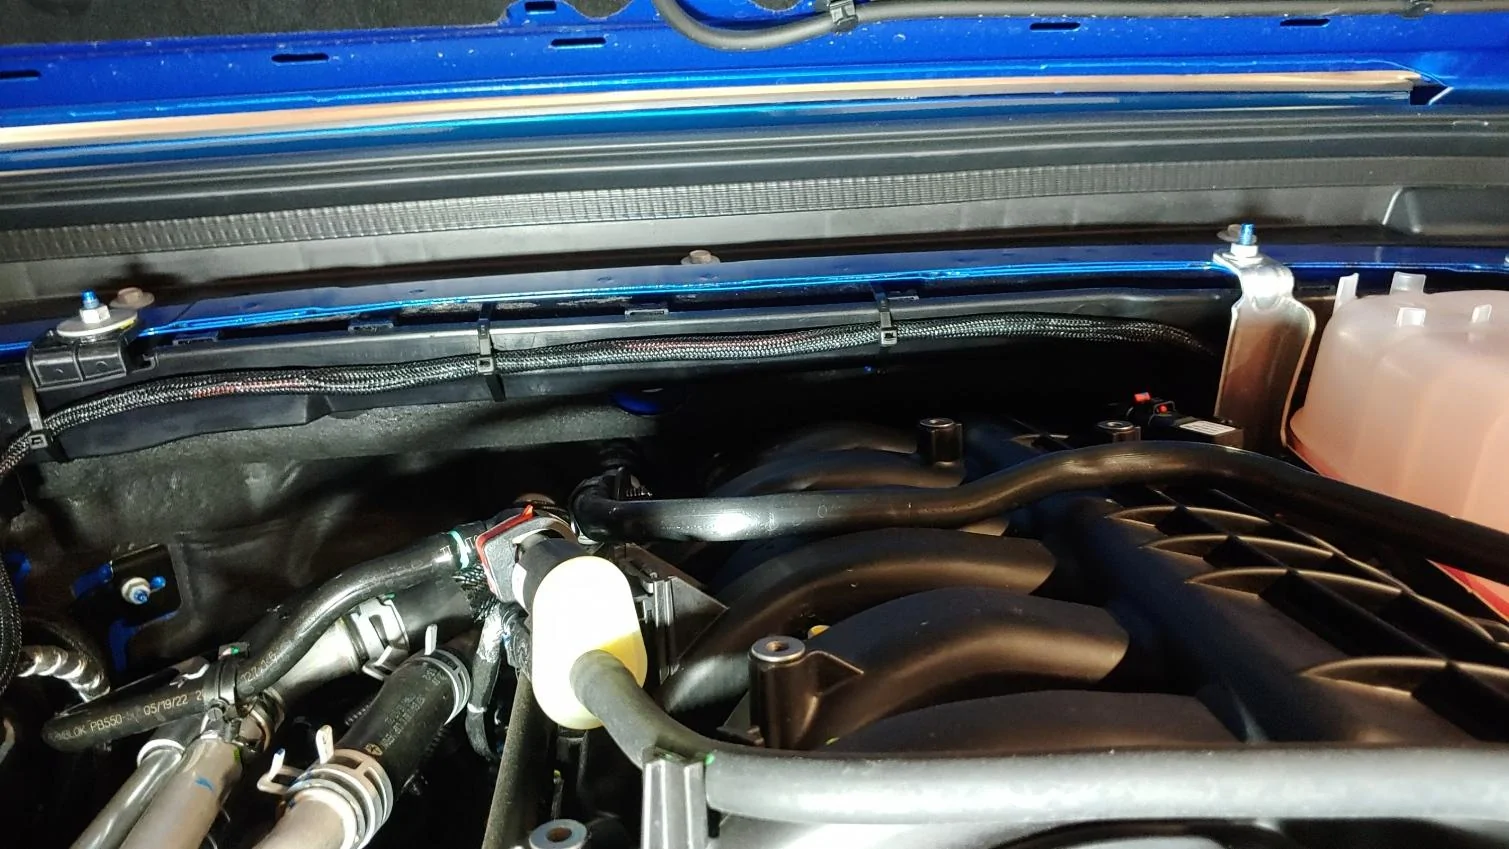
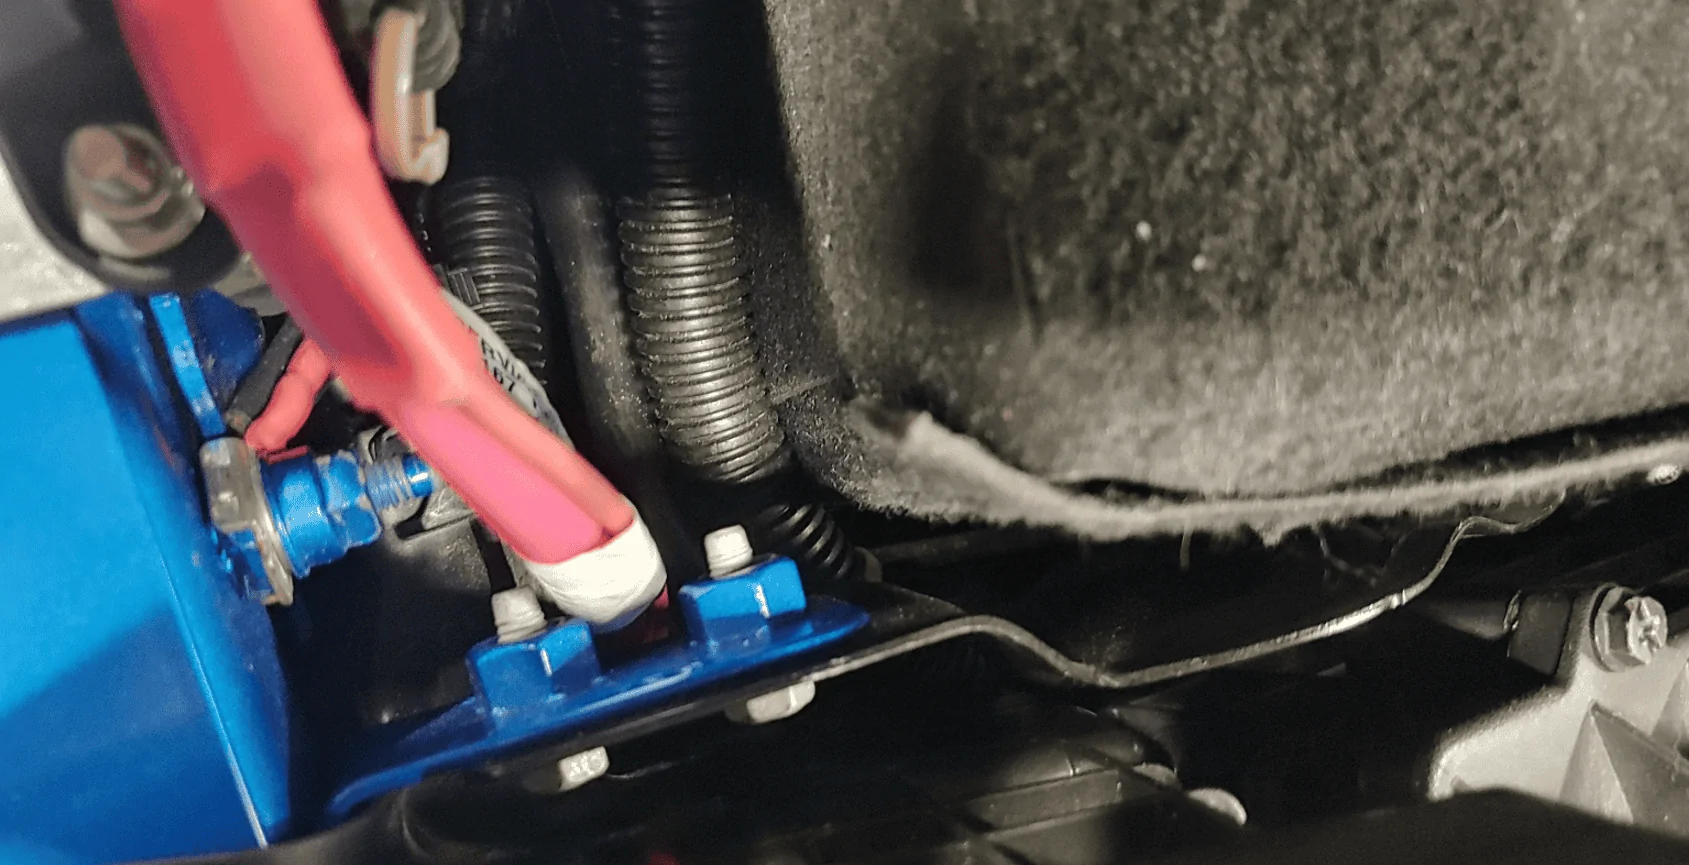
There's also a factory wire that's held to the frame by a tie strap that attaches to the frame through a hole via a "christmas tree" you'll need to pop out of that hole - otherwise you'll crush it.
Right side of the right frame rail - pop that wire retainer out of the hole -

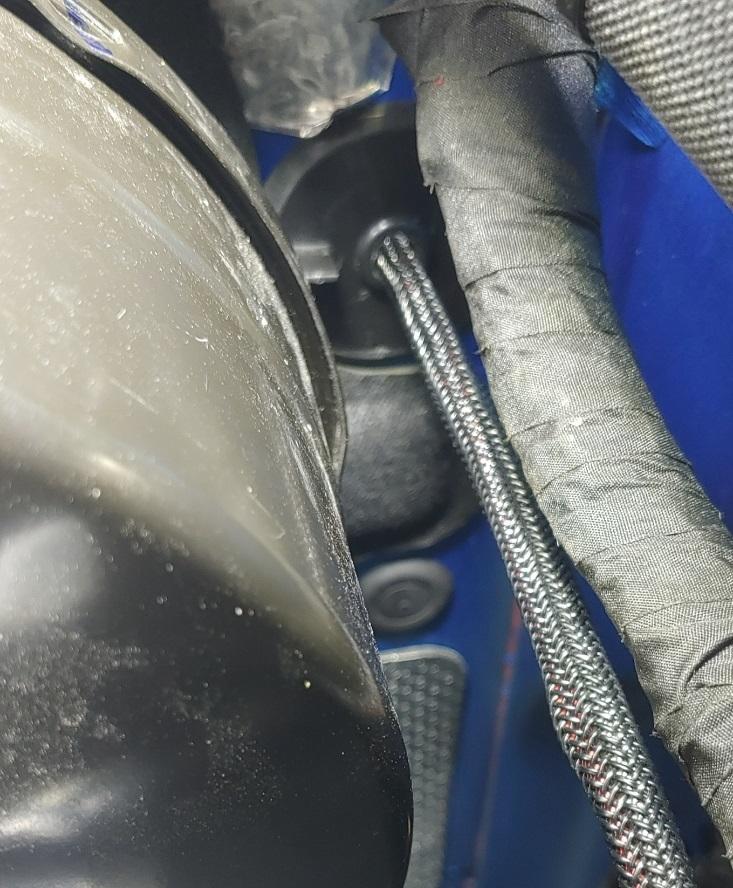
LOL - note that Western missed getting this pocket powder coated.
Anyway, here's that wire popped out of the hole so the bracket can sit against the frame rail -

Next is the connector for the fog lights. I tried to position it to avoid the bracket, but it was really tight, so I notched the bracket to give clearance. I want minimal mods to the truck itself -

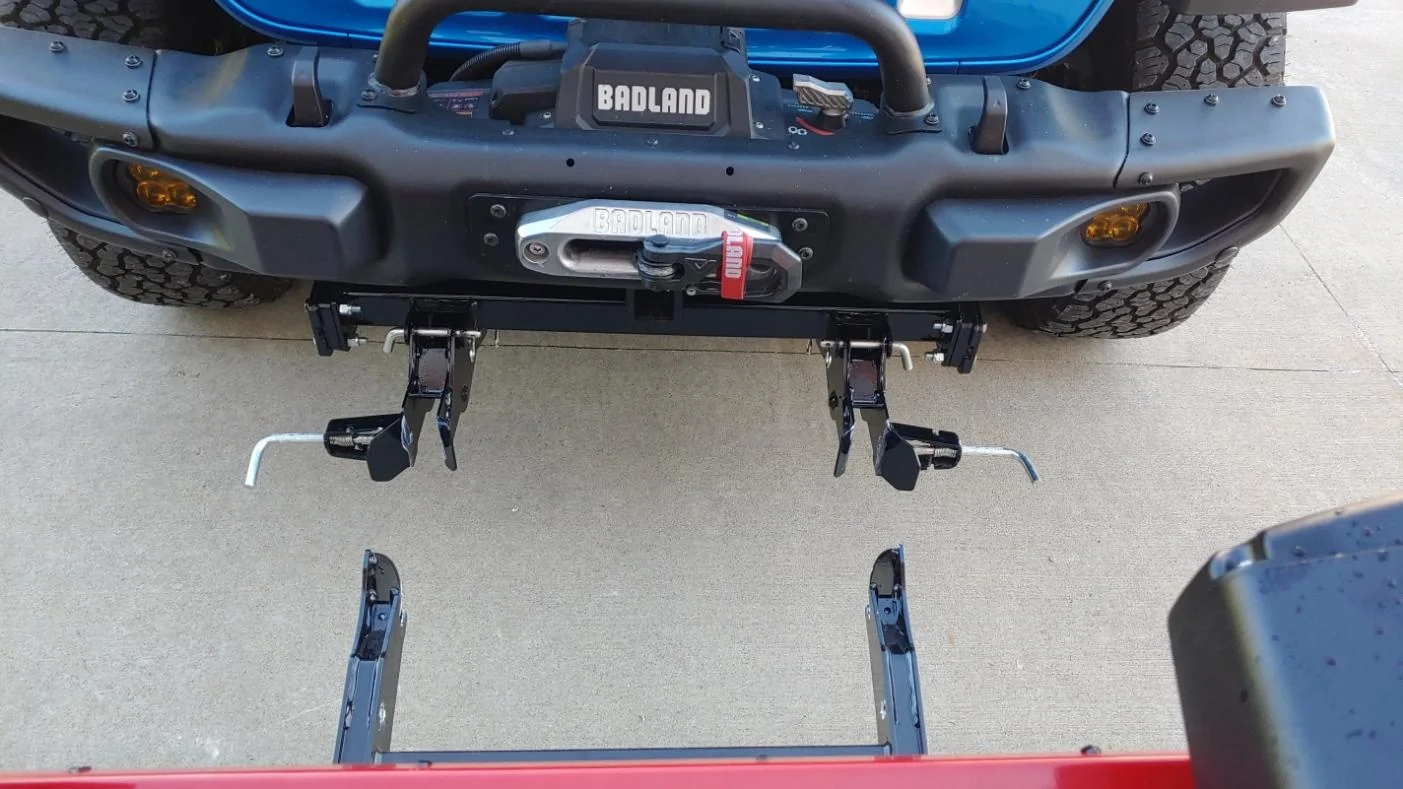
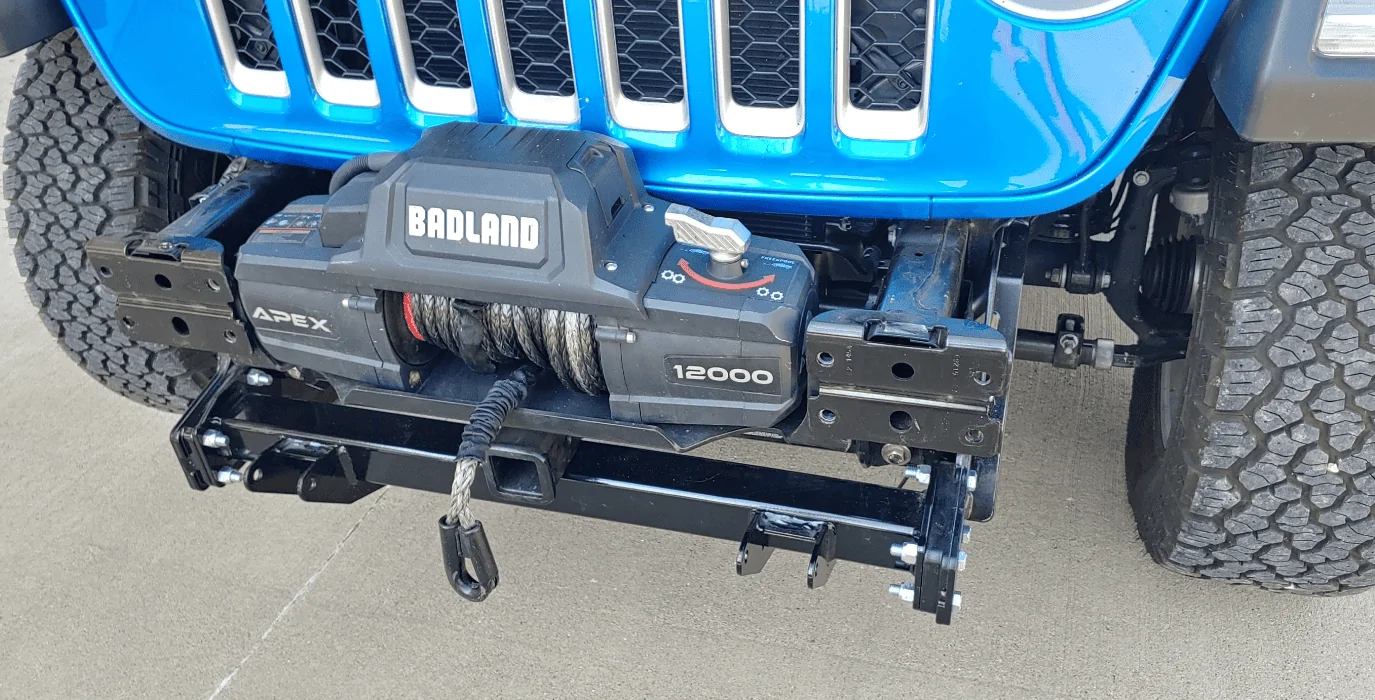
I wondered why the first two frame bolts didn't want to go in and realized the brackets hit the lower rear edge of the bumper. Great. Now what? And my bumper is even sitting further forward that stock because I used spacers (made by a forum member) to move the bumper away from the winch. Imagine if I didn't have the spacers - the bumper would be farther back by about 3/16" making the interference even worser!
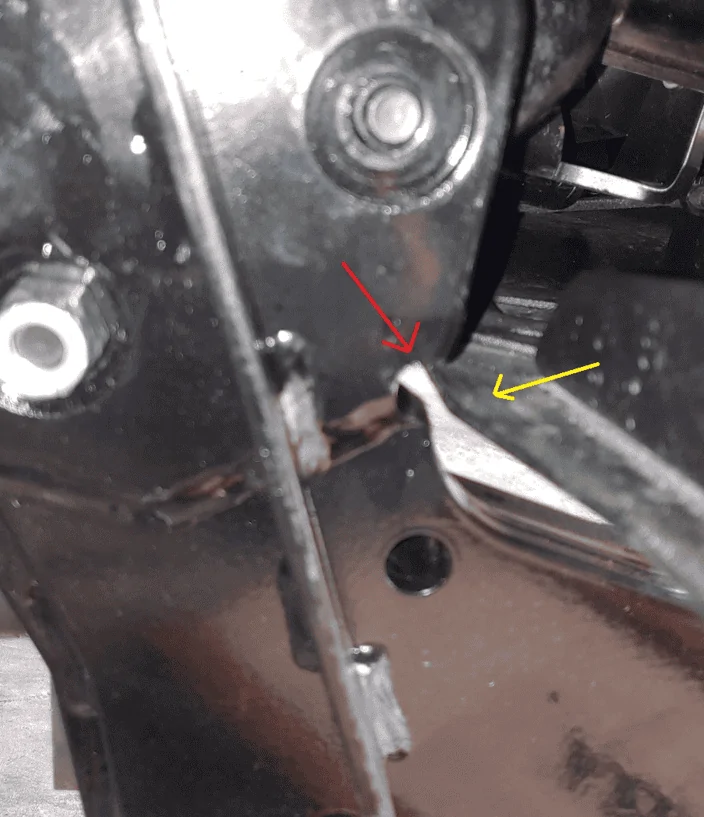
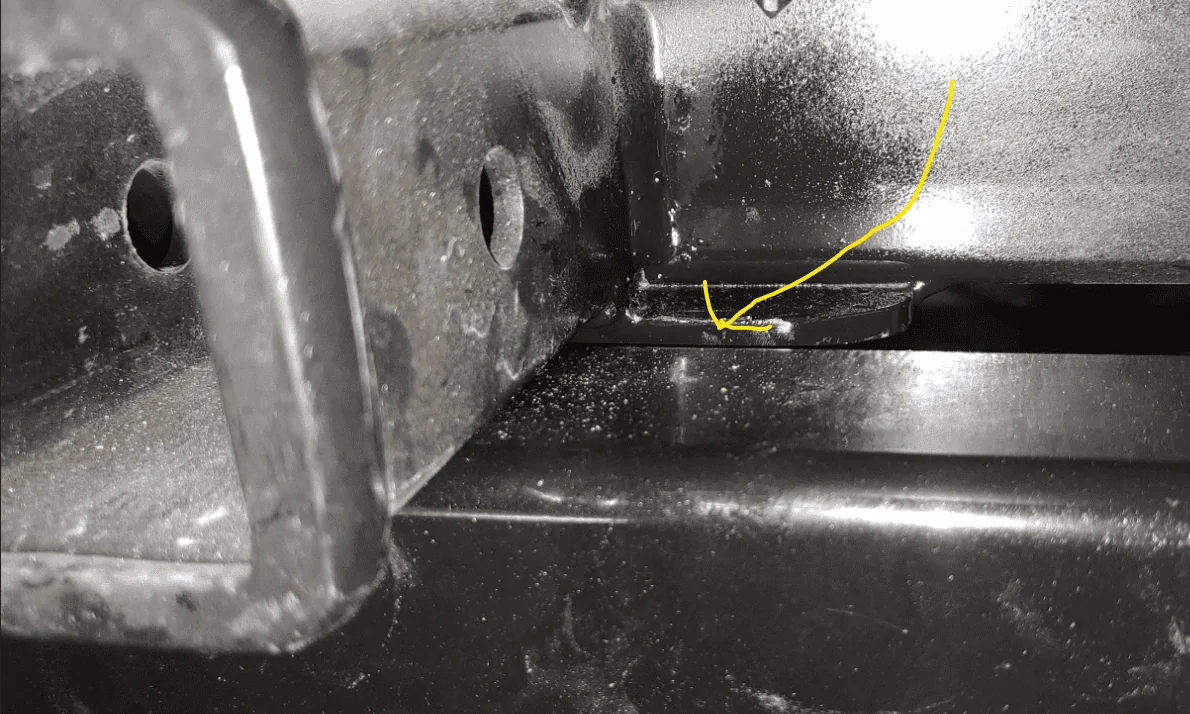
Yellow points to rear of lower part of bumper - red is where I notched the plow bracket to clear the bumper. No way I was going to cut into a bumper I just powder coated!
This is the right side, right bracket -

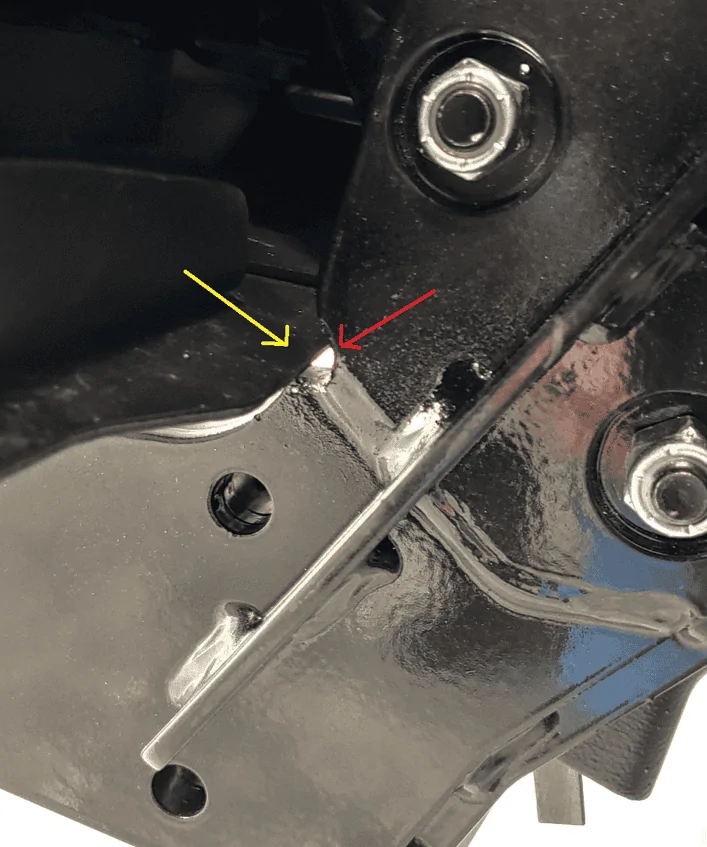
......and the left plow bracket, left side, yellow points to bumper lower rear edge, red to notch I made in bracket -

So now I have the two main brackets notched to clear the bumper, notched to clear the fog light connector, and that other wire retainer unclipped from the right frame rail. All is good, she'll fit right on now!
Crap, not so fast!
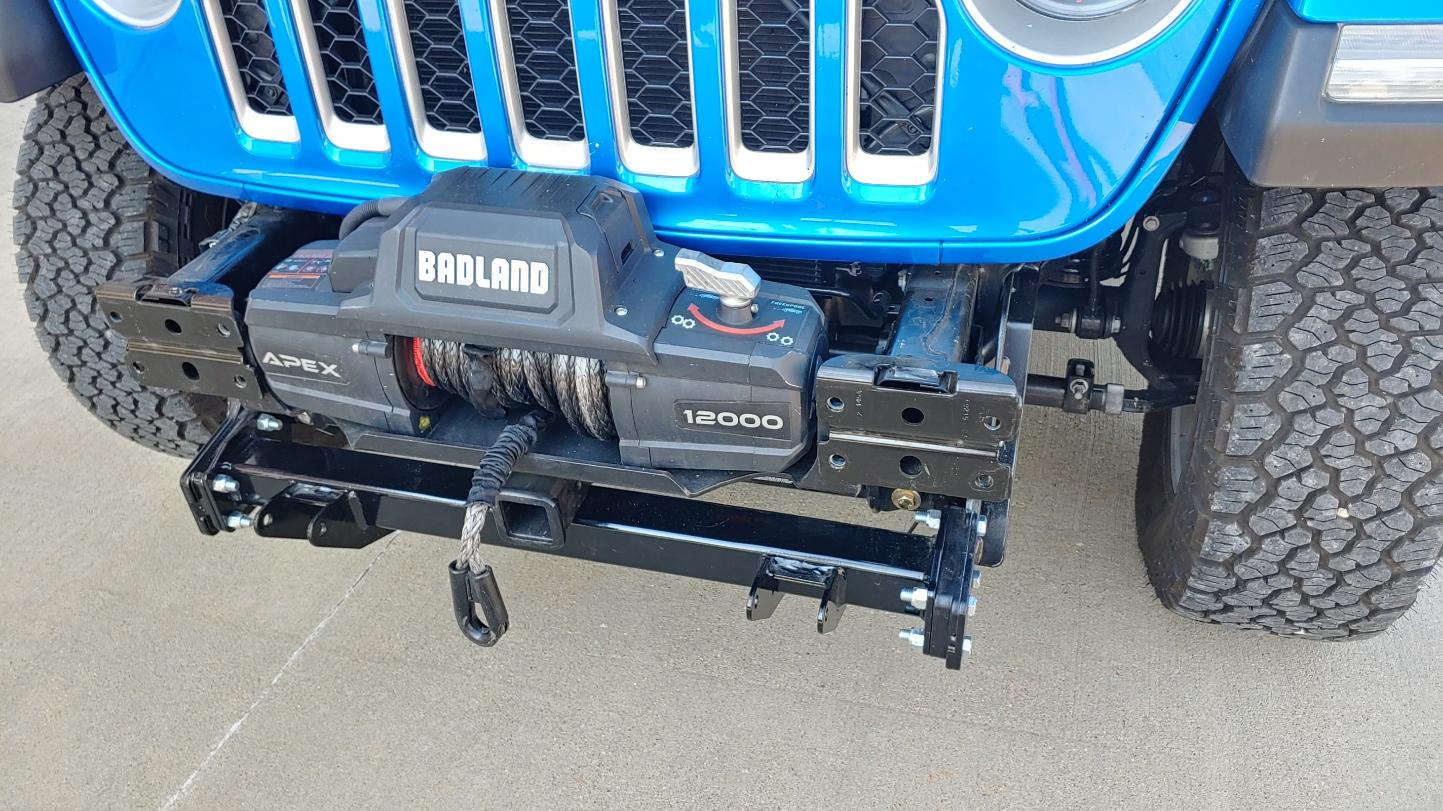
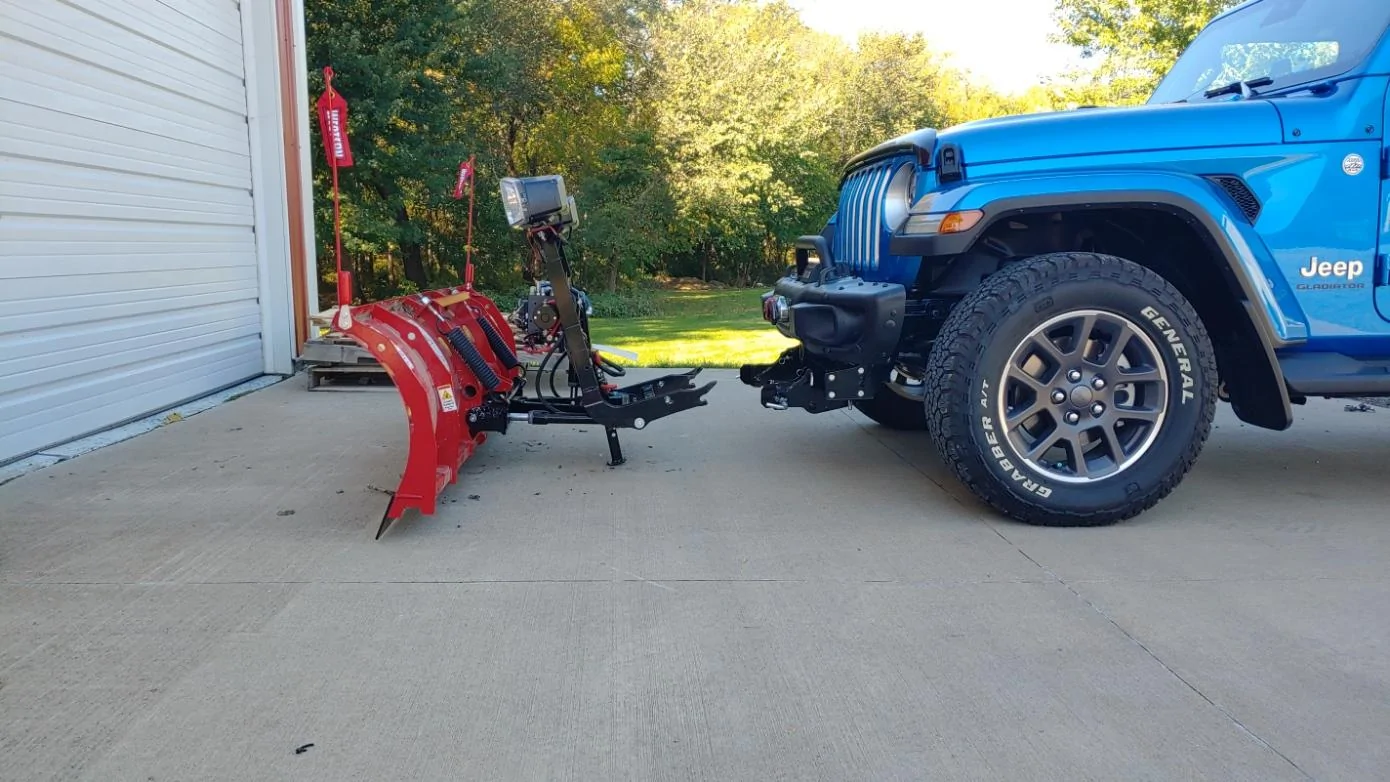
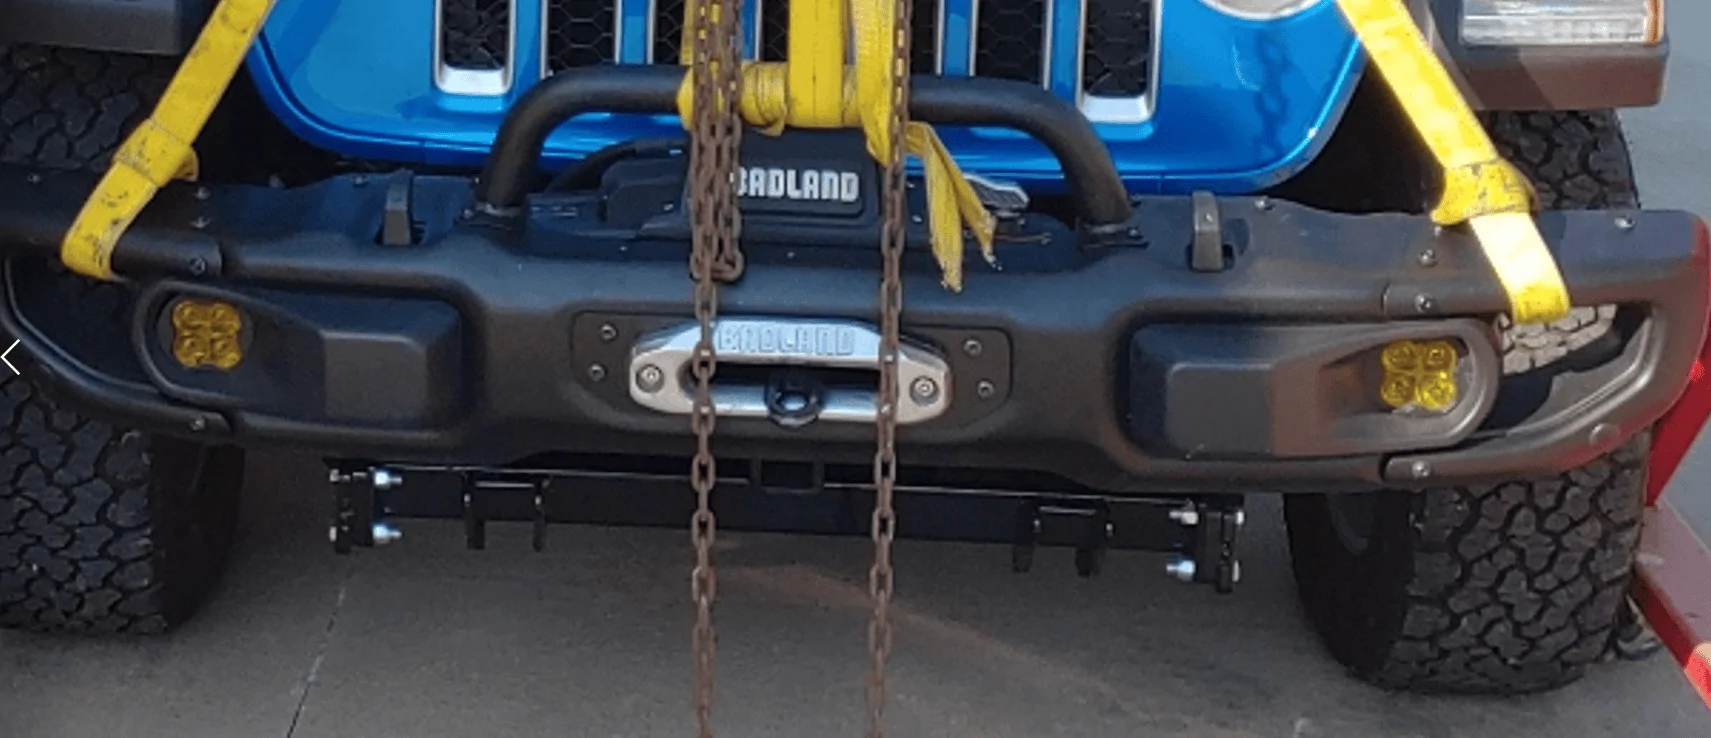
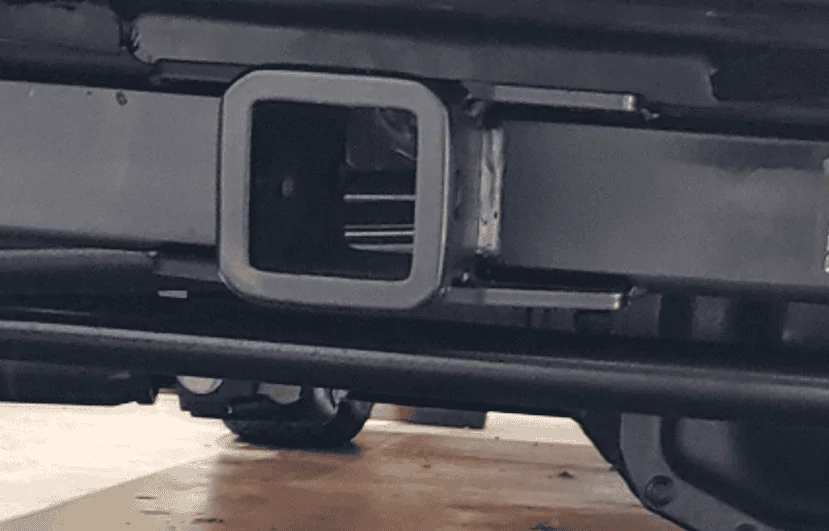
They never figured on a front hitch/receiver. Again,. maybe a lifted Jeep with the other bracket kit would clear, but there's no way this thing is going to fit with a receiver in place.
So I had to get creative (and lost about another hour after losing an hour making the other stuff fit)
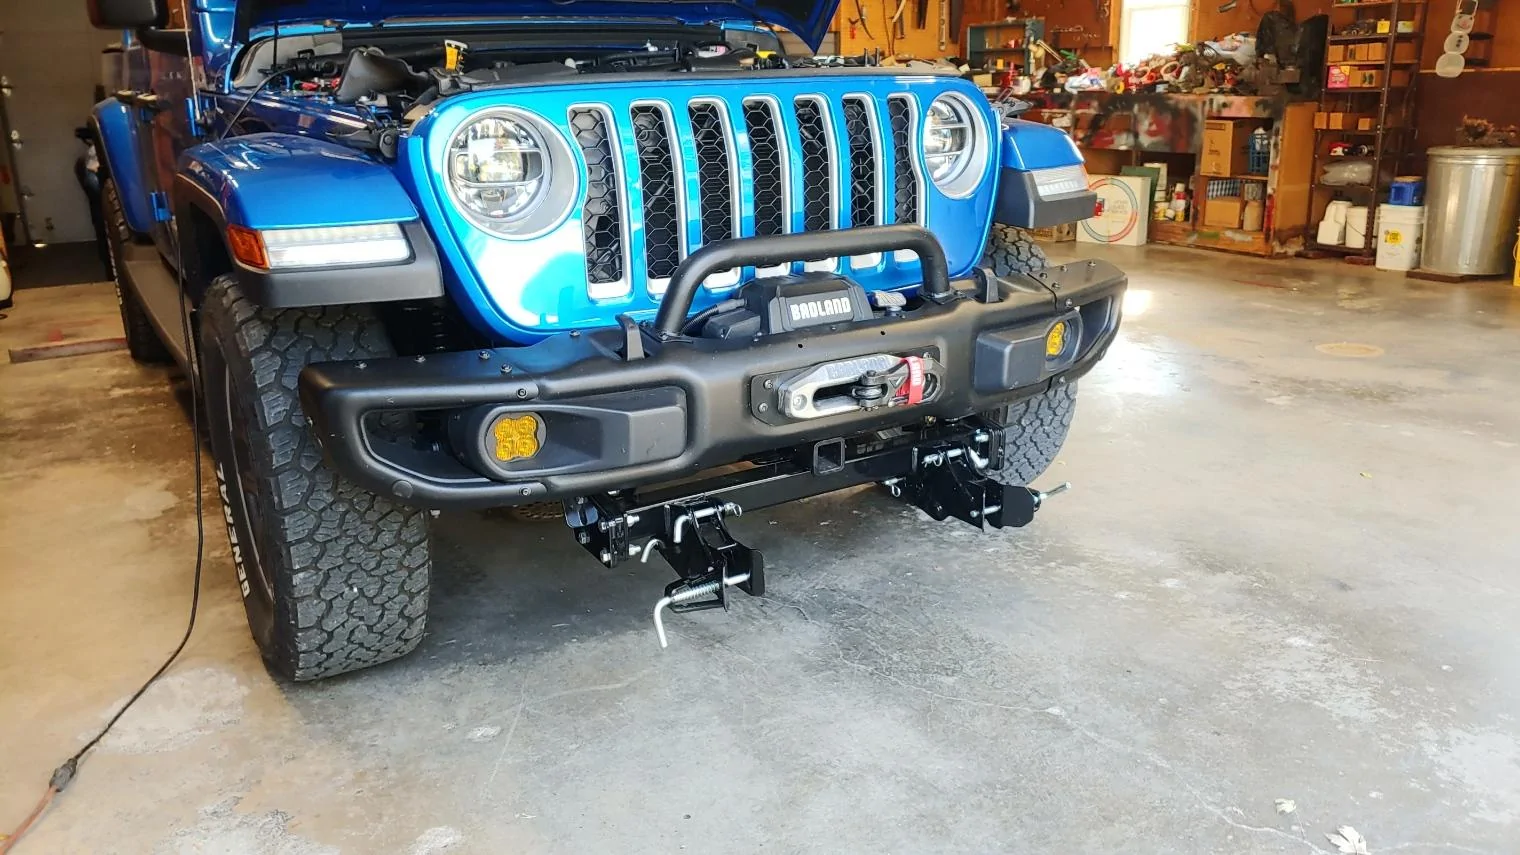
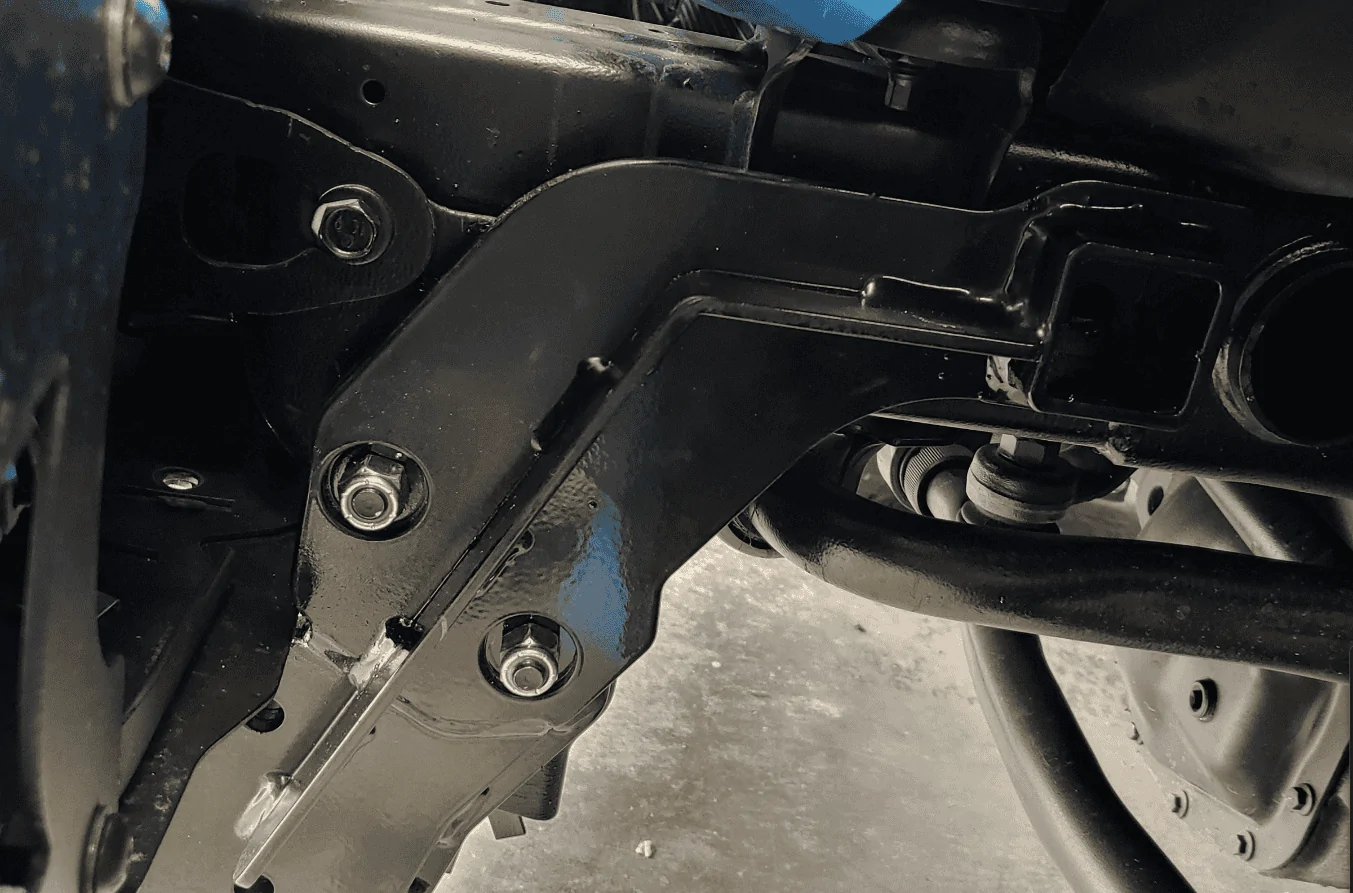
I had to cut and grind away part of the receiver for clearance. And that was no fun. Angle grinder cutting welds, cutting part of a brace, making room for the plow bracket cross brace. And - it almost fit but I found a grain of sand on top of the plow brace so had to drop it, wipe it off, and install it again. Yeah, it's that bloody tight!
(And lest you think you might modify your skid plate to go on after all of this - get that idea out of your head now, I laugh at the very thought)

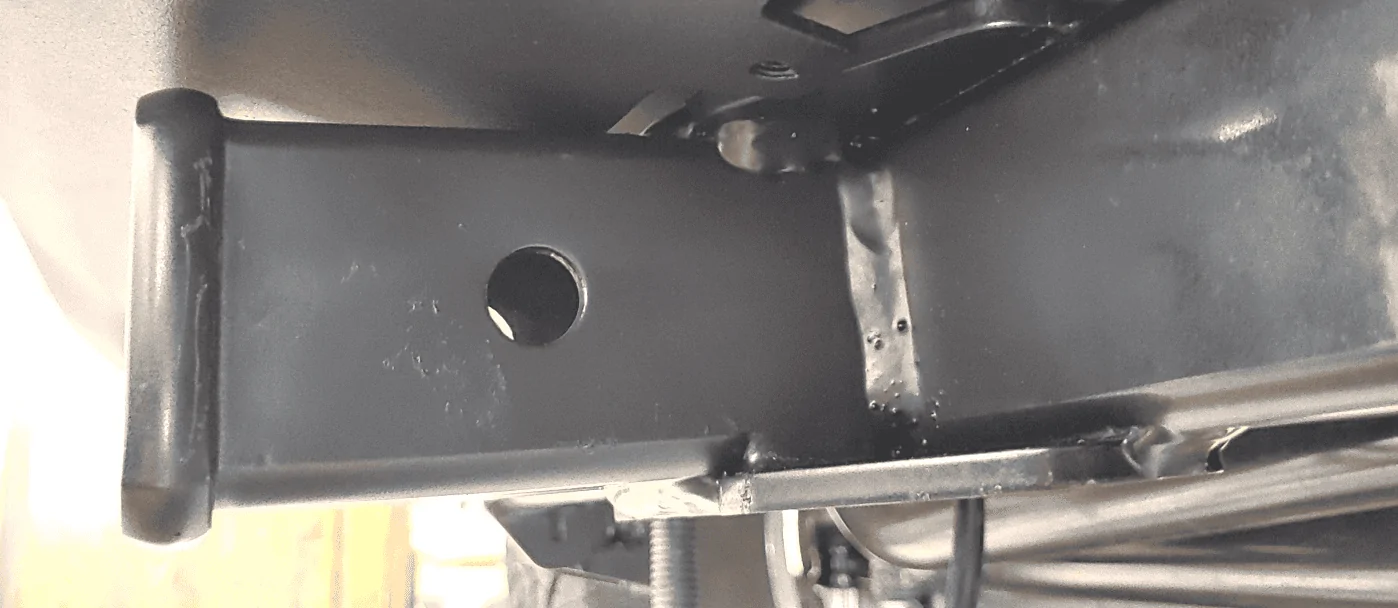
I had to cut this brace back from the receiver tube.

How it looked originally -


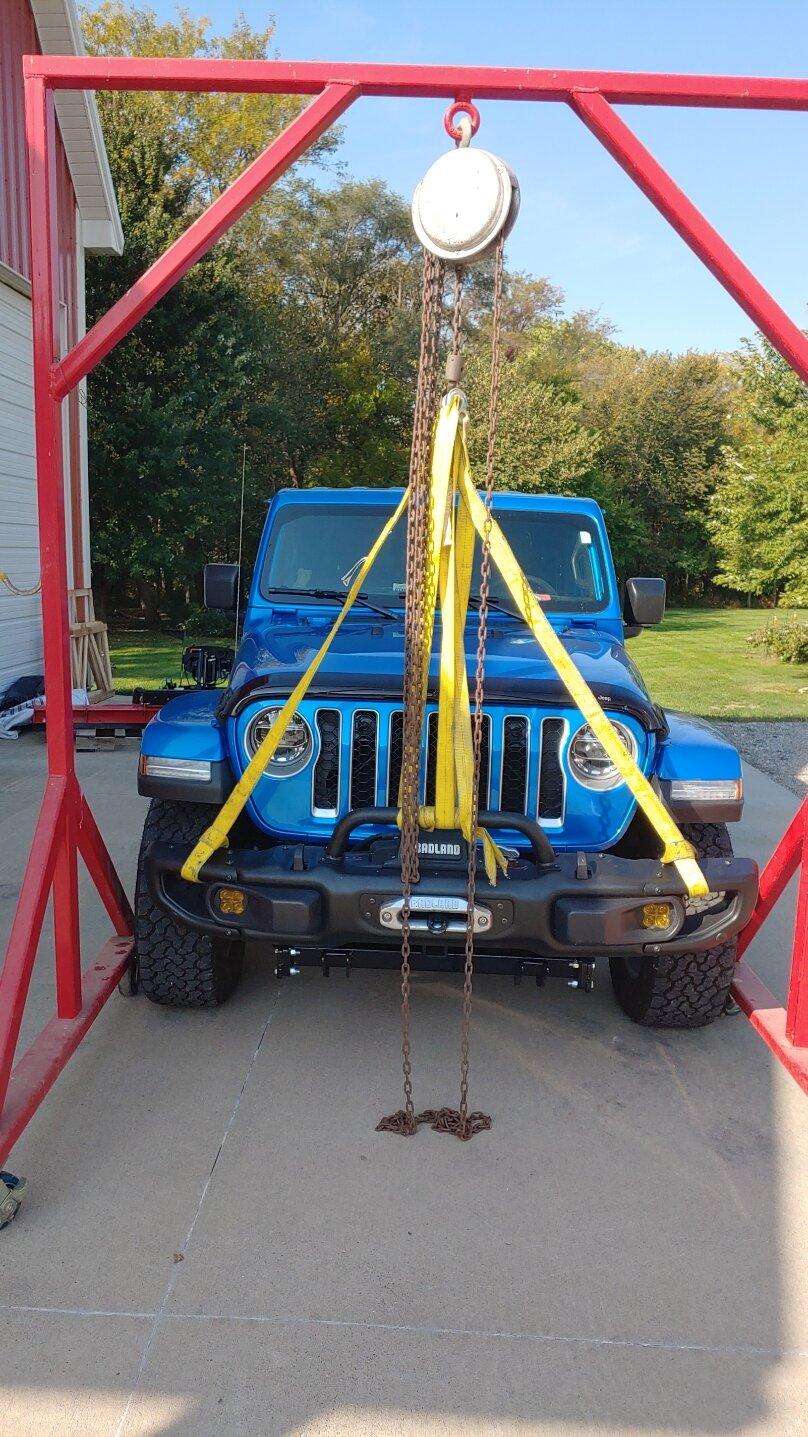
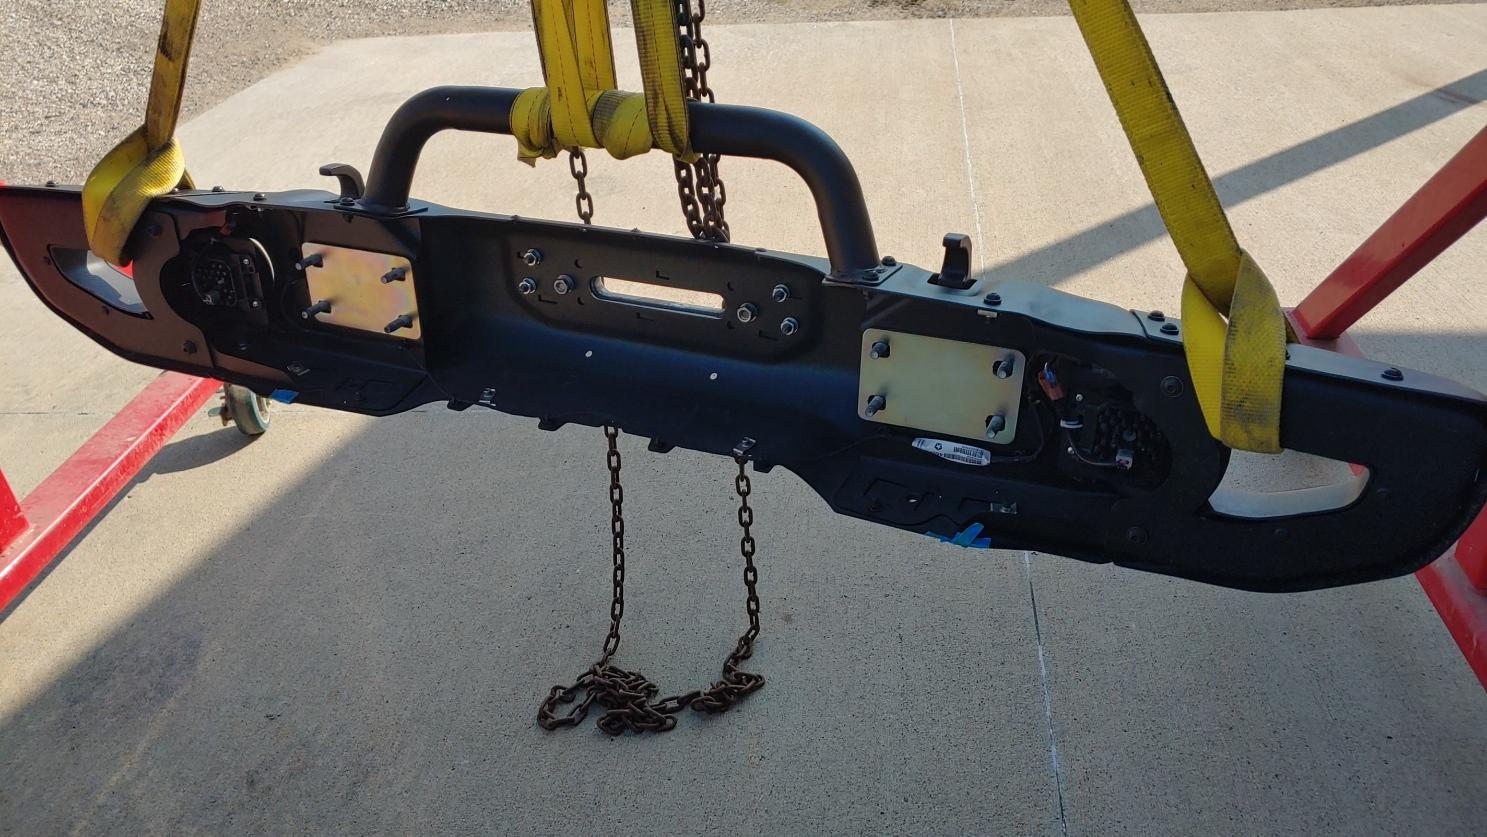
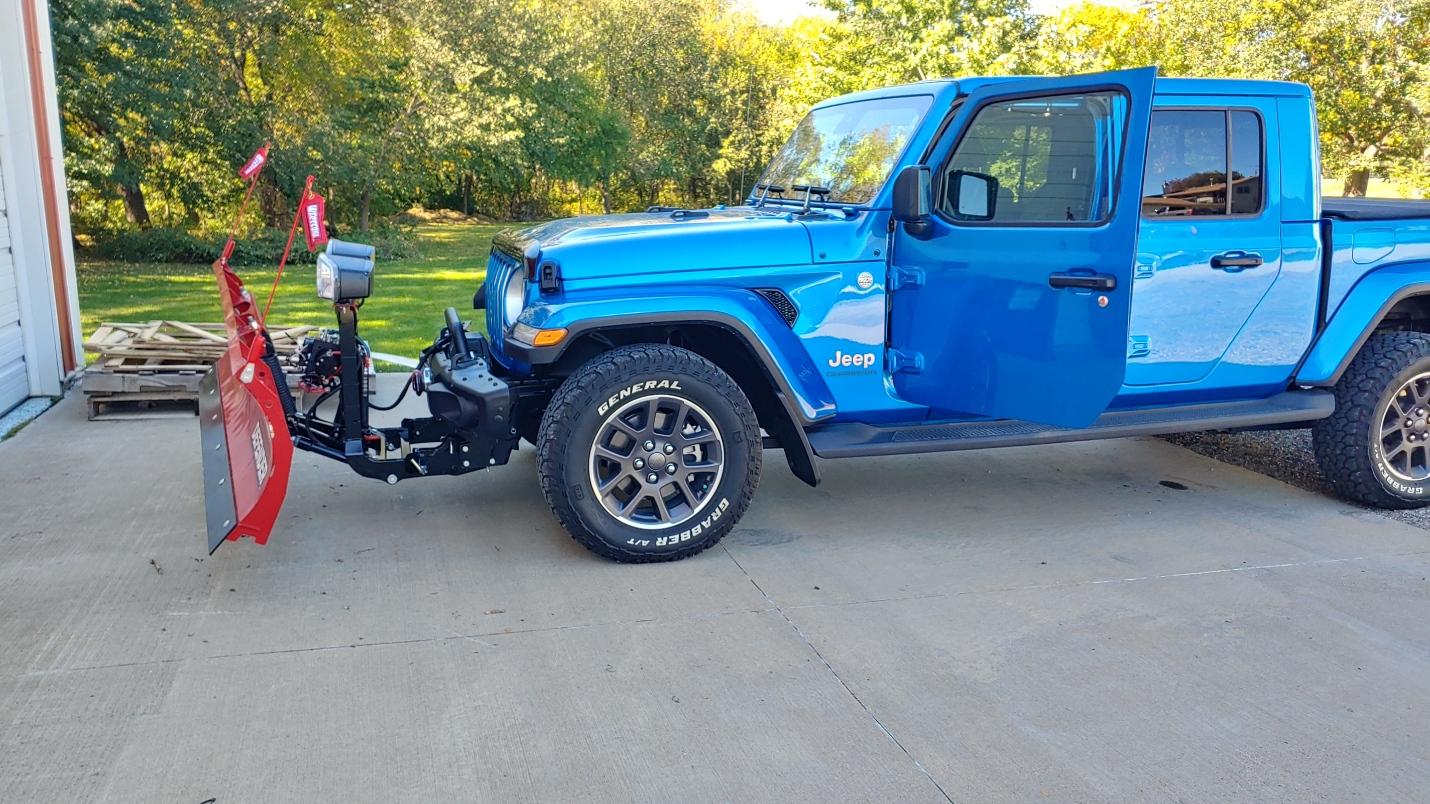
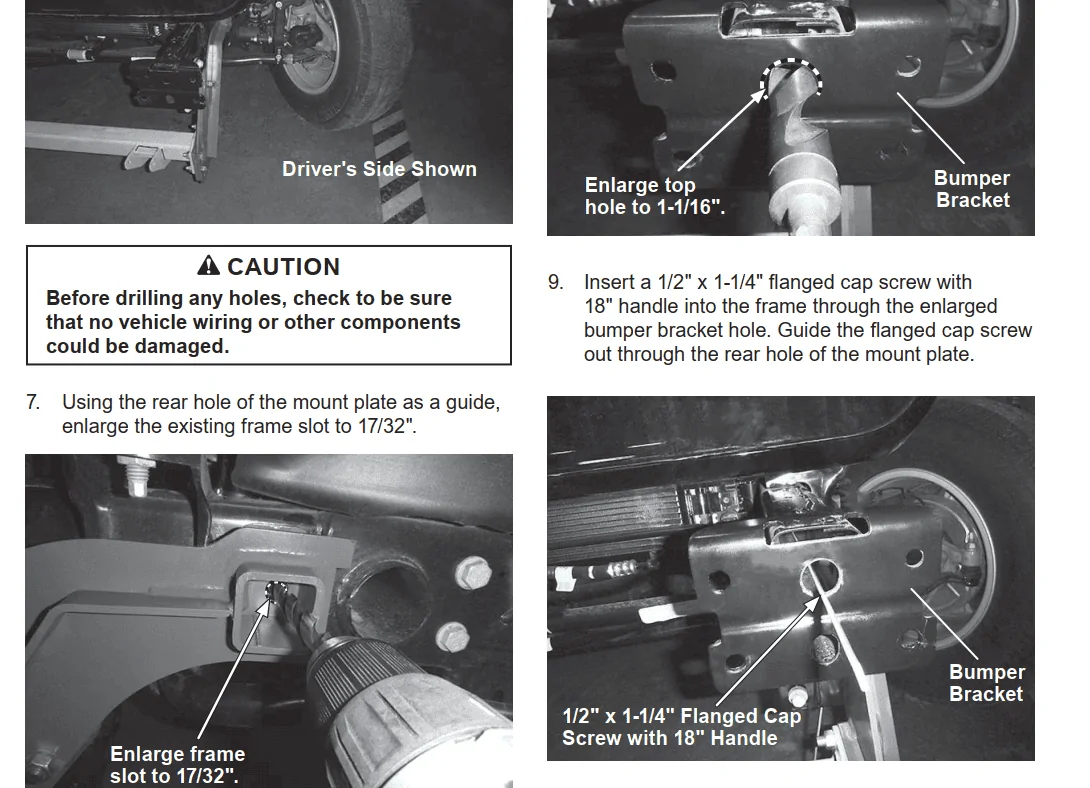
Next step is to remove the front bumper so I can drill out holes in the front frame ends to get the flag bolts into the frame and waaaay back to the 3rd bracket hole on each side.

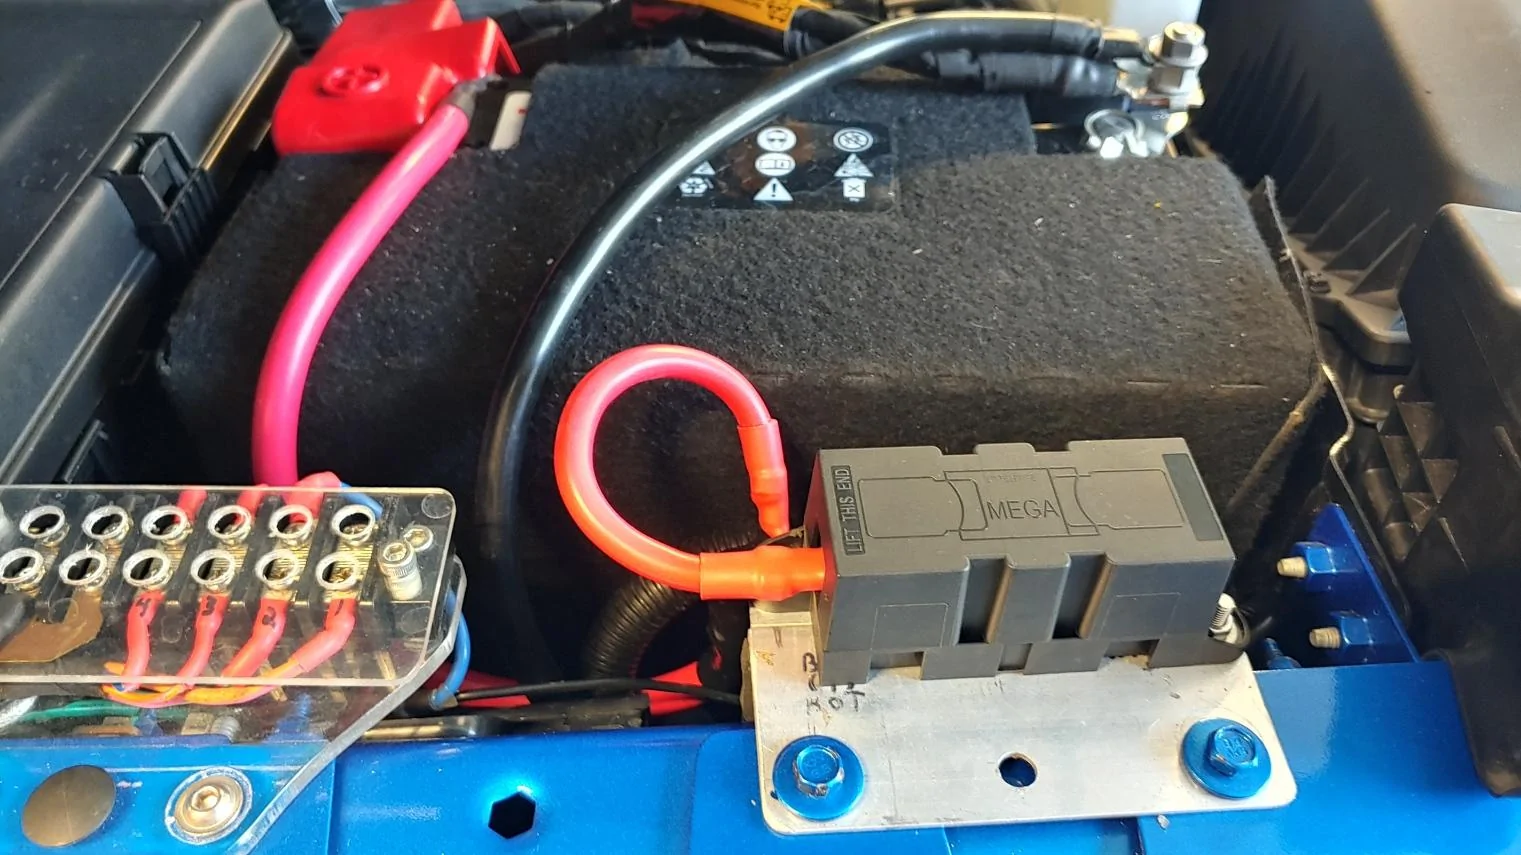
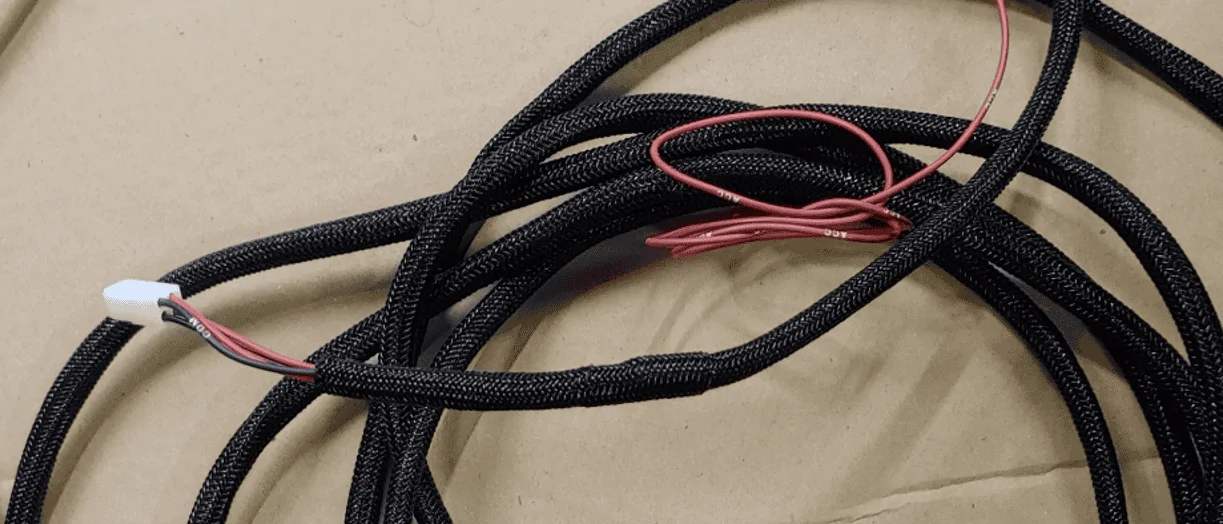
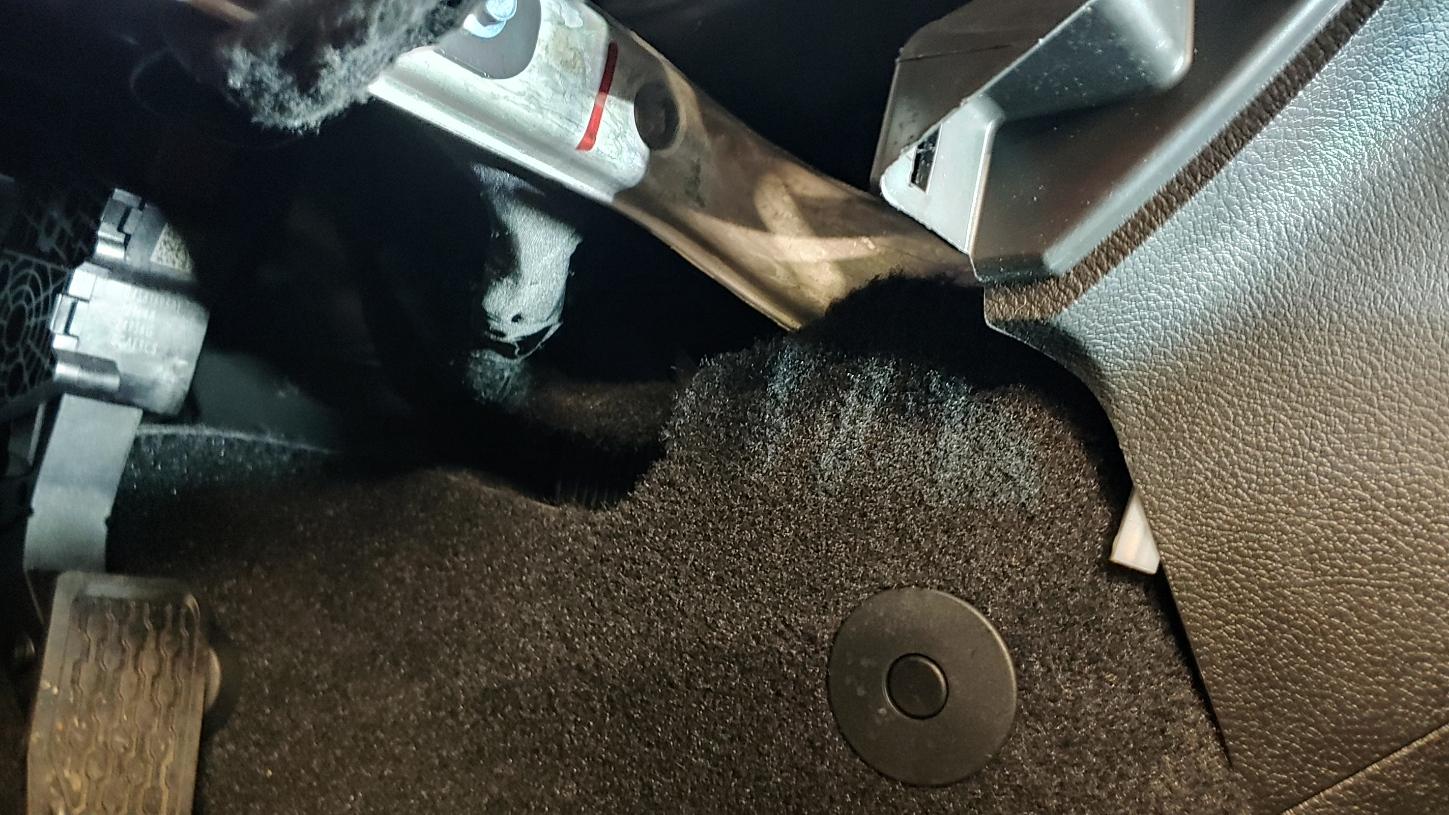
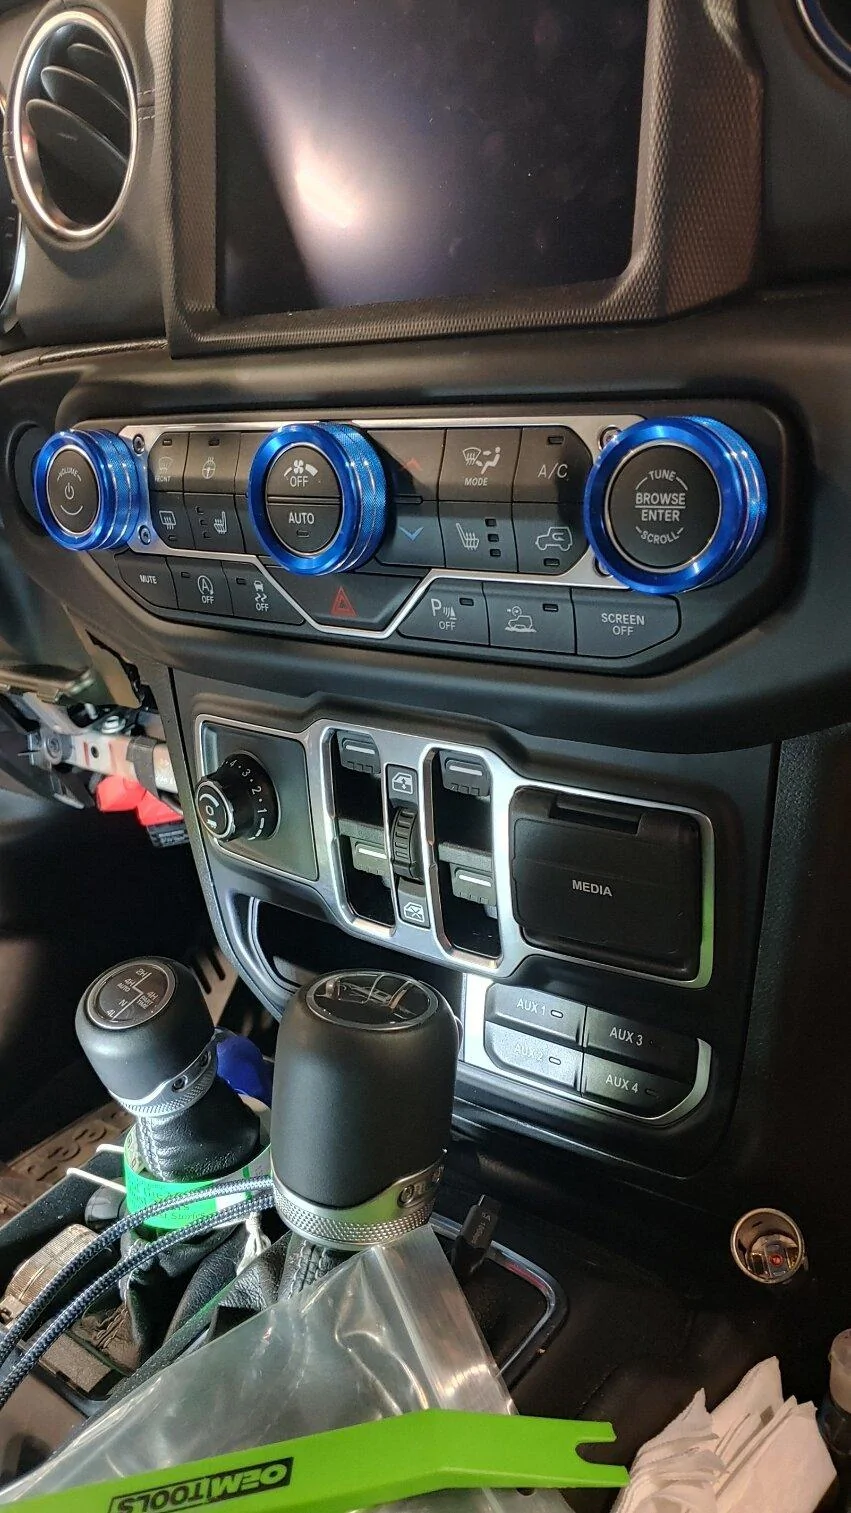
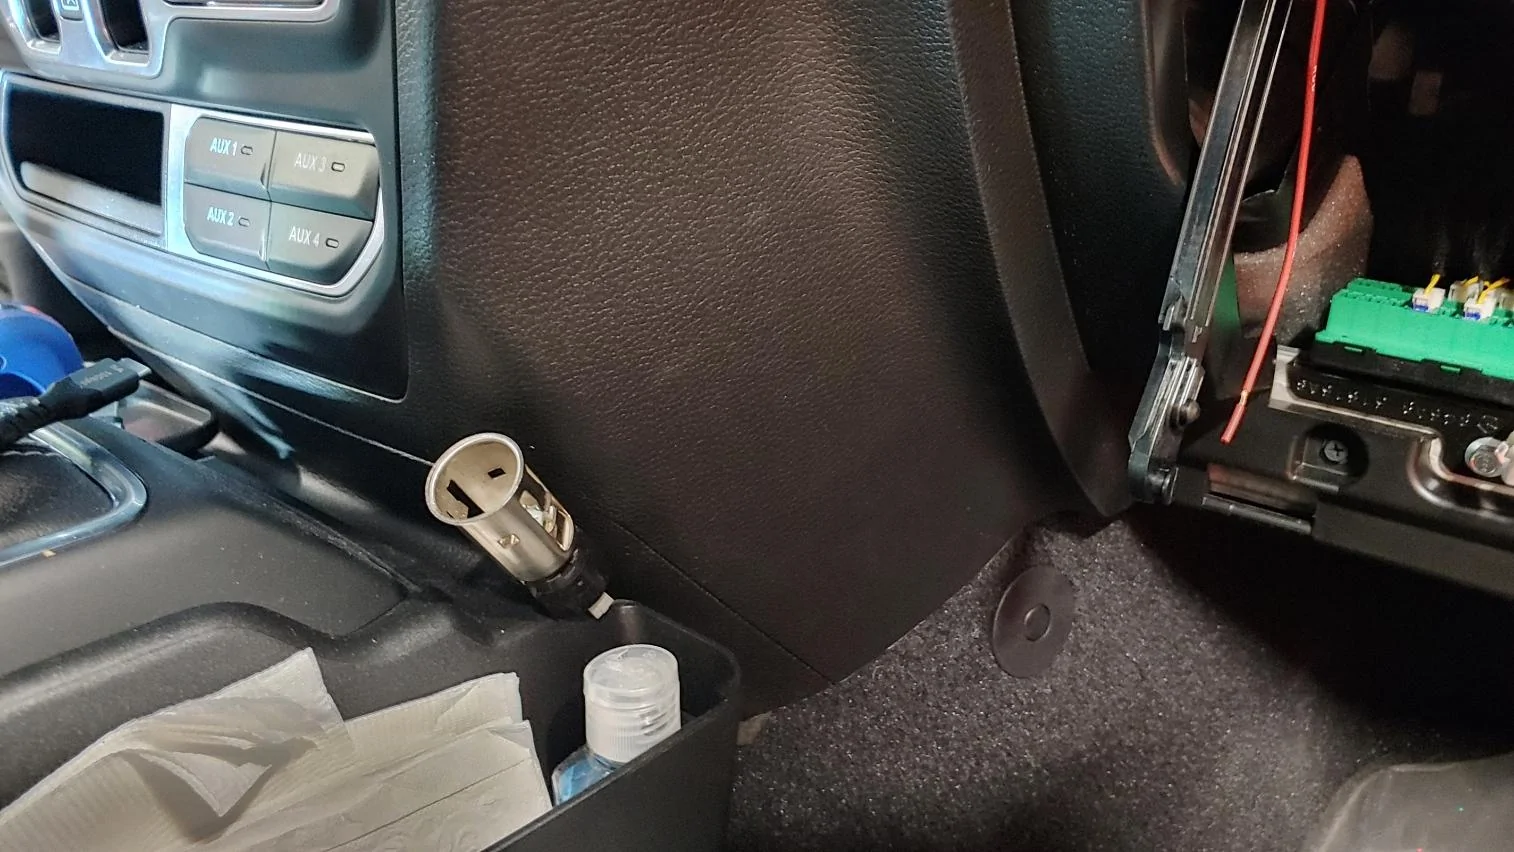
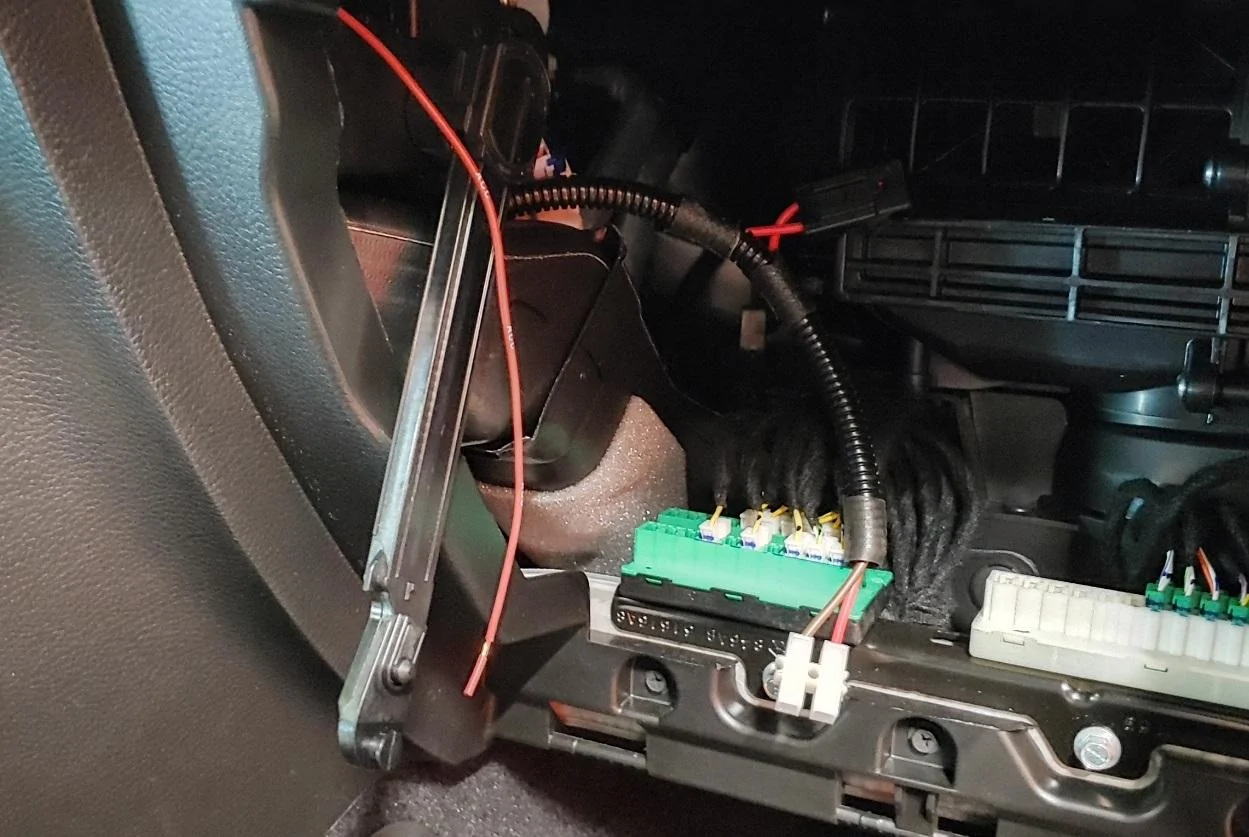
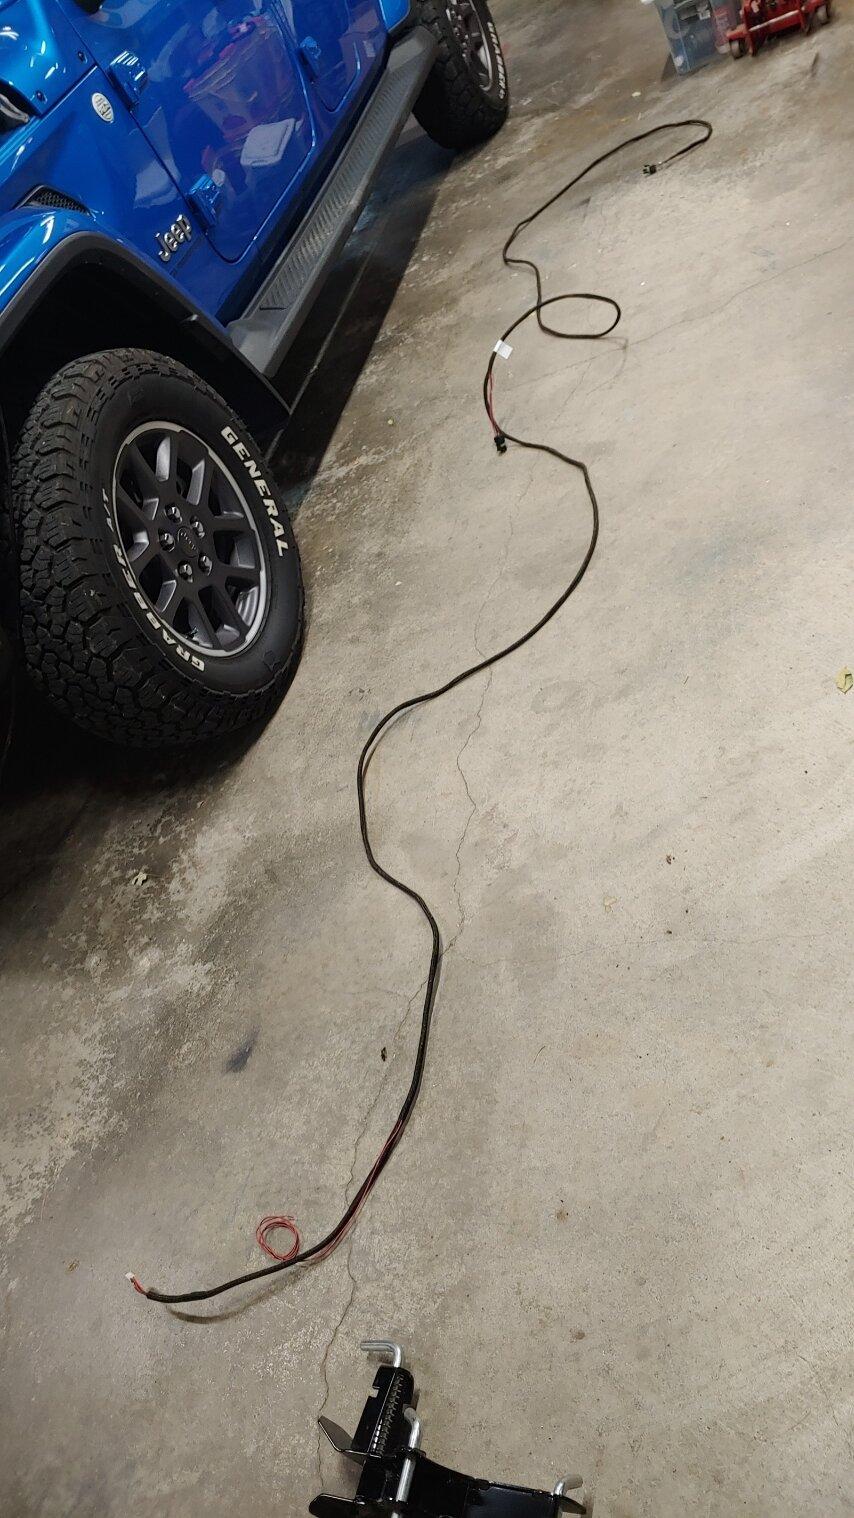
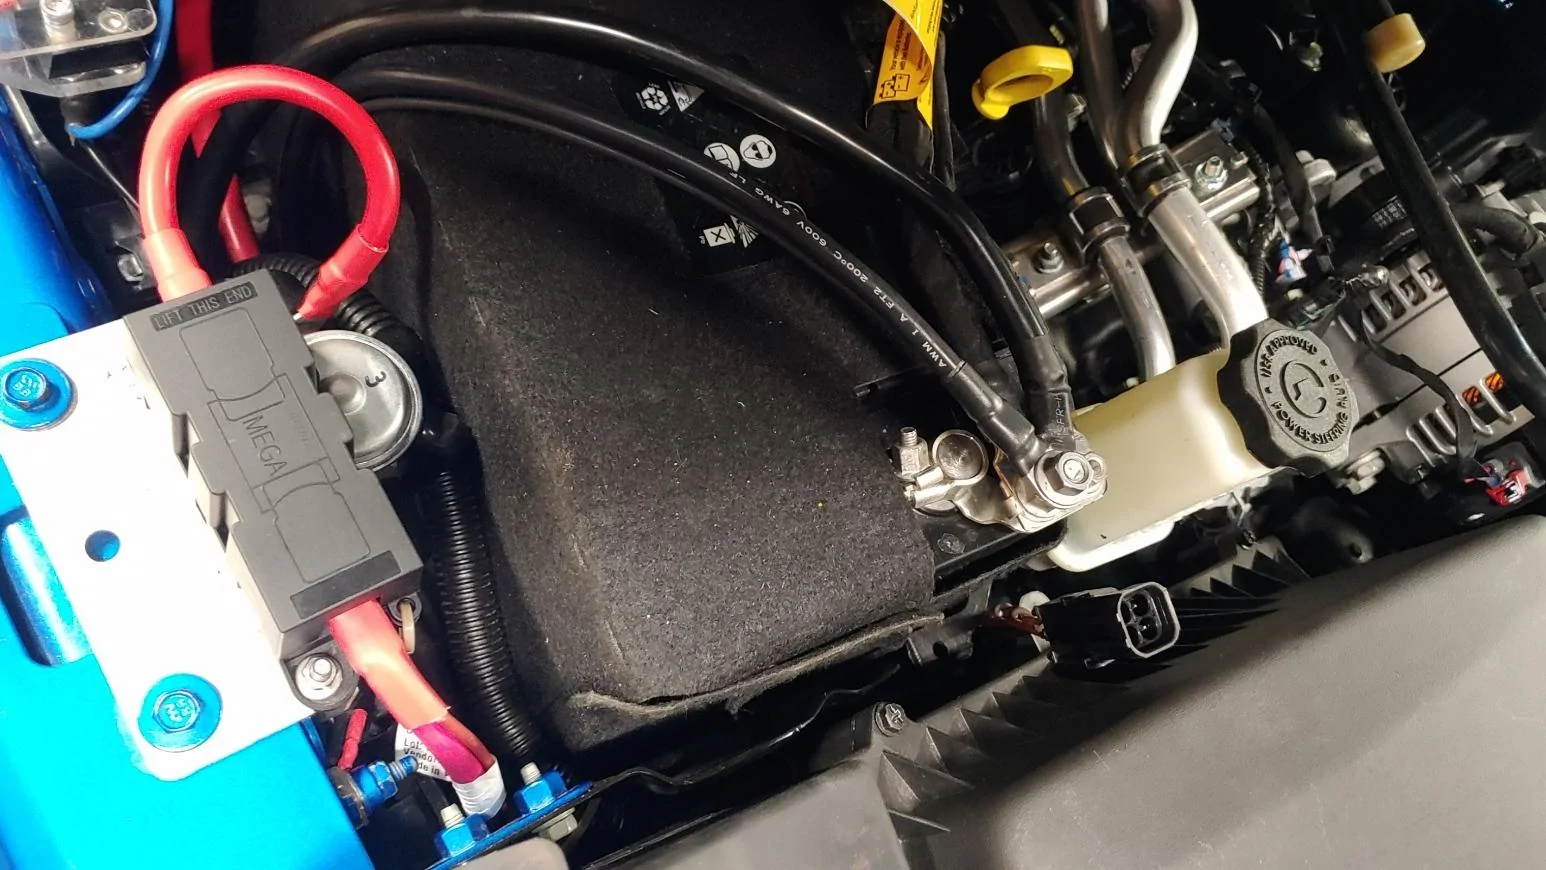
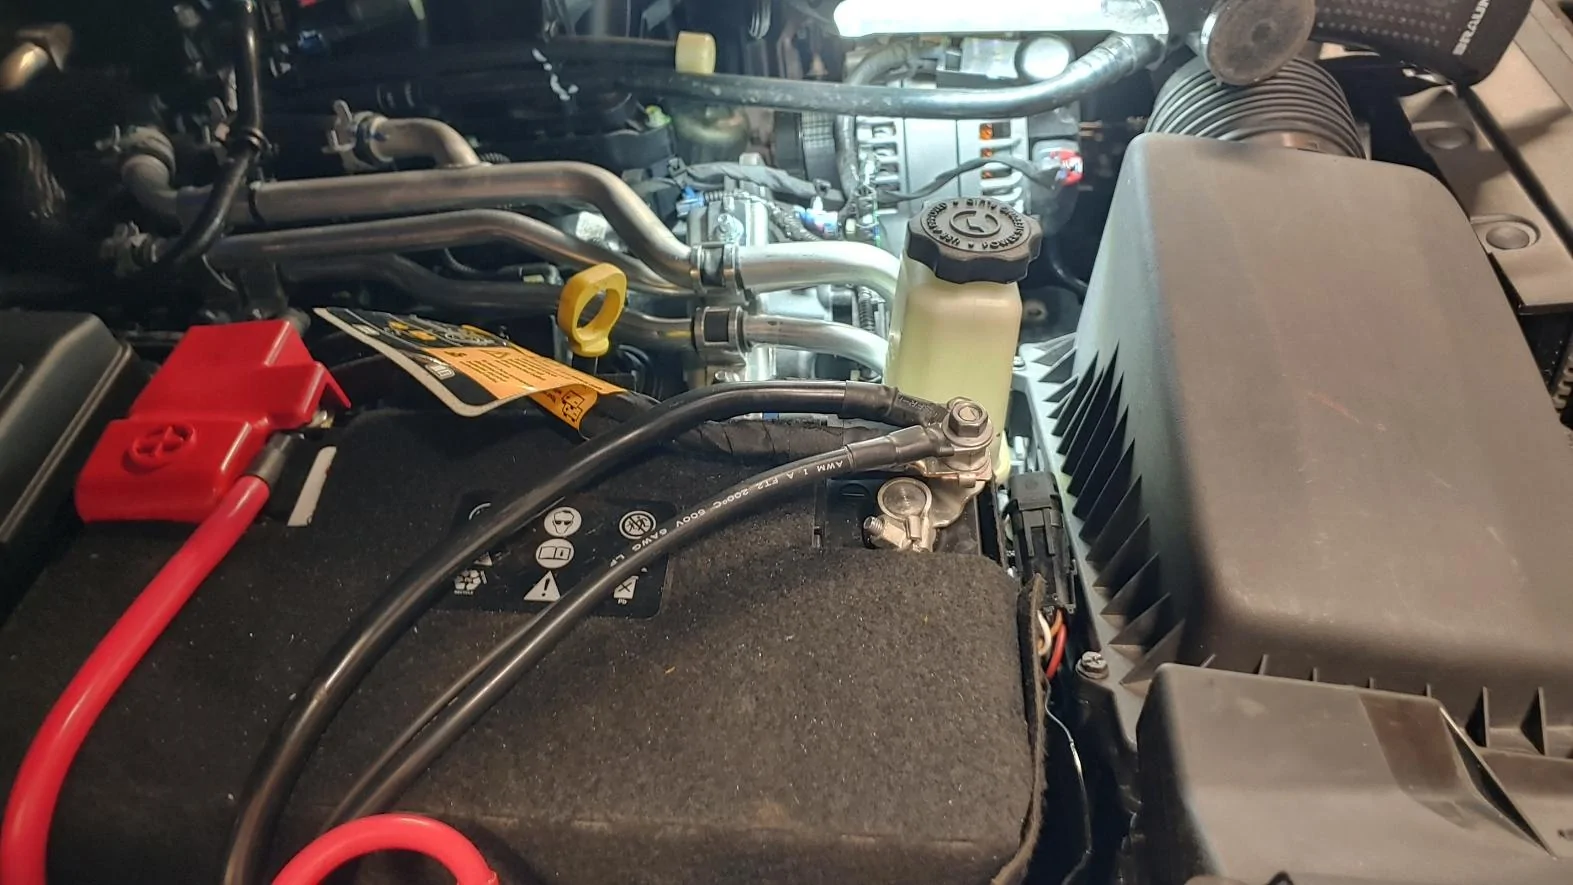
I need to find a place to mount their large fuse holder and where to run the control cable into the cab.
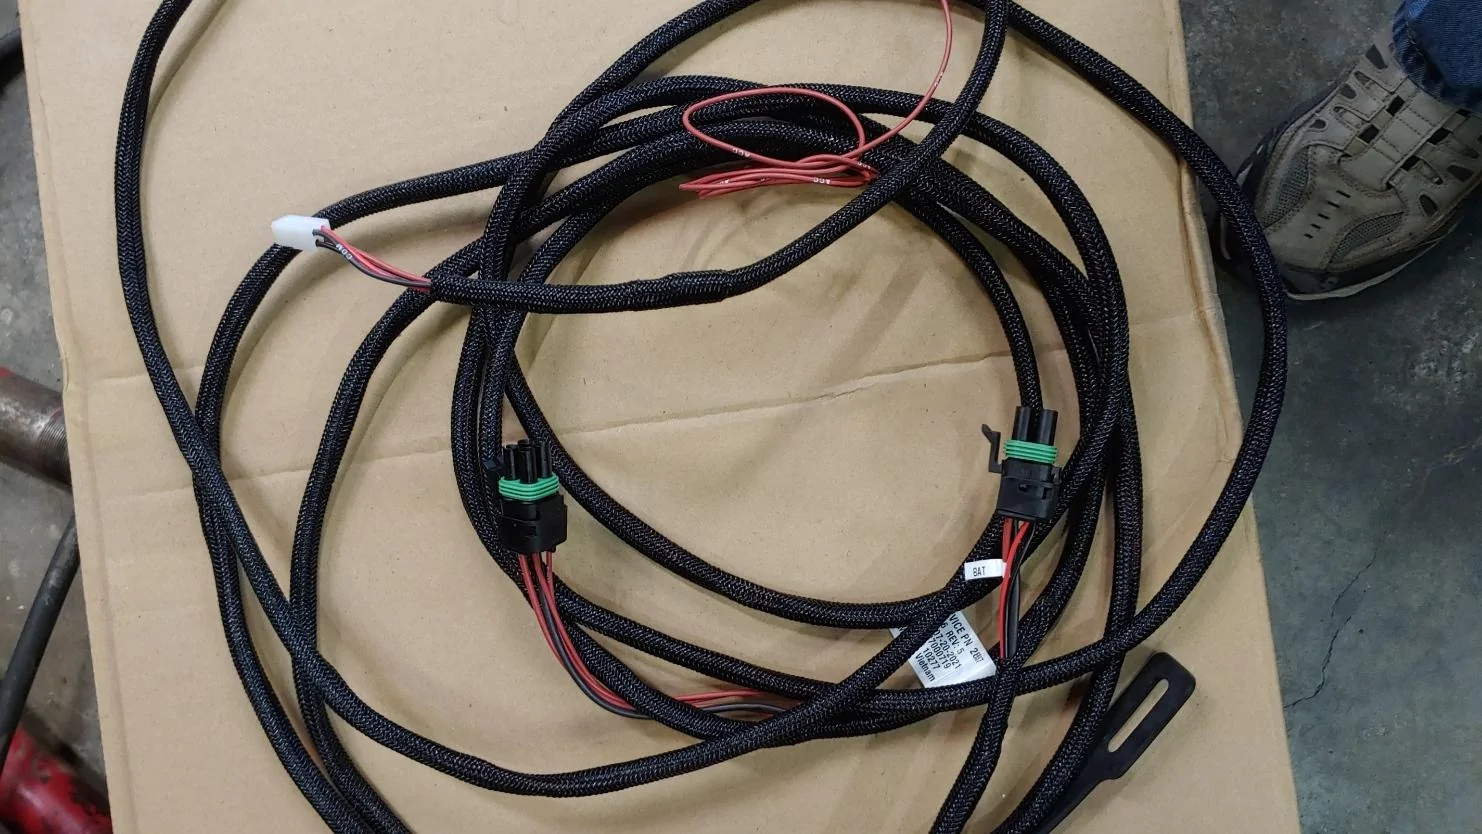
The wiring instructions are actually pretty unclear. And, I find 3 versions, none cover the part number I have.
So there went 1 afternoon and the brackets aren't even fully installed.
I need to pull a heavy steel bumper, fish in the final bolts and put the bumper back, THEN I can say the brackets that go on the truck will be done. I estimate a fair part of a morning, so it's more like a day to get the brackets in place, and keep your grinder handy.
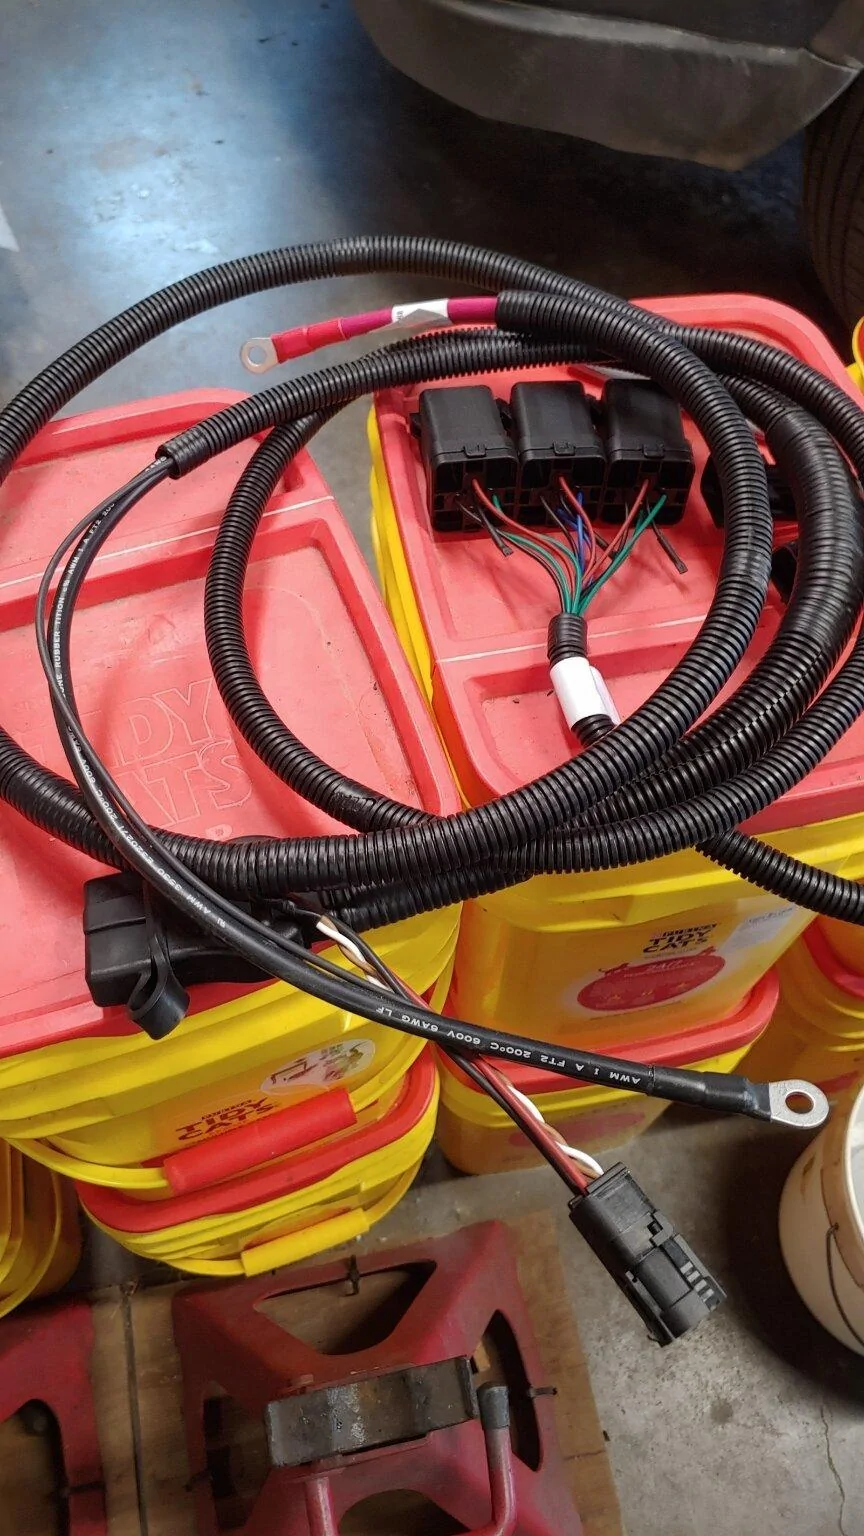
I need to assemble the blade to the brackets, do all the wiring, etc.
This is more like a full weekend project unless you have a plastic bumper and your setup came partially assembled.
I am NOT looking forward to removing that bumper - I was sooo careful putting it on this truck after having it all powder coated.
I decided to not put this in another thread, or in the "what did you do TO........" thread as it's going to grow as I run into more issues, or make more progress without issues.
I'll start by saying whoever said this could be done in a leasurely afternoon obviously had a fully stock Jeep with plastic bumper, no front receiver, and the earlier brackets were a bit different than those used on the Gladiator with a frame to ground distance of under 22". Maybe the brackets for a lifted JT are different? Doubt if they connect to the frame any differently.
Anyway, here goes!
First - it takes a while to unpack everything, open bags, find instructions and so on.
The first things you'll want to check out are the brackets interfering with the fog light connector at the right frame rail. I had to notch the plow bracket.
There's also a factory wire that's held to the frame by a tie strap that attaches to the frame through a hole via a "christmas tree" you'll need to pop out of that hole - otherwise you'll crush it.
Right side of the right frame rail - pop that wire retainer out of the hole -
LOL - note that Western missed getting this pocket powder coated.
Anyway, here's that wire popped out of the hole so the bracket can sit against the frame rail -

Next is the connector for the fog lights. I tried to position it to avoid the bracket, but it was really tight, so I notched the bracket to give clearance. I want minimal mods to the truck itself -
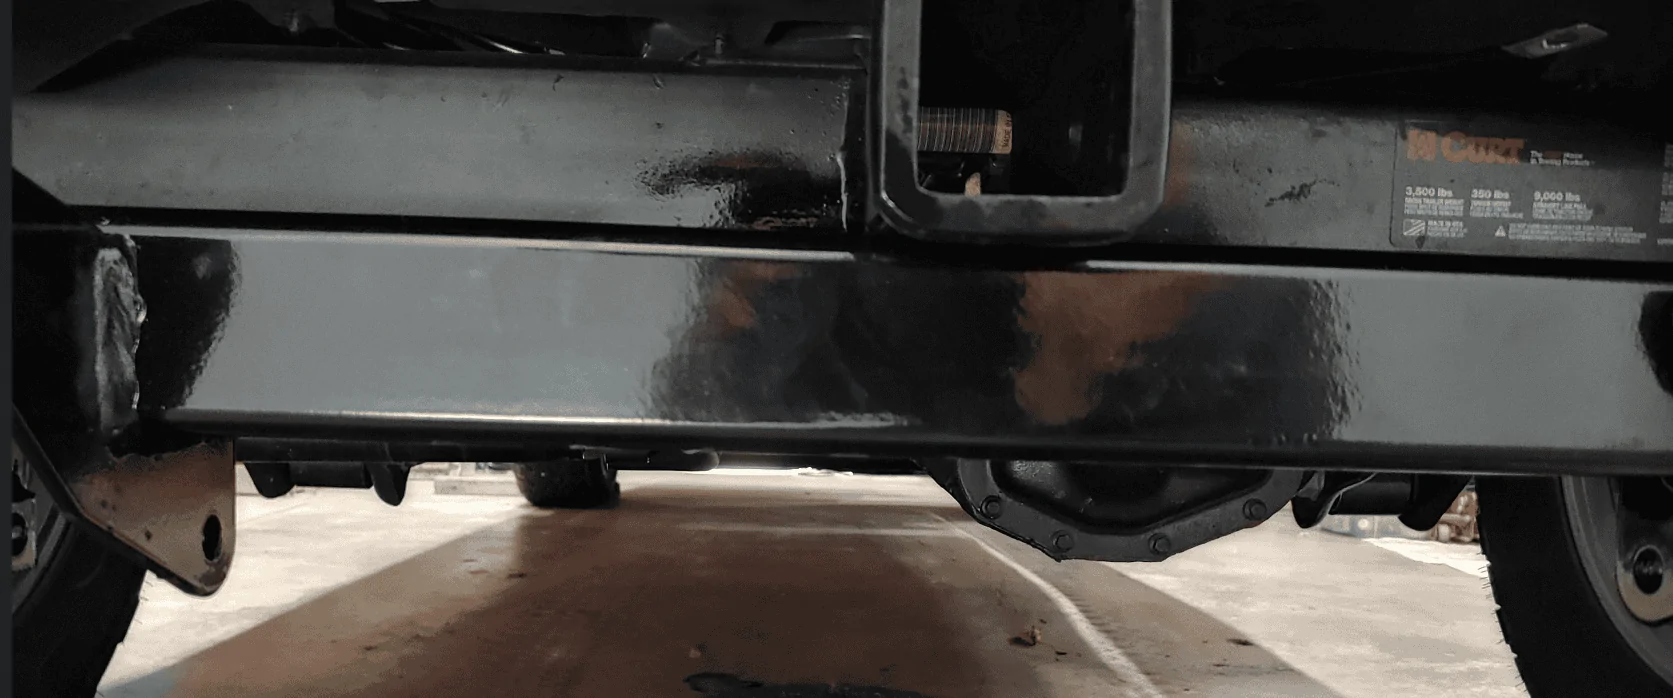
I wondered why the first two frame bolts didn't want to go in and realized the brackets hit the lower rear edge of the bumper. Great. Now what? And my bumper is even sitting further forward that stock because I used spacers (made by a forum member) to move the bumper away from the winch. Imagine if I didn't have the spacers - the bumper would be farther back by about 3/16" making the interference even worser!
Yellow points to rear of lower part of bumper - red is where I notched the plow bracket to clear the bumper. No way I was going to cut into a bumper I just powder coated!
This is the right side, right bracket -
......and the left plow bracket, left side, yellow points to bumper lower rear edge, red to notch I made in bracket -
So now I have the two main brackets notched to clear the bumper, notched to clear the fog light connector, and that other wire retainer unclipped from the right frame rail. All is good, she'll fit right on now!
Crap, not so fast!
They never figured on a front hitch/receiver. Again,. maybe a lifted Jeep with the other bracket kit would clear, but there's no way this thing is going to fit with a receiver in place.
So I had to get creative (and lost about another hour after losing an hour making the other stuff fit)
I had to cut and grind away part of the receiver for clearance. And that was no fun. Angle grinder cutting welds, cutting part of a brace, making room for the plow bracket cross brace. And - it almost fit but I found a grain of sand on top of the plow brace so had to drop it, wipe it off, and install it again. Yeah, it's that bloody tight!
(And lest you think you might modify your skid plate to go on after all of this - get that idea out of your head now, I laugh at the very thought)
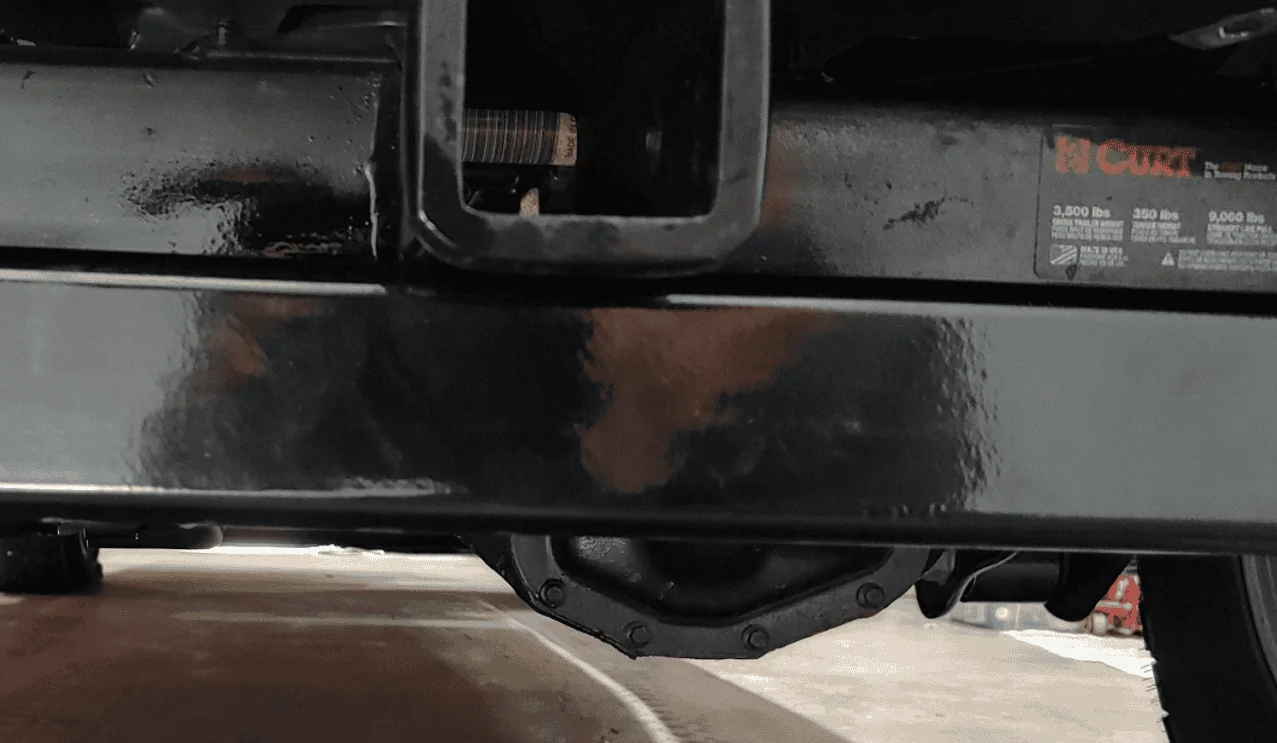
I had to cut this brace back from the receiver tube.
How it looked originally -
Next step is to remove the front bumper so I can drill out holes in the front frame ends to get the flag bolts into the frame and waaaay back to the 3rd bracket hole on each side.
I need to find a place to mount their large fuse holder and where to run the control cable into the cab.
The wiring instructions are actually pretty unclear. And, I find 3 versions, none cover the part number I have.
So there went 1 afternoon and the brackets aren't even fully installed.
I need to pull a heavy steel bumper, fish in the final bolts and put the bumper back, THEN I can say the brackets that go on the truck will be done. I estimate a fair part of a morning, so it's more like a day to get the brackets in place, and keep your grinder handy.
I need to assemble the blade to the brackets, do all the wiring, etc.
This is more like a full weekend project unless you have a plastic bumper and your setup came partially assembled.
I am NOT looking forward to removing that bumper - I was sooo careful putting it on this truck after having it all powder coated.
Sponsored