toddarama
Well-Known Member
- First Name
- Todd
- Joined
- Dec 14, 2022
- Threads
- 9
- Messages
- 345
- Reaction score
- 742
- Location
- Chapel Hill, NC
- Vehicle(s)
- 2022 Gladiator Rubicon Gobi
- Build Thread
- Link
- Occupation
- I do IT stuff so I can buy Jeep stuff.
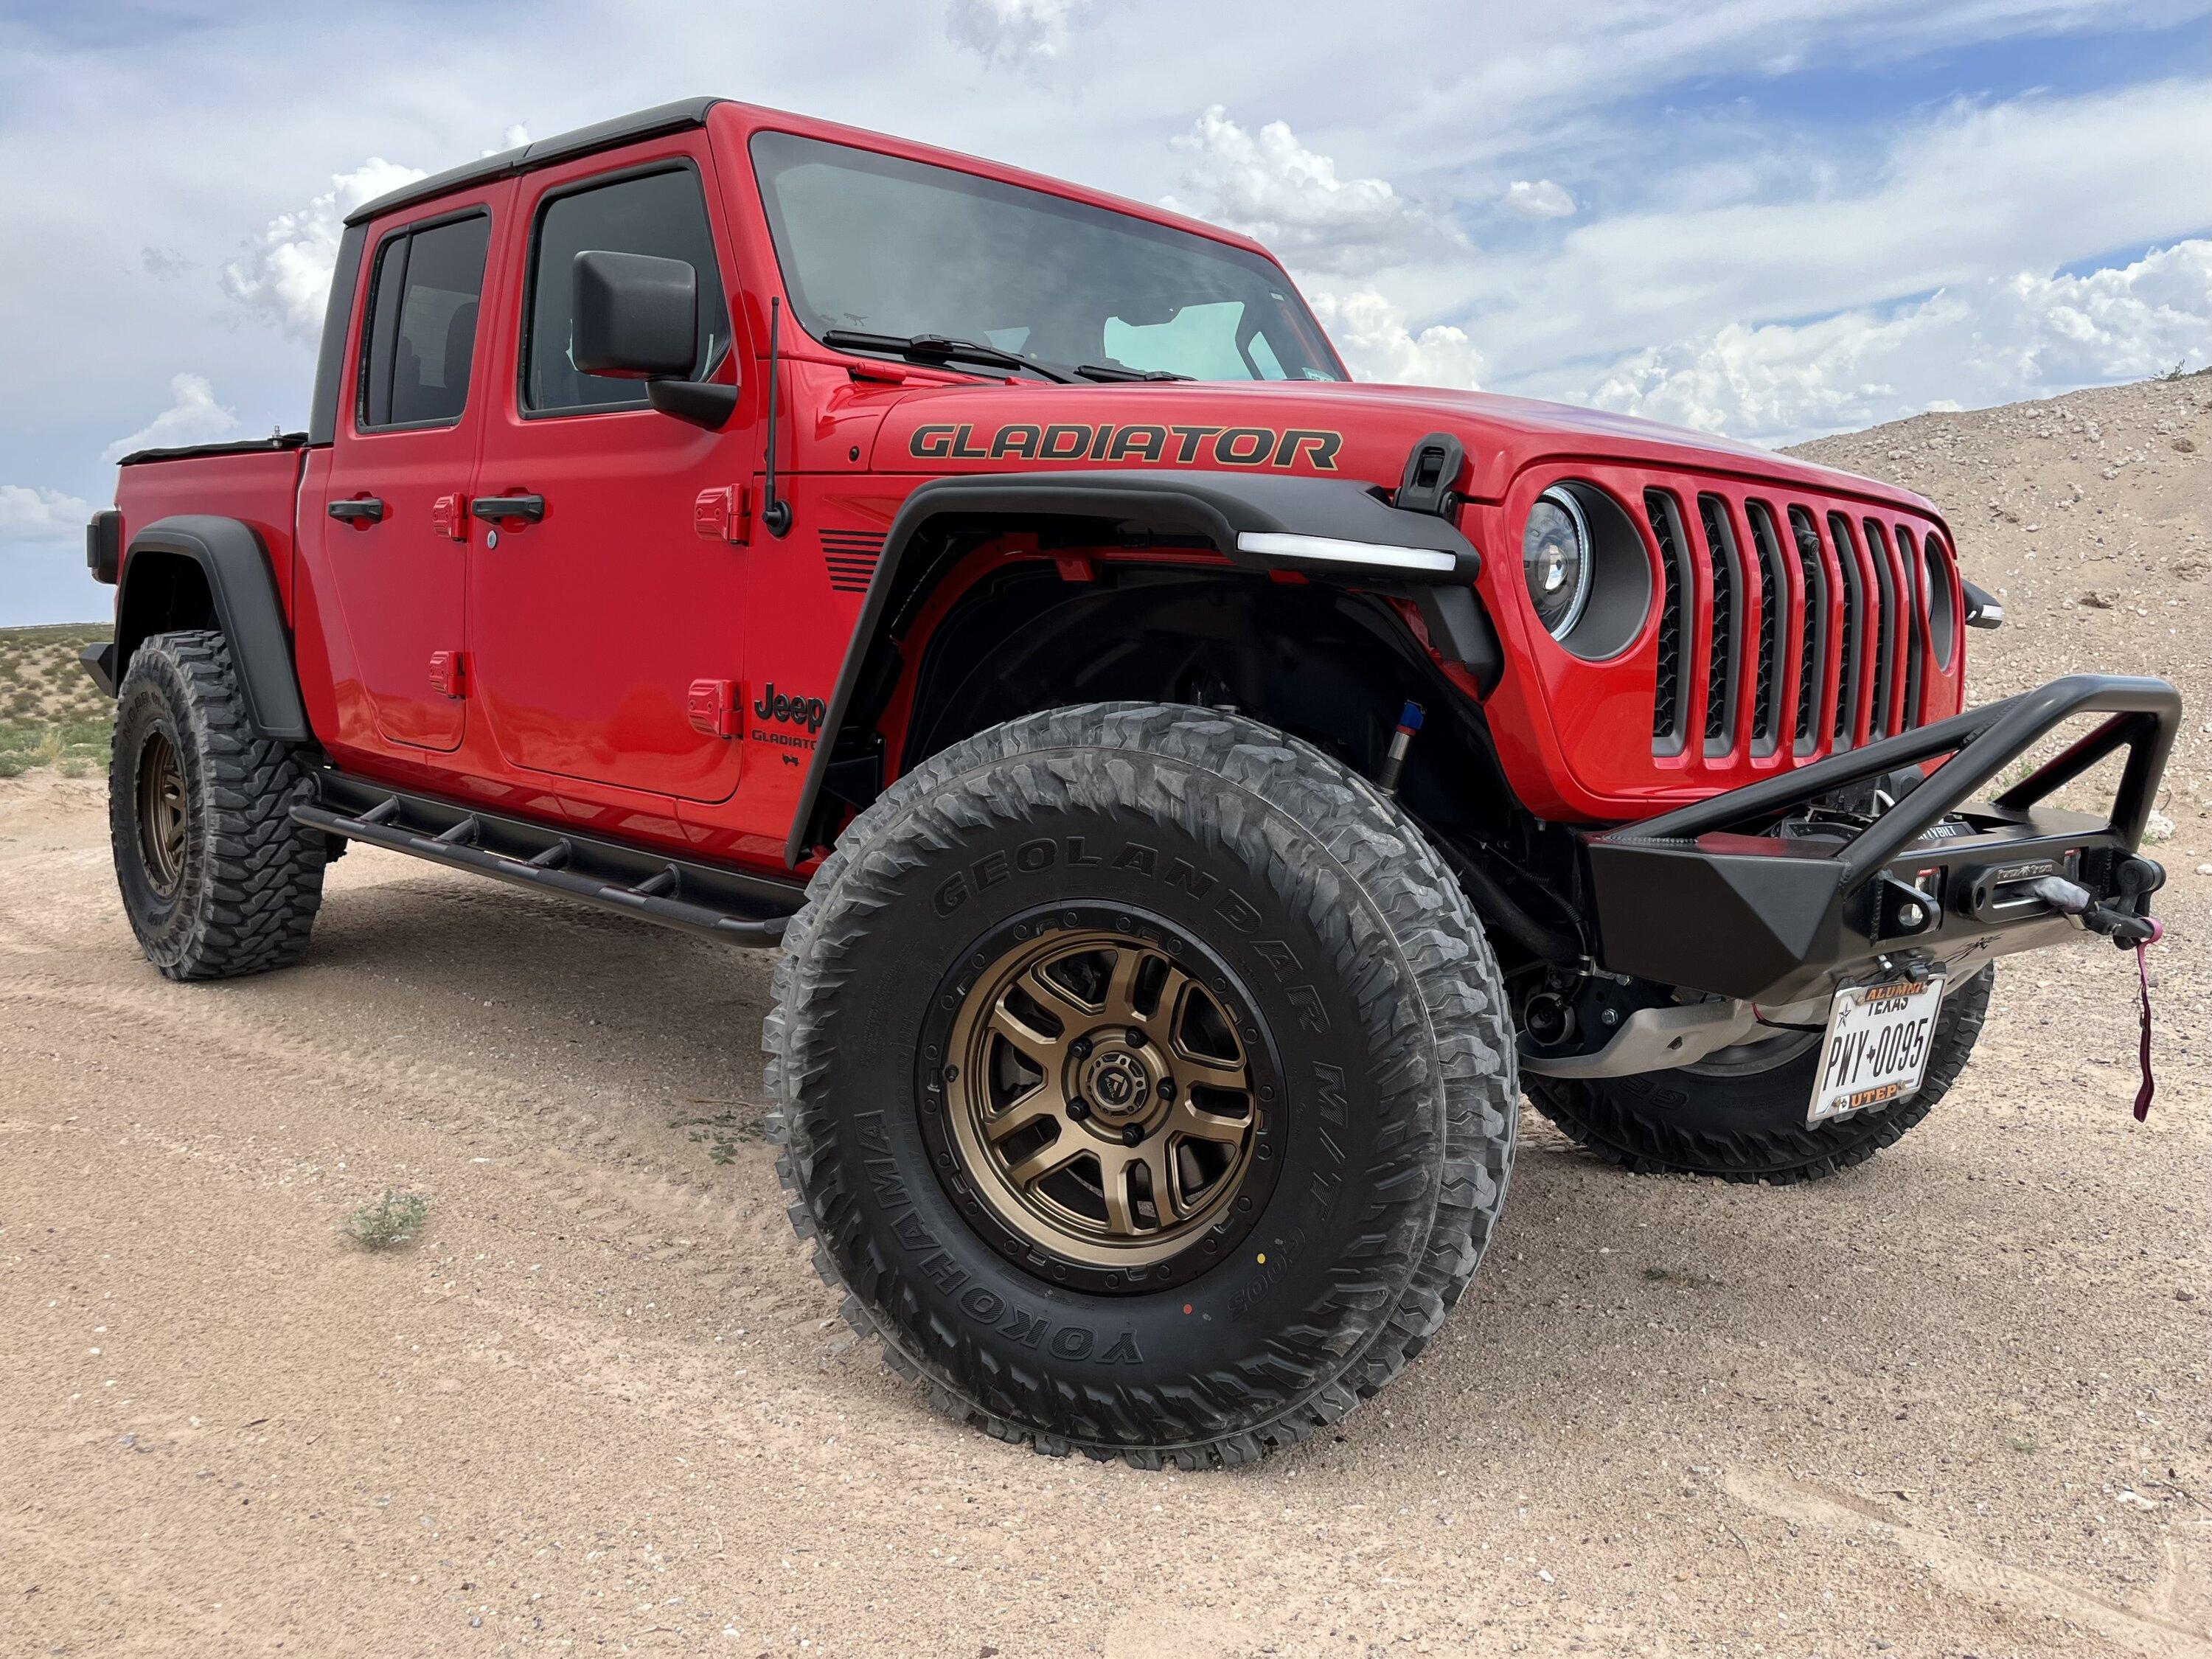
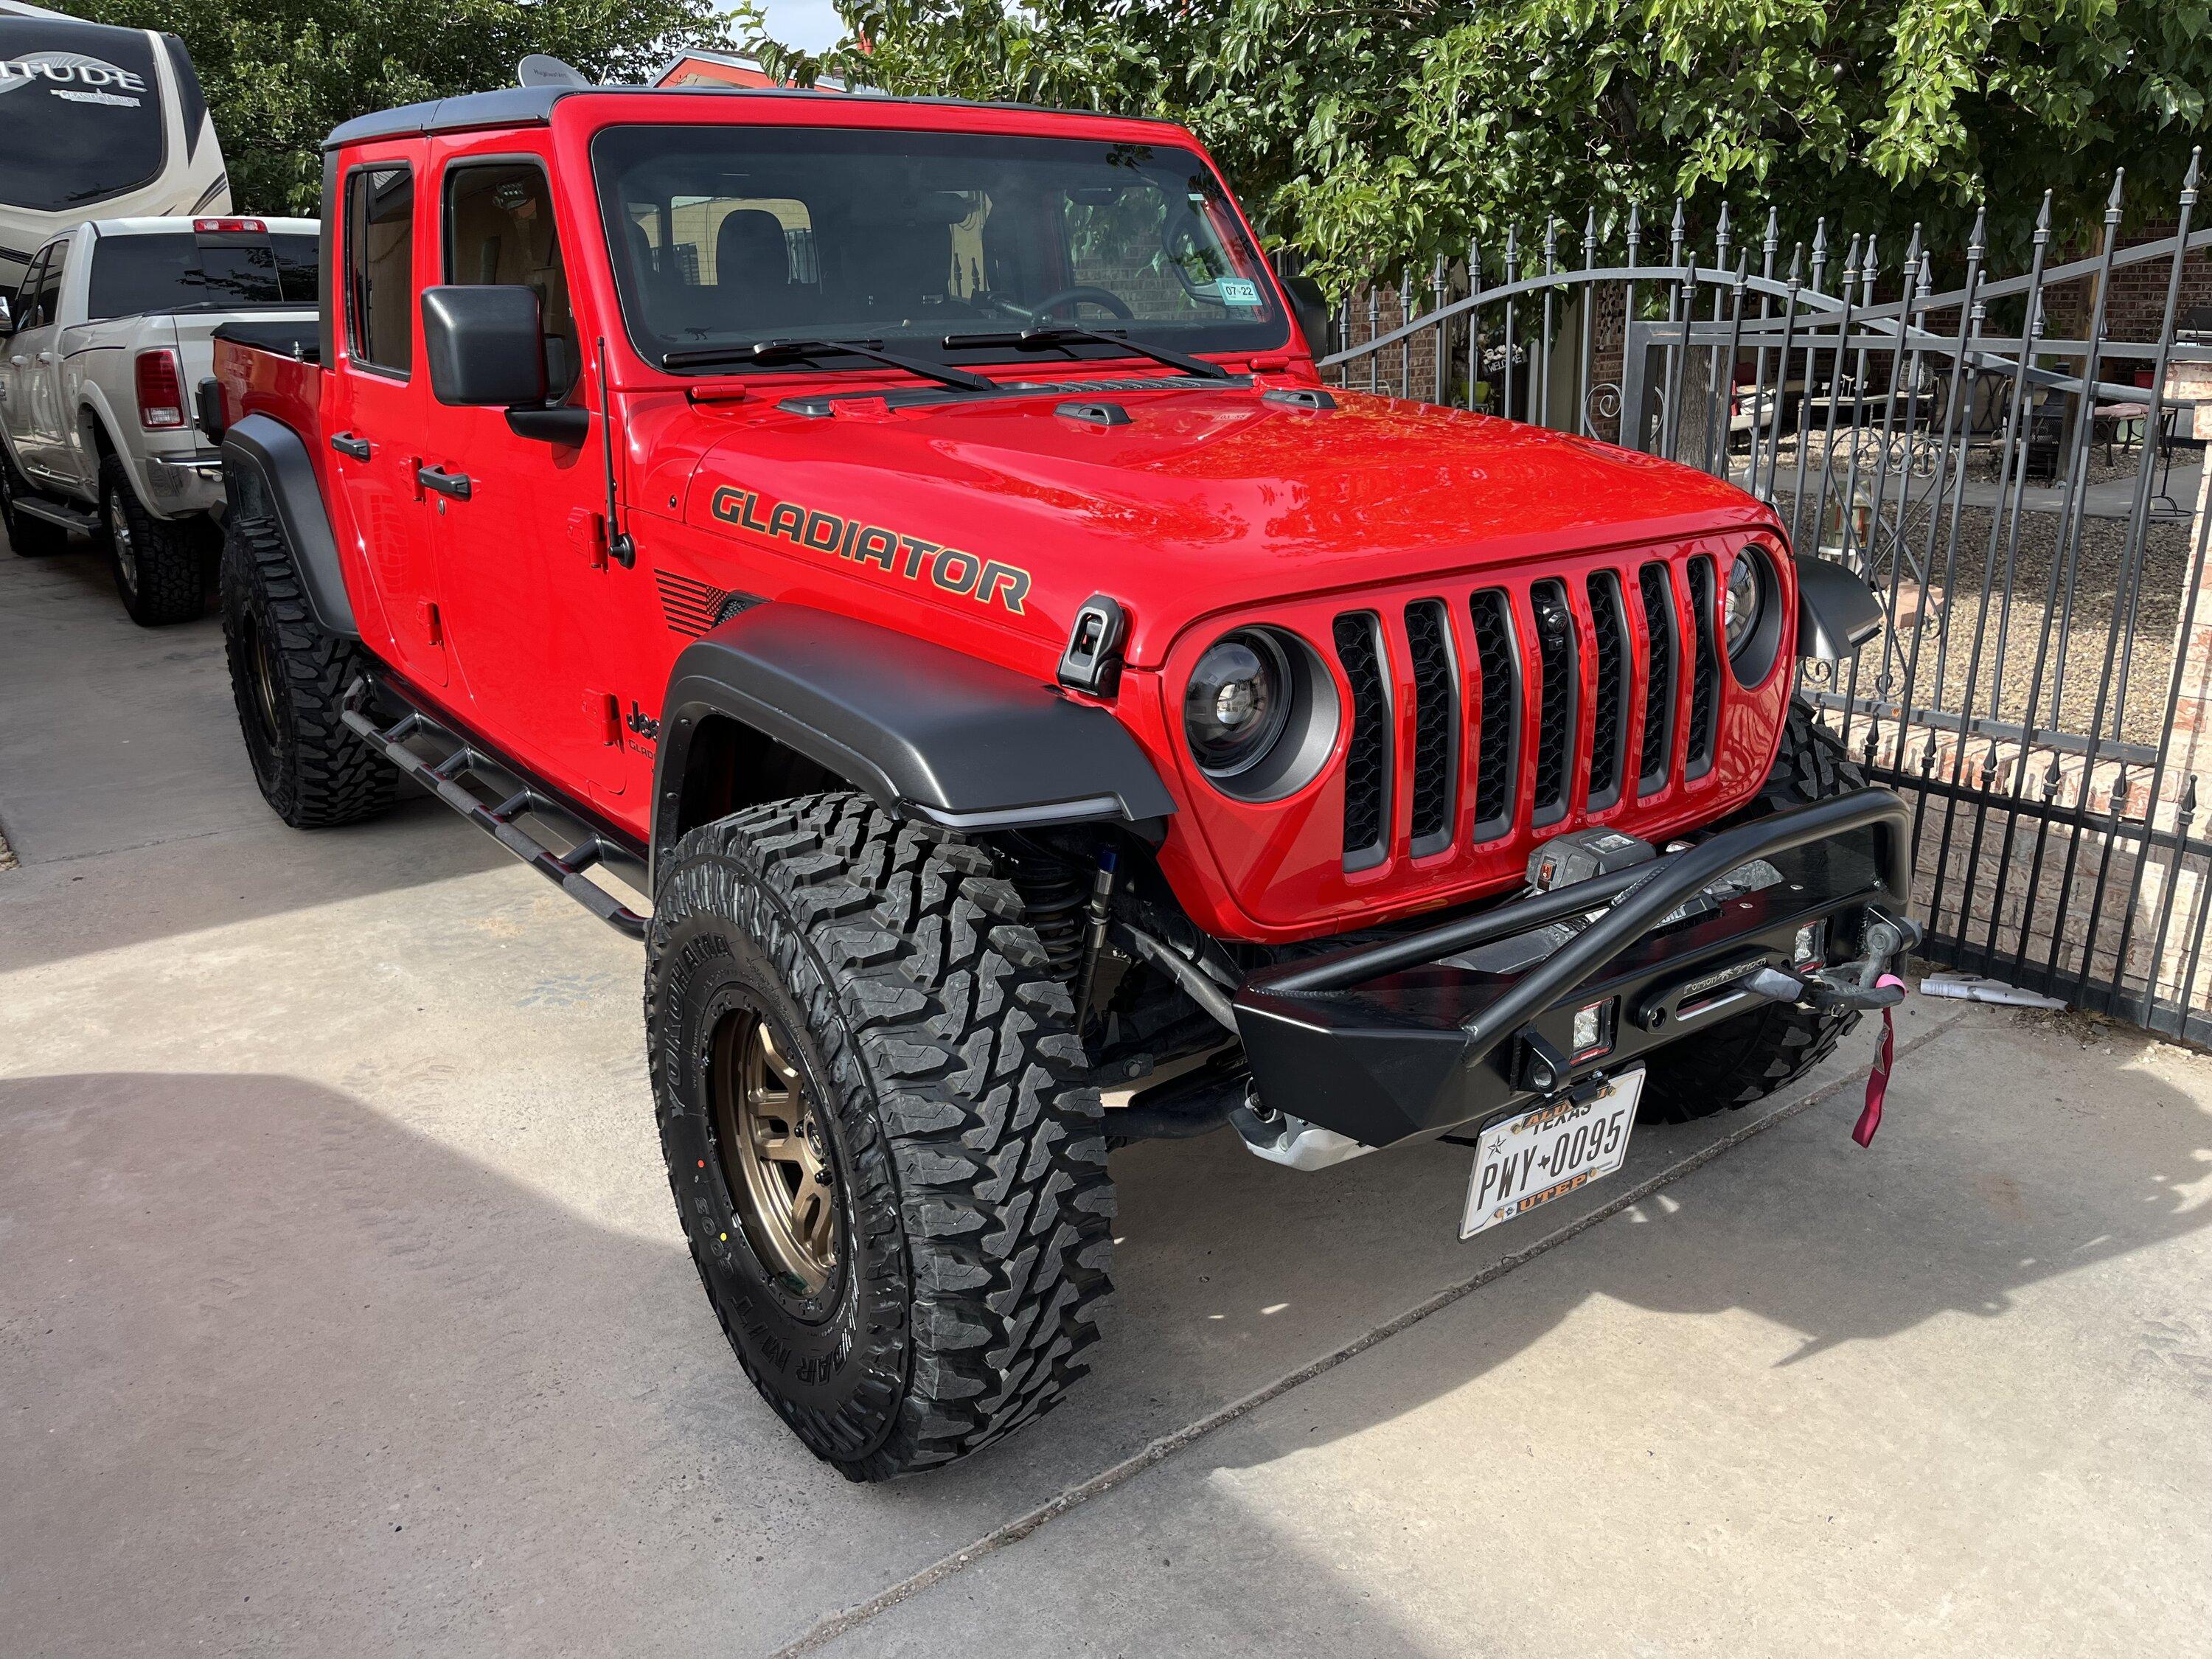
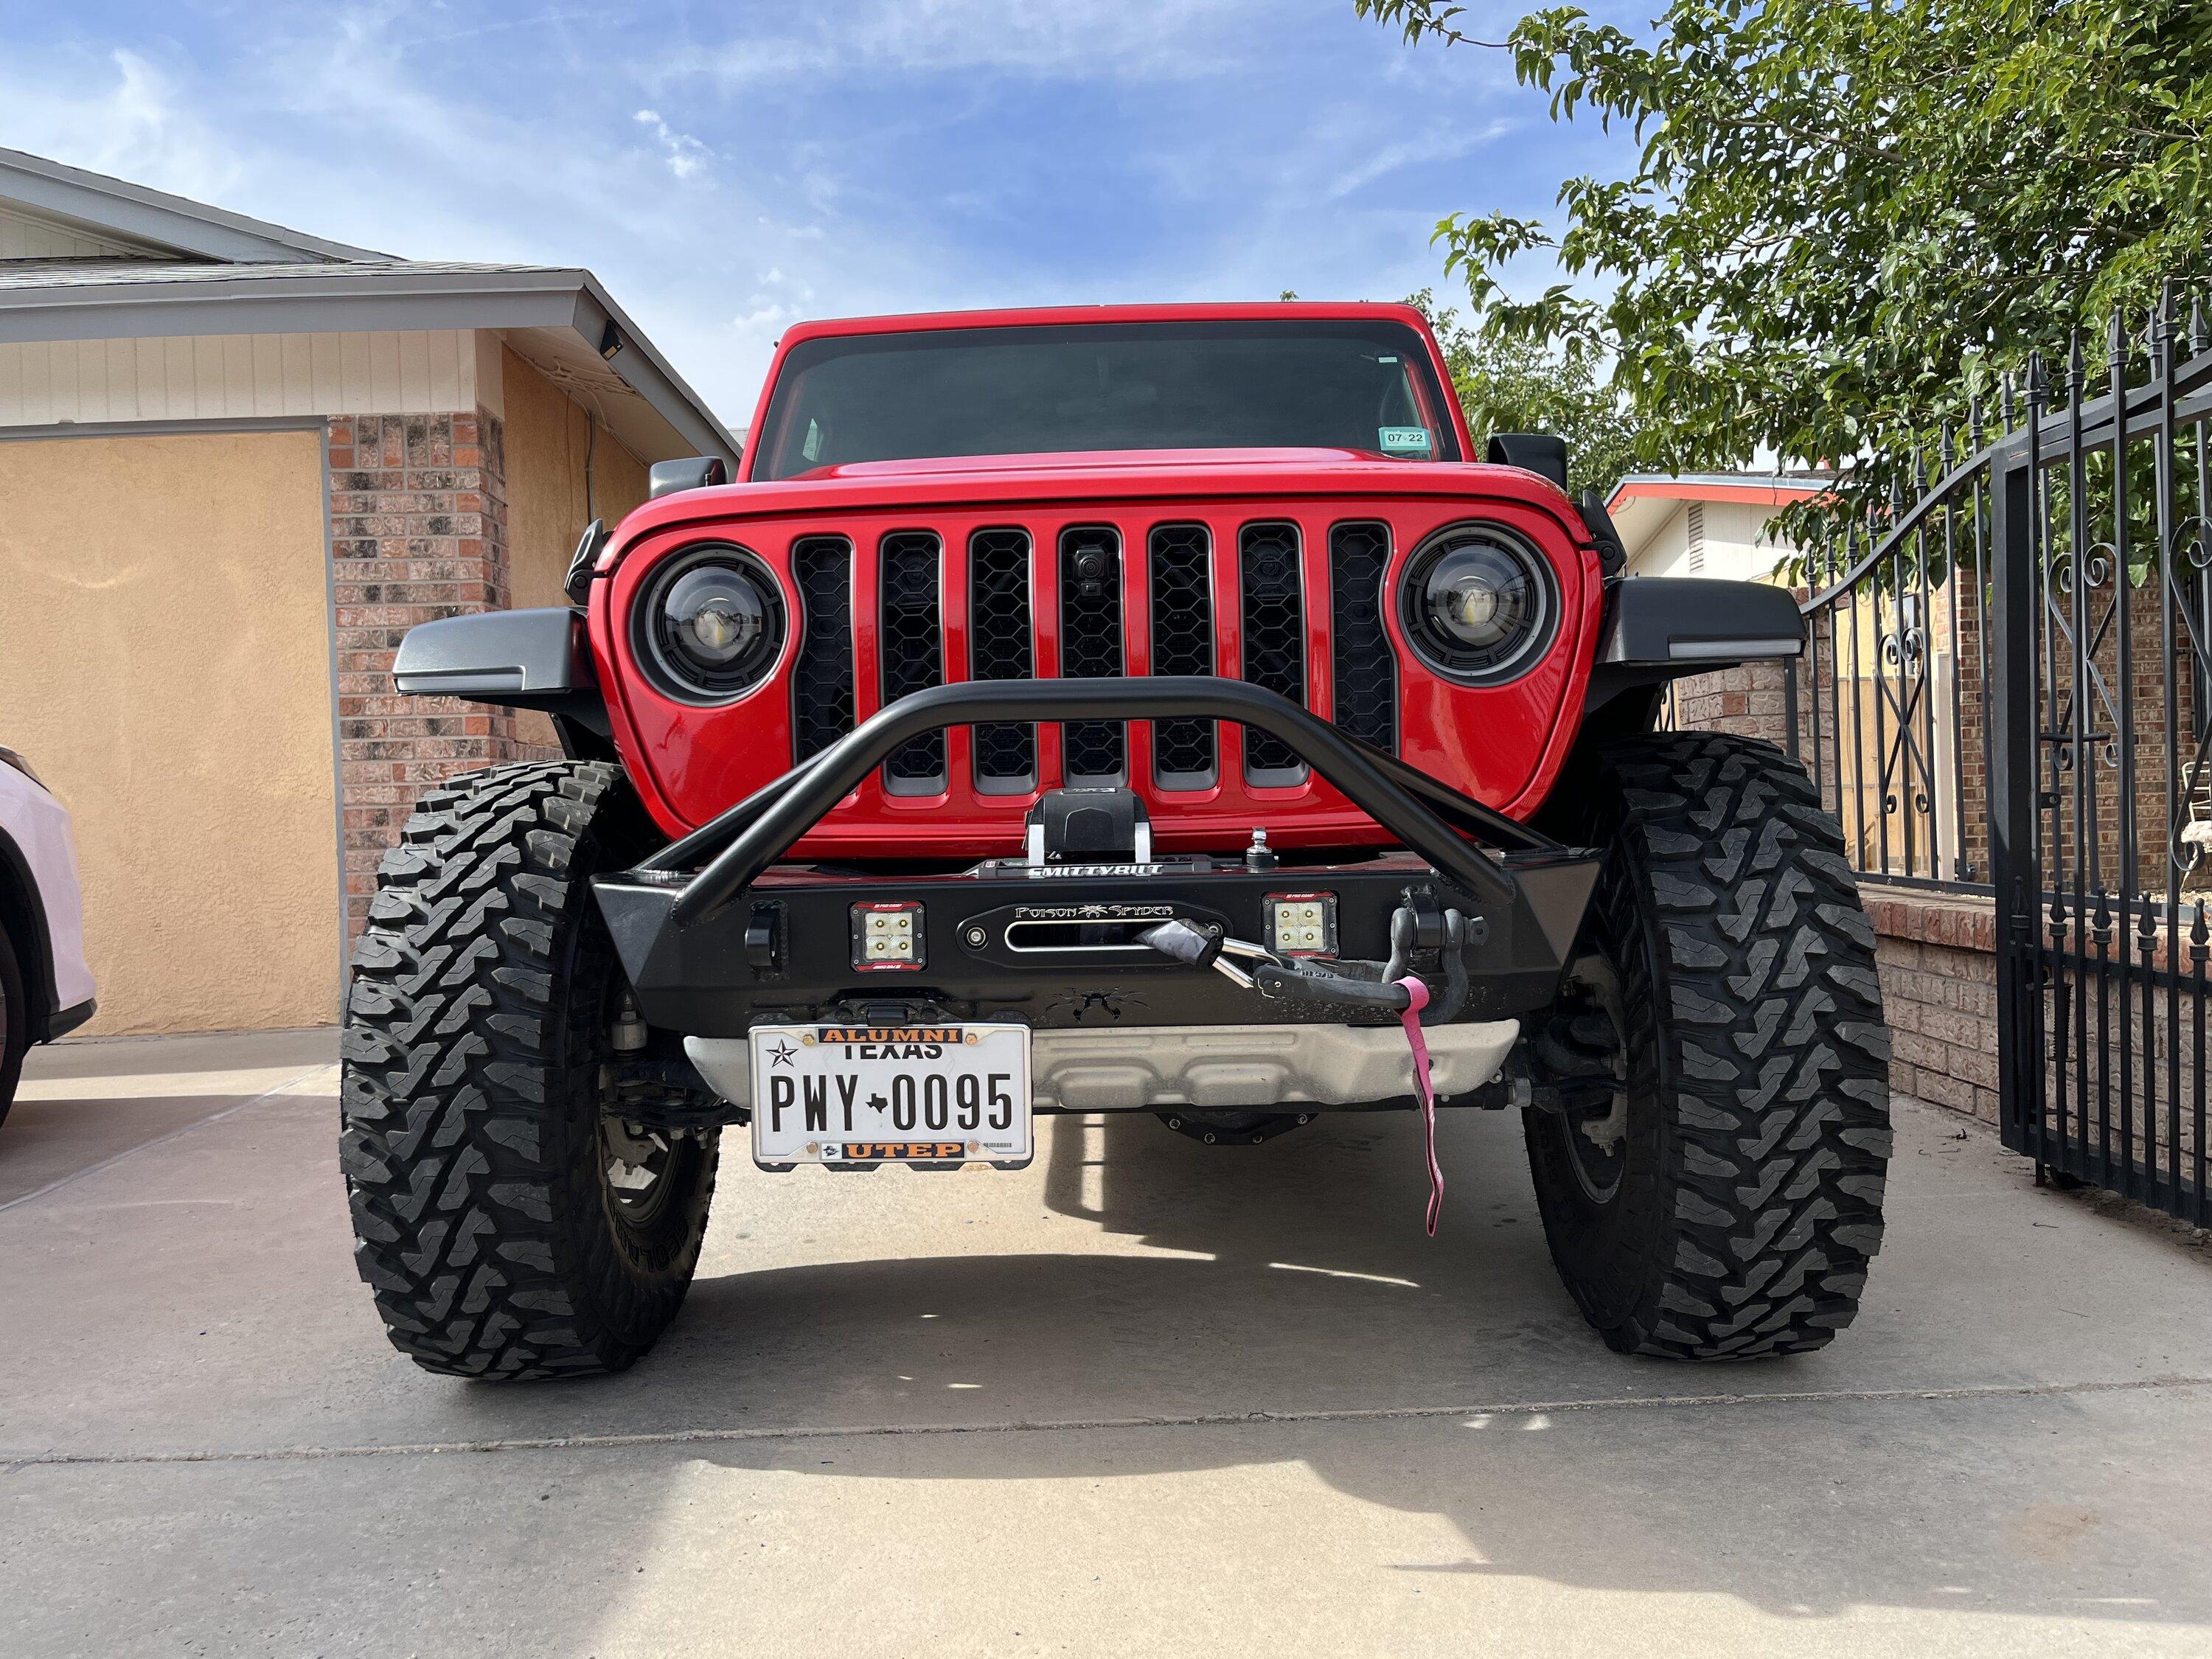
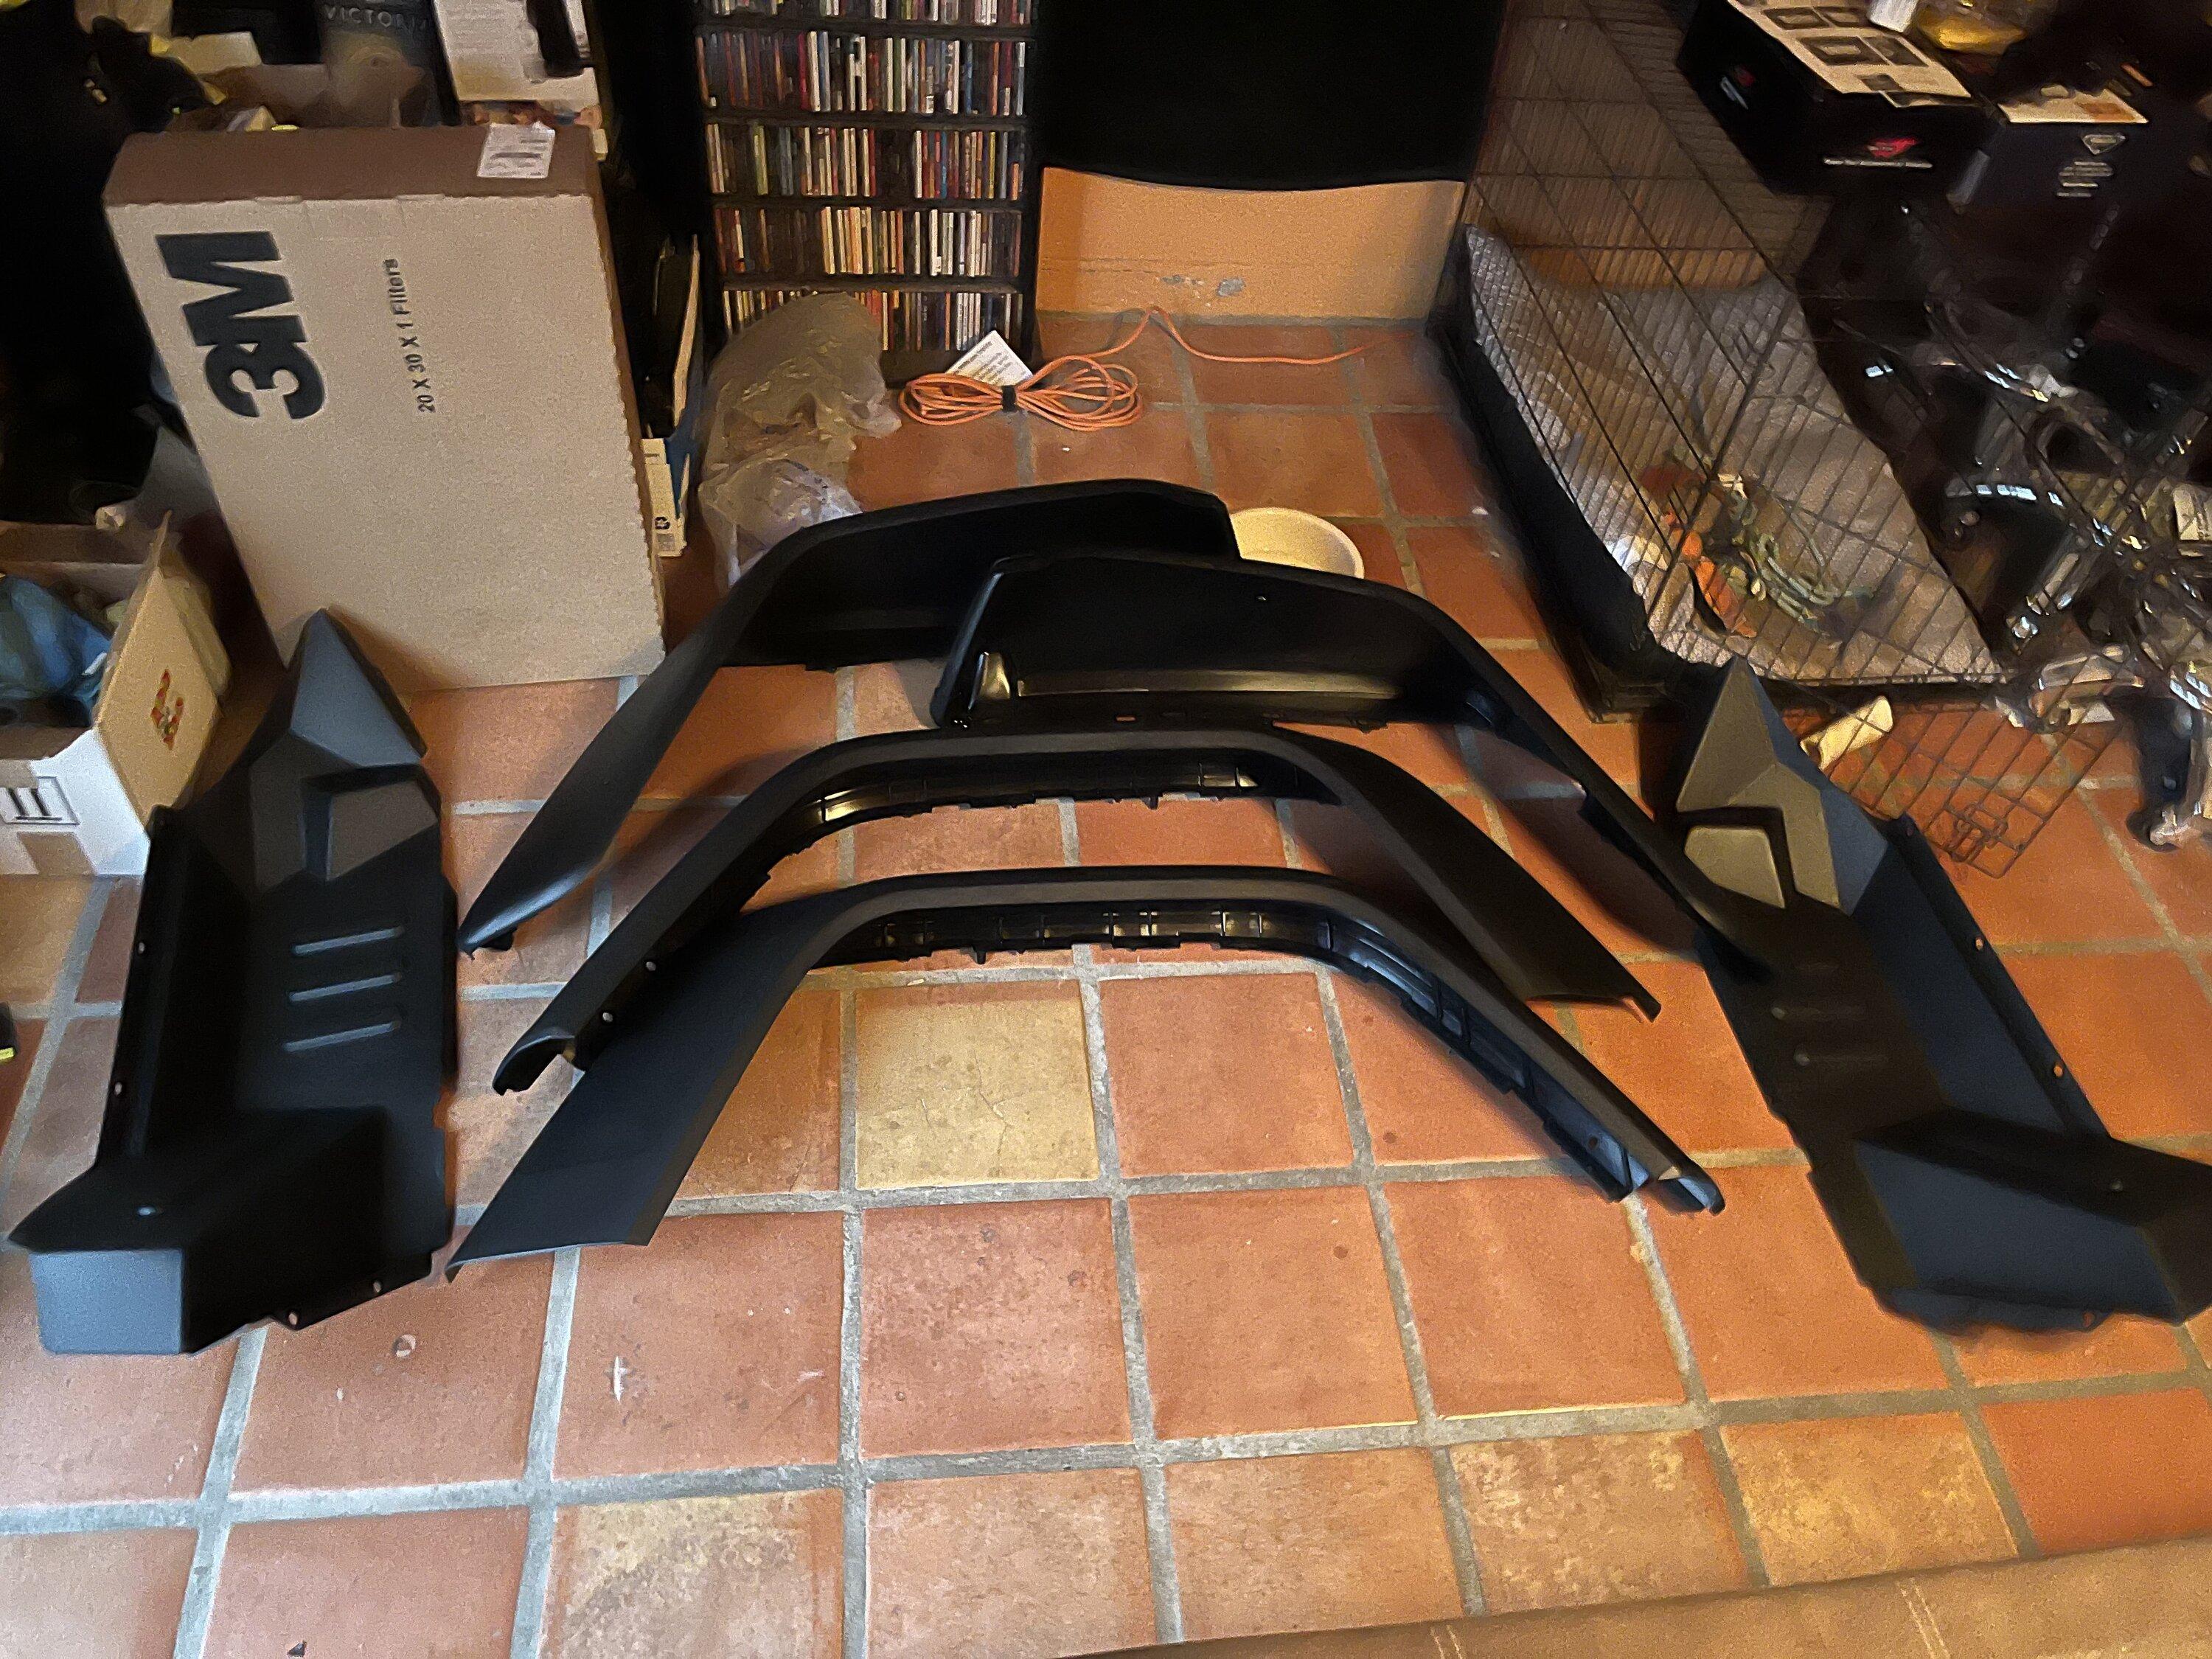
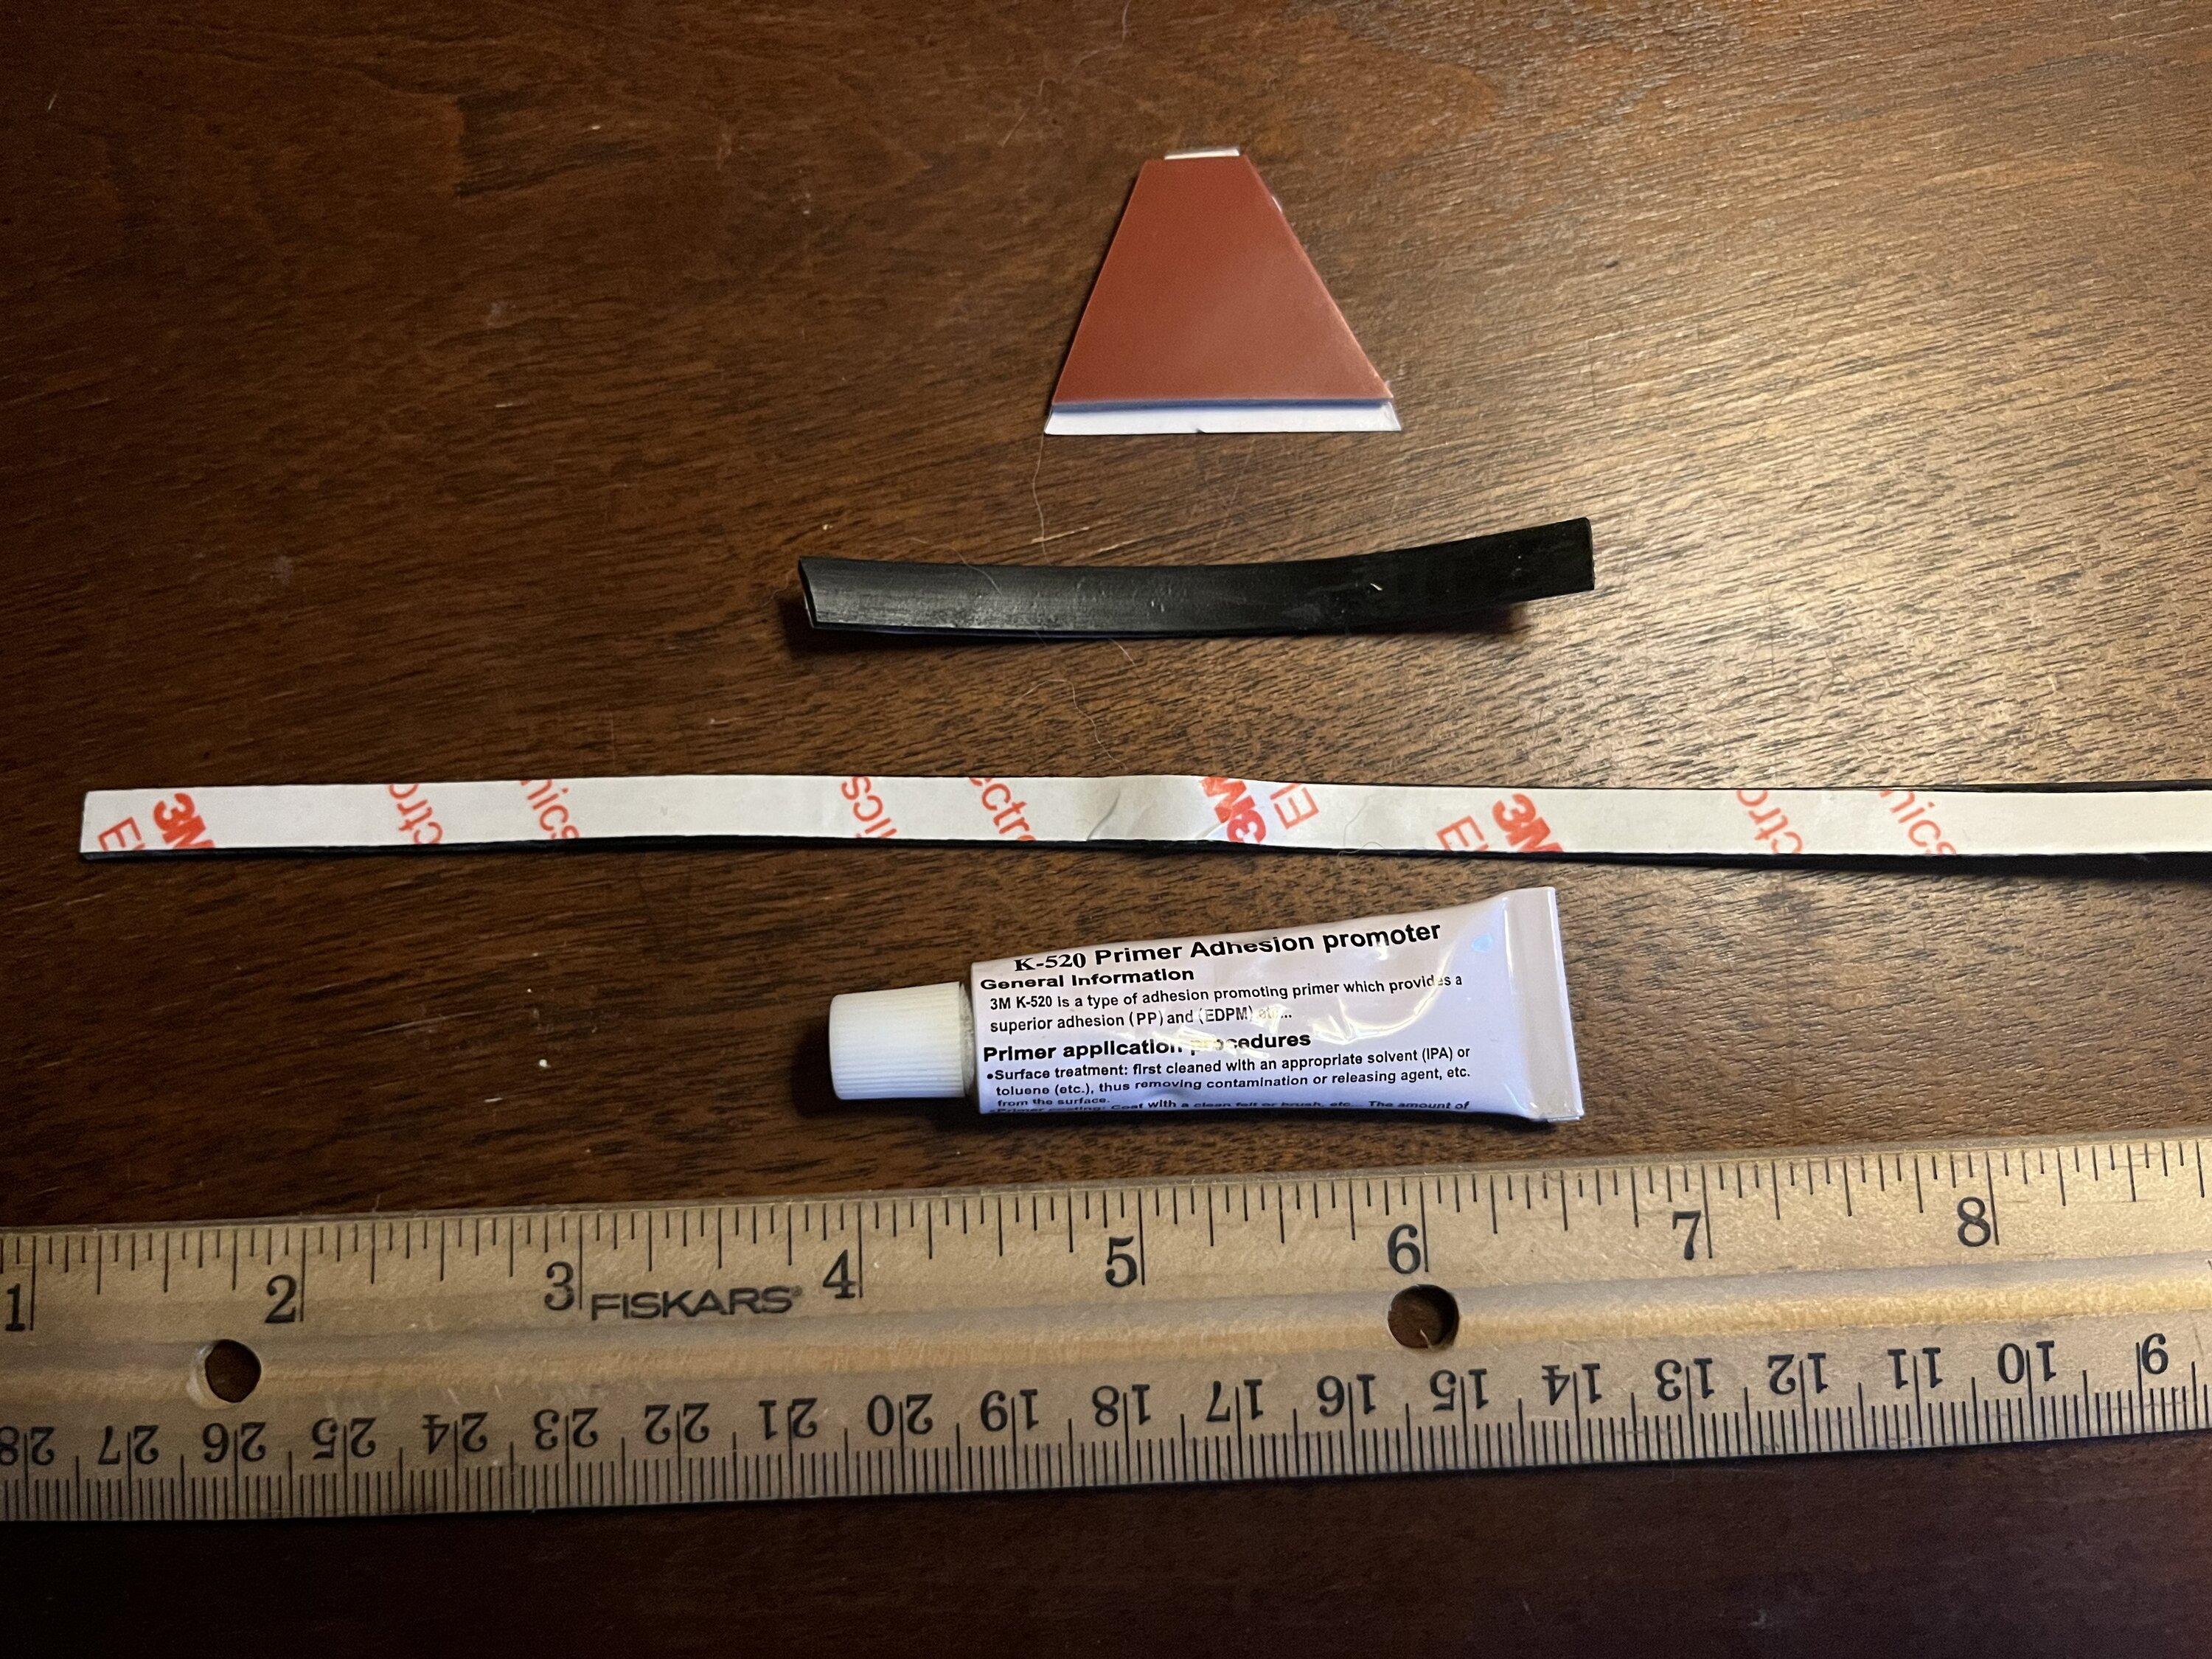
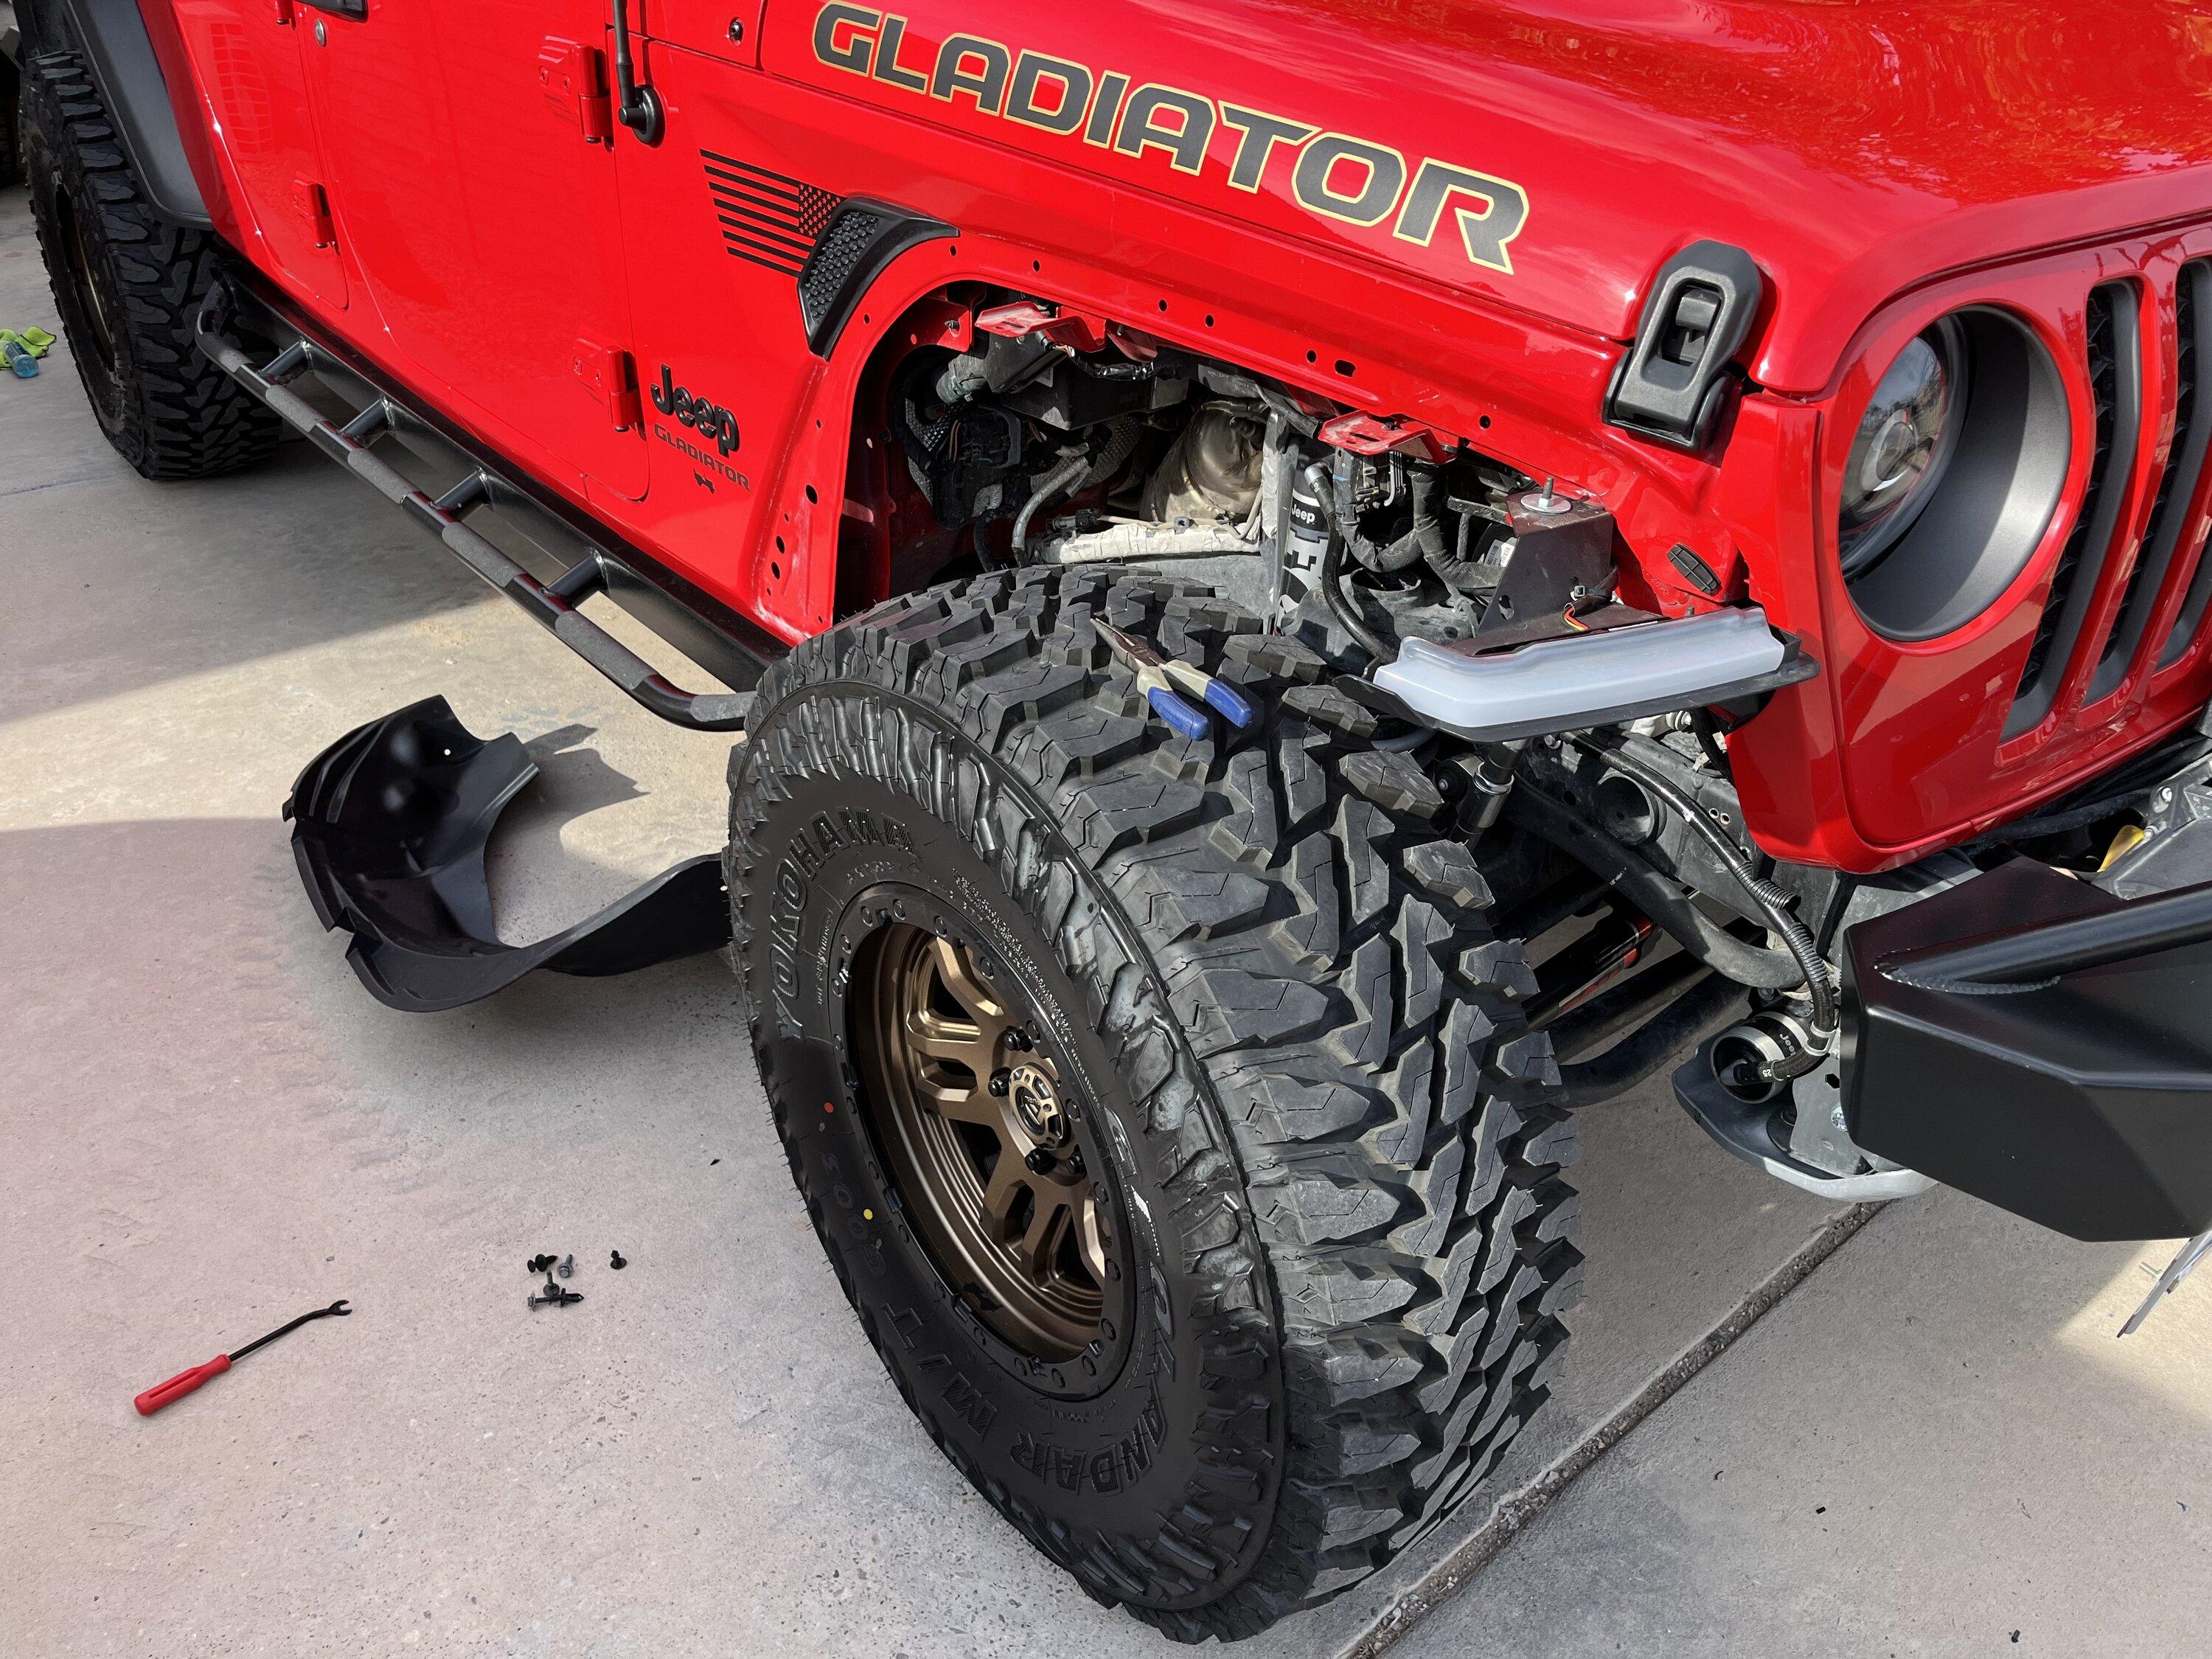
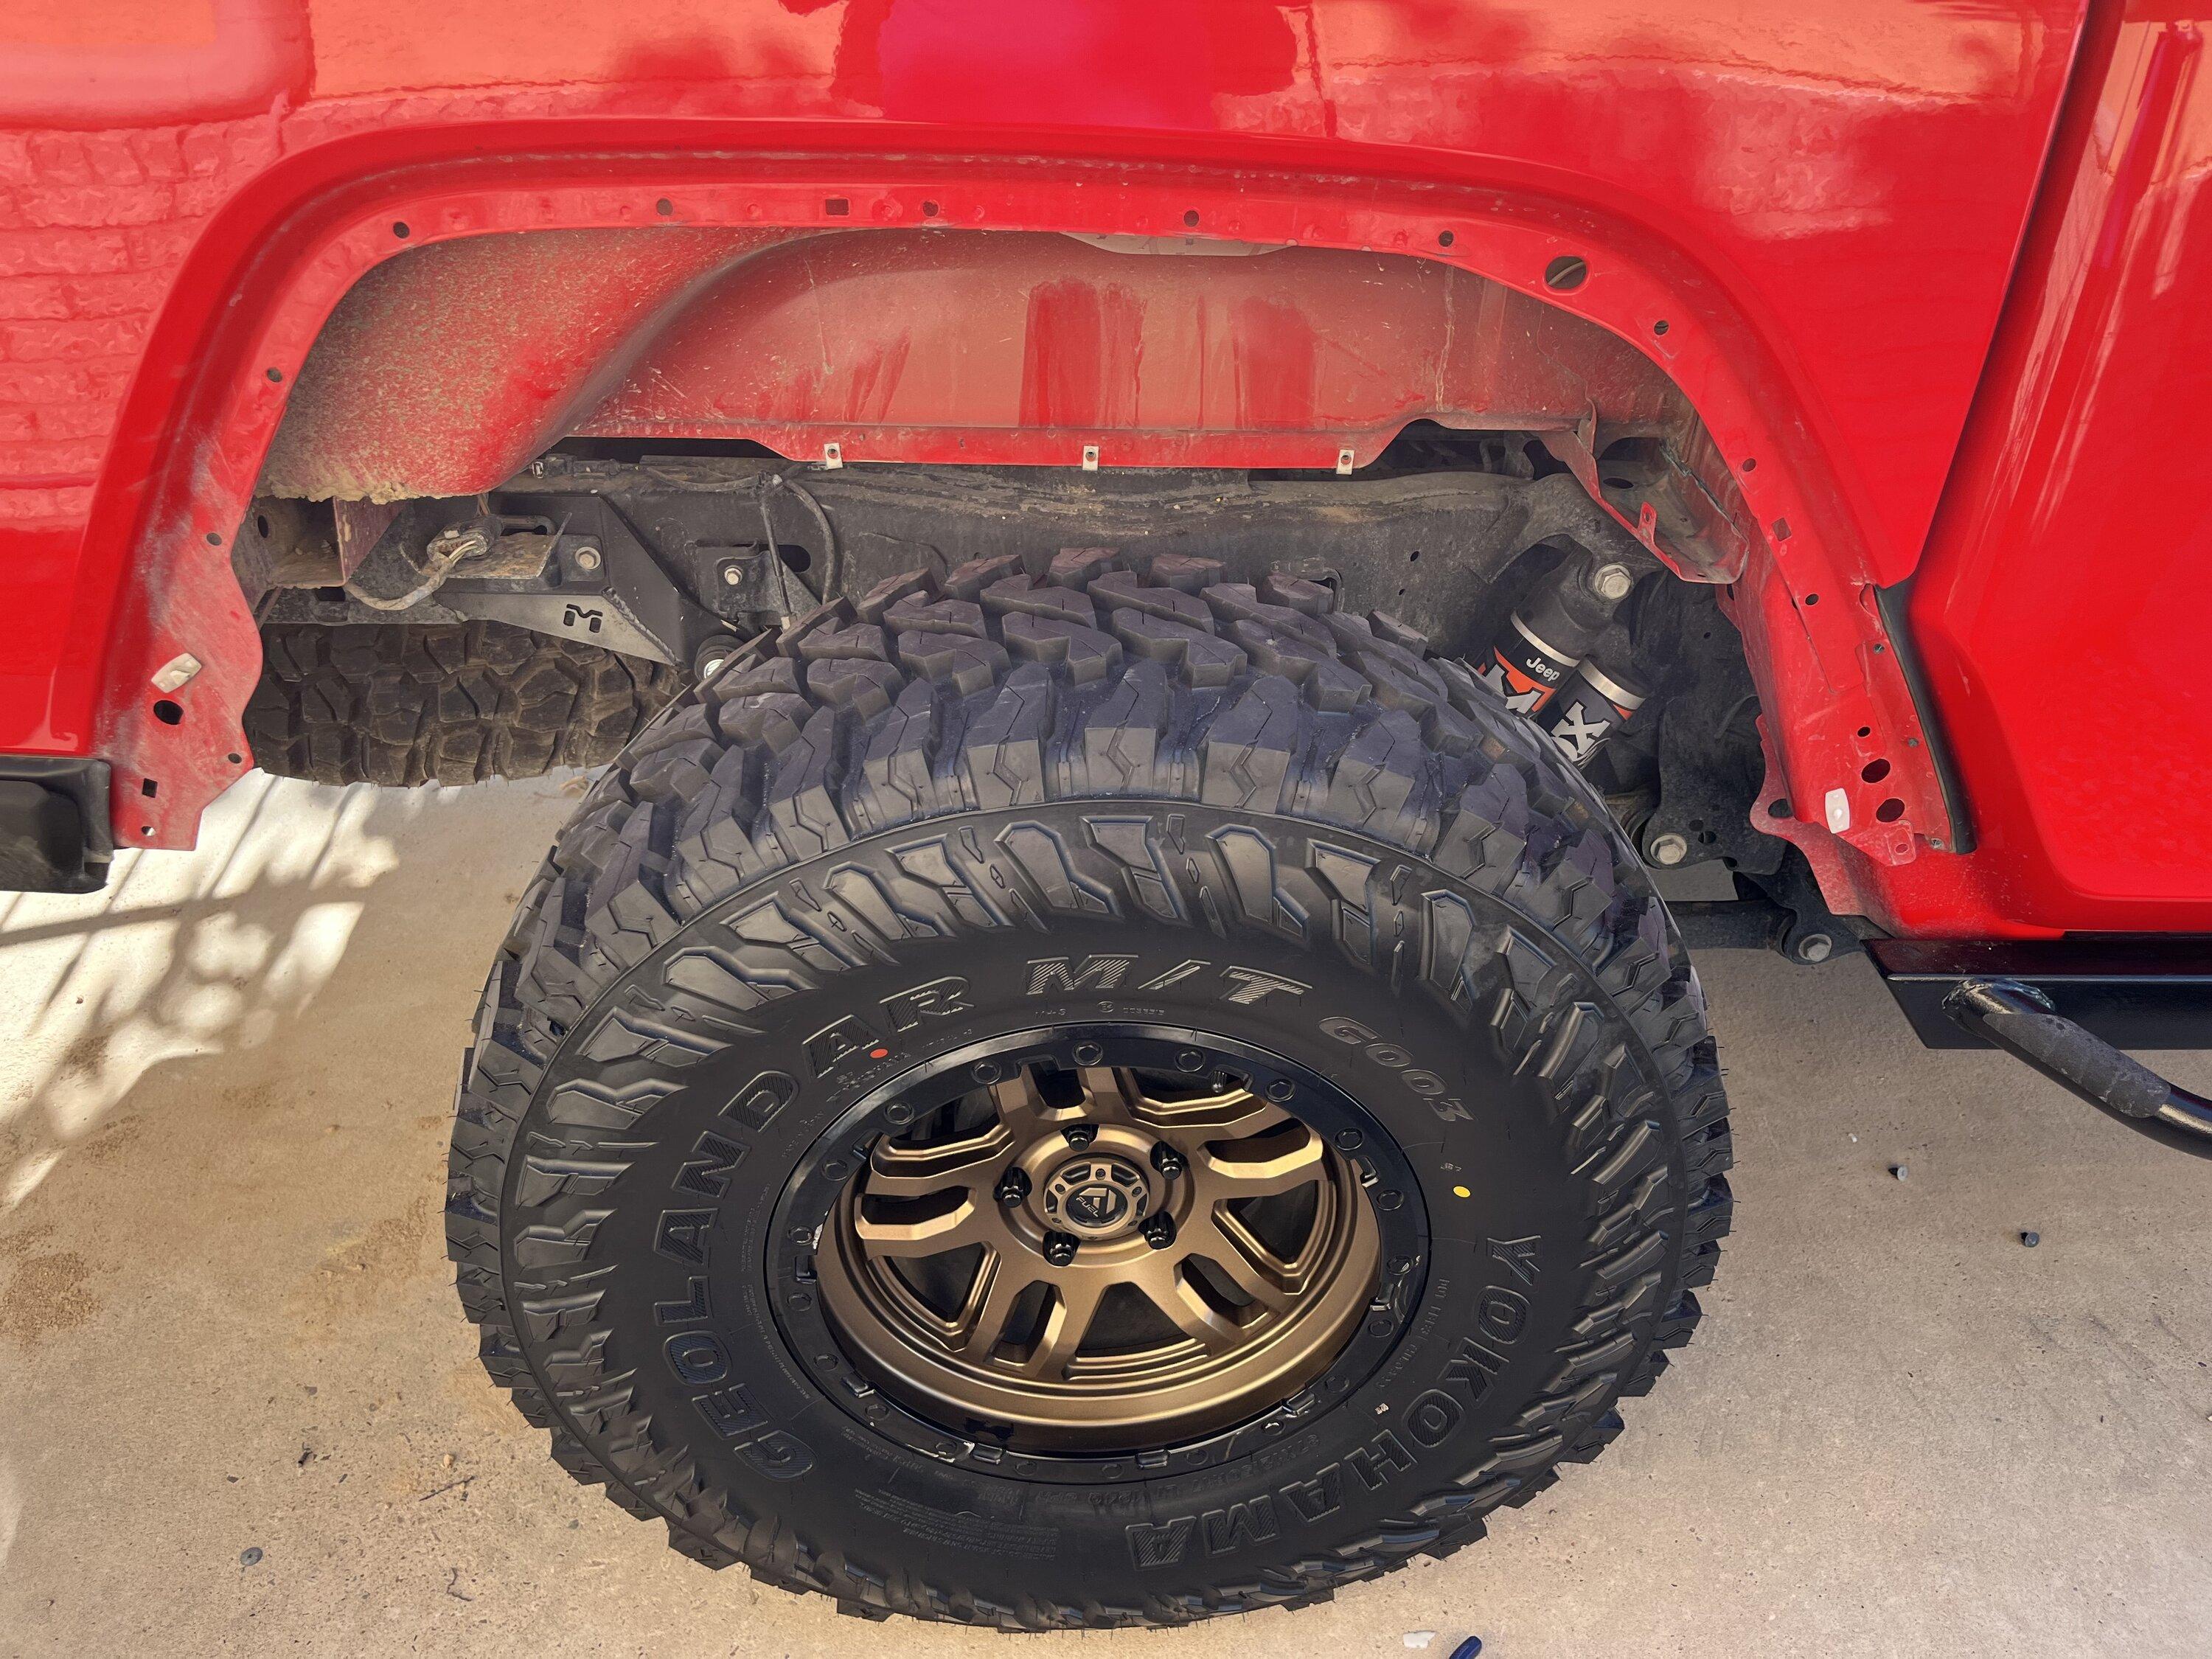
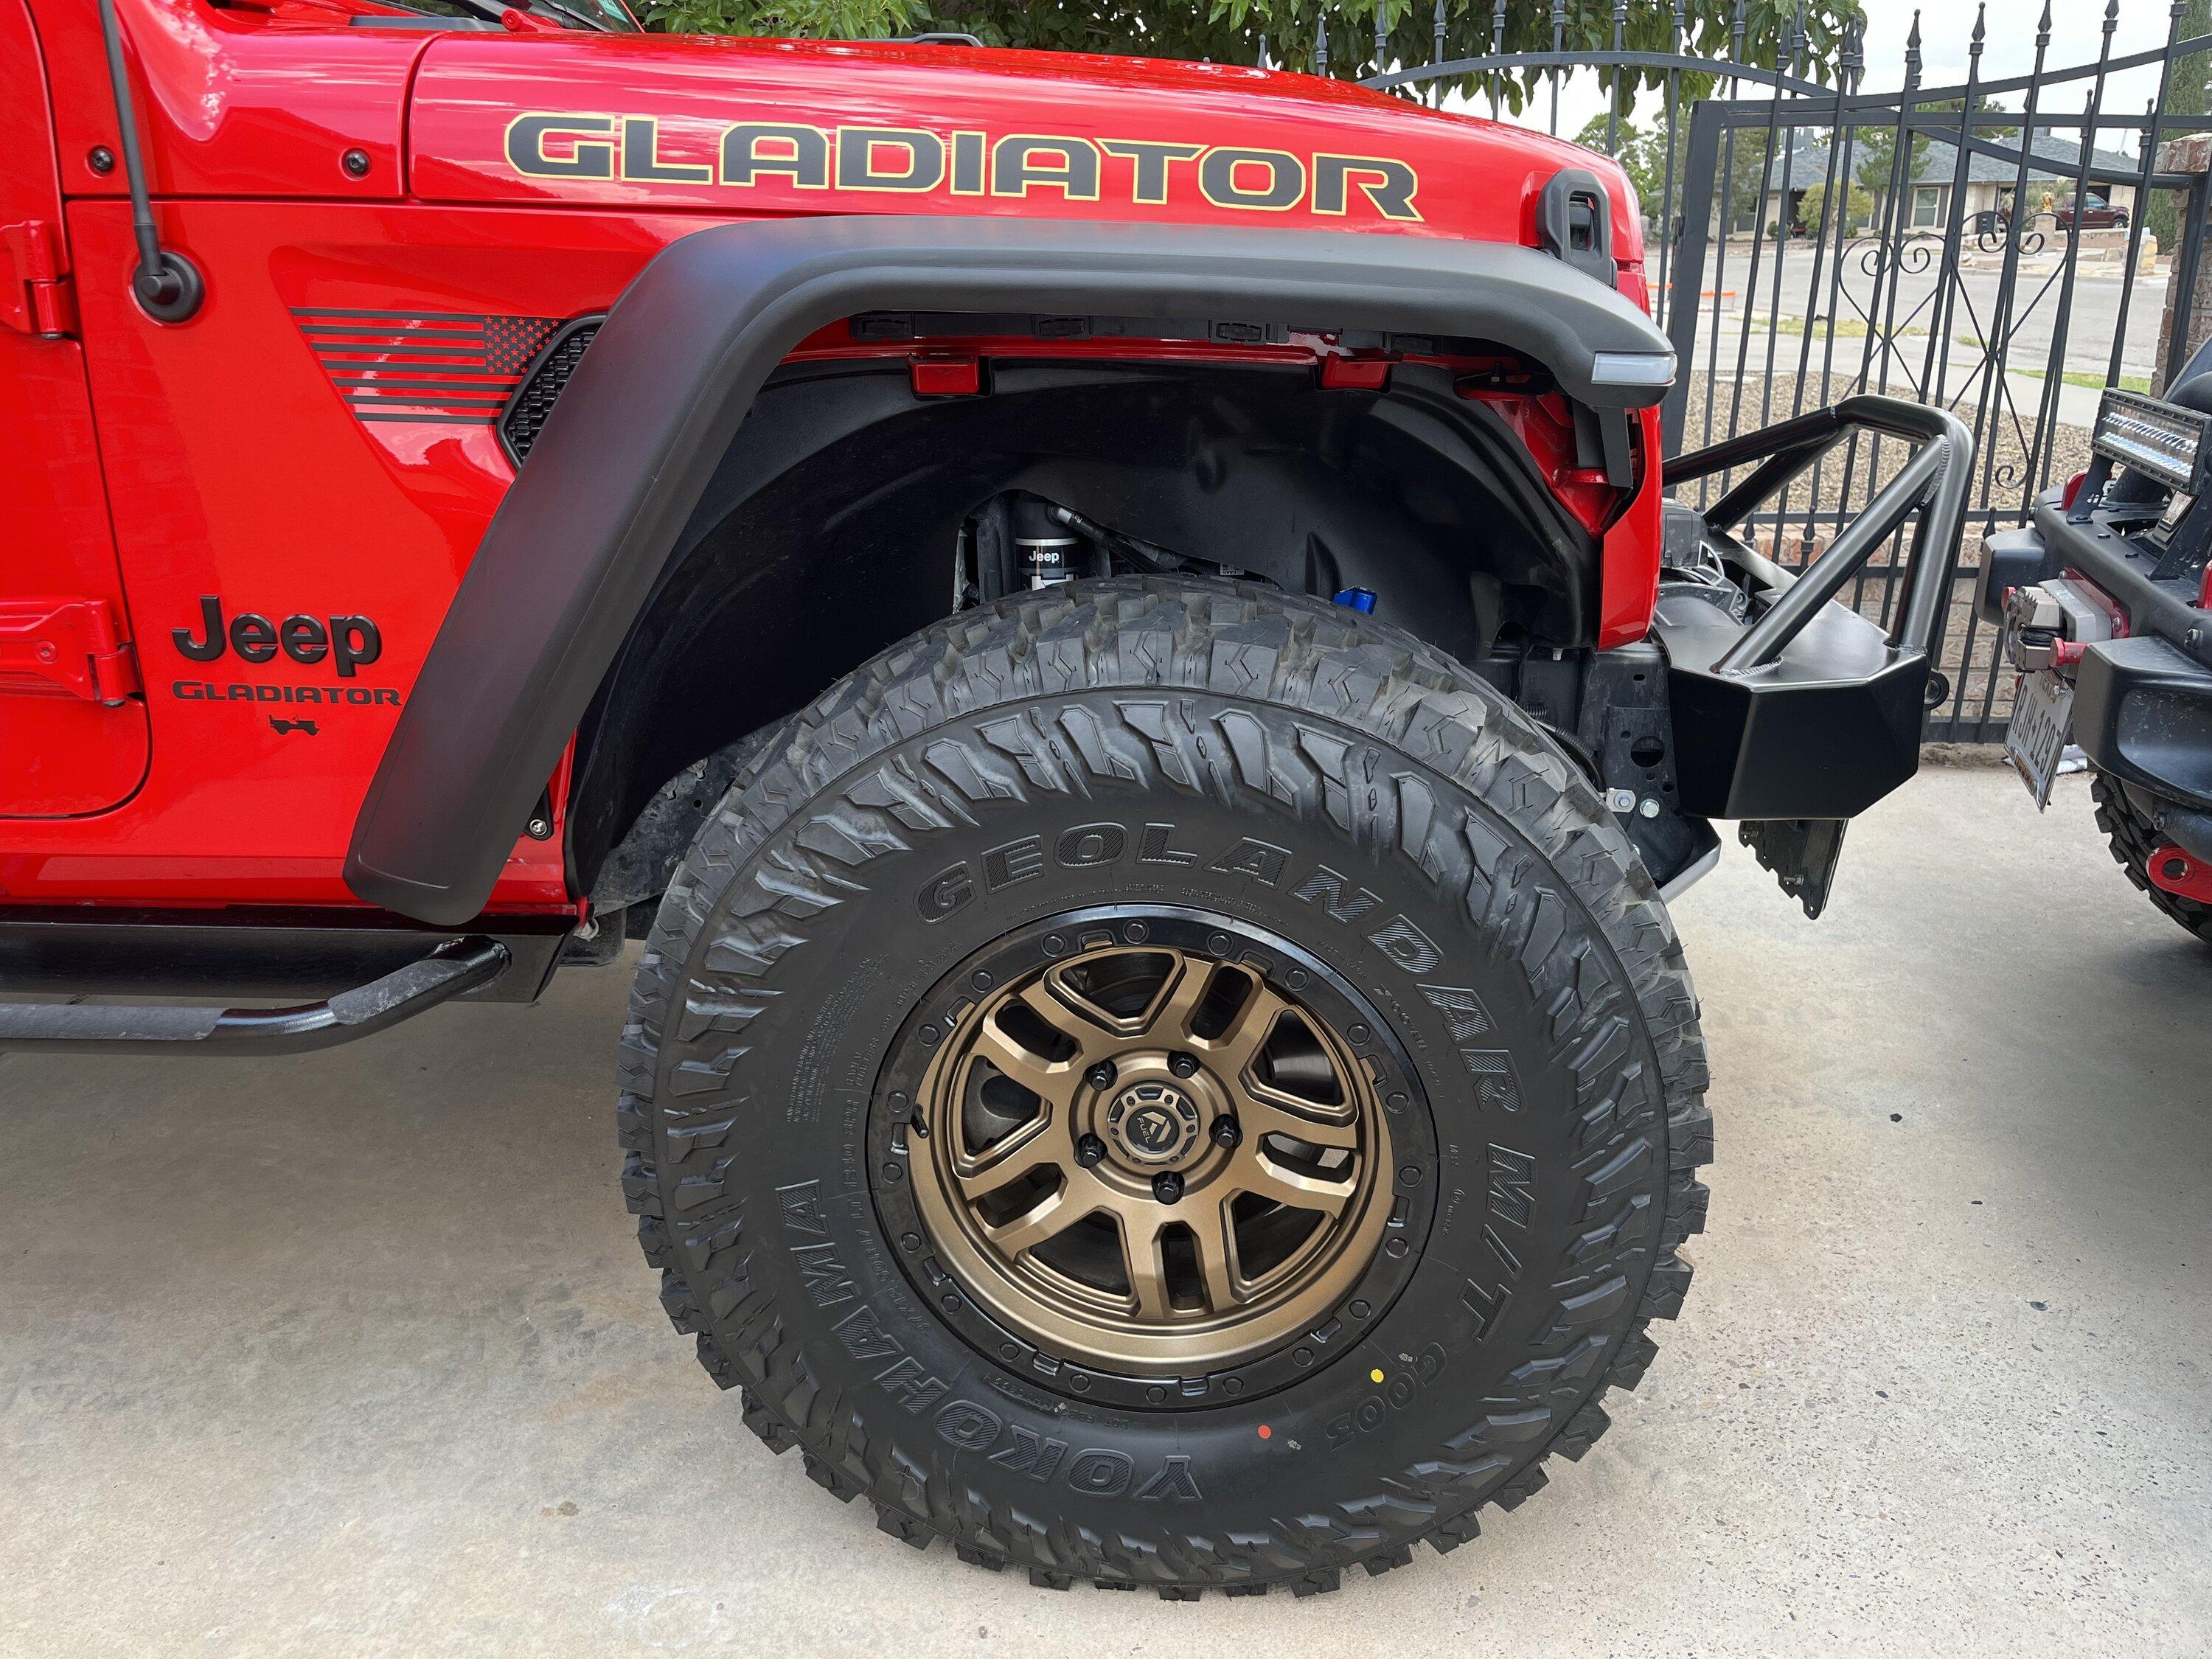
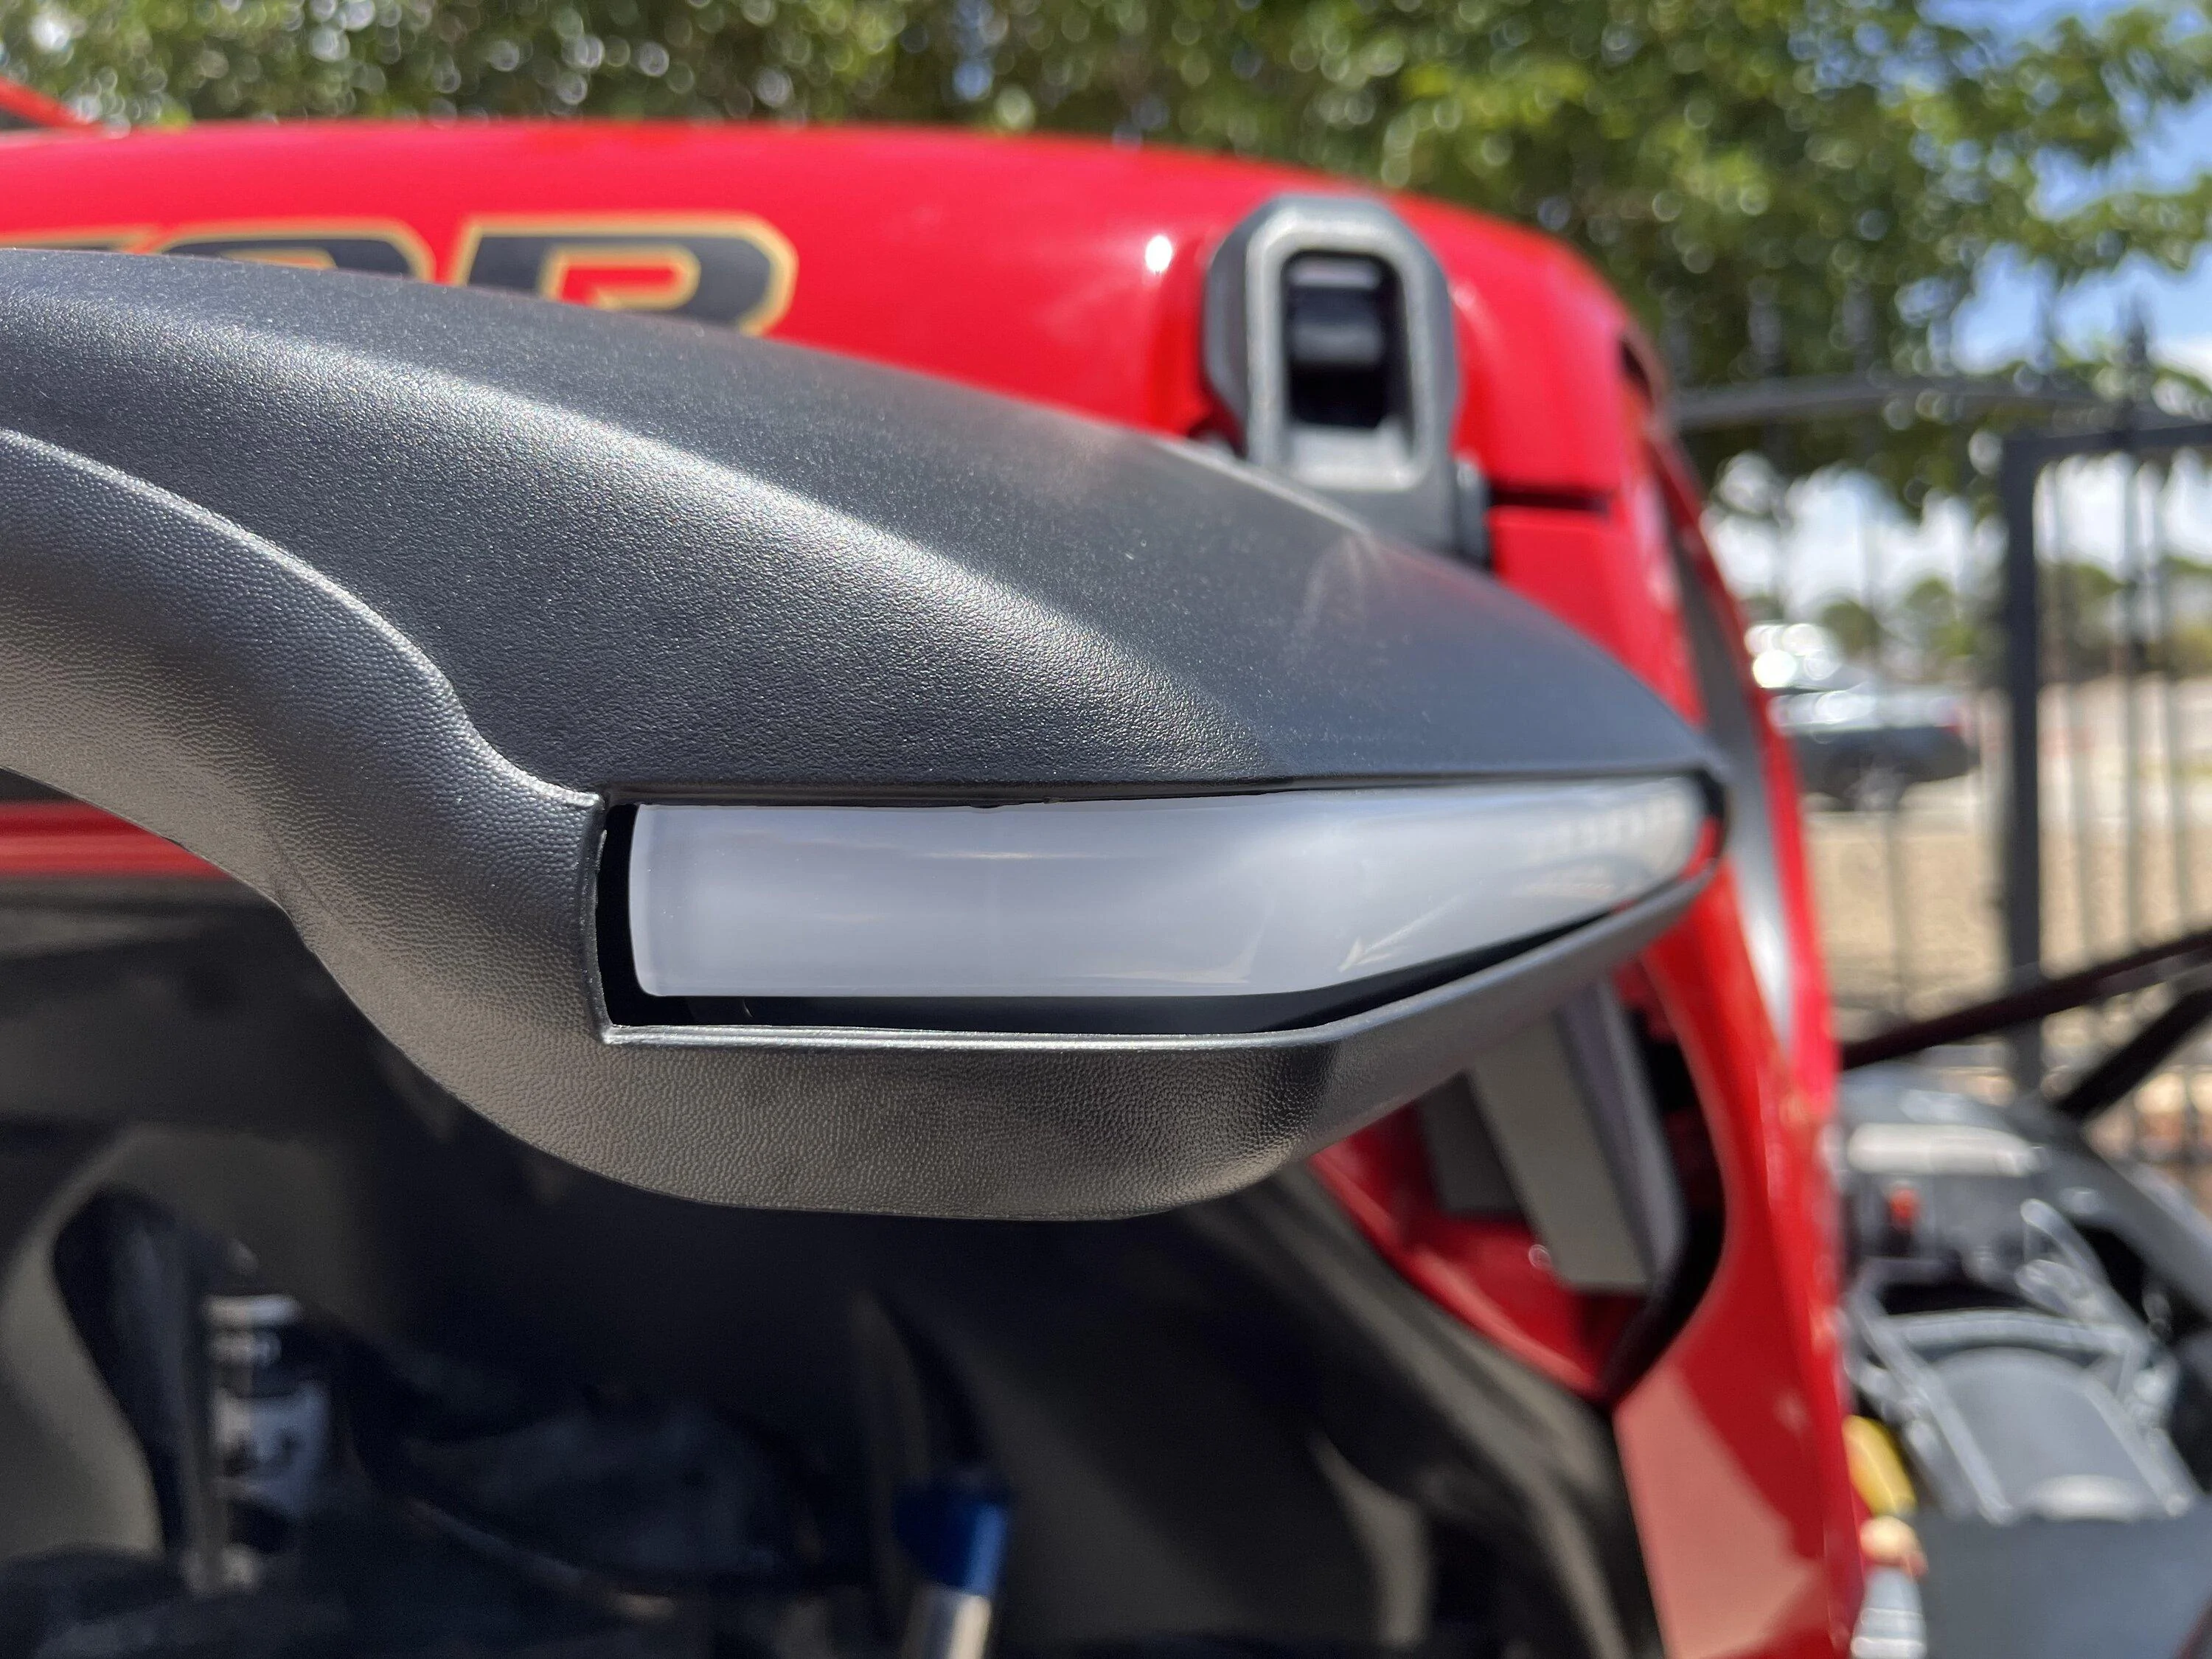
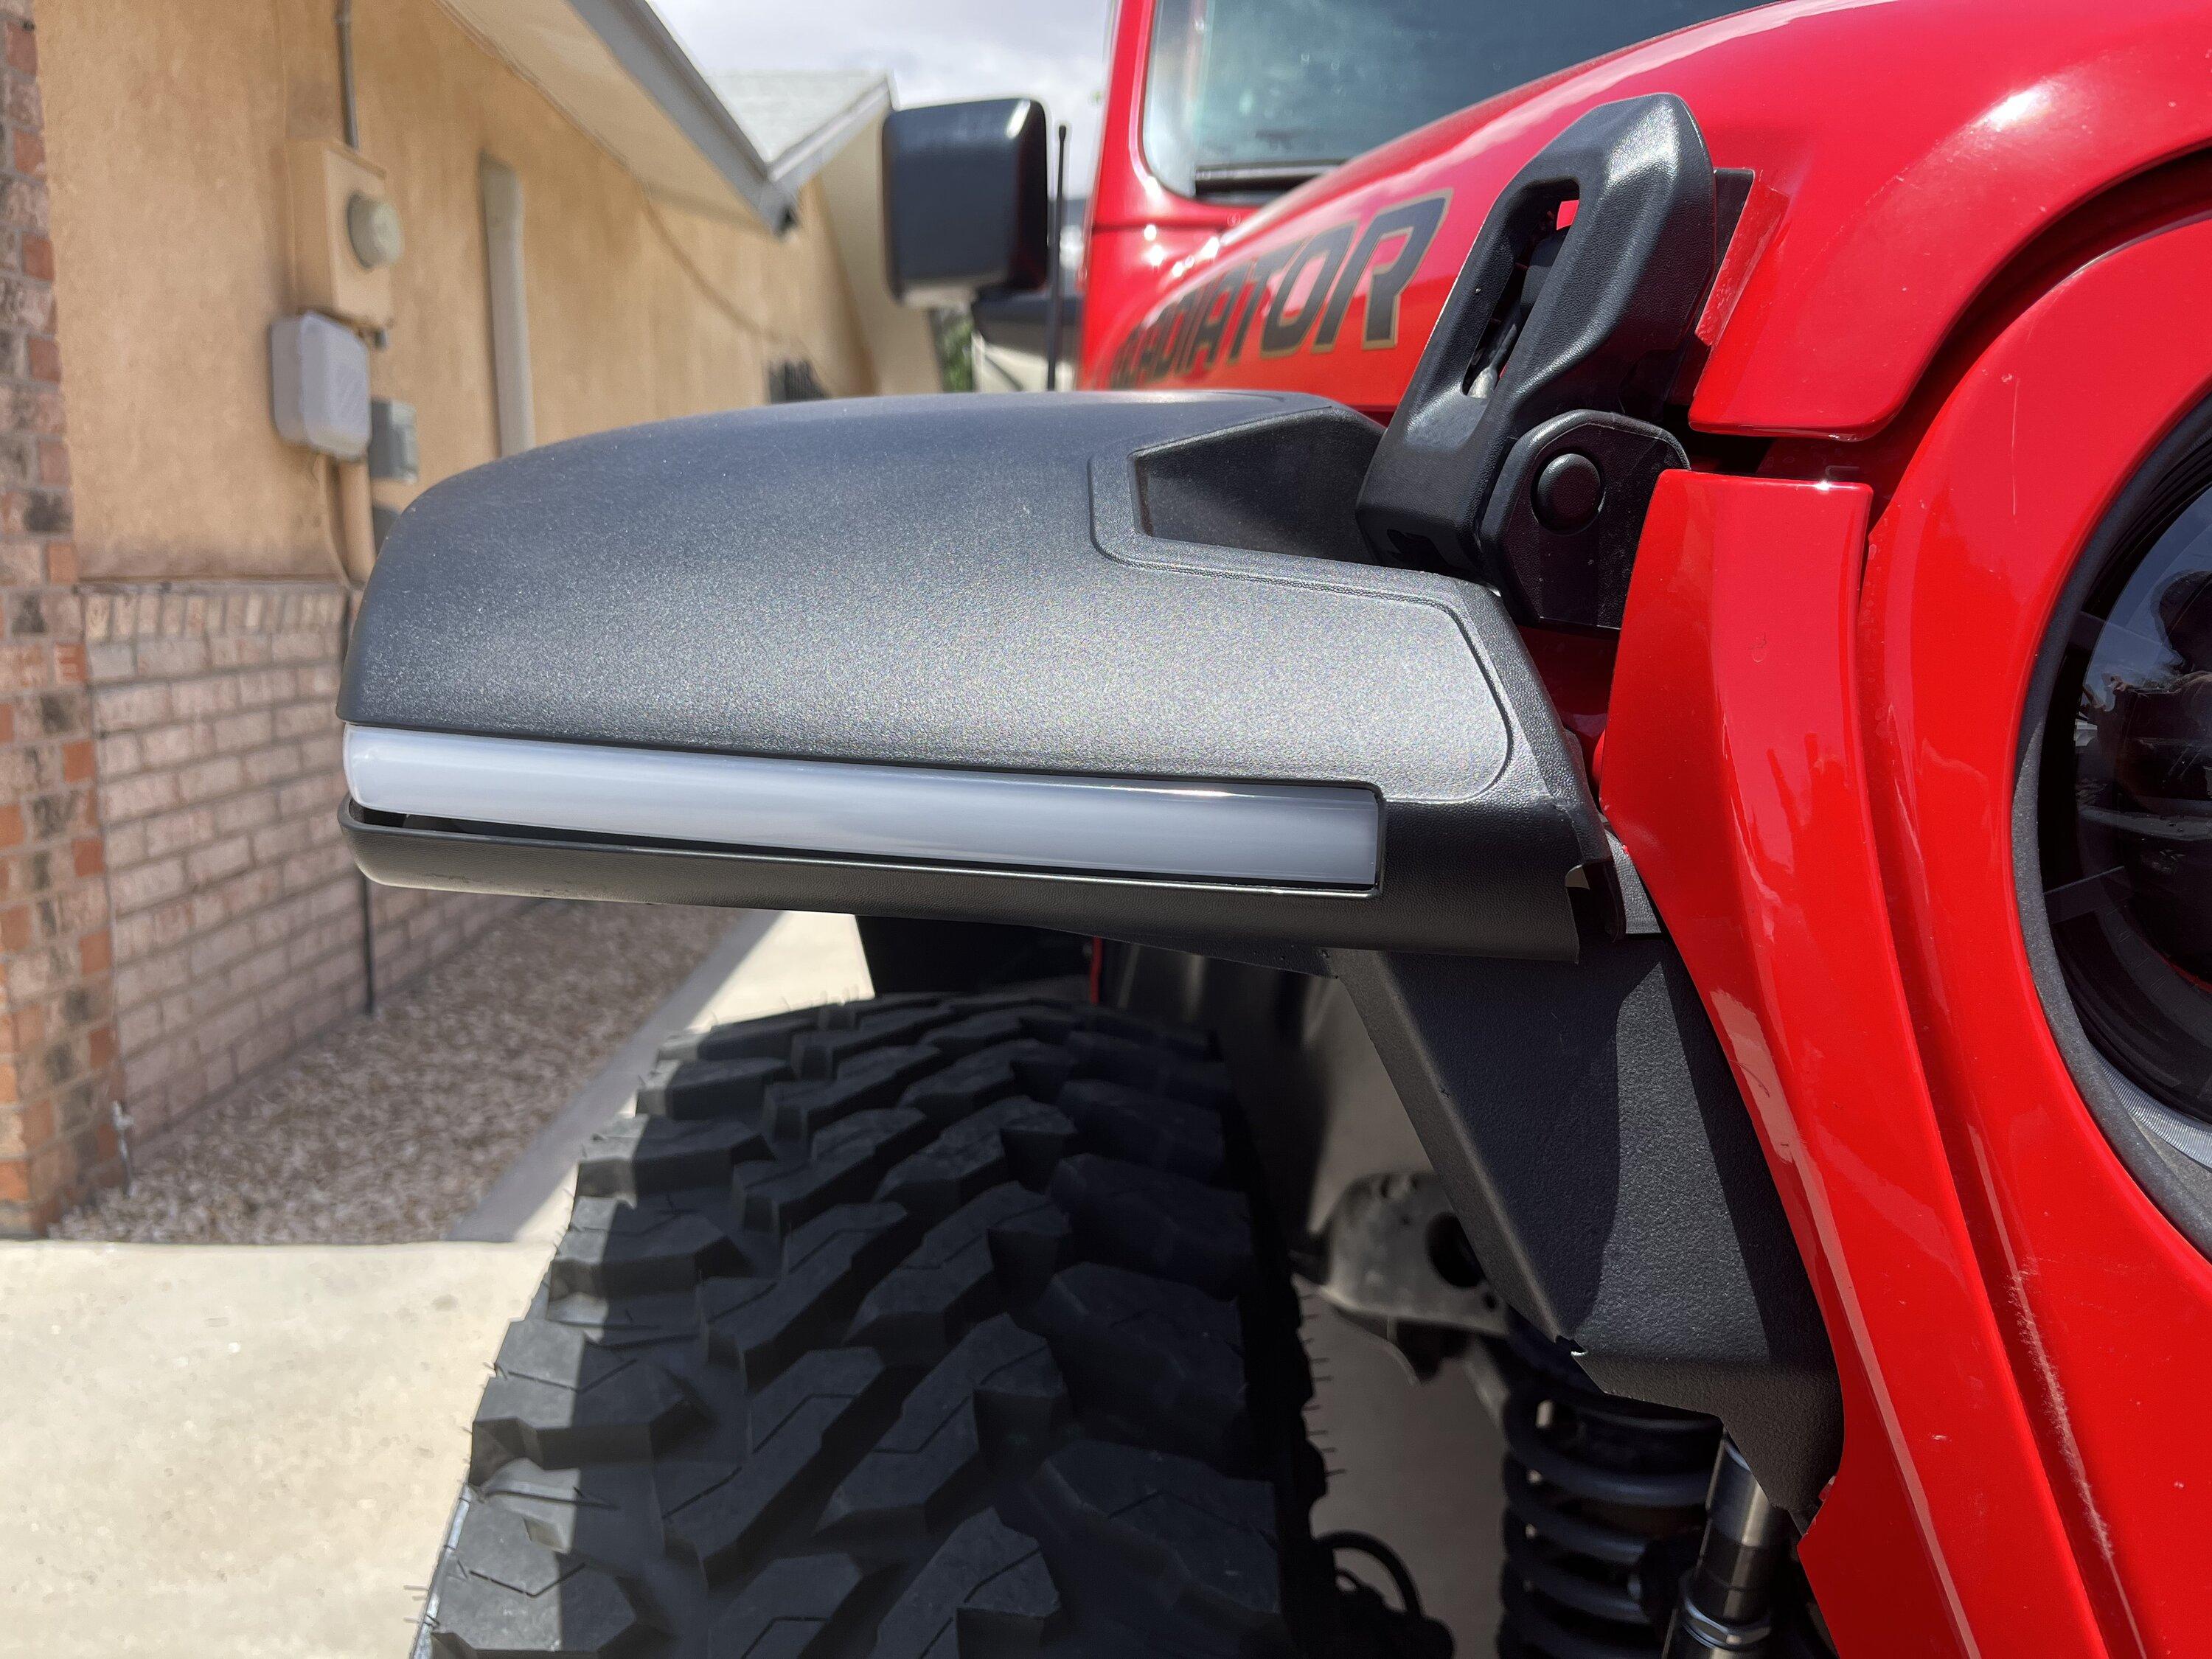
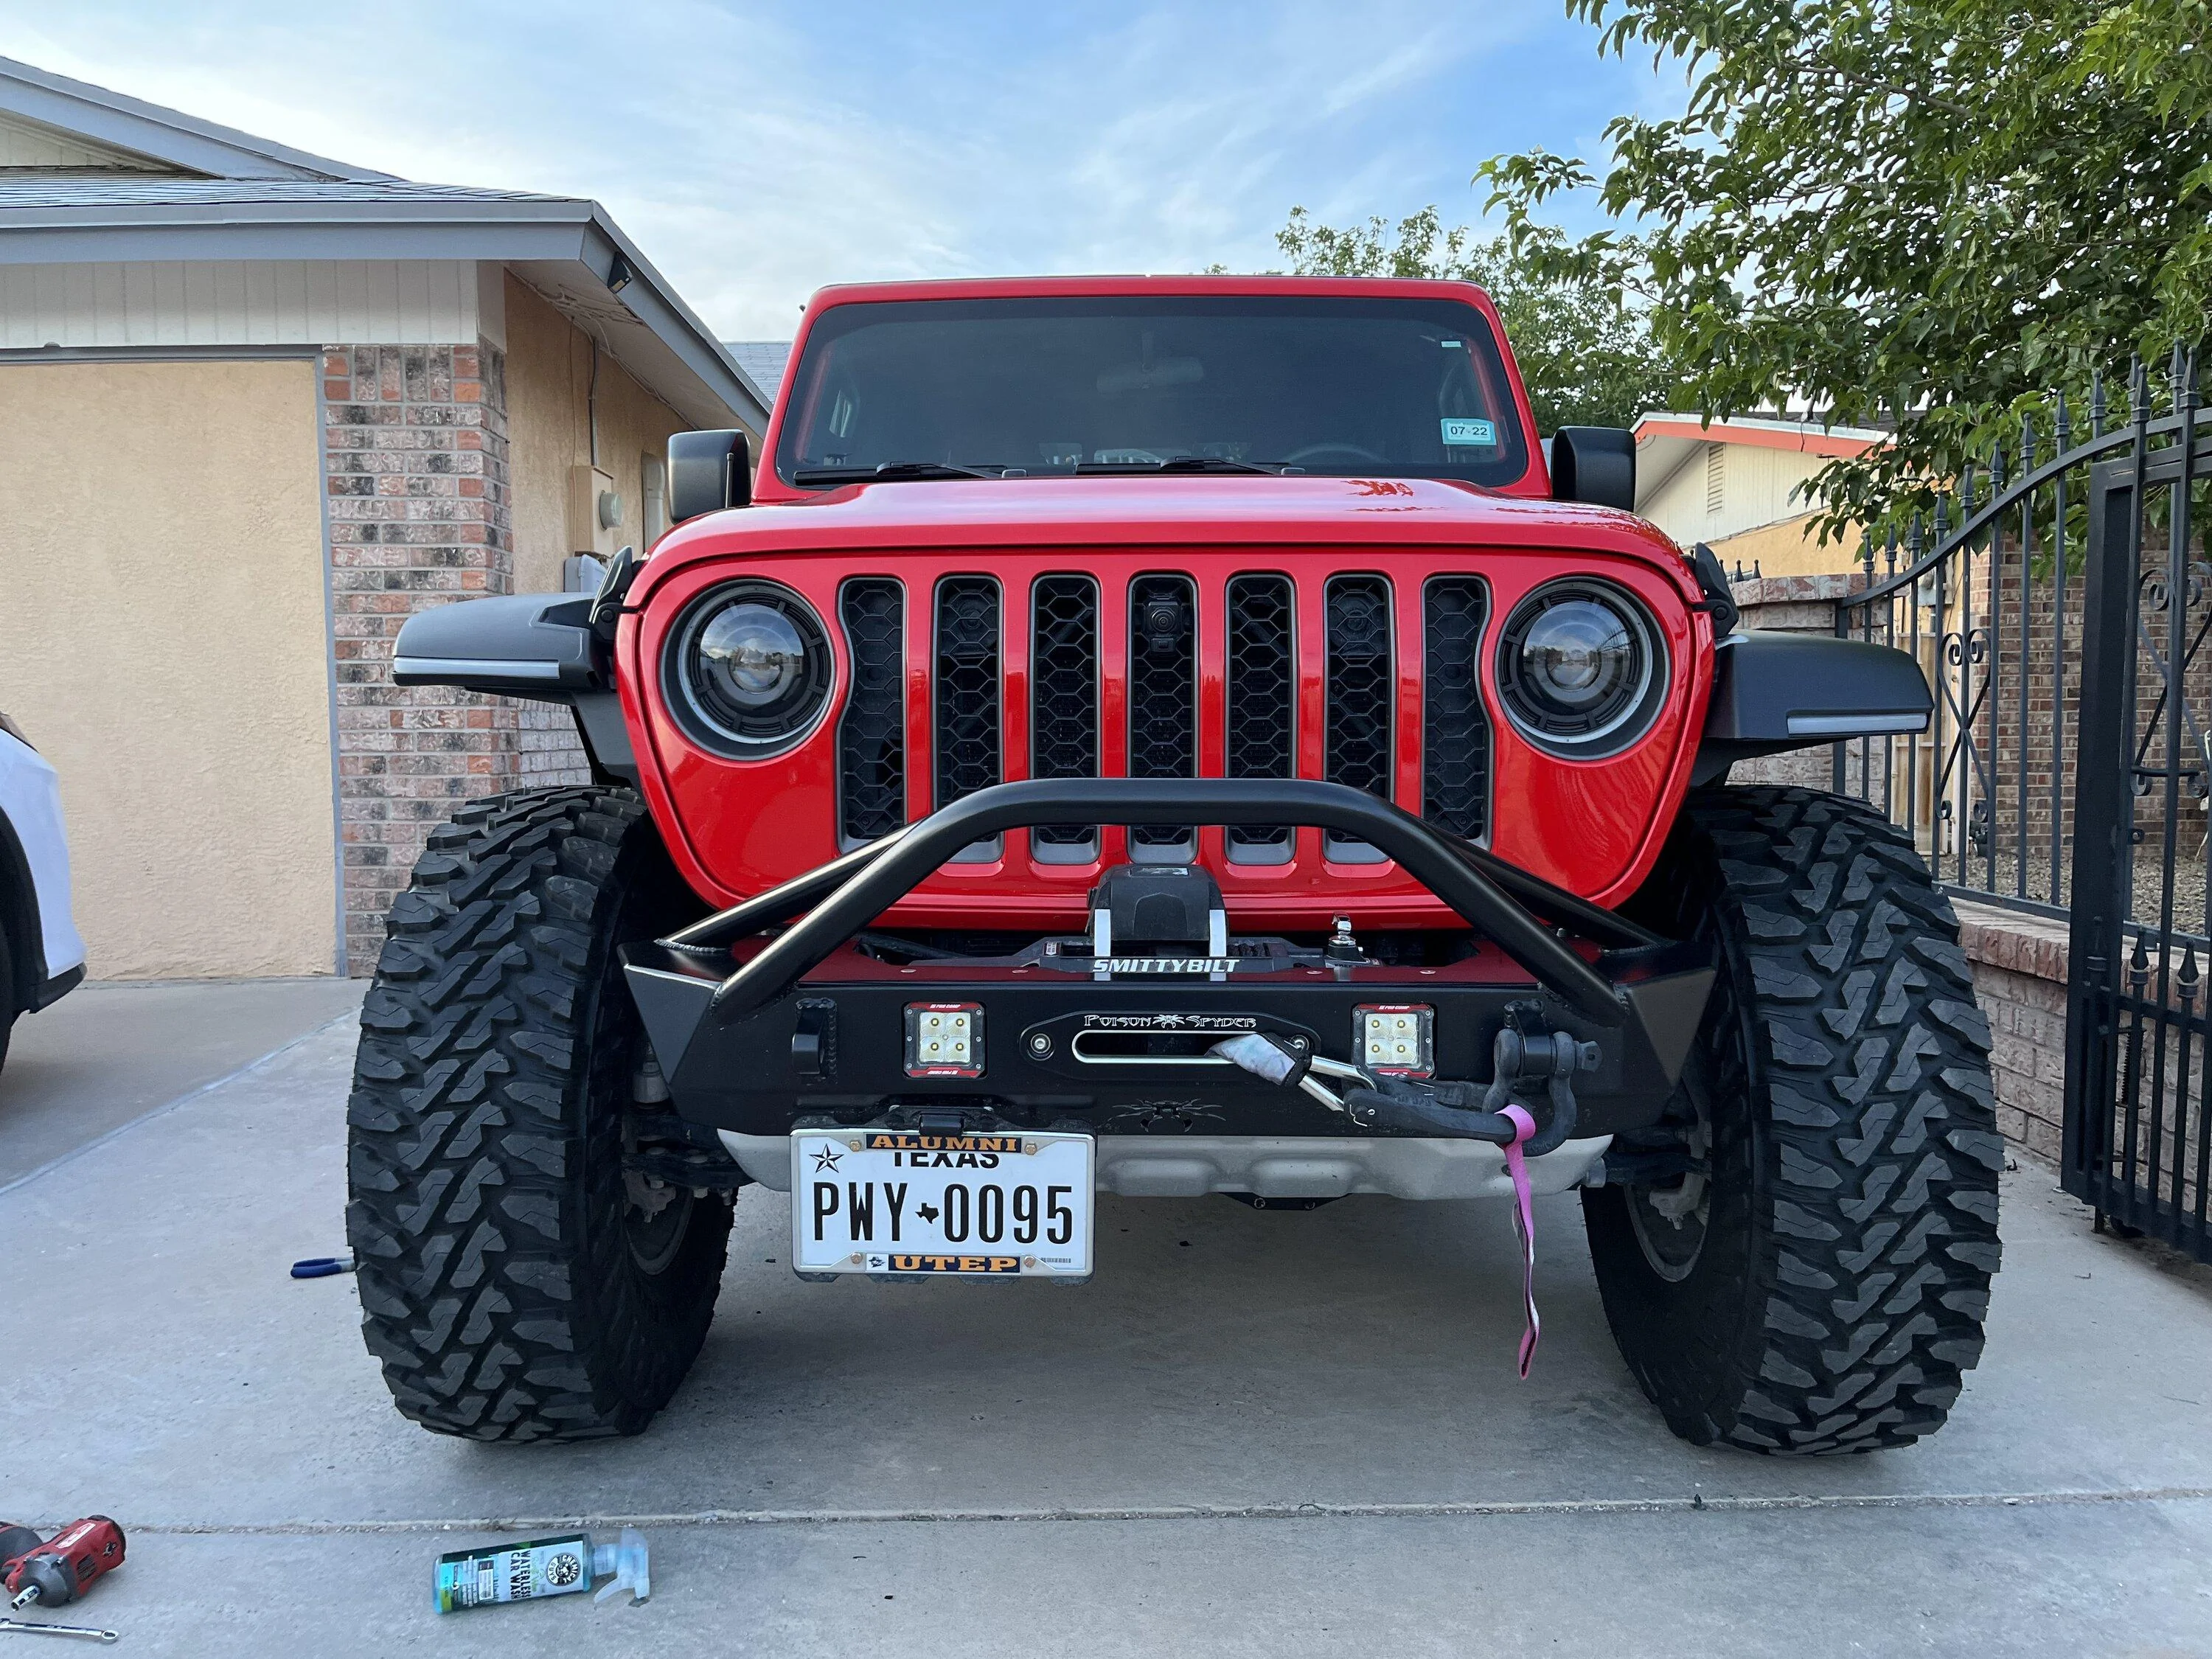
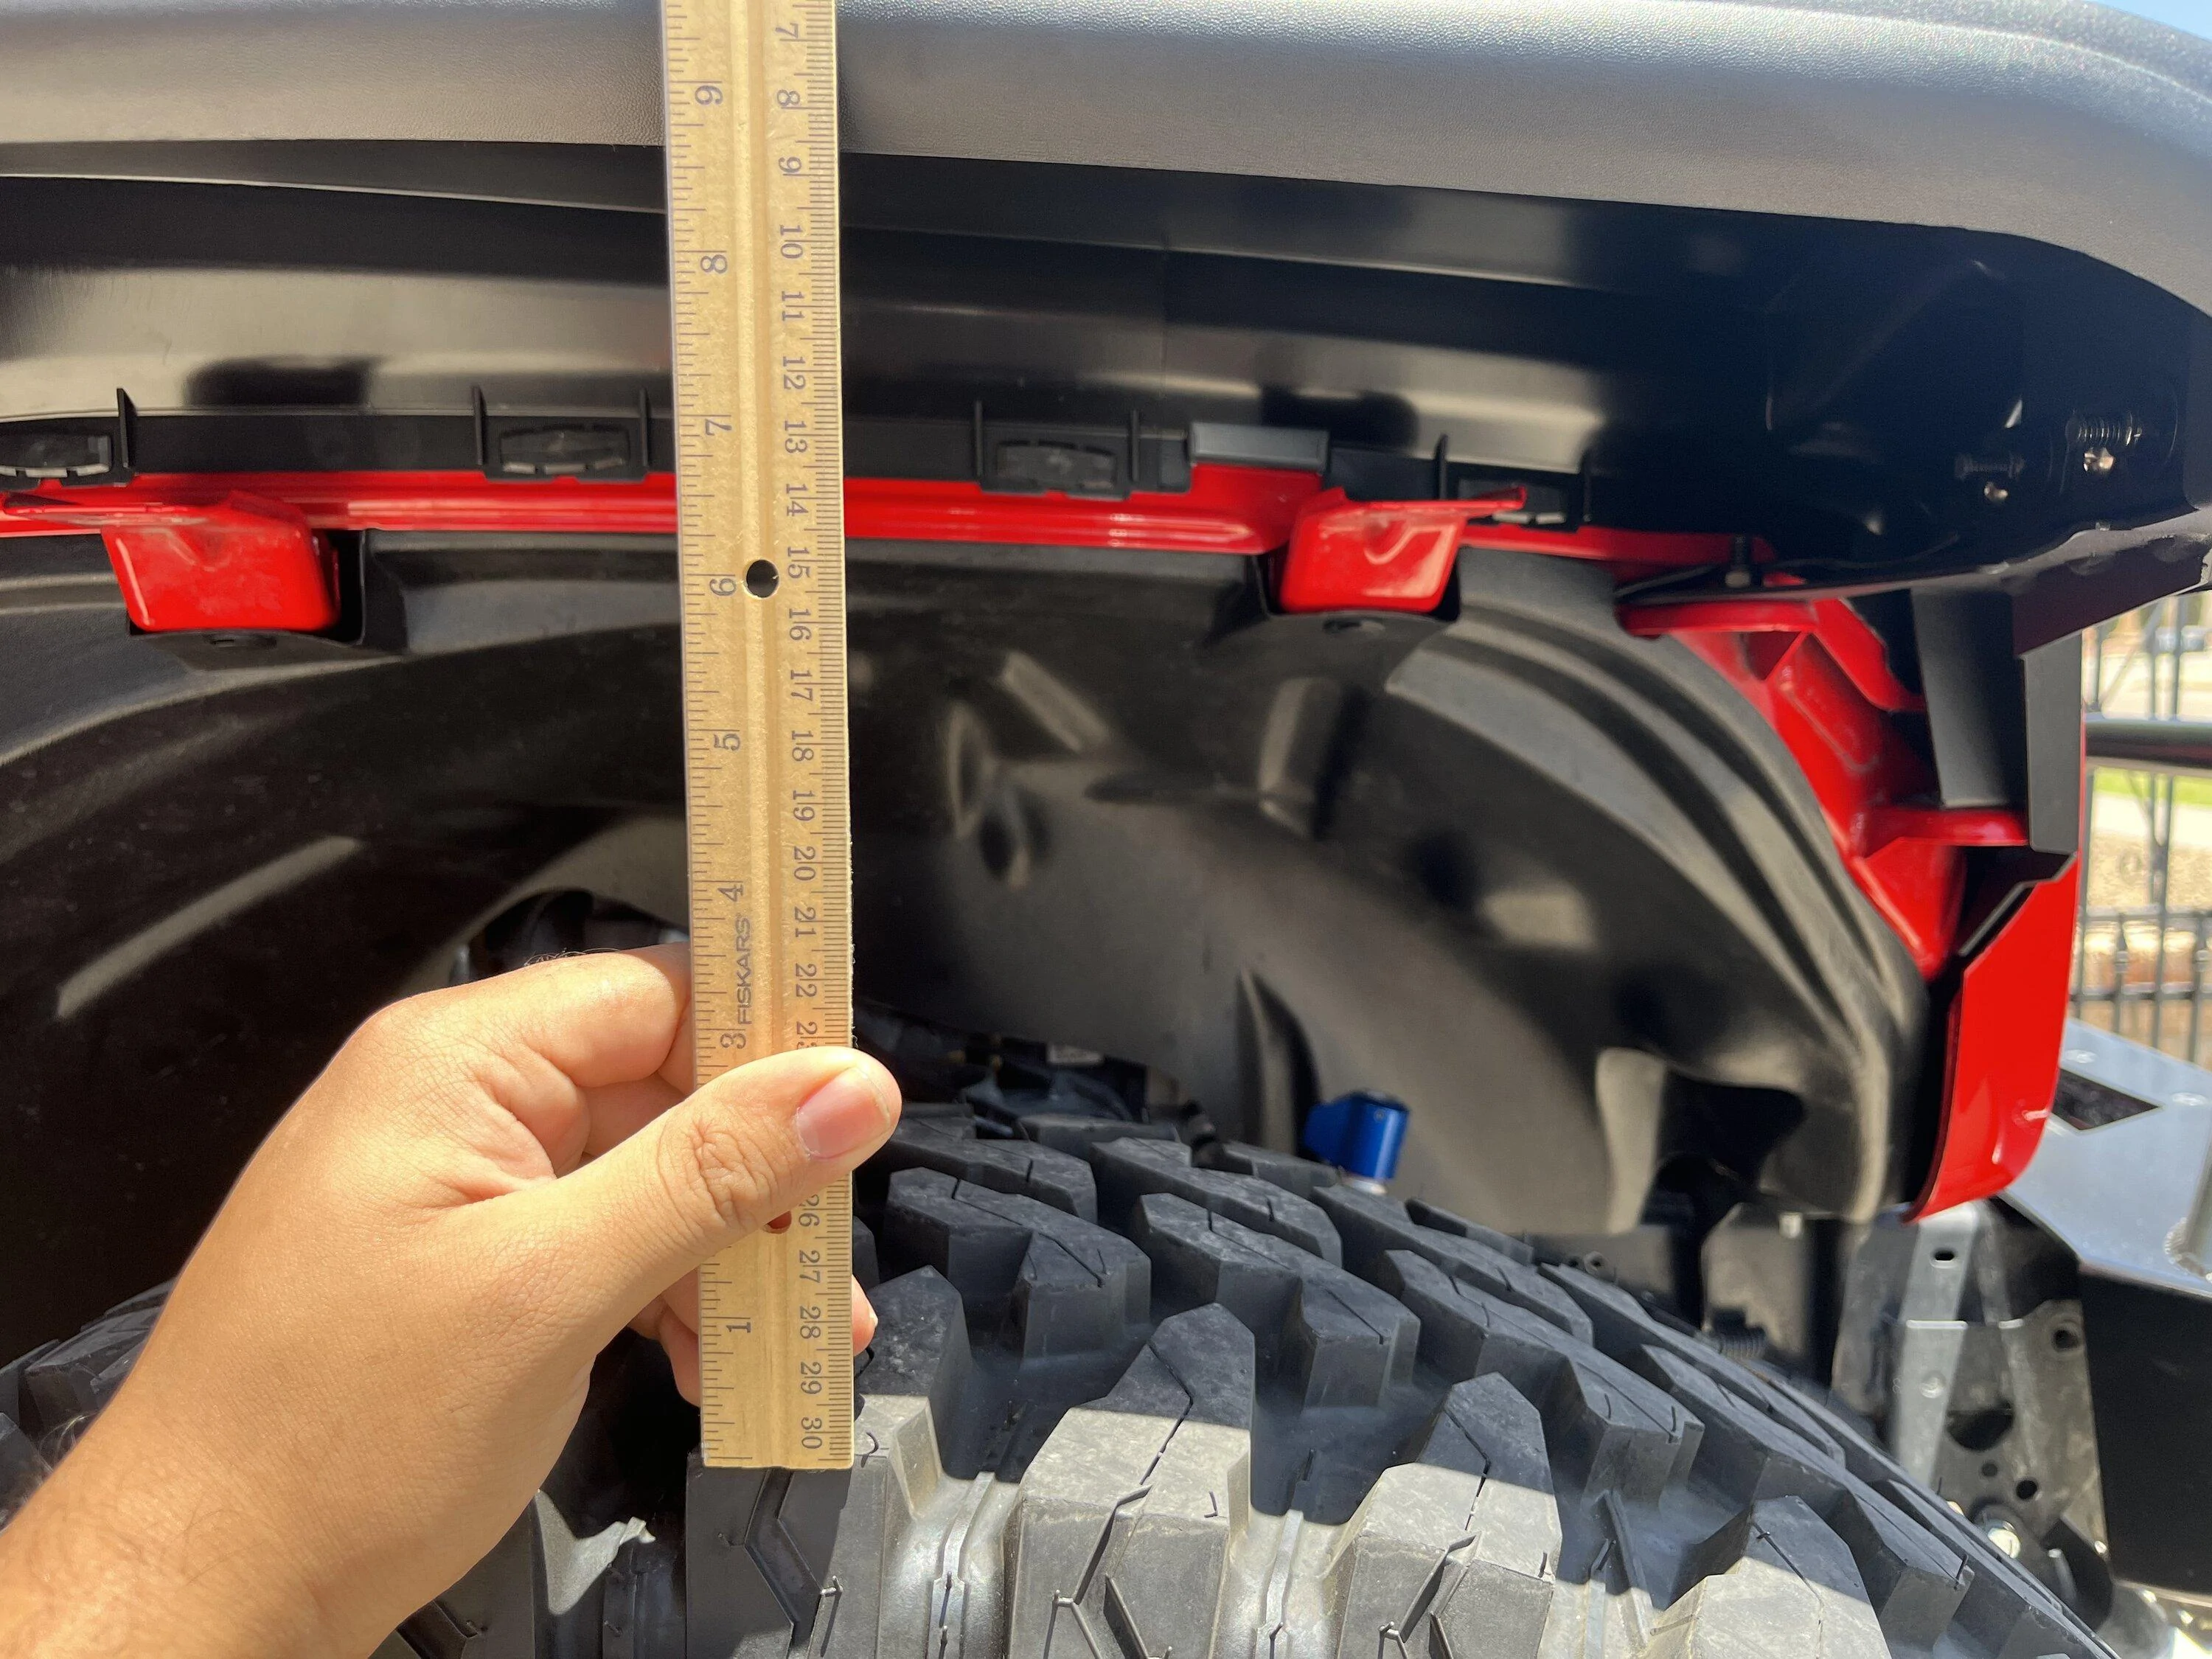
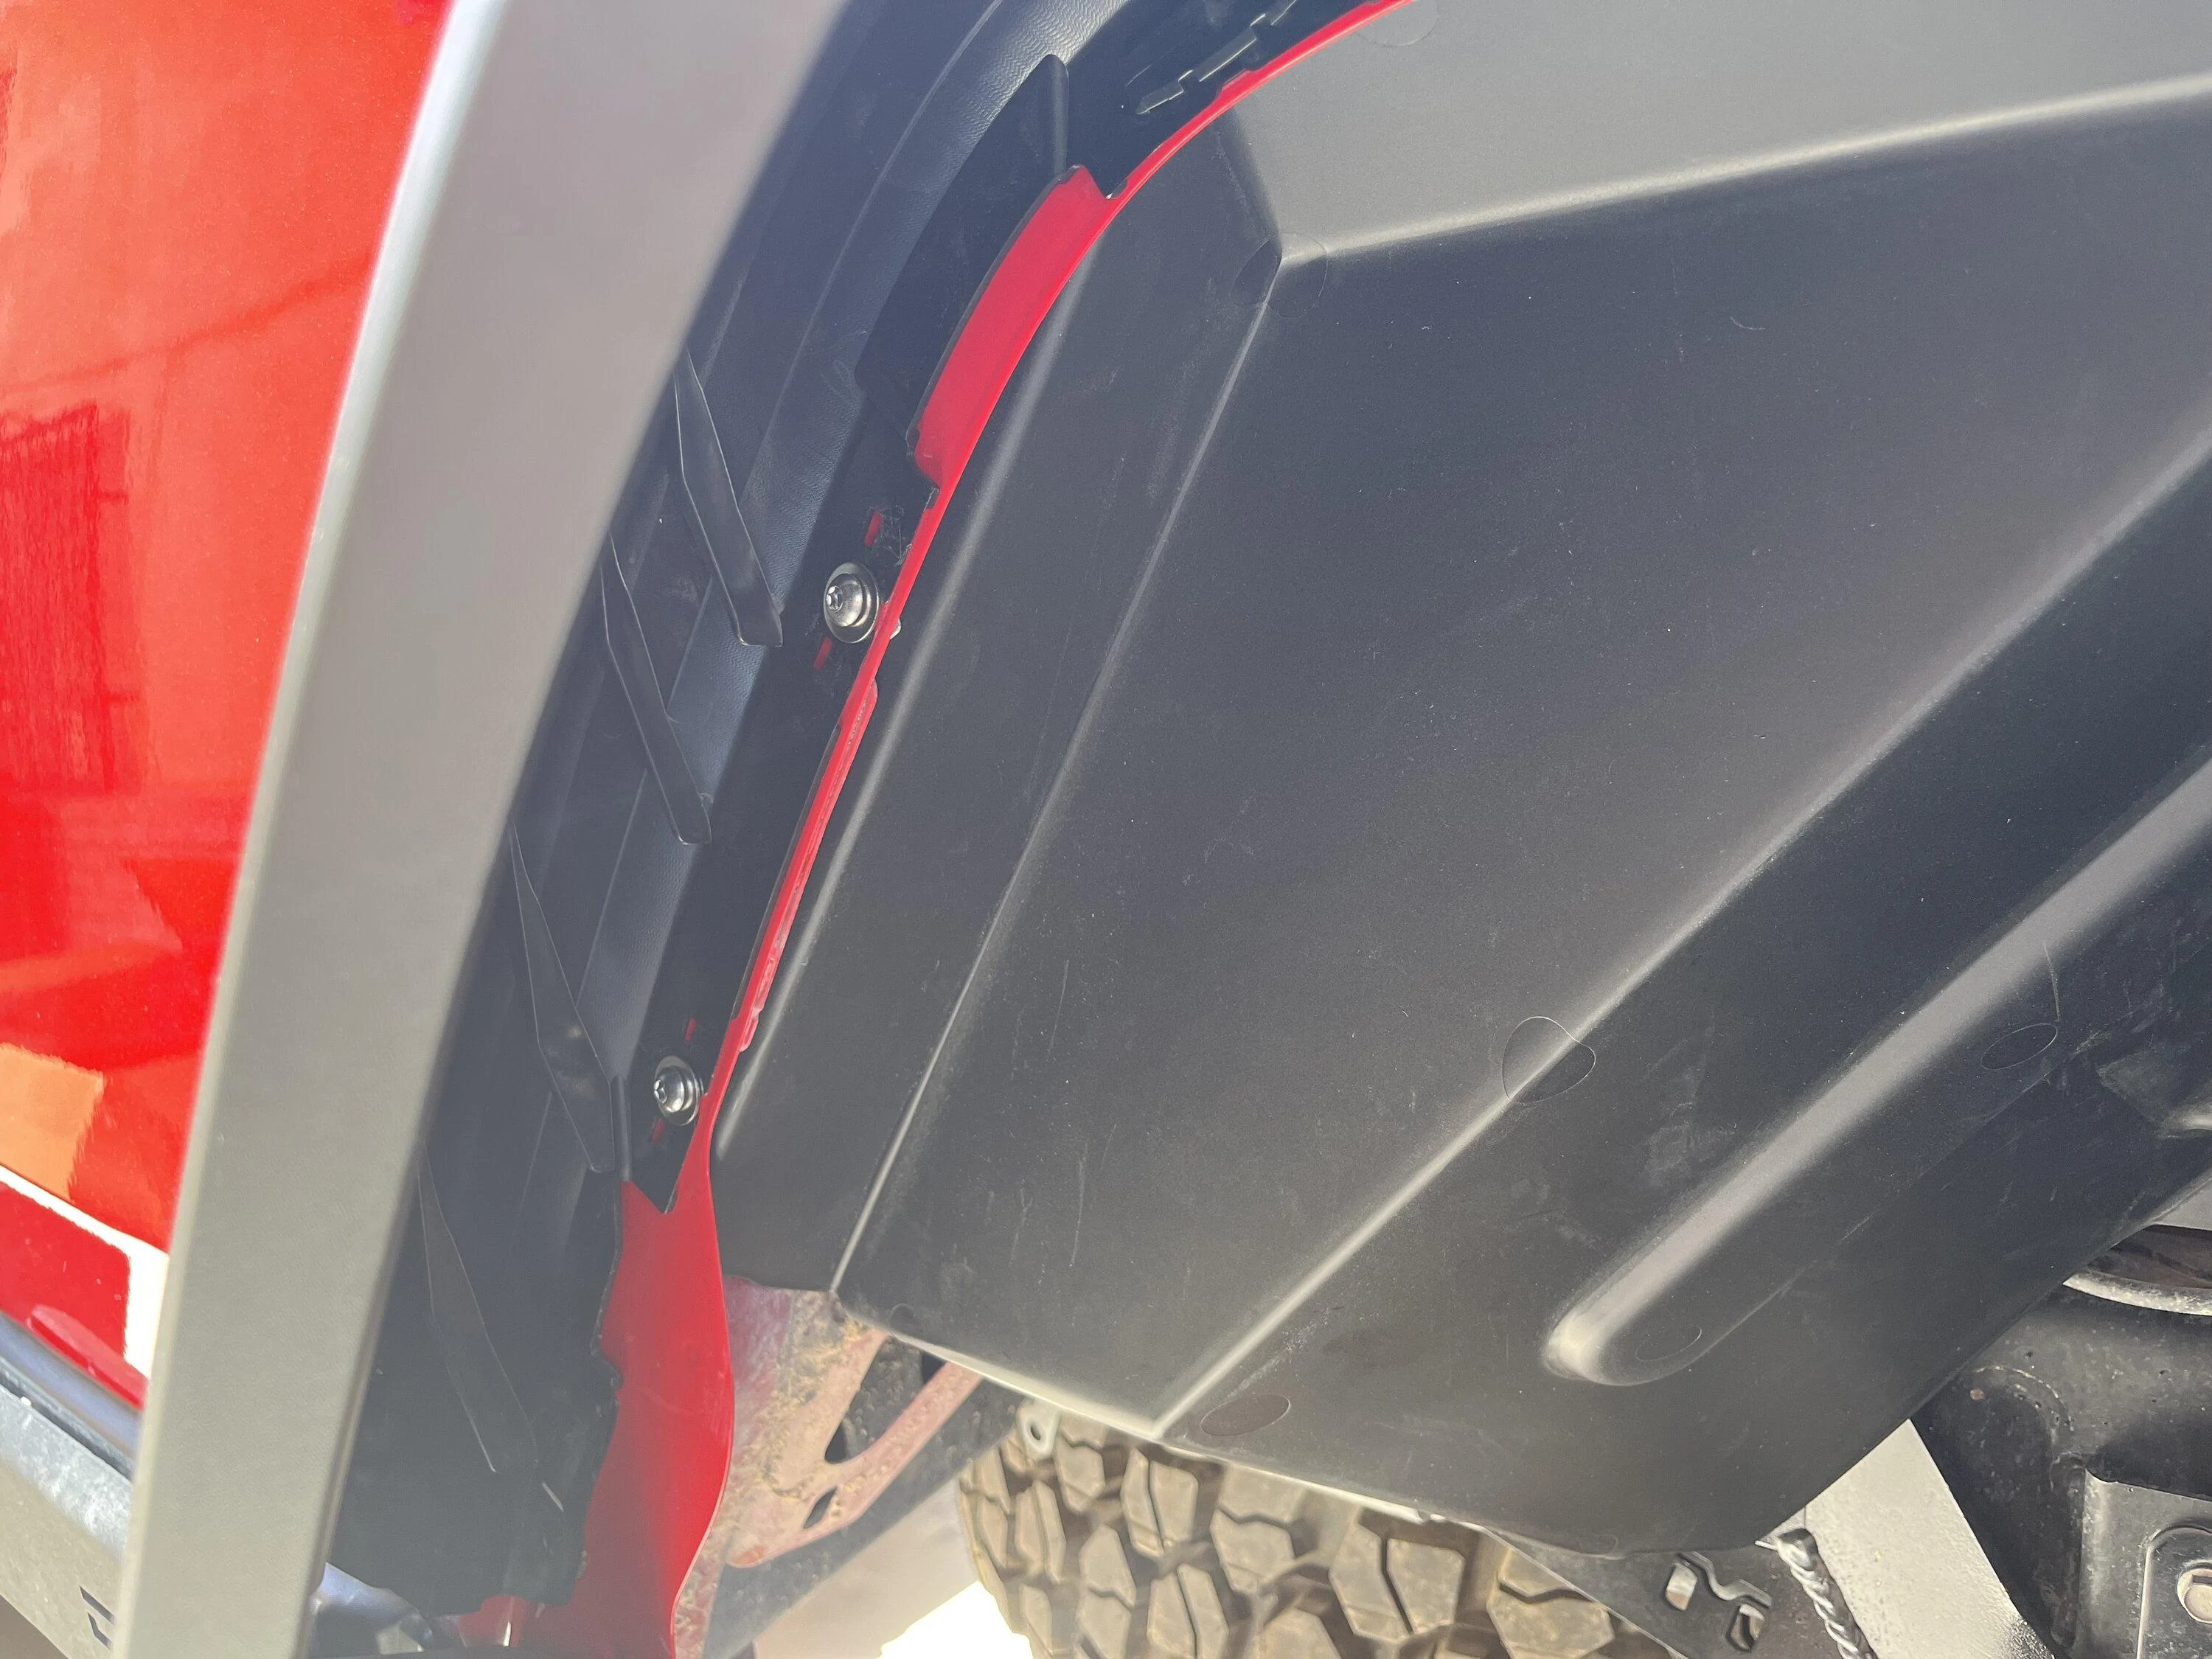
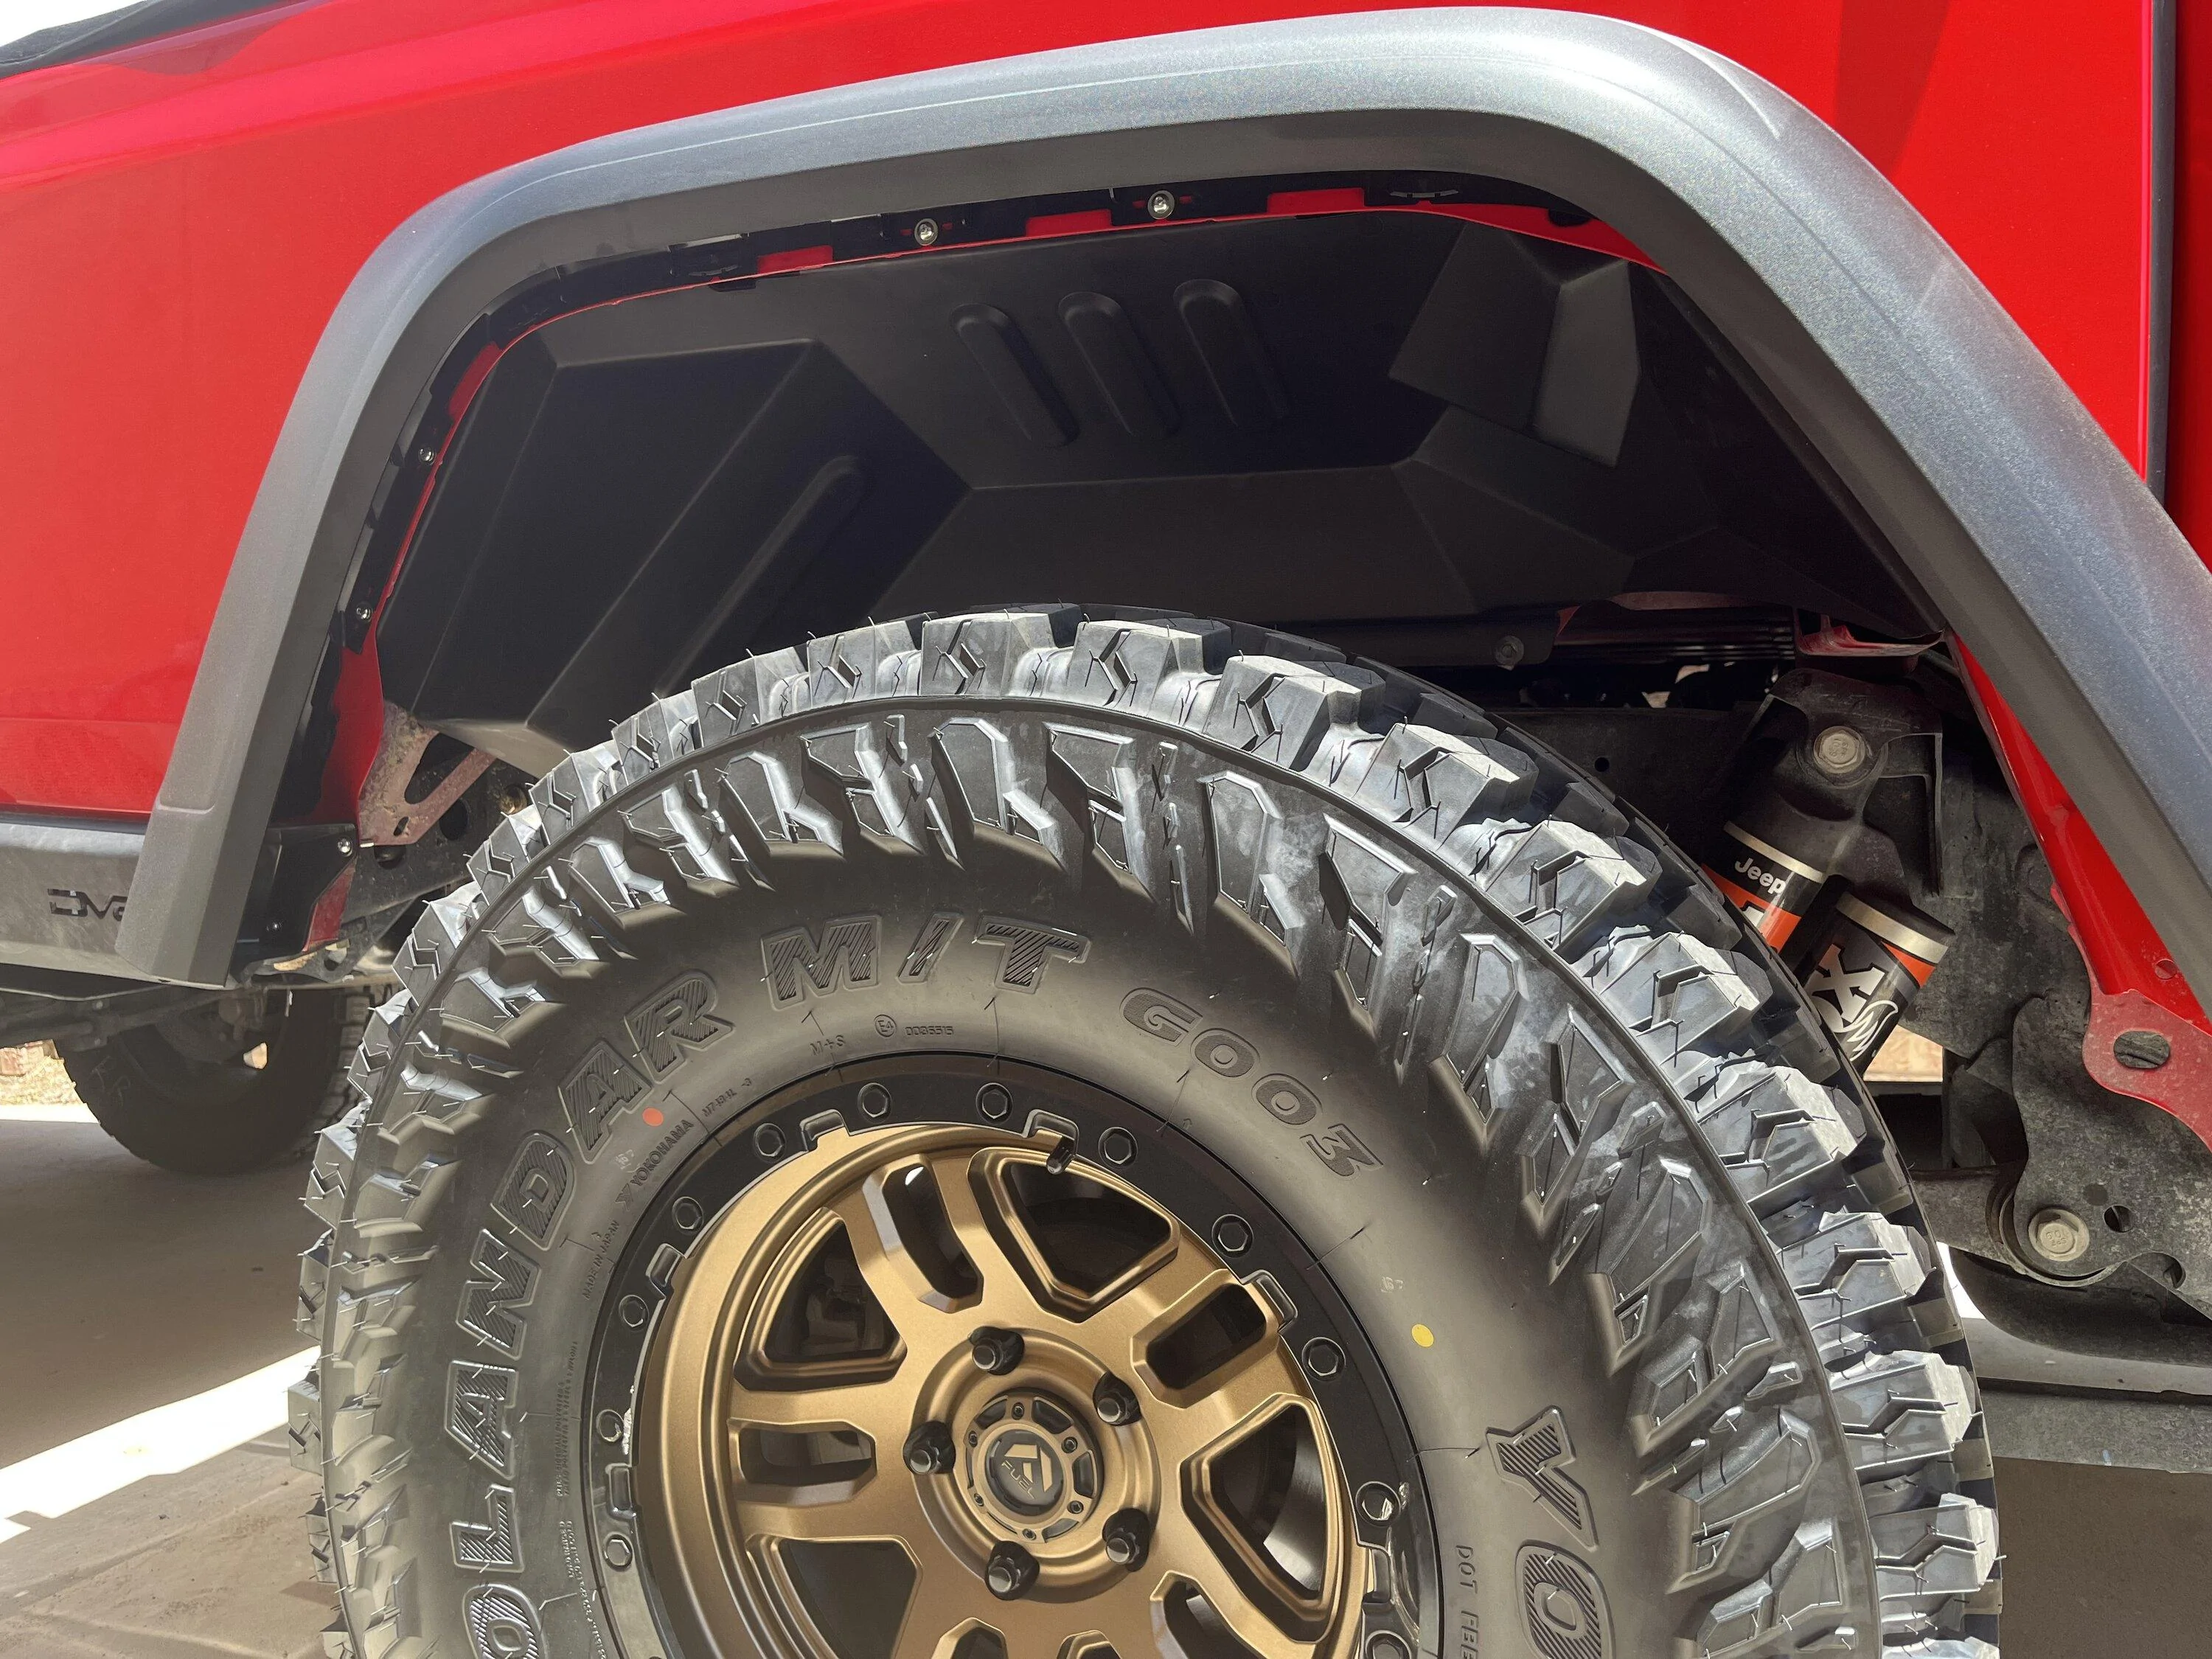
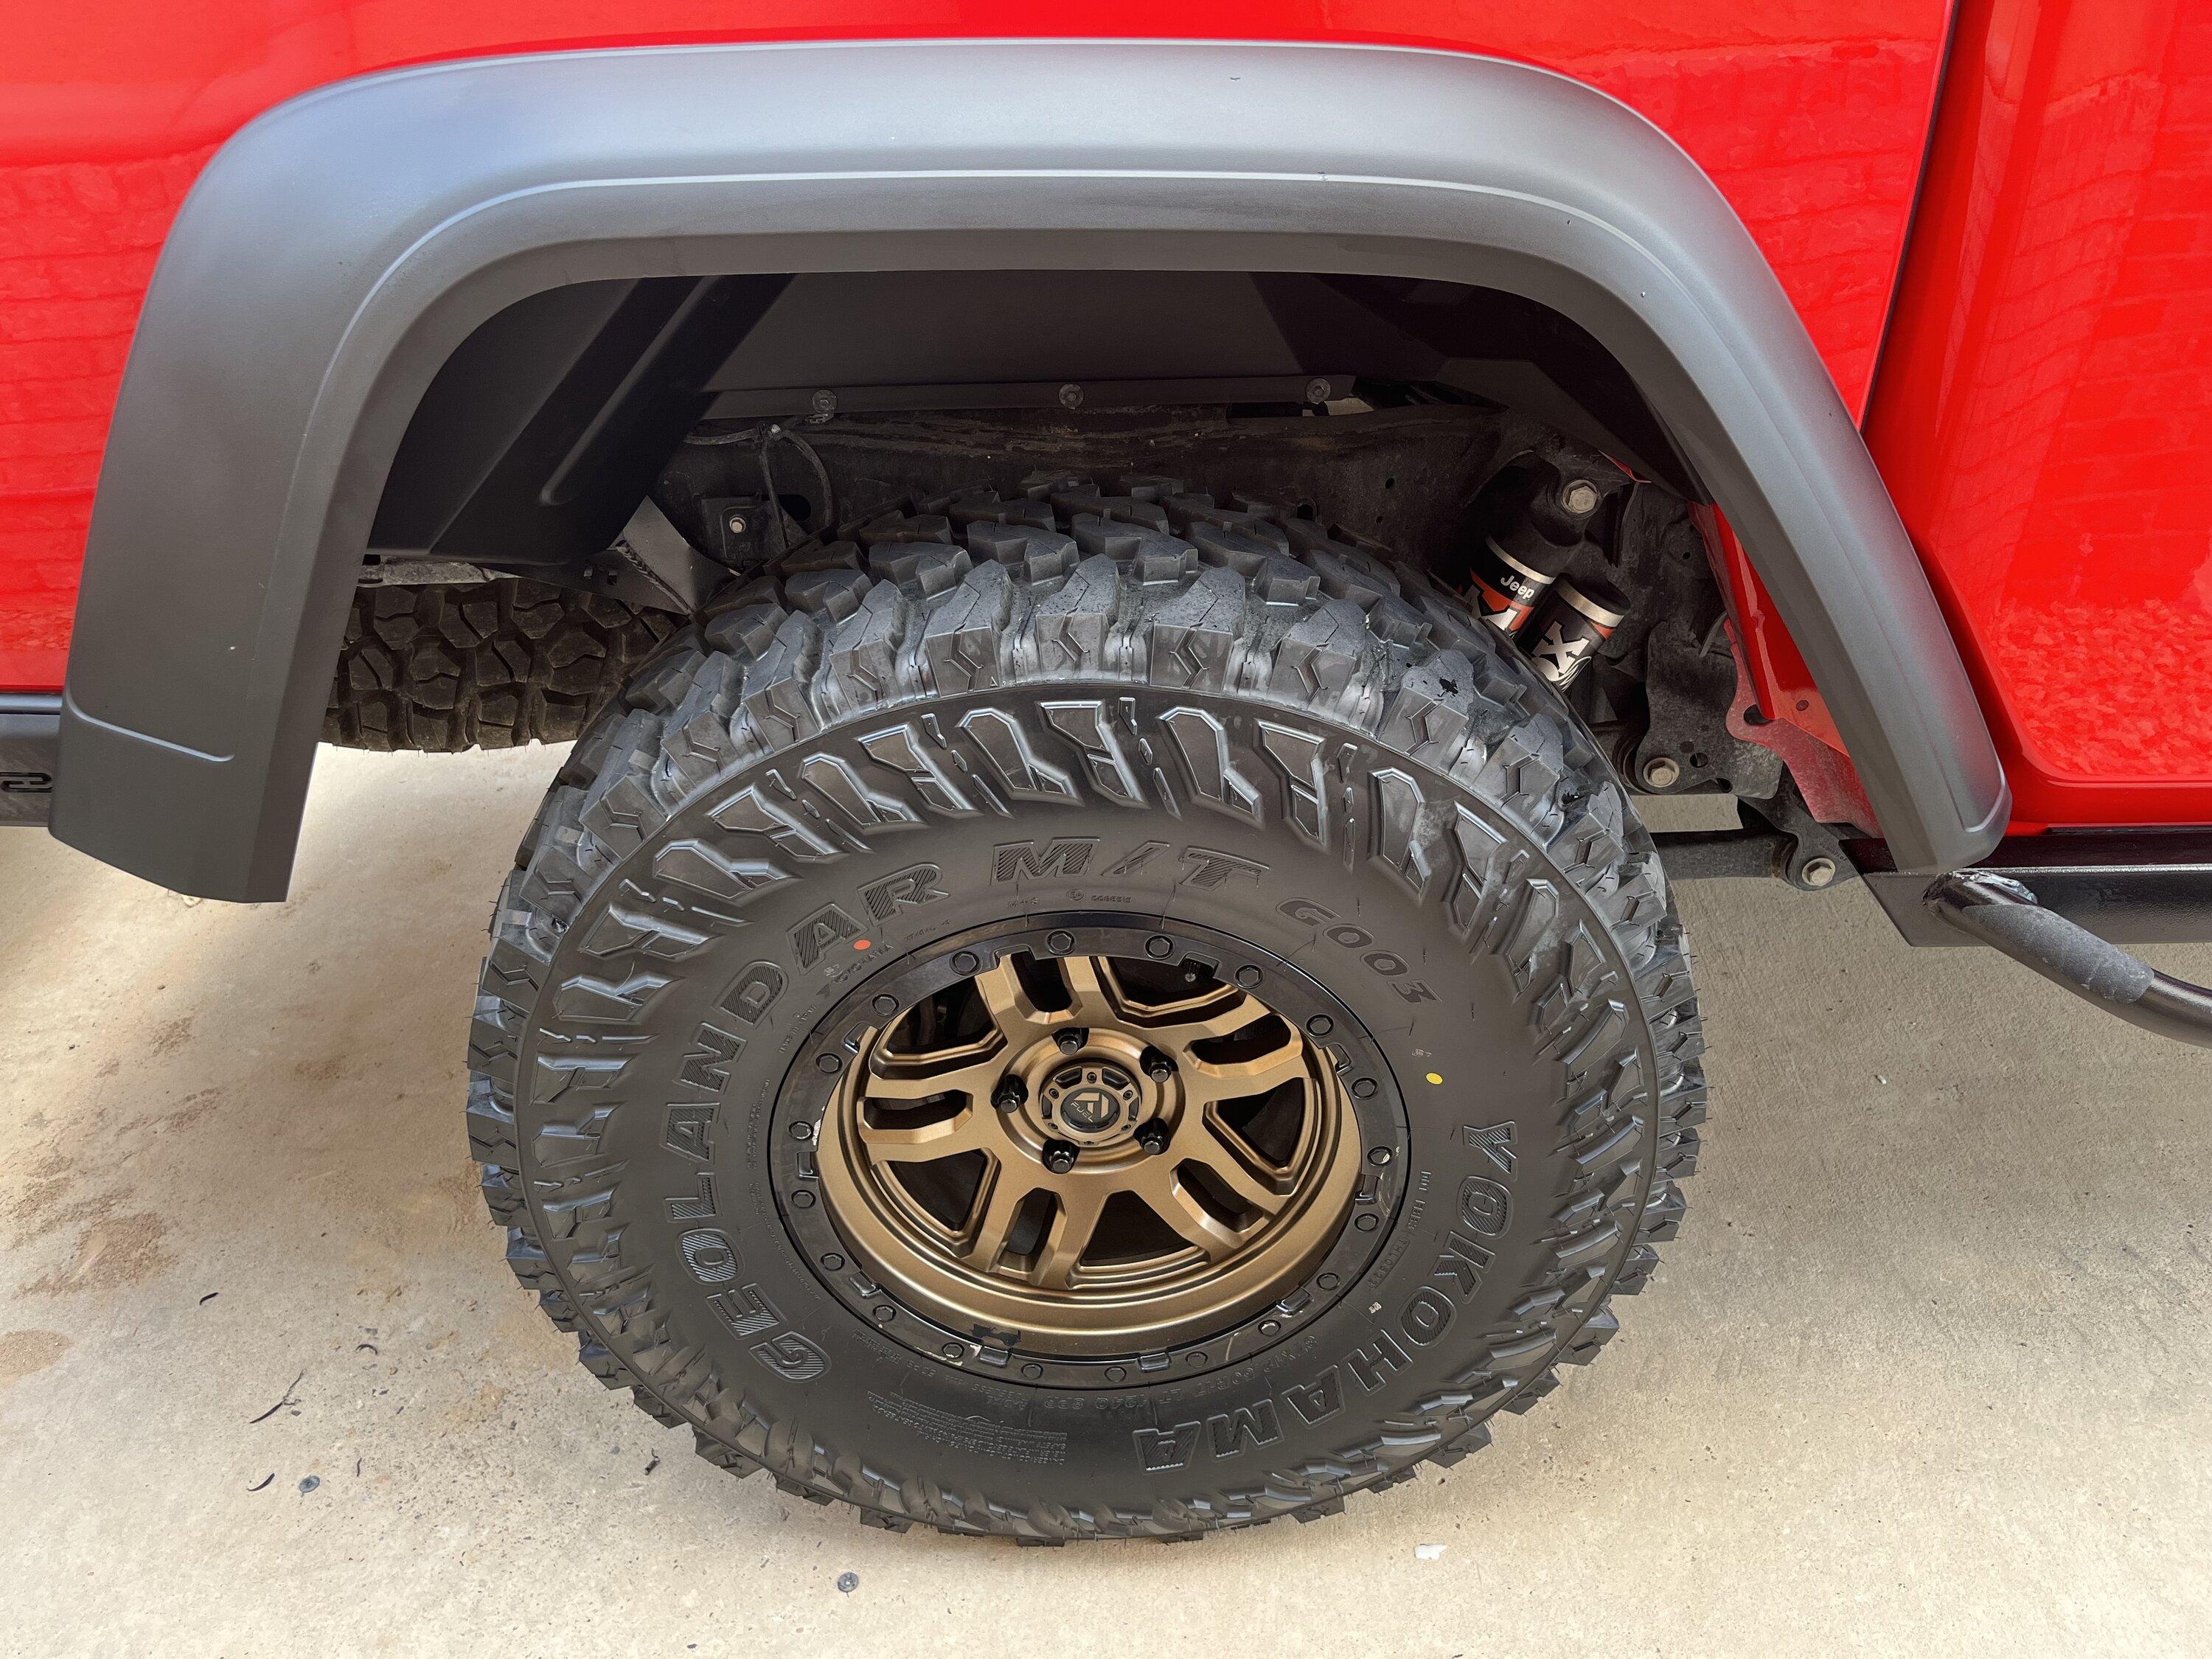
am I looking at their web page correctly .... $651 for four plastic fender extensions? seems expensive even after factoring pricing for their up front design costs prior to productionepic adventure outfitter fender extensions
... on the other hand, they don't seem to have a lot of competitors and it wouldn't take that many tickets to add up to the same cost.
Sponsored
Last edited:

![Jeep Gladiator Rugged Ridge Max Terrain Flares for Gladiator JT install/review. IMG_6178[1].JPG](https://cdn.jeepgladiatorforum.com/attachments/297/297310-e6c99114eec6d0b8b2204cd90fbd4655.jpg)