OP
OP
Zero_Accel
Well-Known Member
- First Name
- Aaron
- Joined
- Oct 27, 2021
- Threads
- 32
- Messages
- 526
- Reaction score
- 1,283
- Location
- El Paso, Texas
- Vehicle(s)
- 2020 Jeep Gladiator Sport
- Build Thread
- Link
- Occupation
- Systems Engineer
- Thread starter
- #16
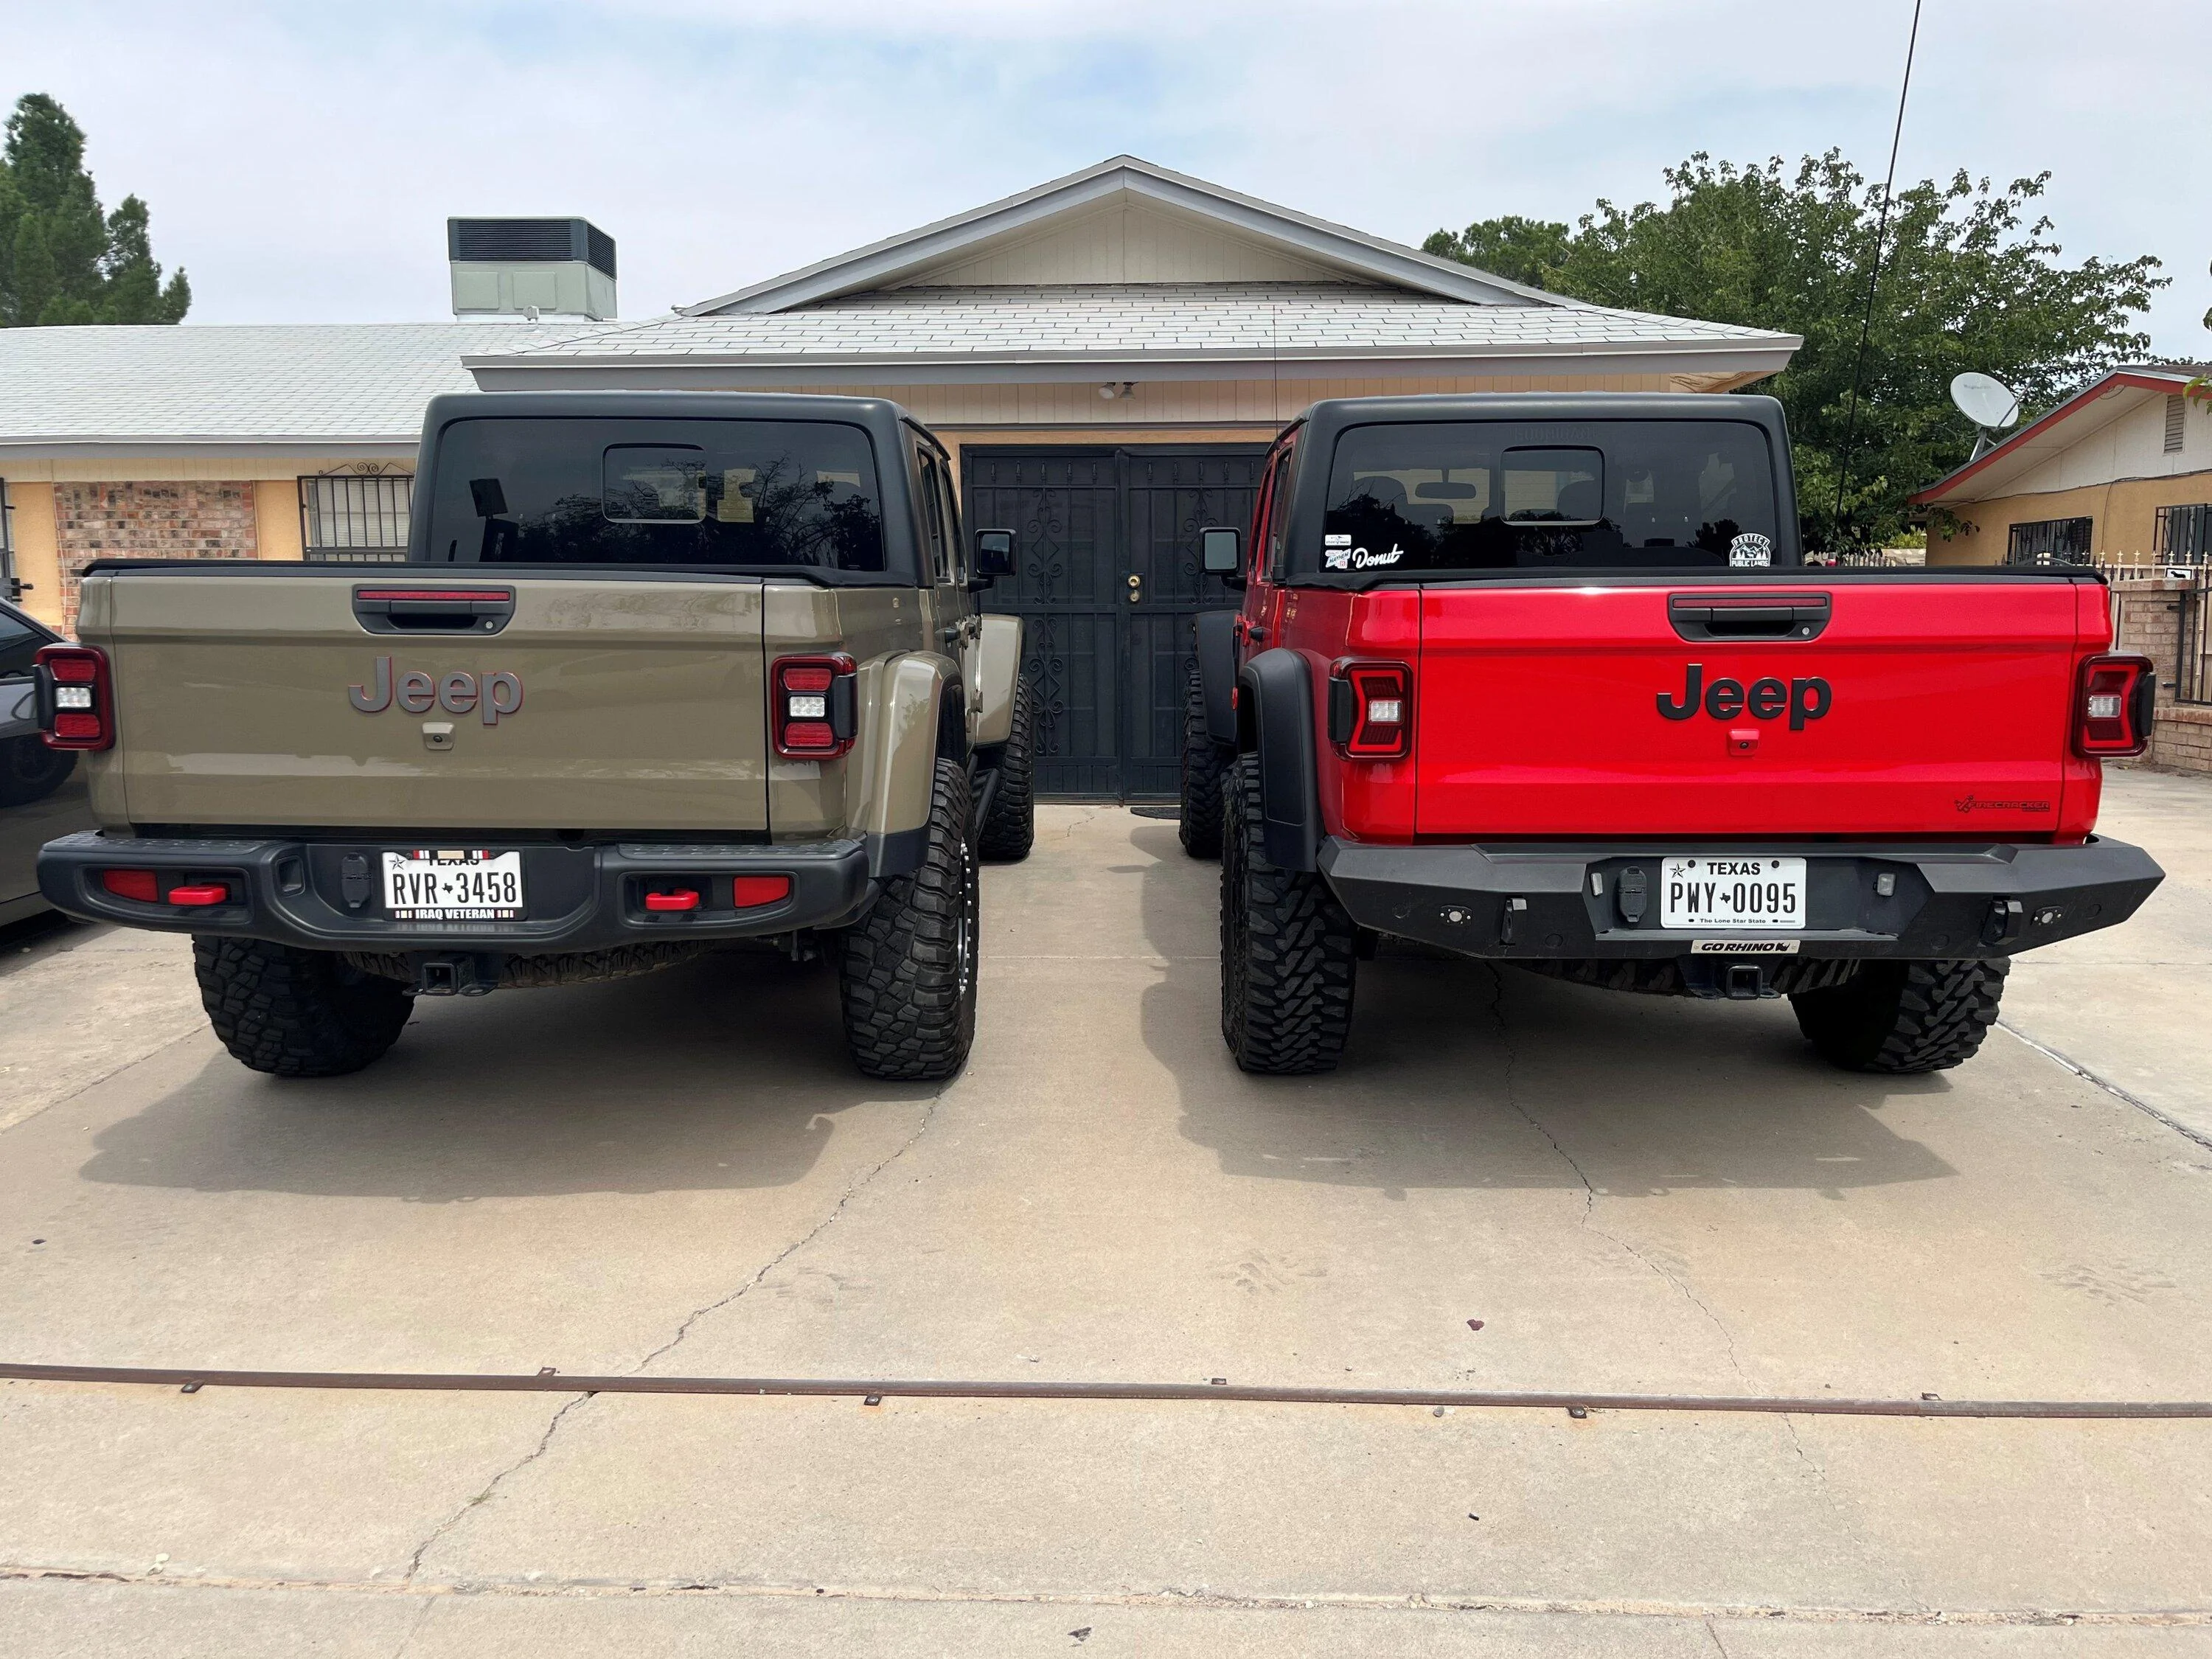
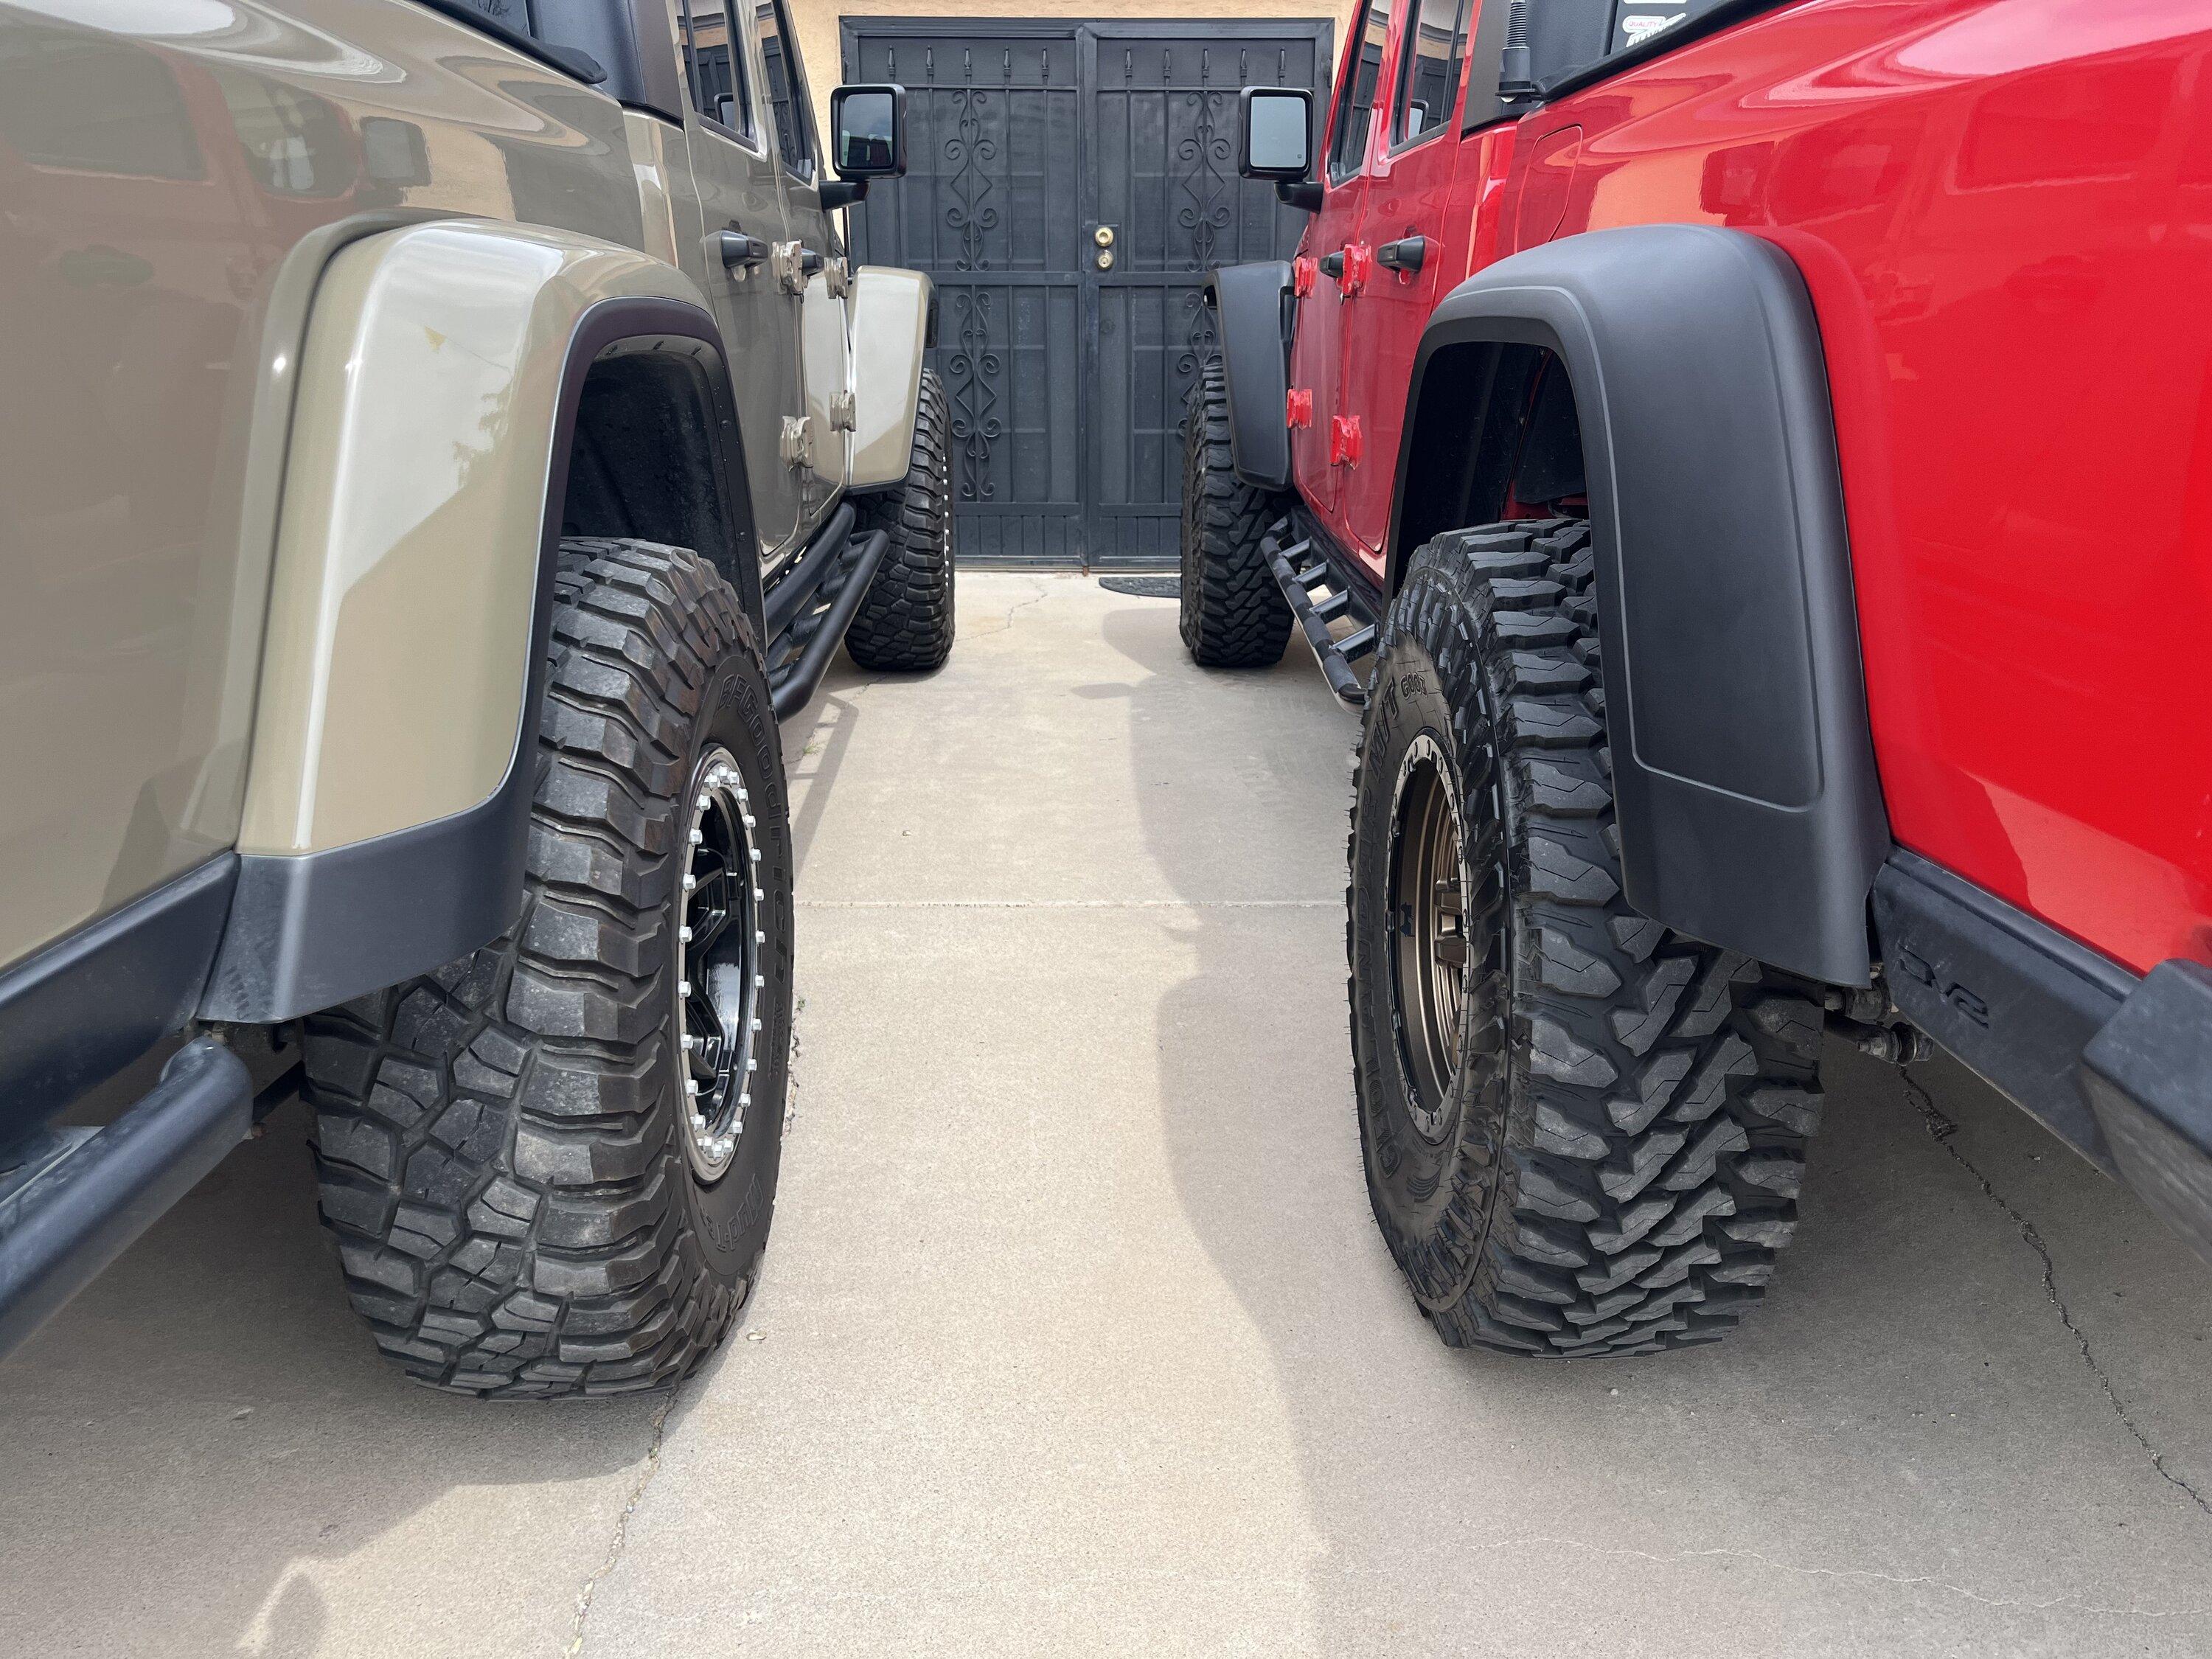
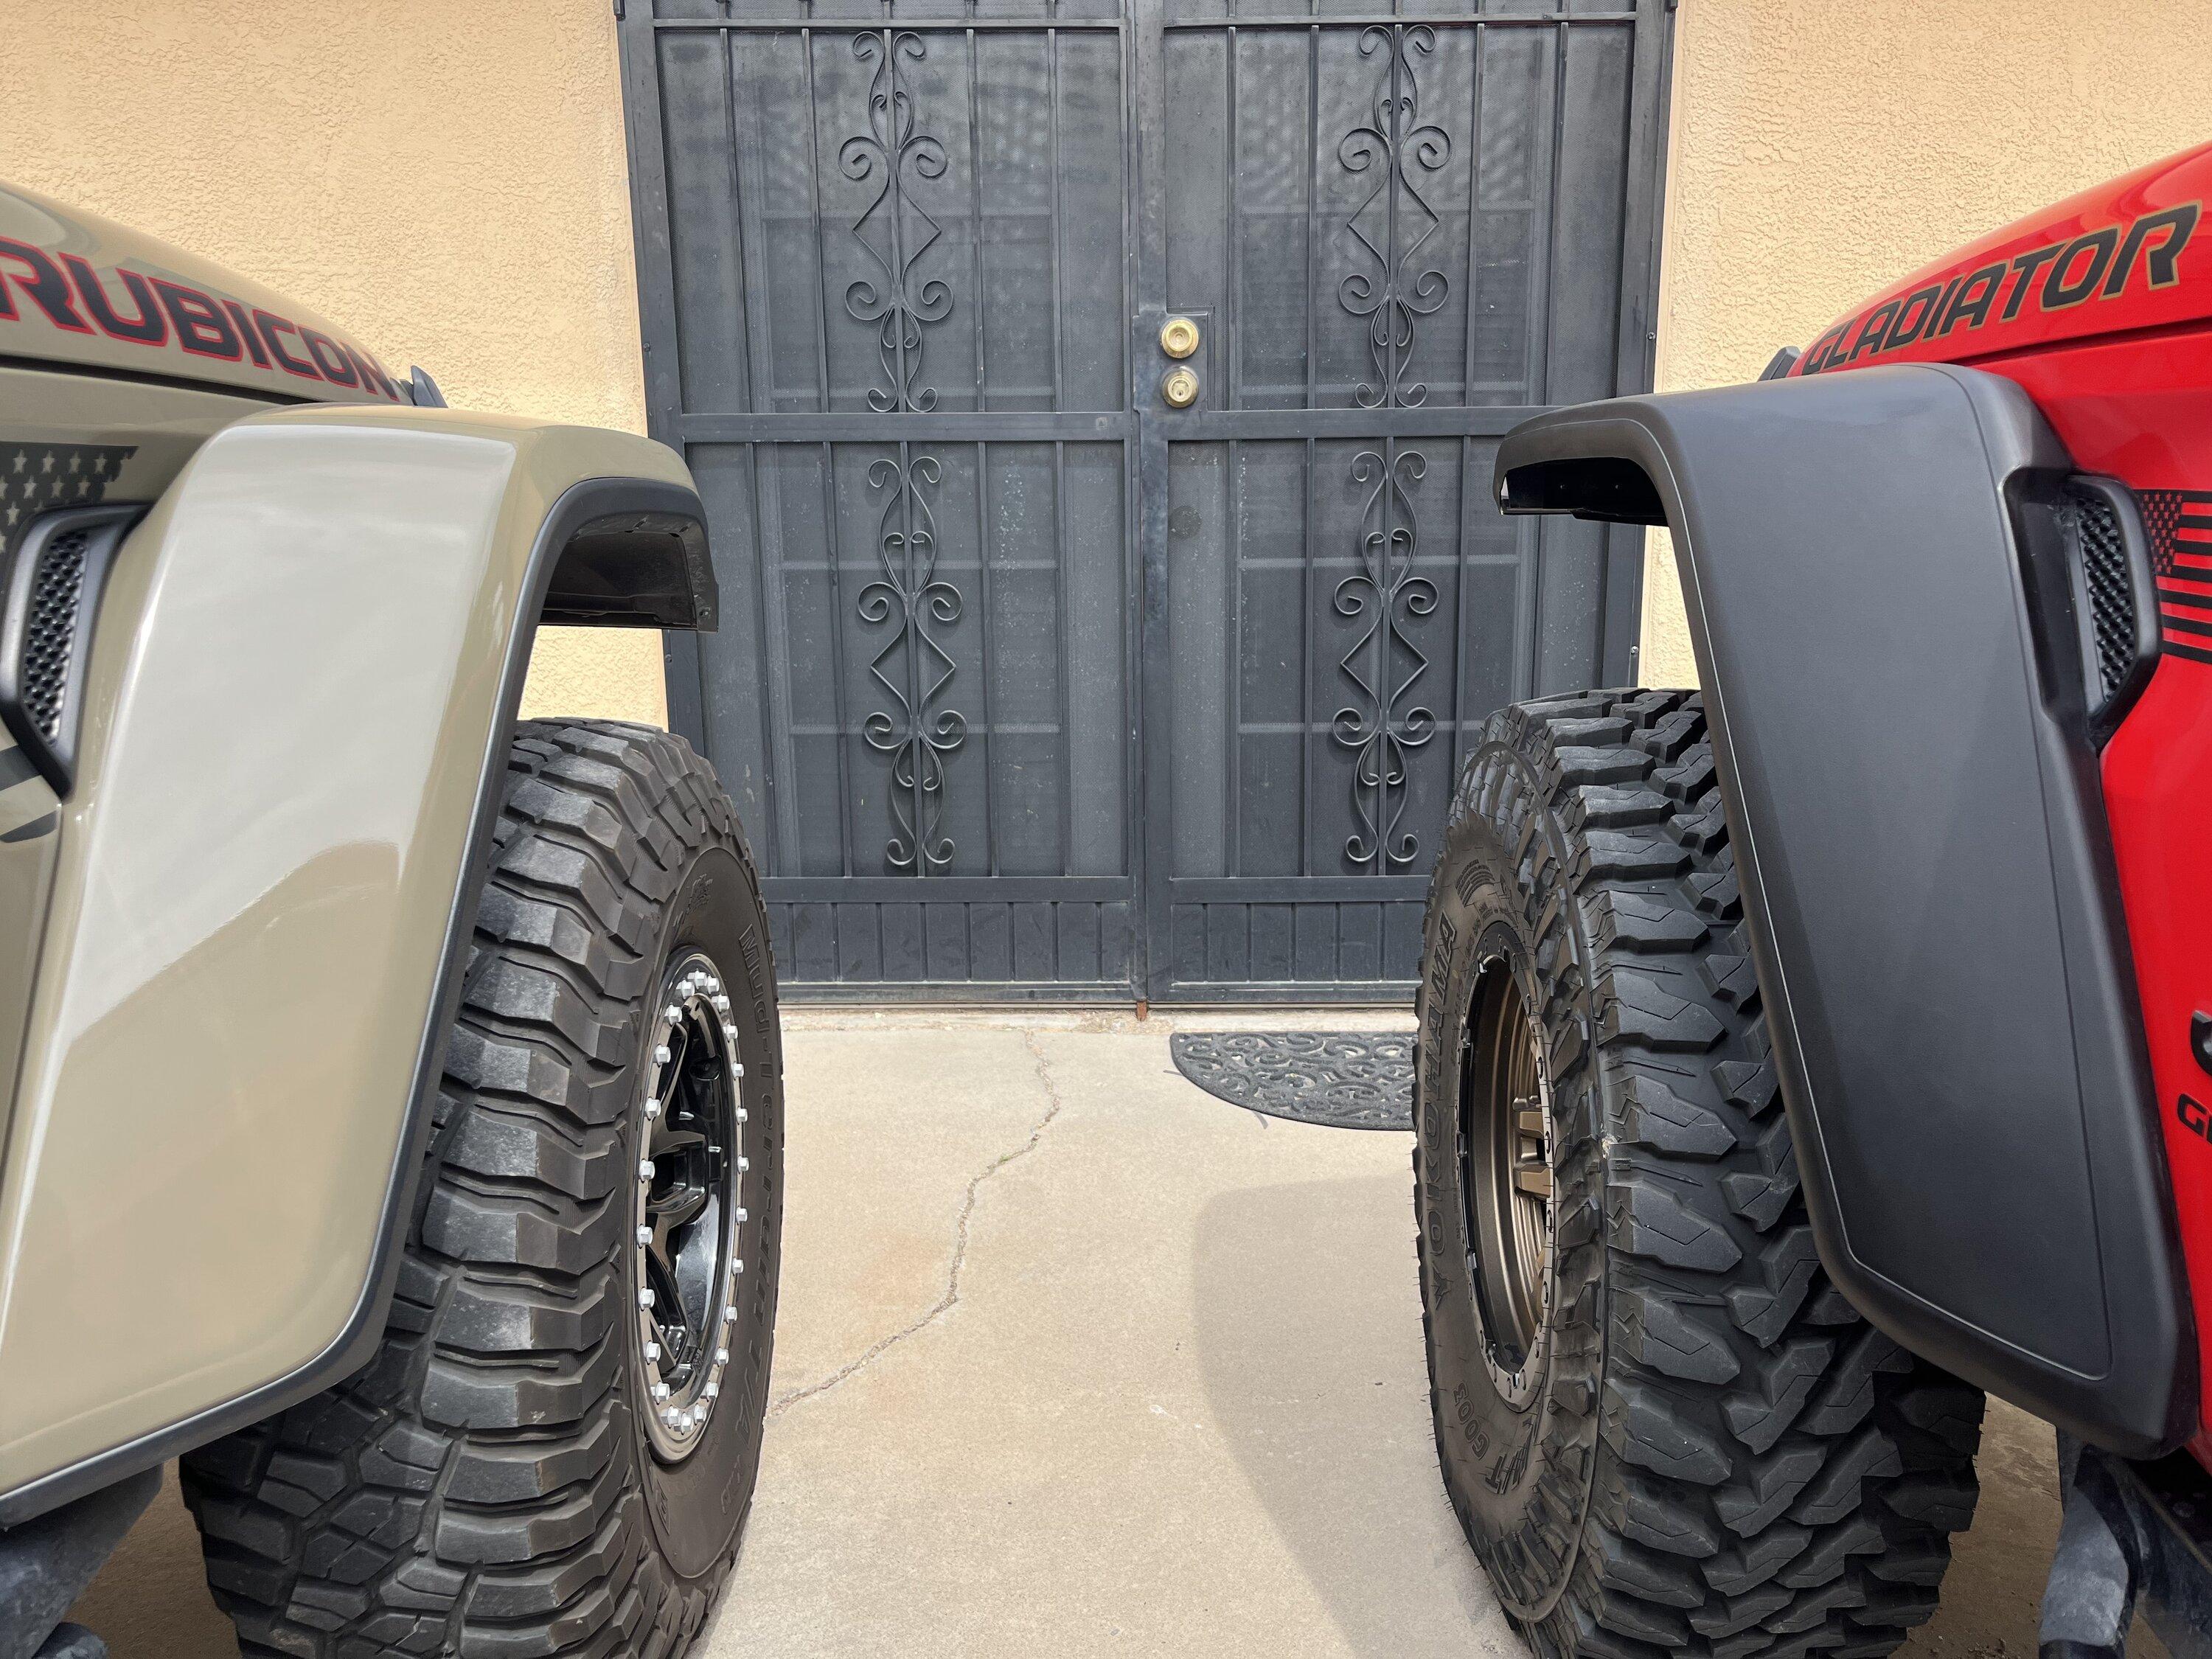
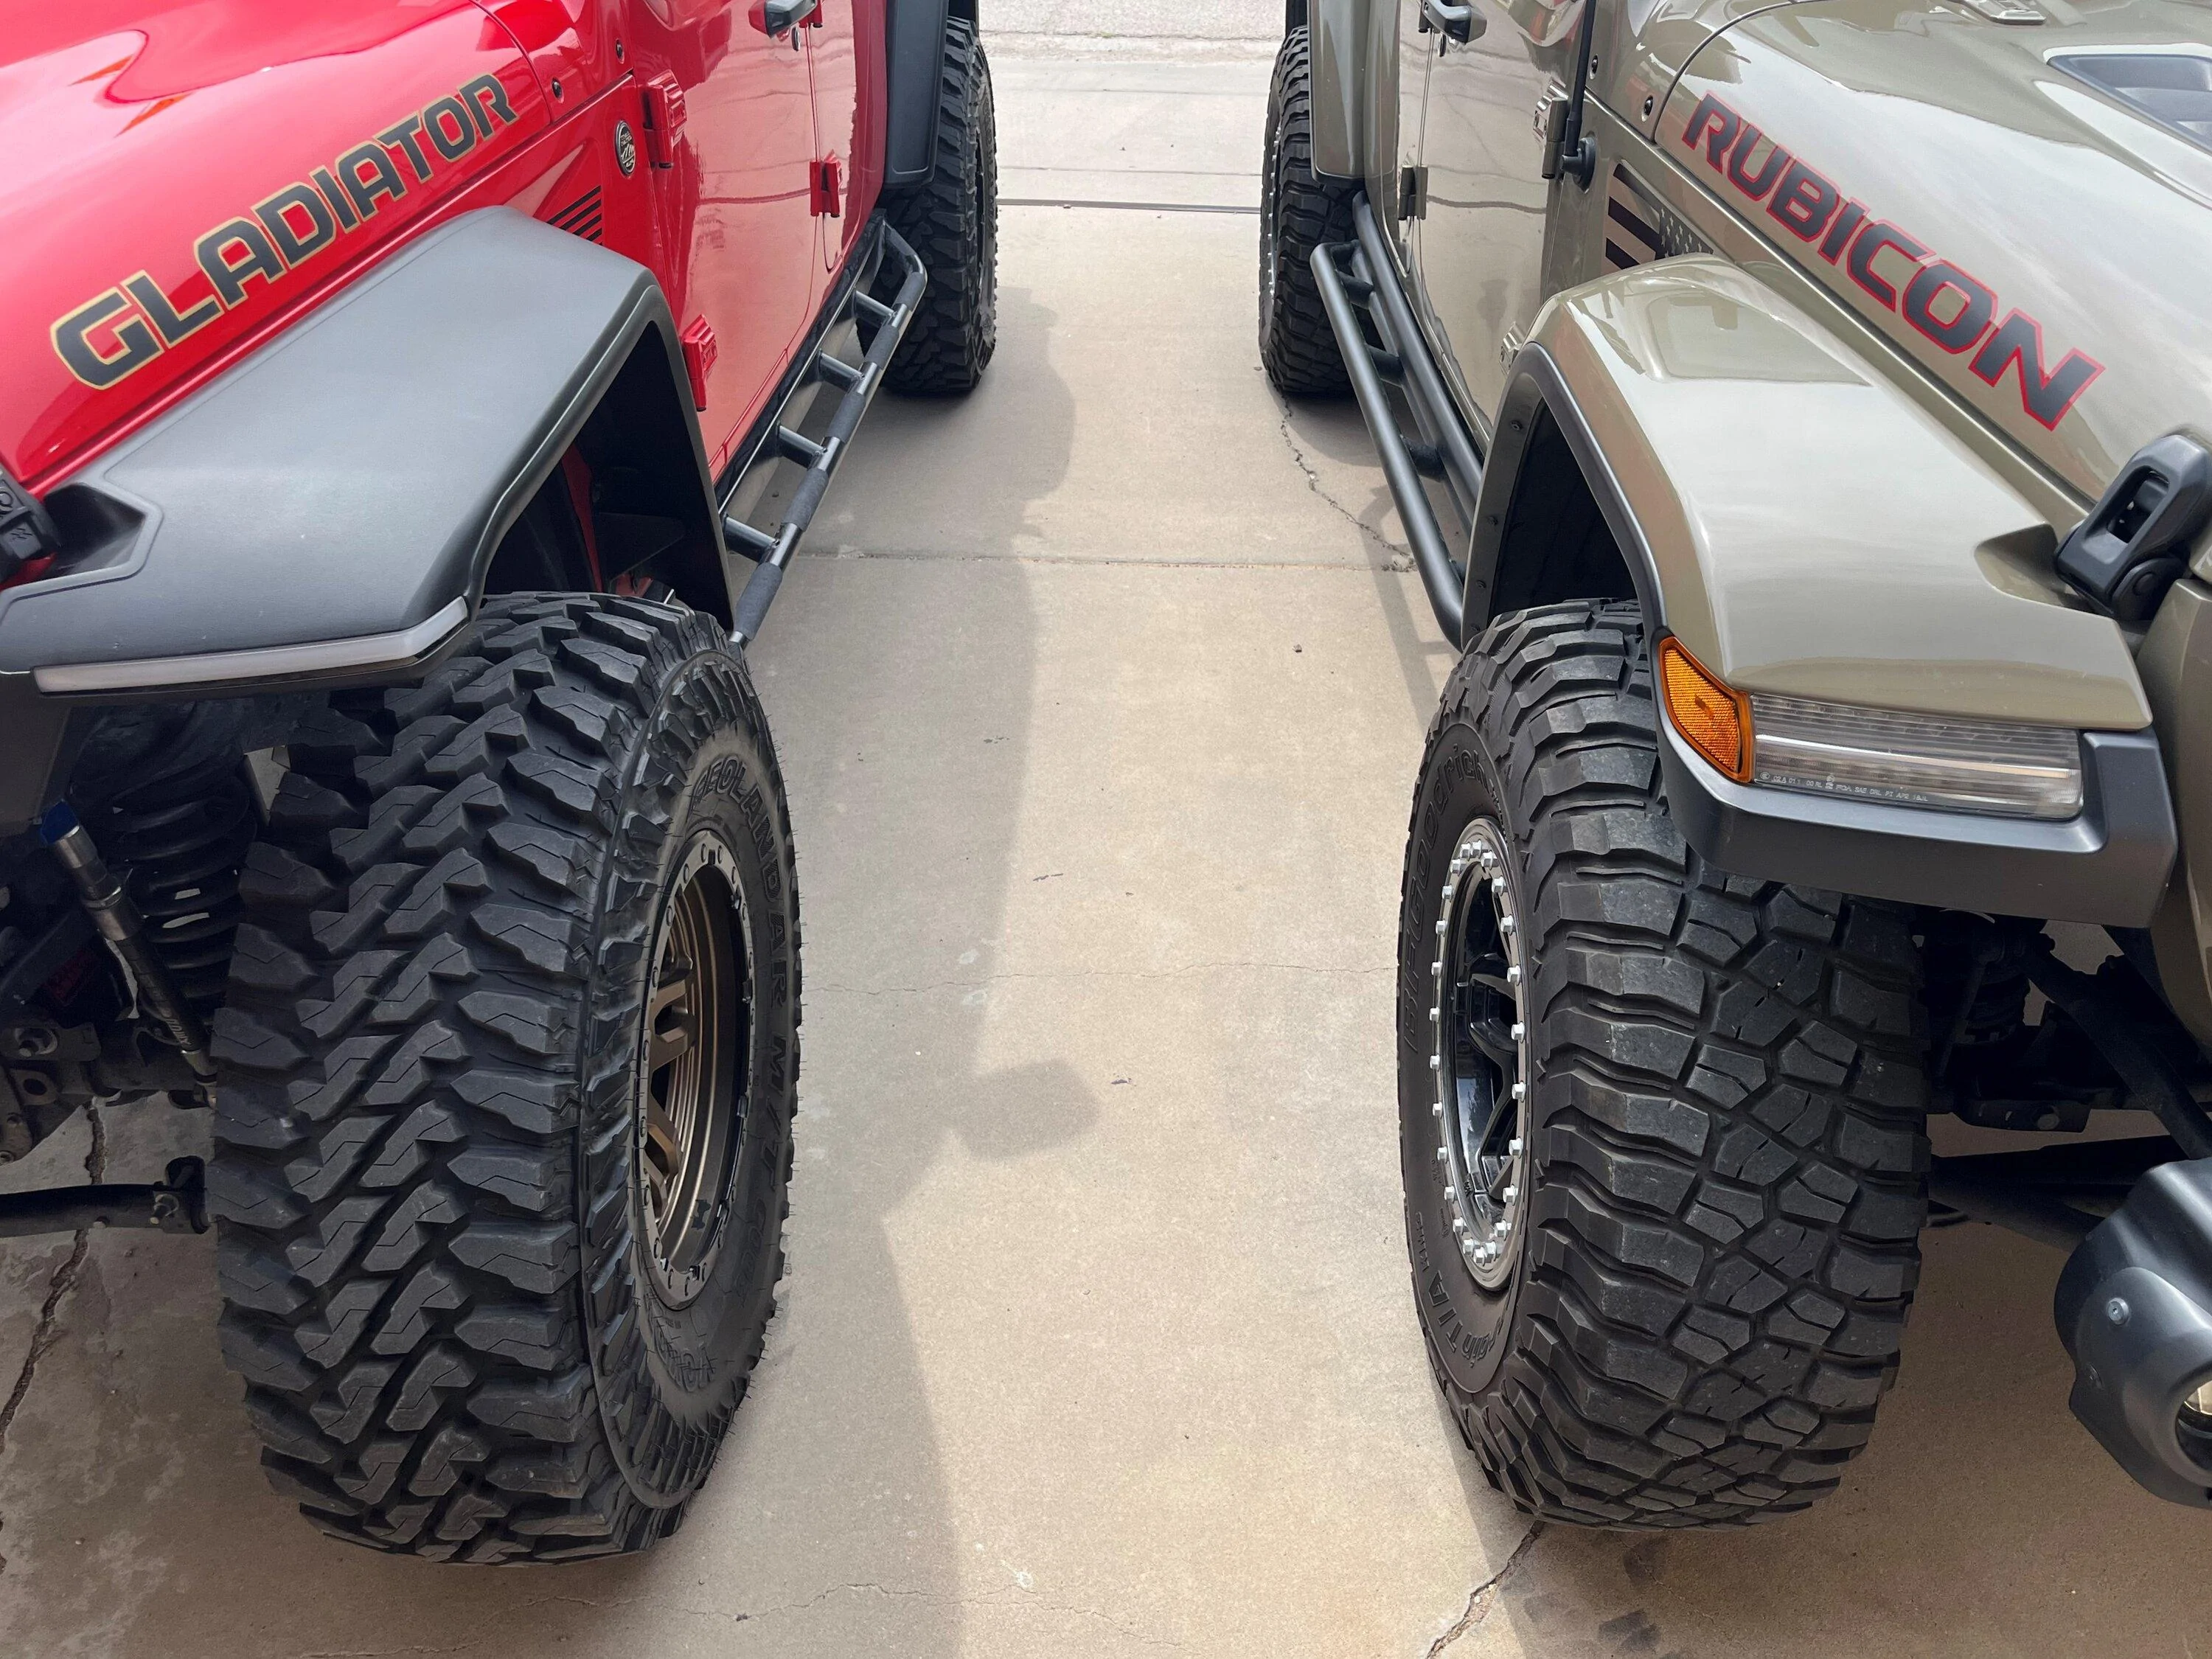
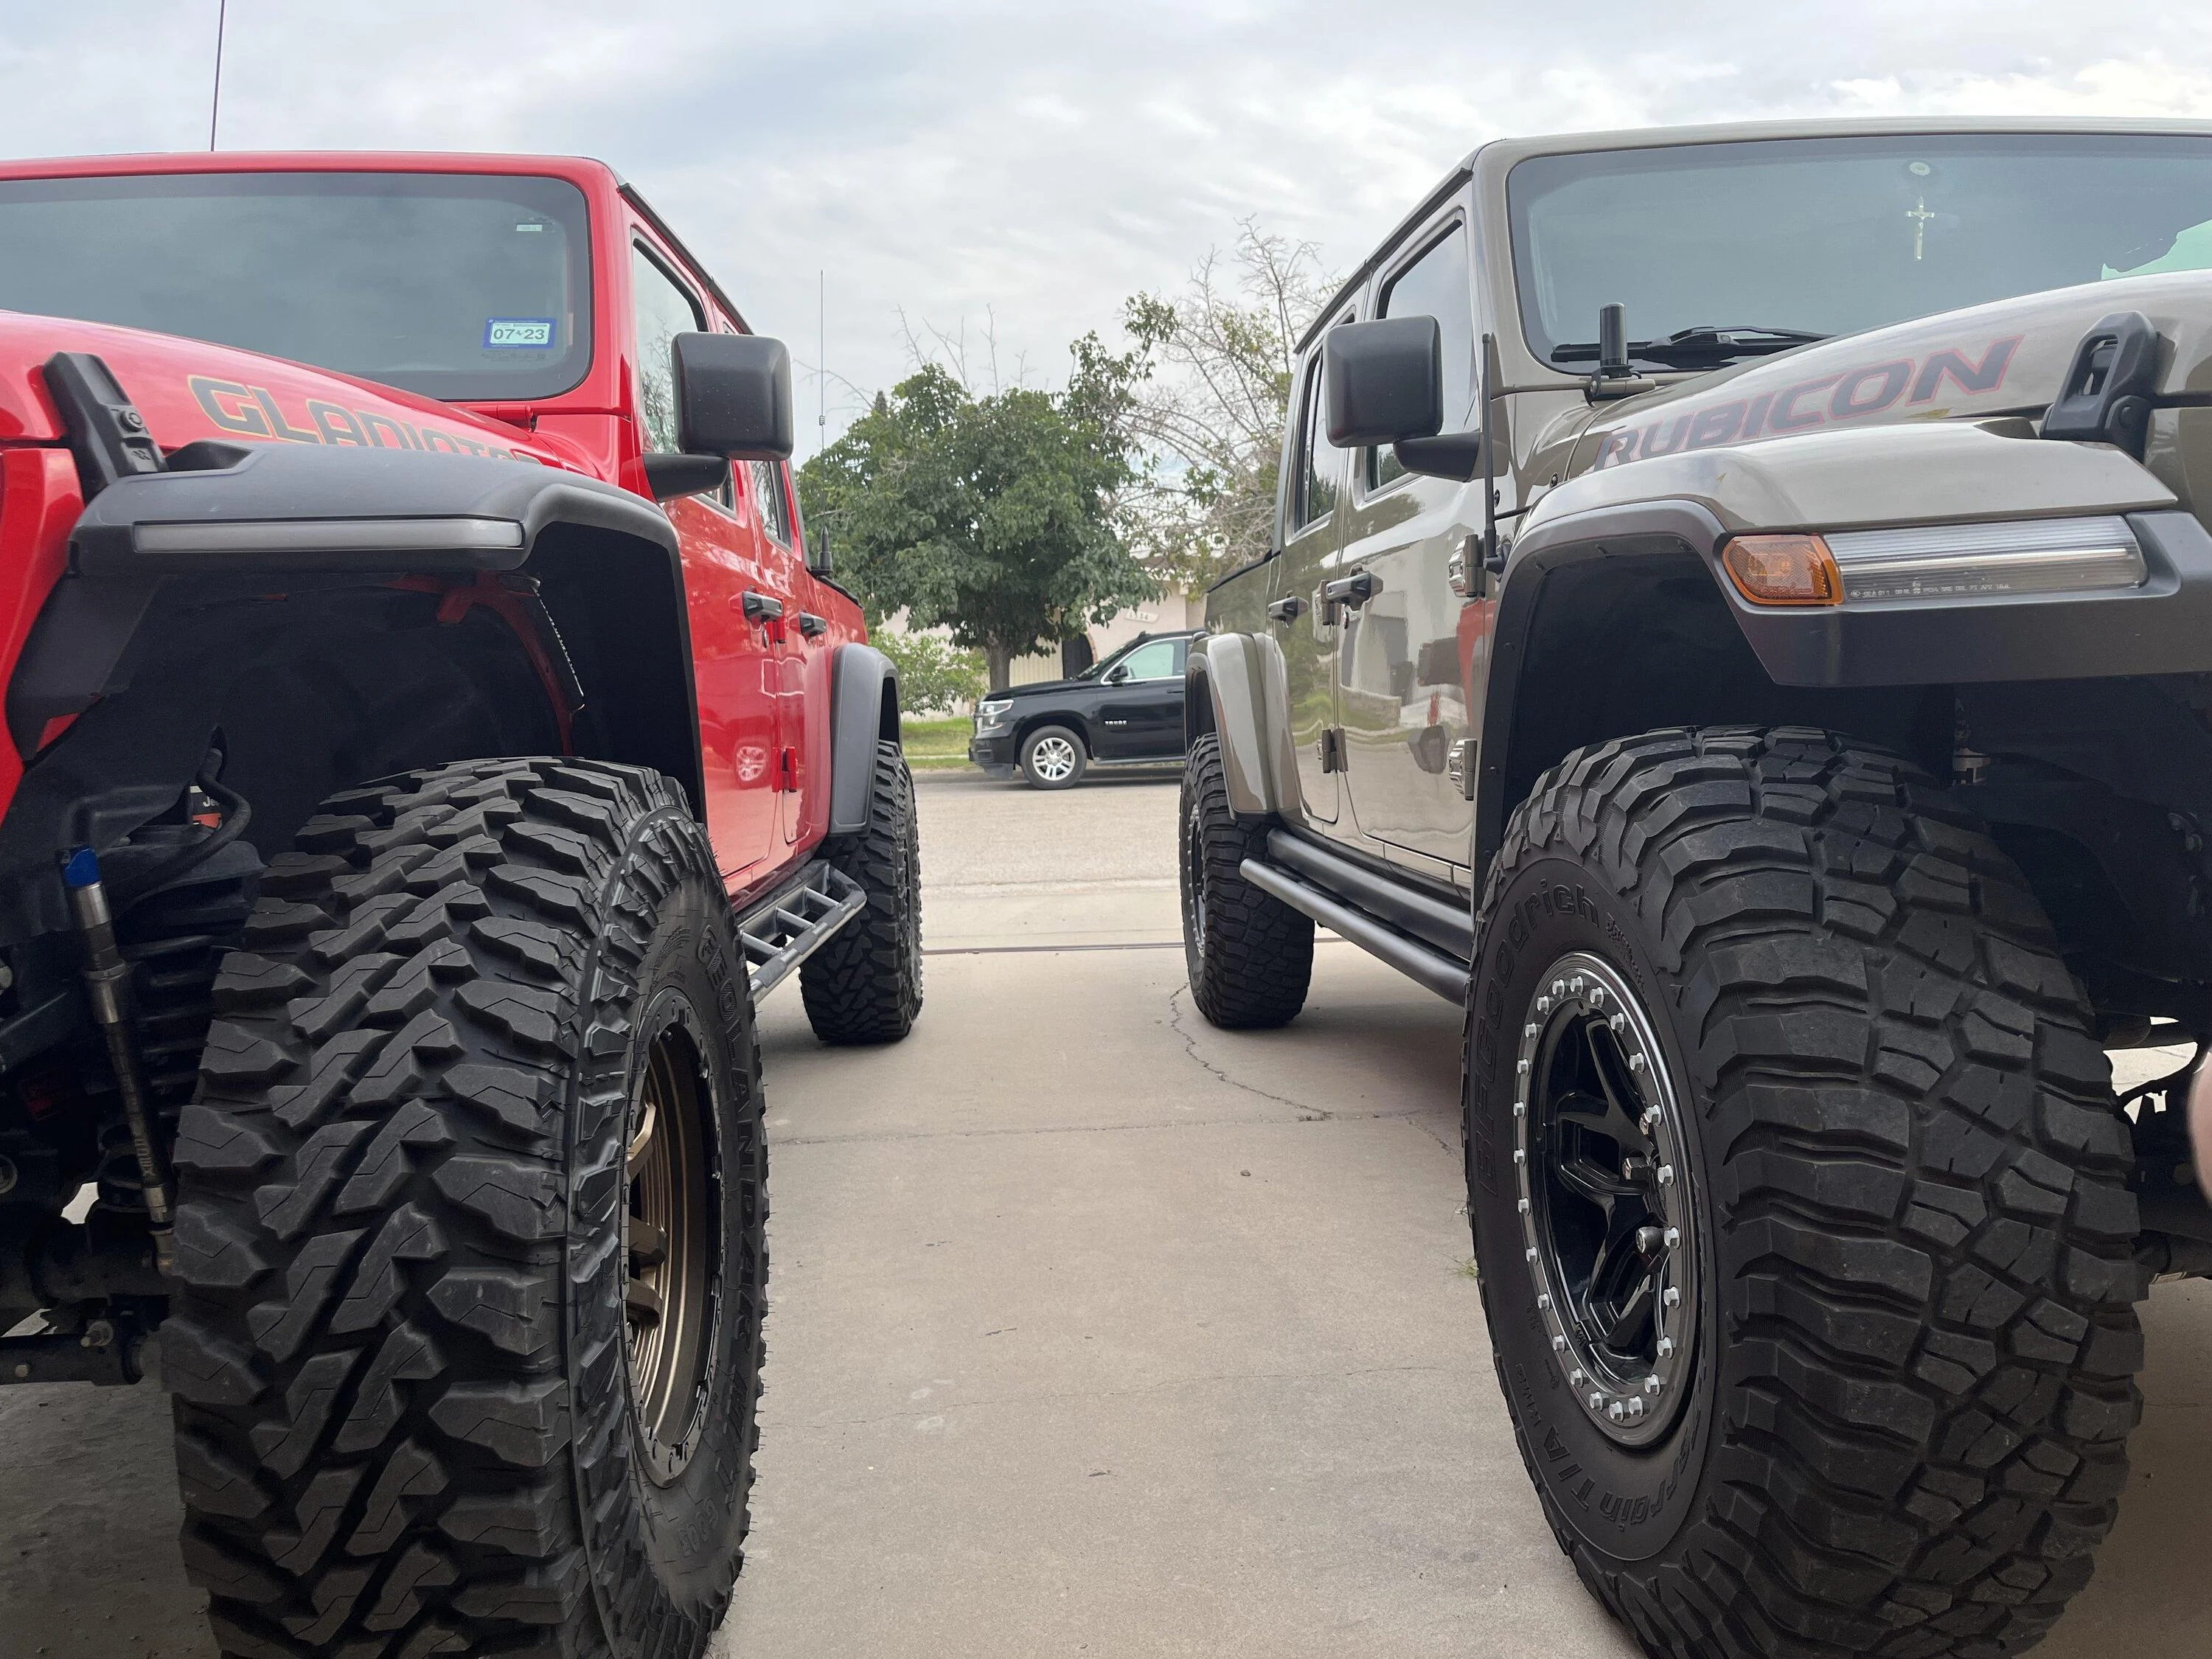
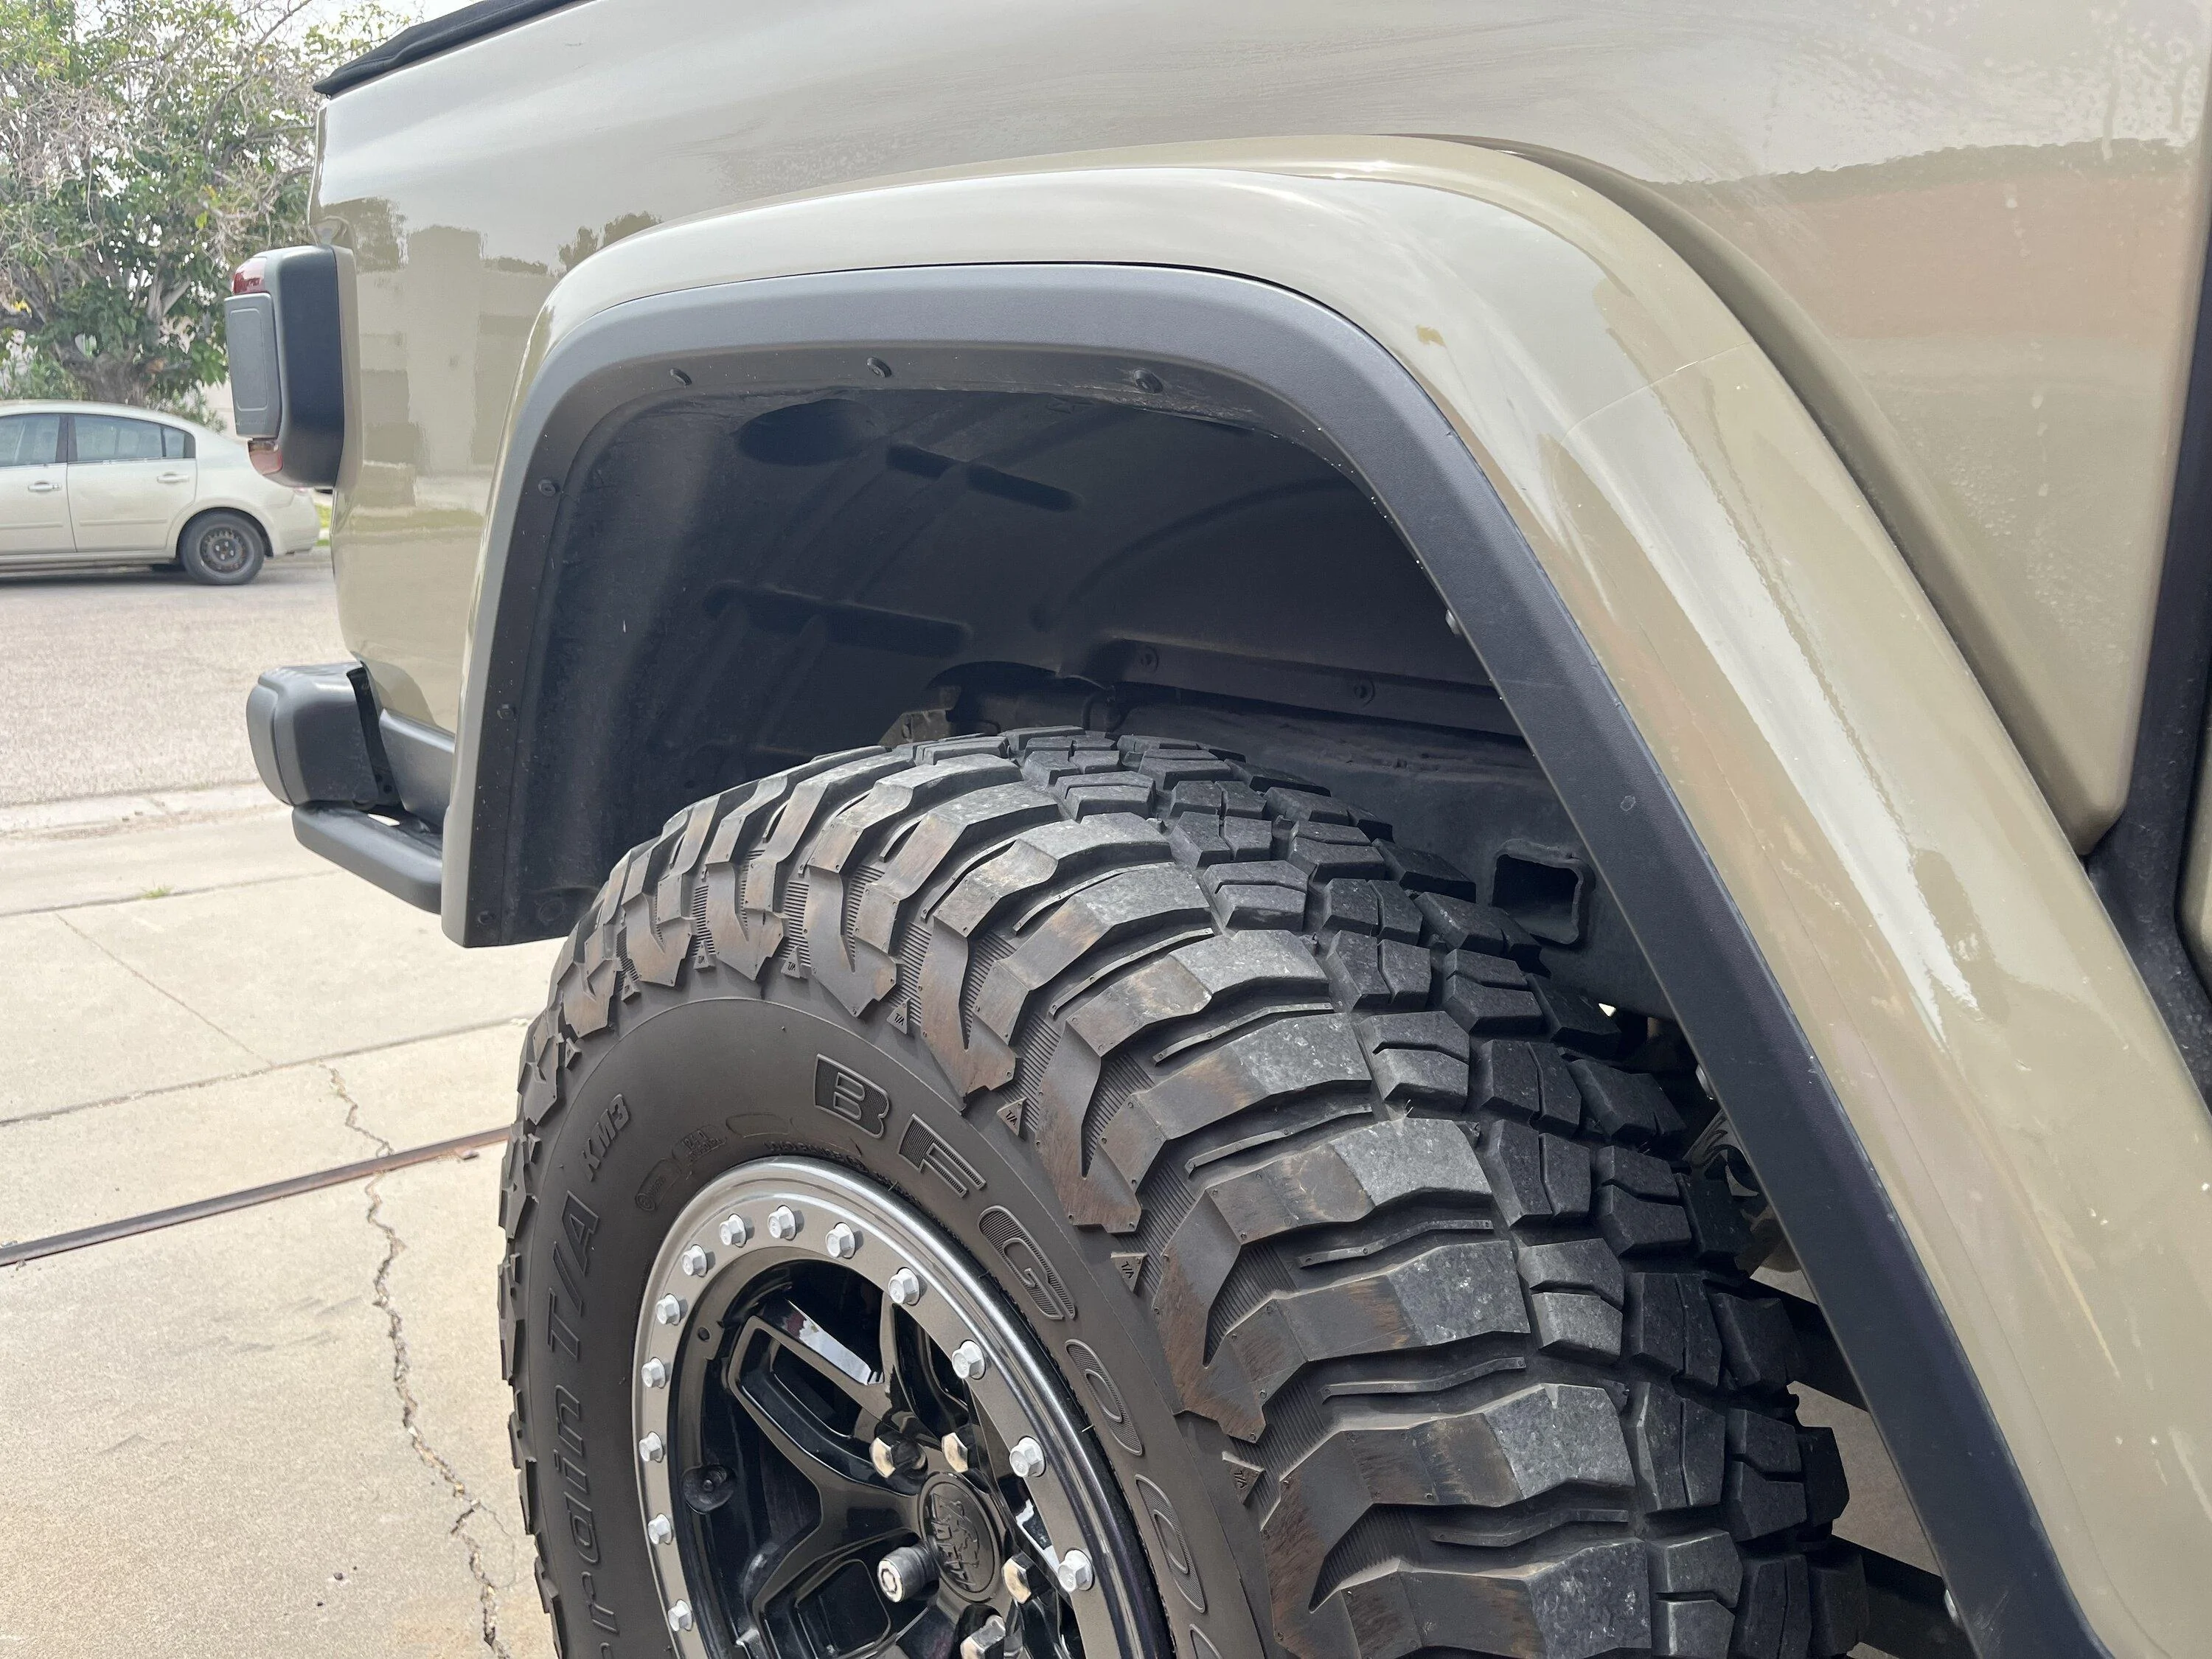
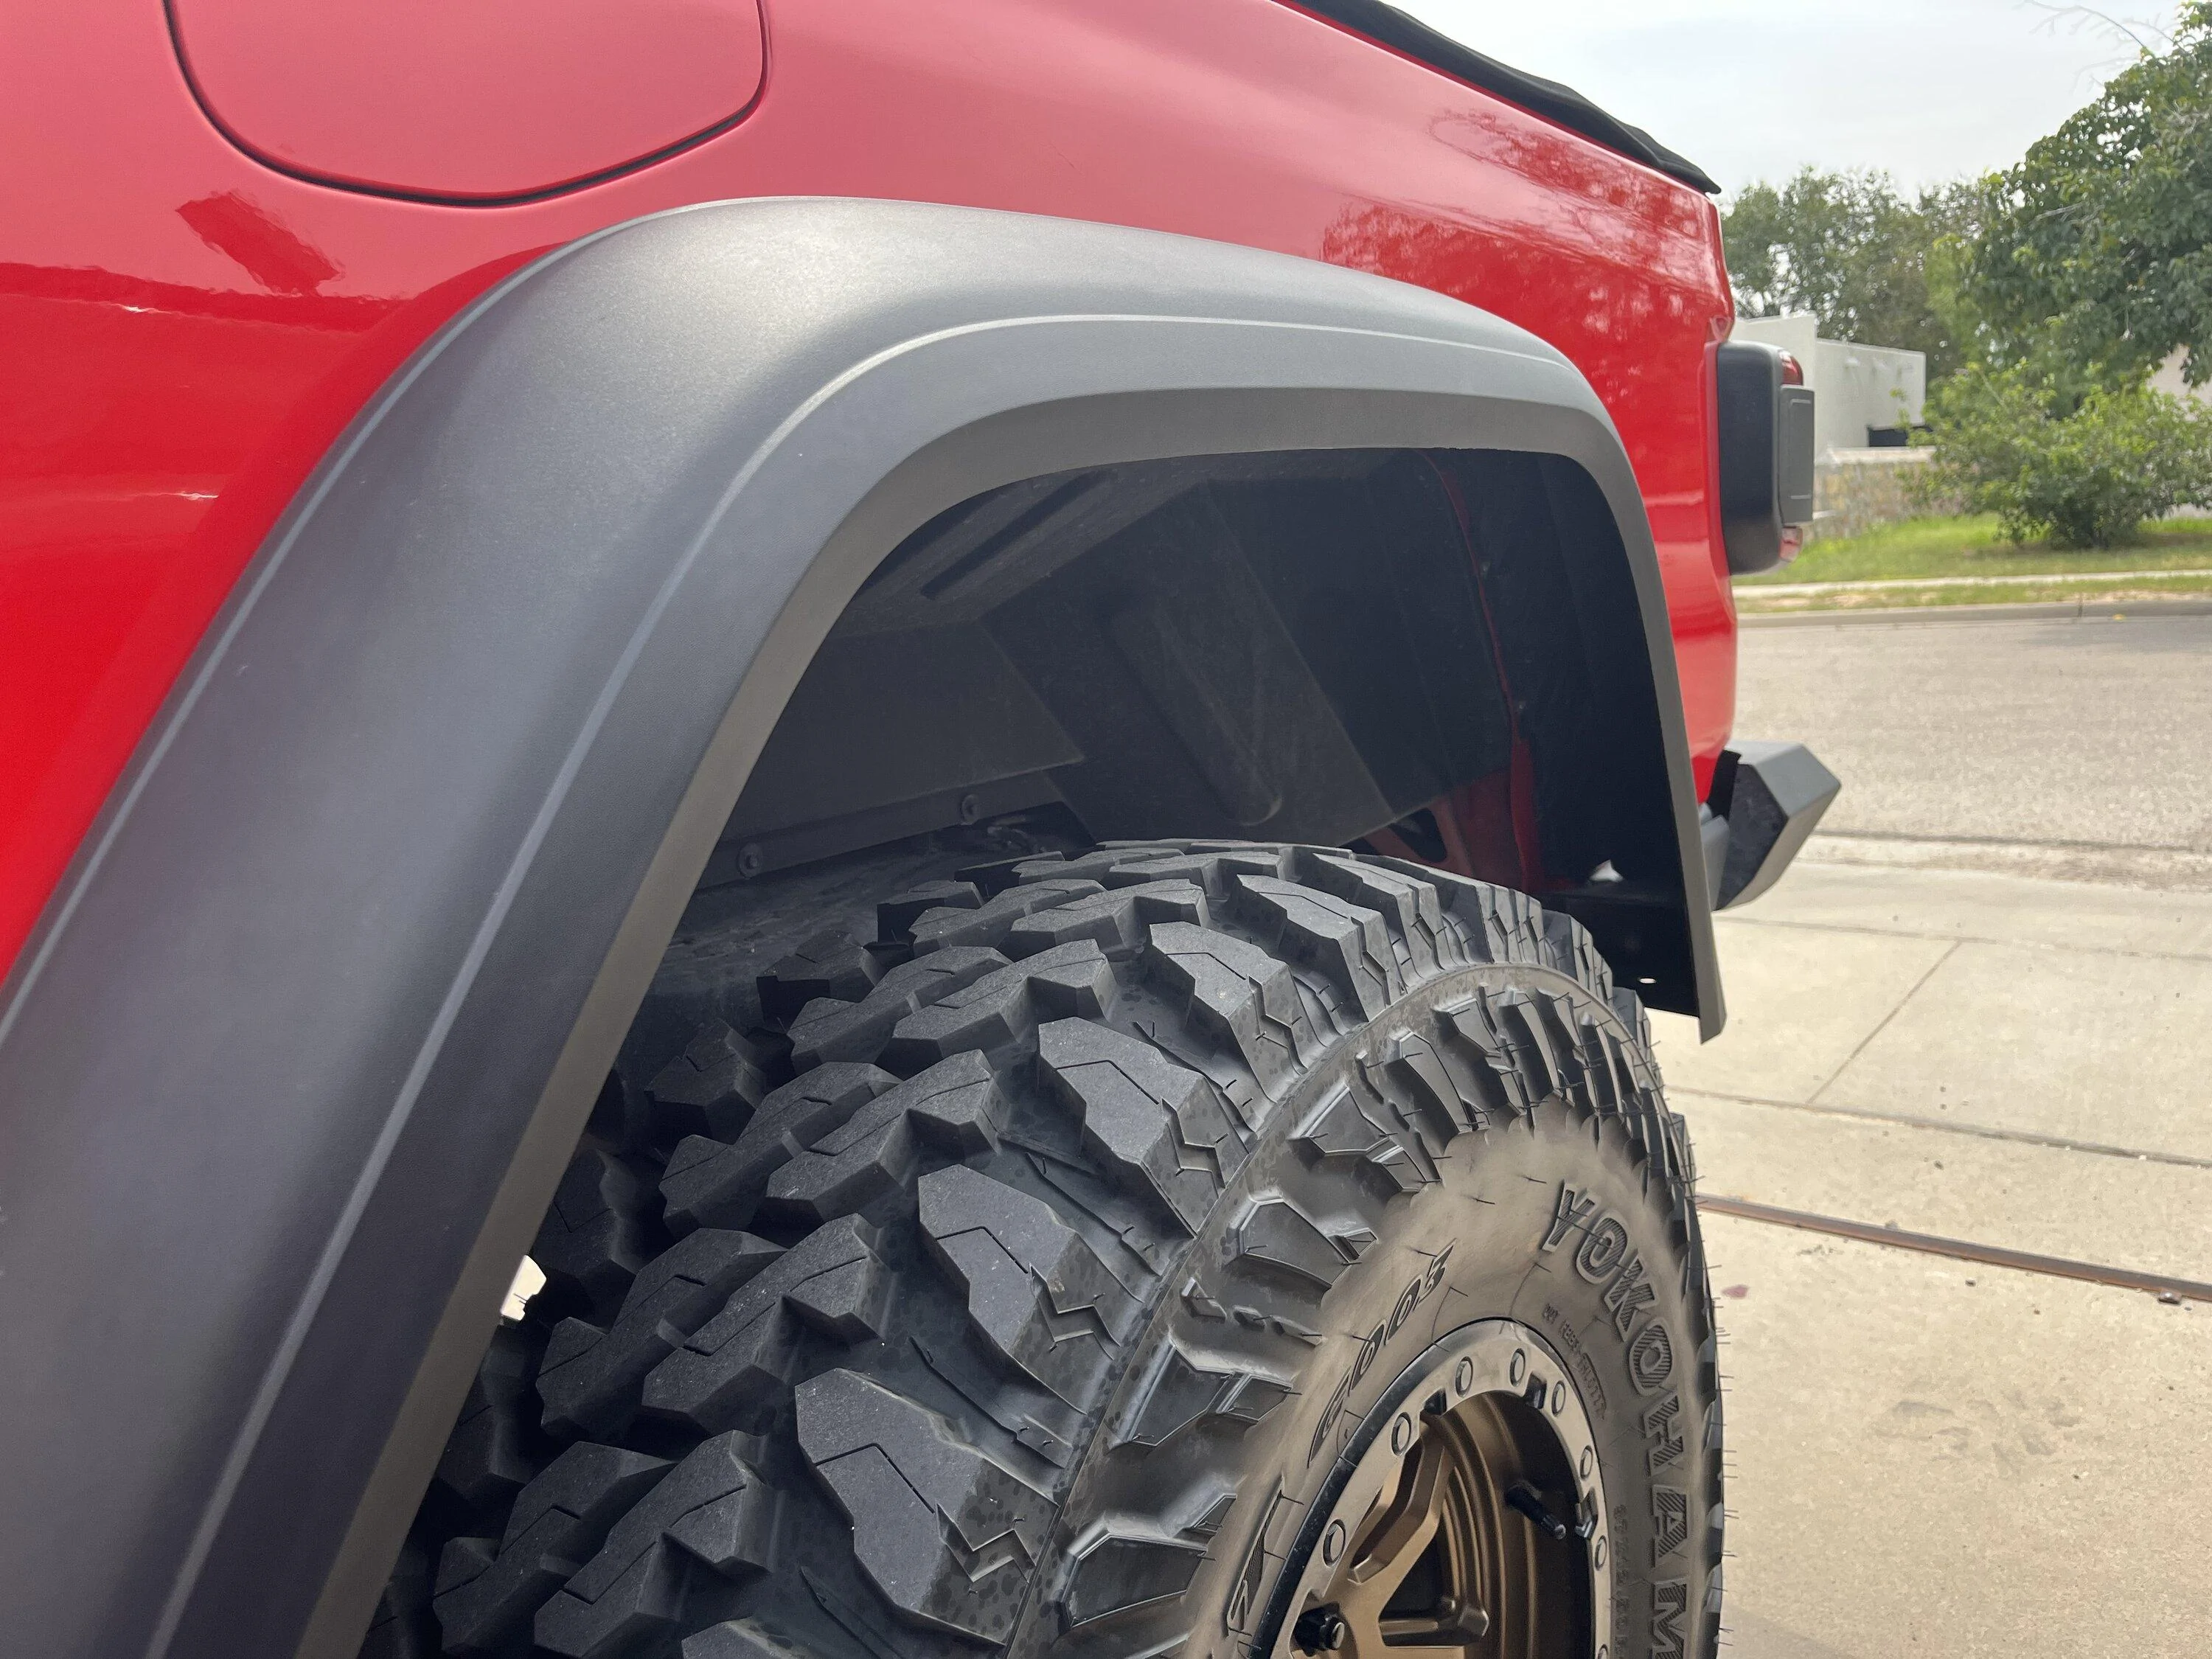
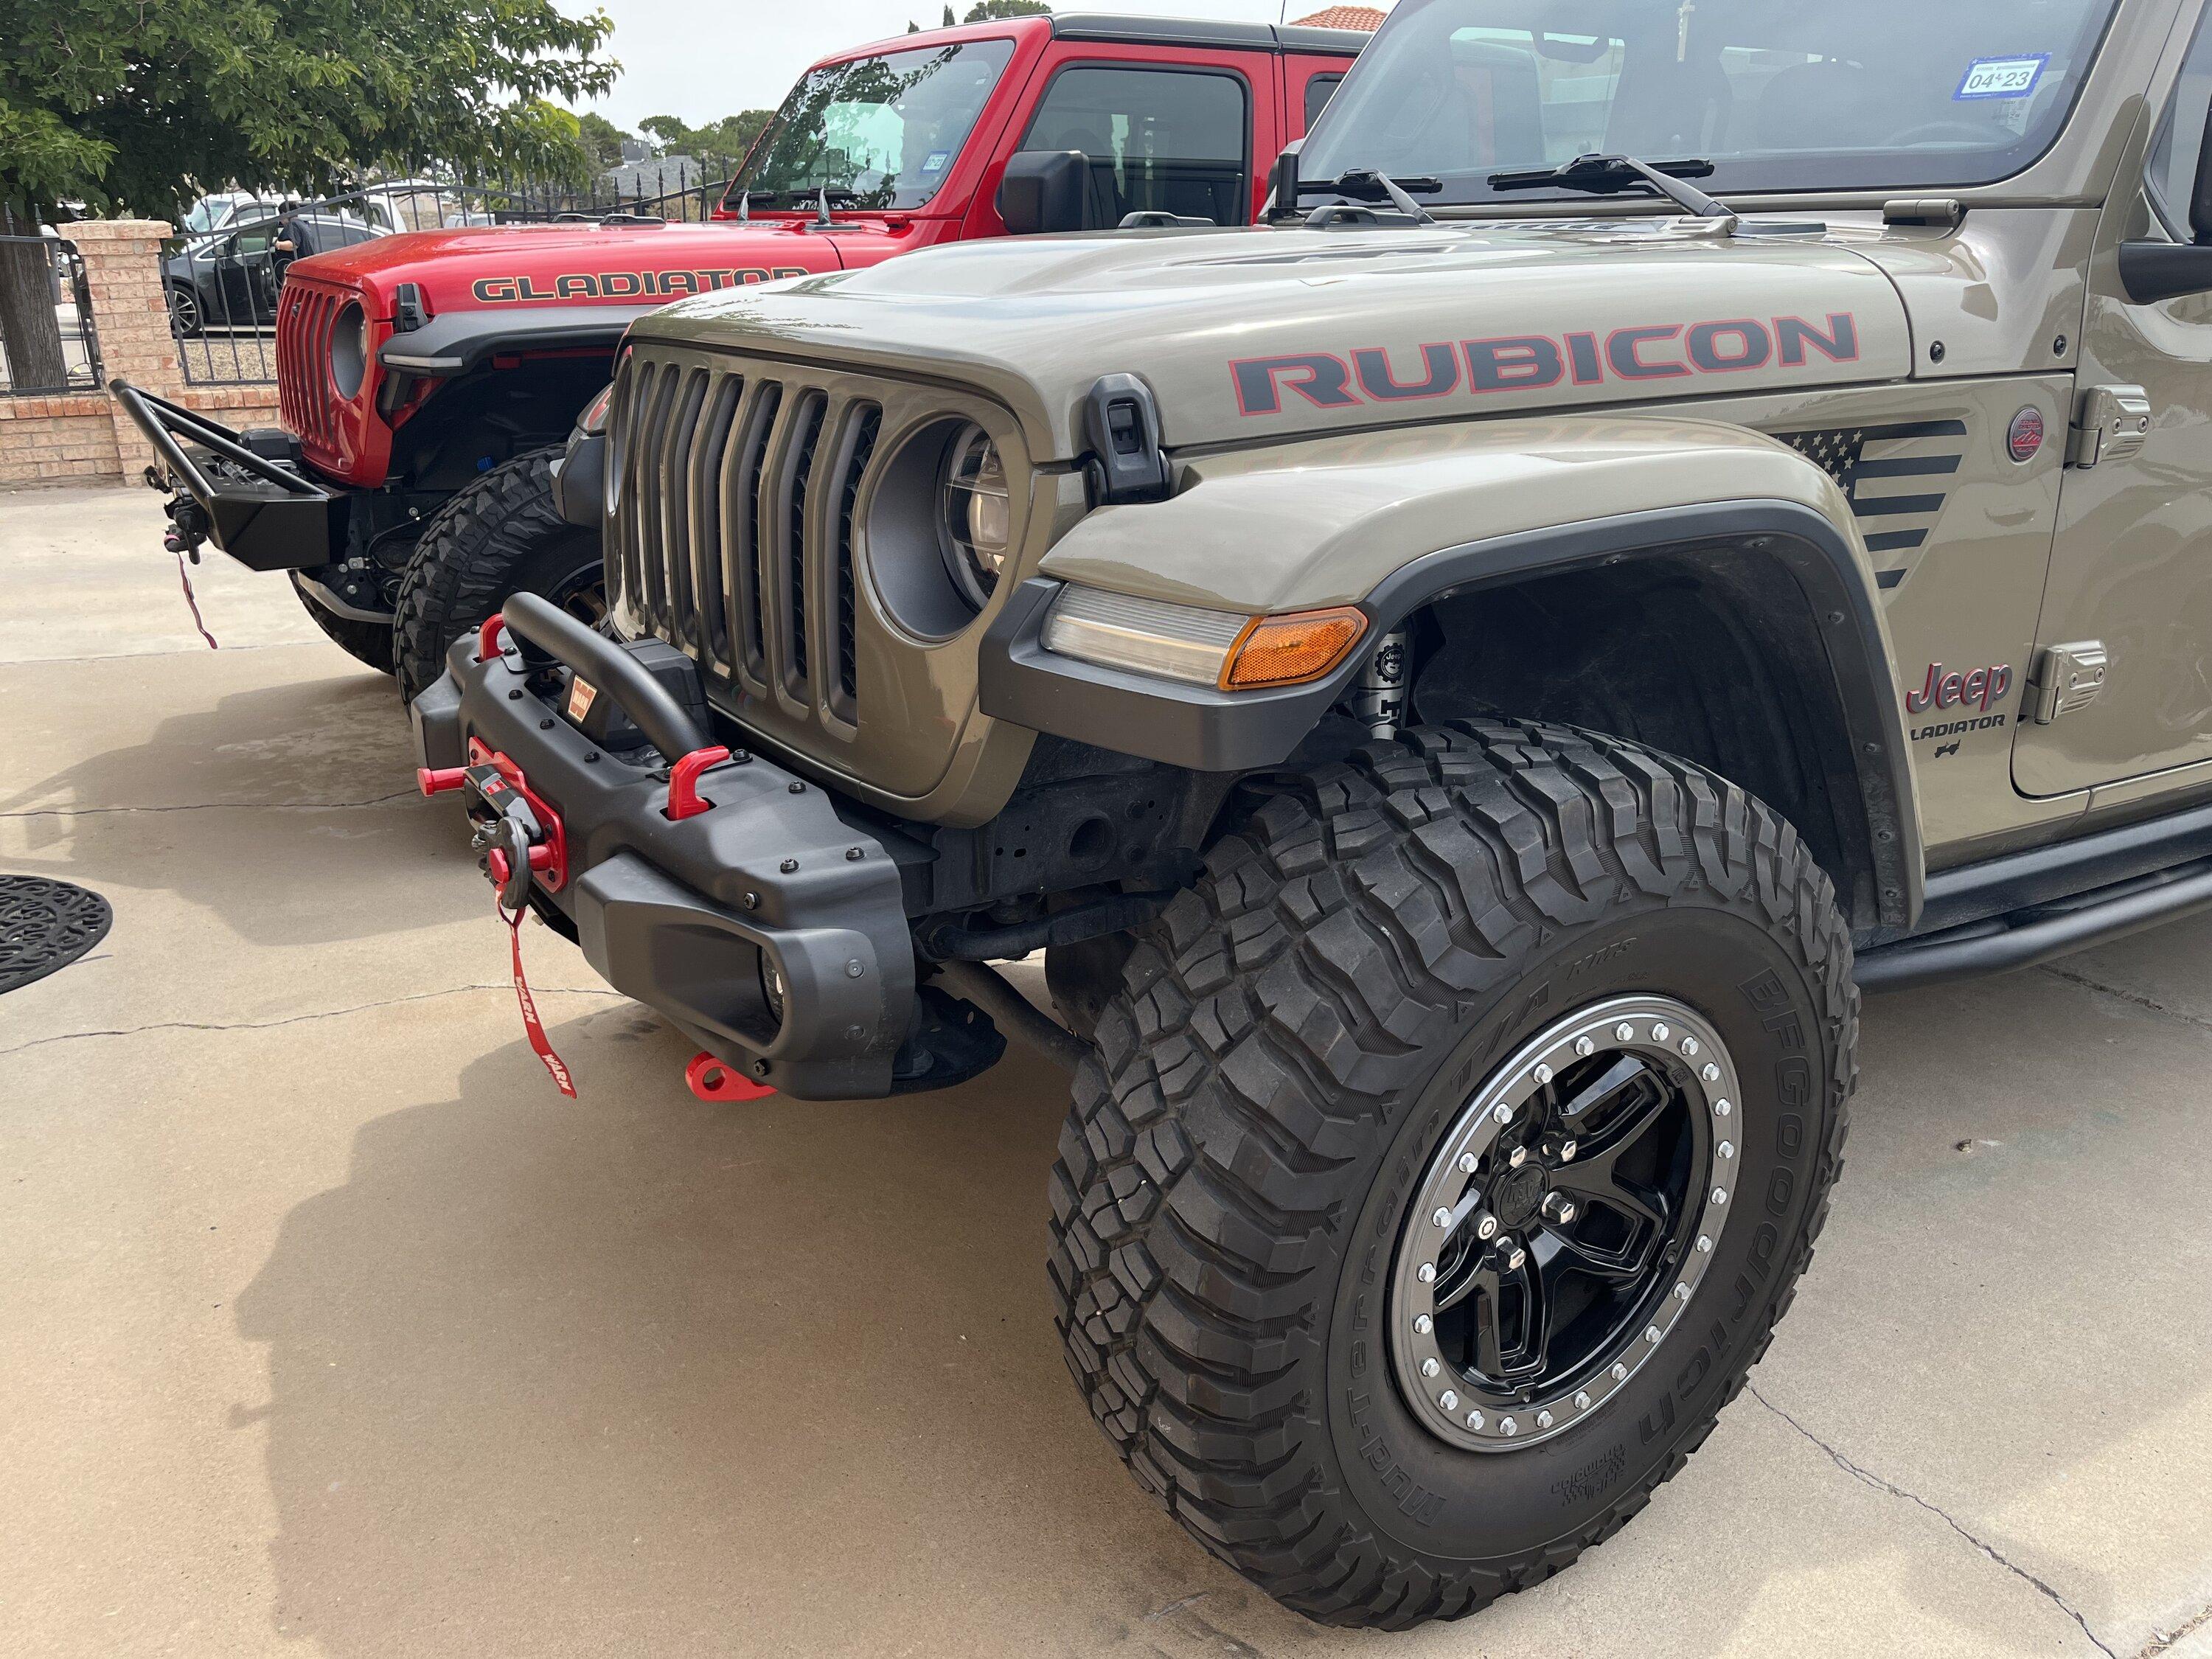
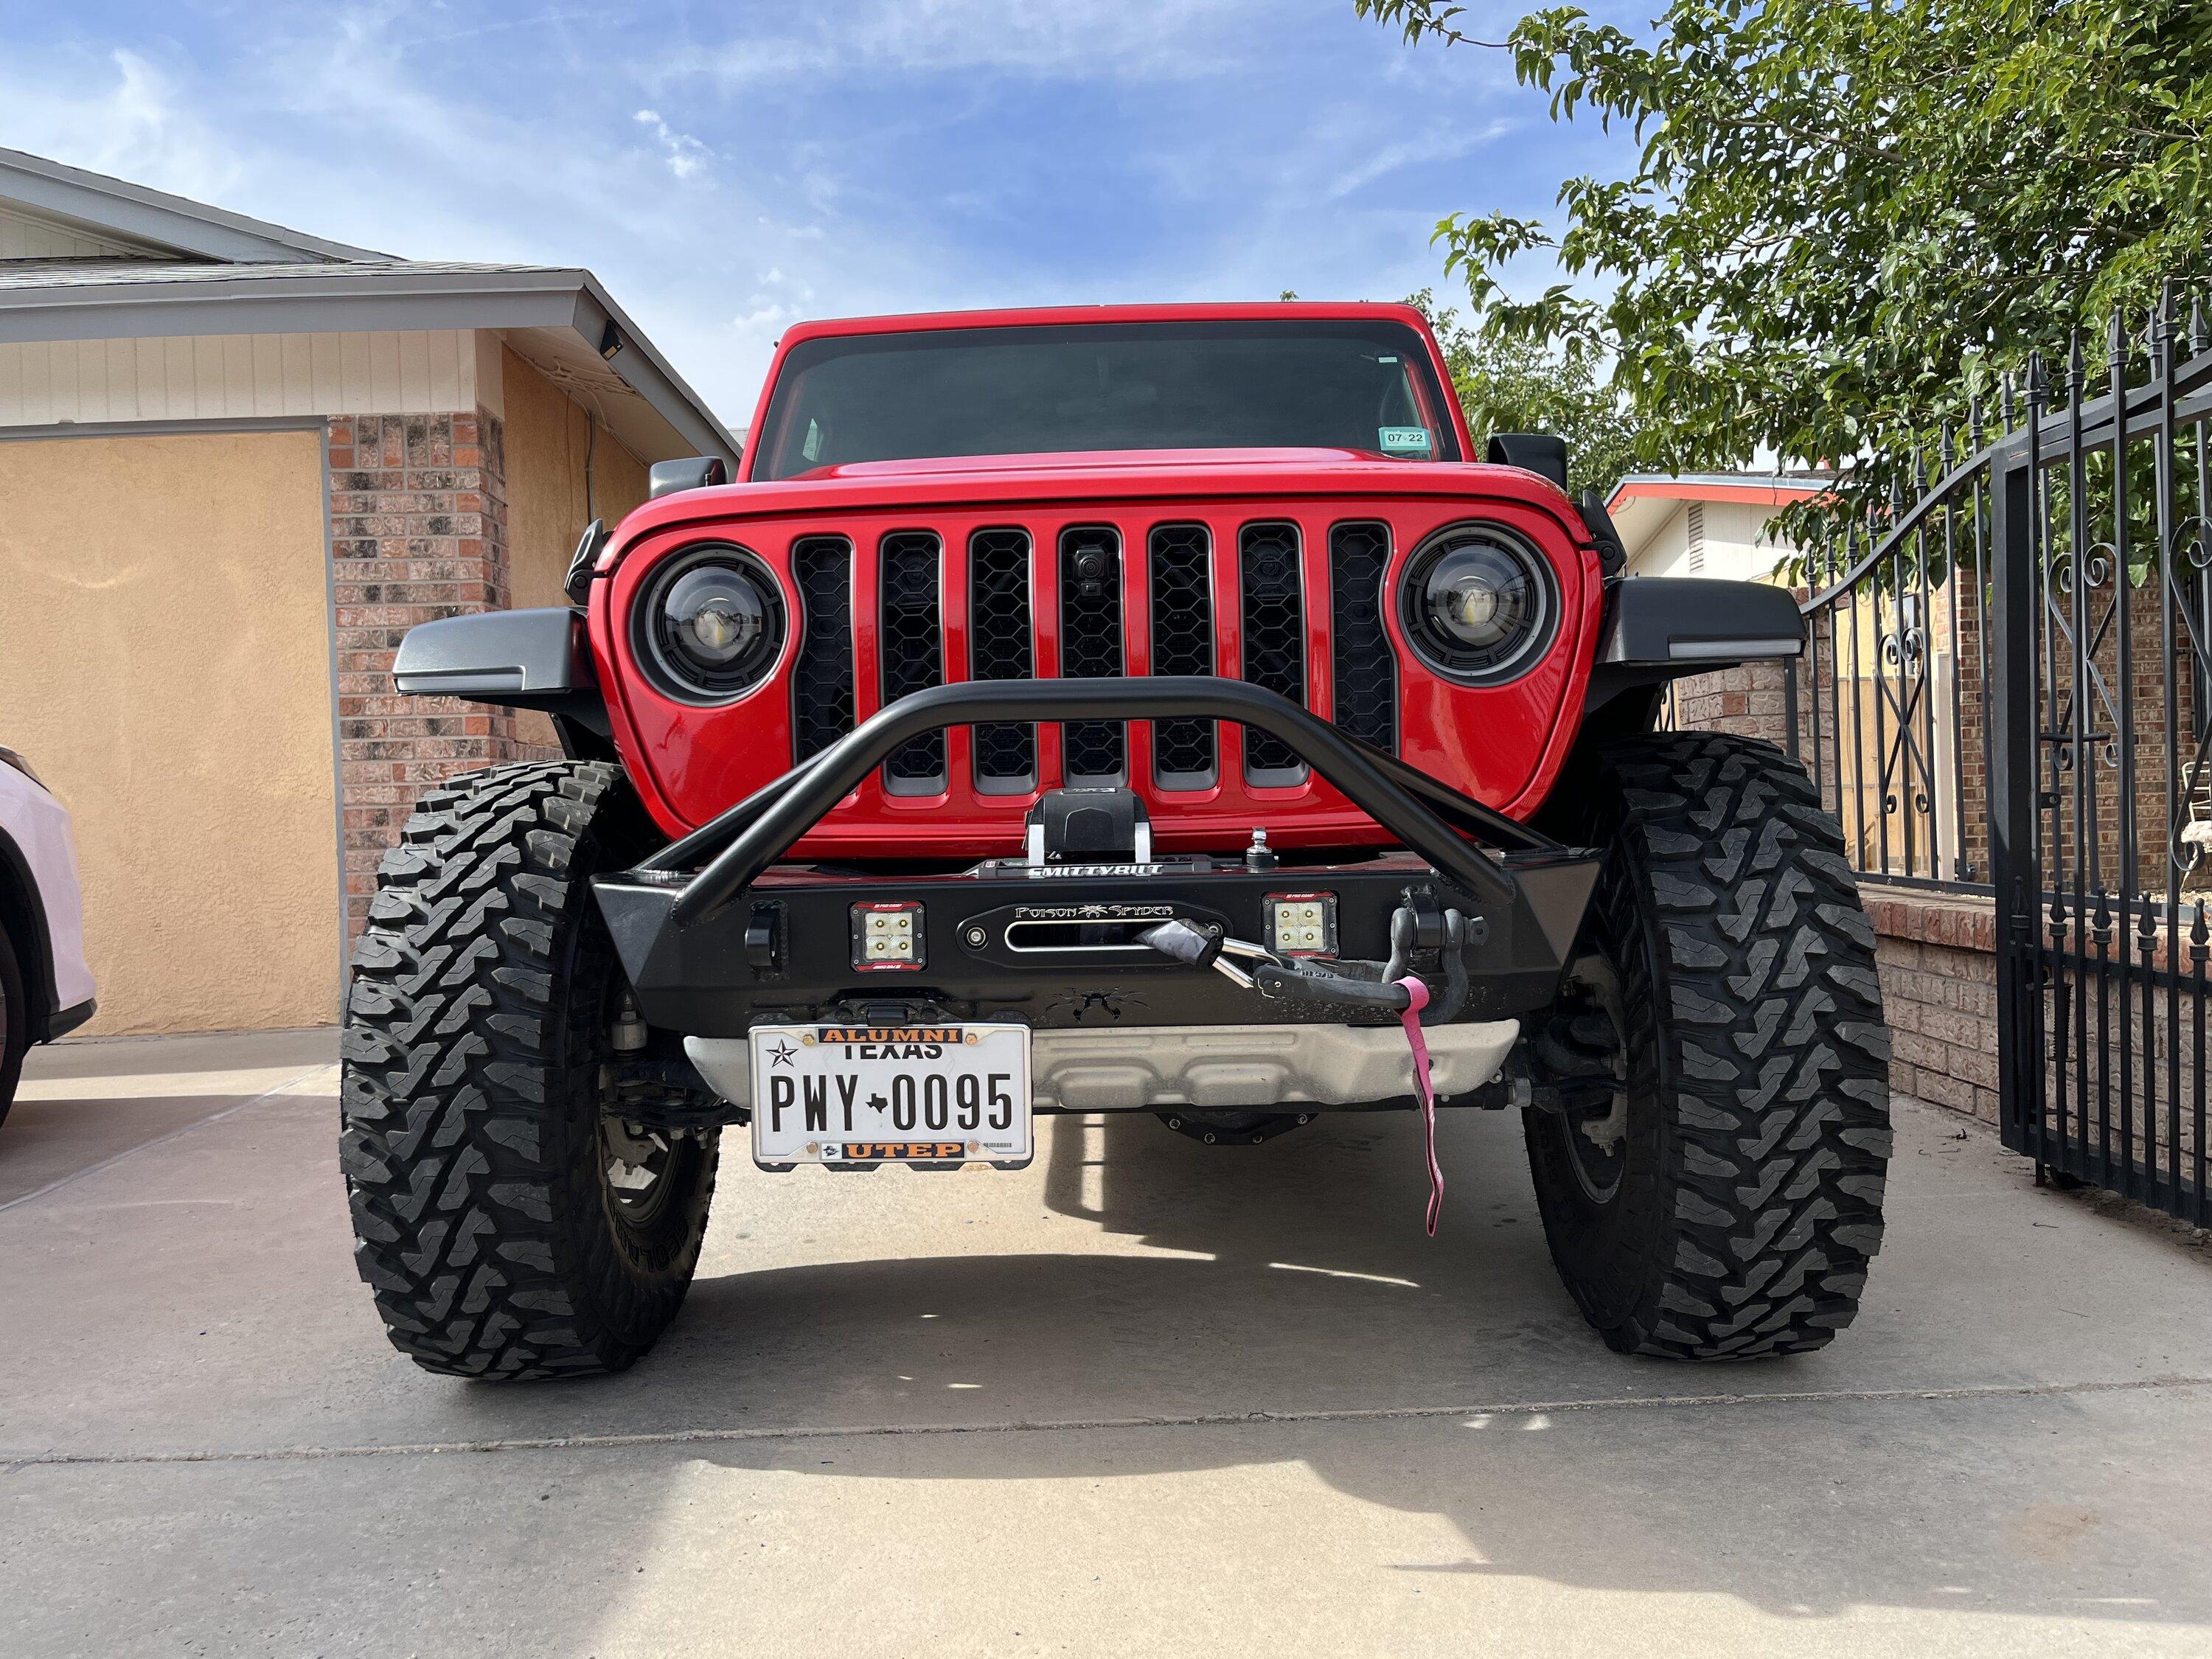
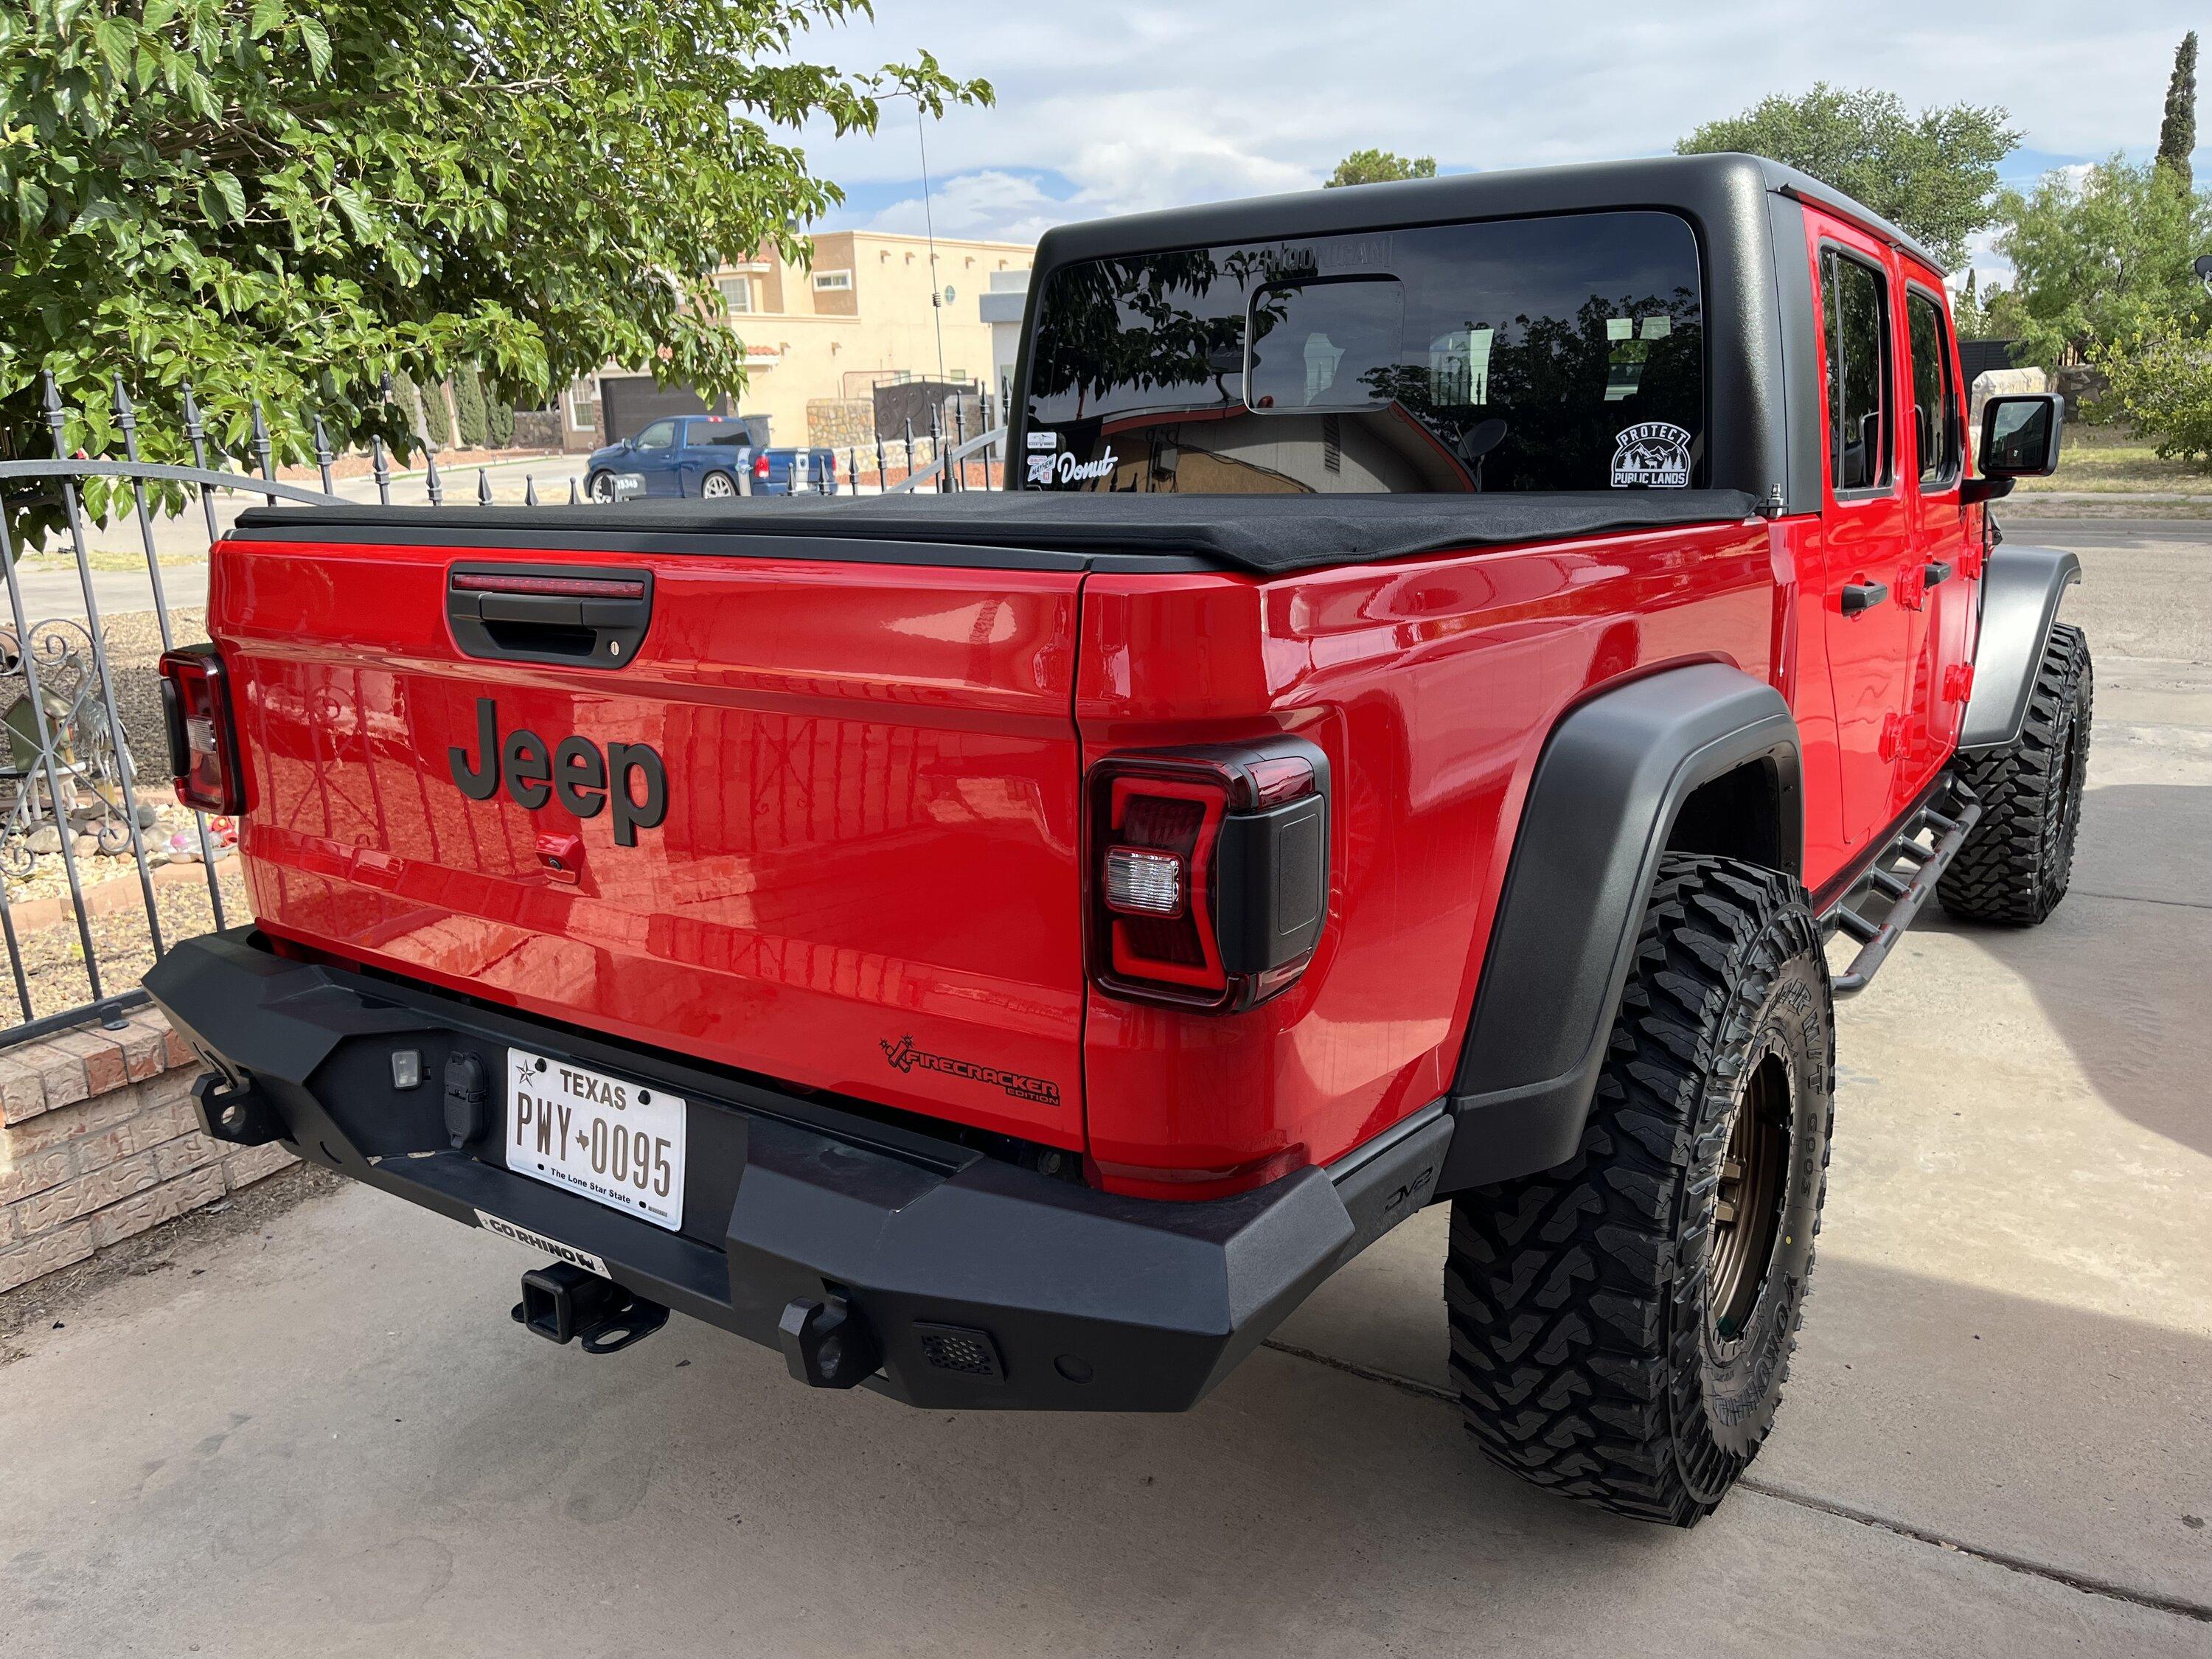
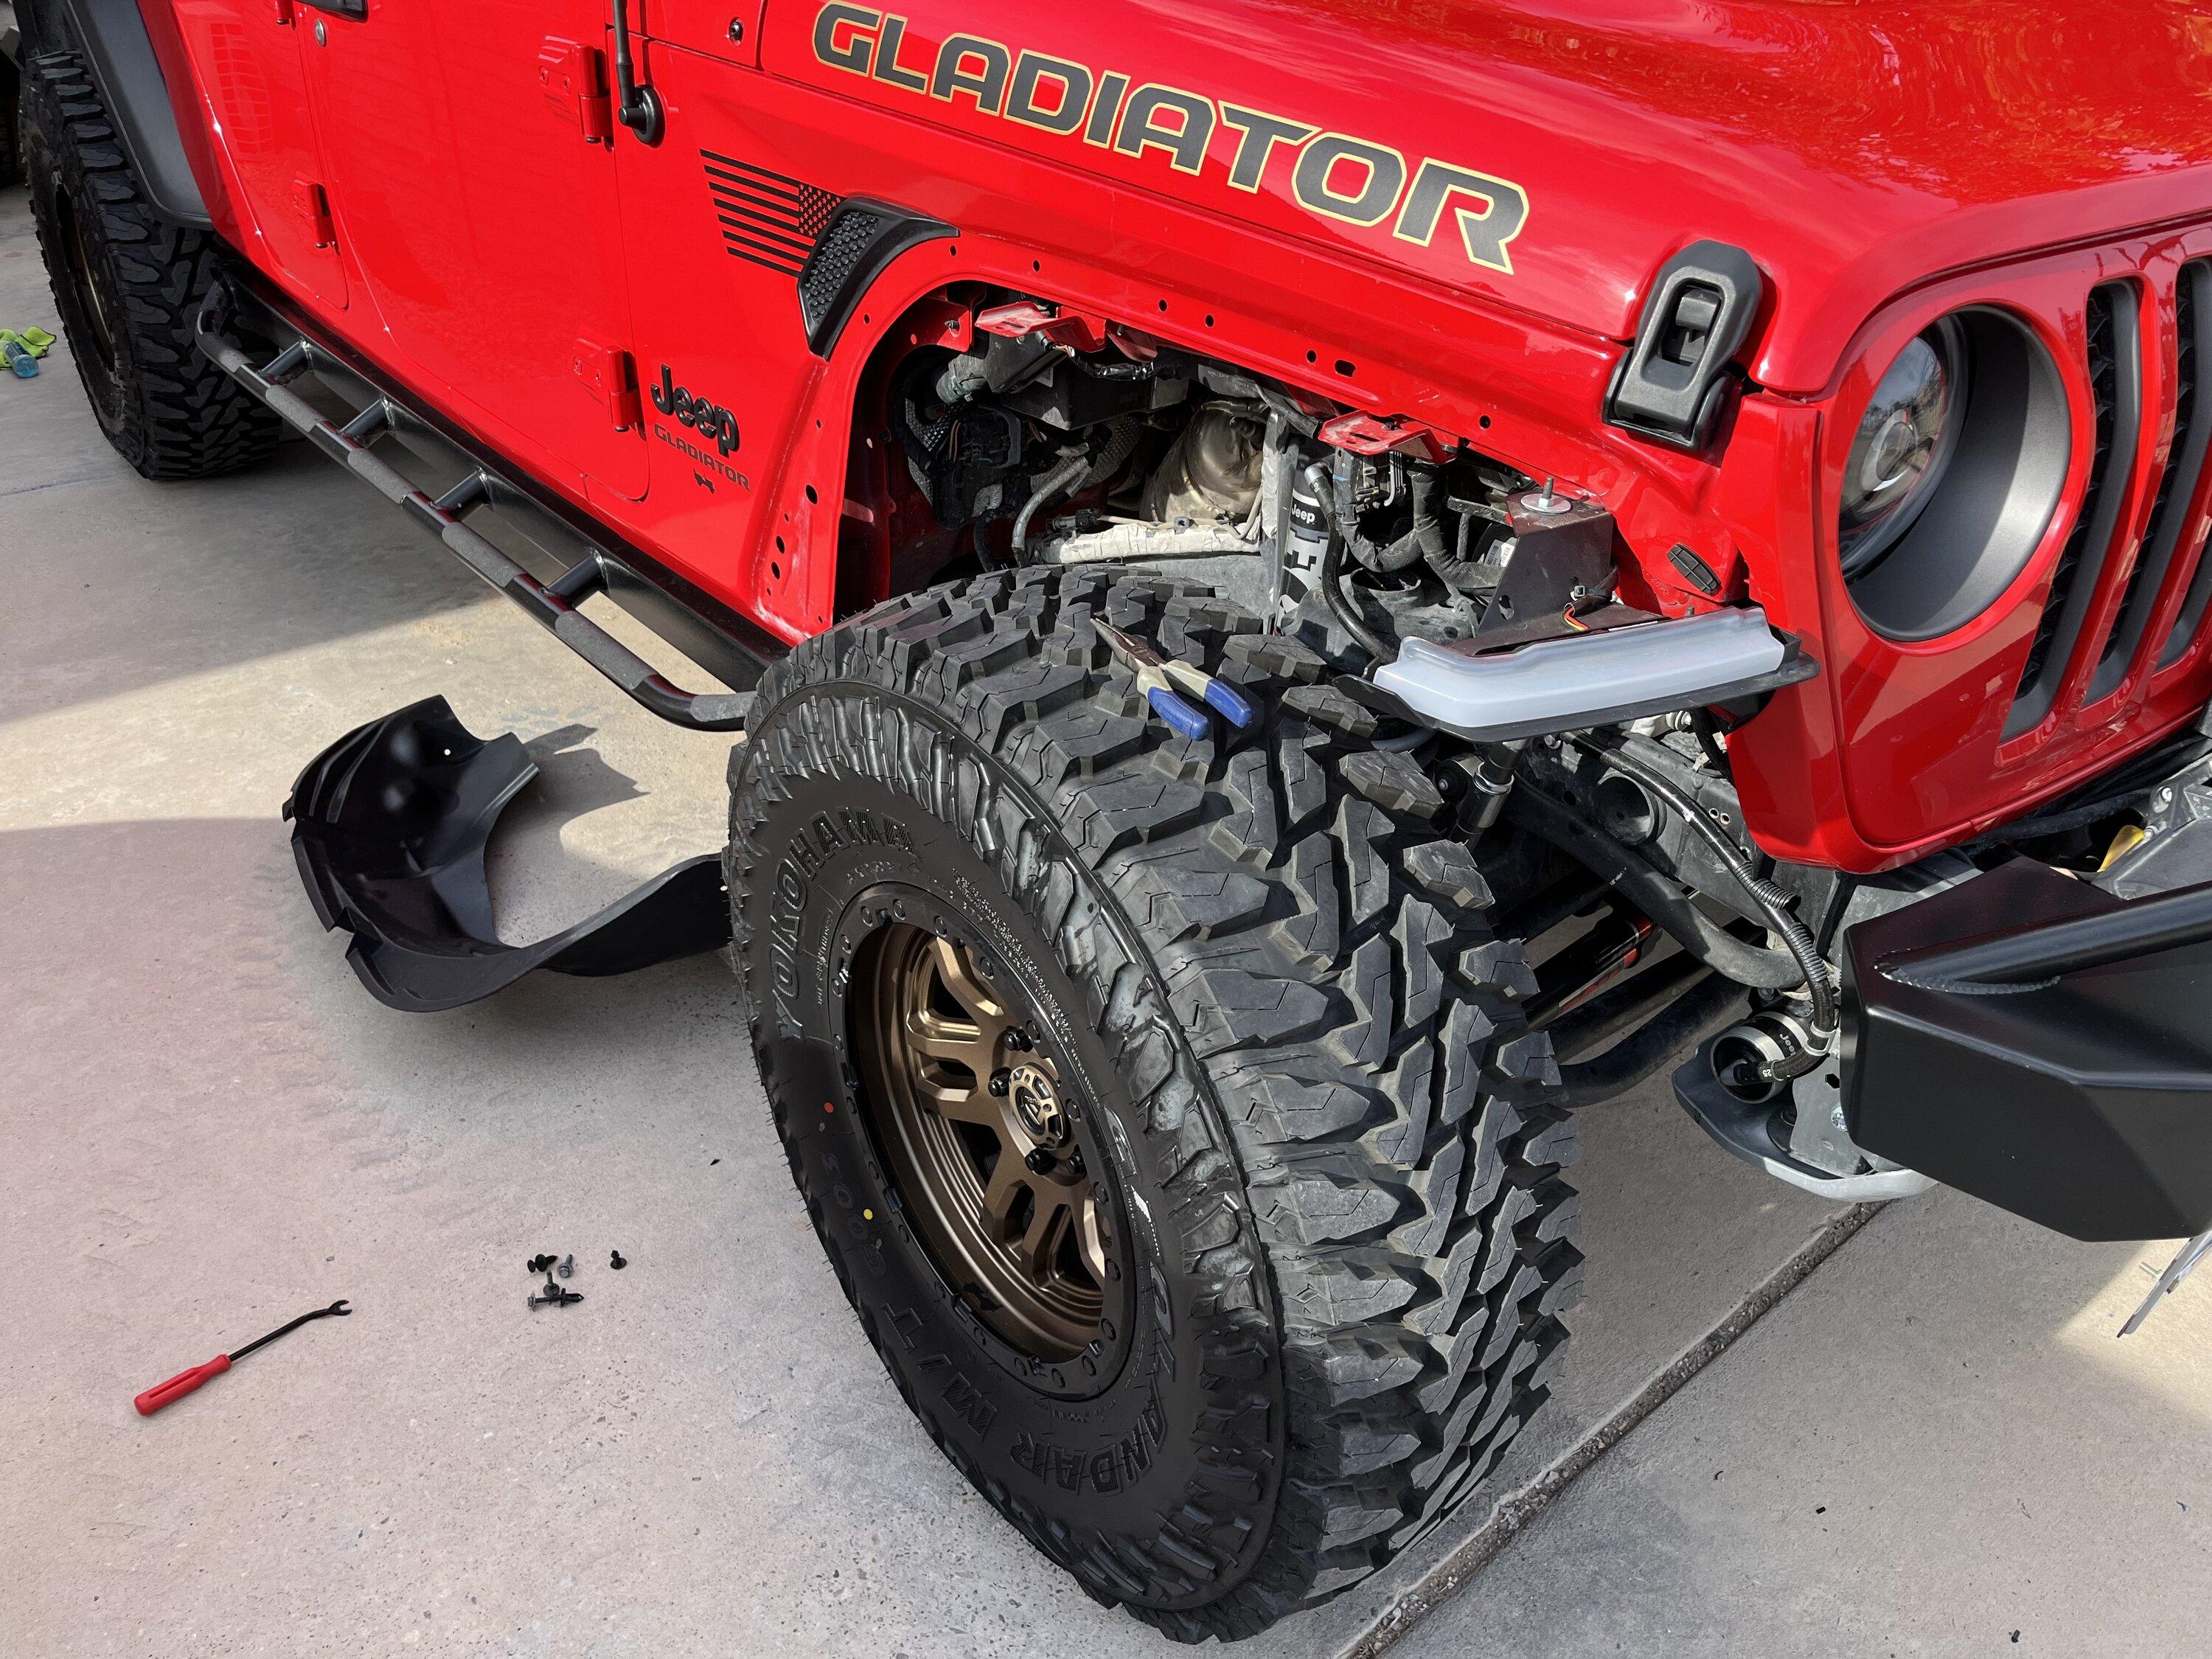
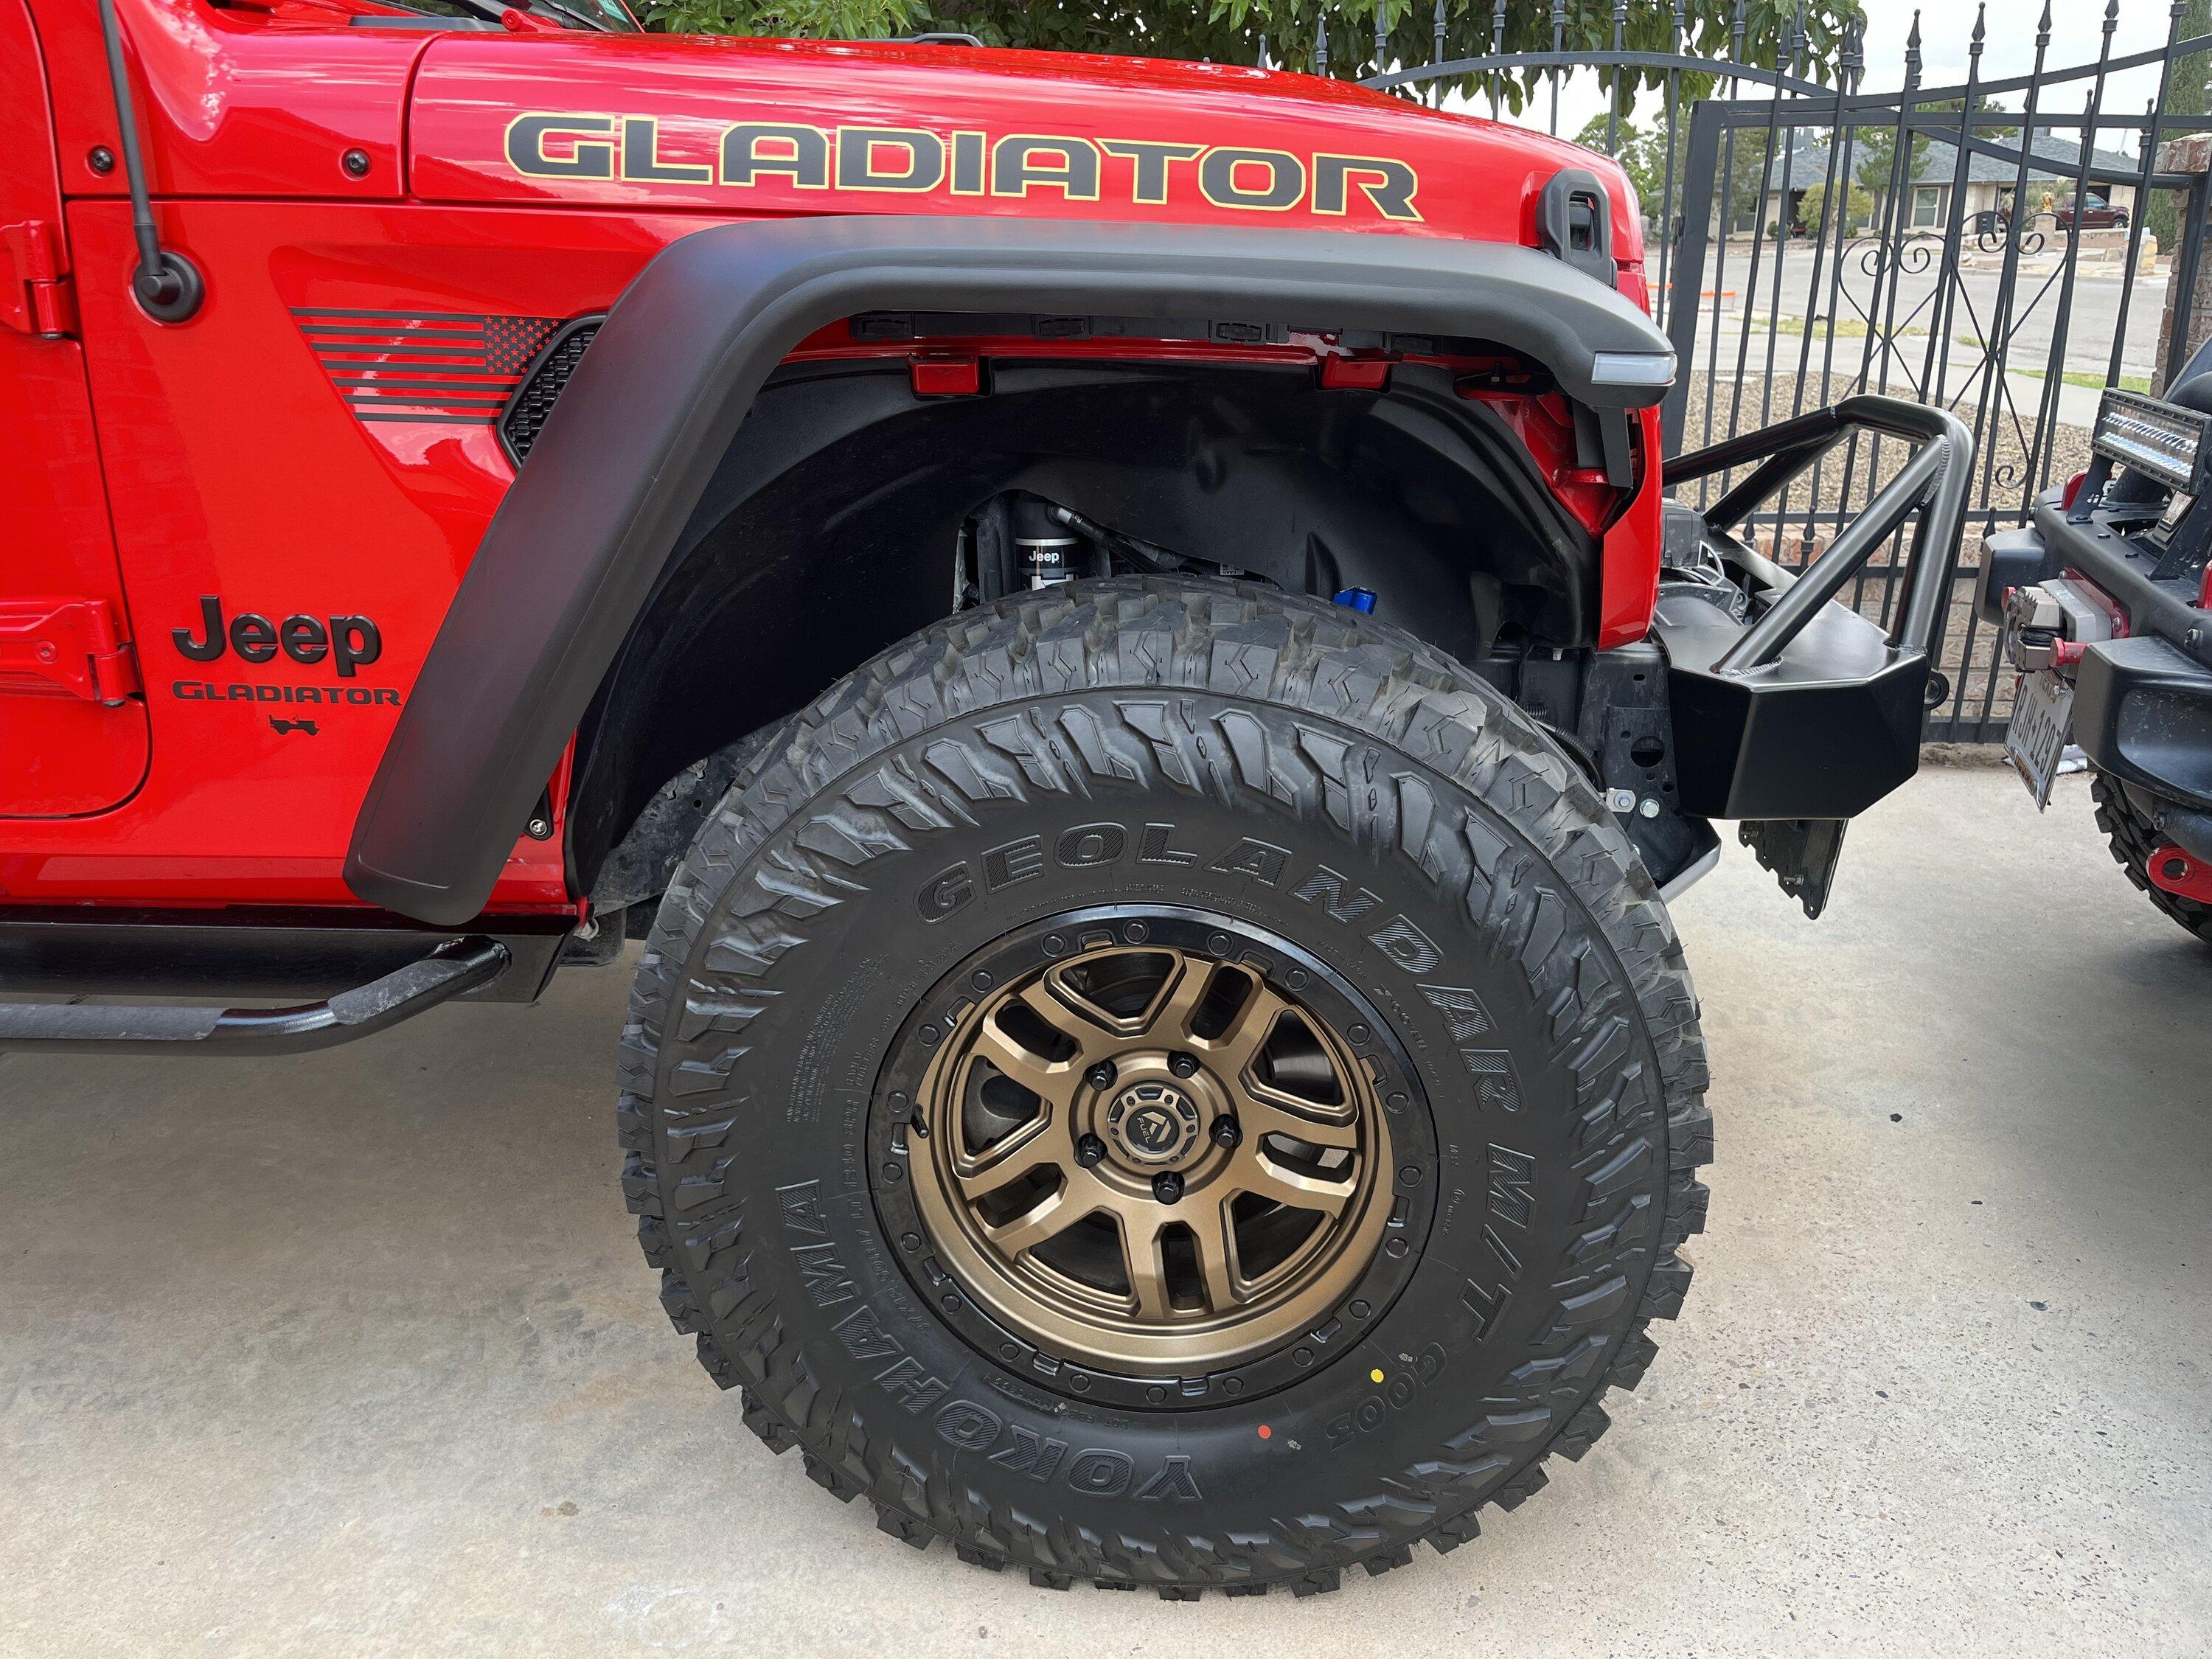
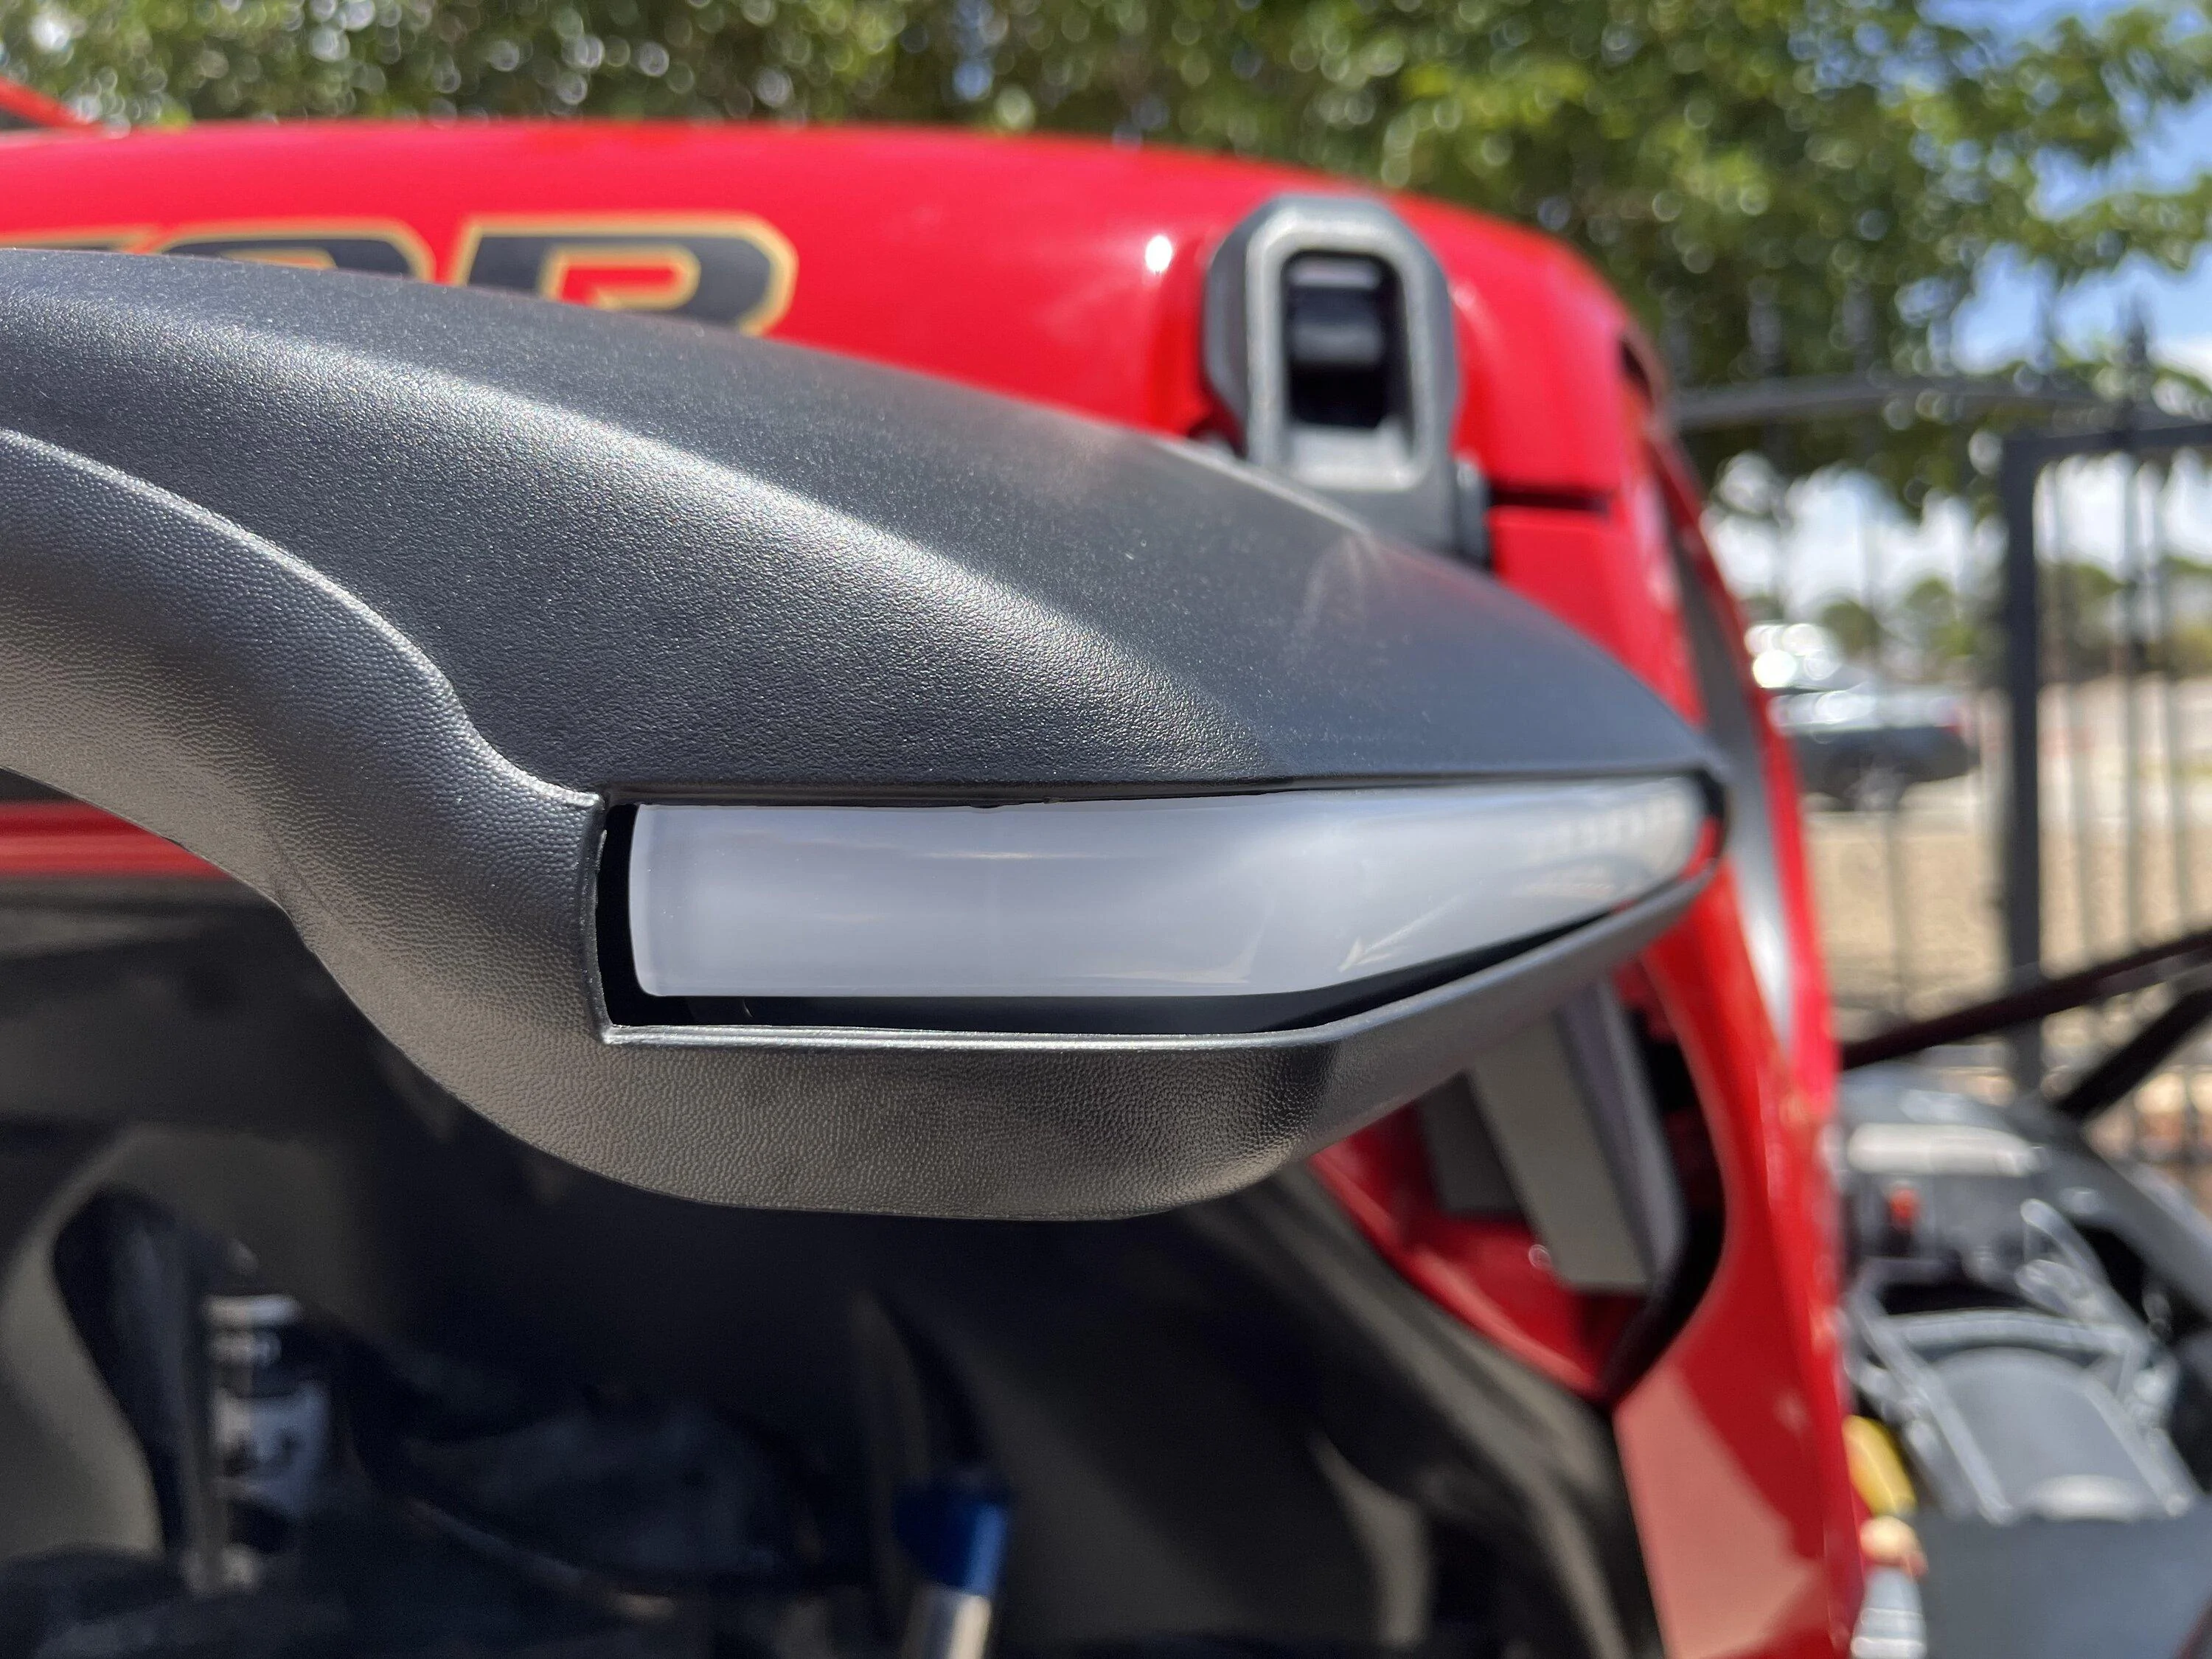
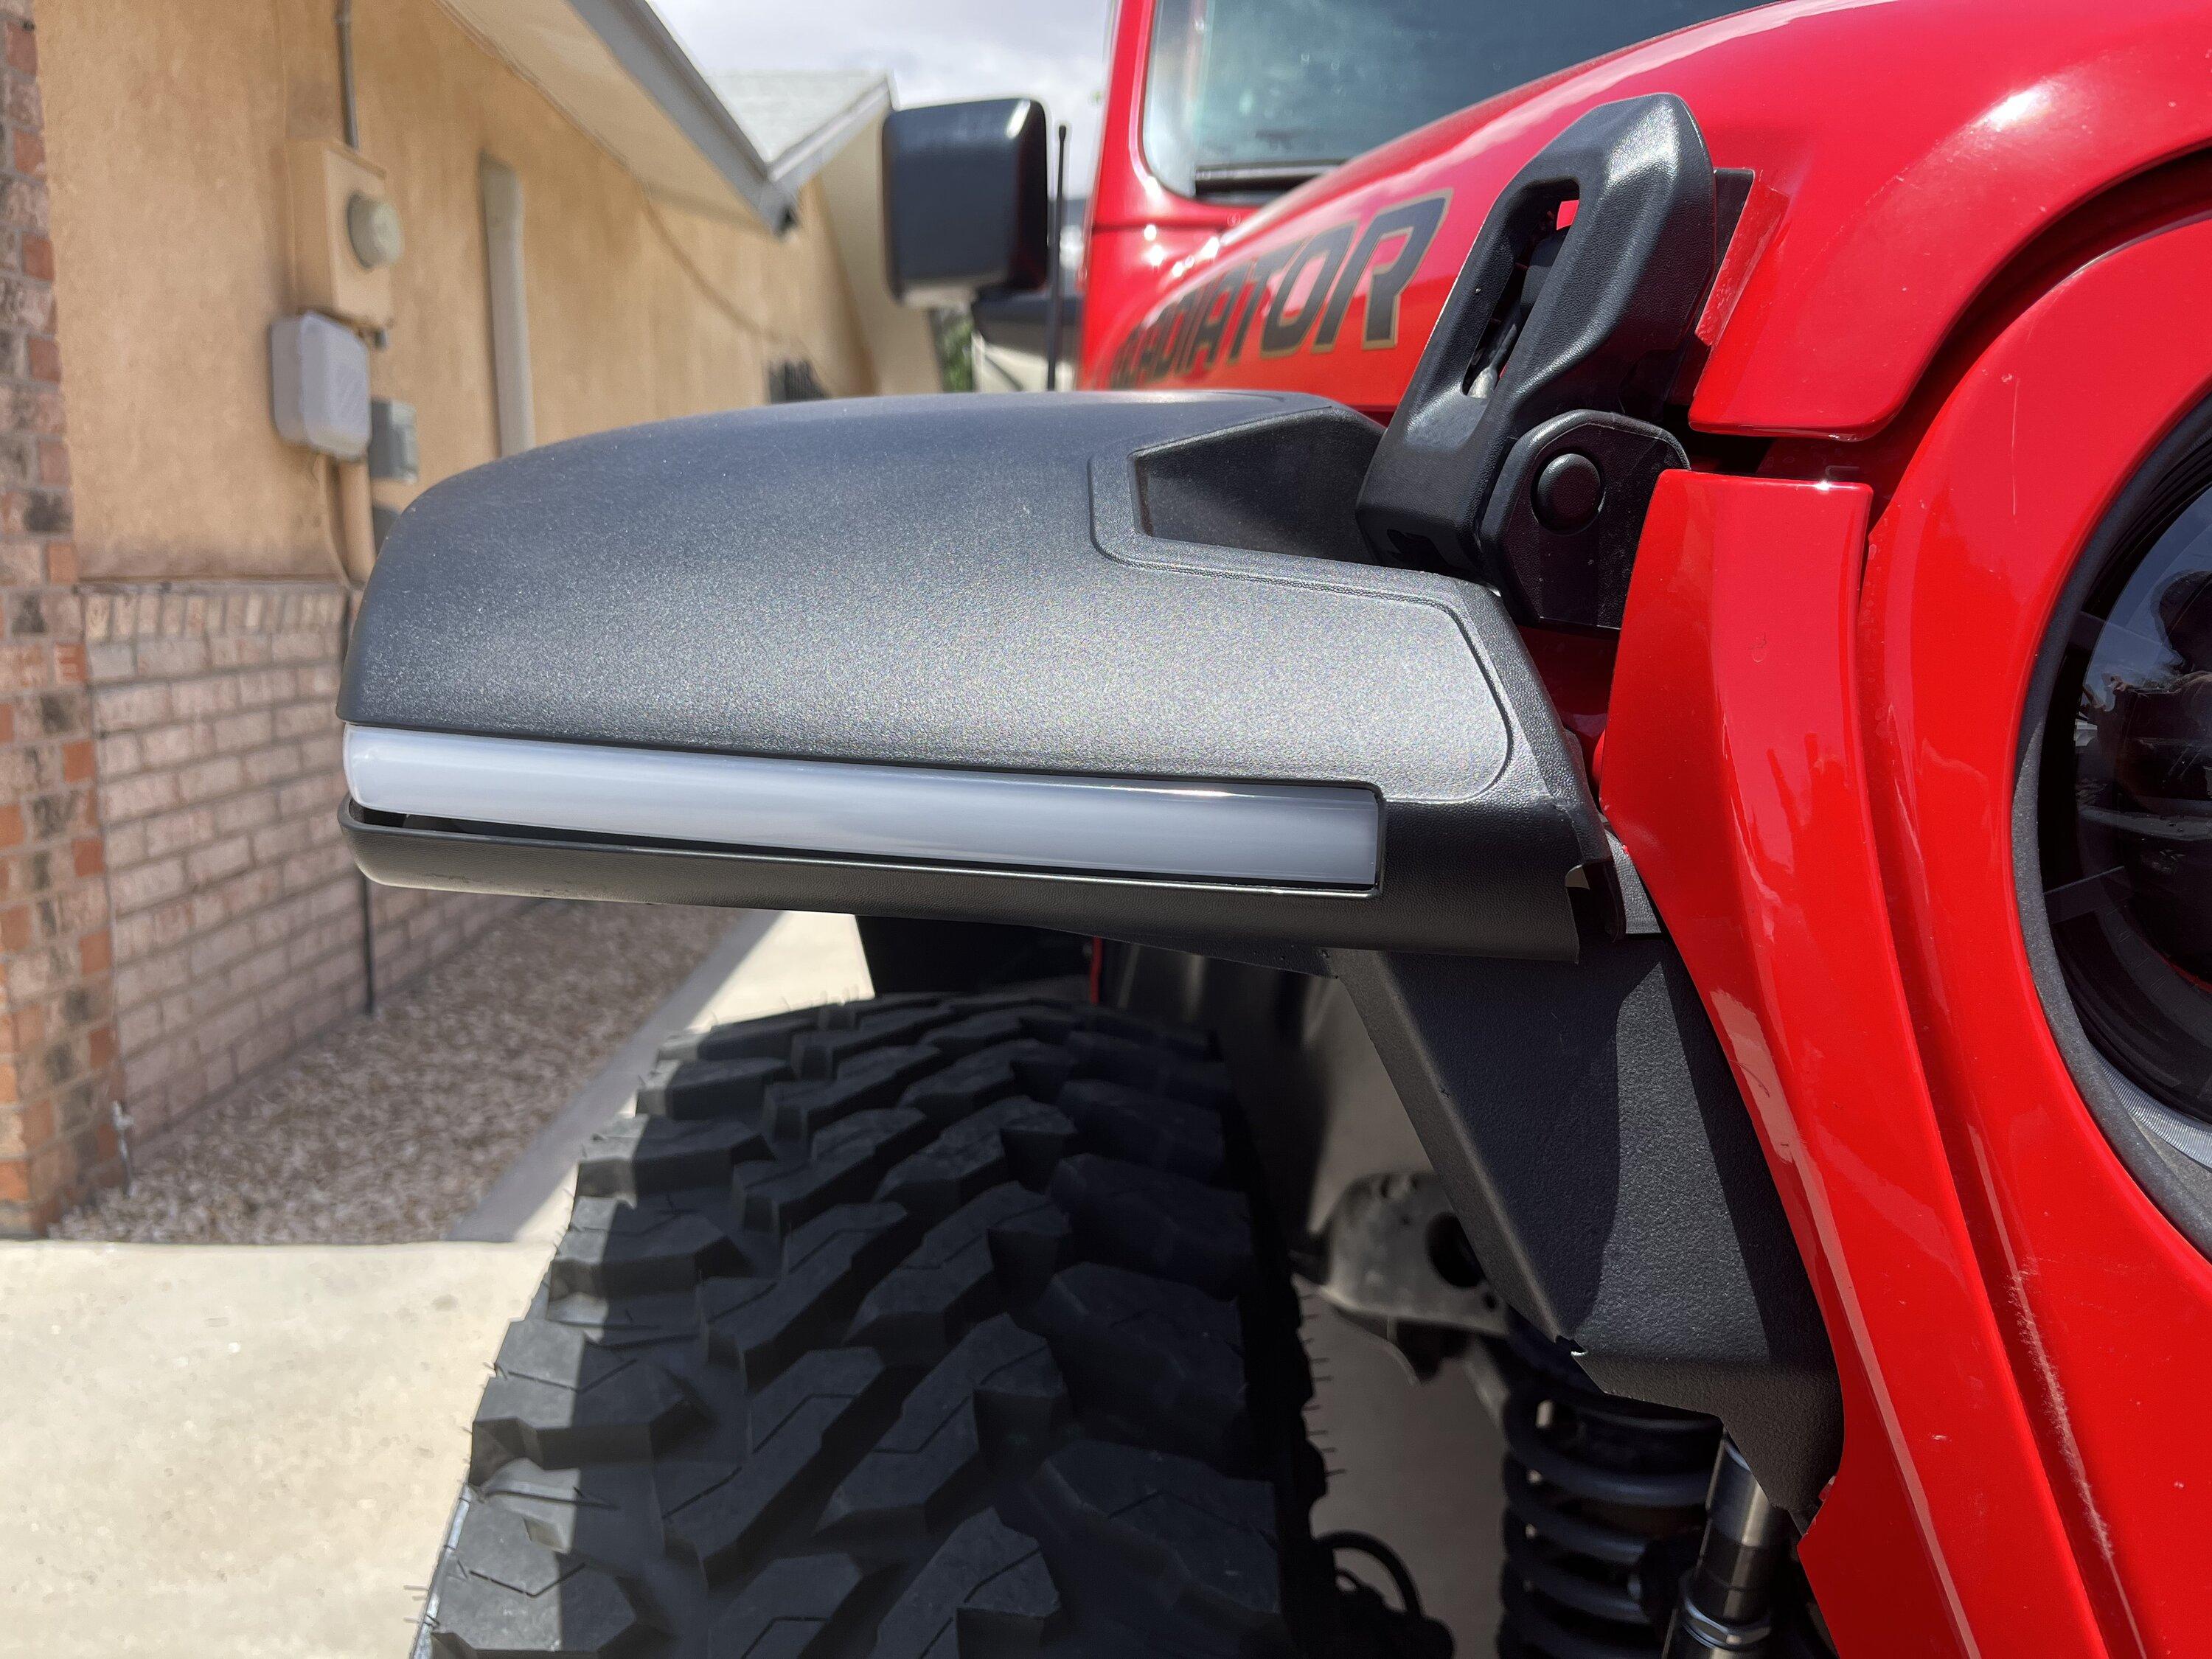
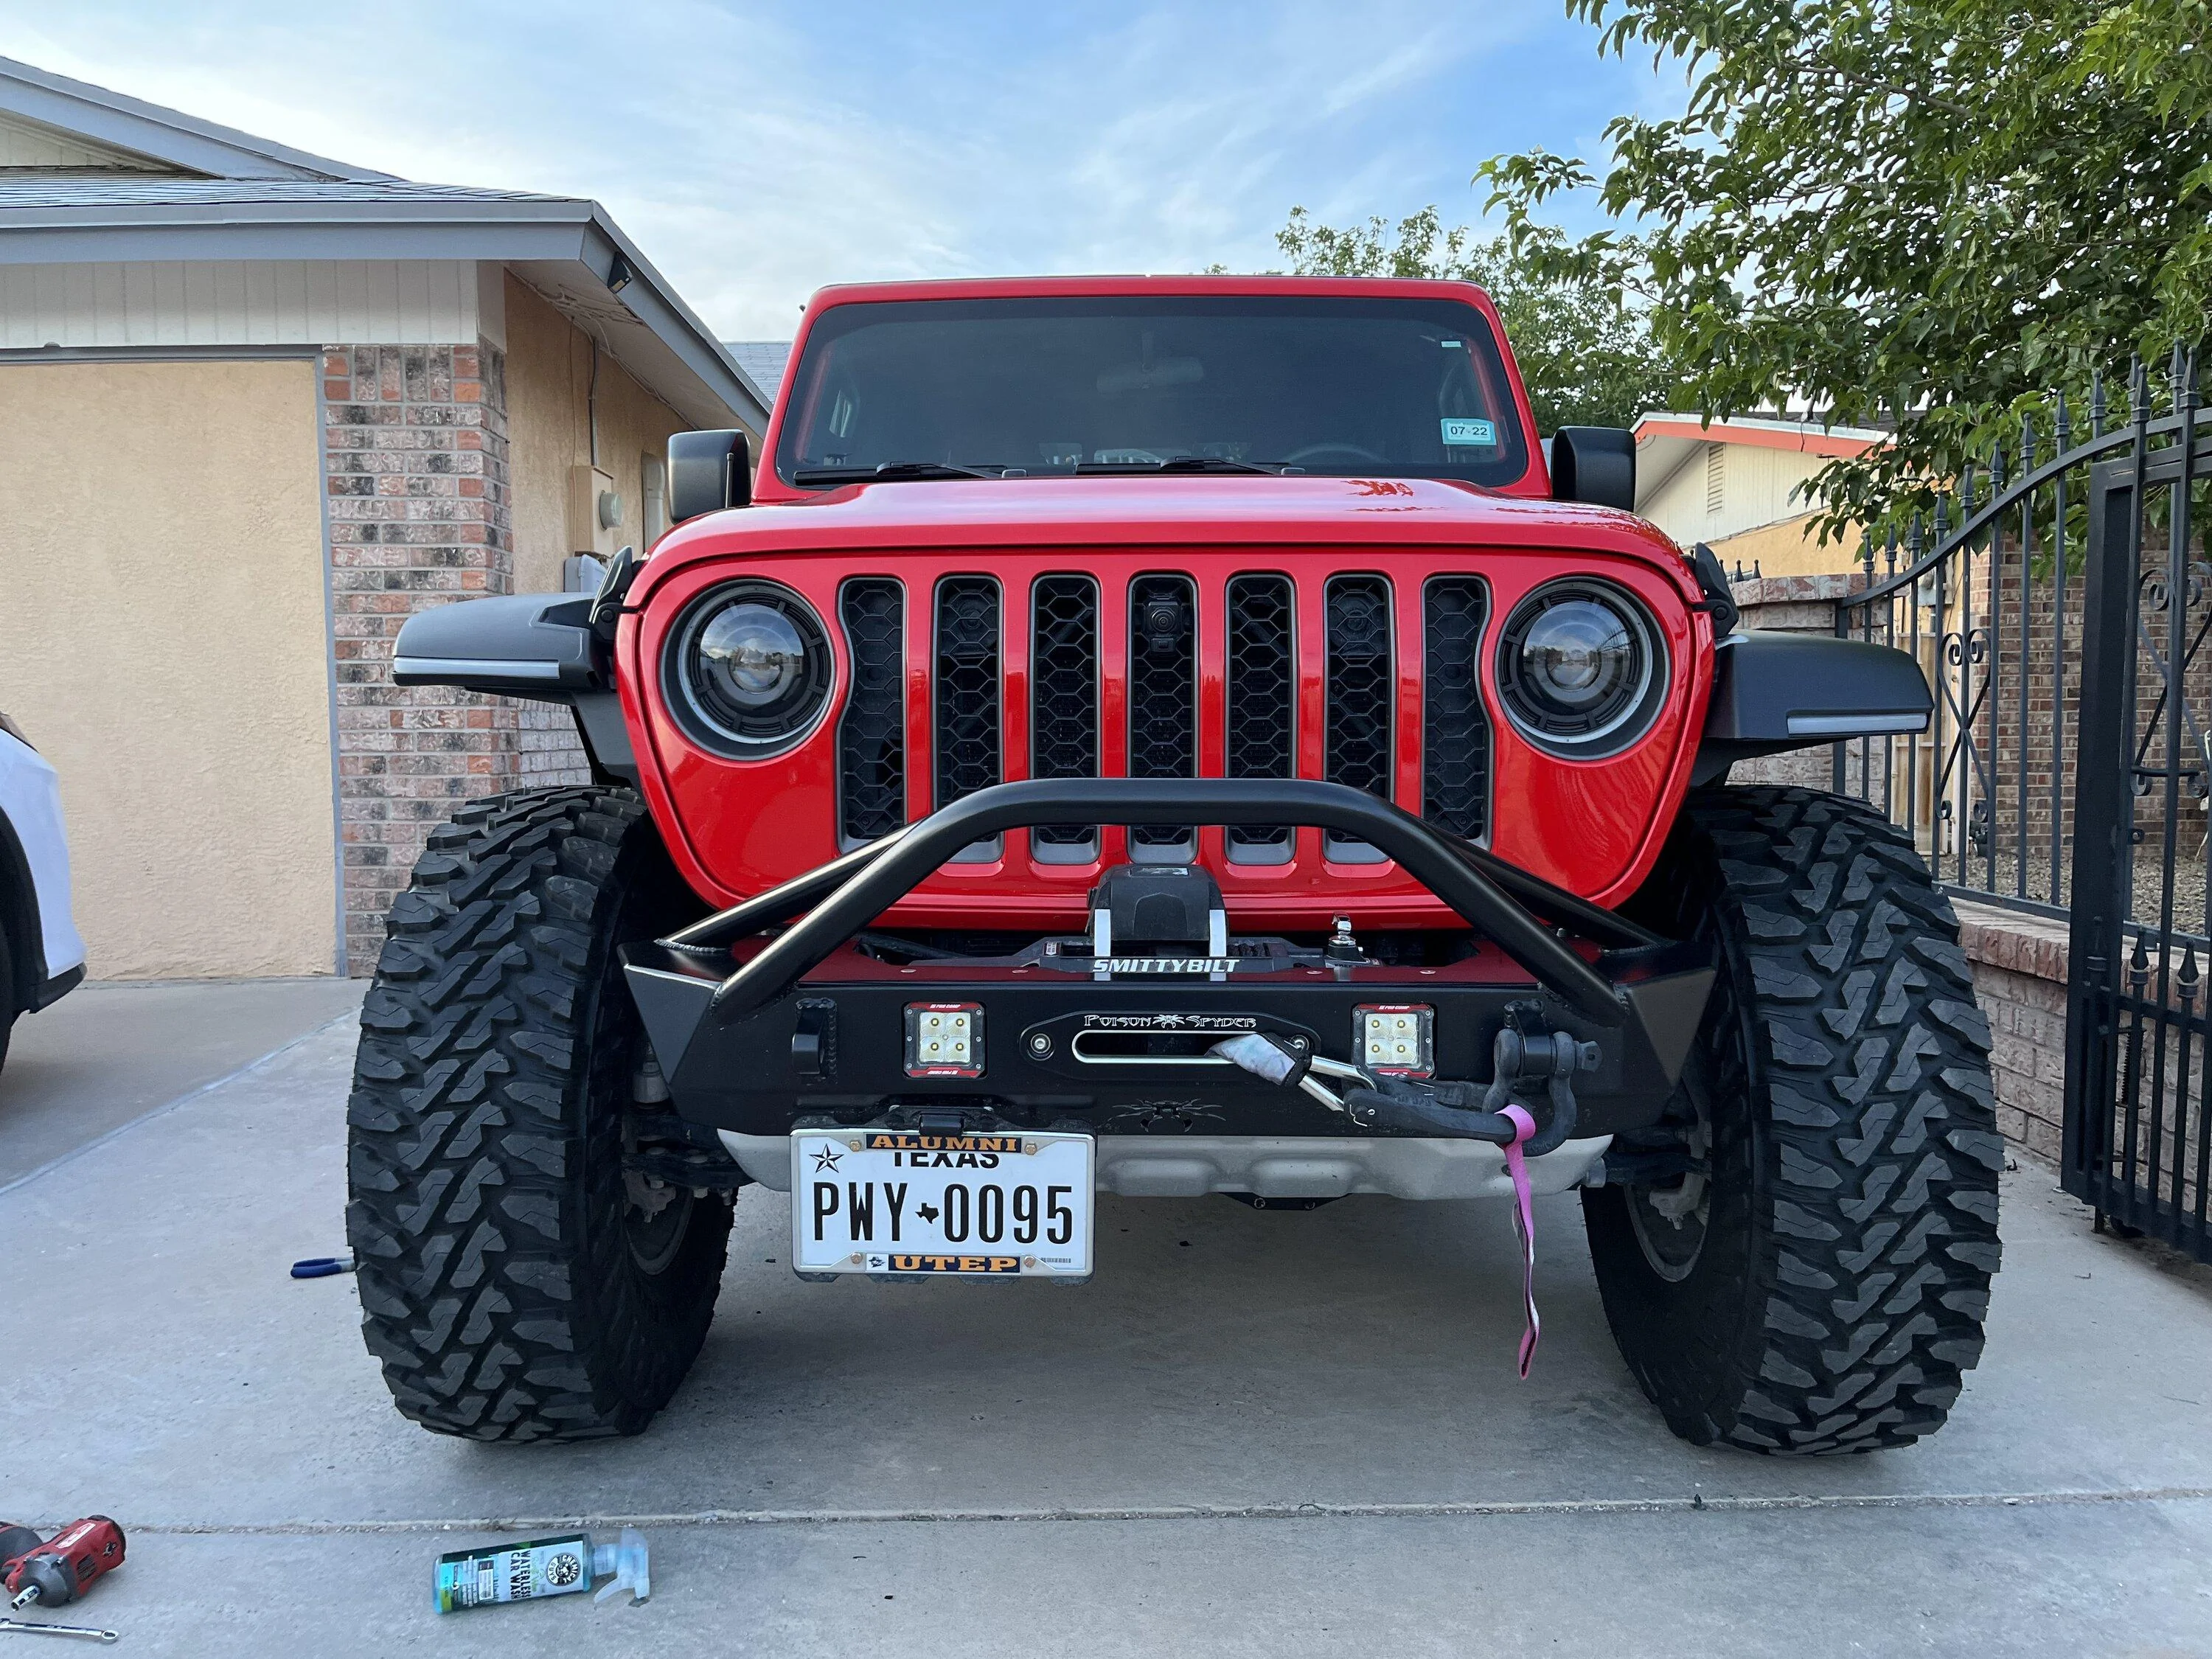
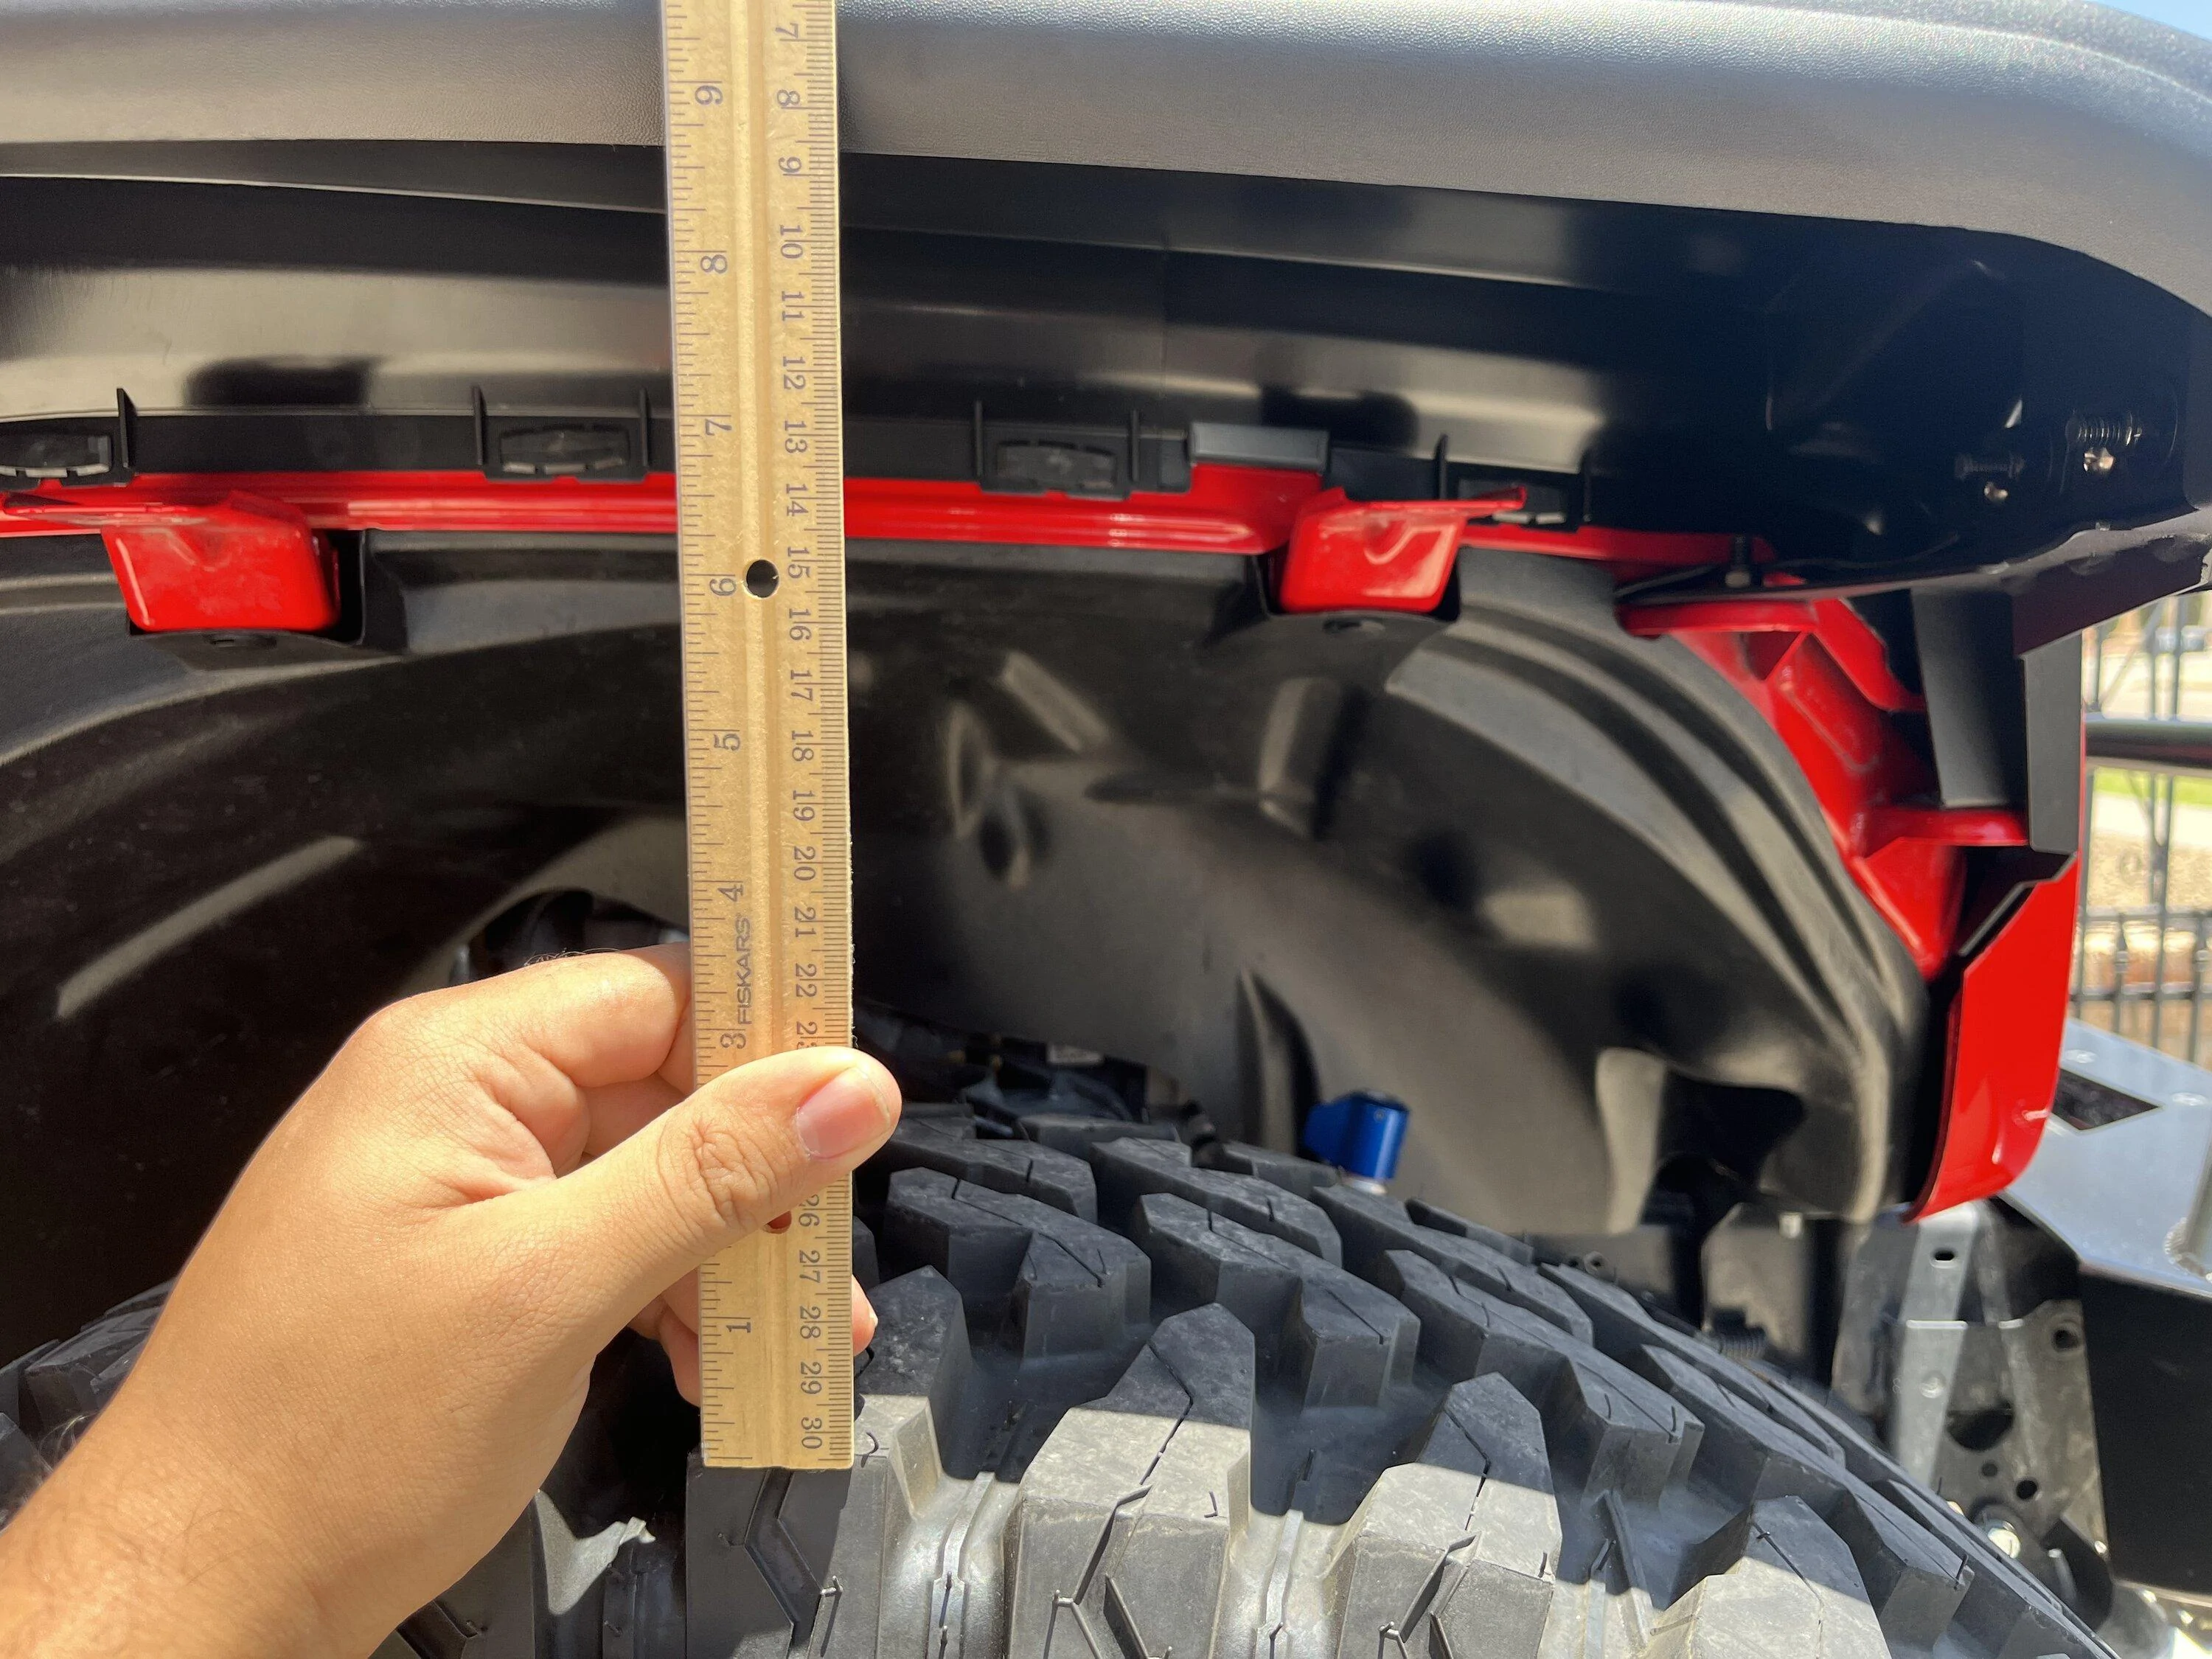
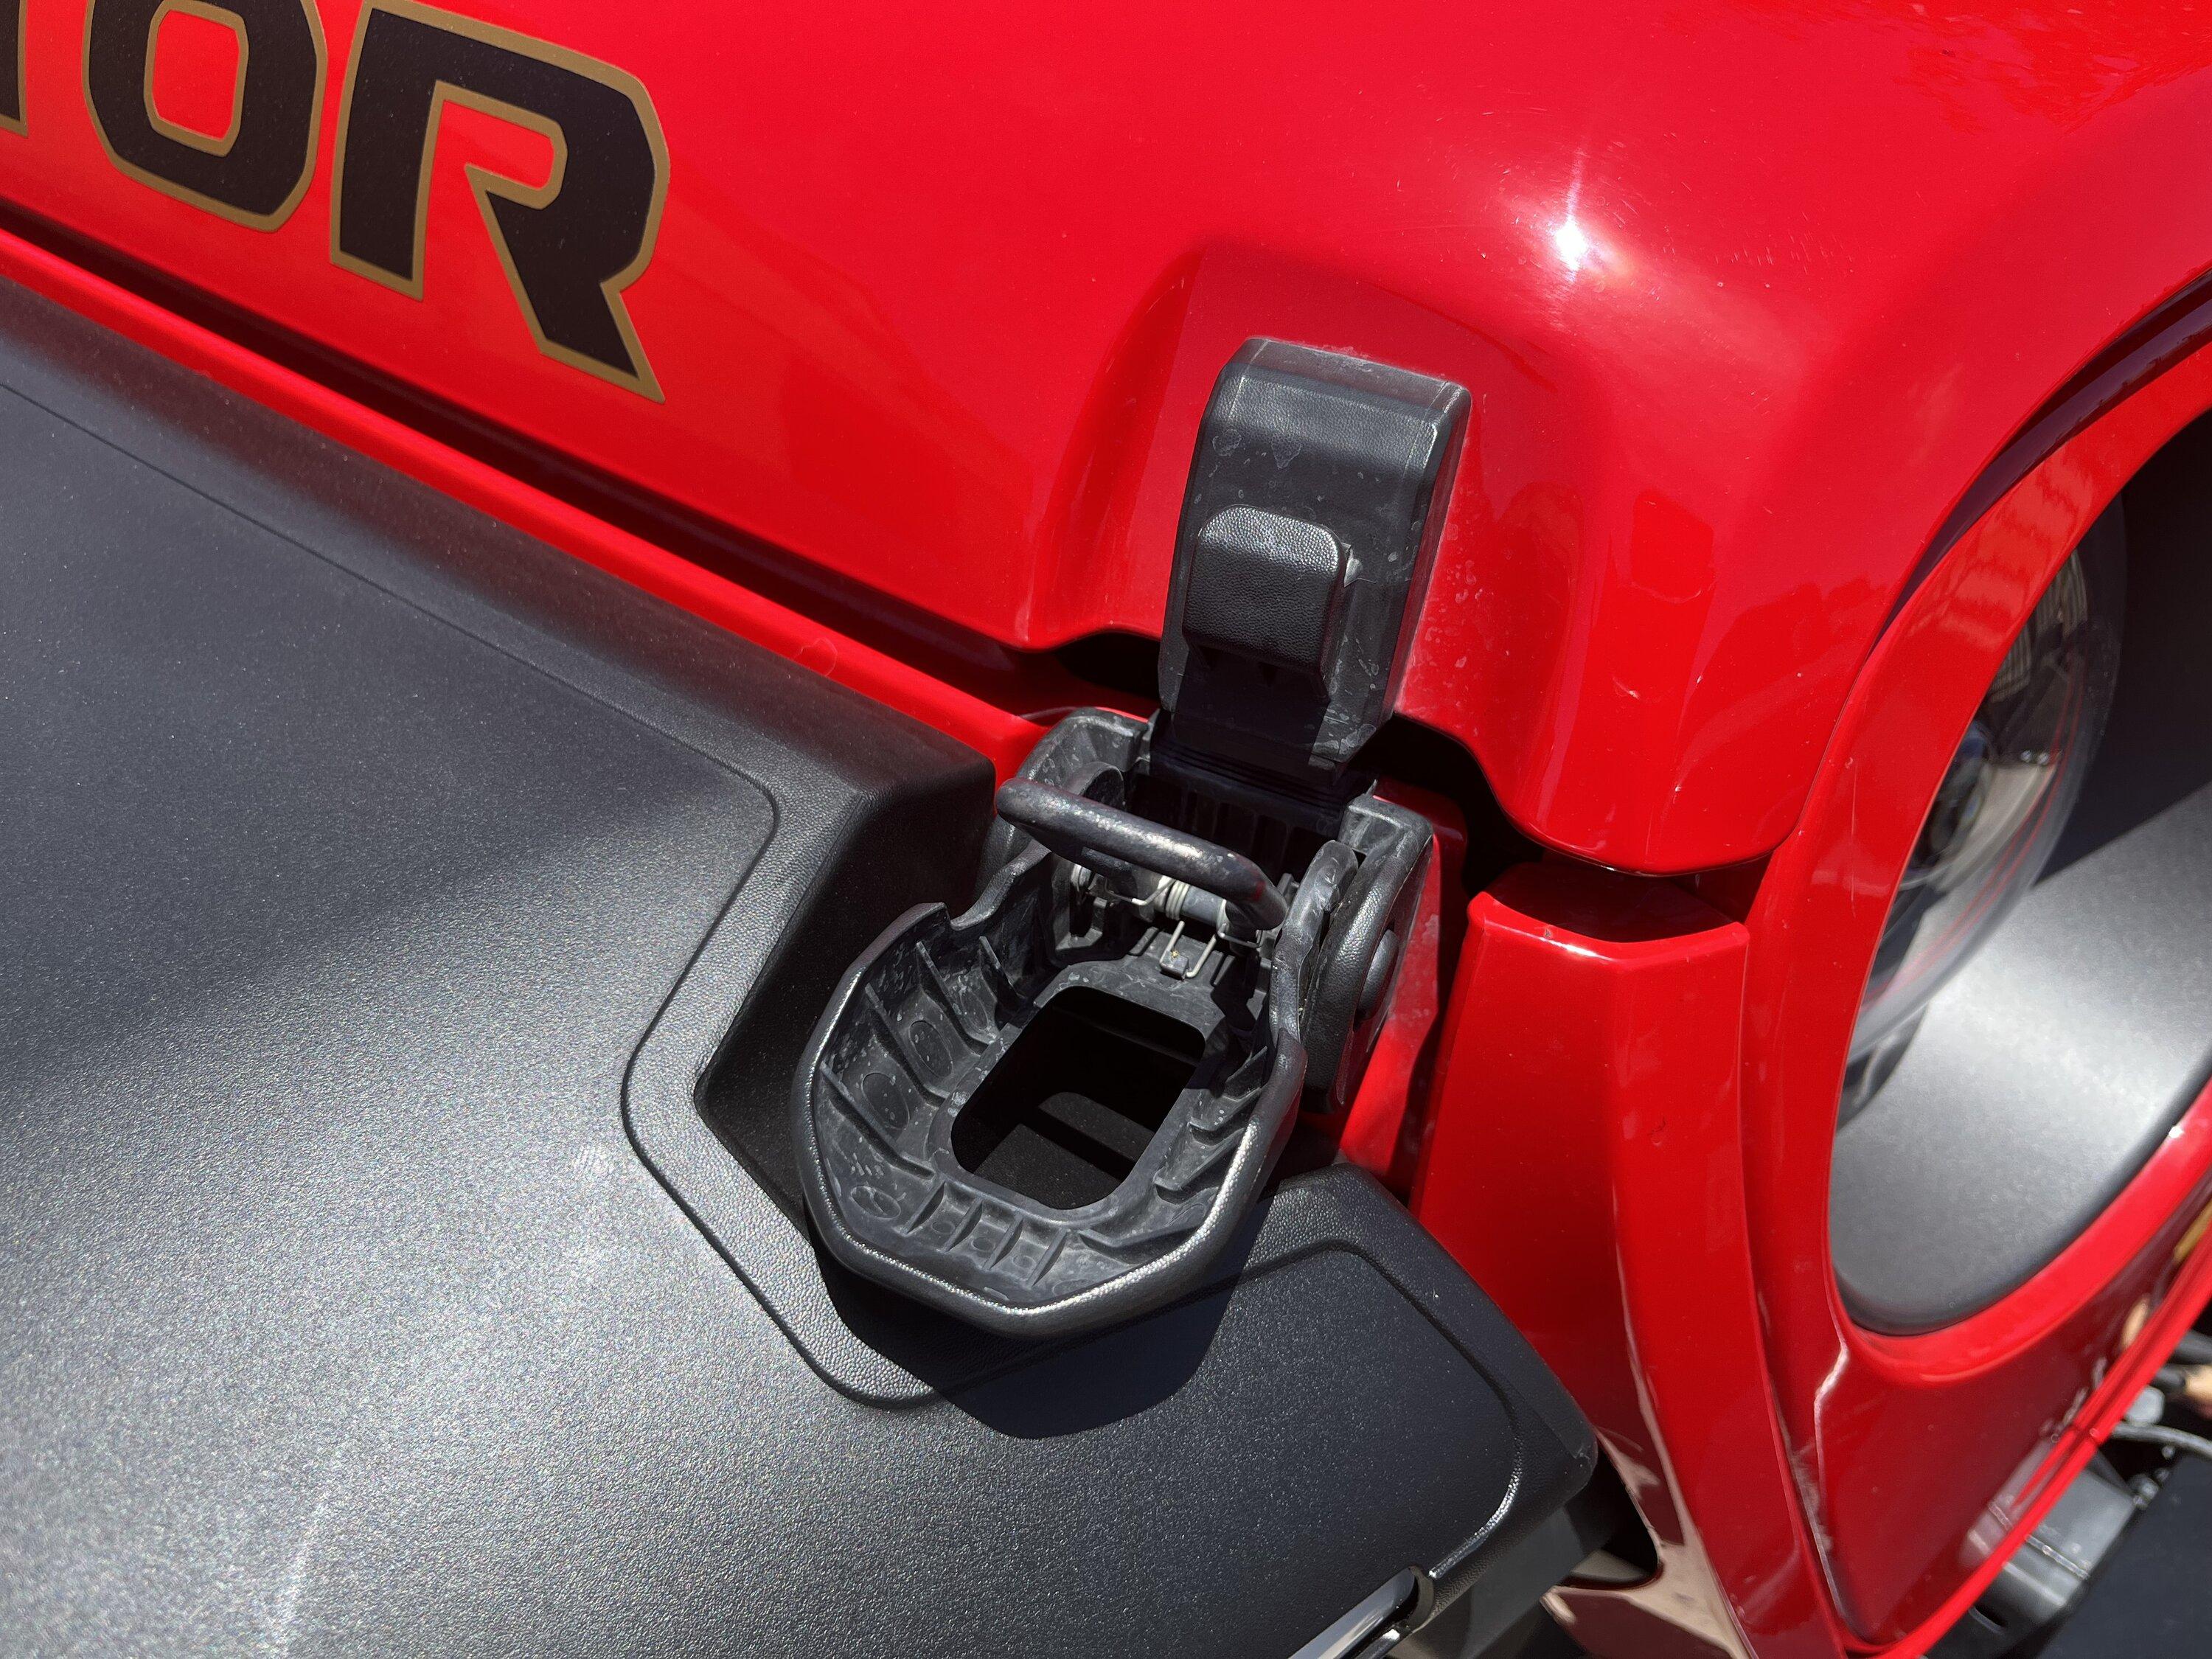
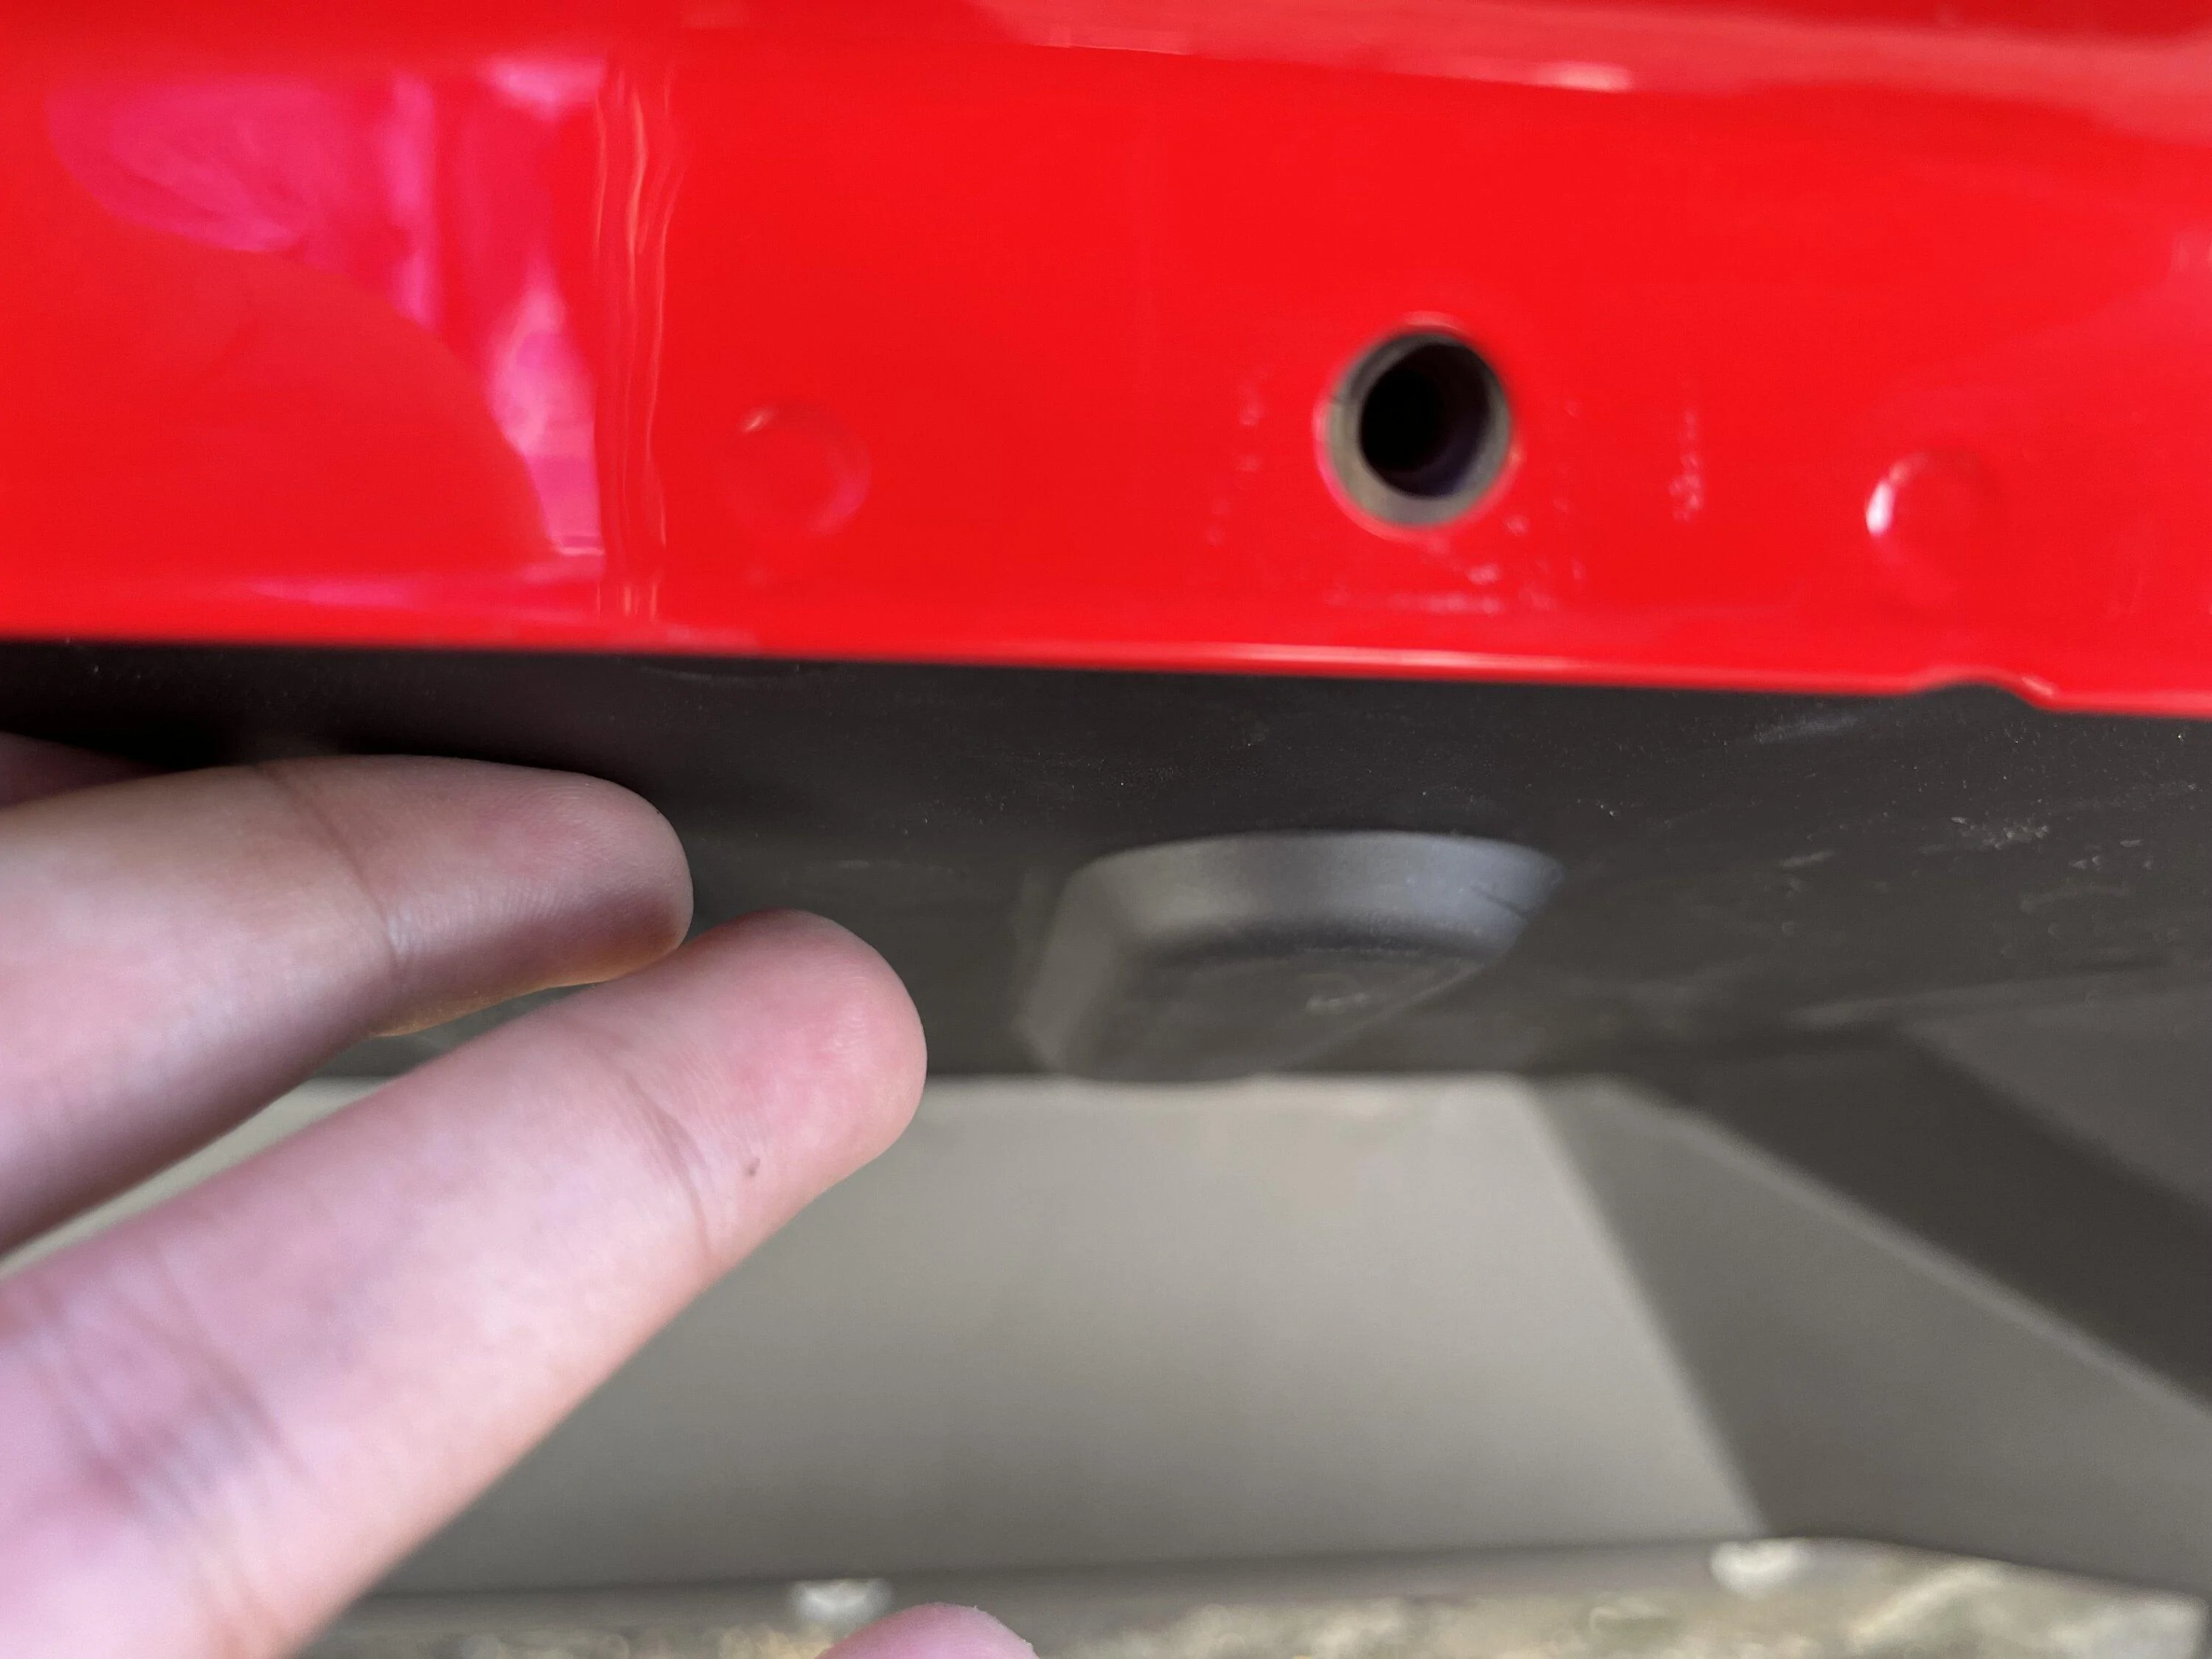
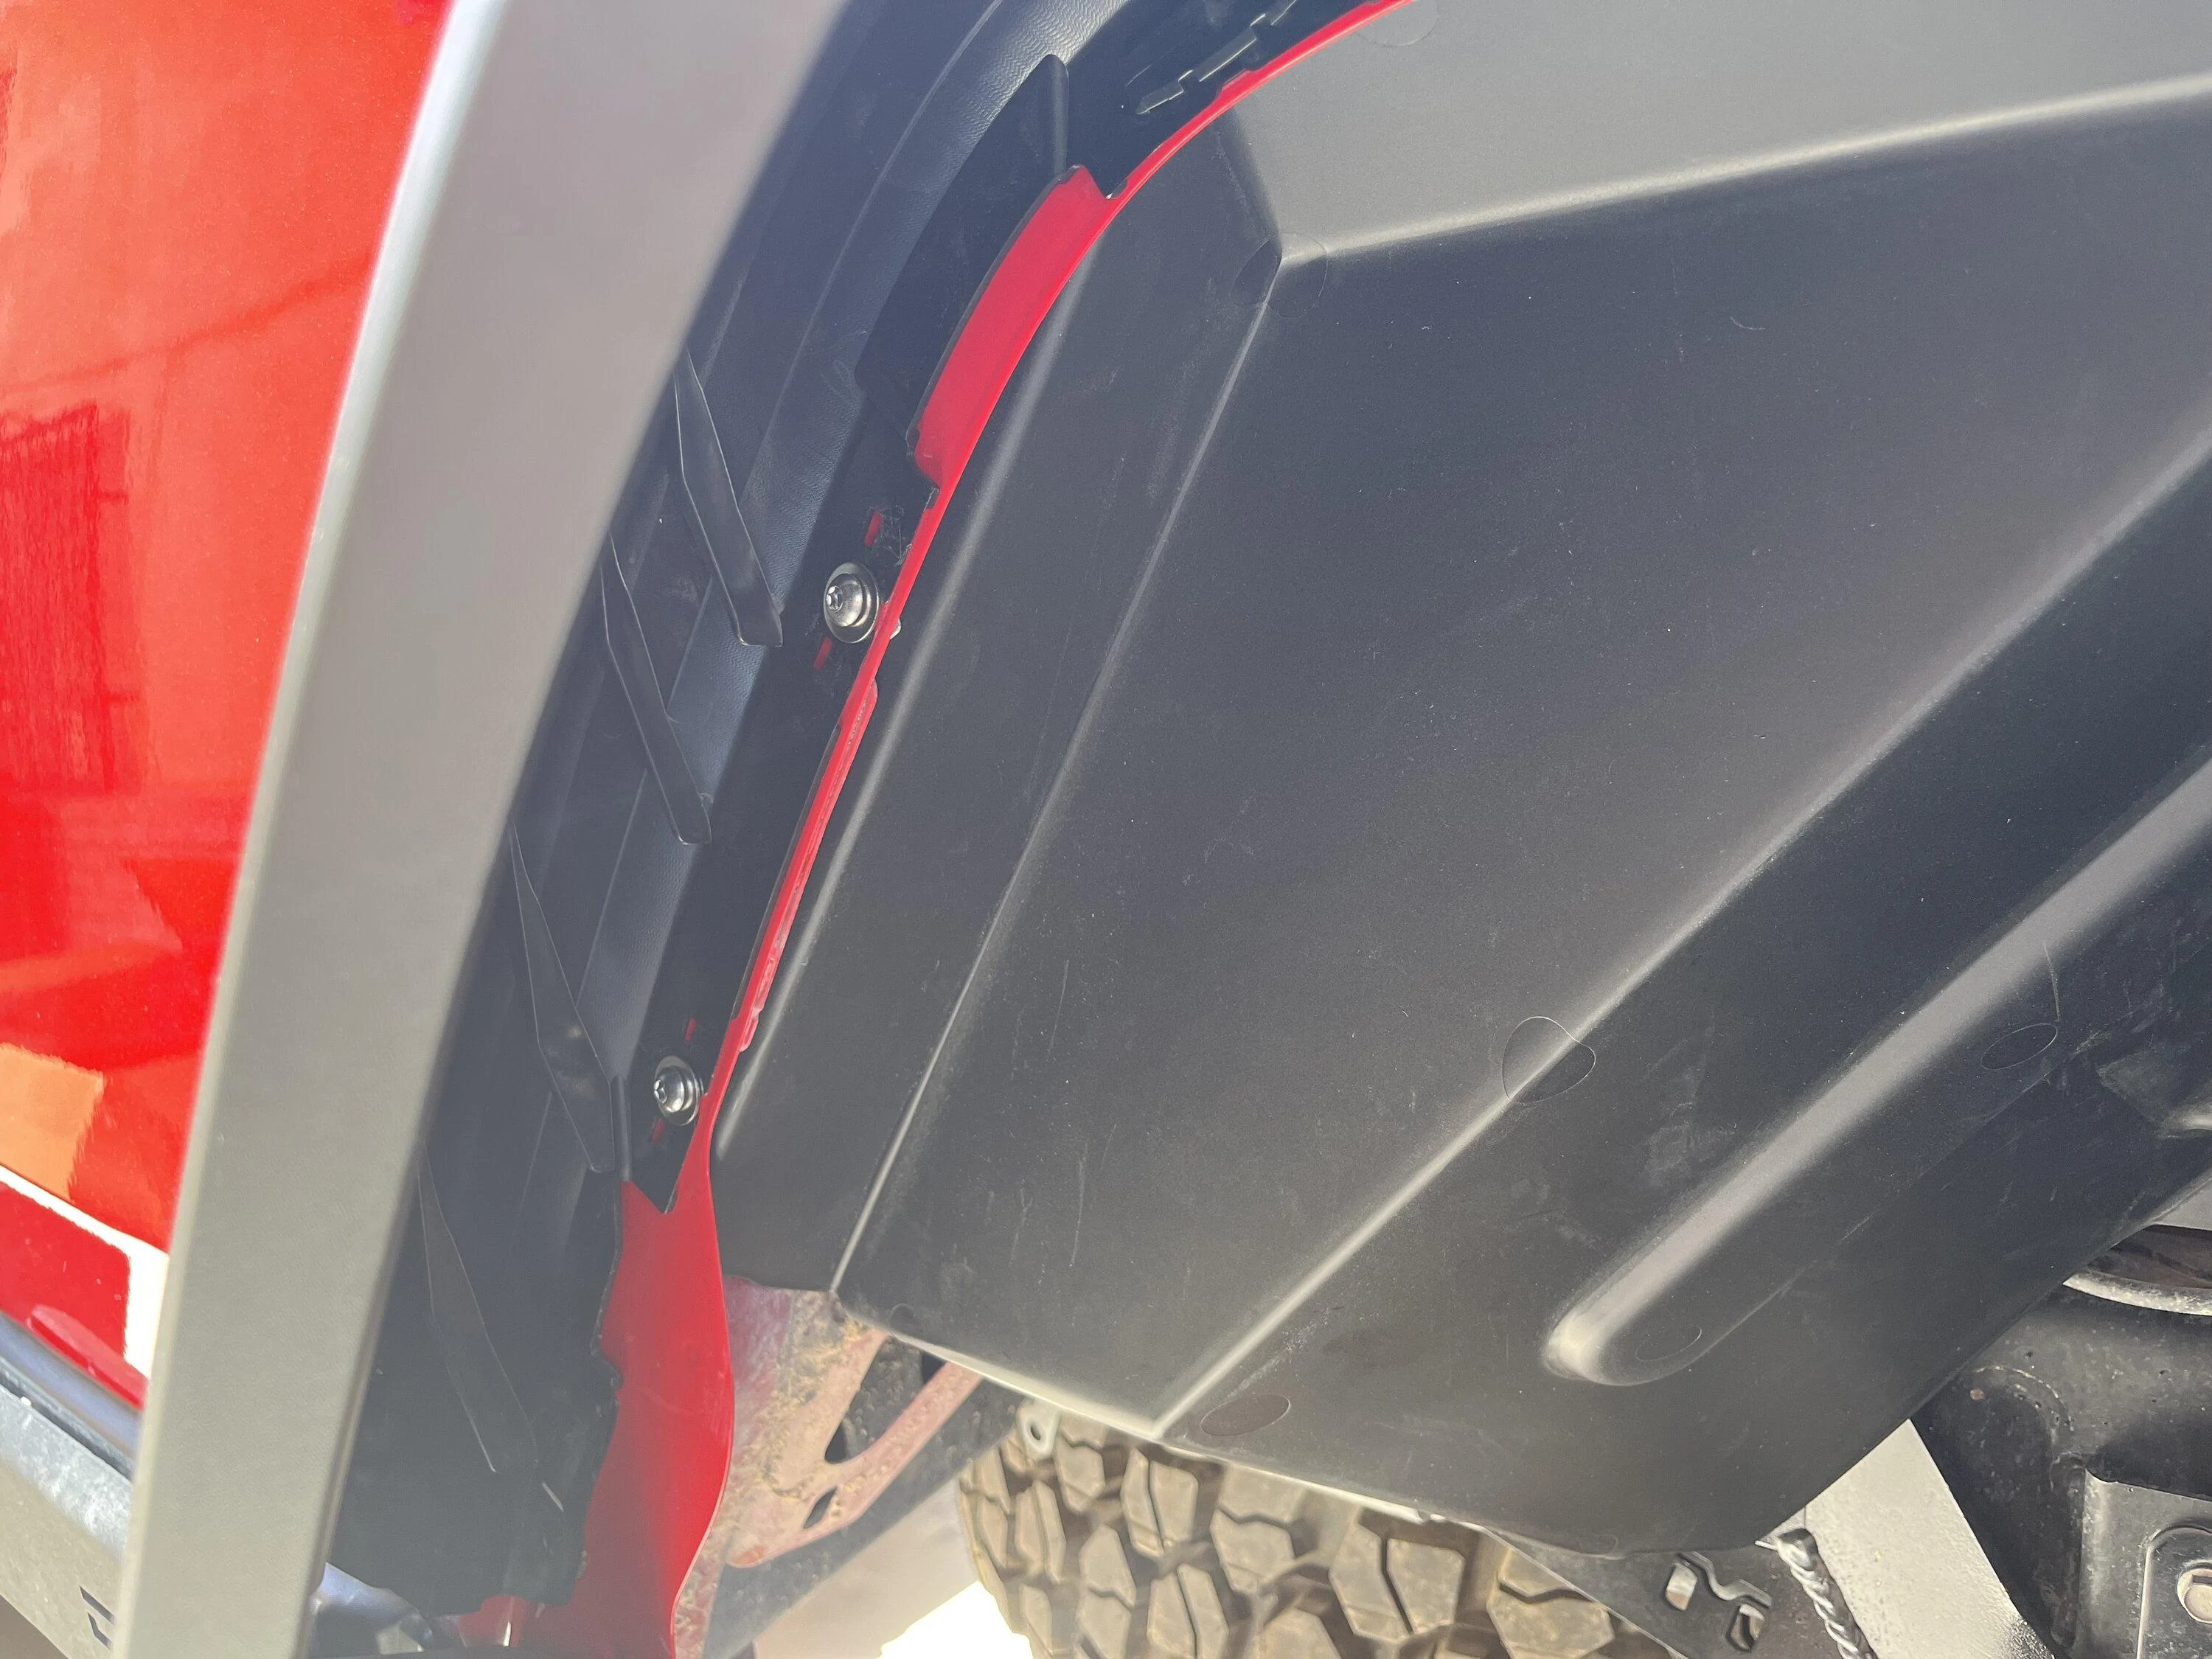
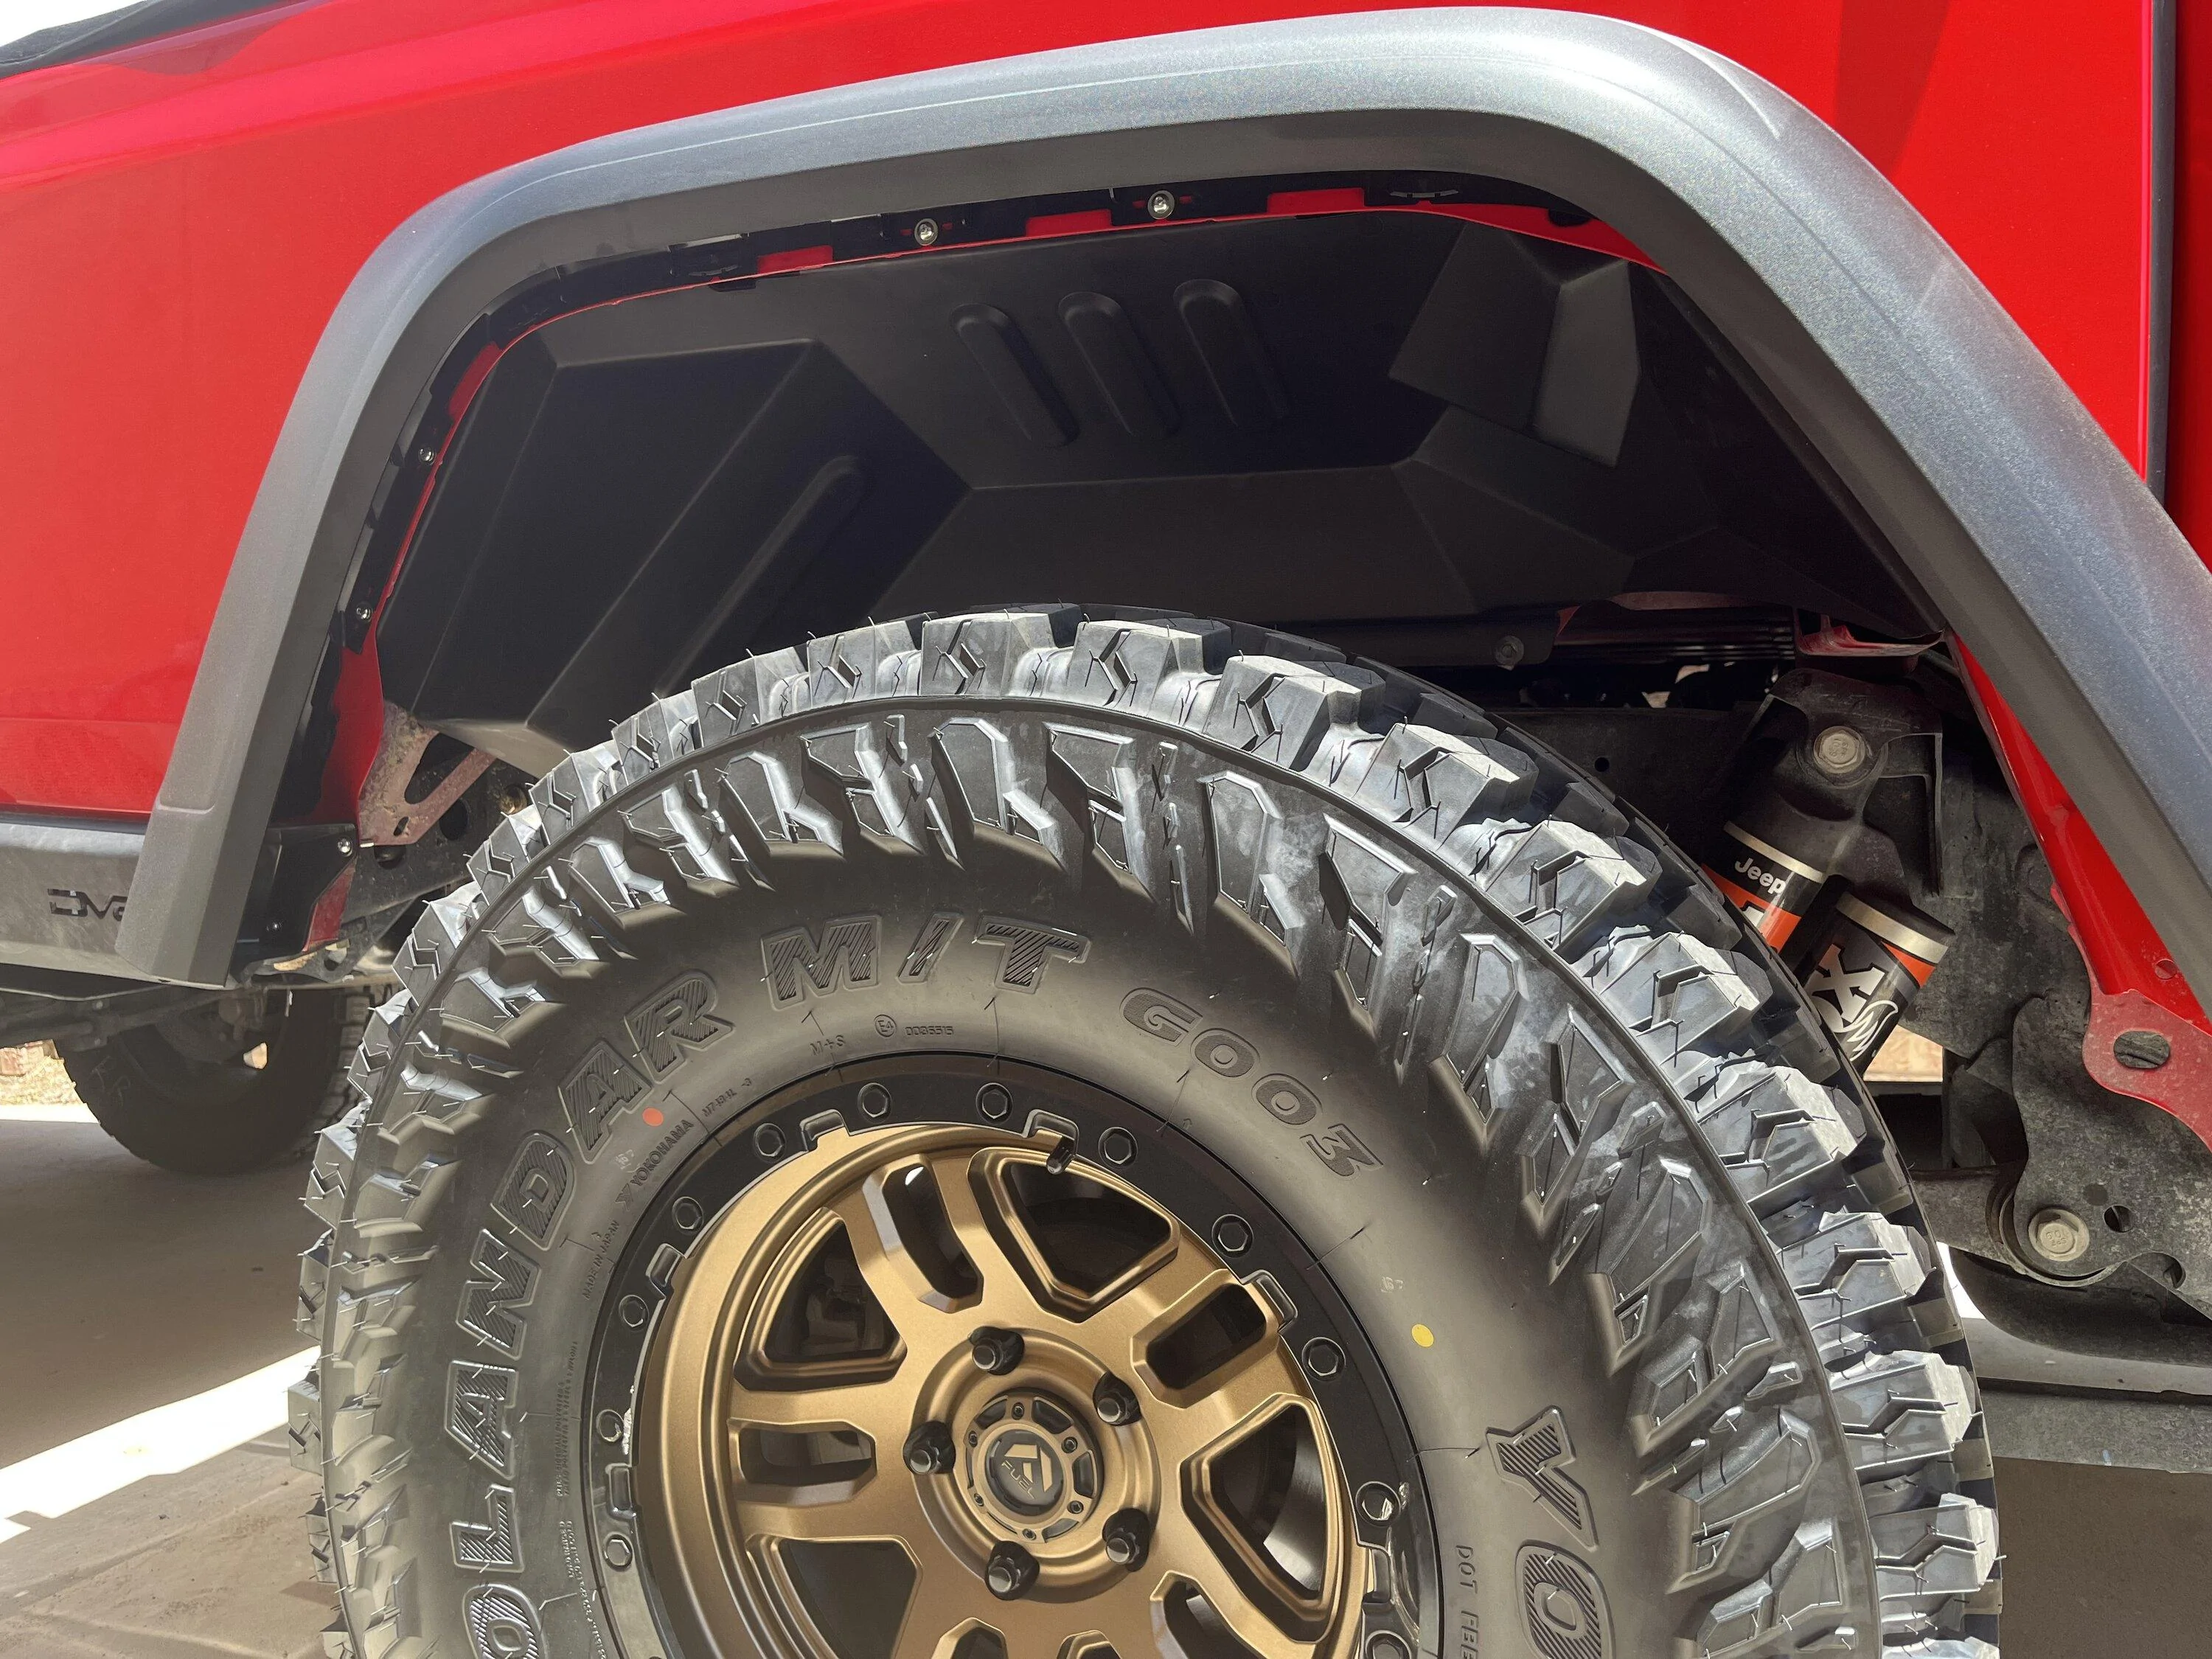
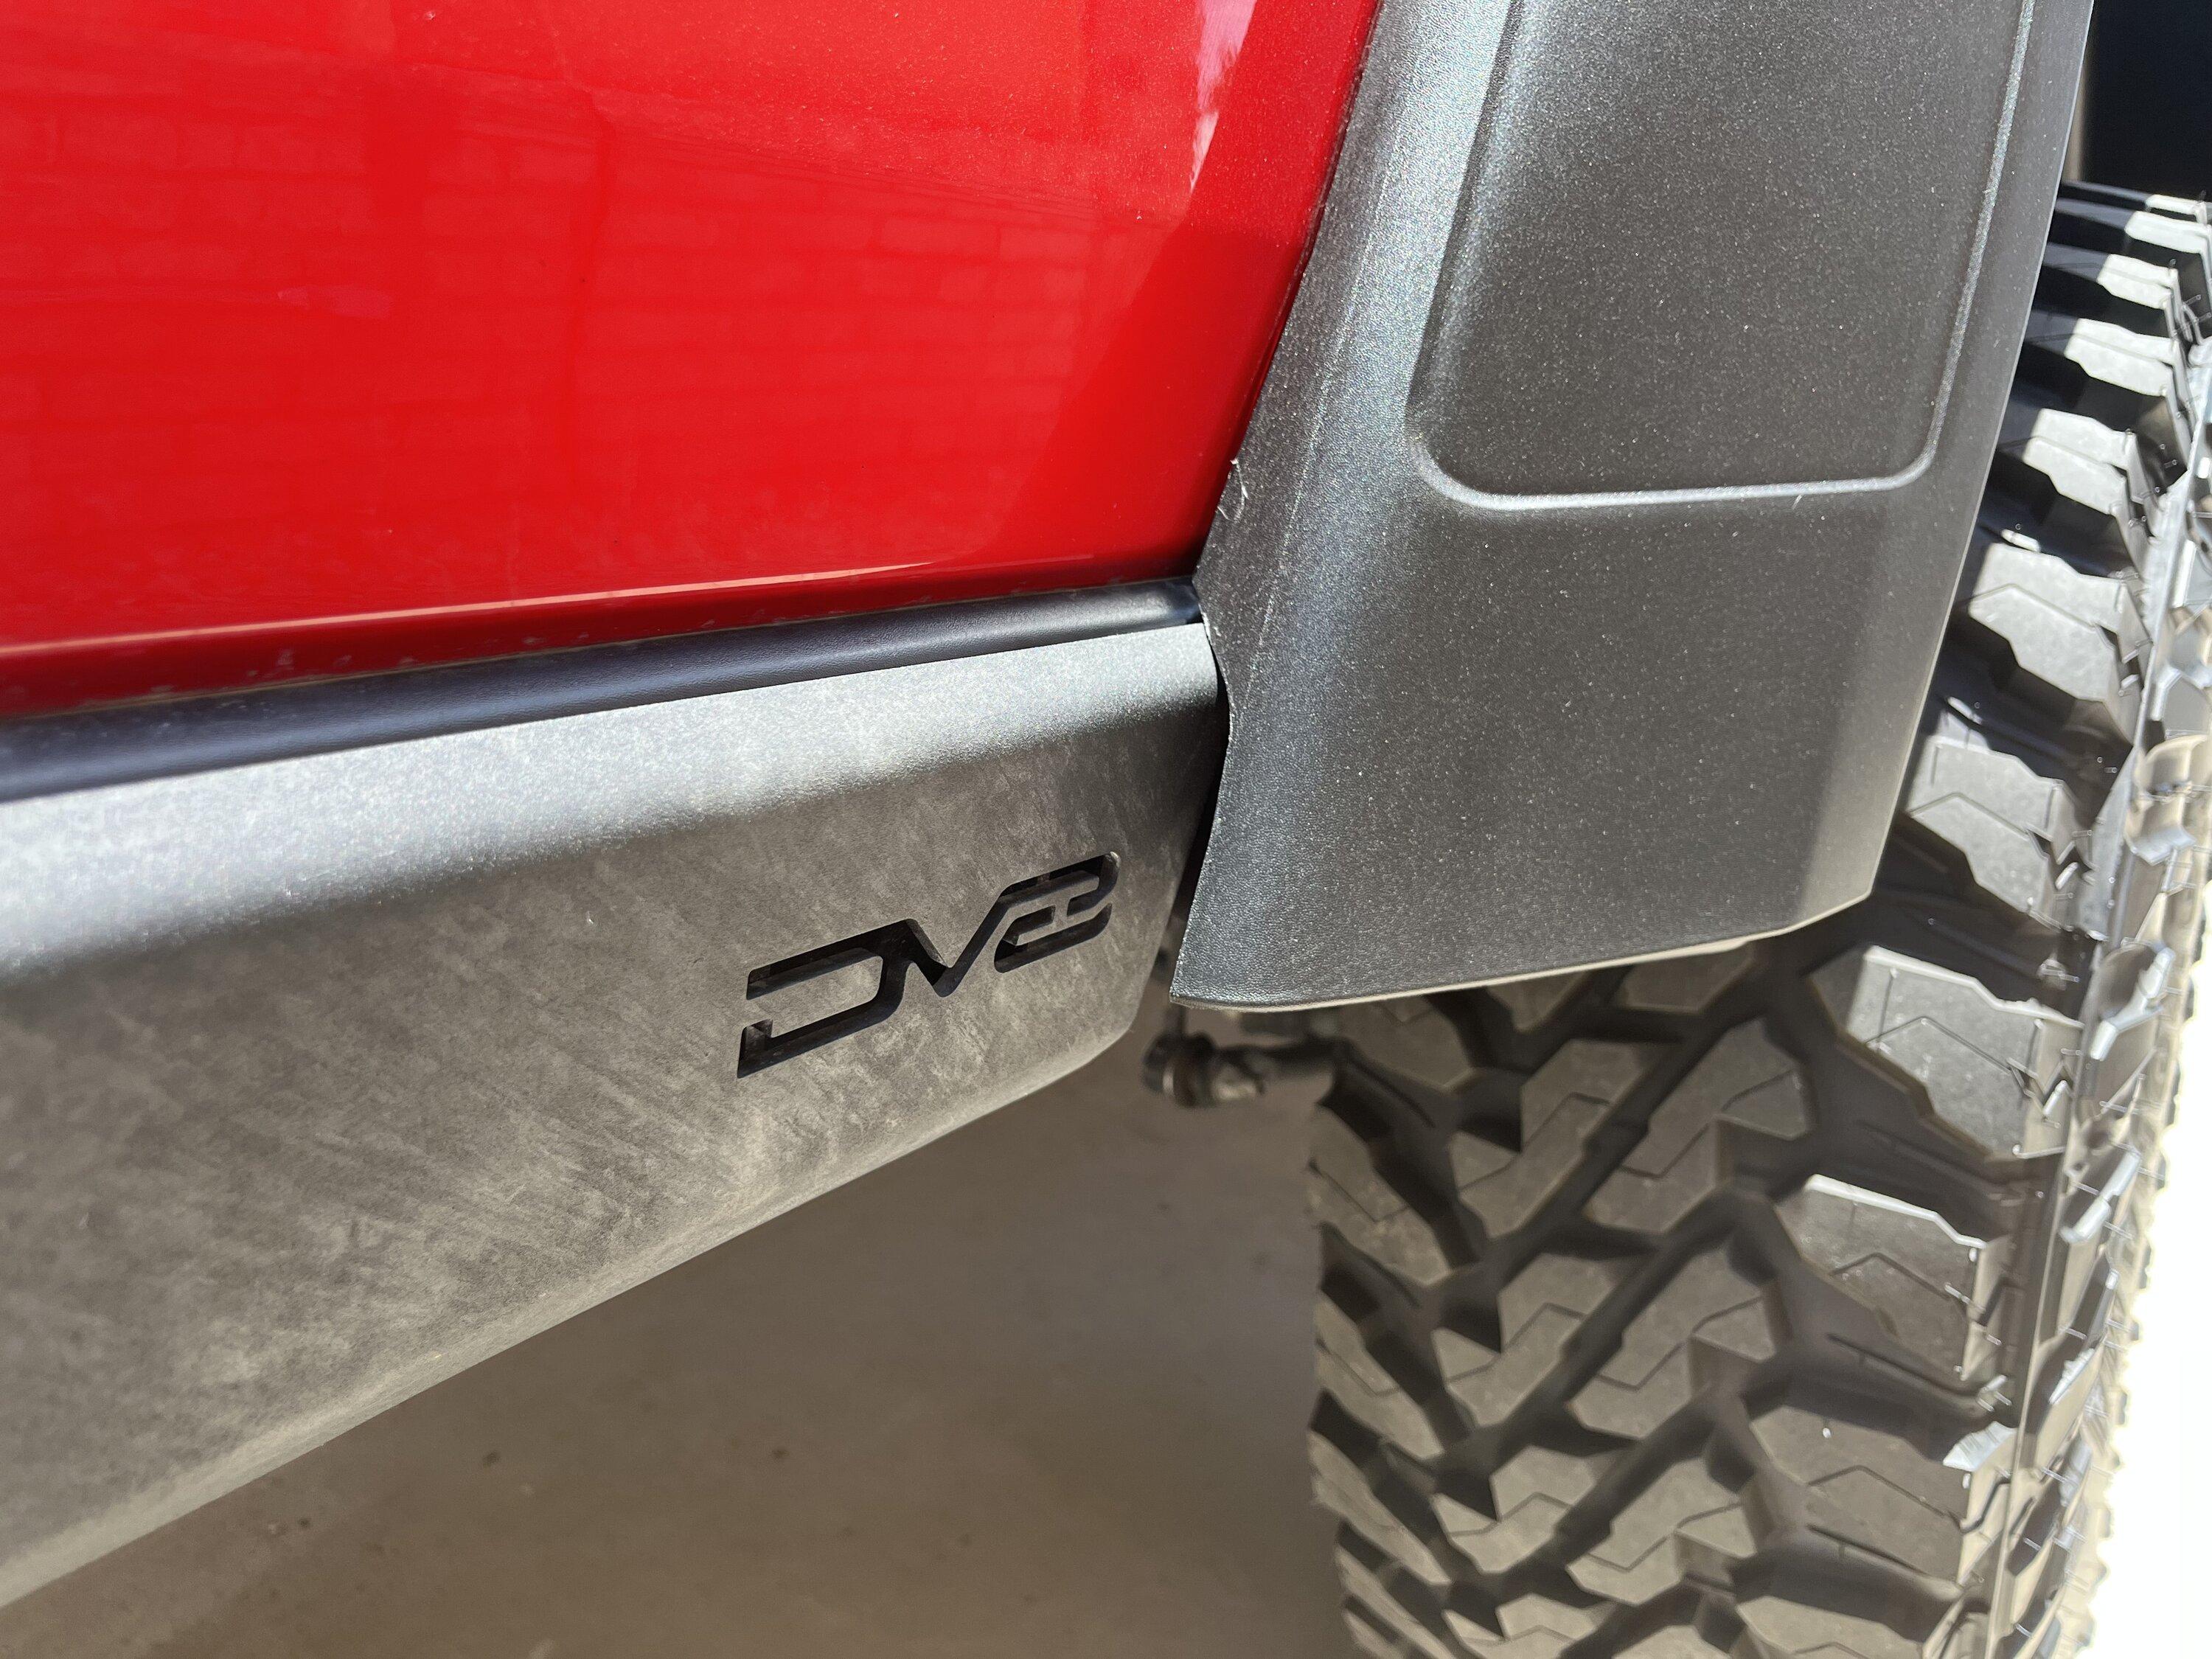
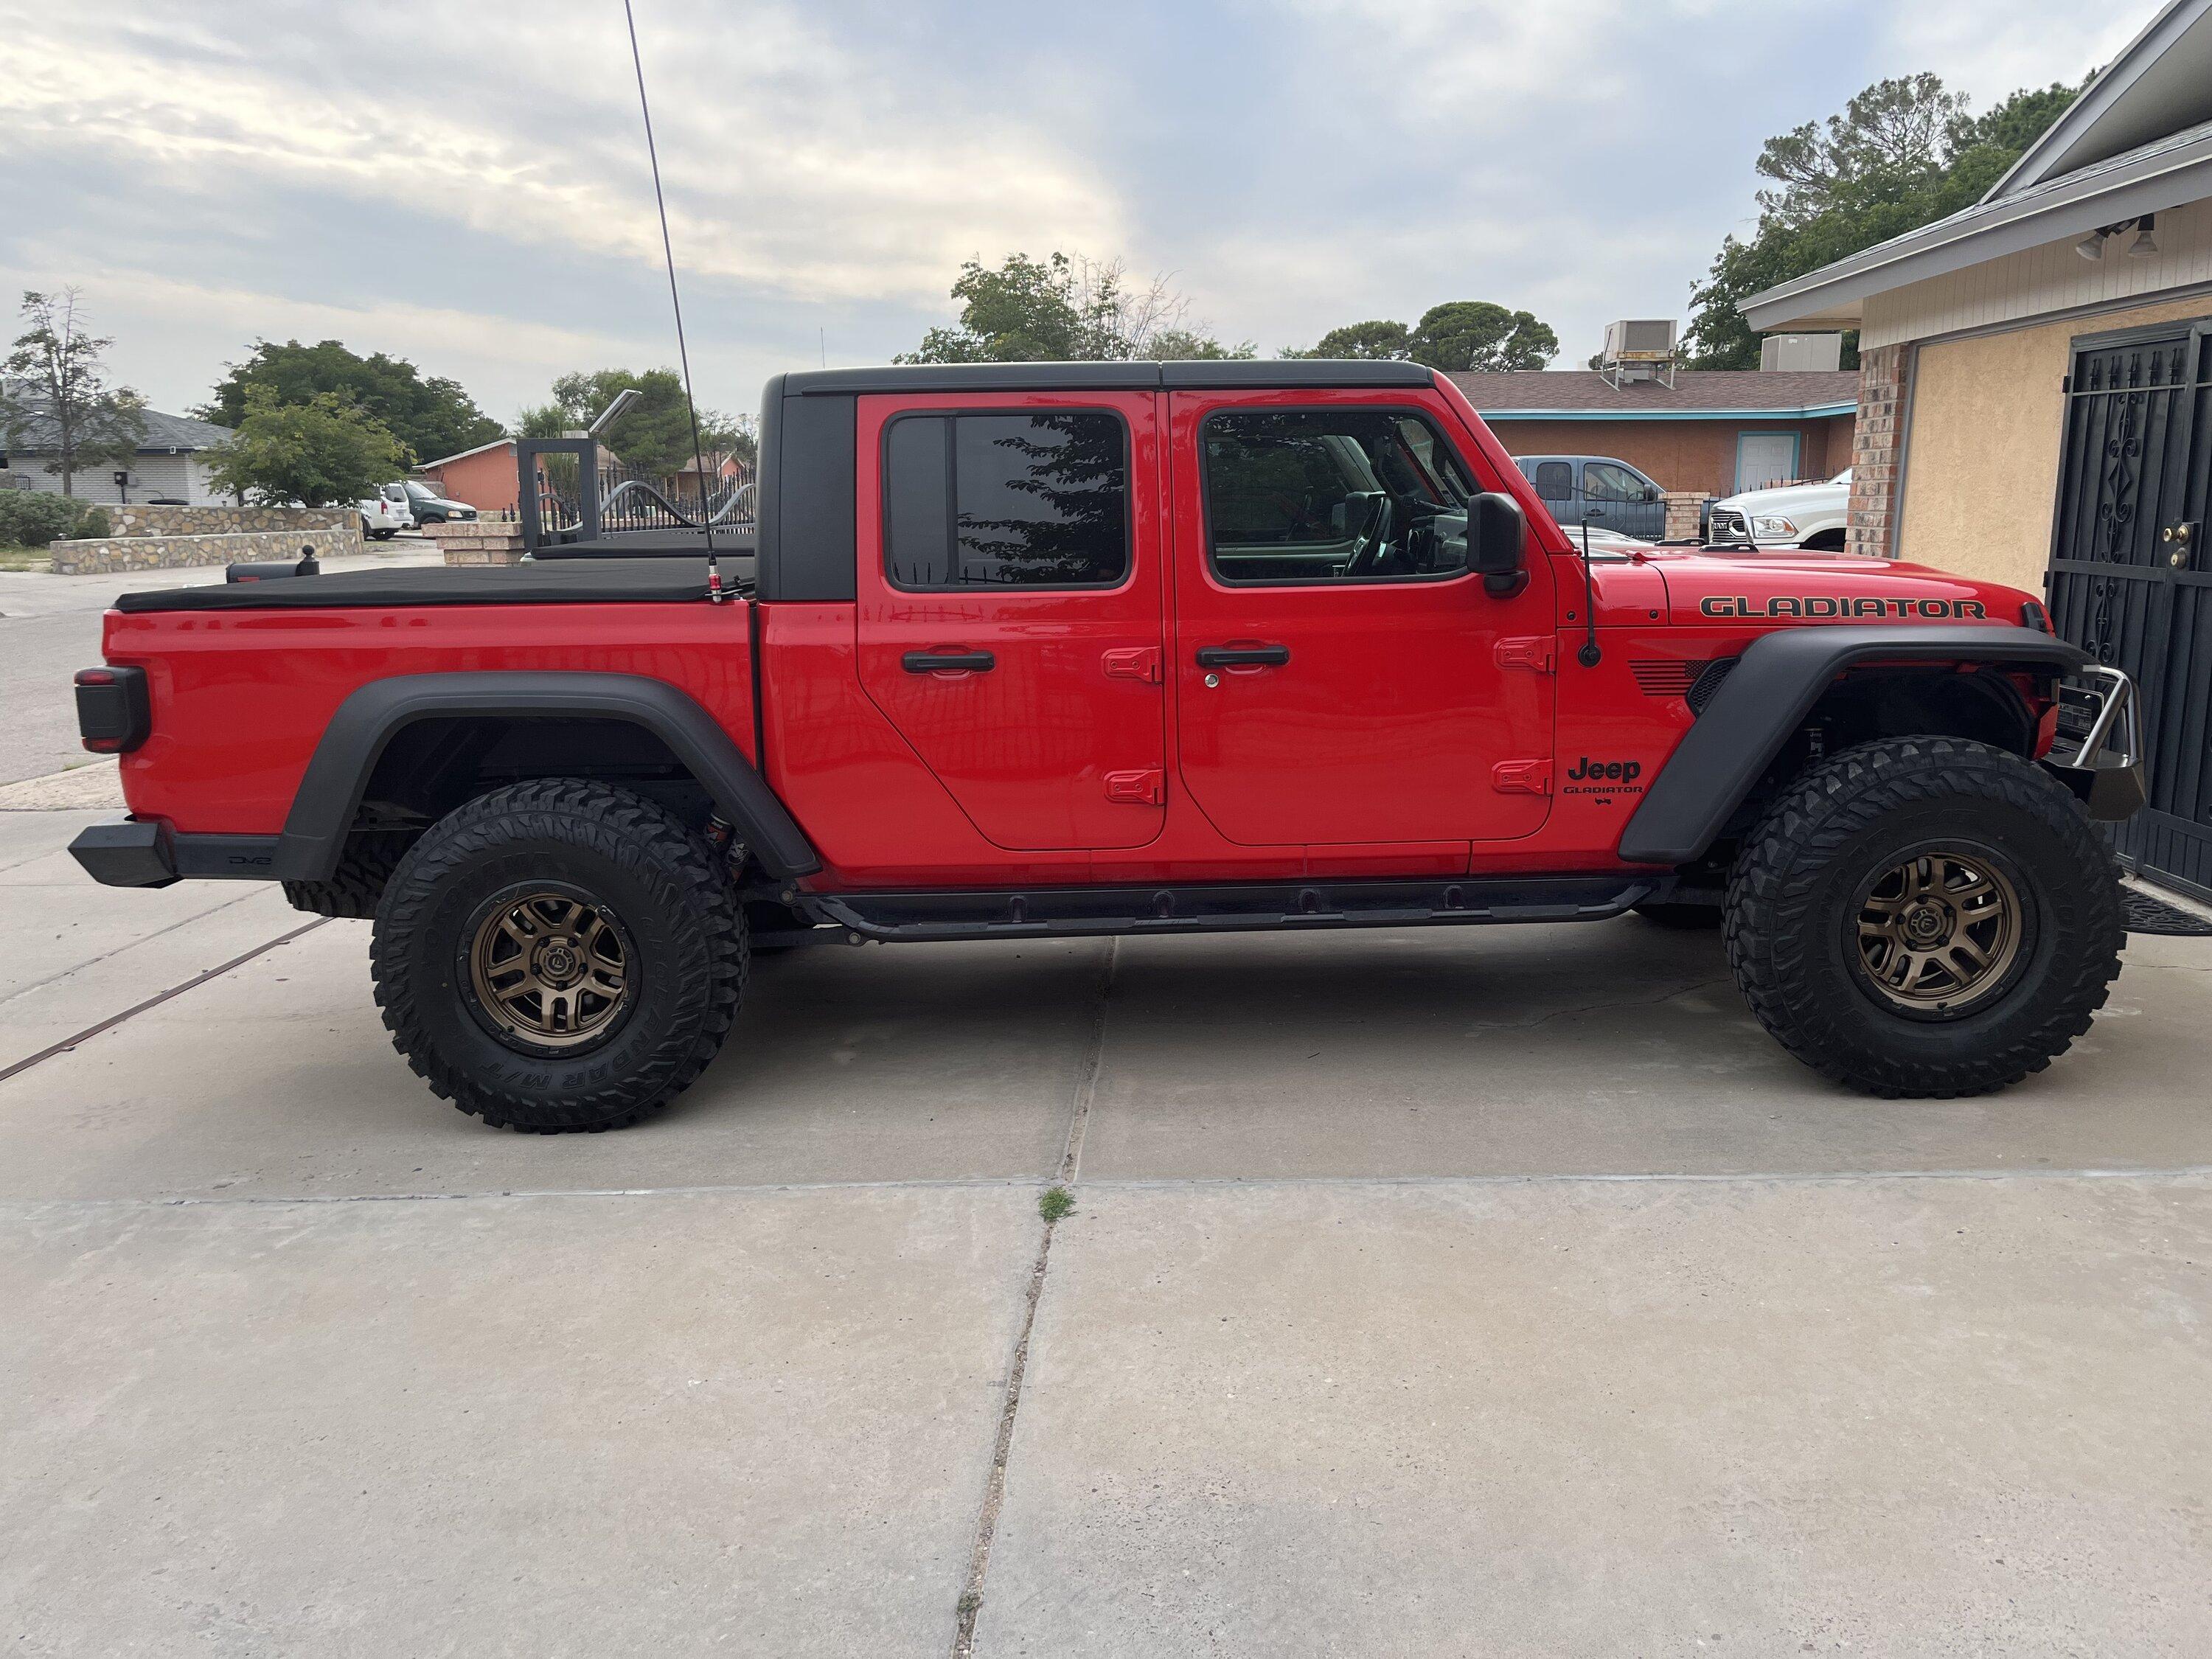
So this is the situation with these flares, they are not flat relative to the body, the have a downwards slope to them, a bit more than the factory flares, however the ARE flat when viewed from the sides. I have set tools down on them before, but if it's anything round like a screwdriver, it can roll away if you're not careful how you set it. Things like pliers and hammers are fine.It is hard to tell on the pictures, but are the front flares flat on top? I had the bushwackers on my last gladiator, and I like having a flat surface to leave tools and screws so I forget about them and they fall off in my driveway. Seriously though, a flat top flare is super convenient for the front. I would buy the bushwacker flares again, but can't get past the 4.99 ebay LED turn signal light they provide, and I don't want to lose the DRL either.
![Jeep Gladiator Rugged Ridge Max Terrain Flares for Gladiator JT install/review. IMG_5208[1]](https://cdn.jeepgladiatorforum.com/attachments/265/265071-d31bd2df02cf409c82cab835c593cea9.webp)
![Jeep Gladiator Rugged Ridge Max Terrain Flares for Gladiator JT install/review. IMG_5209[1]](https://cdn.jeepgladiatorforum.com/attachments/265/265072-f157520fa85b0dc9d5ab21df9477f782.webp)
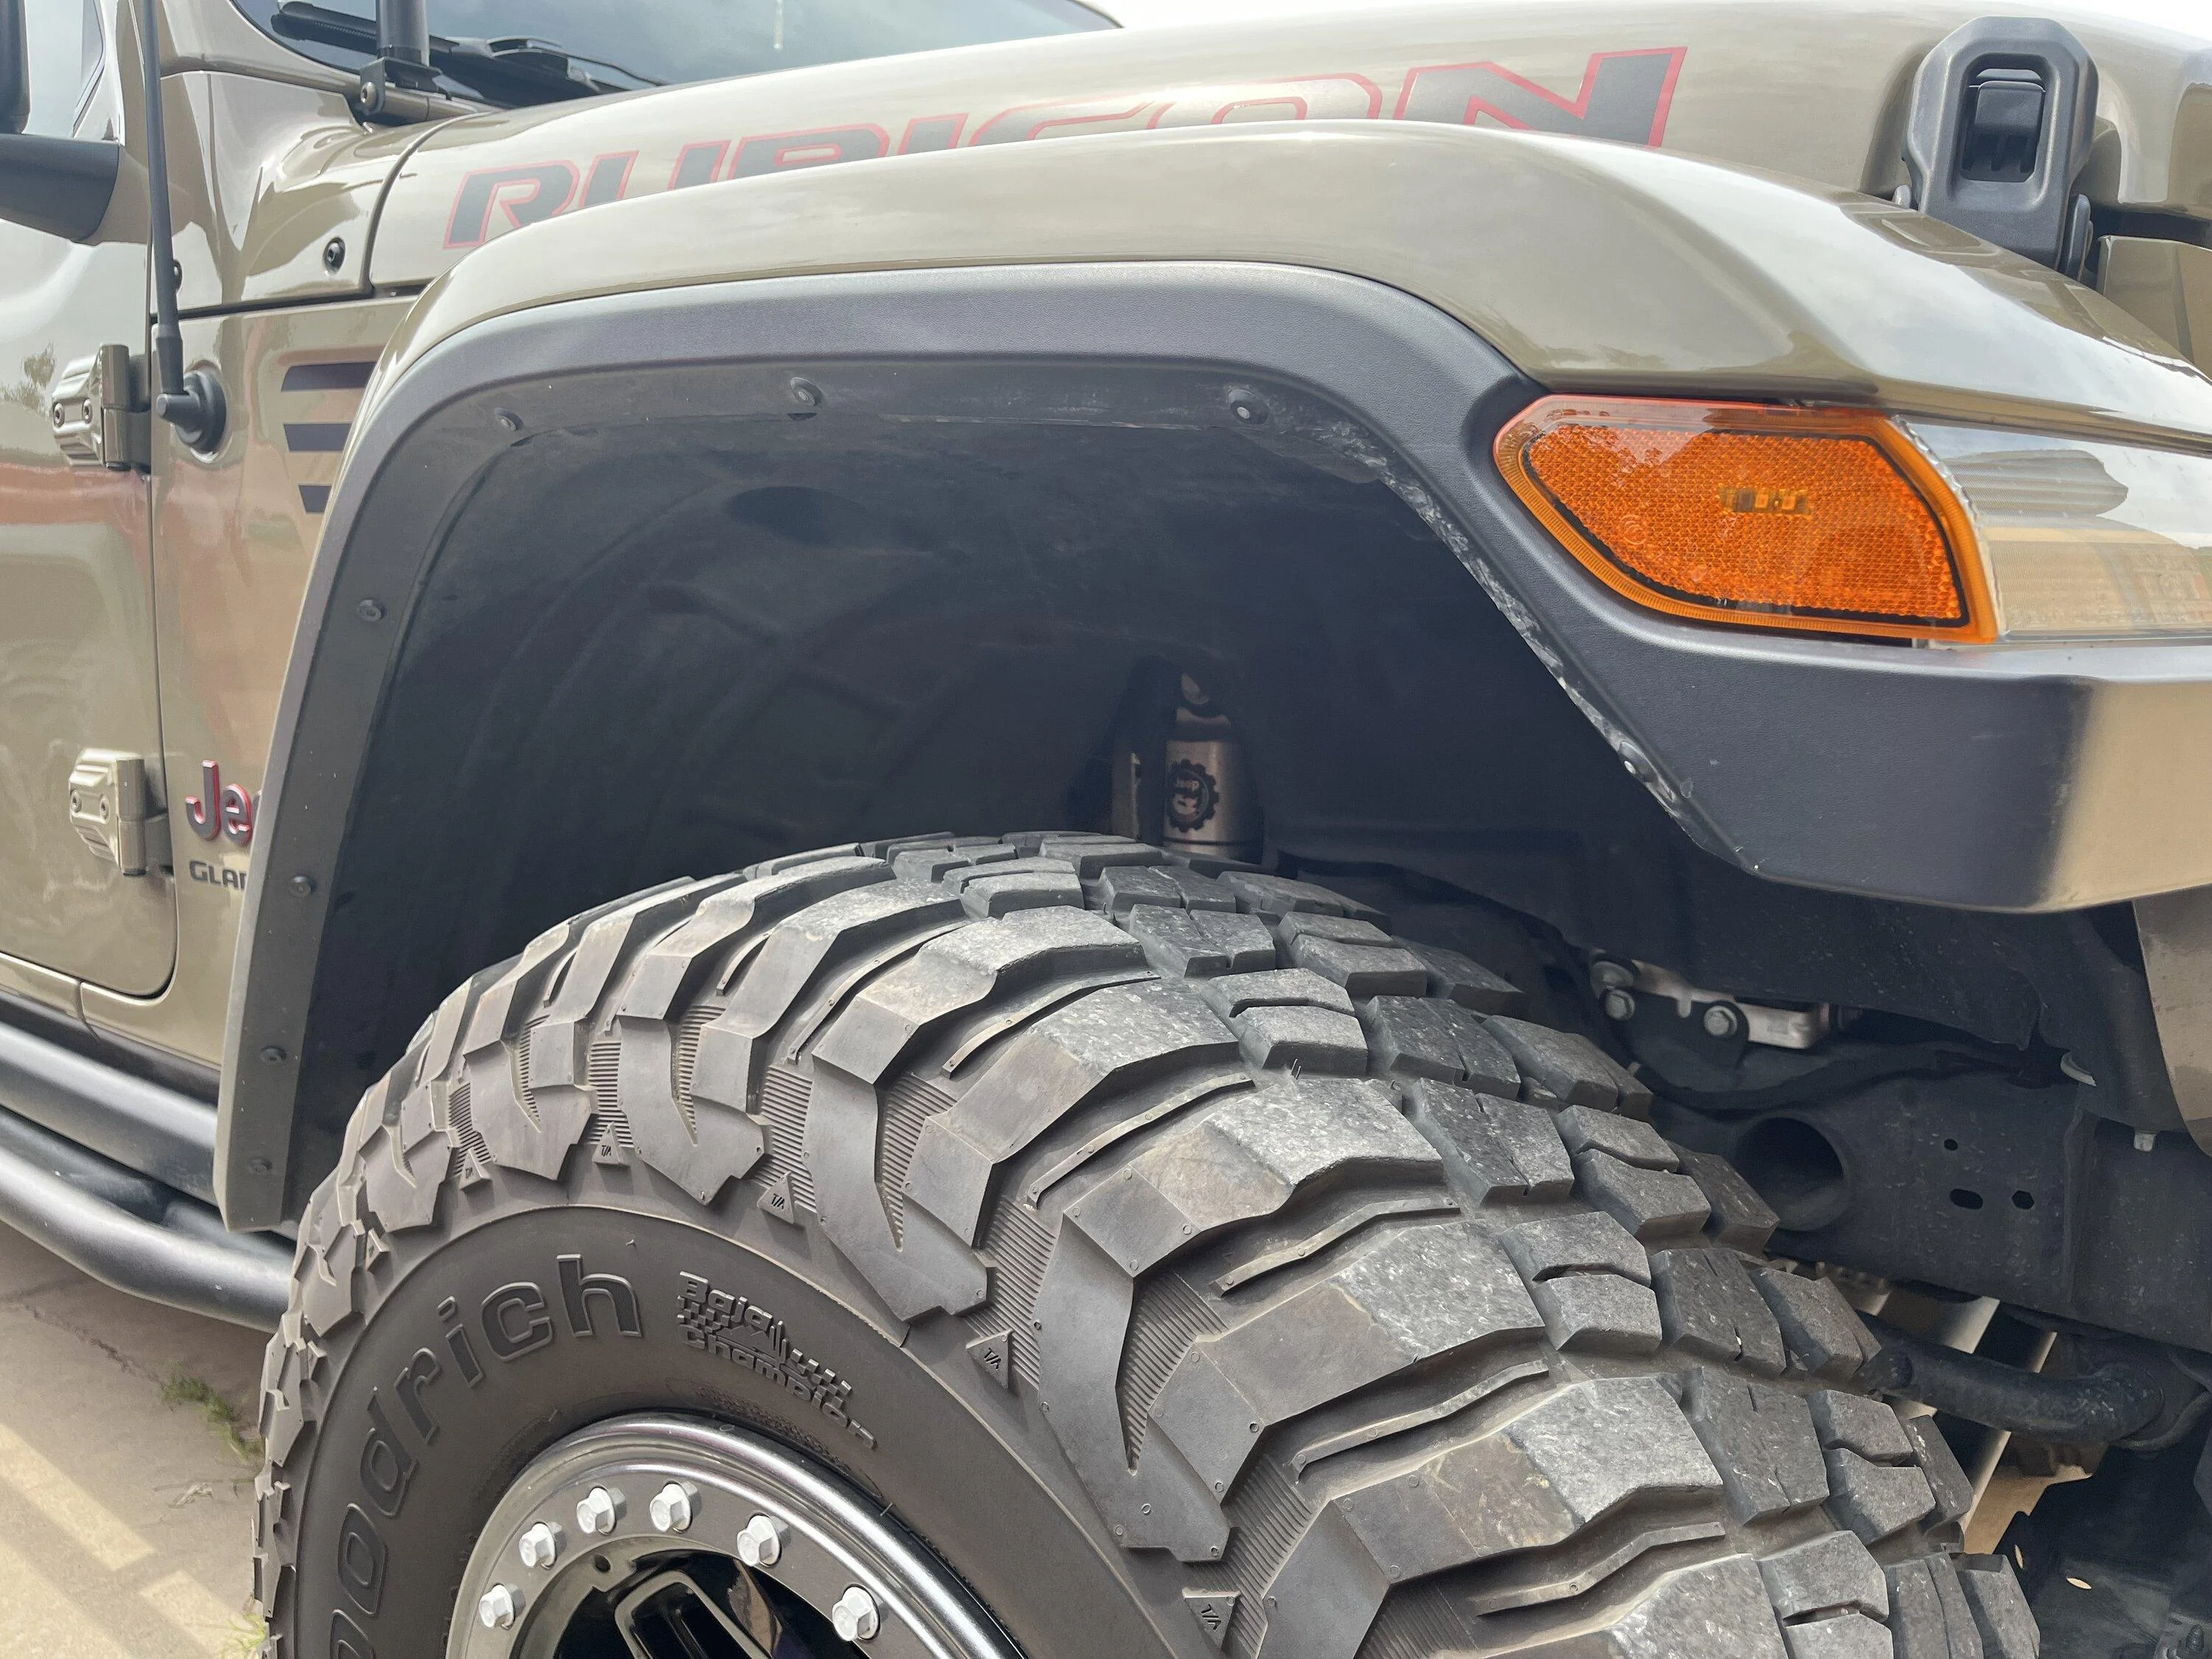
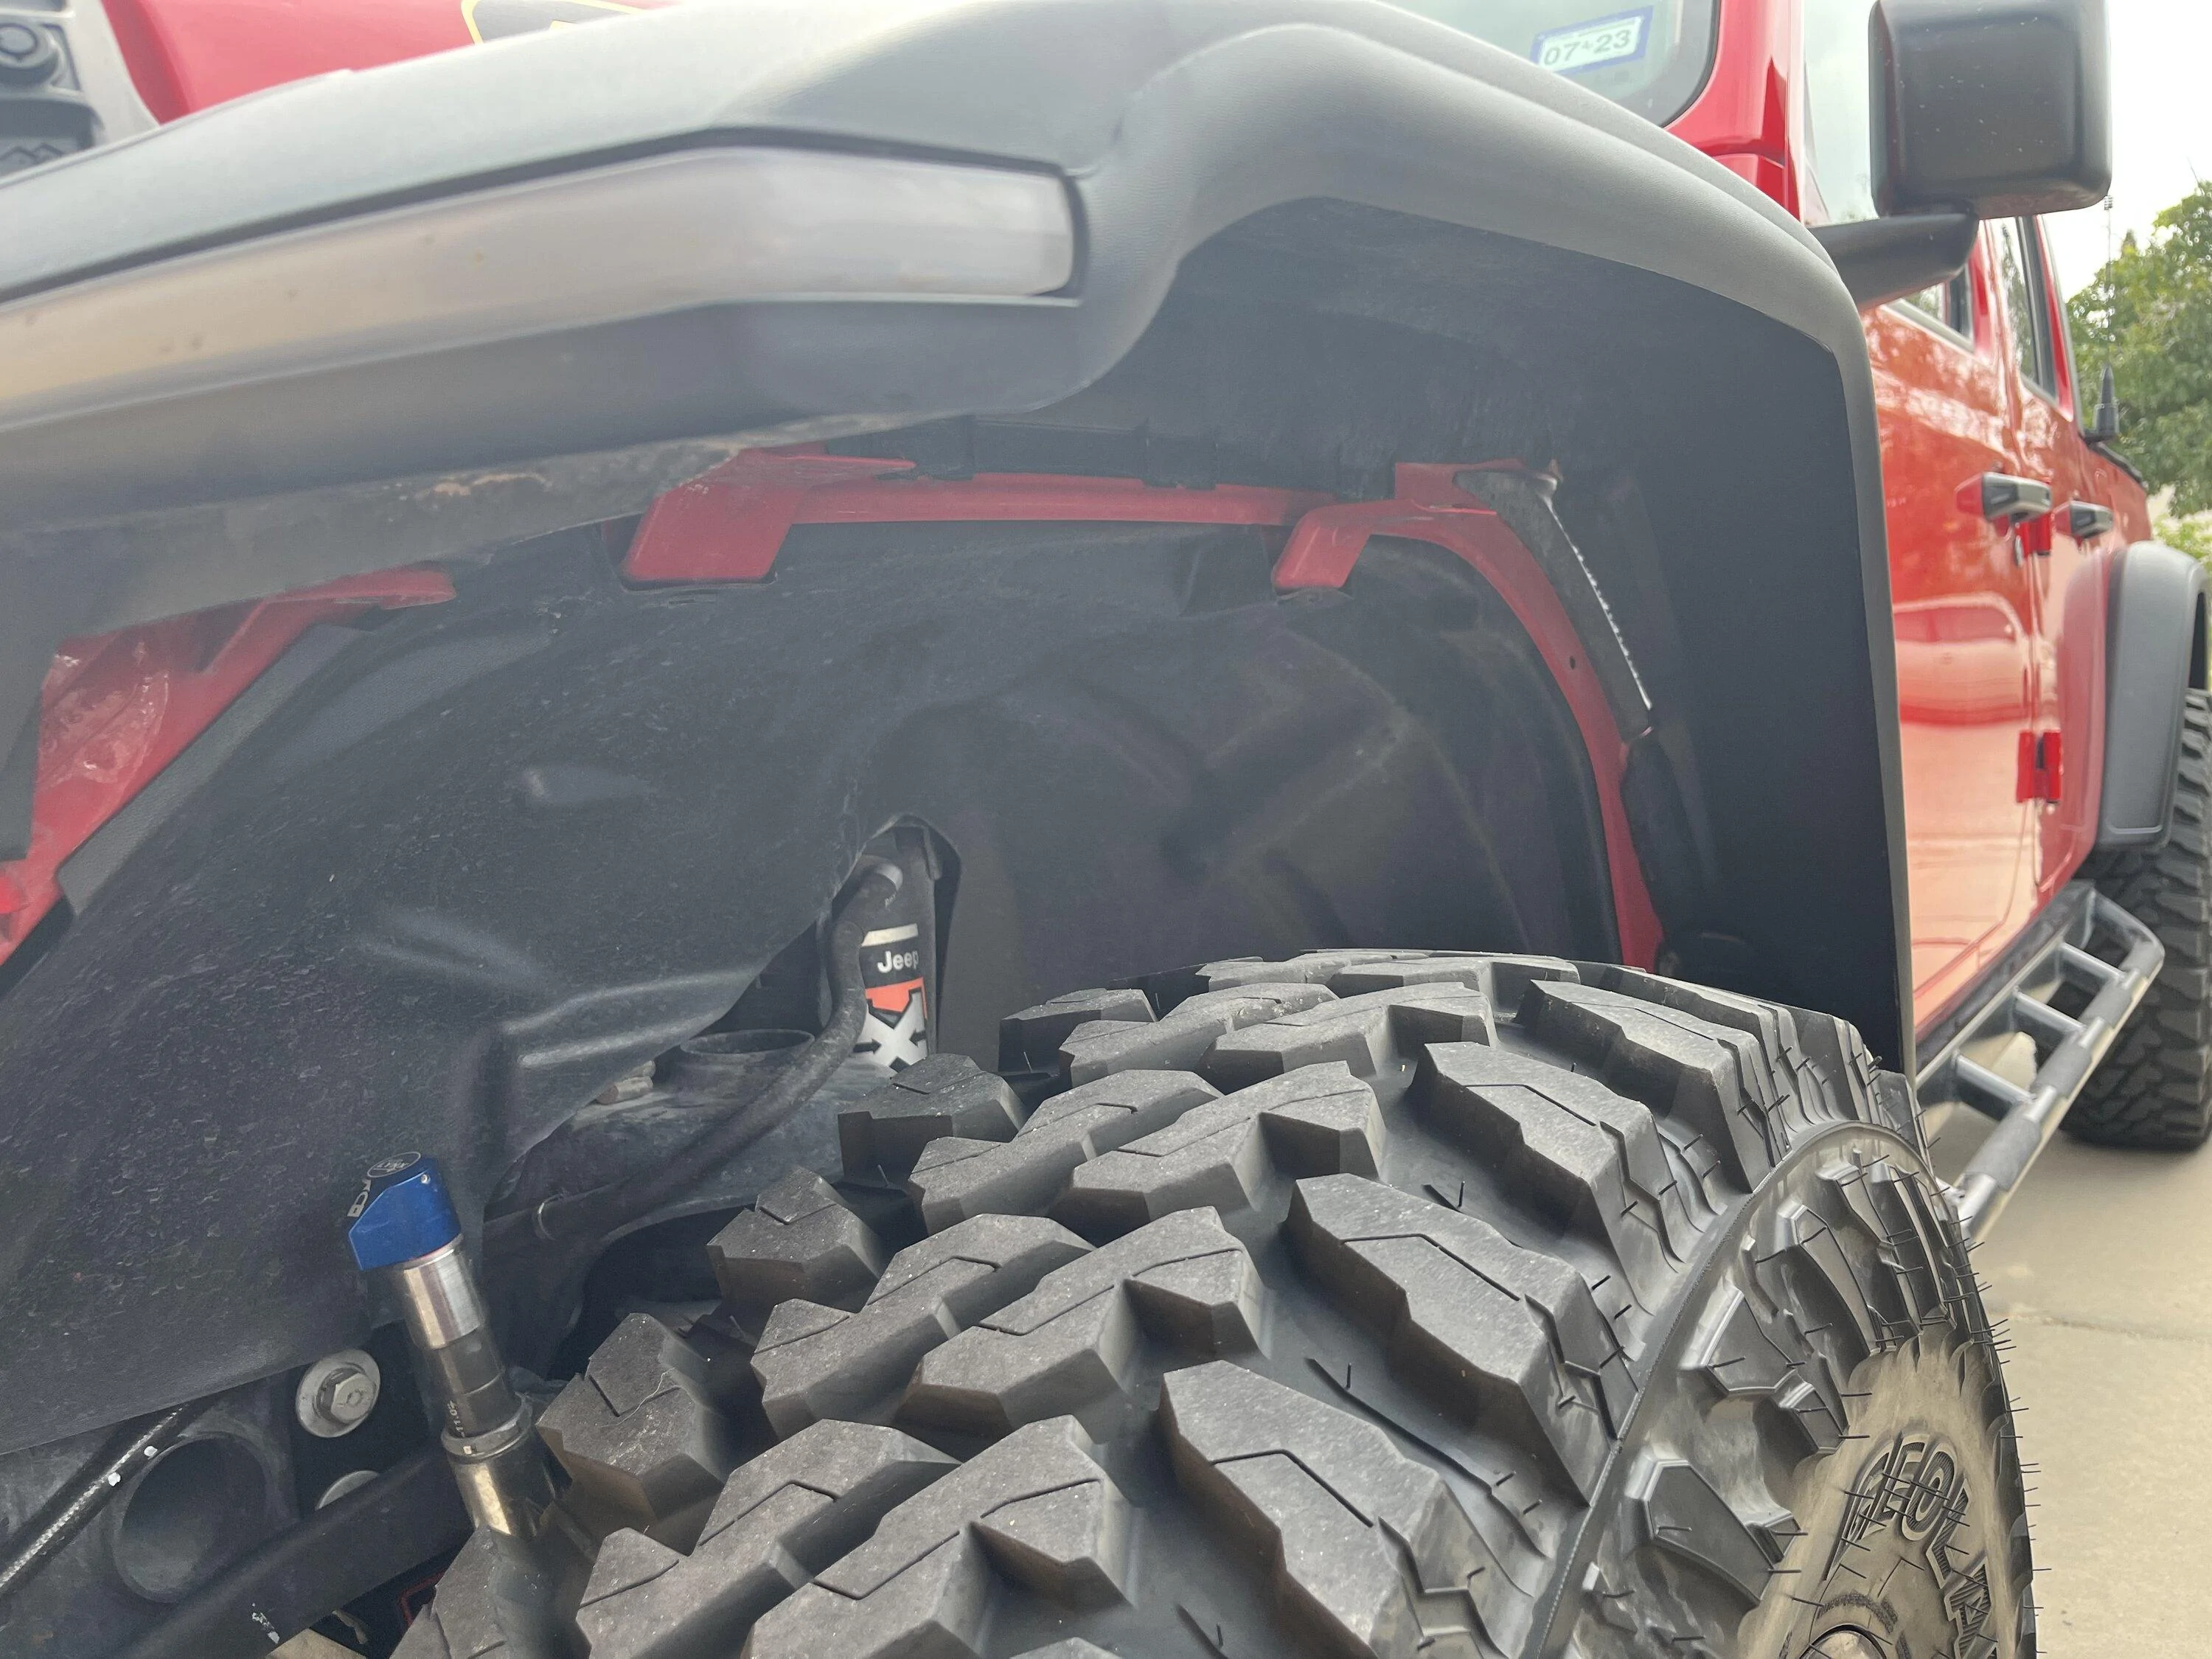
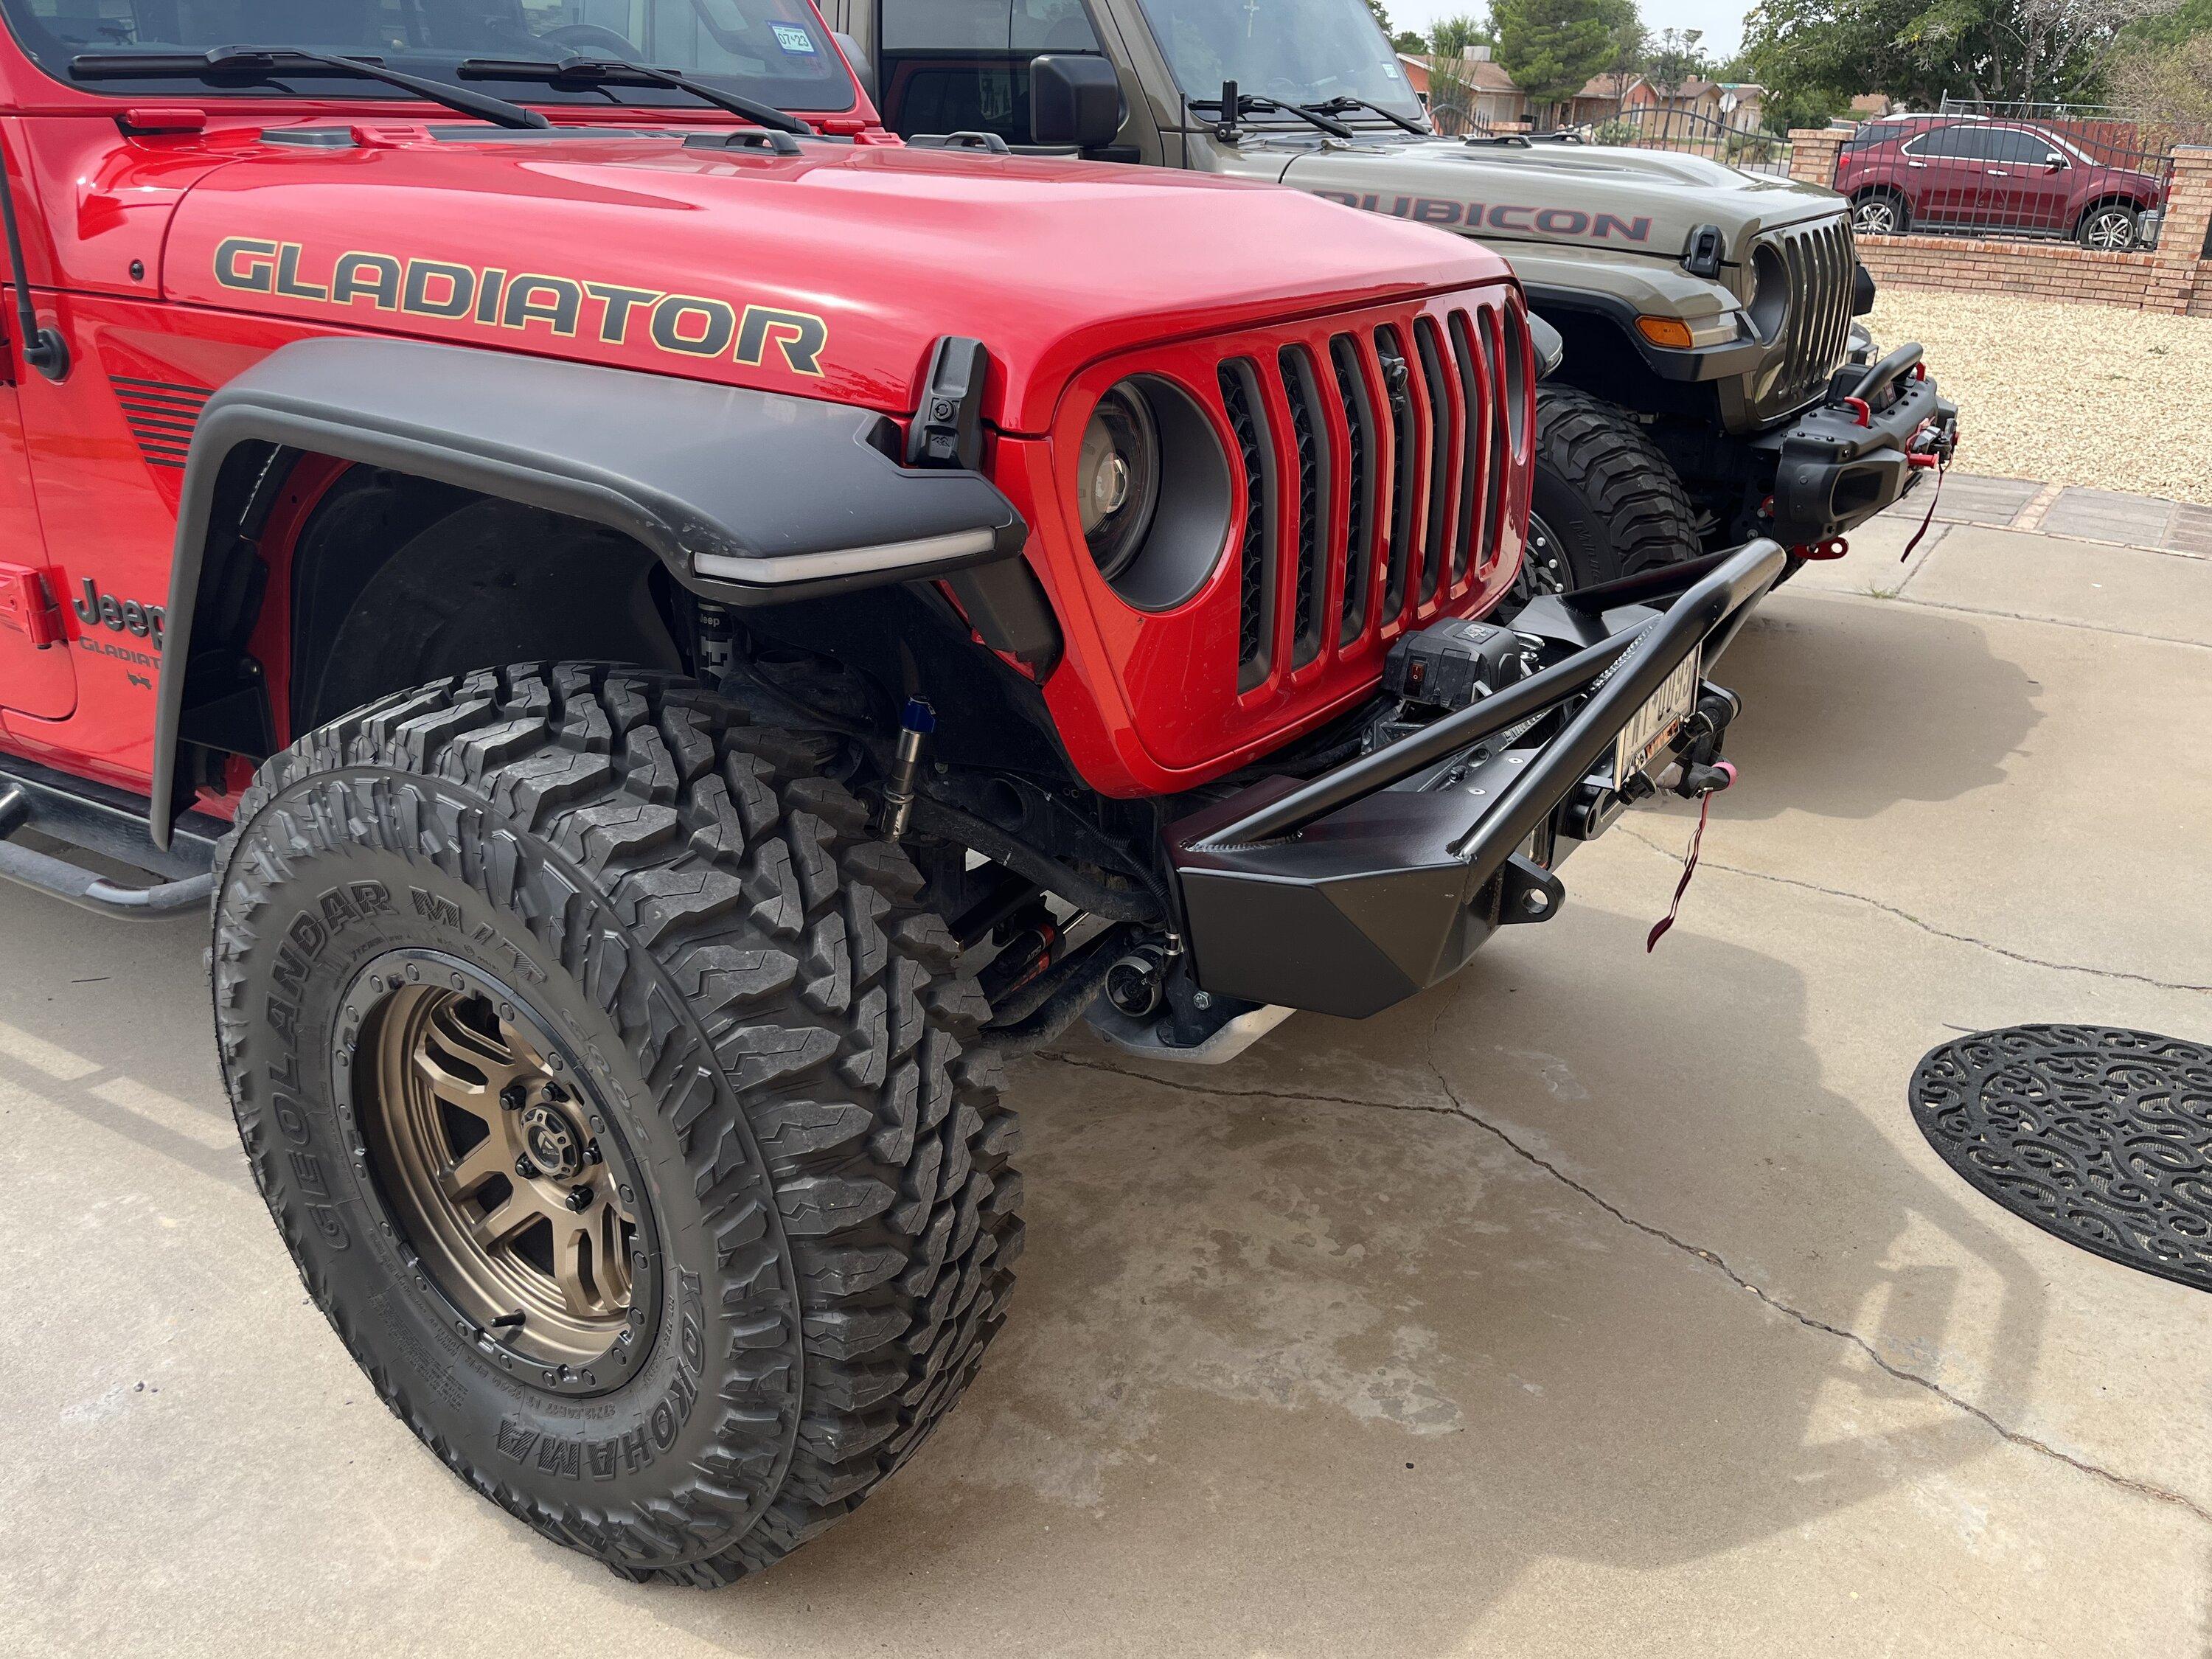
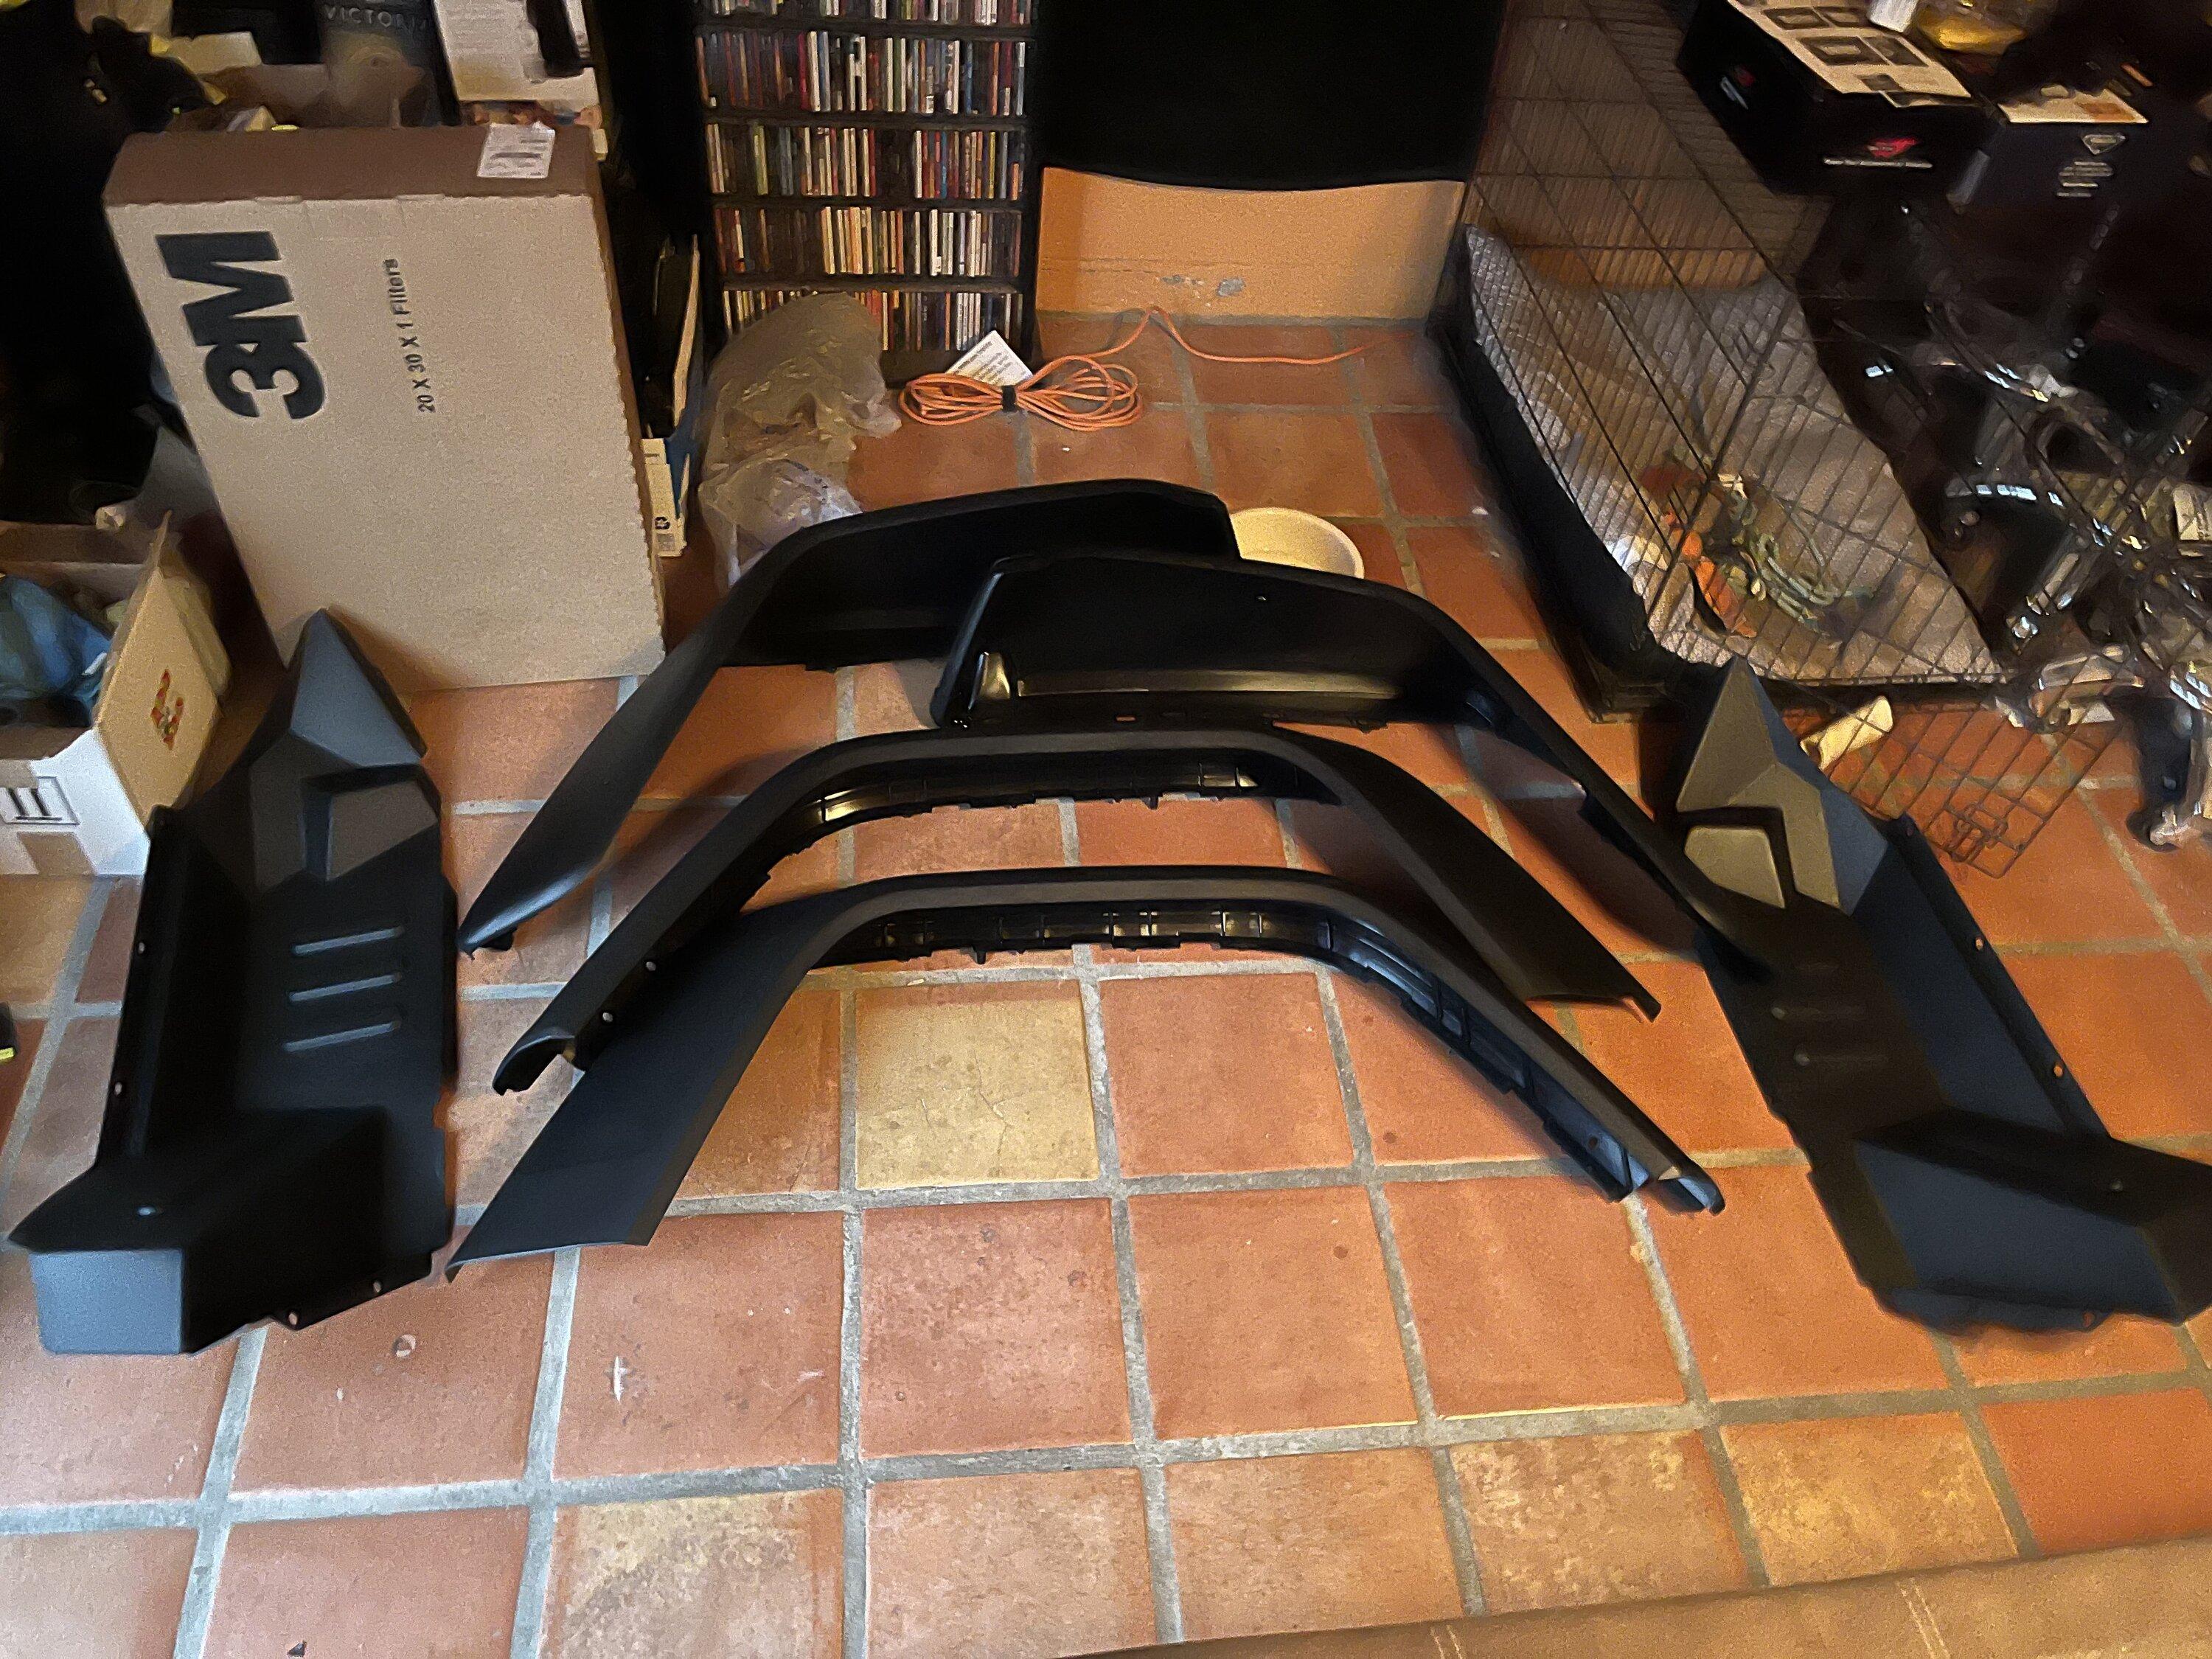
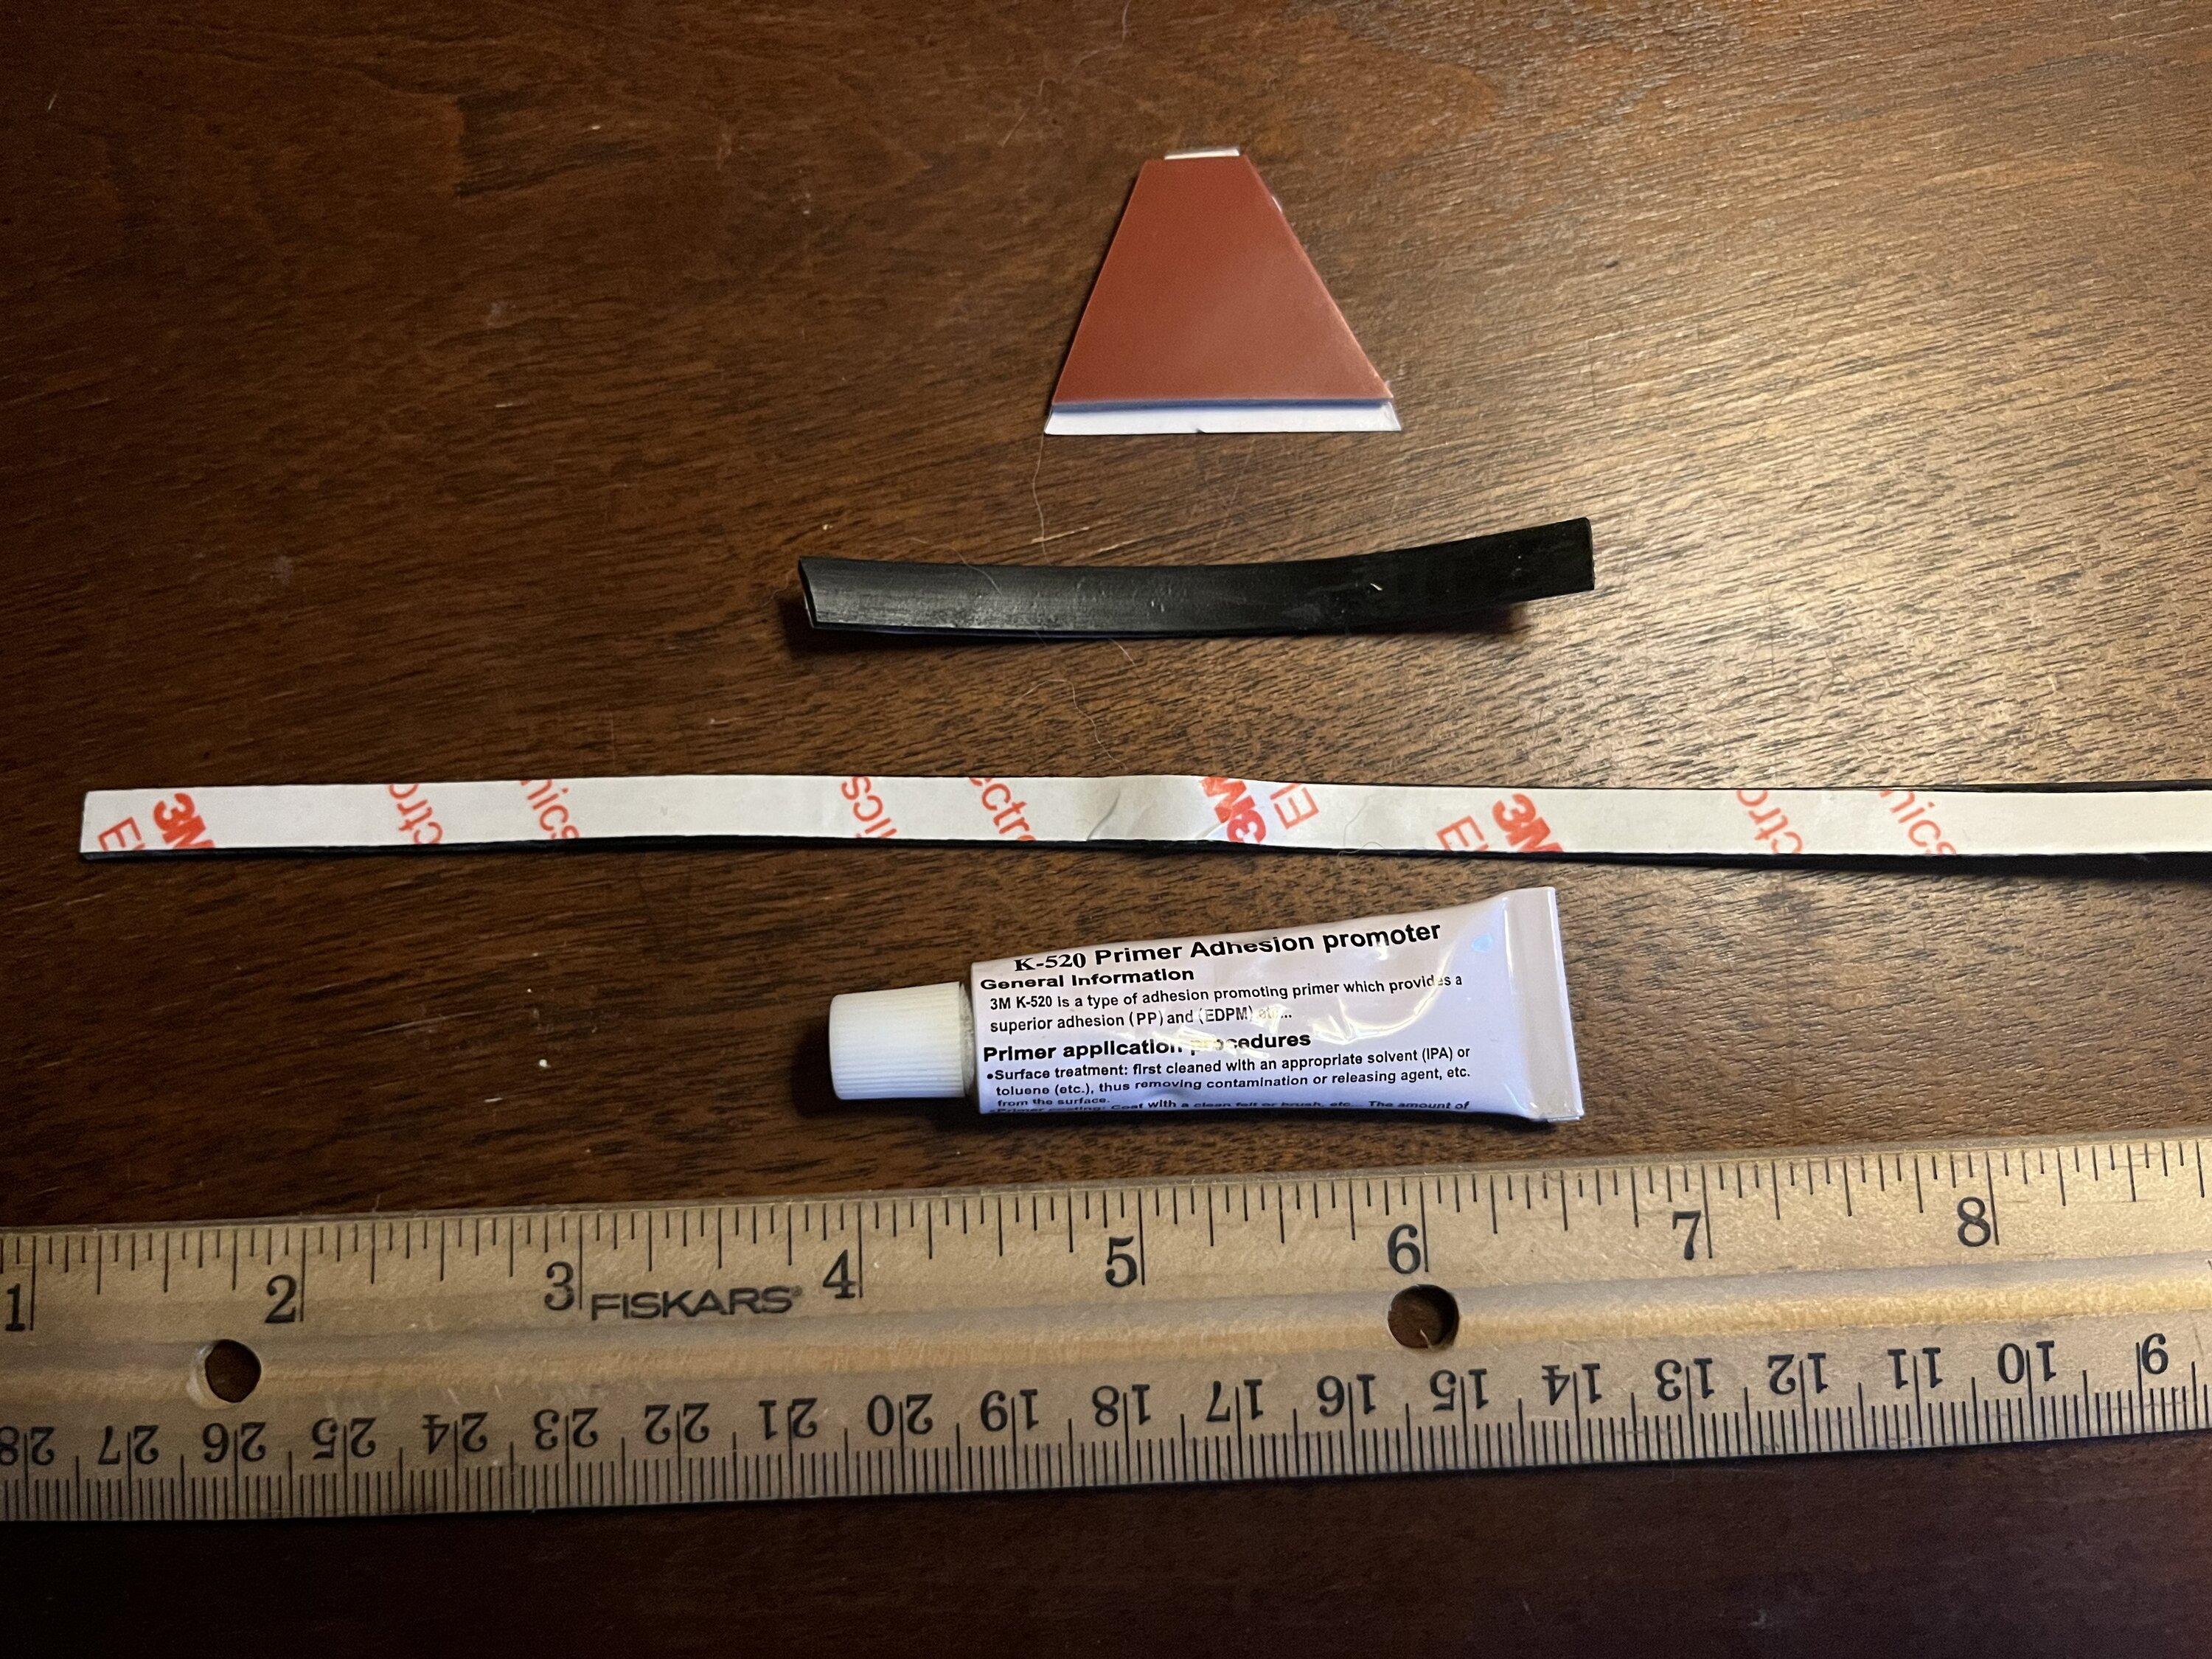
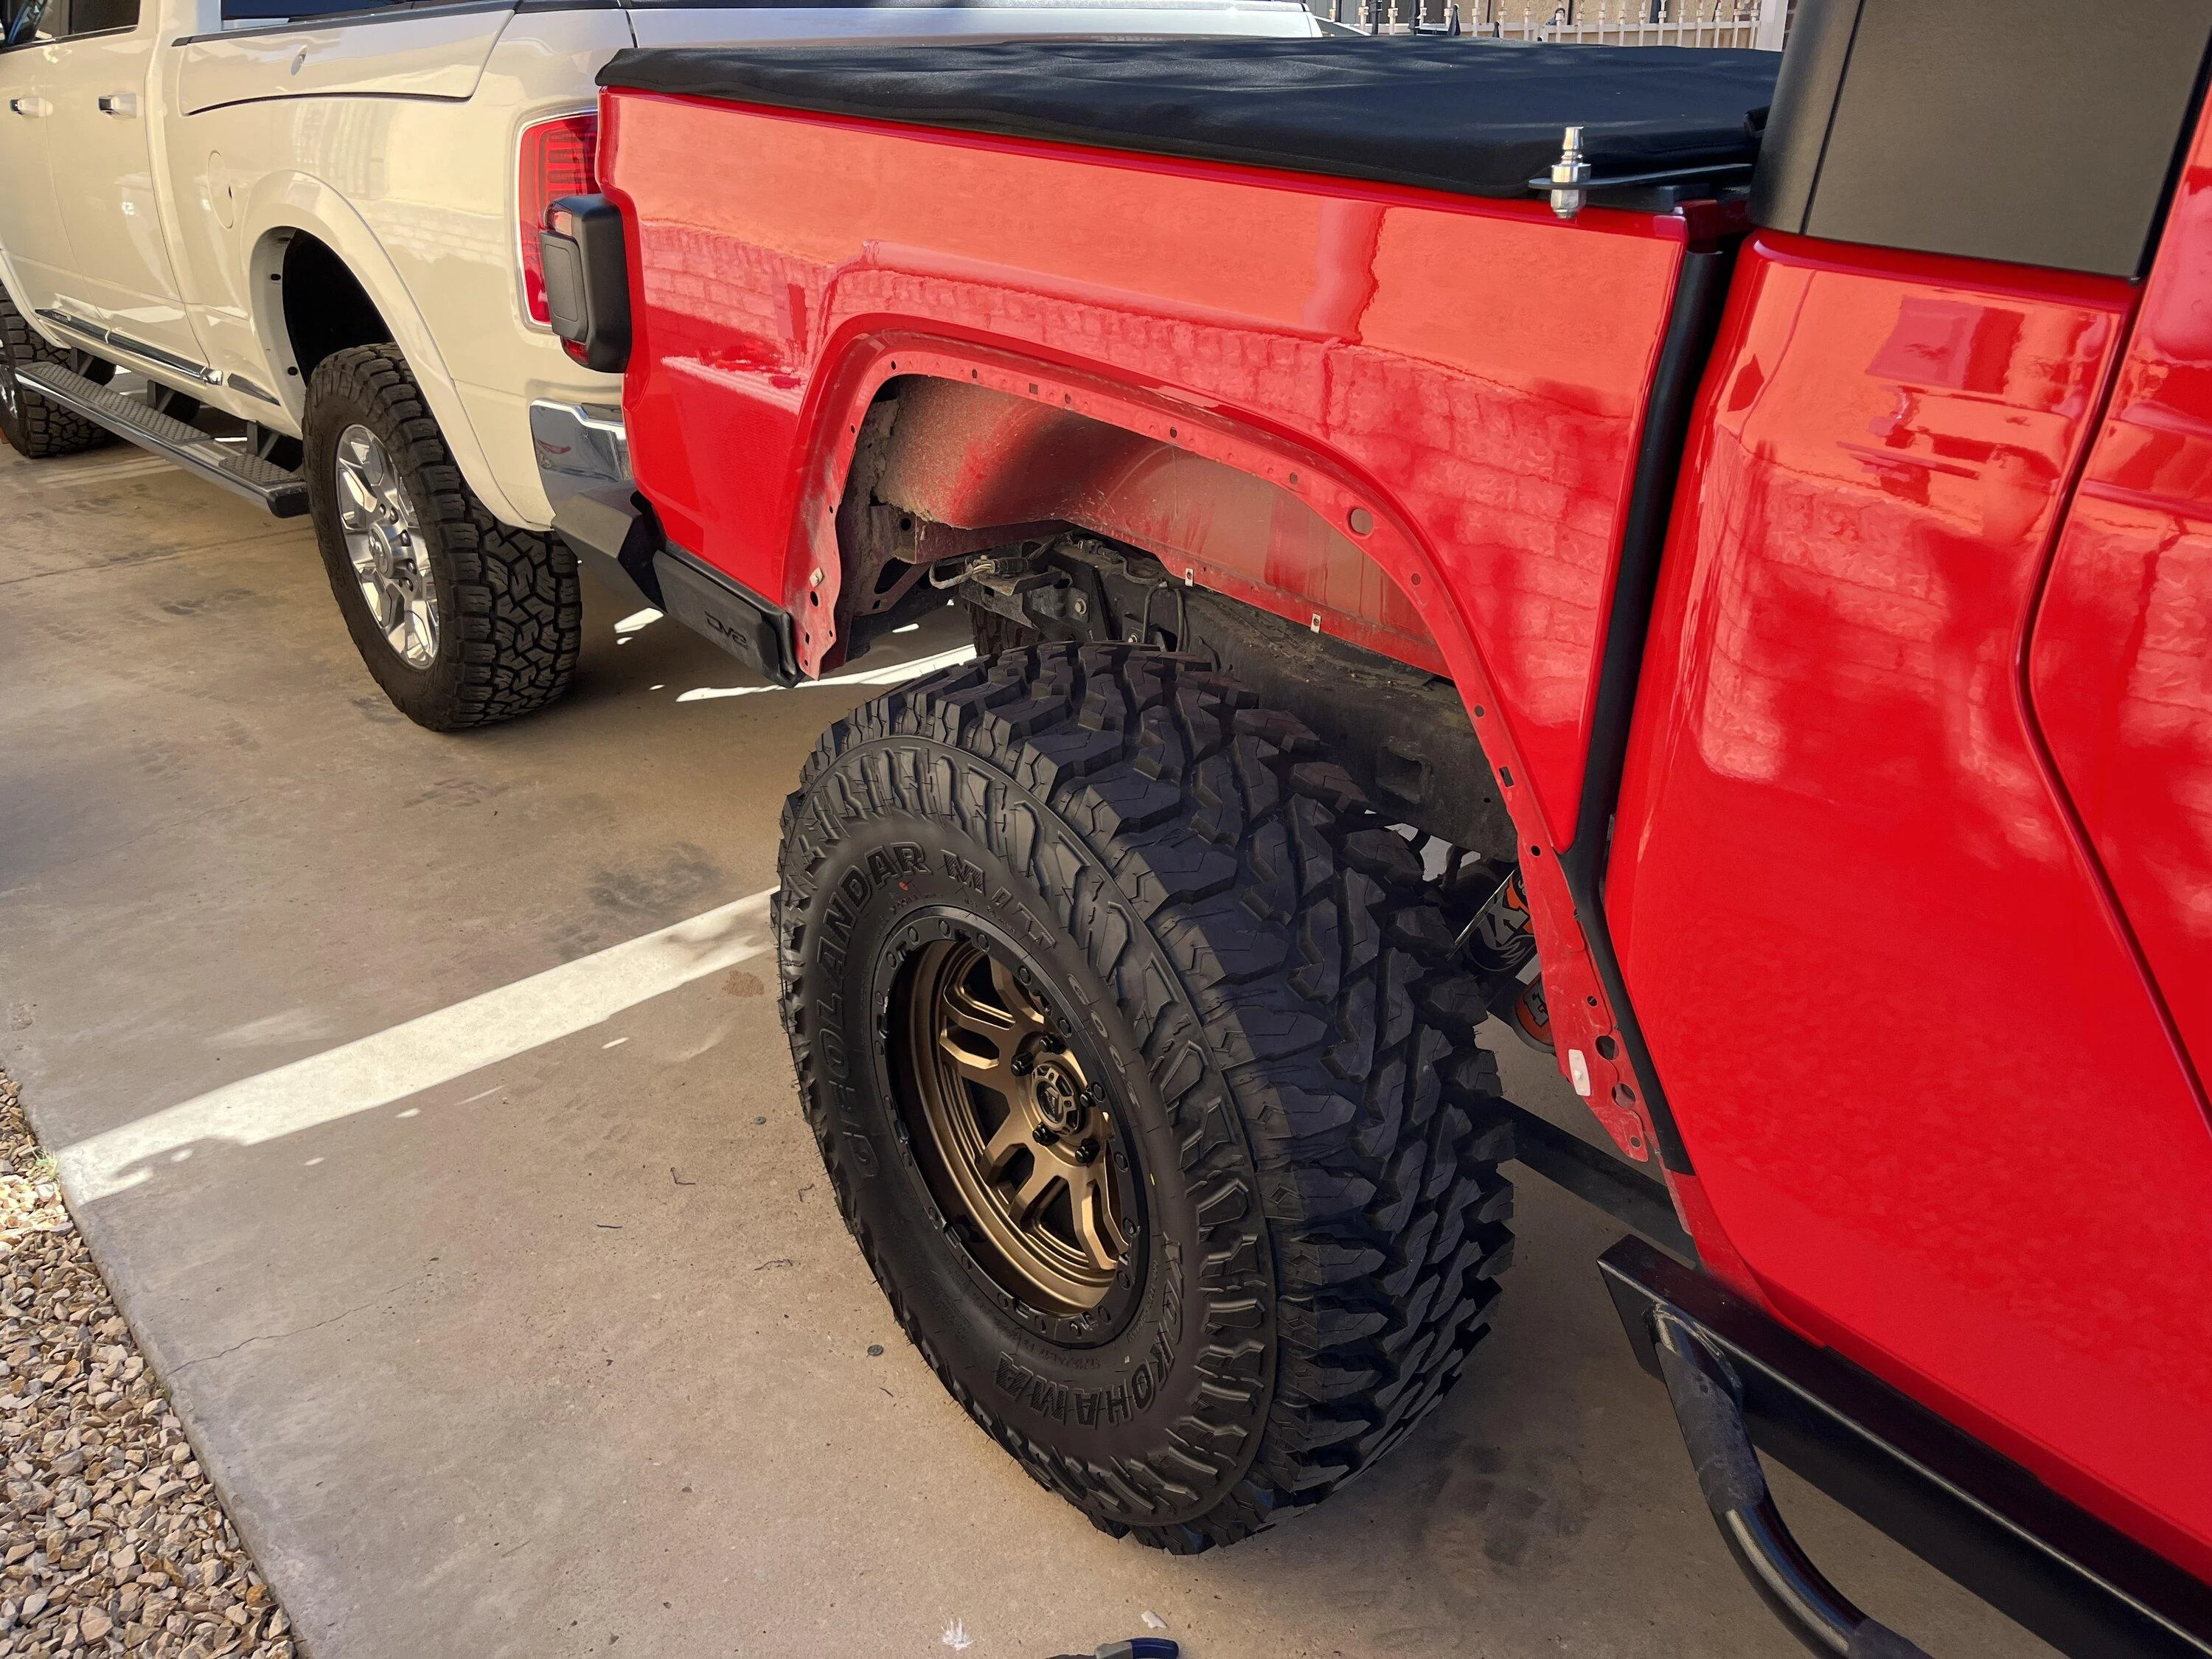
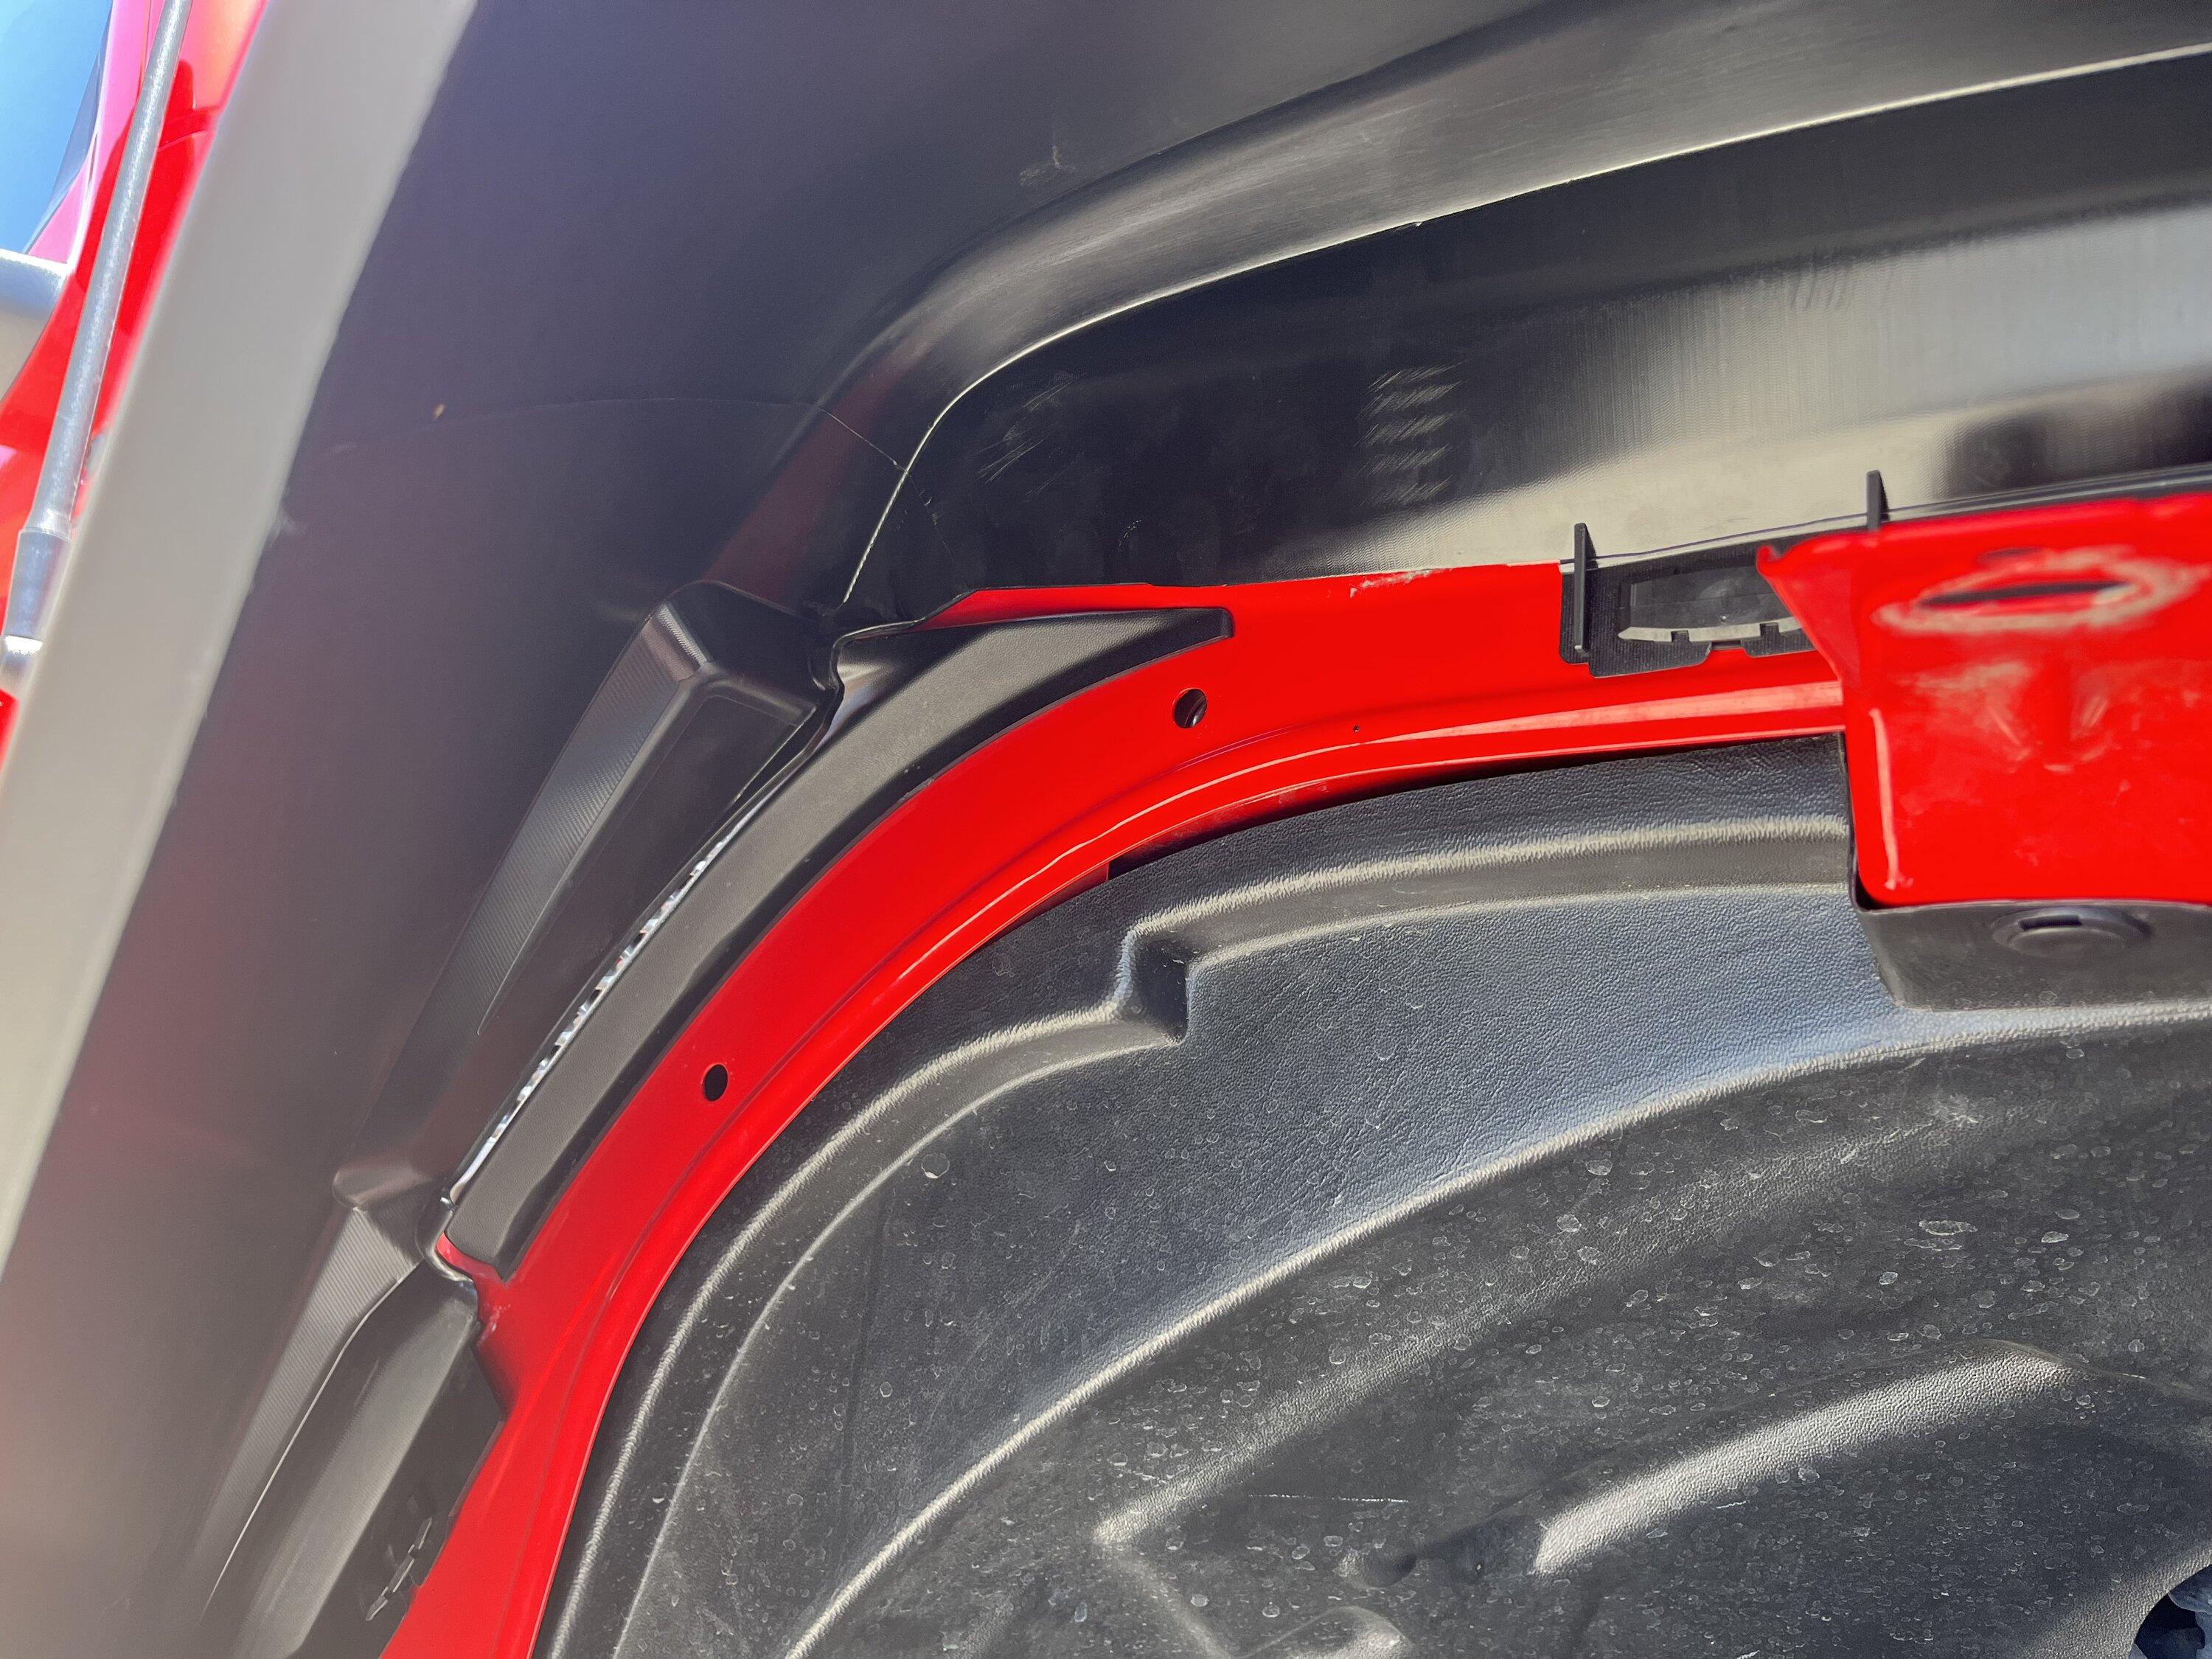
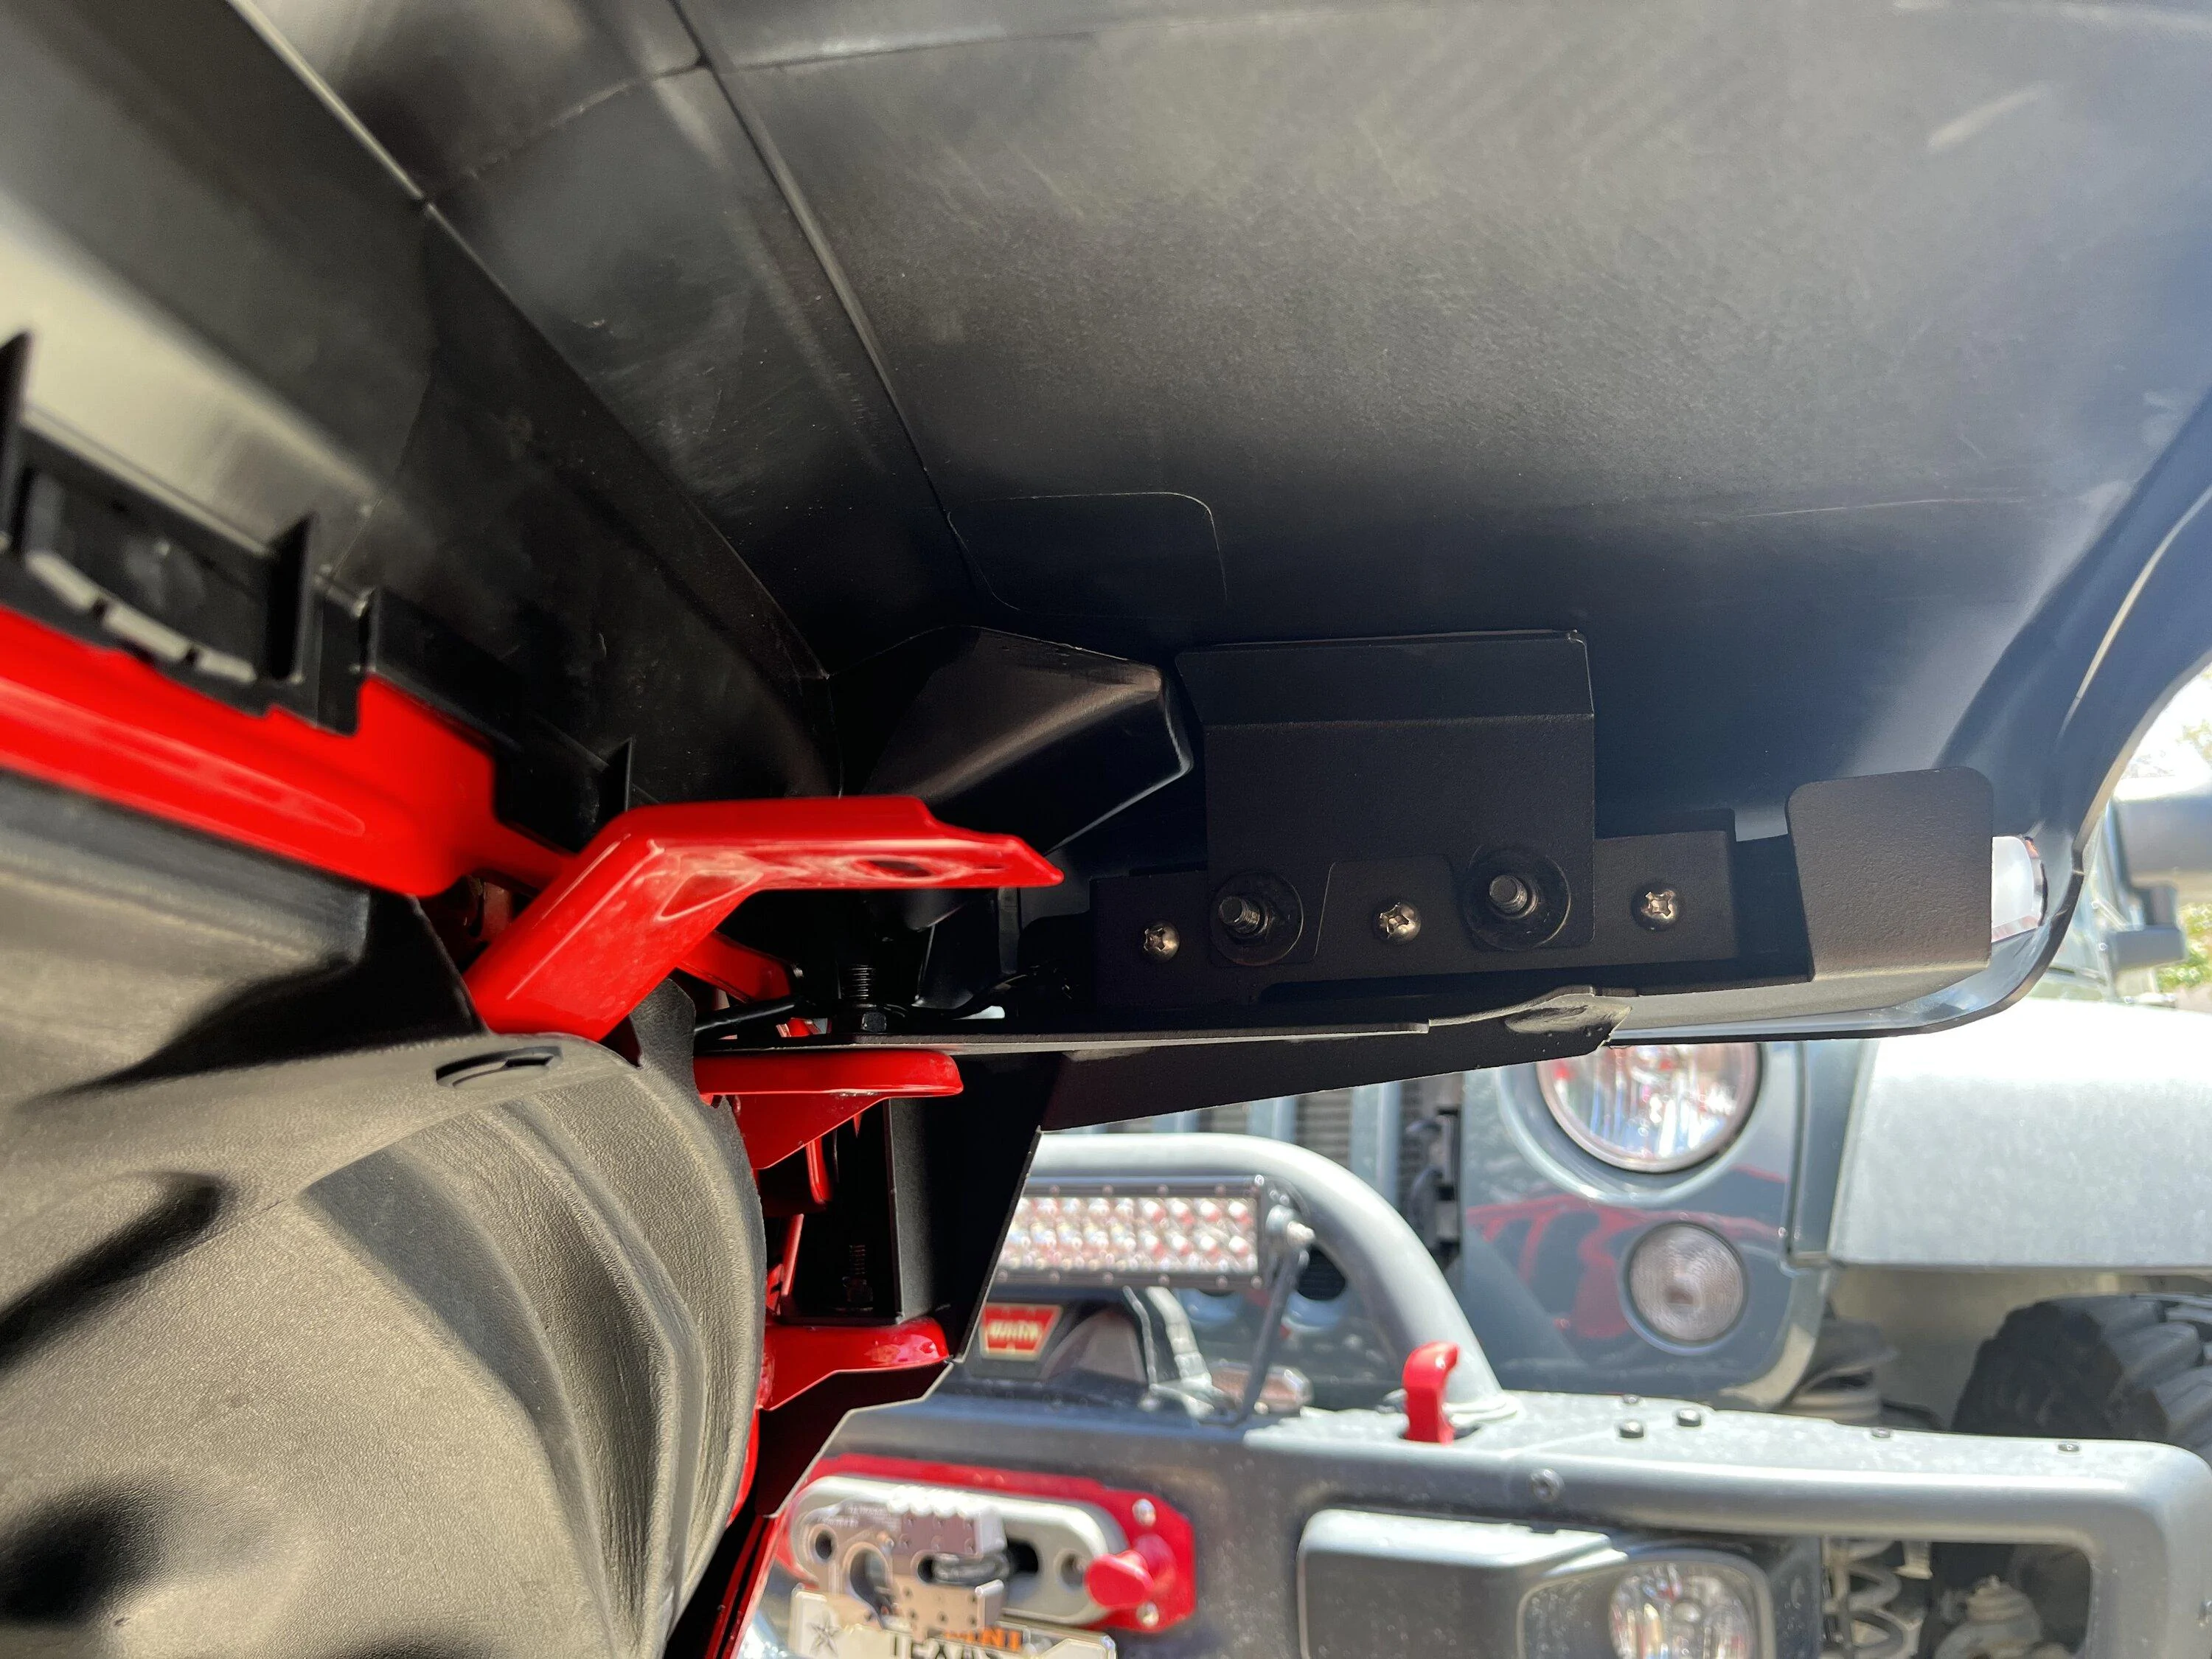
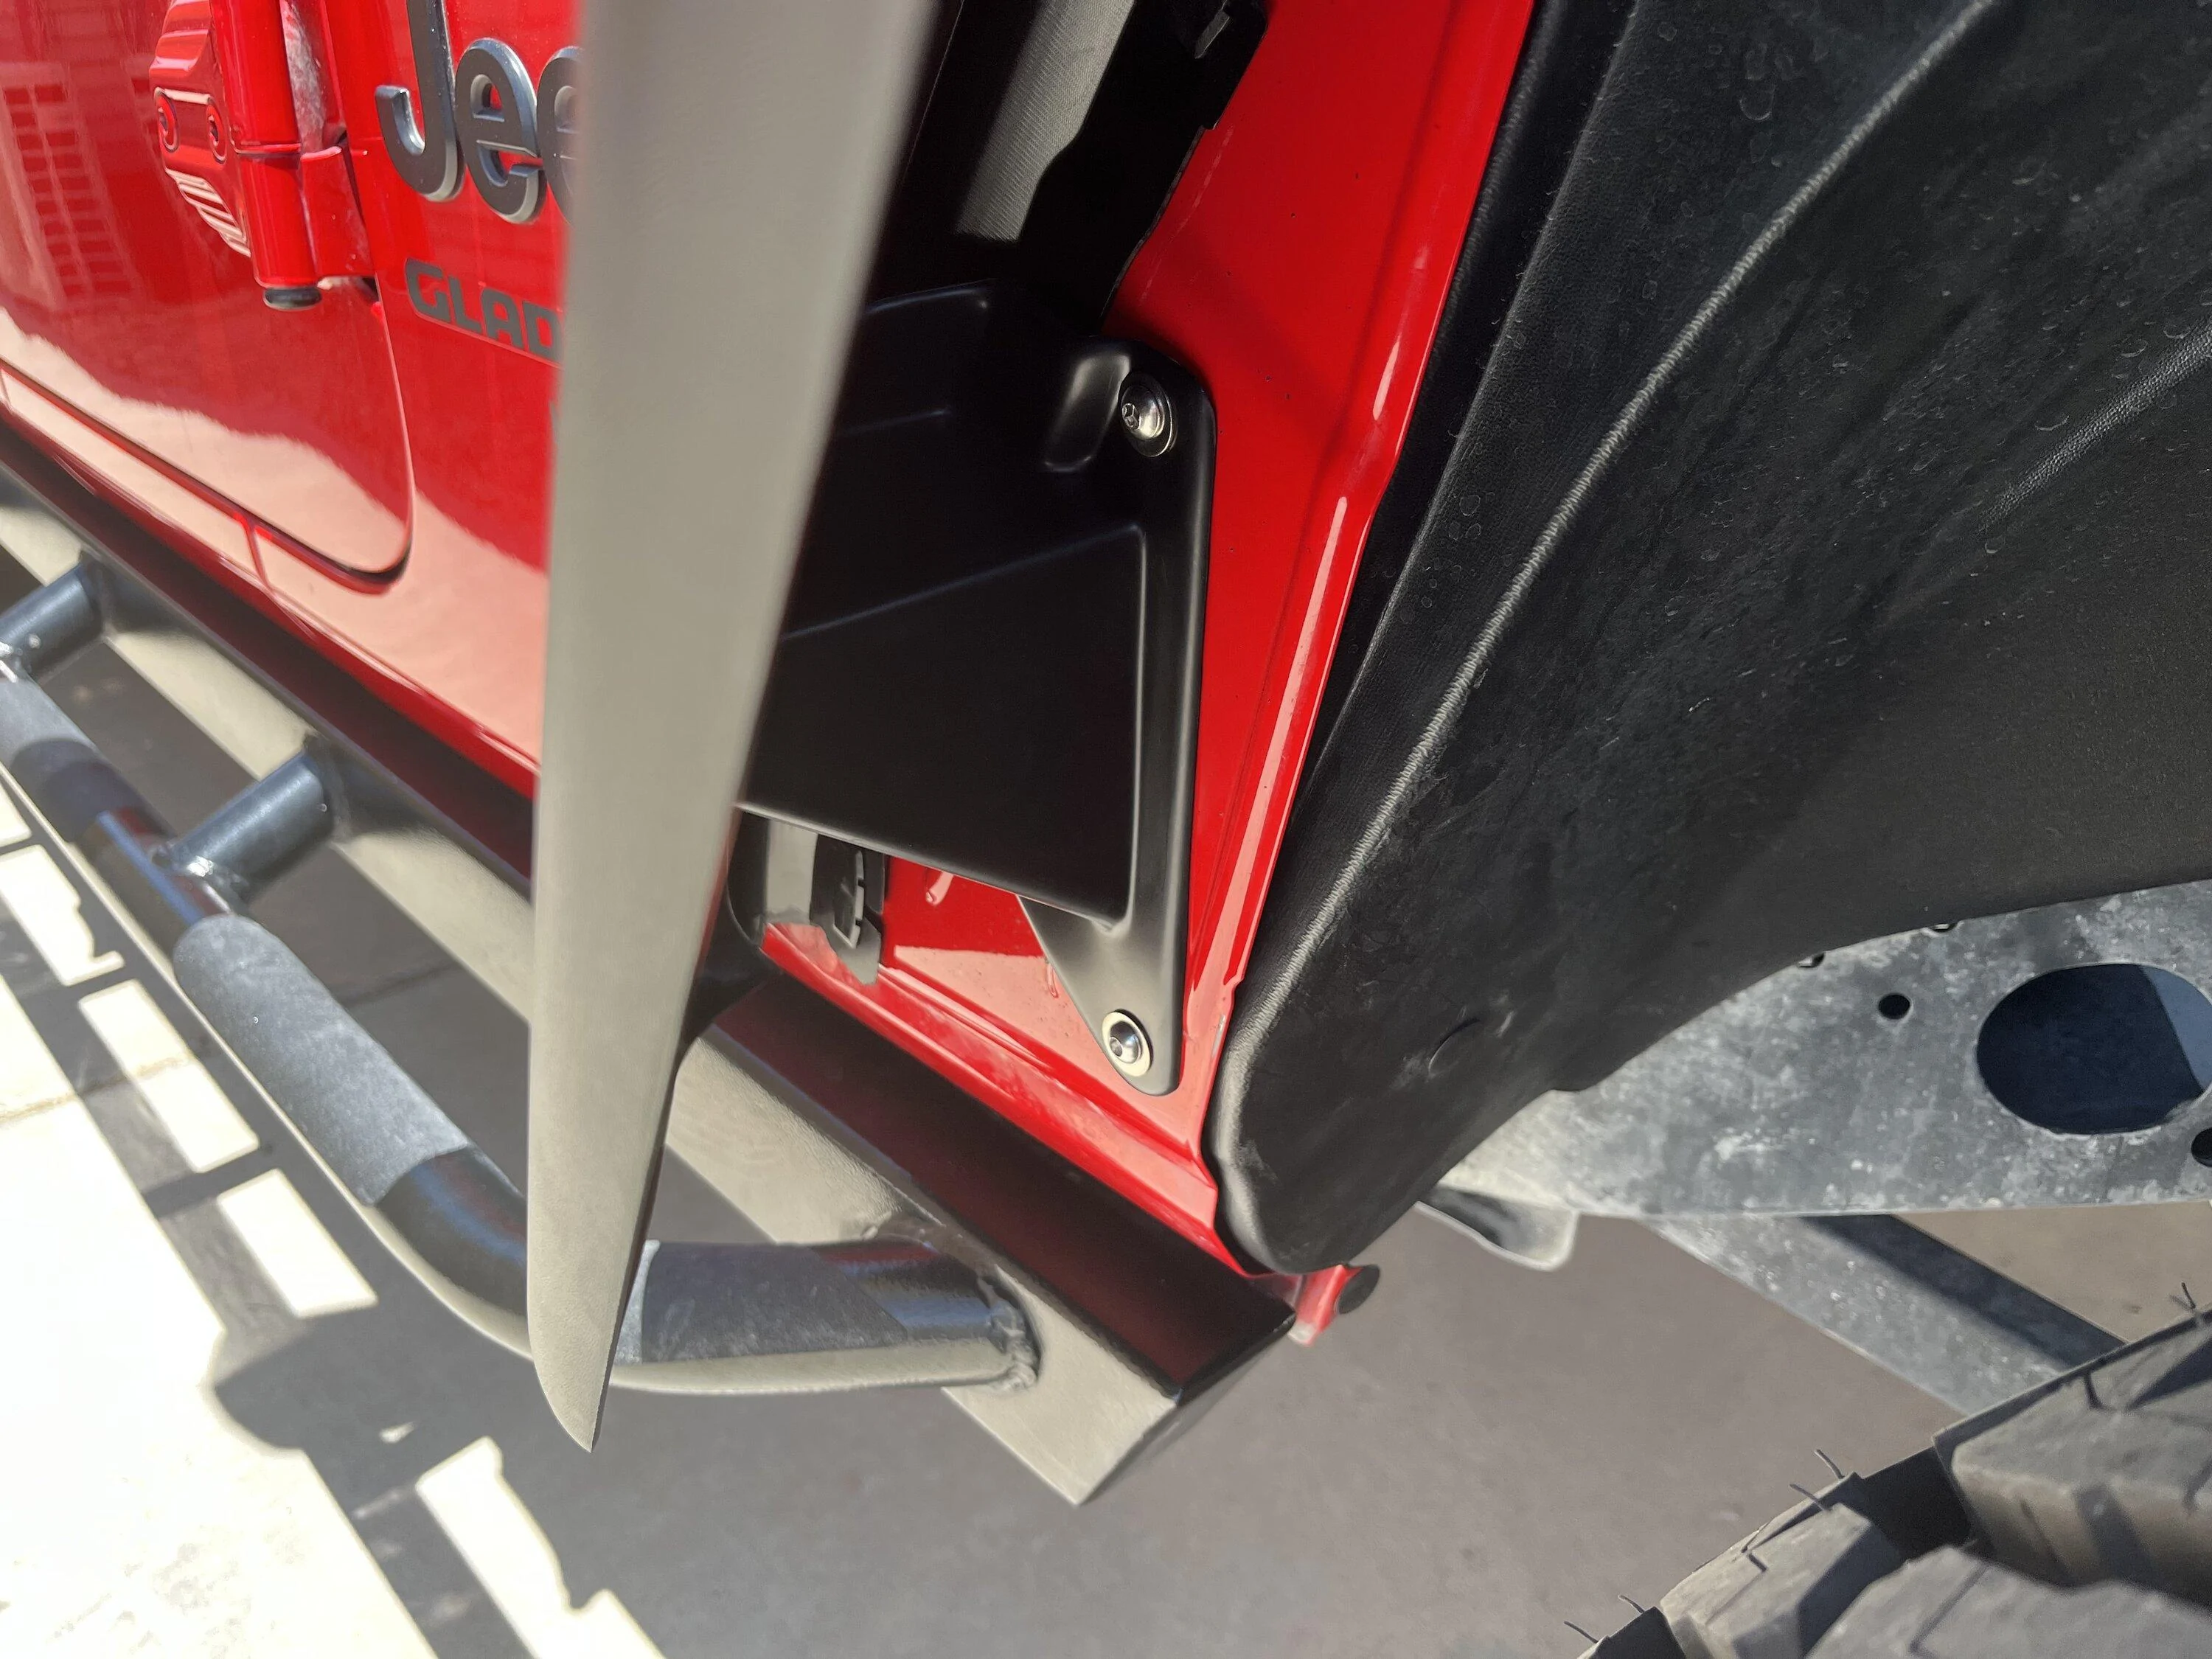
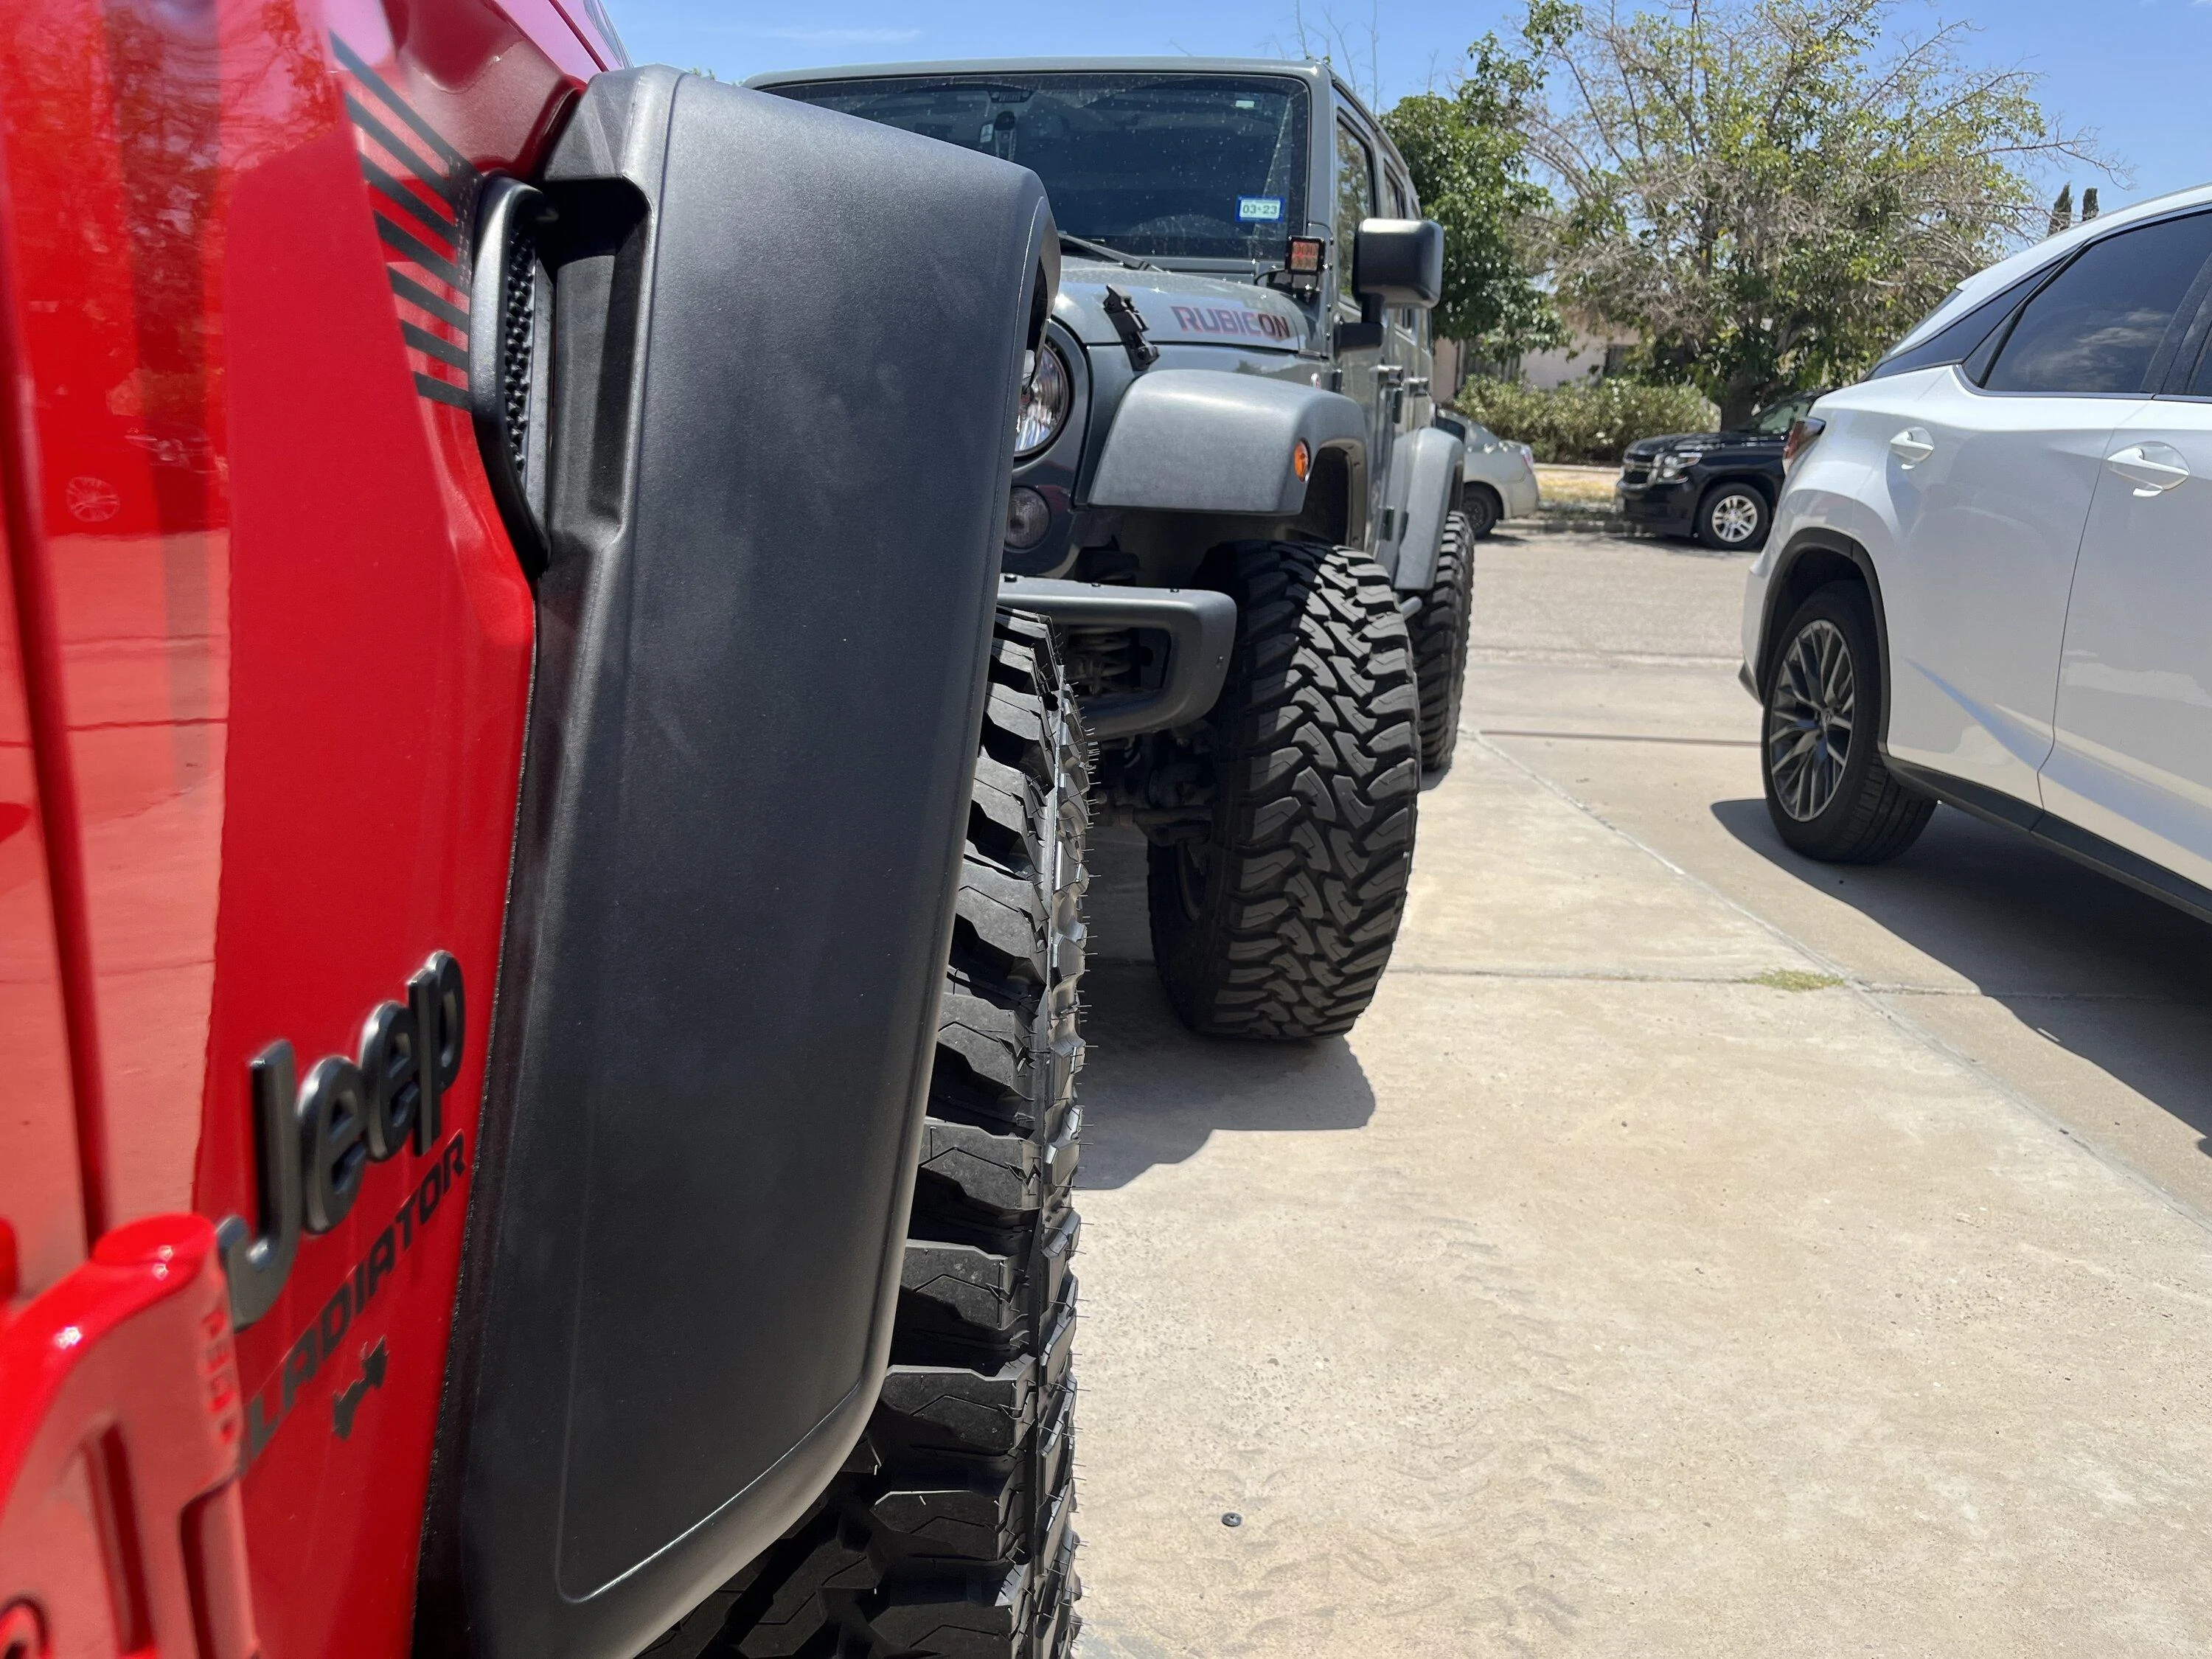
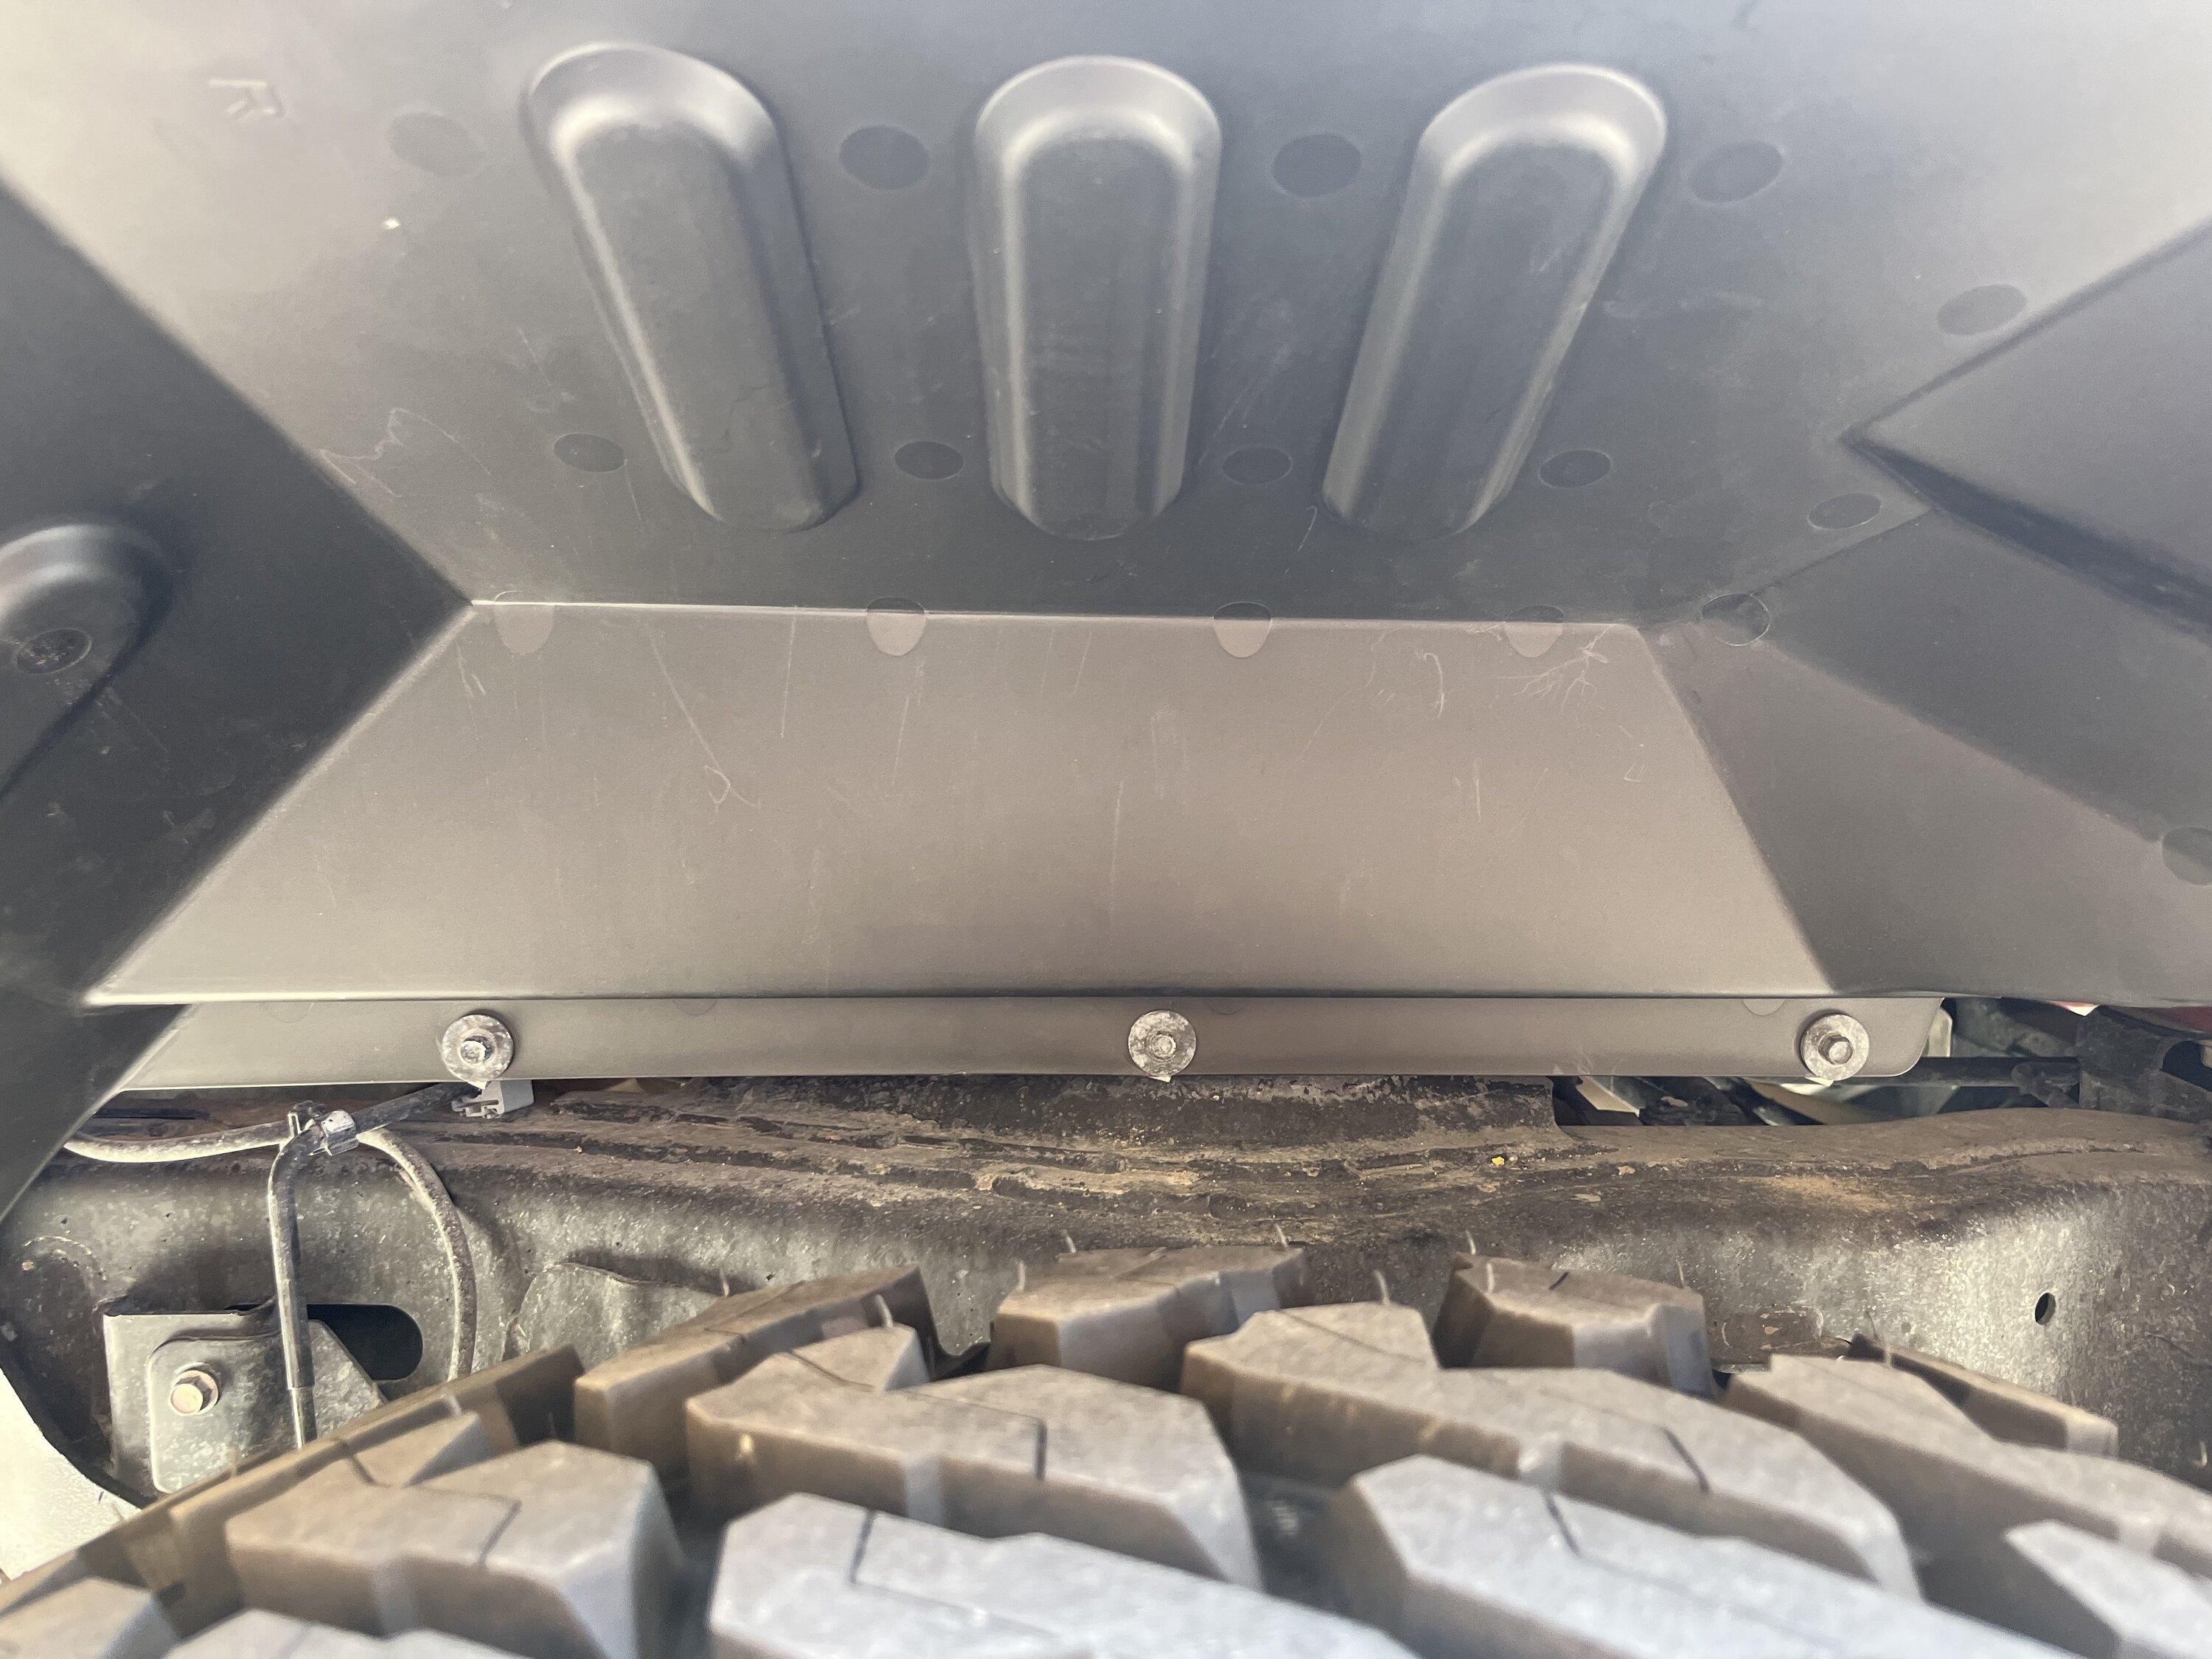
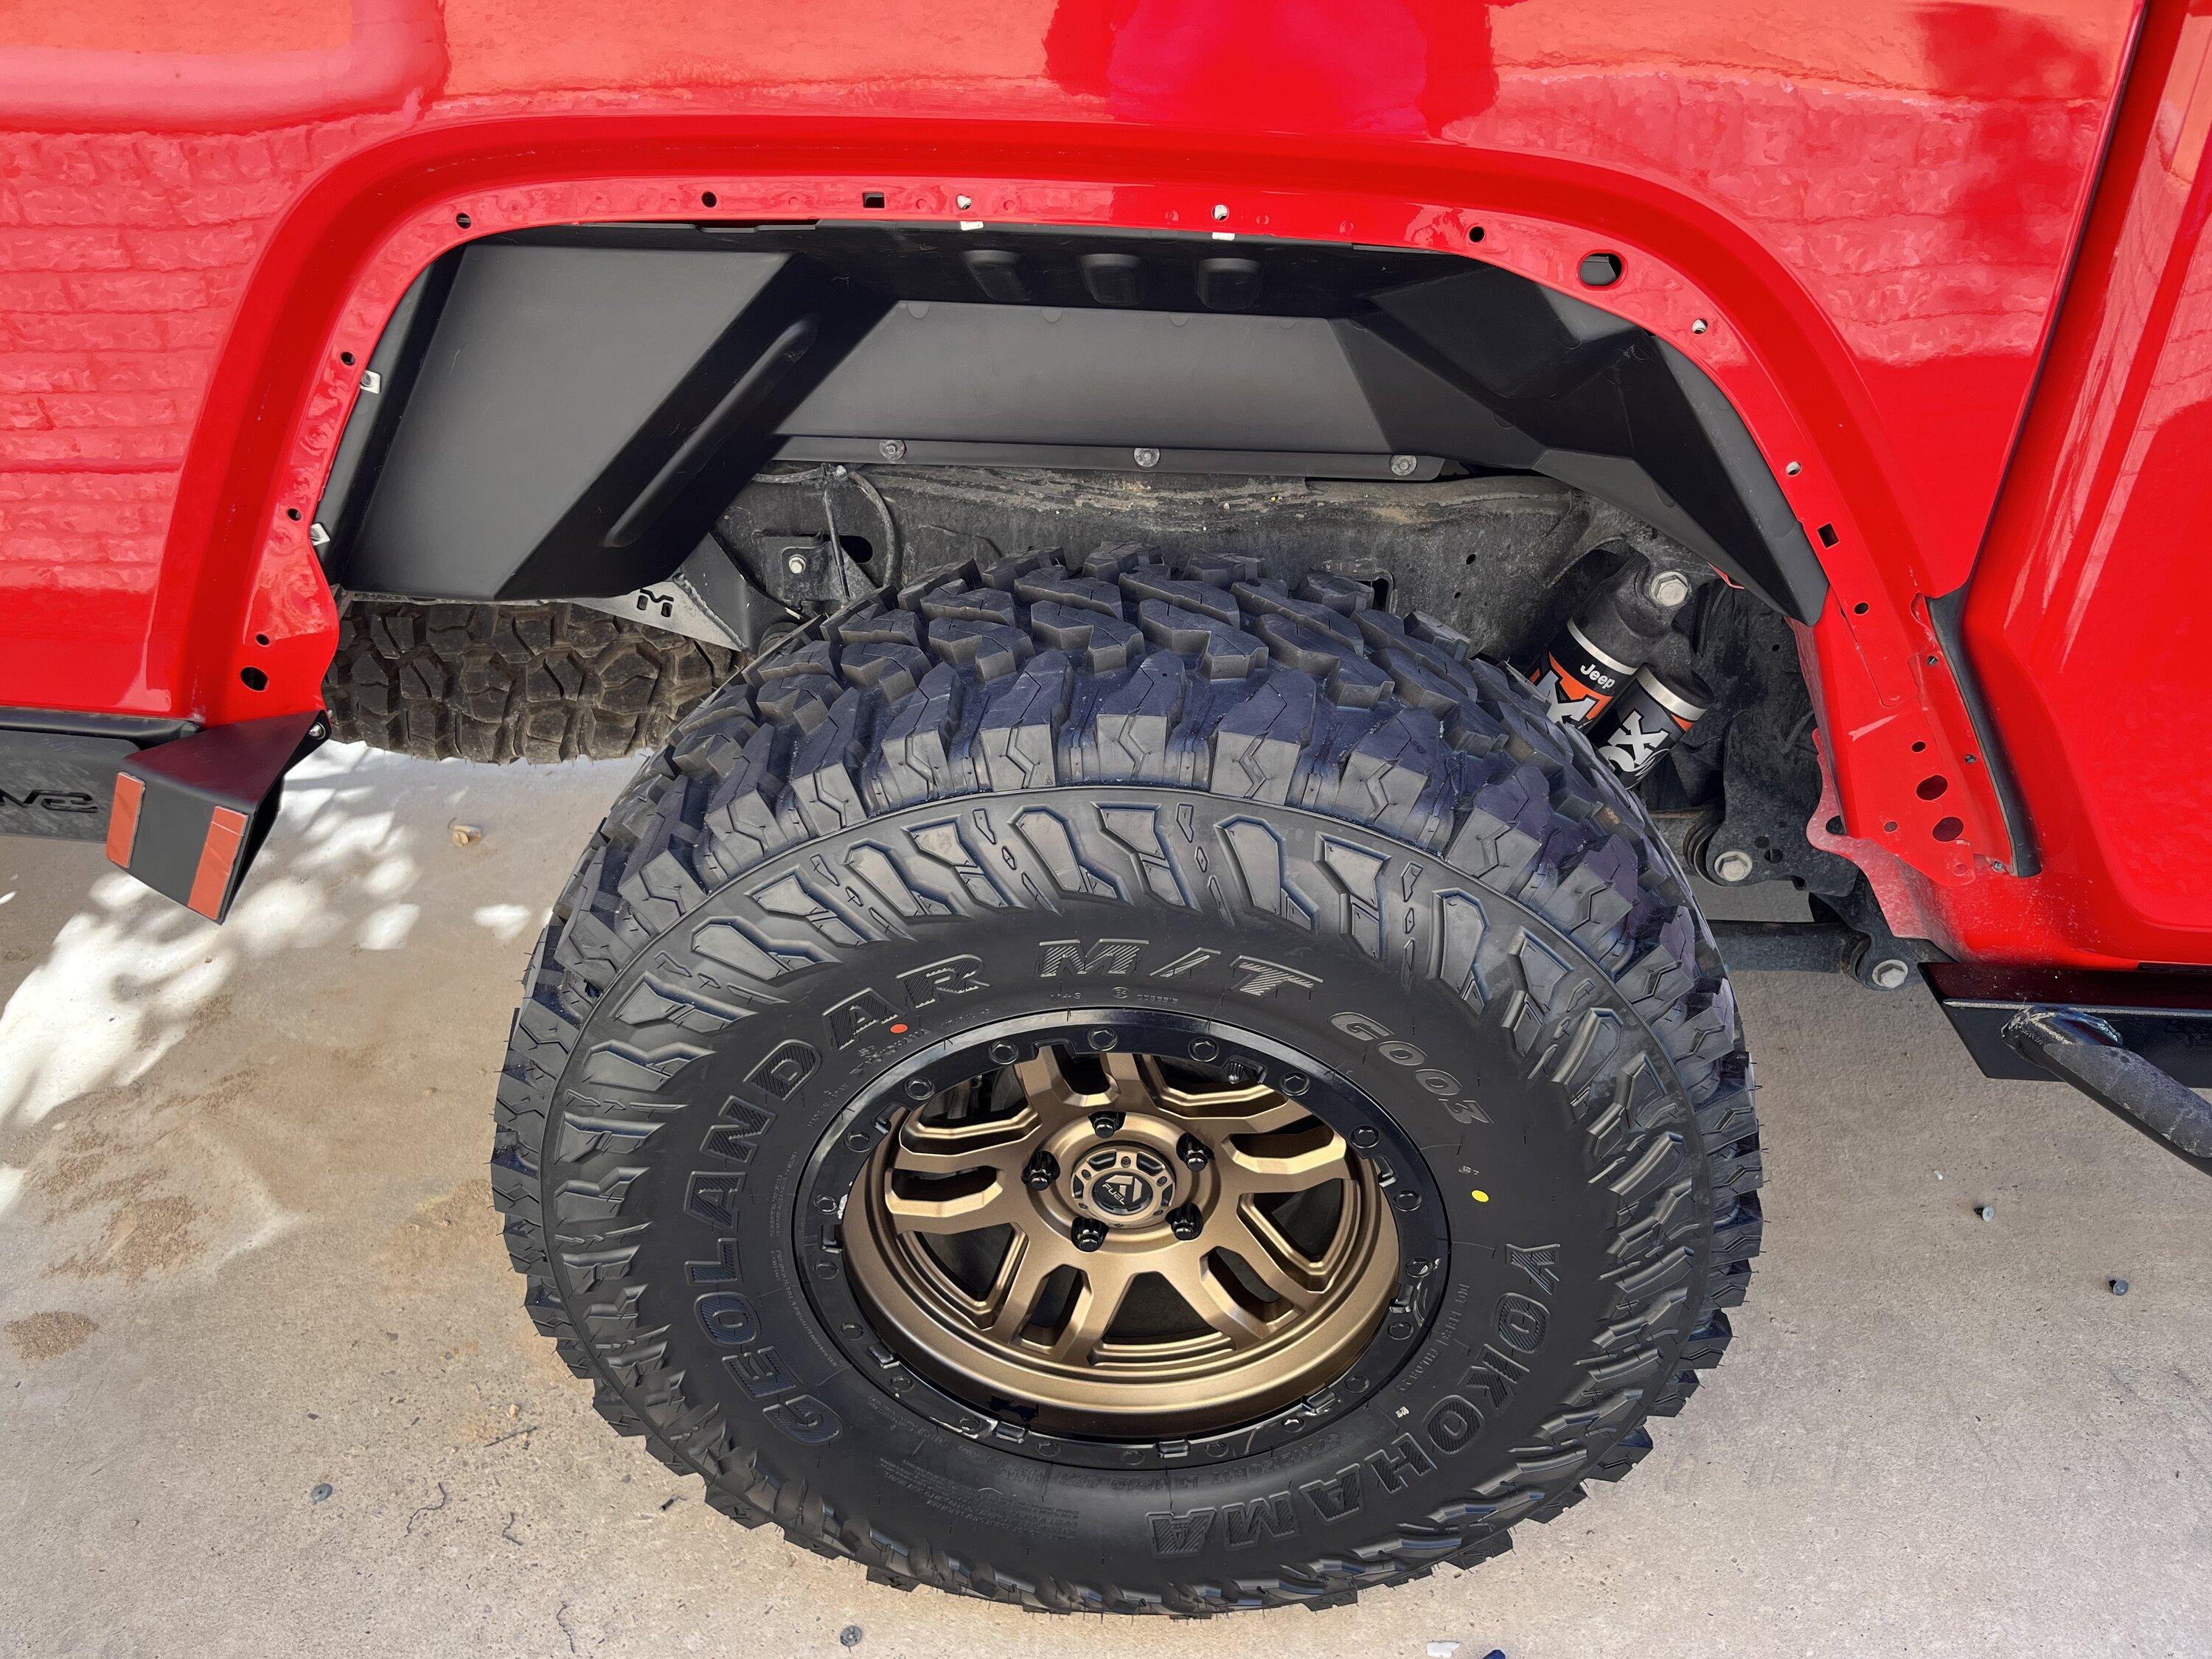
One big difference between these flares and the factory ones, is the lack of structure on the inside. This is very similar to the result you get when you gut the factory flares, they WILL BEND if you lean on them. I'm considering making support stakes in a 3D printer, as well as a solution to the flare not sitting flush to the body where RR removed the supporting clips.
![Jeep Gladiator Rugged Ridge Max Terrain Flares for Gladiator JT install/review. IMG_5210[1].JPG](https://cdn.jeepgladiatorforum.com/attachments/265/265075-52a8d507e5bb70bce6a0bc1e0823e4fa.jpg)
Sponsored
![Jeep Gladiator Rugged Ridge Max Terrain Flares for Gladiator JT install/review. IMG_5211[1].JPG](https://cdn.jeepgladiatorforum.com/attachments/265/265077-0d16e2b073fa9c62b2b30cbb9b99717d.jpg)
![Jeep Gladiator Rugged Ridge Max Terrain Flares for Gladiator JT install/review. IMG_5212[1].JPG](https://cdn.jeepgladiatorforum.com/attachments/265/265078-395b060cc2f68f9bd62a74e0d6481665.jpg)
![Jeep Gladiator Rugged Ridge Max Terrain Flares for Gladiator JT install/review. IMG_5213[1].JPG](https://cdn.jeepgladiatorforum.com/attachments/265/265079-ebc04df674acc62b5c599fe3fb6c55b3.jpg)


")