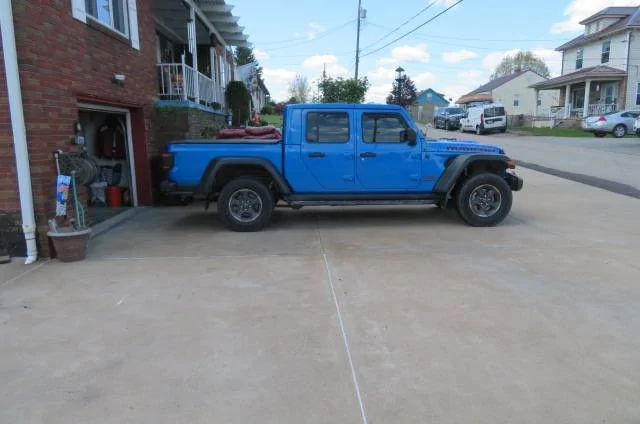
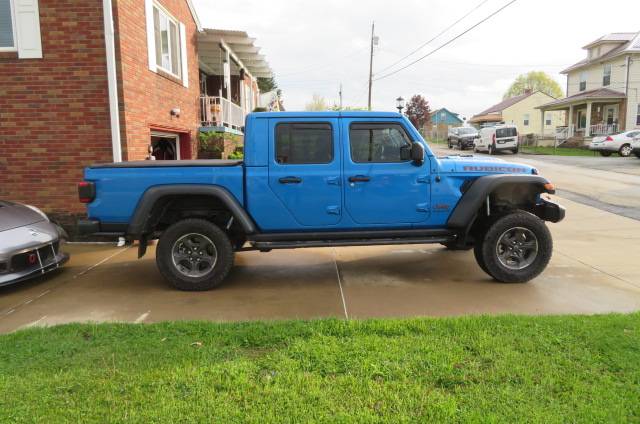
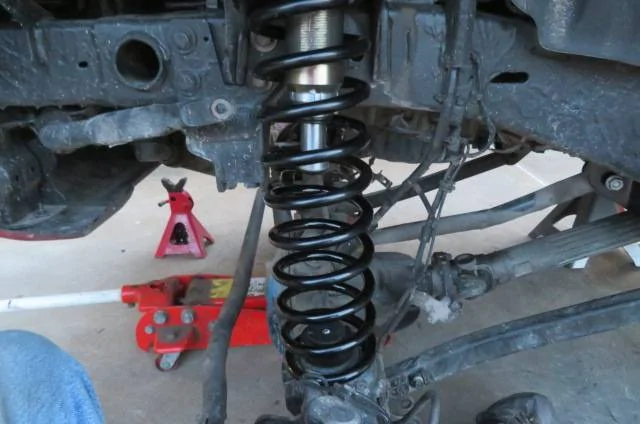
Well......the lift kit is installed. To start with. Here's my starting height, and finished height. All measurements taken at the bottom of the Rubi rail.
Start:
Both sides.
Front 16"
Rear 18".
Finished:
Both sides.
Front 20.5"
Rear 20.5"
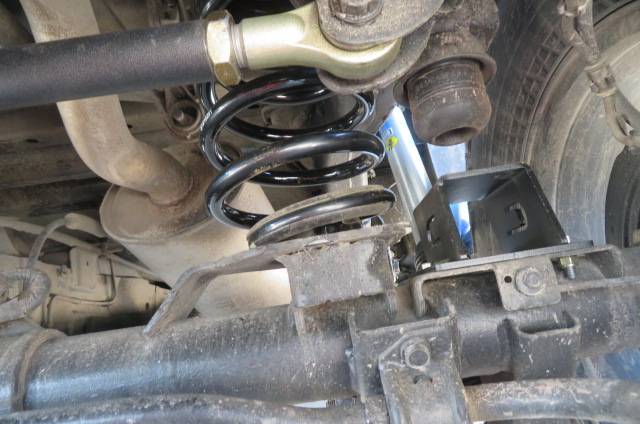
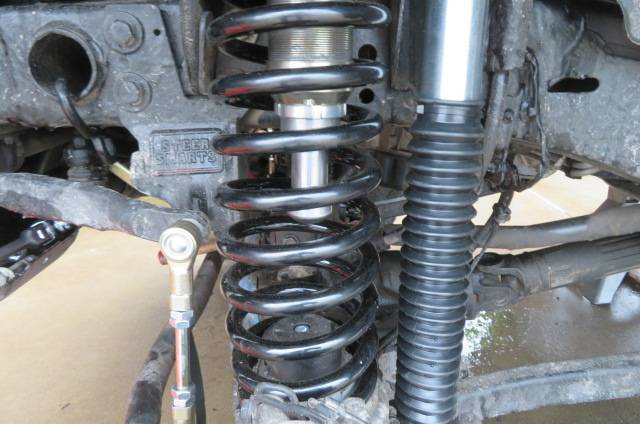
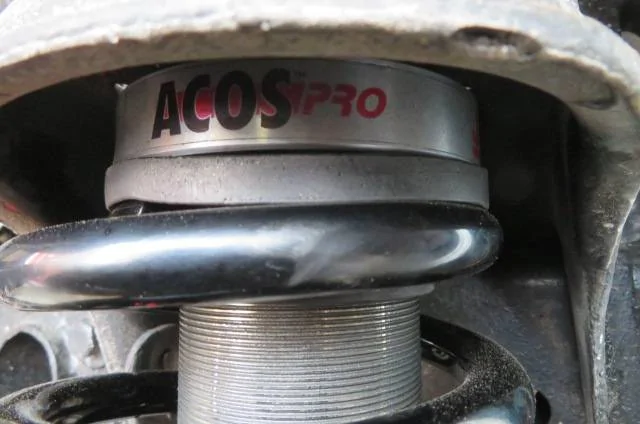
As you can see. I picked 4.5" in the front and 2.5" in the rear. I used Clayton 2.5" diesel springs. The reason why I picked up so much in the front is because of the JKS Front Adjustable Coil Spring Spacer with Hydraulic Bump Stop. ACOS Pro. Didn't realize that with those installed. You get 2" of lift by themselves. Even with the adjustment screwed all the way up. They move the spring seat down because of the thickness of the adjusting collar and the sleeve. That's where you get the 2".
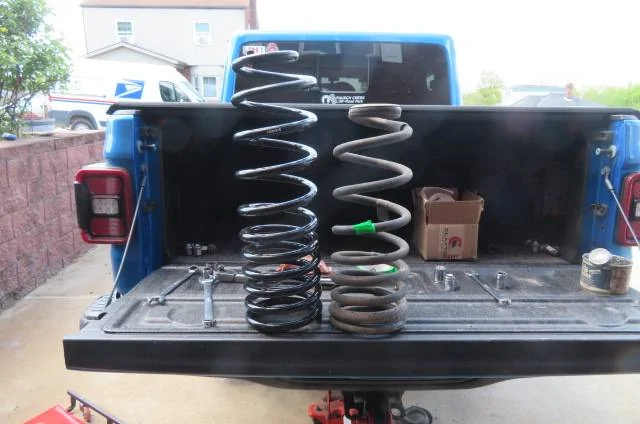
I used a coil spring compressor for both front and rear spring installs.
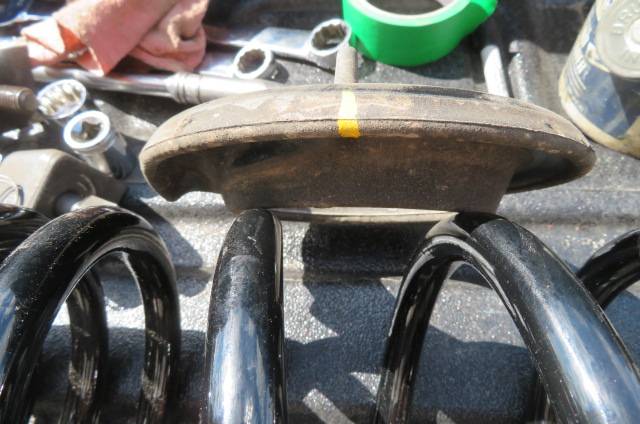
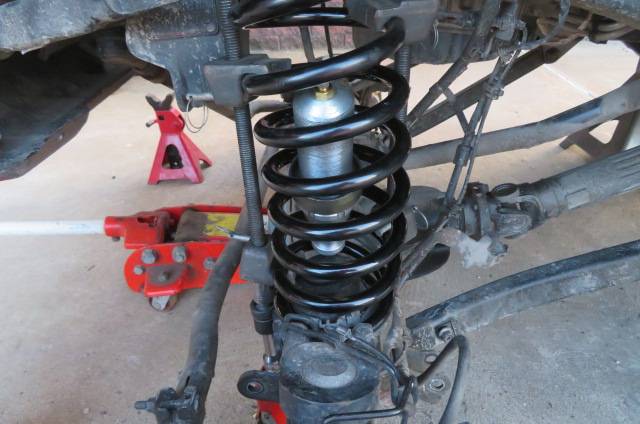
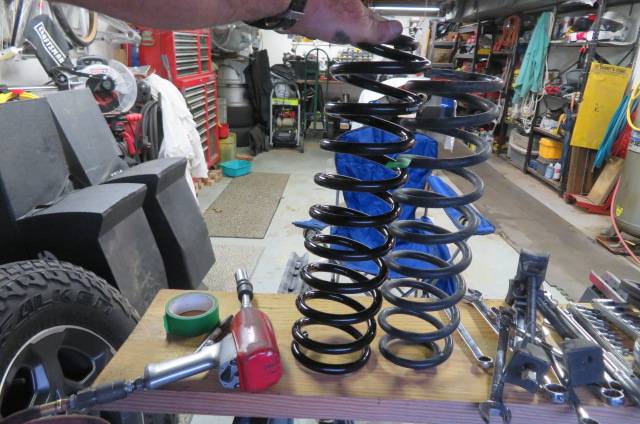
1st pic. The difference between the springs.
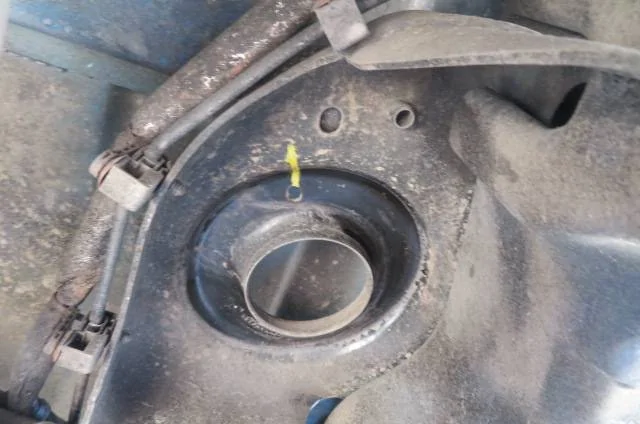
2nd and 3rd pic's. I marked the hole location for the spring seat. And spring seat. Makes it easier to clock the spring.
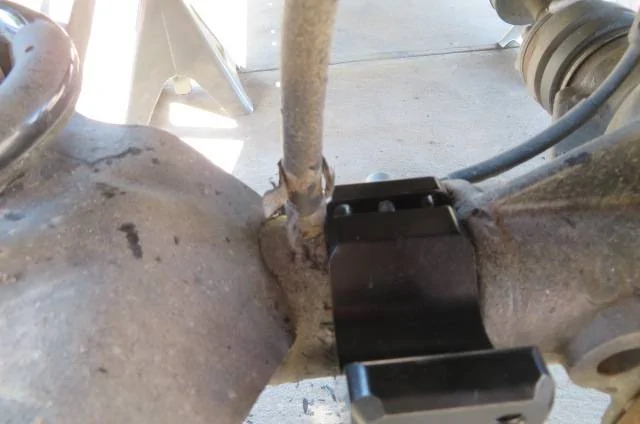
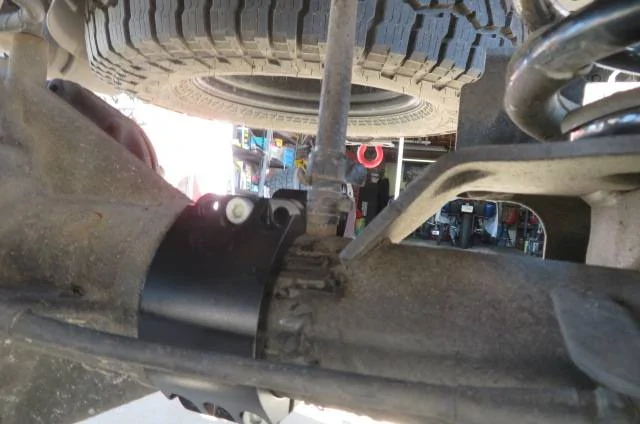
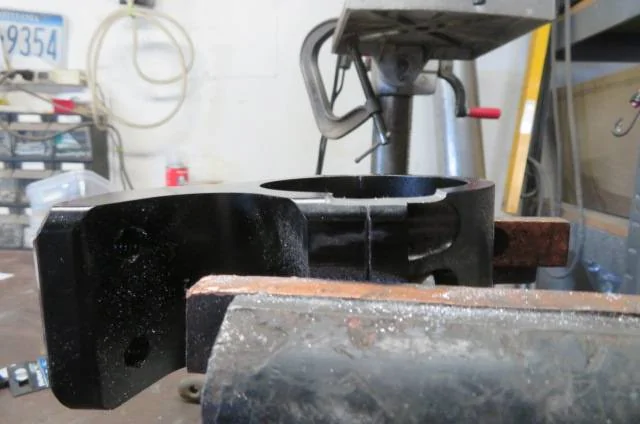
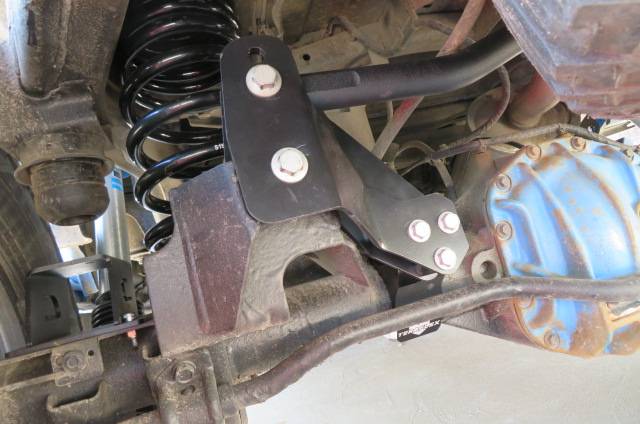
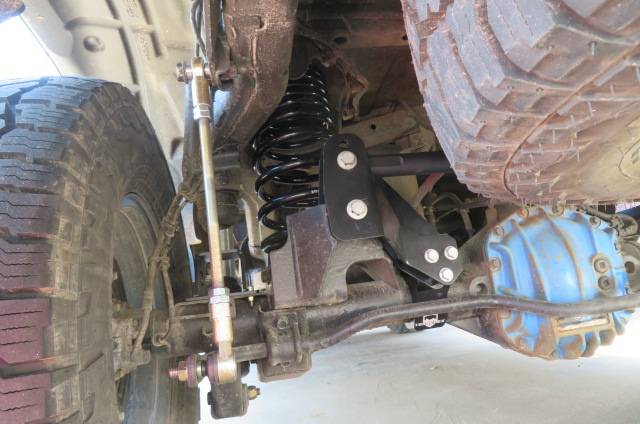
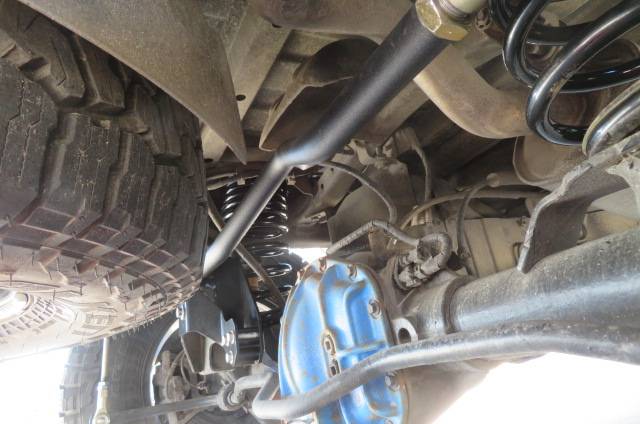
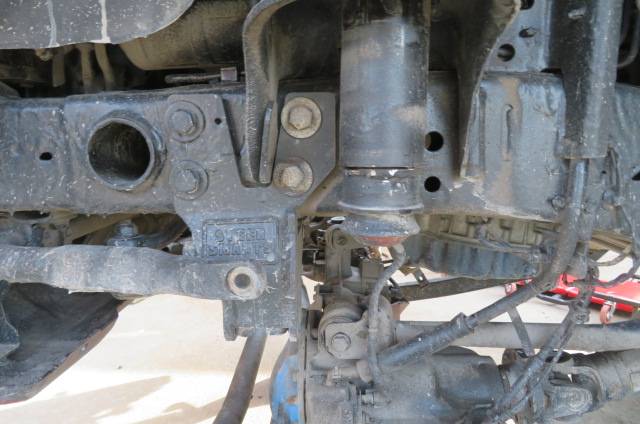
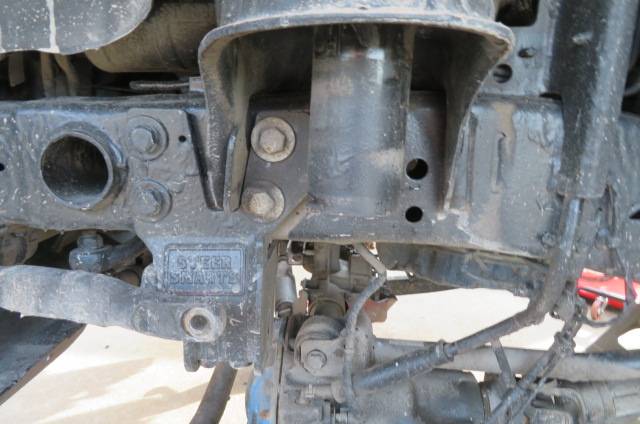
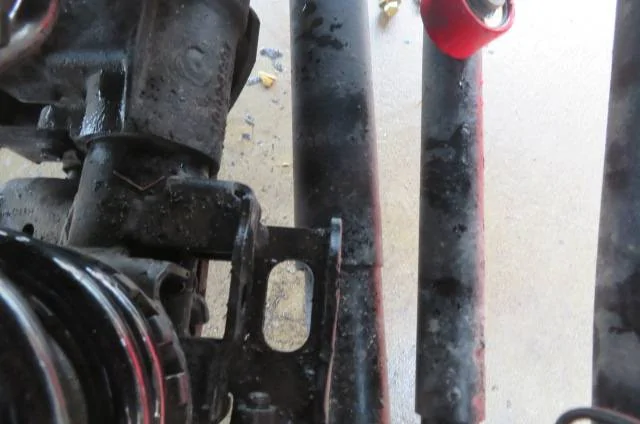
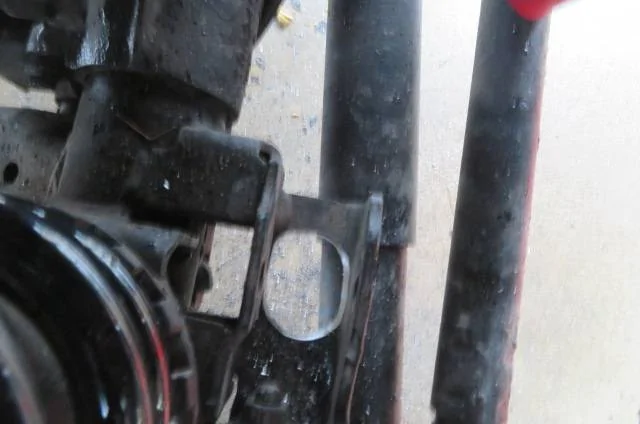
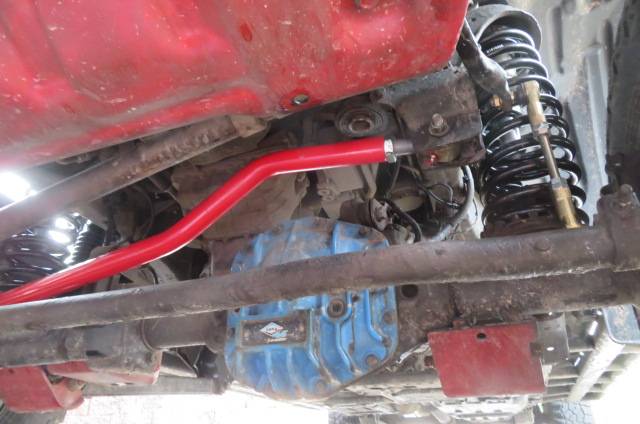
The Teraflex Rear Track Bar Bracket. Had an issue with the axle clamp. It hit the axle vent tube. So I had to grind it some for clearance. The last pic. You can see the Clayton sway bar end link.
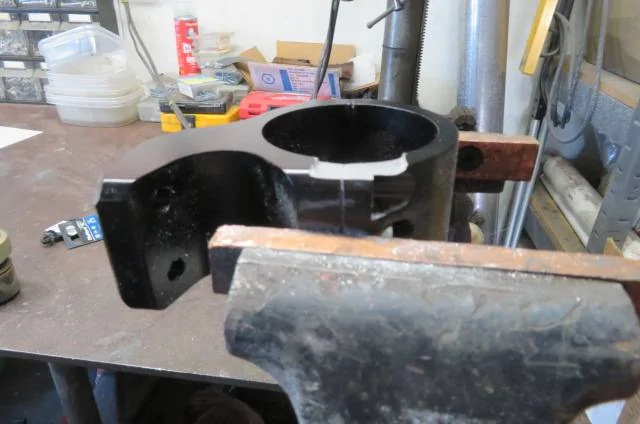
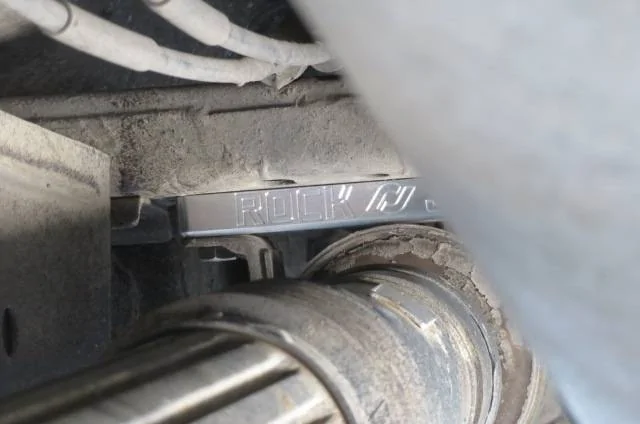
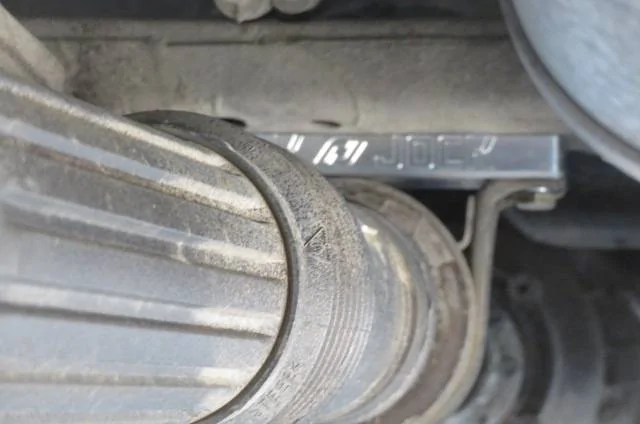
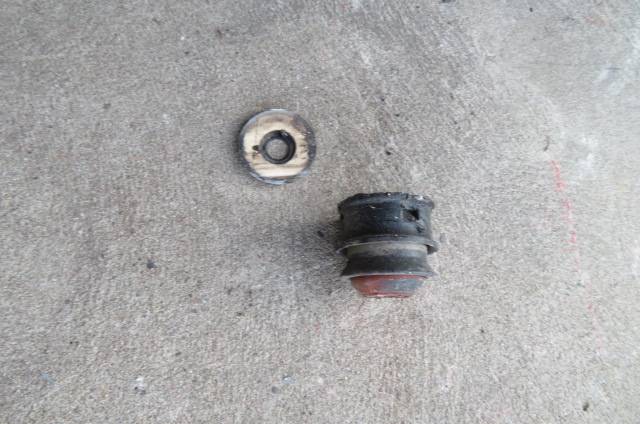
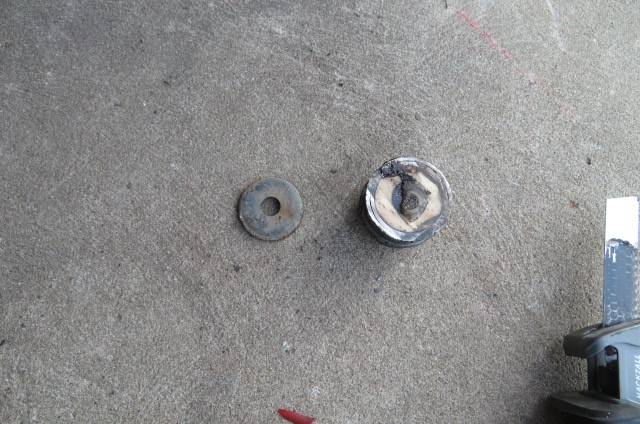
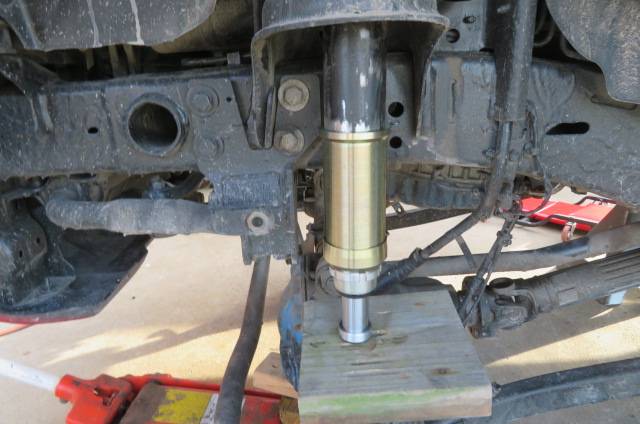
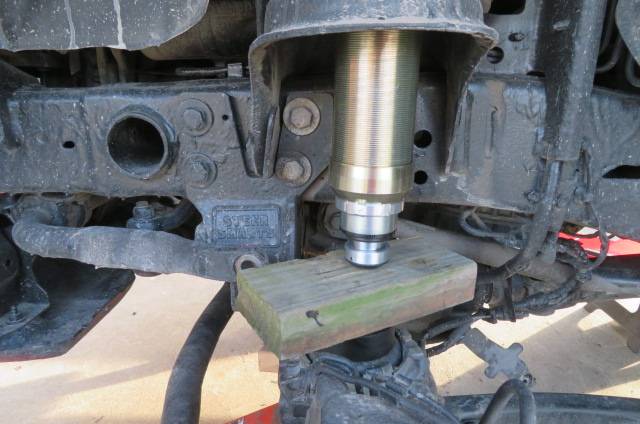
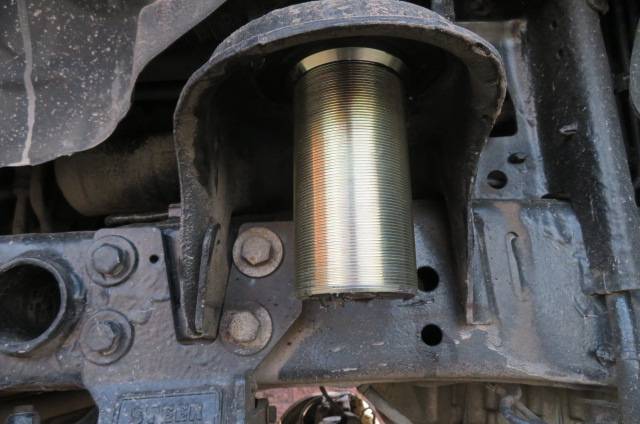
This is the prep work you have to do for the JKS Adjustable spring seats. You have to cut the bumper tube just above the weld. Pic's 3 and 4 is what you just cut. You have to remove any undercoating, thick paint or anything else on the tube before installing the JKS tube.
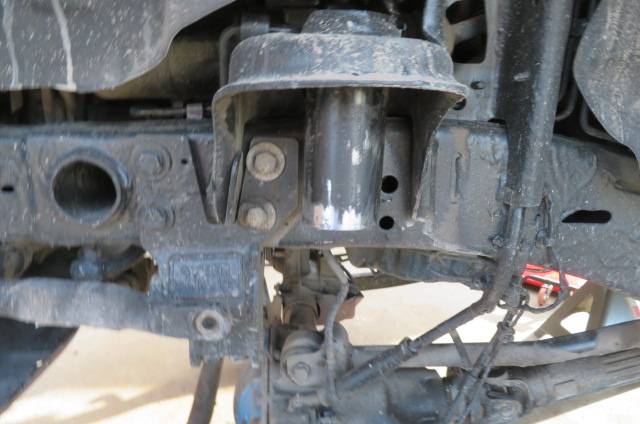
Installing the JKS tubes. you have to anti-seize the shit out of the inside of the tube so that it slides up the bump tube.
I installed the hydraulic bumper into the sleeve. Then used my floor jack to press the sleeve into place. Once in place. you have to put about a 1" weld between it and the frame. If you cut the tube just right. It should about 1/16" inside the sleeve.
When installing the springs. You have to put the hydraulic bump stop inside the spring loose, then install the spring. Once the spring is installed. Then you can screw the hydraulic bump stop into place.
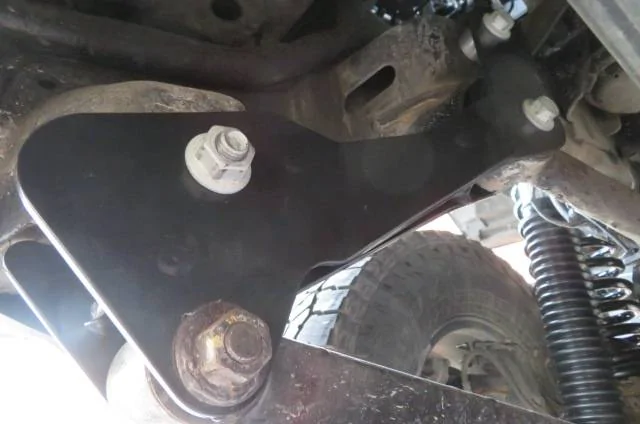
The Teraflex geo brackets. A little tip. The instructions tell you to install the bottom bolt and spacer first. Don't install the spacer yet. Just put the bolt through to hold the bracket into place. Next install the upper bolt and spacer. Now you can remove the bottom out some. install the spacer. I had to tap it into place with a hammer. It's a tight fit. Then install the bolt.