Alabama Mud Machine
Banned
- Joined
- Mar 5, 2020
- Threads
- 4
- Messages
- 1,954
- Reaction score
- 2,421
- Location
- Lake Martin, Alabama
- Vehicle(s)
- 2020 Jeep Gladiator Rubicon
- Vehicle Showcase
- 1
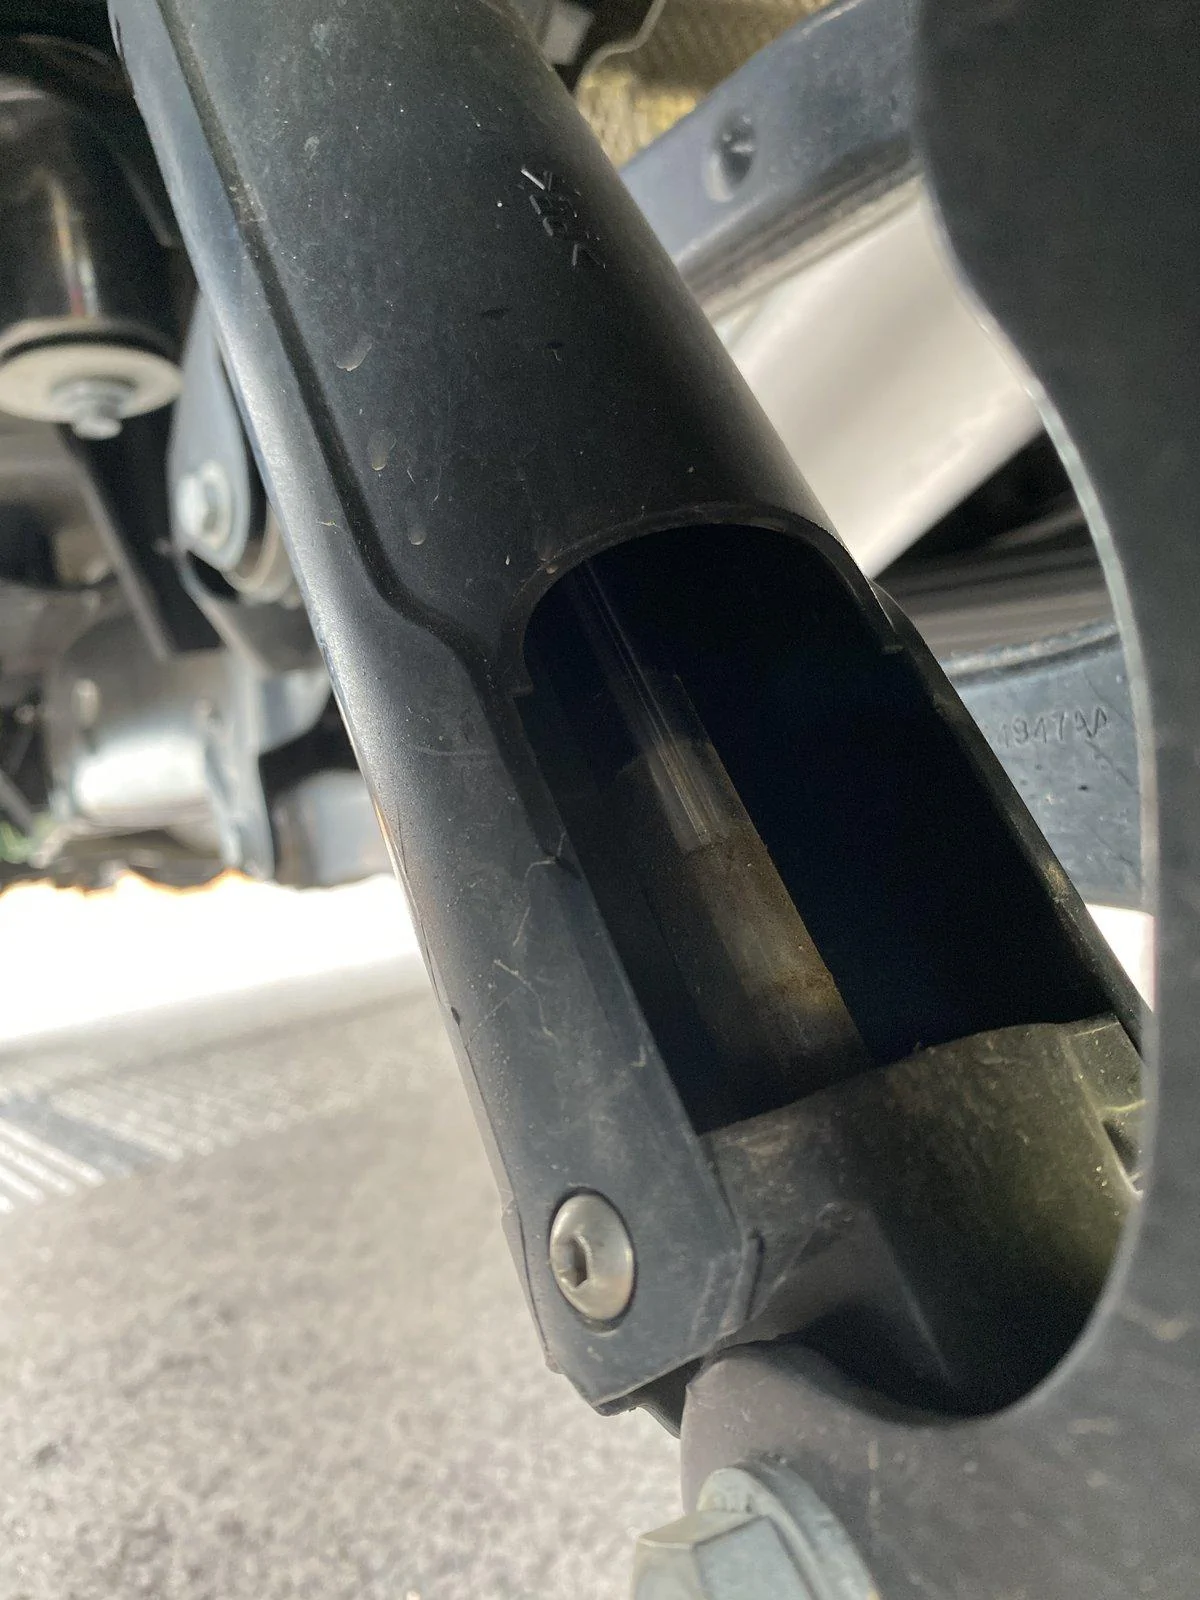
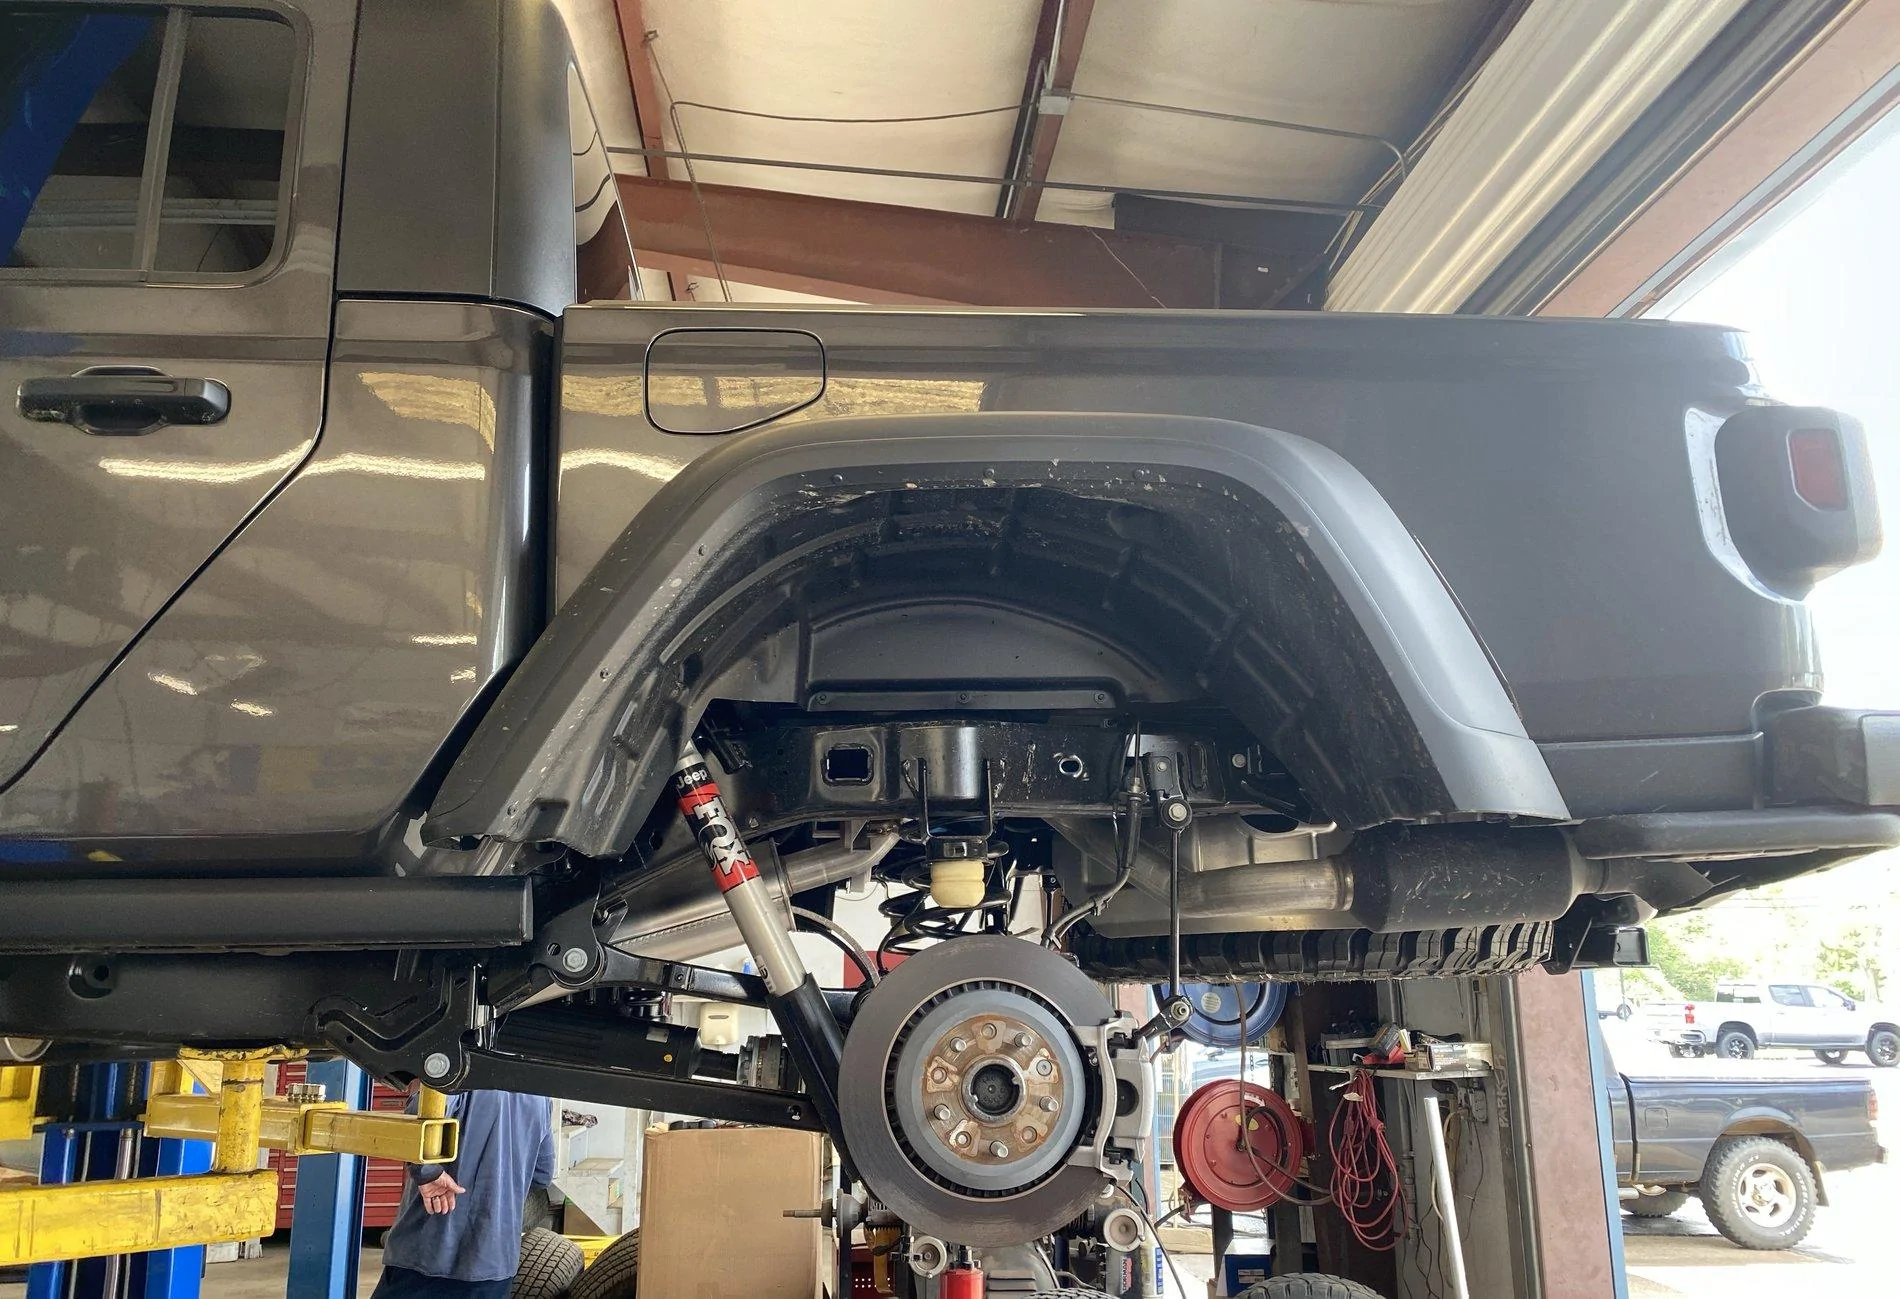
This was taken I was putting the spacer lift on... It looks like it faces the tire/wheel side, and not towards the inside of the truck.Silly question - Rubicon Fox shocks, the stock JTR shocks, the plastic sleeve has a cutout or opening - on the rear shocks, does that face to the front of the truck or to the rear?
I see no clearance issues either way, it would fit either way and not rub, but I assume that cutout is there for a reason?
Anyone have a pic of the Rubicon JT rear shock - or can say which way that opening or cutout should face - forward or to the back?
If you need a specific front or back picture, let me know, I can go take one real quick.
Sponsored