drewcnit
Well-Known Member
- First Name
- Andrew
- Joined
- Apr 26, 2022
- Threads
- 26
- Messages
- 686
- Reaction score
- 1,836
- Location
- Near Nashville, TN
- Vehicle(s)
- 2022 Gladiator Sport S, Bright White
- Occupation
- IT Geek and Data Nerd
- Thread starter
- #1
So a few guys had asked me to post about the Motobilt bobbed bed install that I've alluded to in the 'What...?' threads.
But I decided it needed backed up a bit to tell the whole story... This is a story of not learning the 'buy once, cry once' rule soon enough, changing my mind multiple times, and generally overall what the f*** did I get myself into.
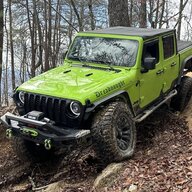
My truck's name is very appropriate in that way, I tend to be the one that gets myself into the most shenanigans whether that's on the trail or buying parts.
So going back to the start, I bought my 2022 Jeep Gladiator Sport S in March of 2022, when used car prices were so dang high and I got the full value of what I paid for my 2019 Dodge Challenger.
Bought the Sport S because 1) It's cheaper than a Rubicon and 2) I'm not ever going to do any serious wheeling. ?

The above photo was taken the day I bought it, while the dealer was filling it with gas.
So the first thing I did with it was take it off-roading - alone, in another state, didn't tell anyone where I was going, had no recovery gear much less knew how to use any, had to buy an air down tool from Hot Springs OHV Park's office to air down... I did it all wrong.
It was in Hot Springs, that I uttered my Jeep's name for the first time without realizing it. Here I was in a brand new $50K Jeep, that still had paper tags, running one of the Jeep Badge of Honor trails to see if I enjoyed it.
Snake was a great introductory trail to off-roading... and I didn't come out without a little damage that led me to my first real upgrades - Lift, Wheels, Tires, and metal side steps/sliders as I cracked the plastic factory steps in Hot Springs.
So got back to TN after playing in Hot Springs and I got the DV8 Step Sliders and a Rugged Ridge stubby front bumper and installed those myself, then went straight down to 4WP and bought my lift...at the time I opted for just a basic lift, a 'weekend warrior' lift. Then I got in on the first Wal-Mart deal for some Kenda Klever 315/70/17s -

At the price of those tires, I could buy some cheap(er) wheels too and be rolling on a lift and metric 35s in no time -

So this was basically my initial beginner build. I added a winch, some recovery gear but this was it.
Got a front Anti-rock and RockJock Currectlync steering setup at the Jeep Invasion in Pigeon Forge in August of 2022.
Then September 2022 came and all the fun I was beginning to have came to a screeching halt (ok, it was more like a thunk, then grinding noise, then the halt) at Windrock, when a tree branch in a water hole got me on Trail 4 (which is a really good moderate trail). It hit the transmission coolant line, by making a hole in one shot in-between the drive shaft and exhaust pipe.
Transmission down, without the Jeep for a month, $7K for a new transmission and labor. WTFDIGMI again.
I fell off into the deep end at this point decided to armor everything I could underneath, bought a Rock Hard 4x4 Aluminum belly skid system, their LCA and shock skids for the rear and LCA skids for the front, Next Venture Diff Covers and Skids and lucked into my second Wal-Mart tire deal in September as well -

Now I was not only going to be armored, but I could be riding even higher to avoid those pesky branches, but my almost 35s were so new, I decided to be practical and sit on the 37s from September until March..
If you're counting that's my first 'buy once, cry once' lesson, should have just gone 37s to begin with...
In March, I got my yearly bonus and fell into the deep end again and bought some KMC Machete Beadlocks to go with my 37s and oh yeah let's re-gear it to 5.13s and install E-lockers. (2nd and 3rd 'buy once/cry once' lessons). I did sell my Pro Comp wheels and Kenda tires to a guy, to mitigate some of my losses, but I let him have them on a sweet deal.
Along the way, late 2022/early 2023 I found Motobilt for the first time, before they had a ton for the Gladiator but I absolutely became a fan boy of them for the sheer beefiness of their steel parts and they were made just down in Alabama. So I replaced my Rugged Ridge front bumper, with a Motobilt Hammer stubby bumper and got a Hammer series rear bumper to match.

She was looking good when leaving the shop that day after her 'glow up'
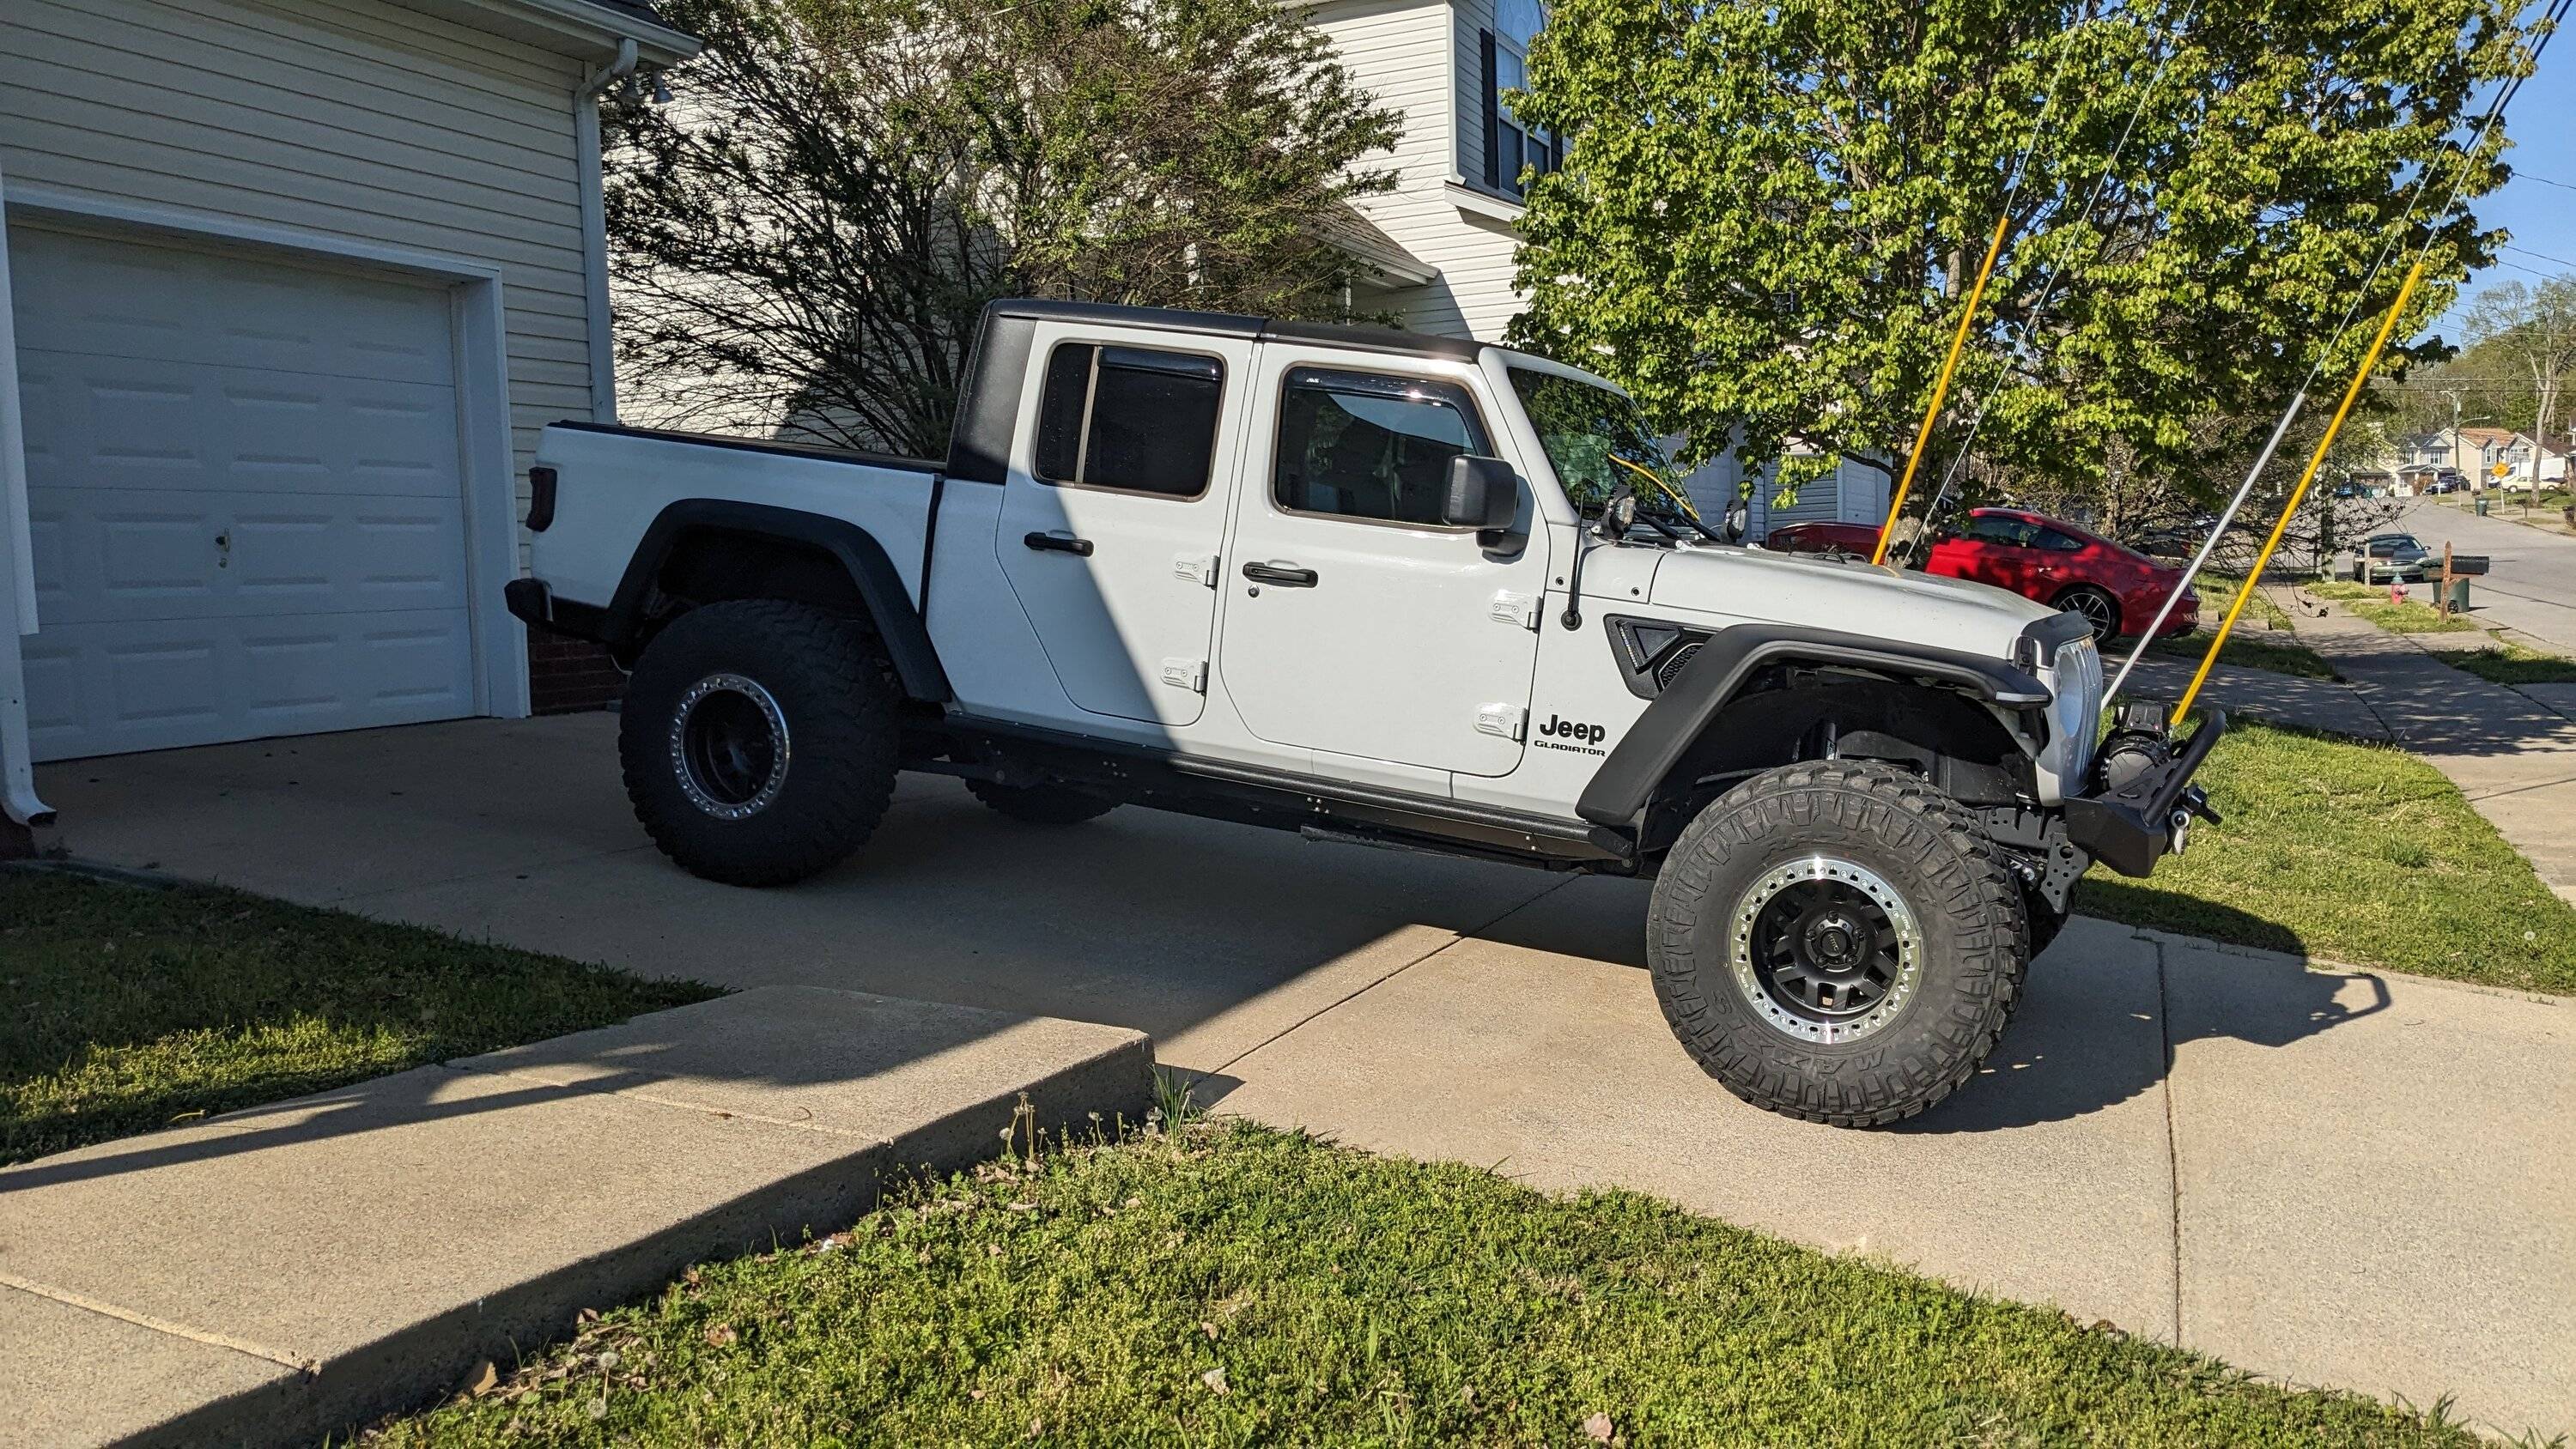
A short time later, I yeeted the factory Sport fenders and inner fenders for some Rugged Ridge Max Terrain fenders, these were surprisingly adequate for their price point and were bought, knowing full well that I intended to upgrade to Motobilt's at some point in the future, but these cheaply gave me extra room for flex.
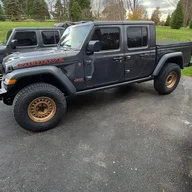
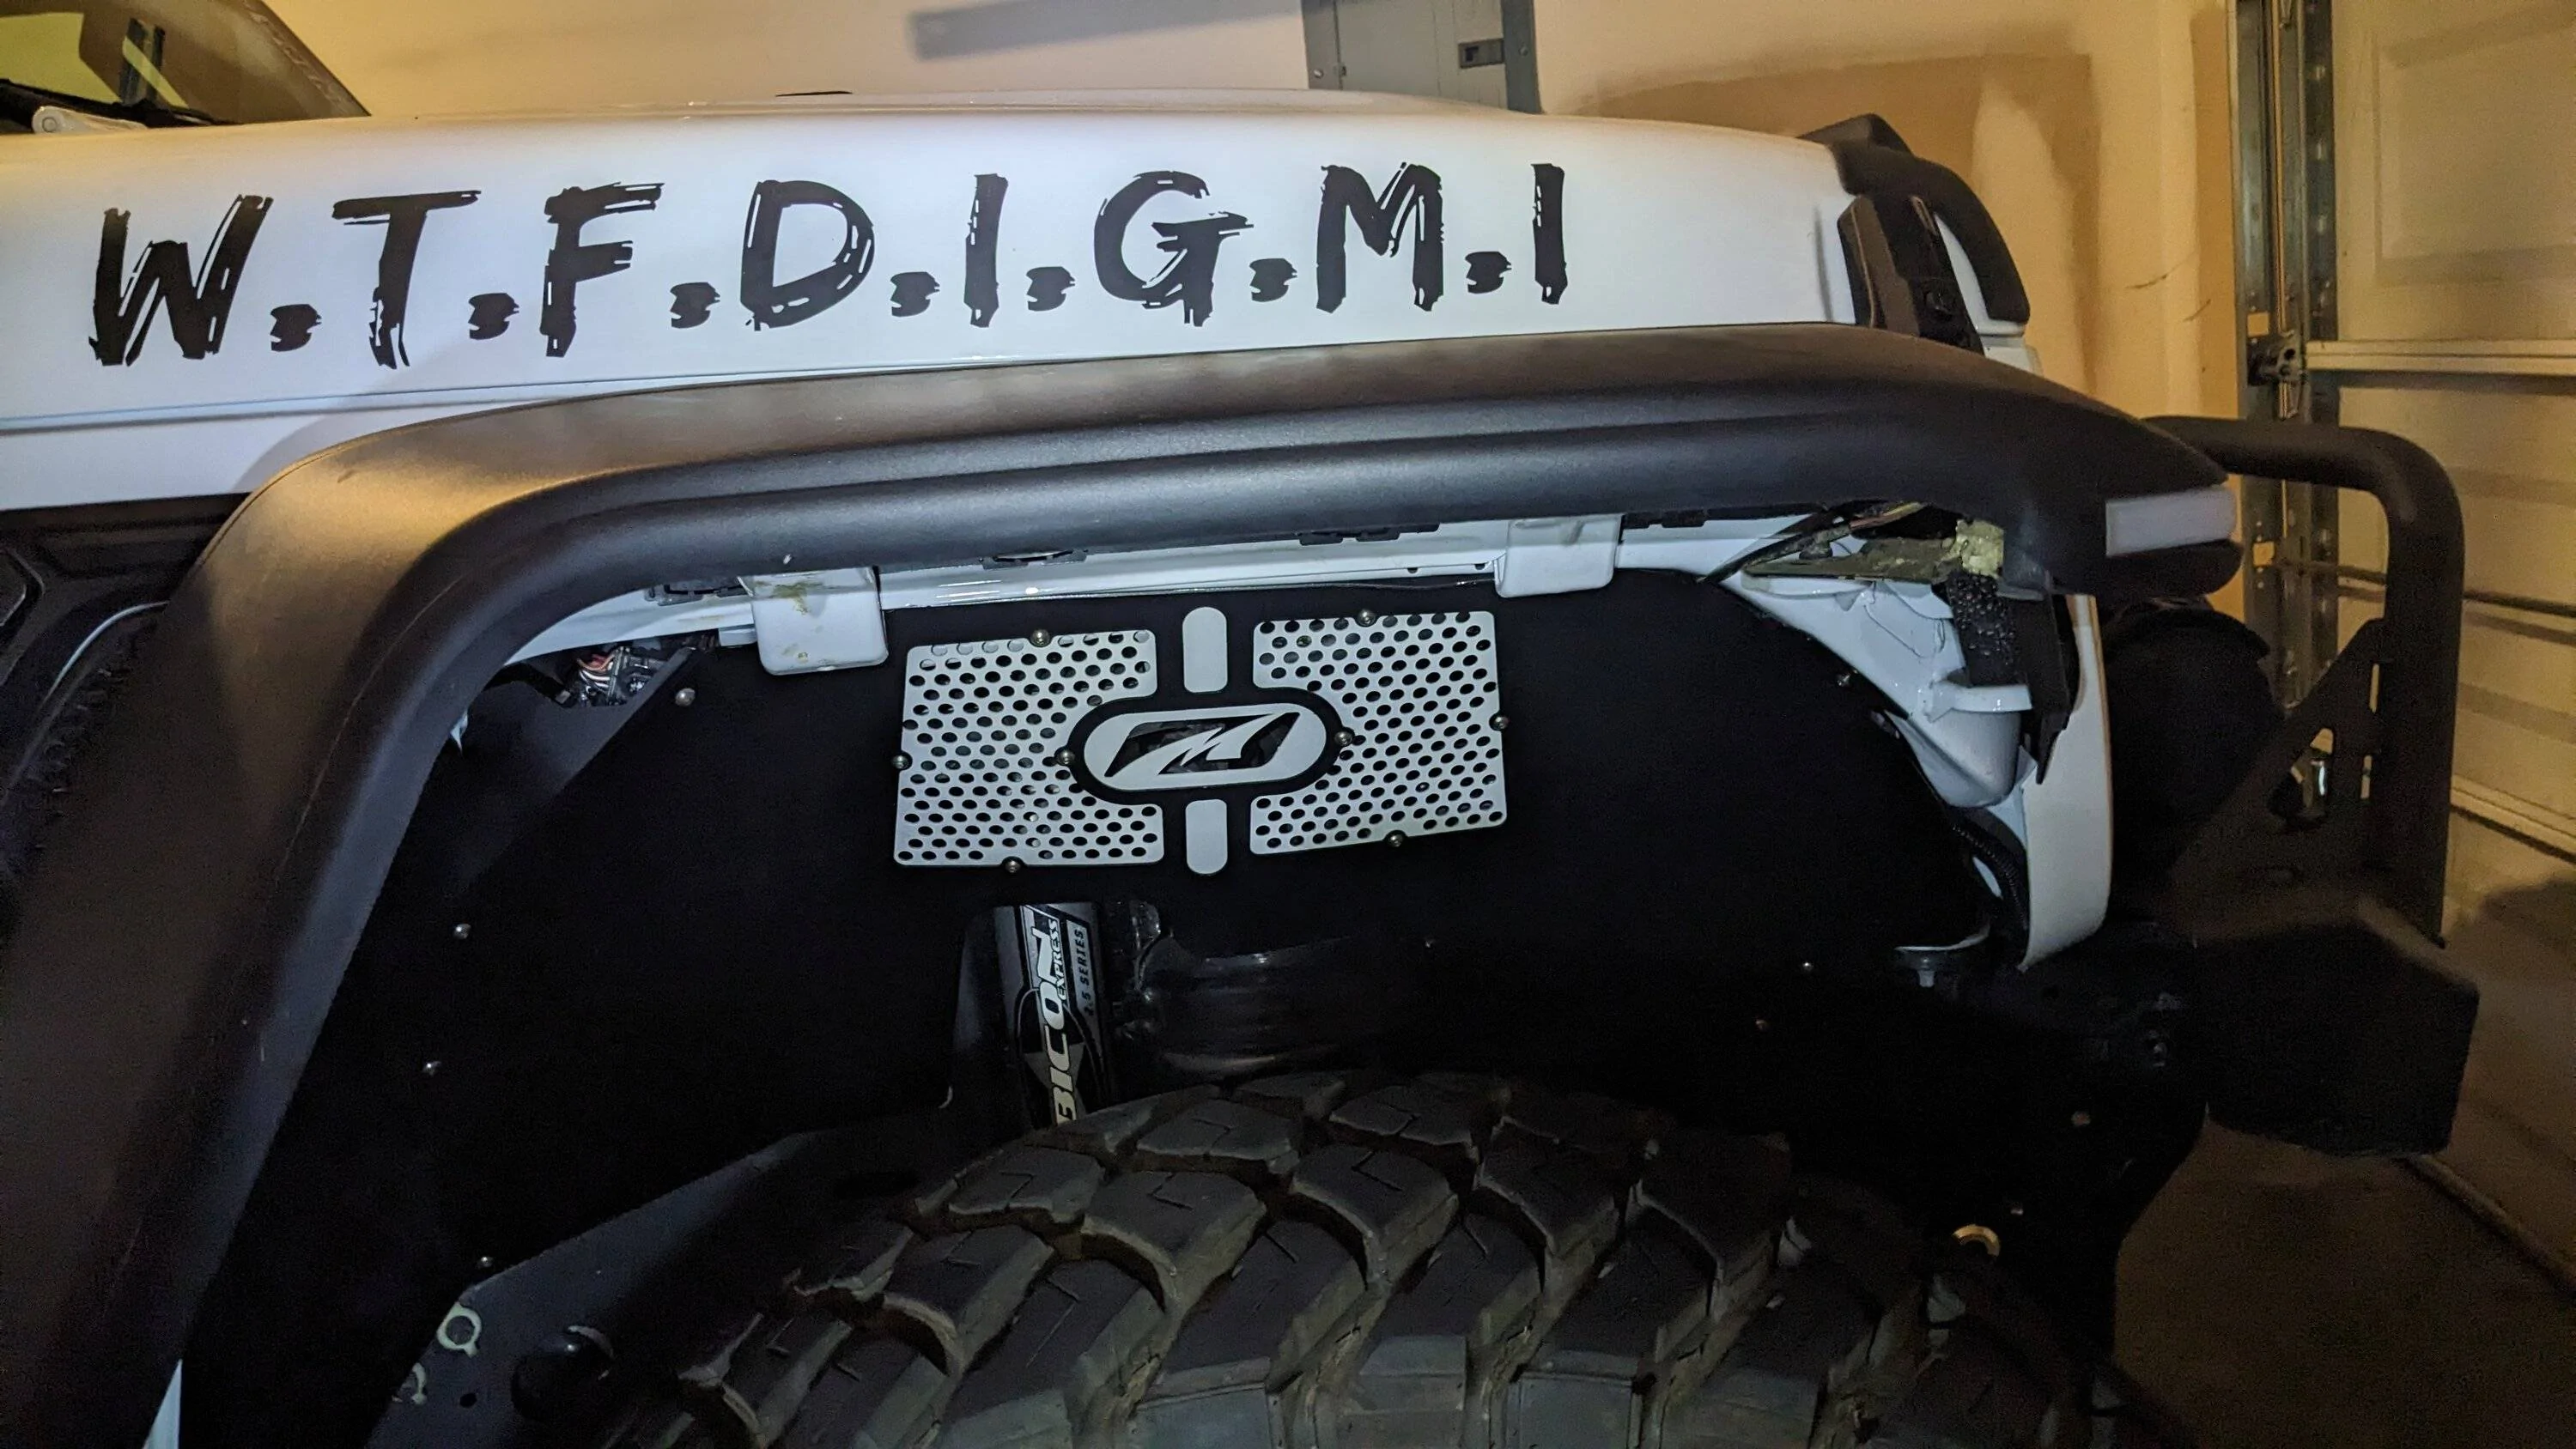
The Rugged Ridge fender set up called for the re-use of the OEM plastic inner fenders and I hated that, so shortly afterwards I grabbed a set of inners from Motobilt. You can see in the below picture, I had also fully embraced my Jeep's name at that point.
So we're getting close to the bobbed bed portion of the story and turning it into a trail rig, but I feel the need to issue a disclaimer - from the moment the bobbed bed was released I SWORE I wasn't going to do it, I wanted to keep what little square footage of bed I had for more functional activities like hauling things. I had even recently bought a set of Molle Panels for the bed, but dang it - I hated that rear overhang, I had dragged the ass of this truck in 3 different states already... then Northridge 4x4 caught me at a weak moment with a 15% off coupon for anything they sold and I curiously clicked the bobbed bed and added it to my cart to see if the coupon worked on that and I bought it....
From order to arrival was roughly 3-4 weeks, comes in on LTL freight -
For anyone unfamiliar with Motobilt, they package and ship their products very well -
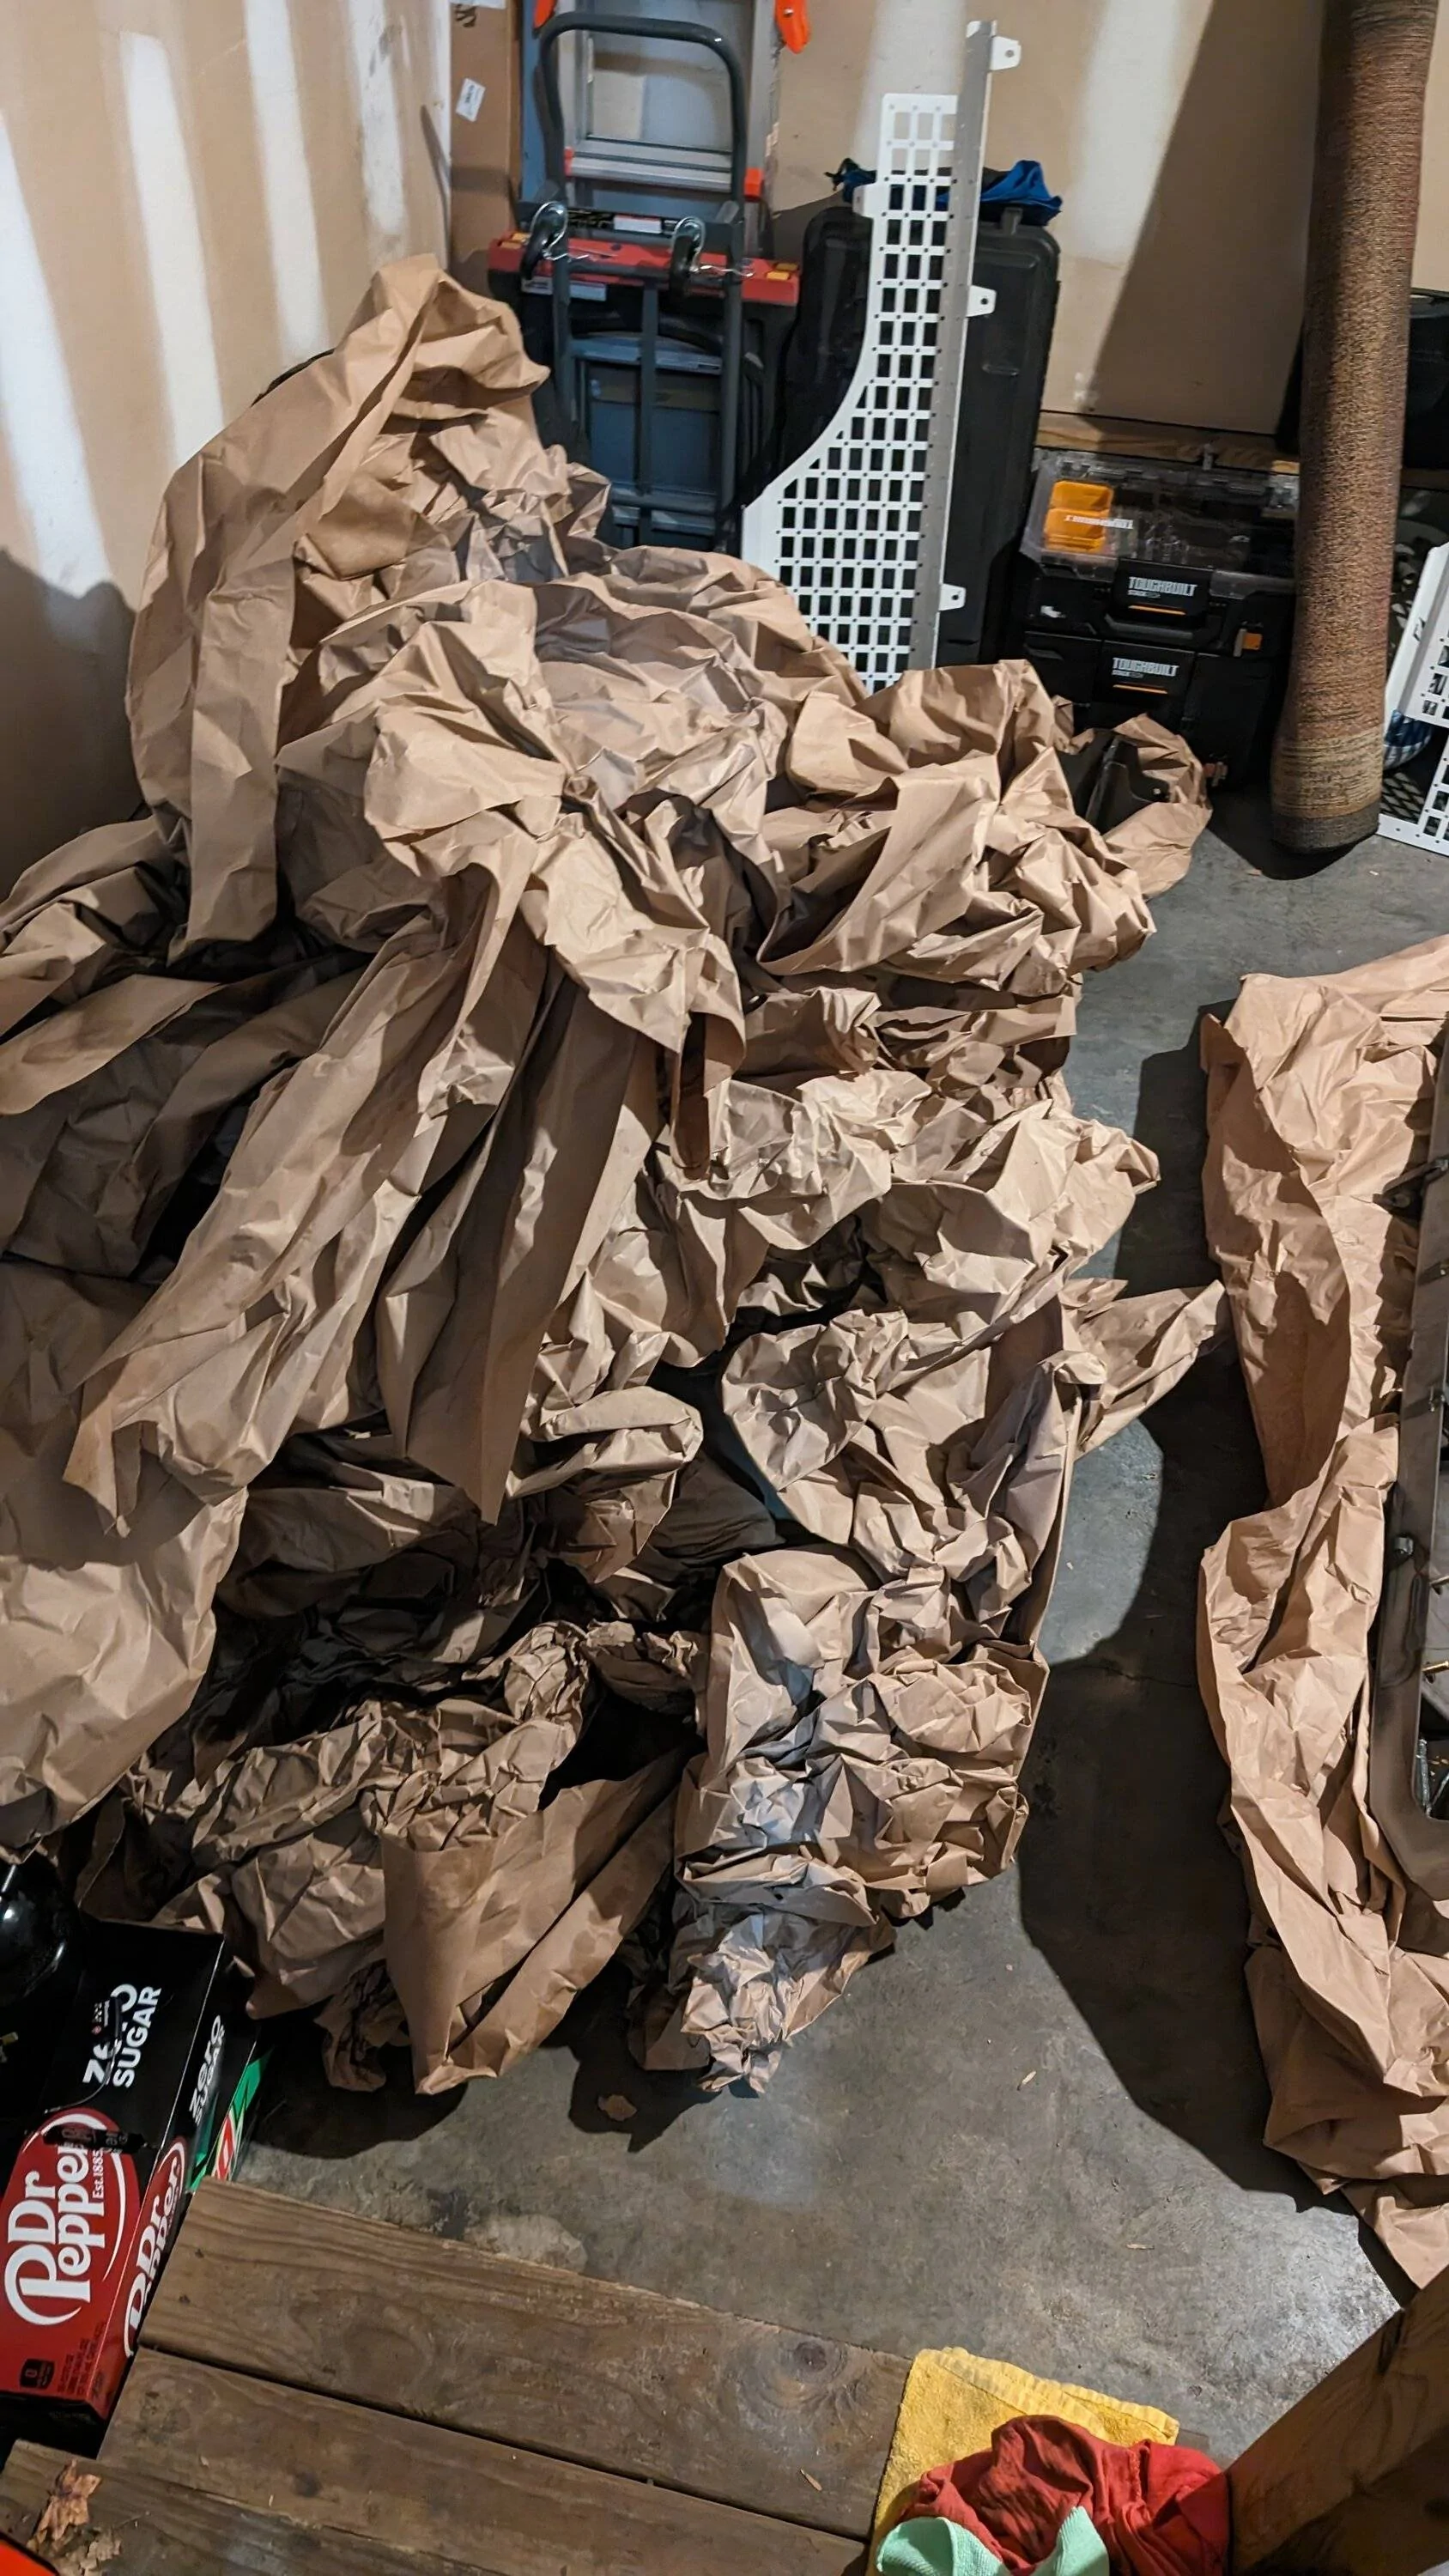
Look at this mound of packing paper -

So I got it all unpacked, inventoried and then it was off to powder coat for most of the large pieces -
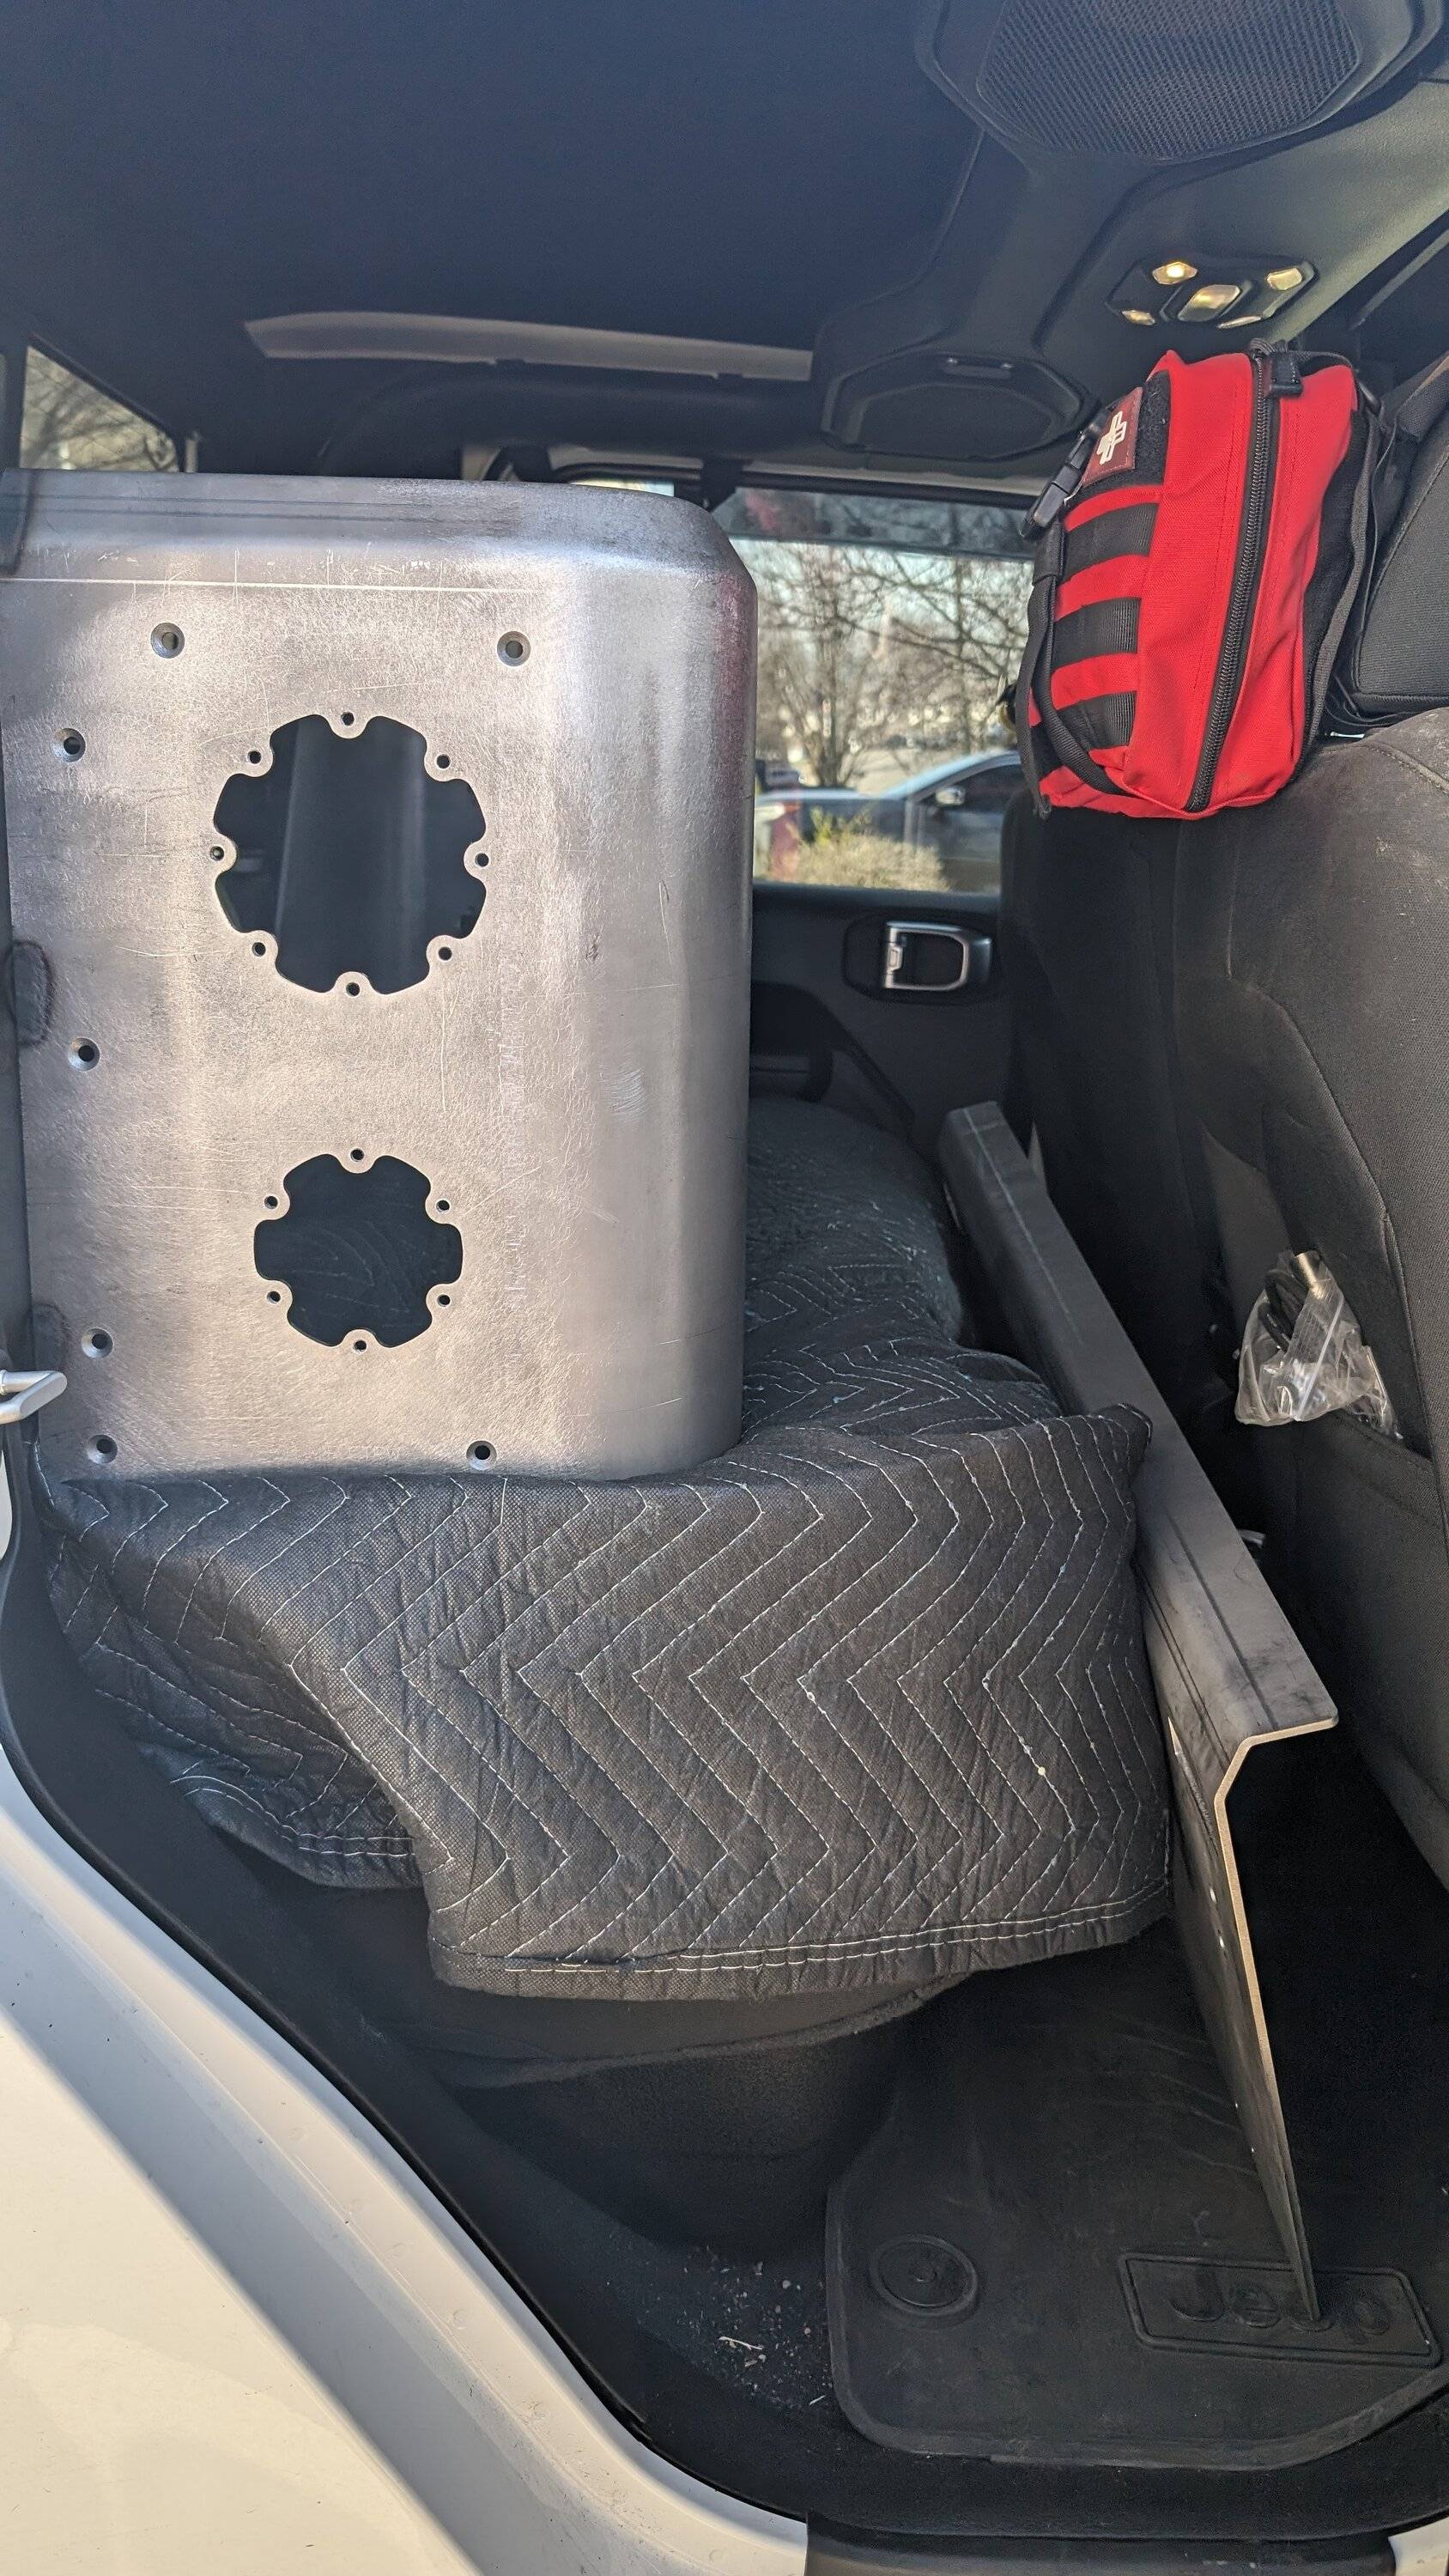
Some in the back seat too -
Most of the smaller concealed brackets and mounting hardware that needed coated I coated at home in the garage, used Steel-It for the first time on the majority of the pieces, however I finished the last crossmember with VHT Roll Bar and Chassis.
Steel-It is an interesting product, I will say that. I cannot yet attest to whether or not it can be truly welded on, that would be interesting to see. It sprays and looks like liquid on the piece, however residue on the floor swept up like powder coat and the finish after curing feels like powder coat instead of paint.
Picked up the large pieces from powder, used moving blankets to individually wrap almost every piece to avoid dings or scratches on the ride home.
The majority of the pieces are a Black Mini Texture powder coat from Columbia Coatings, the exterior fender walls and tailgate are color matched Bright White using All Powder Paints. I was new to All Powder Paints, but it turned out amazing and they have a large collection of Jeep/Dodge color match powders - https://www.allpowderpaints.com/dodge-jeep/
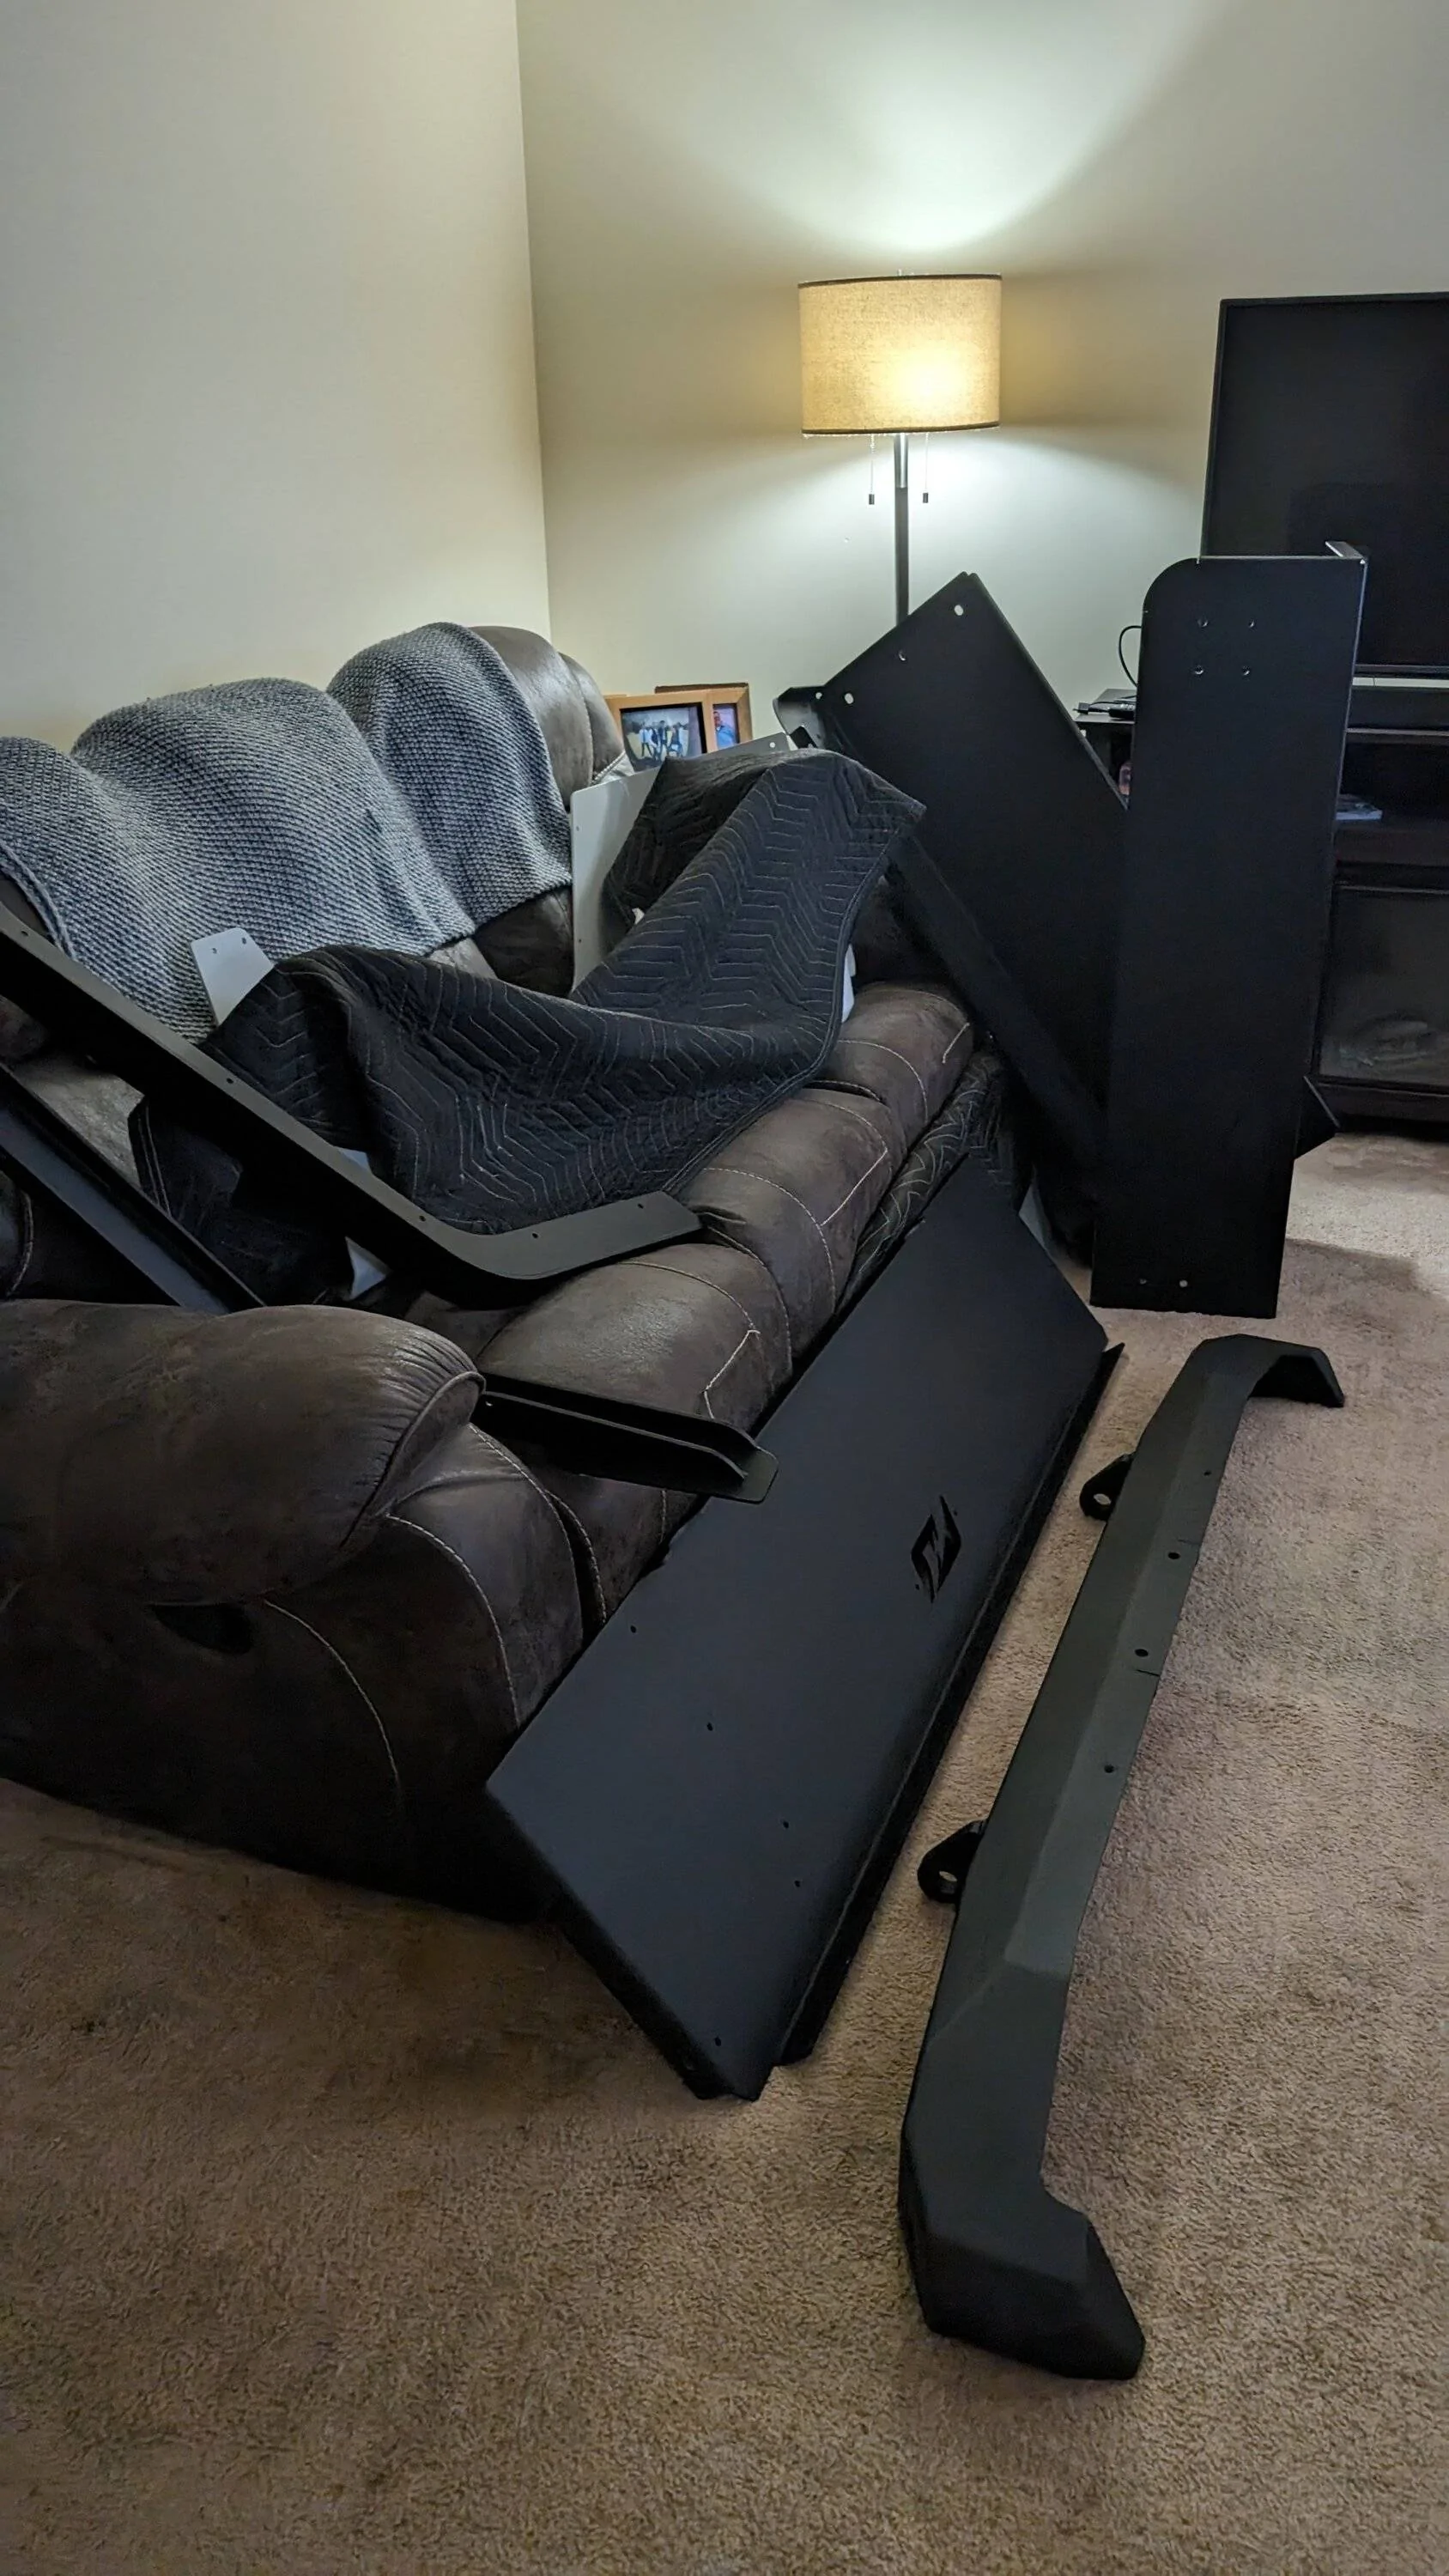
Got it all home and unloaded it into the living room, so that I had space in the garage to work and start ripping apart the bed. I mean the kids don't need to use the sofa right?
Tear down started with my Oracle Flush Mount Tail Lights (already sold), ripped the fenders off to get to the wiring harnesses and fuel filler and disconnect those, then removed the rear bumper, the back up camera, tailgate wiring harness, and tail light wiring harnesses. After those harness connected by push tabs are removed from the bed, it's just 6 -15 mm bolts that hold the bed on and a great big gob of red Loctite on each bolt. Also these bolts are recessed through the frame into the bed - socket extensions are your friend.
Then the bed came off -
Set it on the shipping pallet for now, but possibly already have a buyer lined up for $2K.
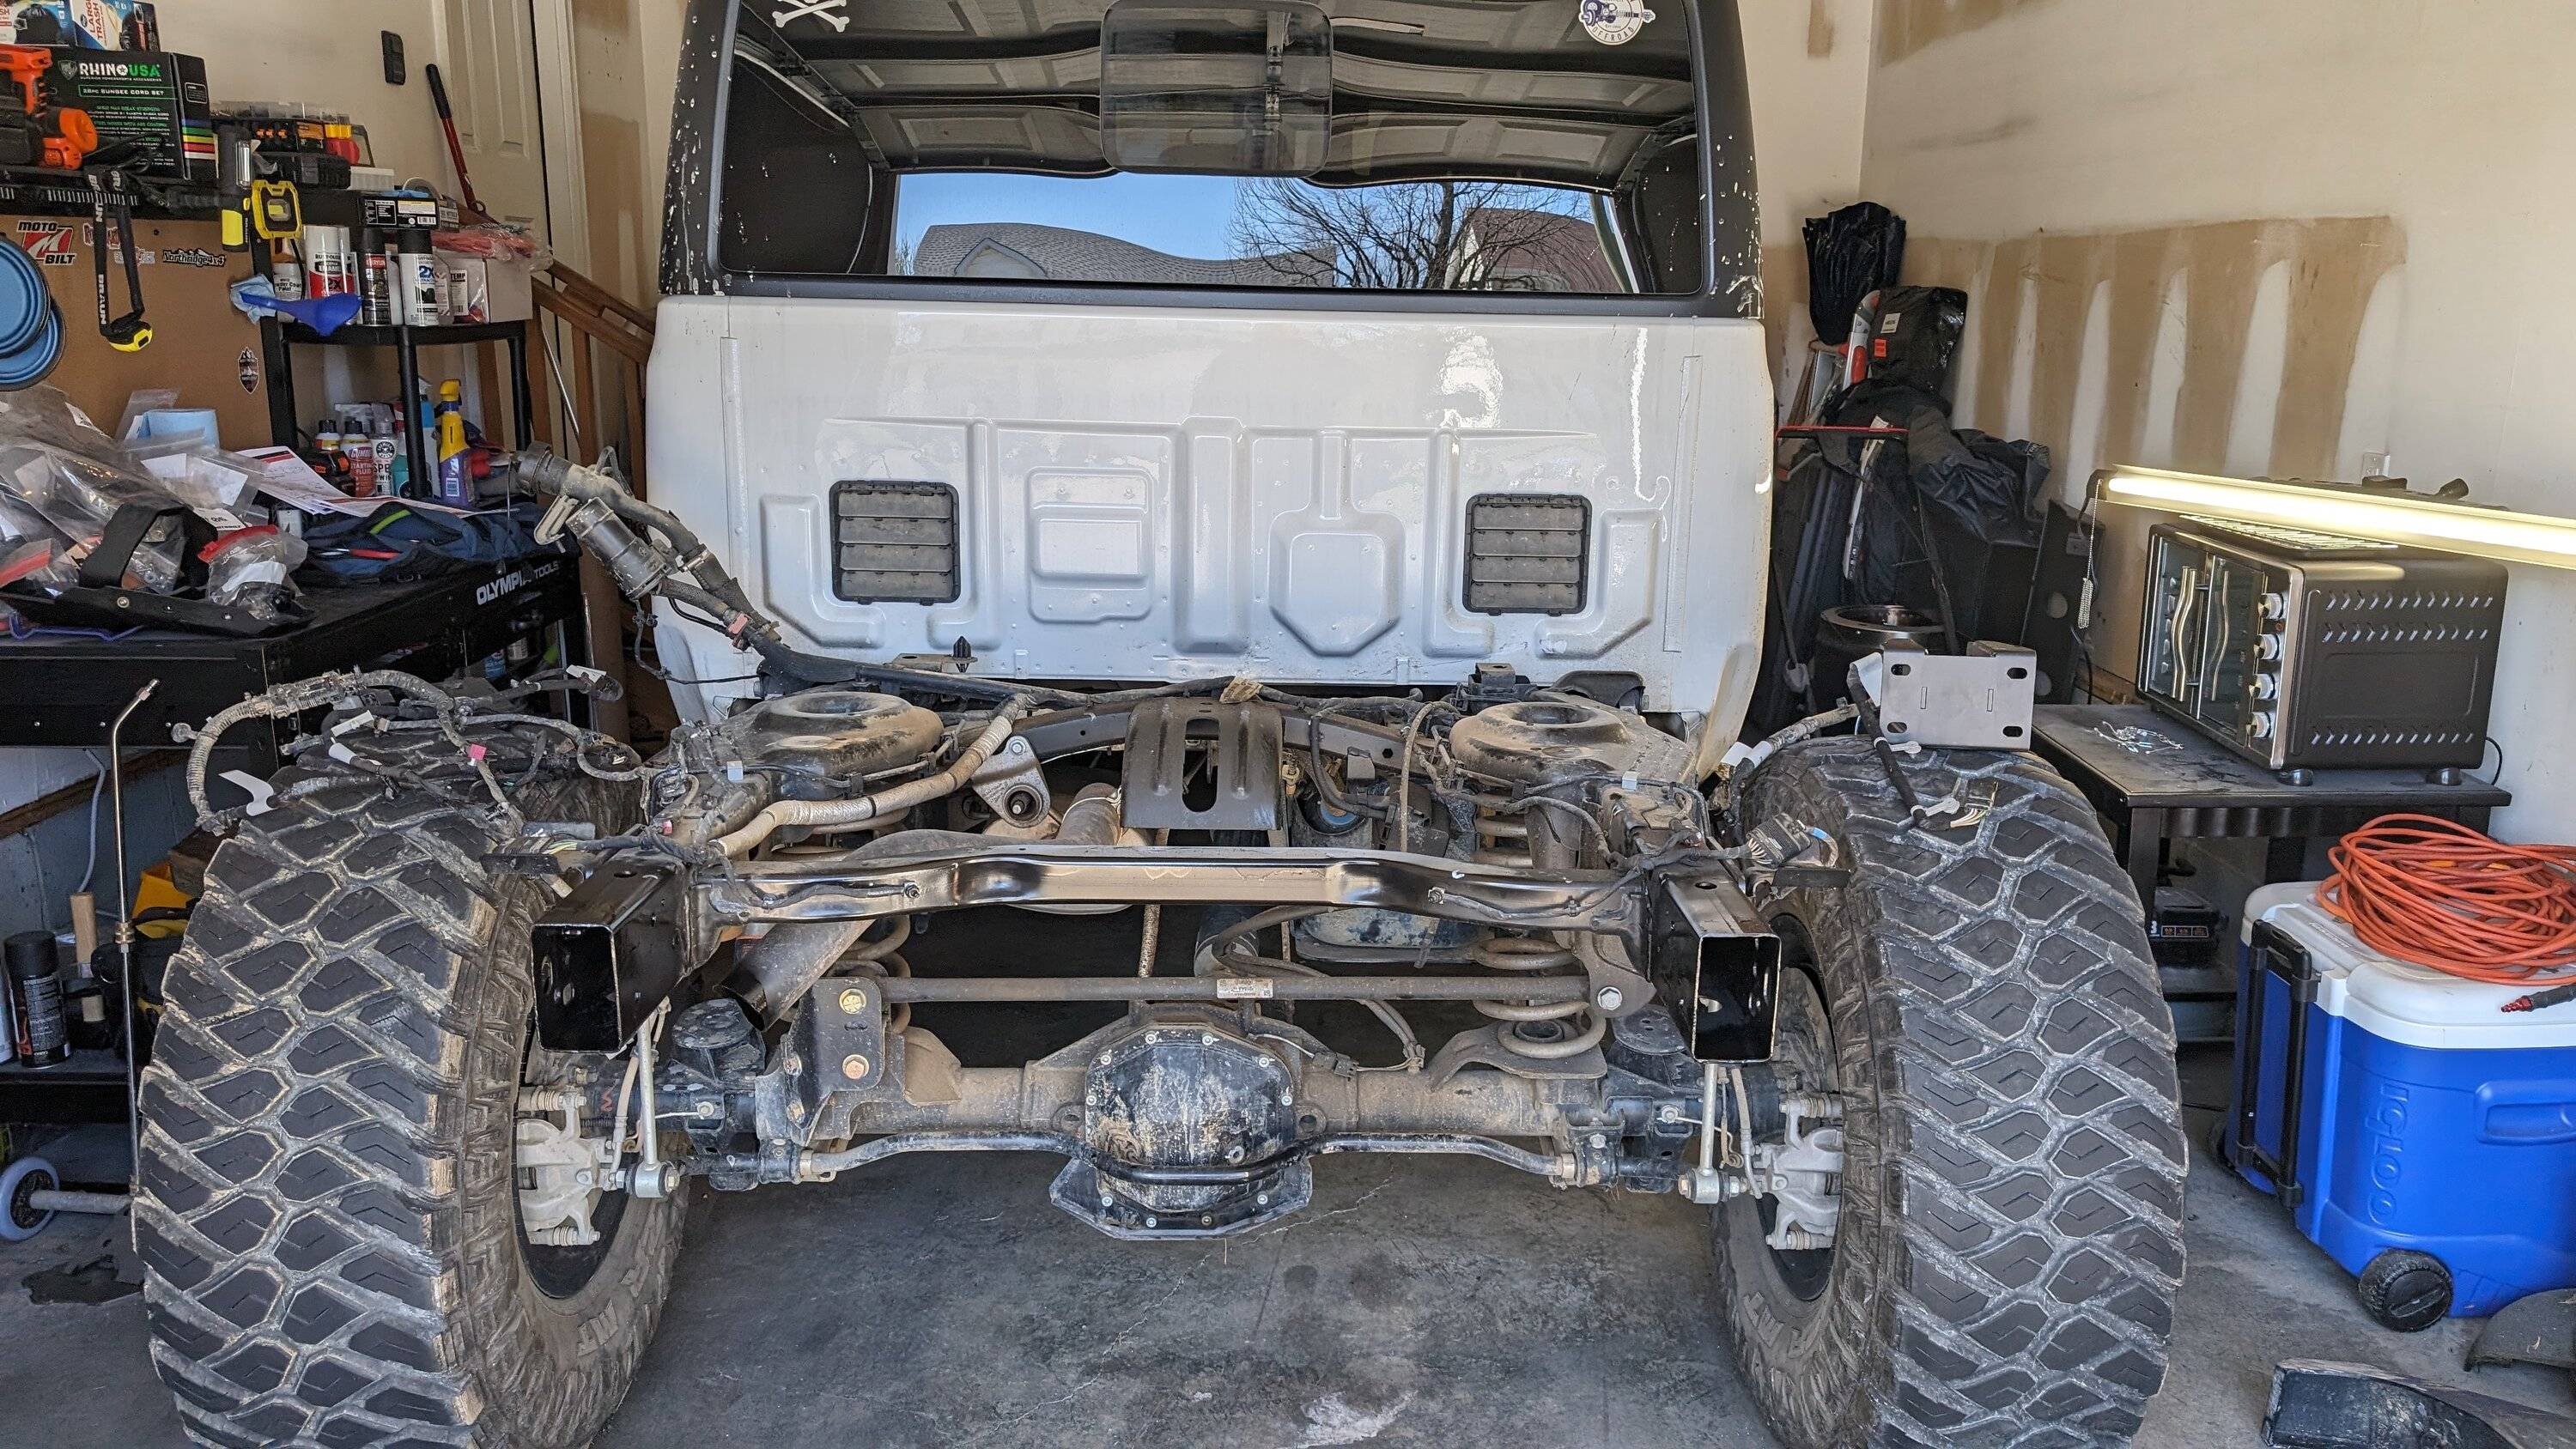
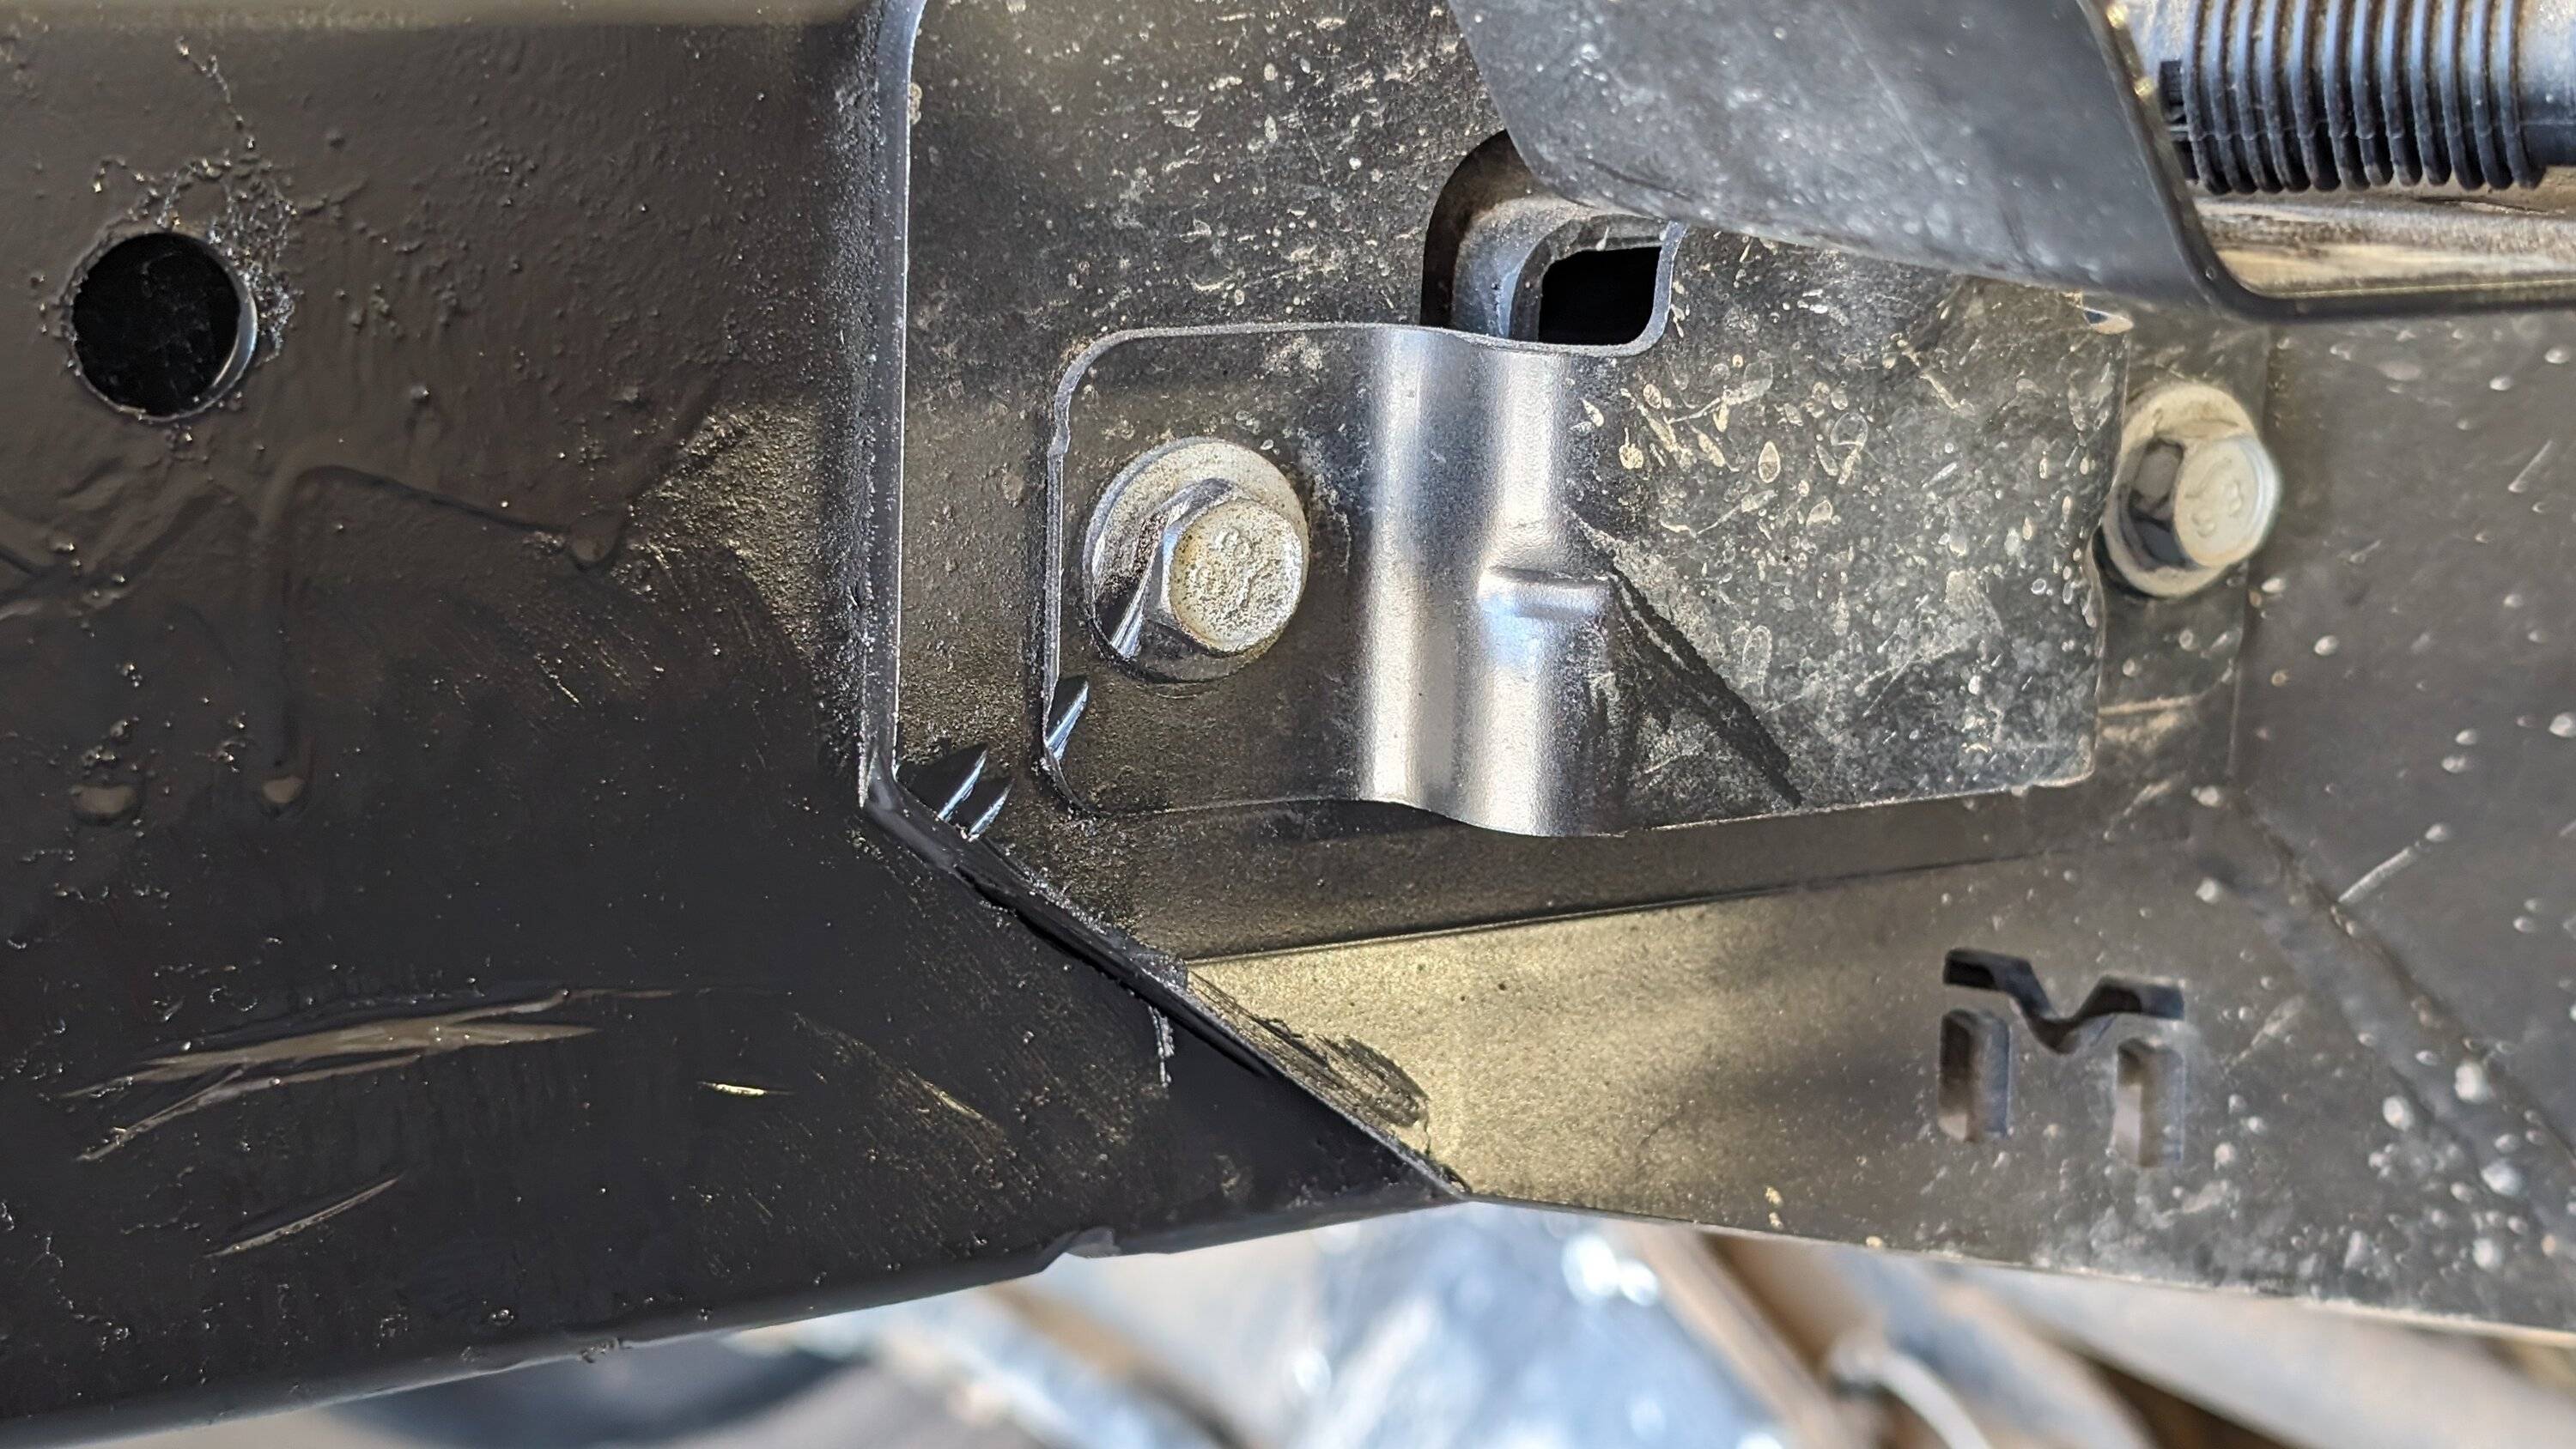
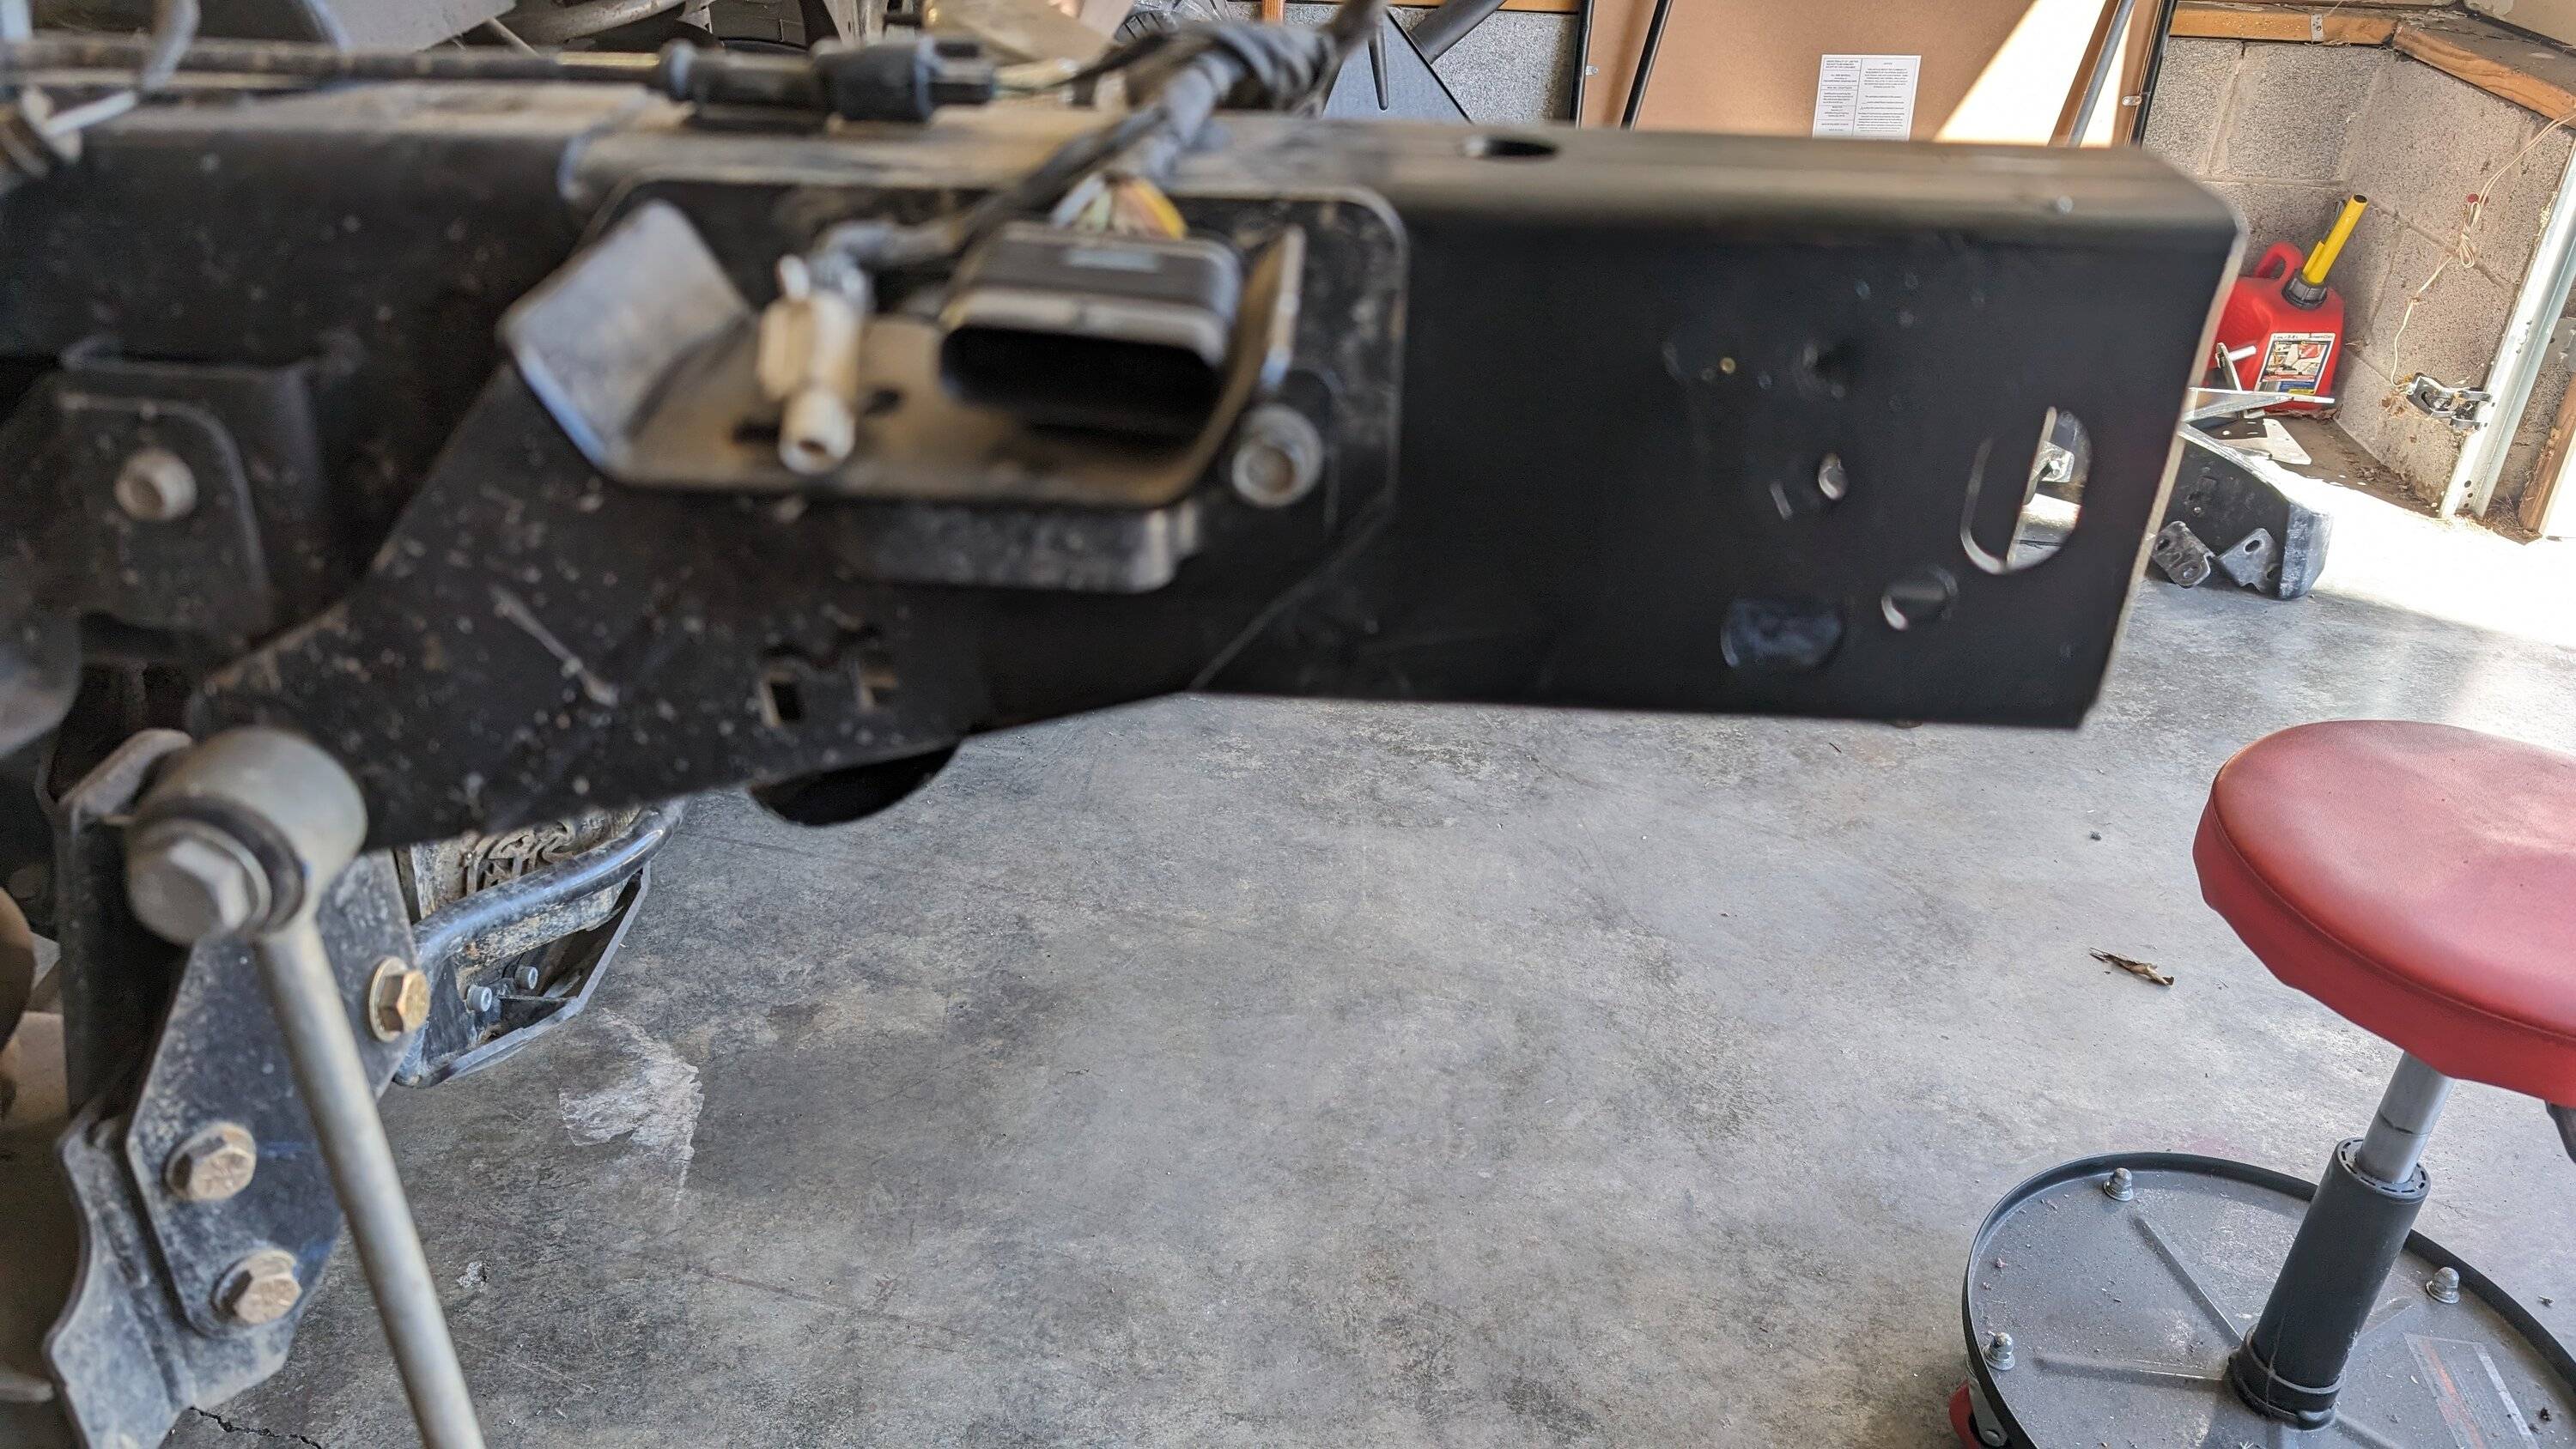
Next up was the part I was dreading but also sorta looking forward to, it was time to cut the frame. Directions call for you to remove 14 5/8" from the front side of the frame, plus the entire assembly for the spare tire from in-between the frame rails. If you notice the small bracket on the underside of the passenger frame rail also highlighted in red to remove, I would LOVE for someone to tell me a valid reason why they added that piece... more on it in a few.

First we ground down the welds holding the spare tire assembly to the cross member to break those welds.
Then it was first cut to the frame, my buddy Mike was having too much fun cutting and hogged most of the good times -
And then it was gone -
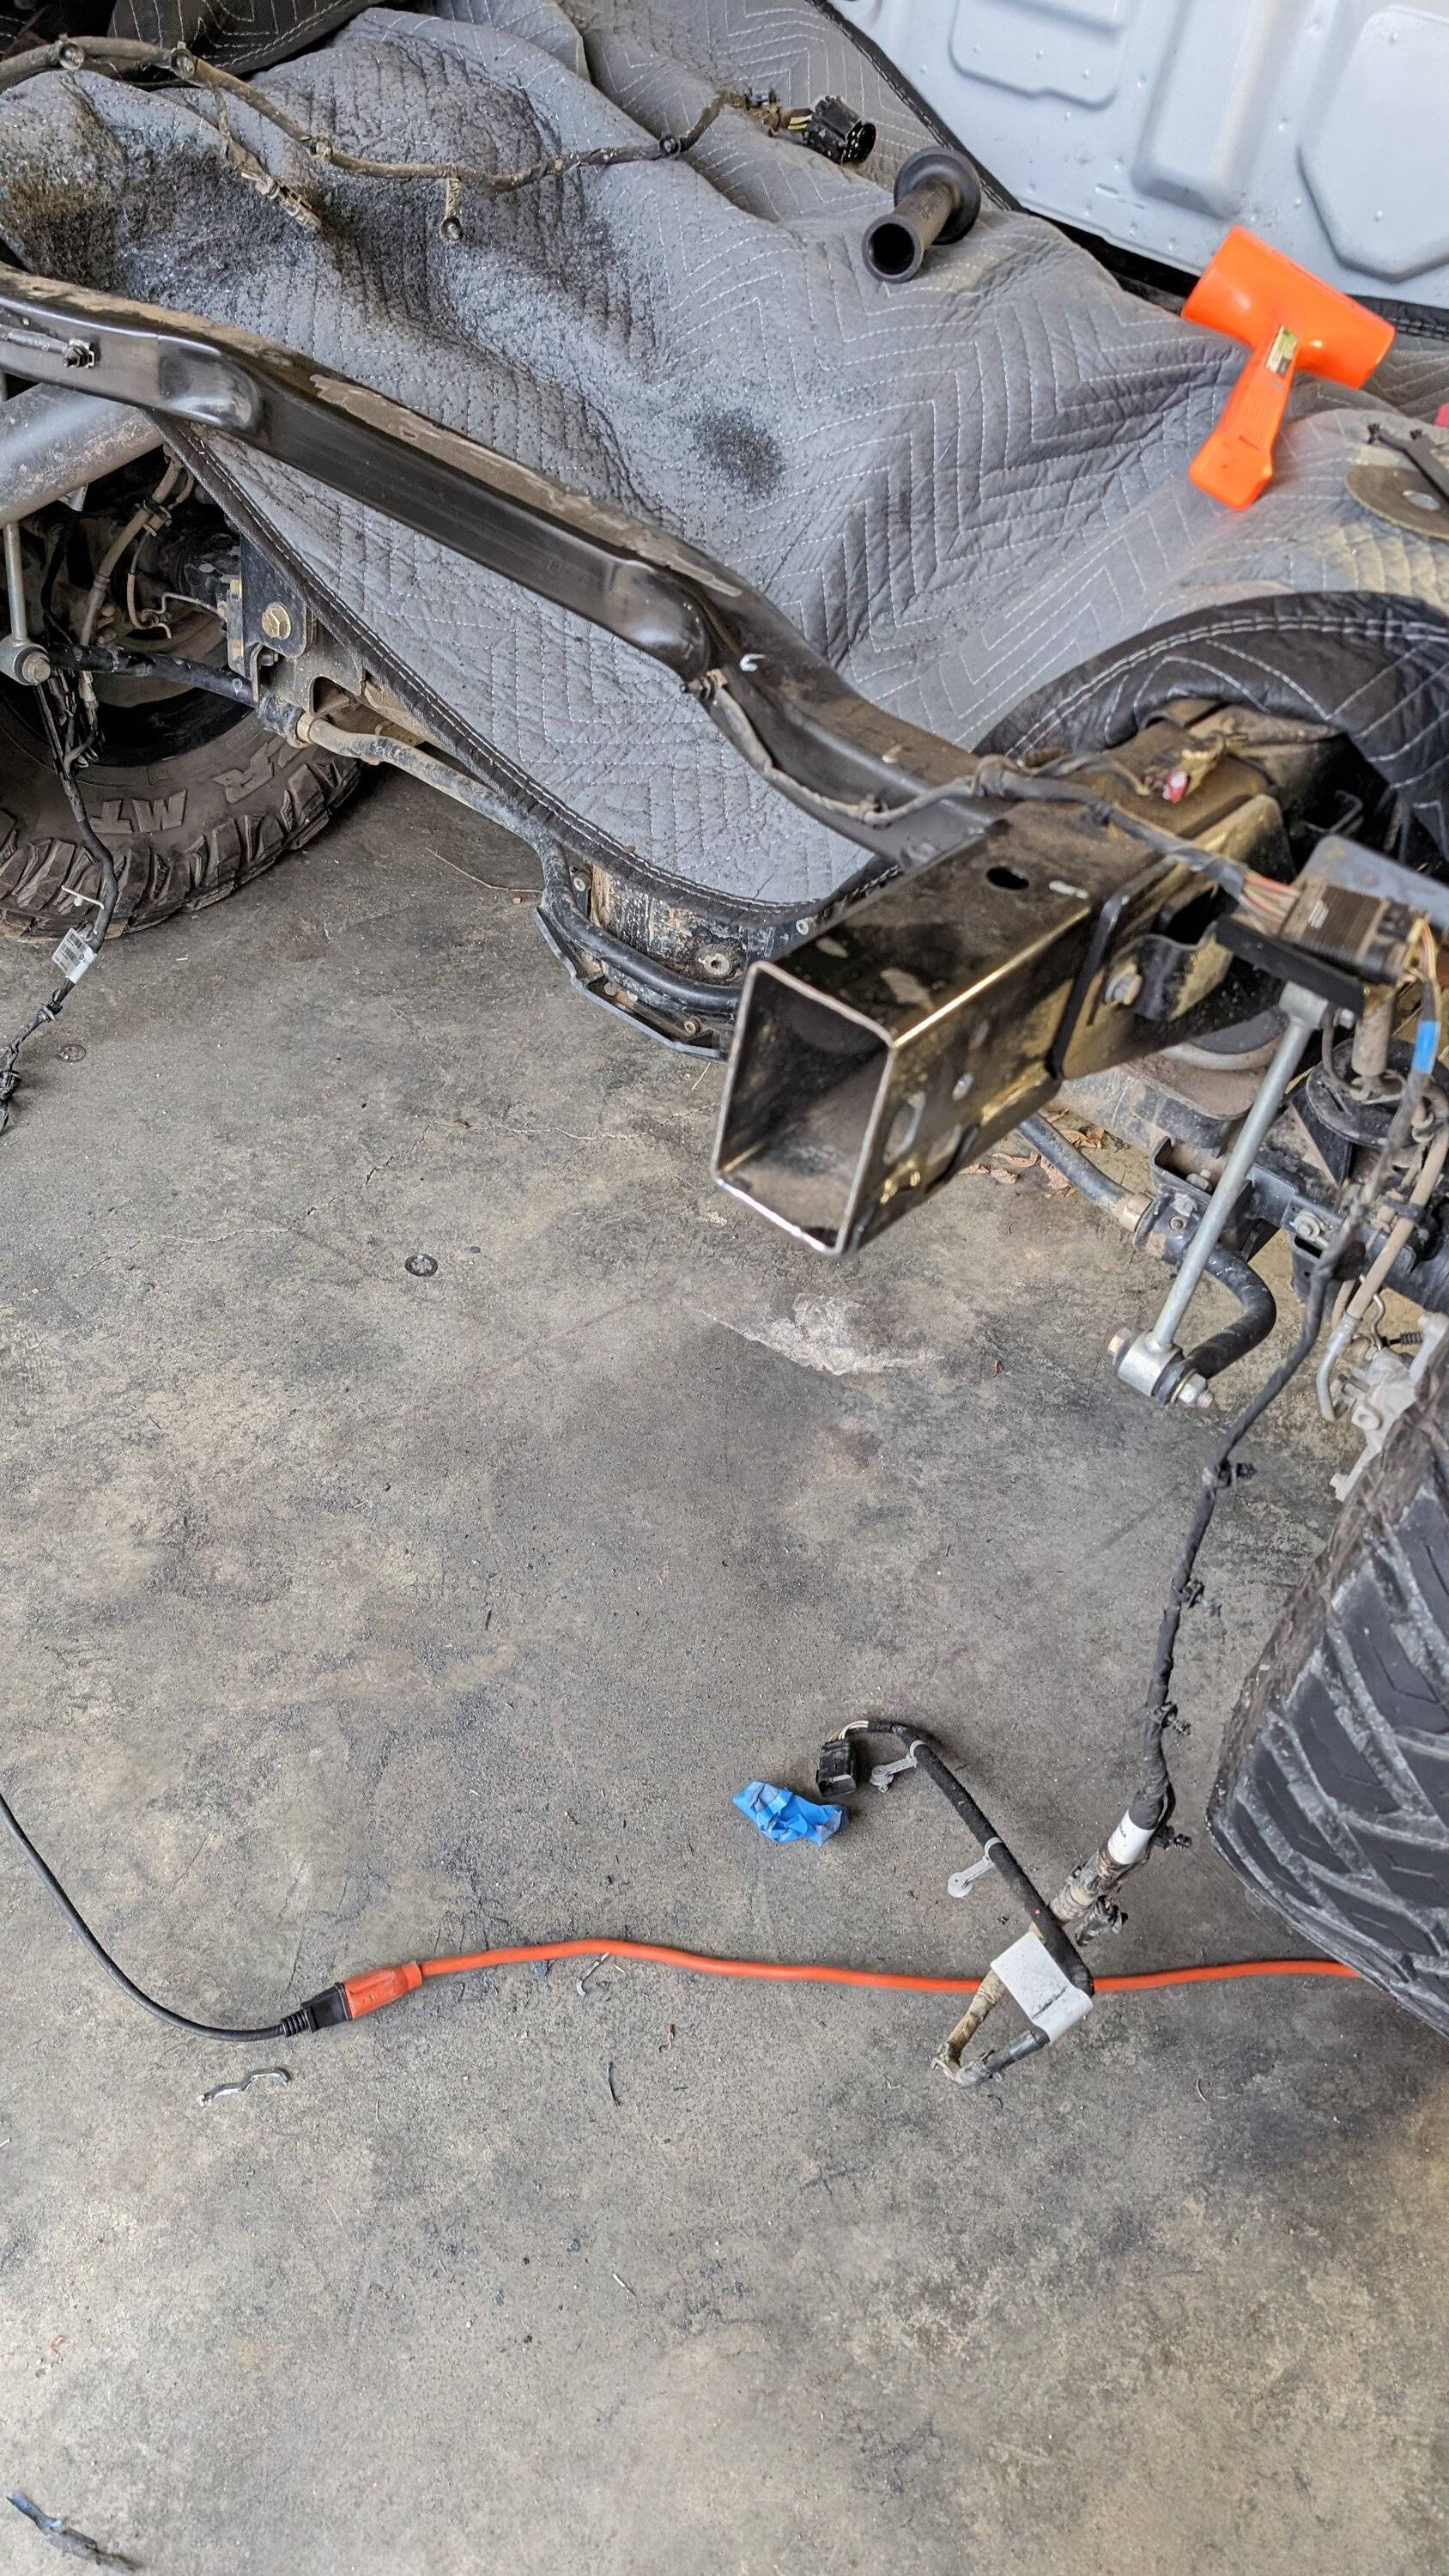
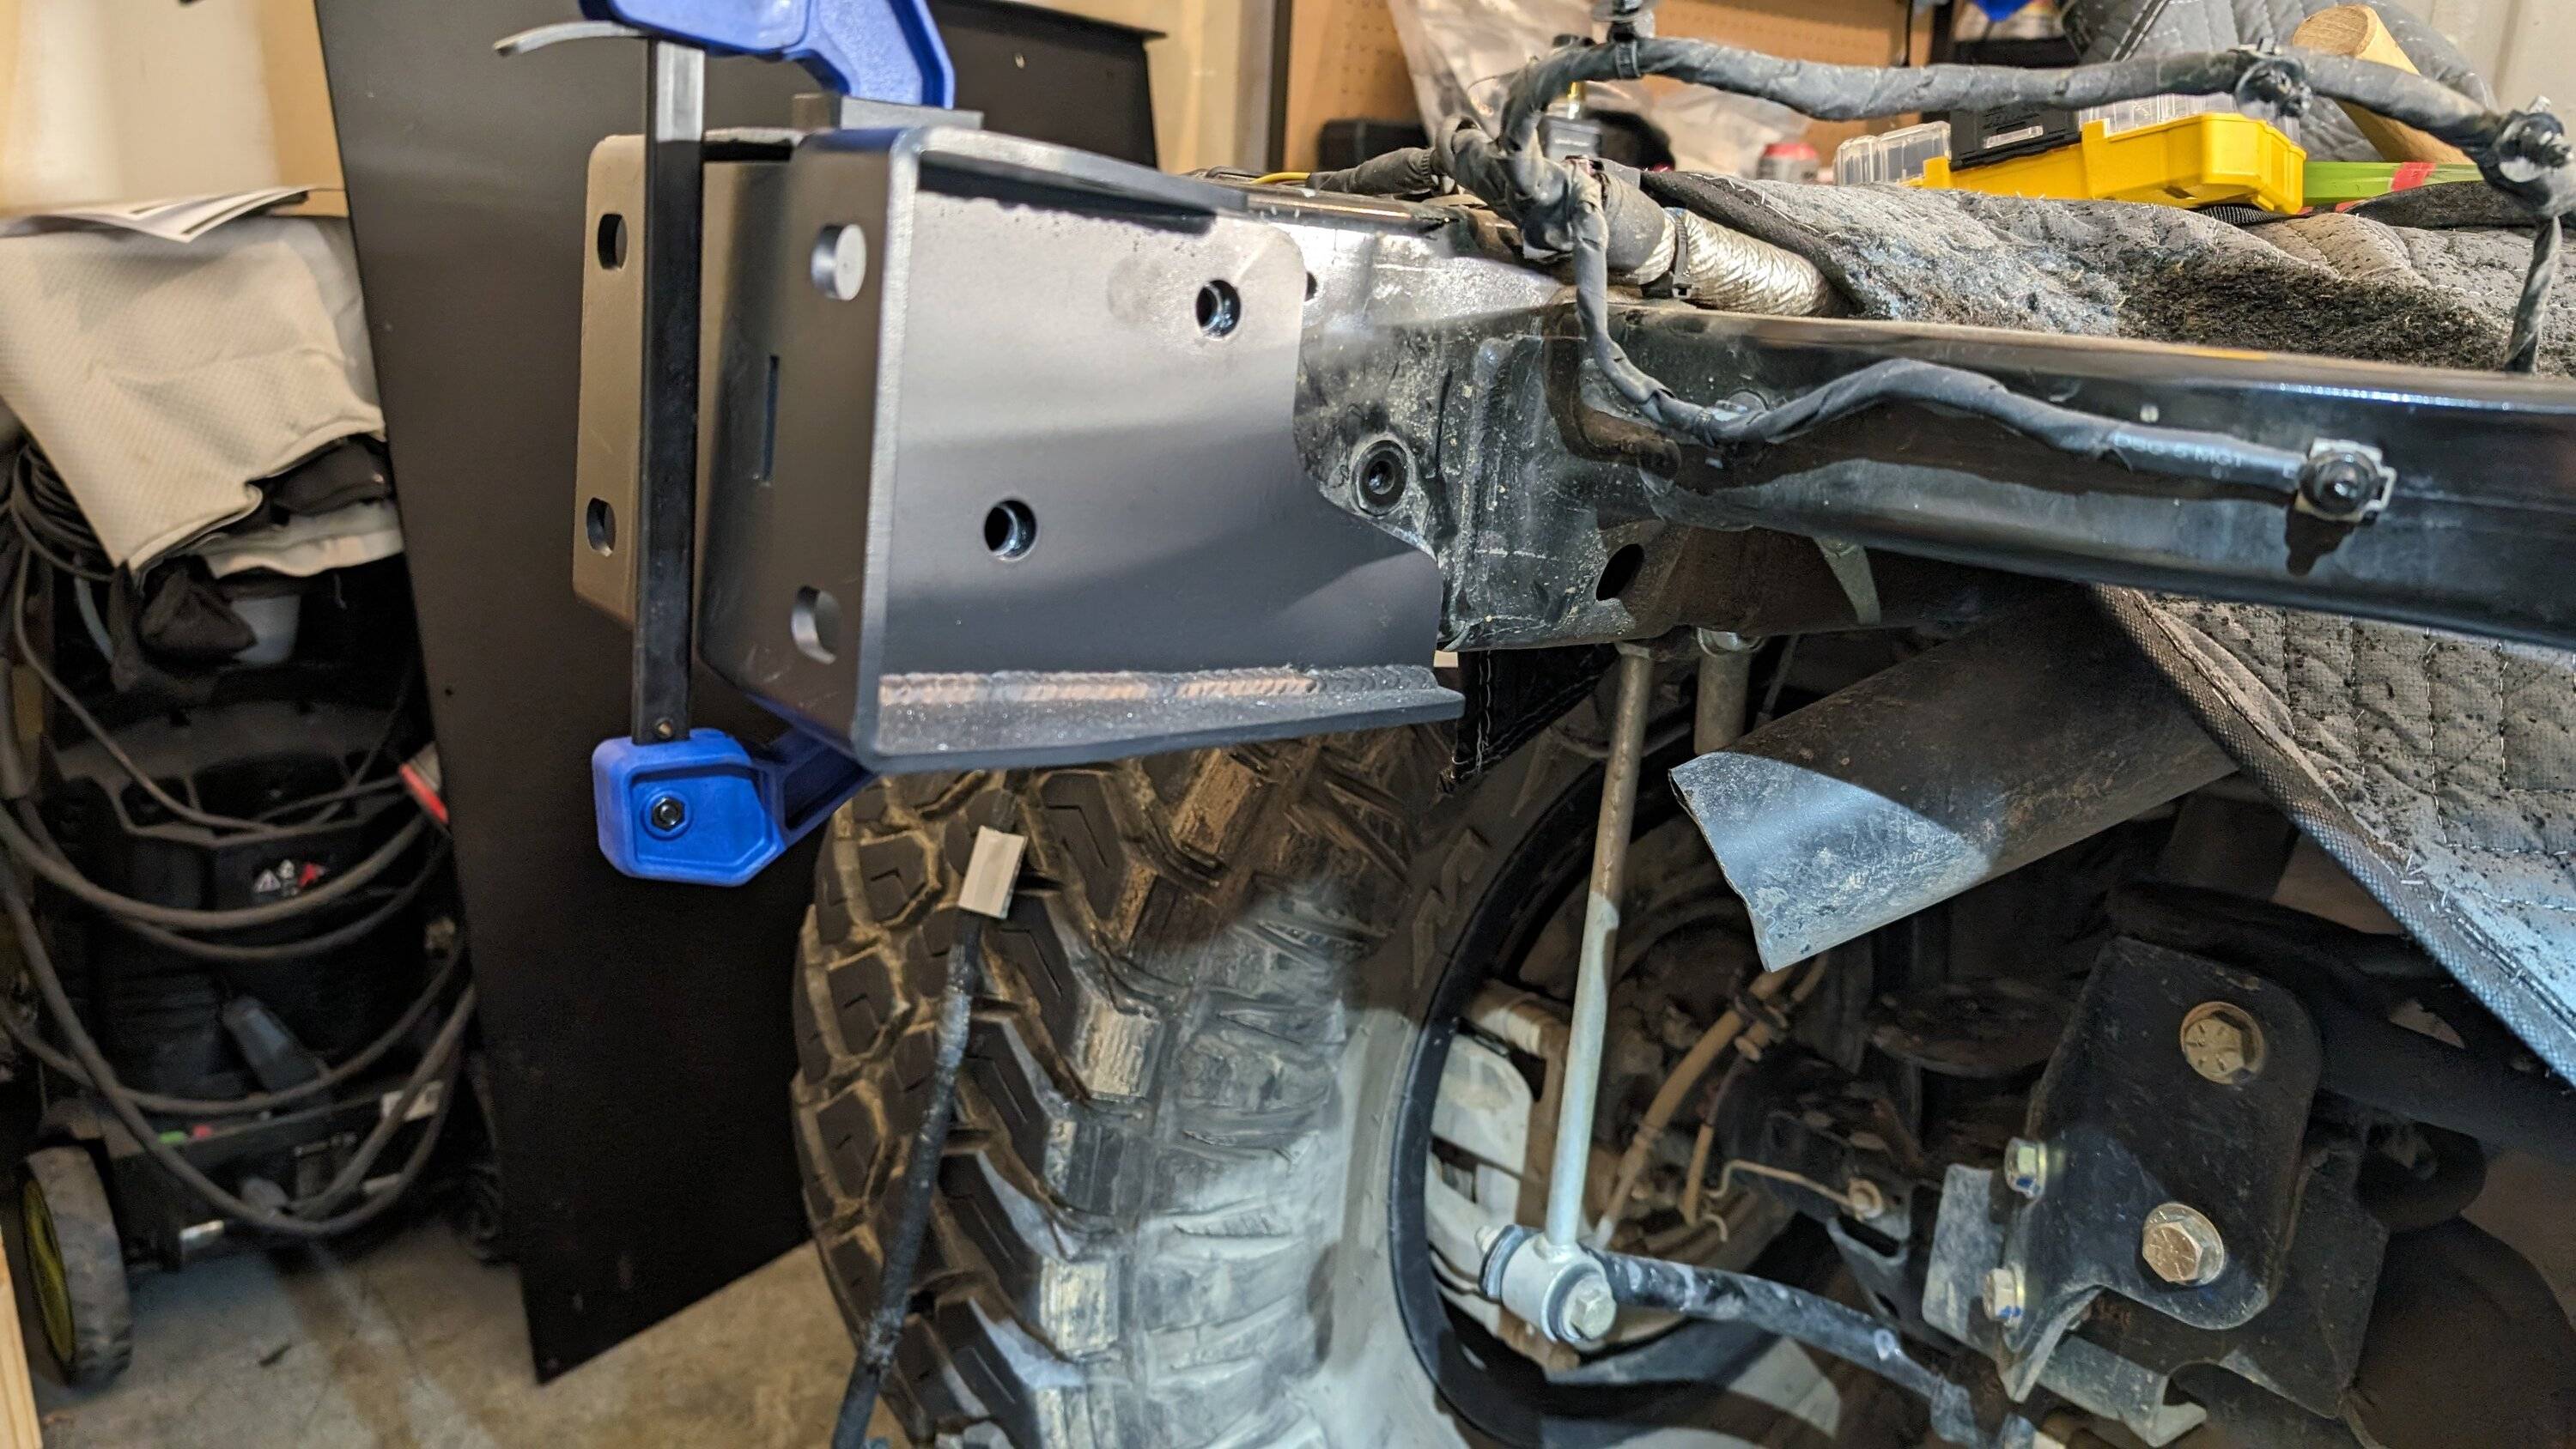
So far that's most of the hard part completed, remember that weird bracket on the underside of the passenger frame? You can see it in the preceding two pictures if you look for it, that bracket which I cannot fathom a purpose for... was the single hardest piece to remove...
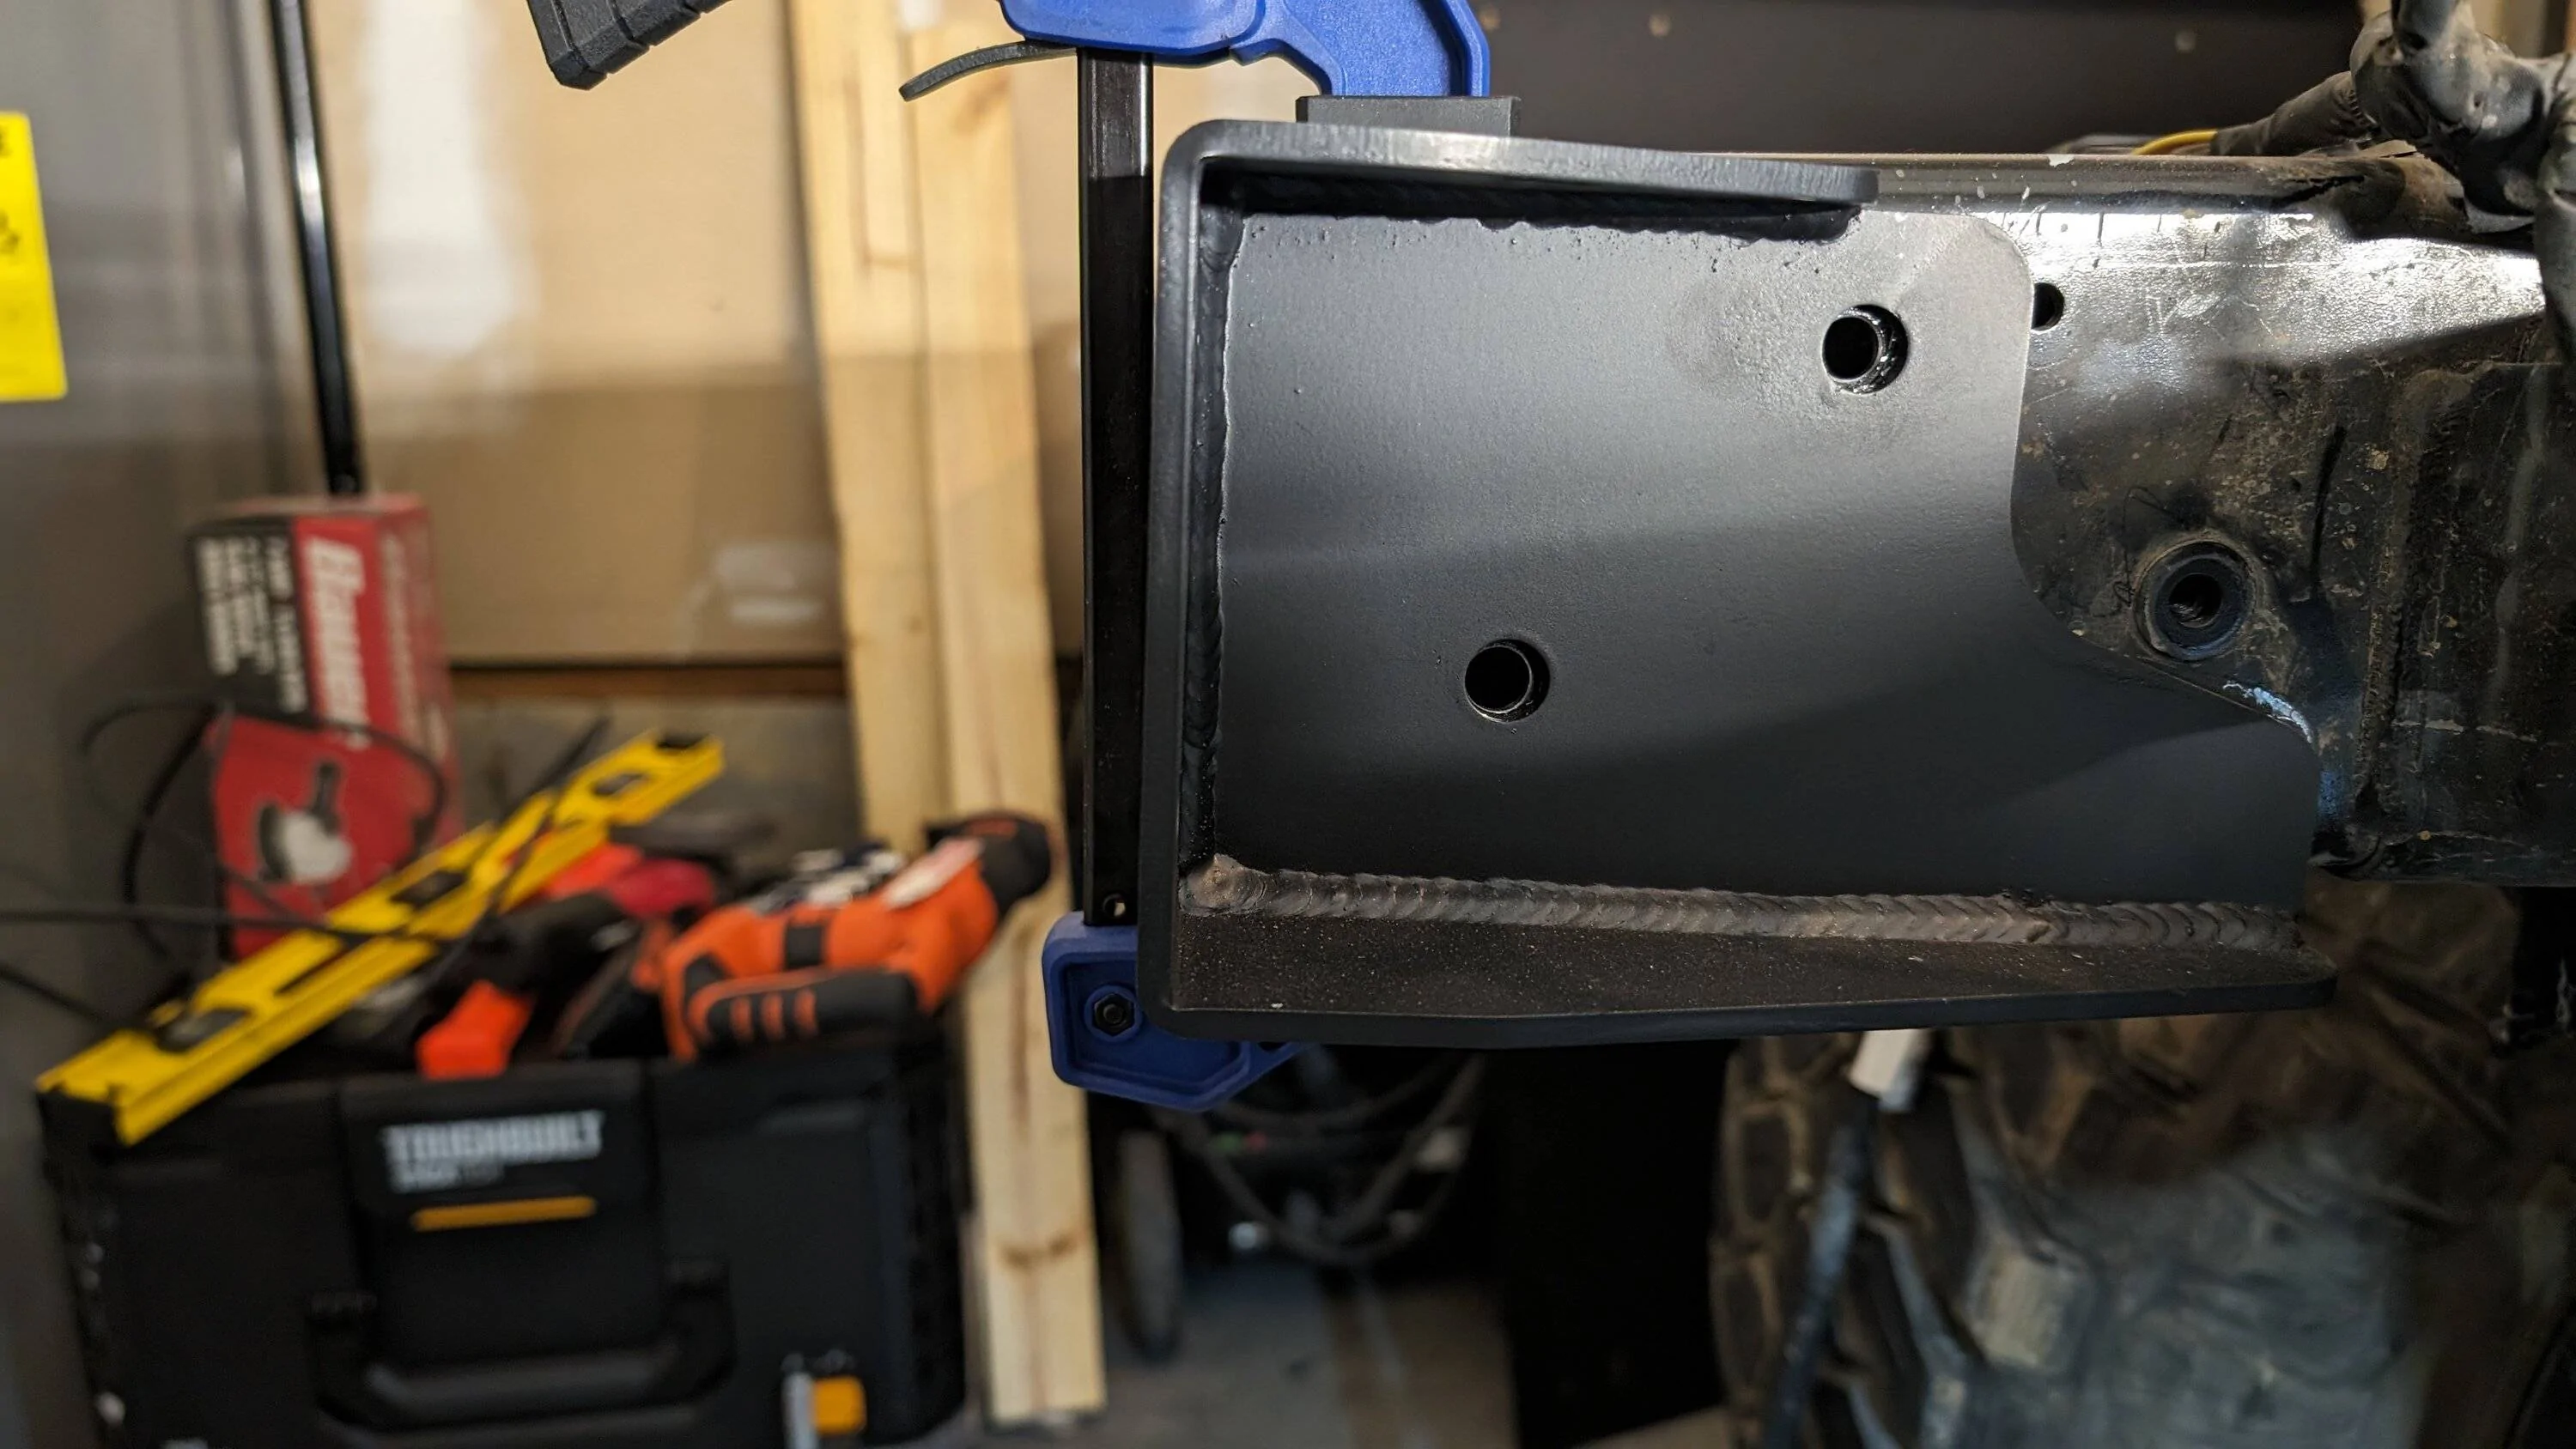
This is basically how it was attached before we cut it off.. and it has to be cut off for the bumper mounts to fit correctly.
Other notes so far -
Cut off wheel ran through the frame like butter.
Hardest part was grinding some of the welds.
There are two captured nuts in the driver's side frame rail, that we had to grind down/off, along with that weird bracket on the passenger frame rail that had to come off.
Moving blankets will catch fire from sparks.
Having buddies around to help is priceless and helps keep your sanity.
Will add to this as I progress through the rest of the bobbed bed build and try and update it later on as well for my next WTFDIGMI moment.
For those who still haven't made the connection, WTFDIGMI is my 5 second anxiety moment I allow myself before I tackle anything that's outside of my comfort zone (which is getting quite large). It's a way to express that anxiety, still take ownership of the situation, and steady my nerves to take the next step or action.
Future plans after bobbed bed -
Tire carrier rack for bobbed bed.
Weld on sliders from Motobilt along with the Rocker armor.
High Line front fenders from (can you guess?) to match those on the bobbed bed.
Axle love - Ball Joint deletes, Cast Knuckles, Artec truss/gussets, RCVs, RPM Steering, and rear anti-rock
Lift 2.0 - Looking at Rusty's new 4" Advanced with 4-link rear.
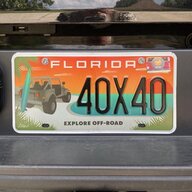
40's
If you read all this, you deserve a drink. I'm having one. Cheers all -
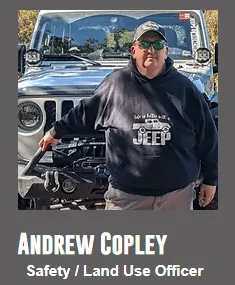
Also for anyone curious, this is me, I'm the Land Use/Safety Officer for my local Jeep club. We are a 501 (c) non-profit member organization that celebrated it's 10th anniversary last year.
You can find us online at - https://www.jeepsandwrenches.com/who-we-are

But I decided it needed backed up a bit to tell the whole story... This is a story of not learning the 'buy once, cry once' rule soon enough, changing my mind multiple times, and generally overall what the f*** did I get myself into.
My truck's name is very appropriate in that way, I tend to be the one that gets myself into the most shenanigans whether that's on the trail or buying parts.
So going back to the start, I bought my 2022 Jeep Gladiator Sport S in March of 2022, when used car prices were so dang high and I got the full value of what I paid for my 2019 Dodge Challenger.
Bought the Sport S because 1) It's cheaper than a Rubicon and 2) I'm not ever going to do any serious wheeling. ?
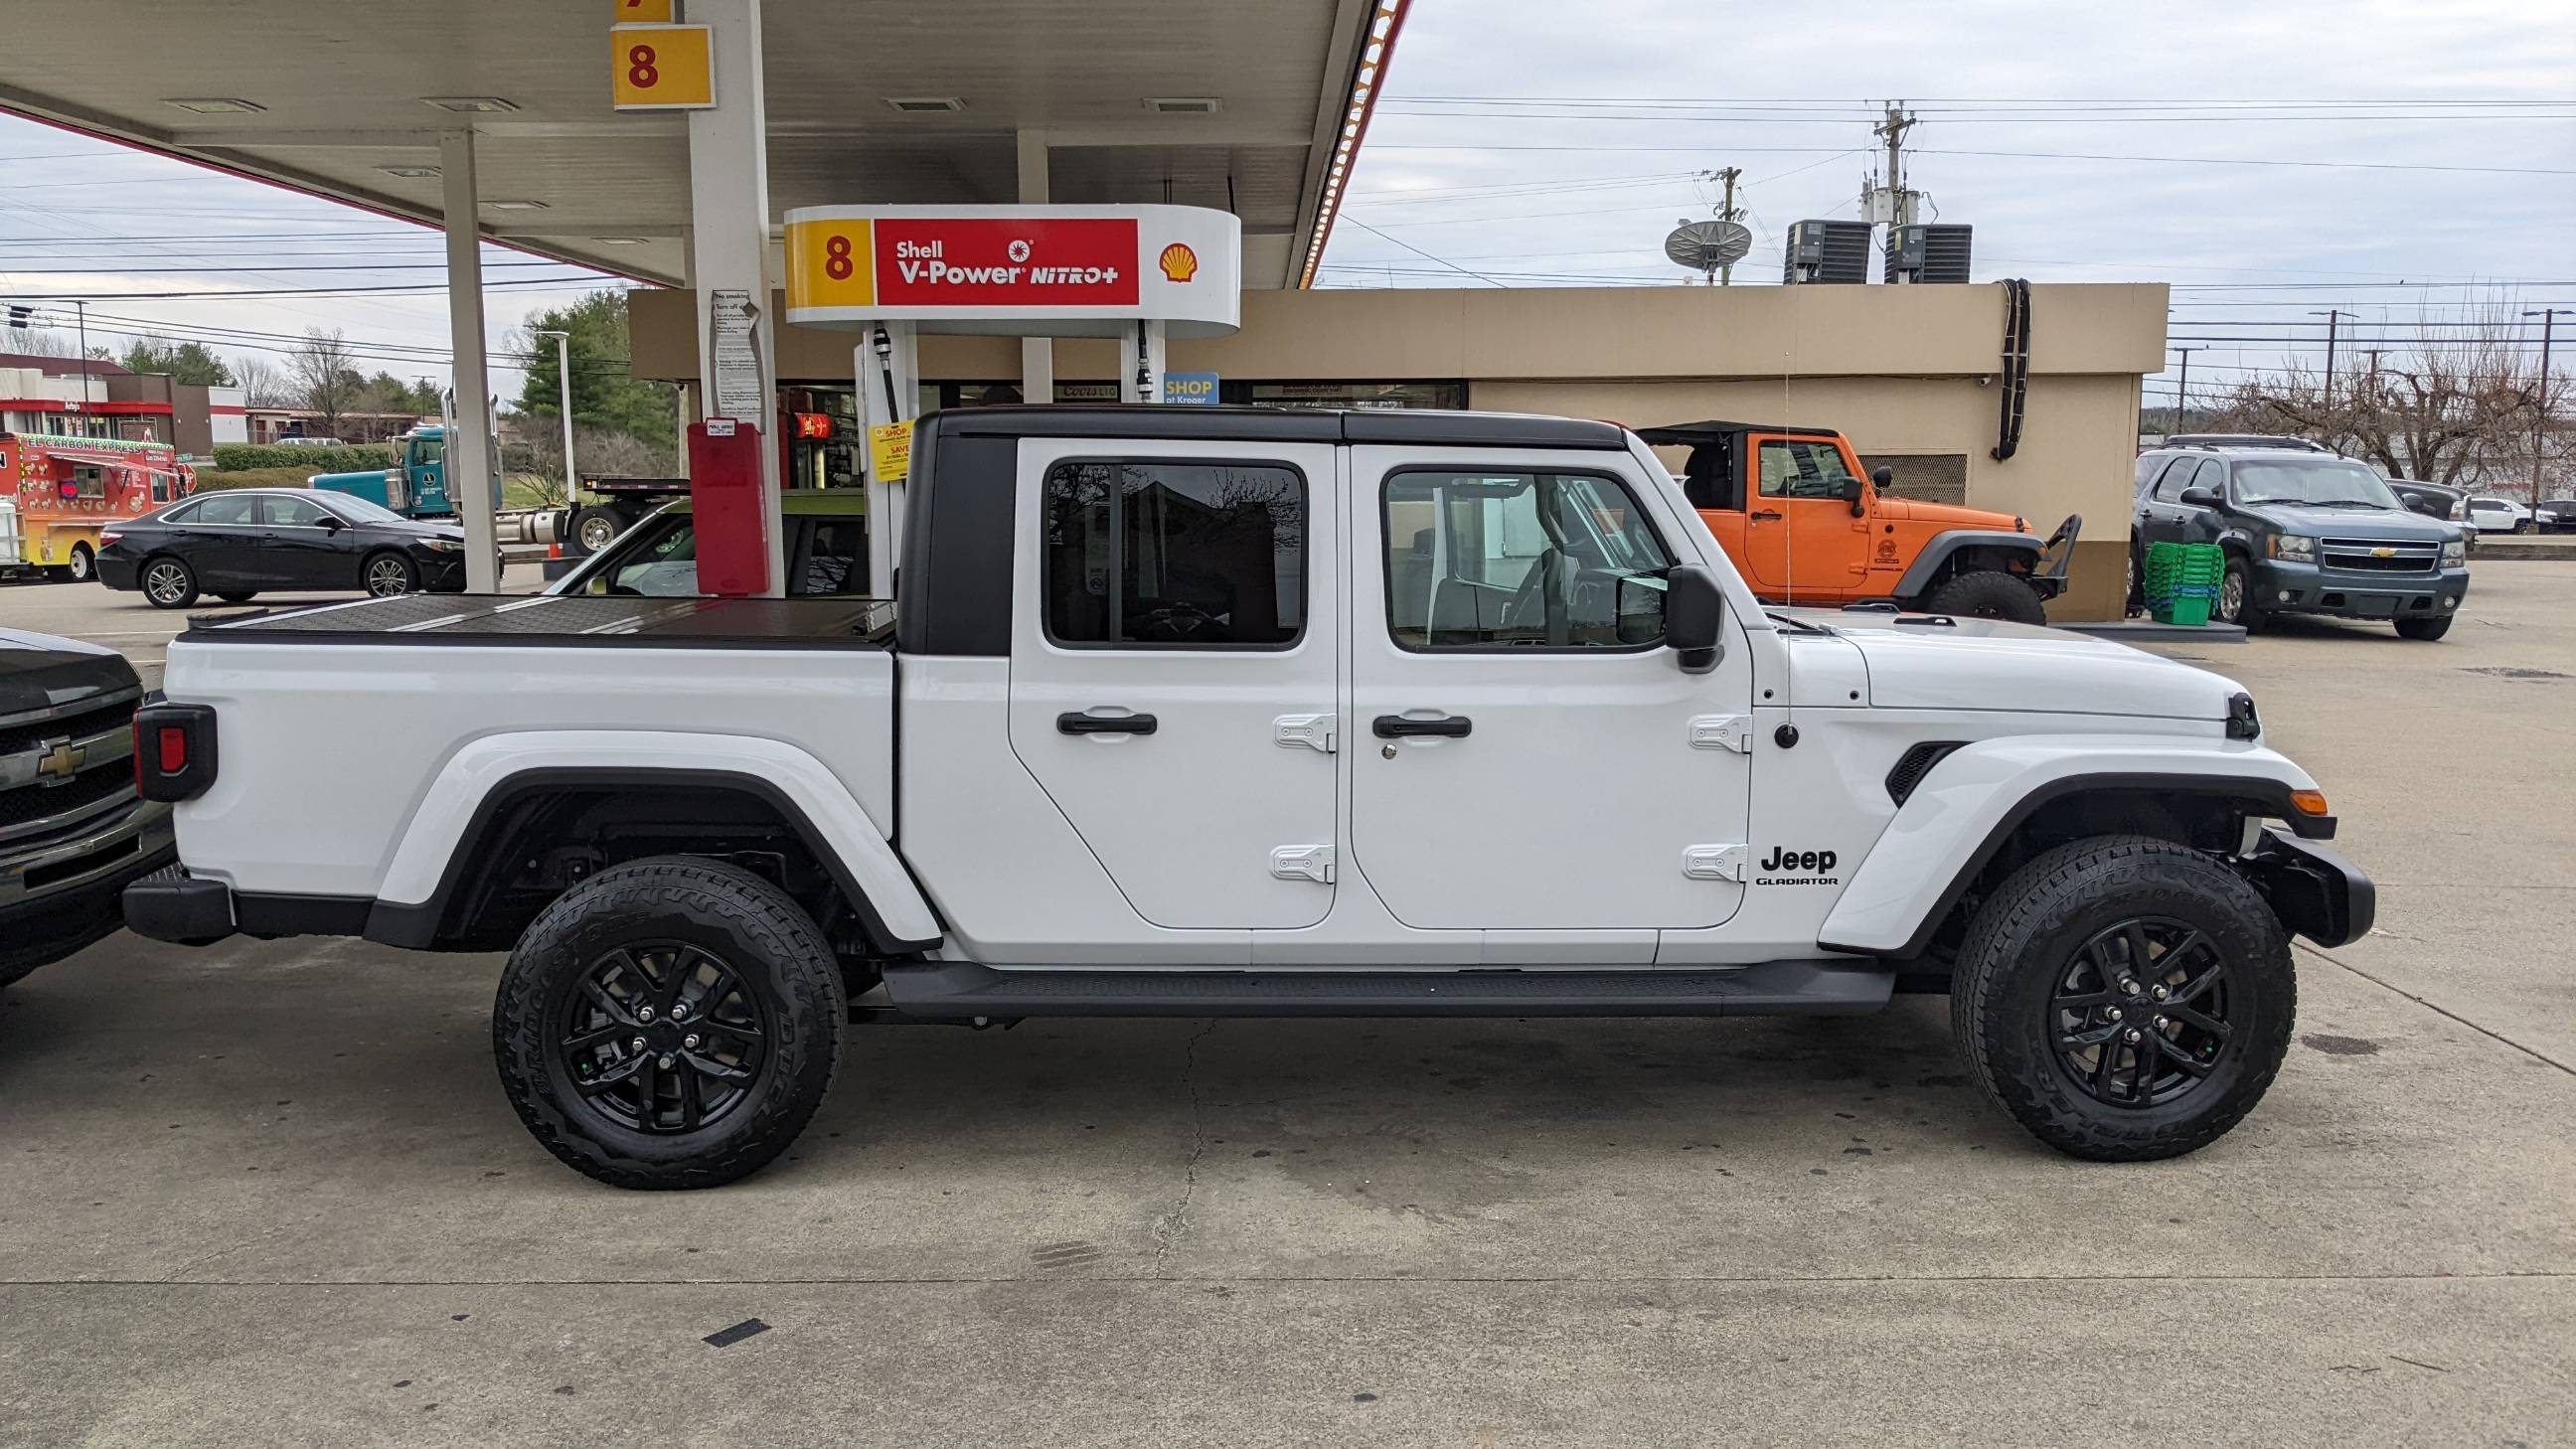
The above photo was taken the day I bought it, while the dealer was filling it with gas.
So the first thing I did with it was take it off-roading - alone, in another state, didn't tell anyone where I was going, had no recovery gear much less knew how to use any, had to buy an air down tool from Hot Springs OHV Park's office to air down... I did it all wrong.
It was in Hot Springs, that I uttered my Jeep's name for the first time without realizing it. Here I was in a brand new $50K Jeep, that still had paper tags, running one of the Jeep Badge of Honor trails to see if I enjoyed it.
Snake was a great introductory trail to off-roading... and I didn't come out without a little damage that led me to my first real upgrades - Lift, Wheels, Tires, and metal side steps/sliders as I cracked the plastic factory steps in Hot Springs.
So got back to TN after playing in Hot Springs and I got the DV8 Step Sliders and a Rugged Ridge stubby front bumper and installed those myself, then went straight down to 4WP and bought my lift...at the time I opted for just a basic lift, a 'weekend warrior' lift. Then I got in on the first Wal-Mart deal for some Kenda Klever 315/70/17s -
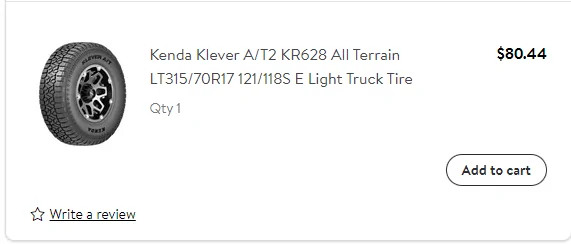
At the price of those tires, I could buy some cheap(er) wheels too and be rolling on a lift and metric 35s in no time -
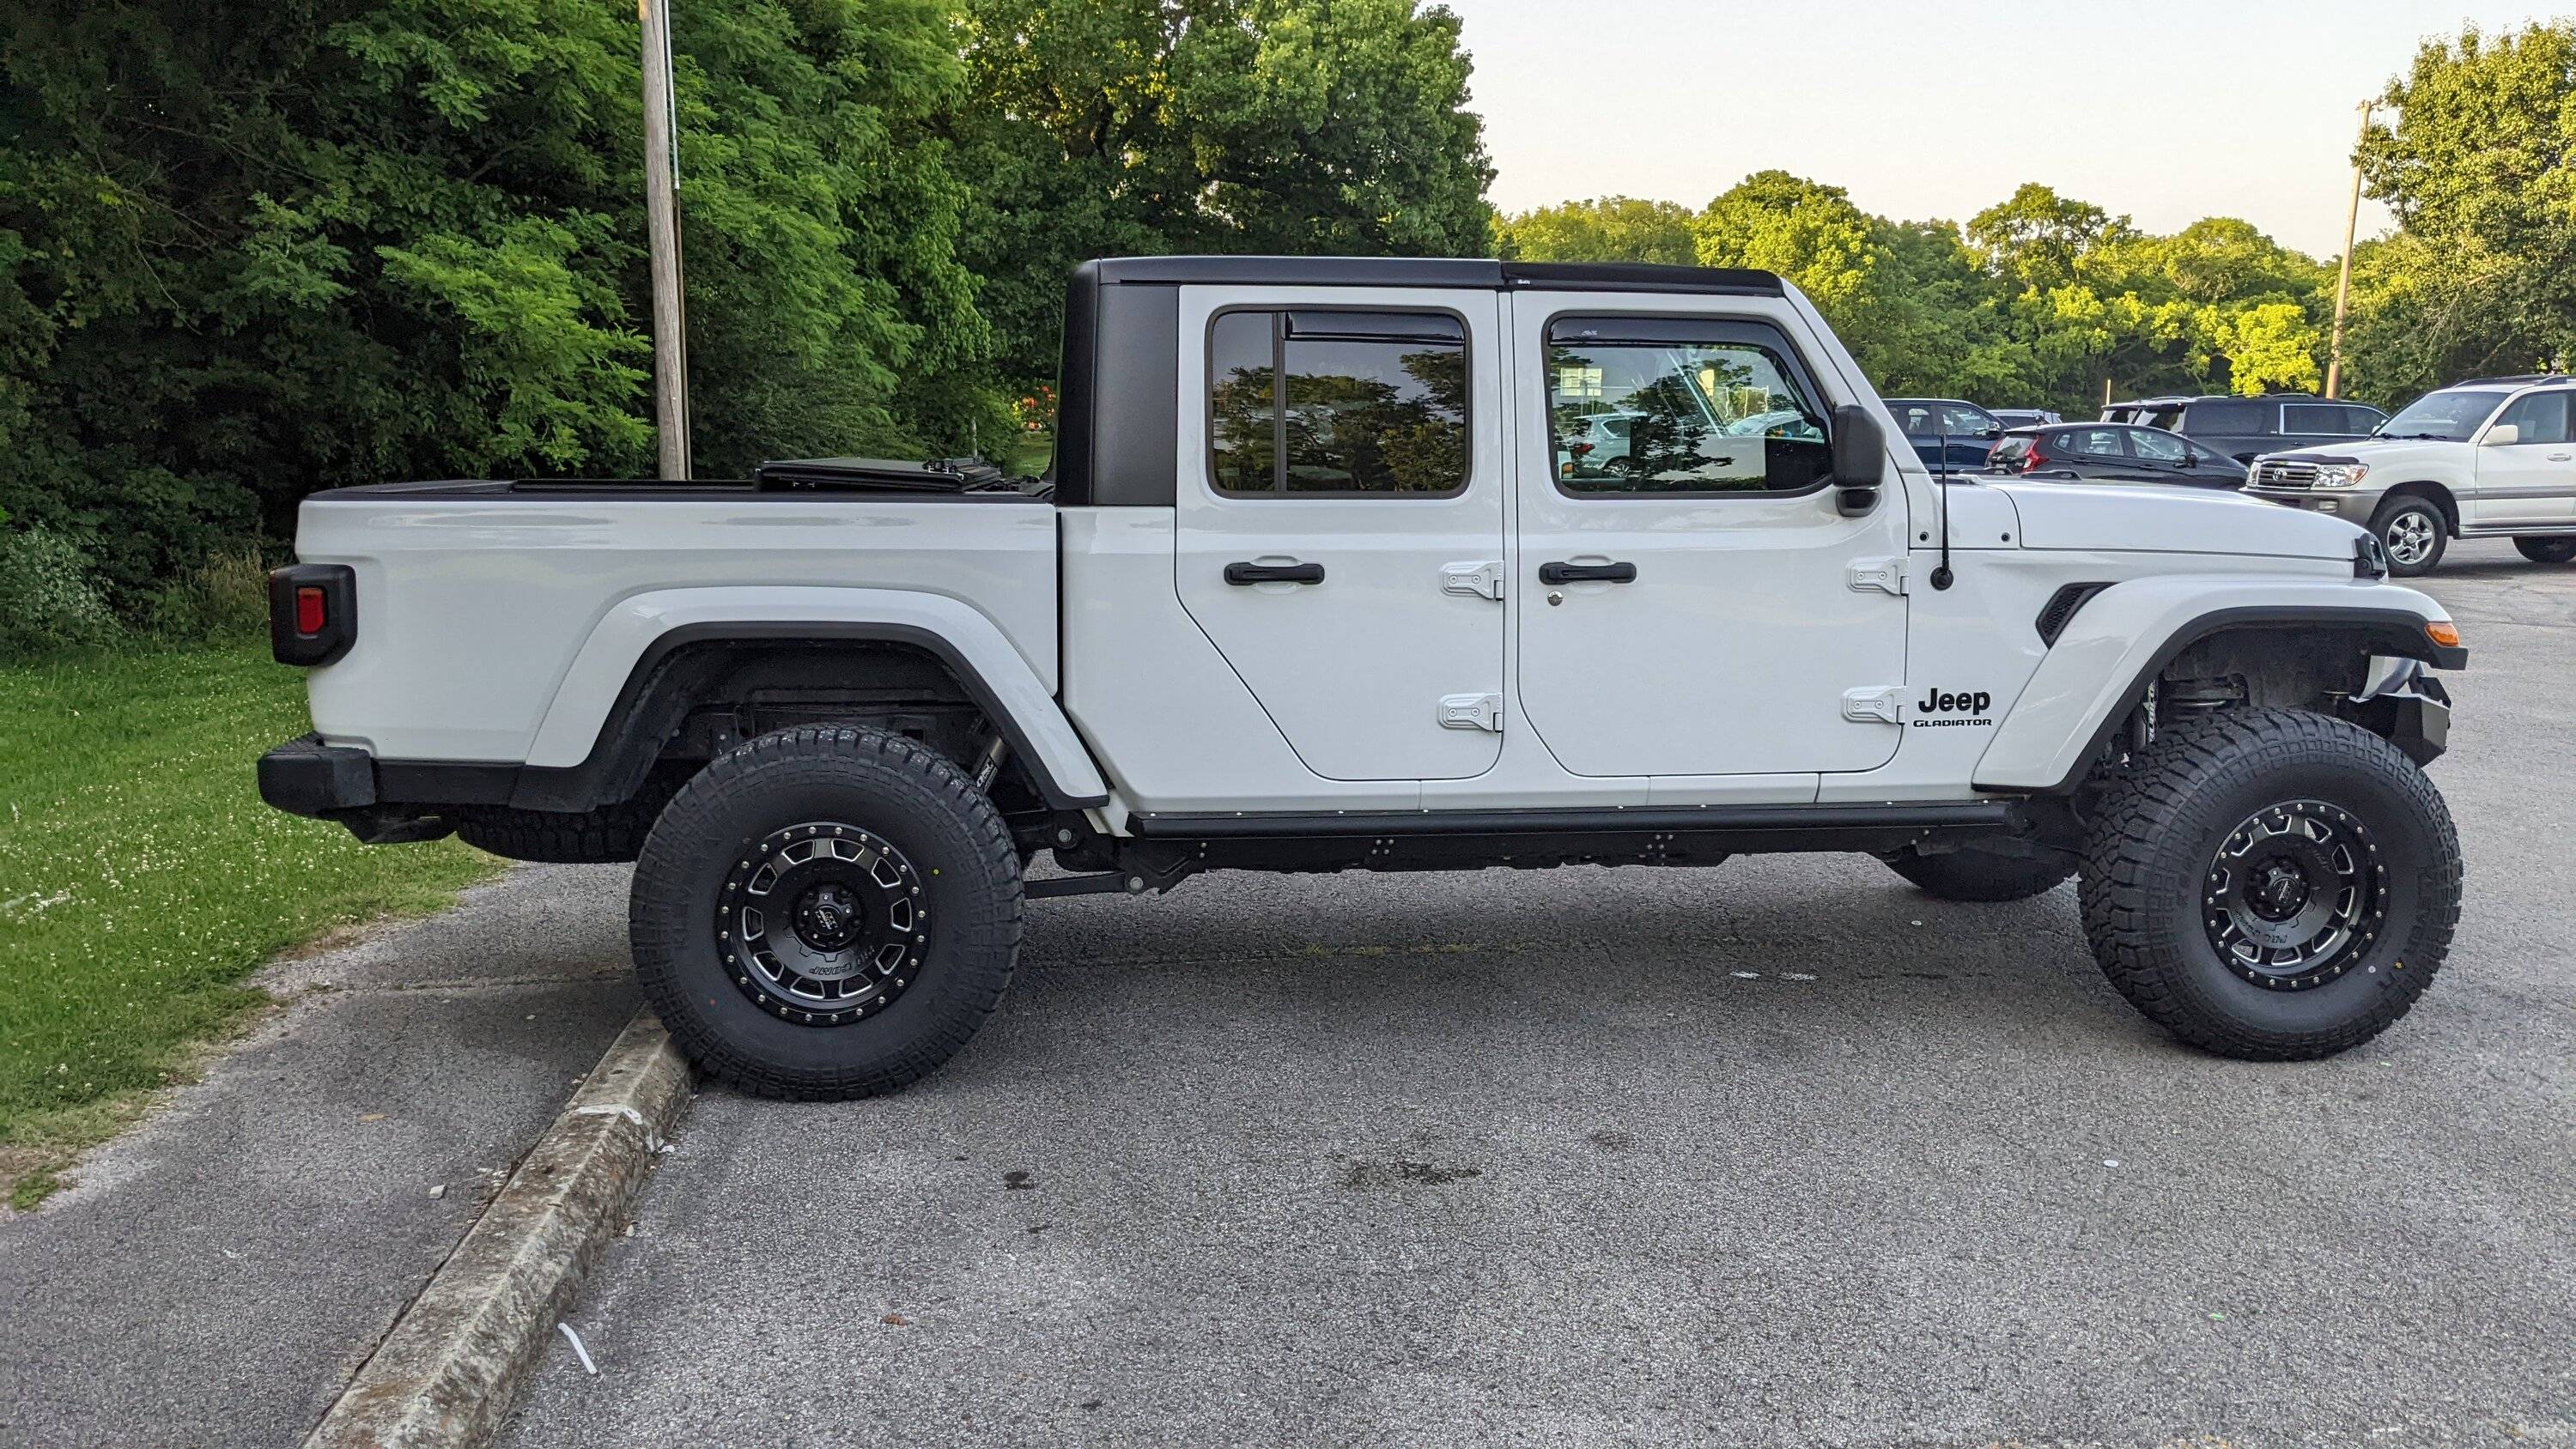
So this was basically my initial beginner build. I added a winch, some recovery gear but this was it.
Got a front Anti-rock and RockJock Currectlync steering setup at the Jeep Invasion in Pigeon Forge in August of 2022.
Then September 2022 came and all the fun I was beginning to have came to a screeching halt (ok, it was more like a thunk, then grinding noise, then the halt) at Windrock, when a tree branch in a water hole got me on Trail 4 (which is a really good moderate trail). It hit the transmission coolant line, by making a hole in one shot in-between the drive shaft and exhaust pipe.
Transmission down, without the Jeep for a month, $7K for a new transmission and labor. WTFDIGMI again.
I fell off into the deep end at this point decided to armor everything I could underneath, bought a Rock Hard 4x4 Aluminum belly skid system, their LCA and shock skids for the rear and LCA skids for the front, Next Venture Diff Covers and Skids and lucked into my second Wal-Mart tire deal in September as well -
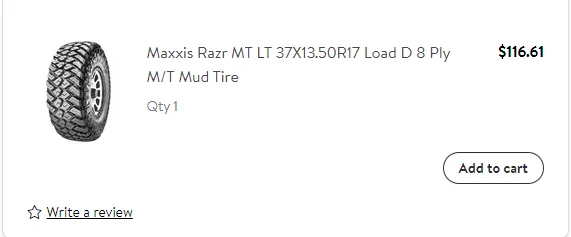
Now I was not only going to be armored, but I could be riding even higher to avoid those pesky branches, but my almost 35s were so new, I decided to be practical and sit on the 37s from September until March..
If you're counting that's my first 'buy once, cry once' lesson, should have just gone 37s to begin with...
In March, I got my yearly bonus and fell into the deep end again and bought some KMC Machete Beadlocks to go with my 37s and oh yeah let's re-gear it to 5.13s and install E-lockers. (2nd and 3rd 'buy once/cry once' lessons). I did sell my Pro Comp wheels and Kenda tires to a guy, to mitigate some of my losses, but I let him have them on a sweet deal.
Along the way, late 2022/early 2023 I found Motobilt for the first time, before they had a ton for the Gladiator but I absolutely became a fan boy of them for the sheer beefiness of their steel parts and they were made just down in Alabama. So I replaced my Rugged Ridge front bumper, with a Motobilt Hammer stubby bumper and got a Hammer series rear bumper to match.
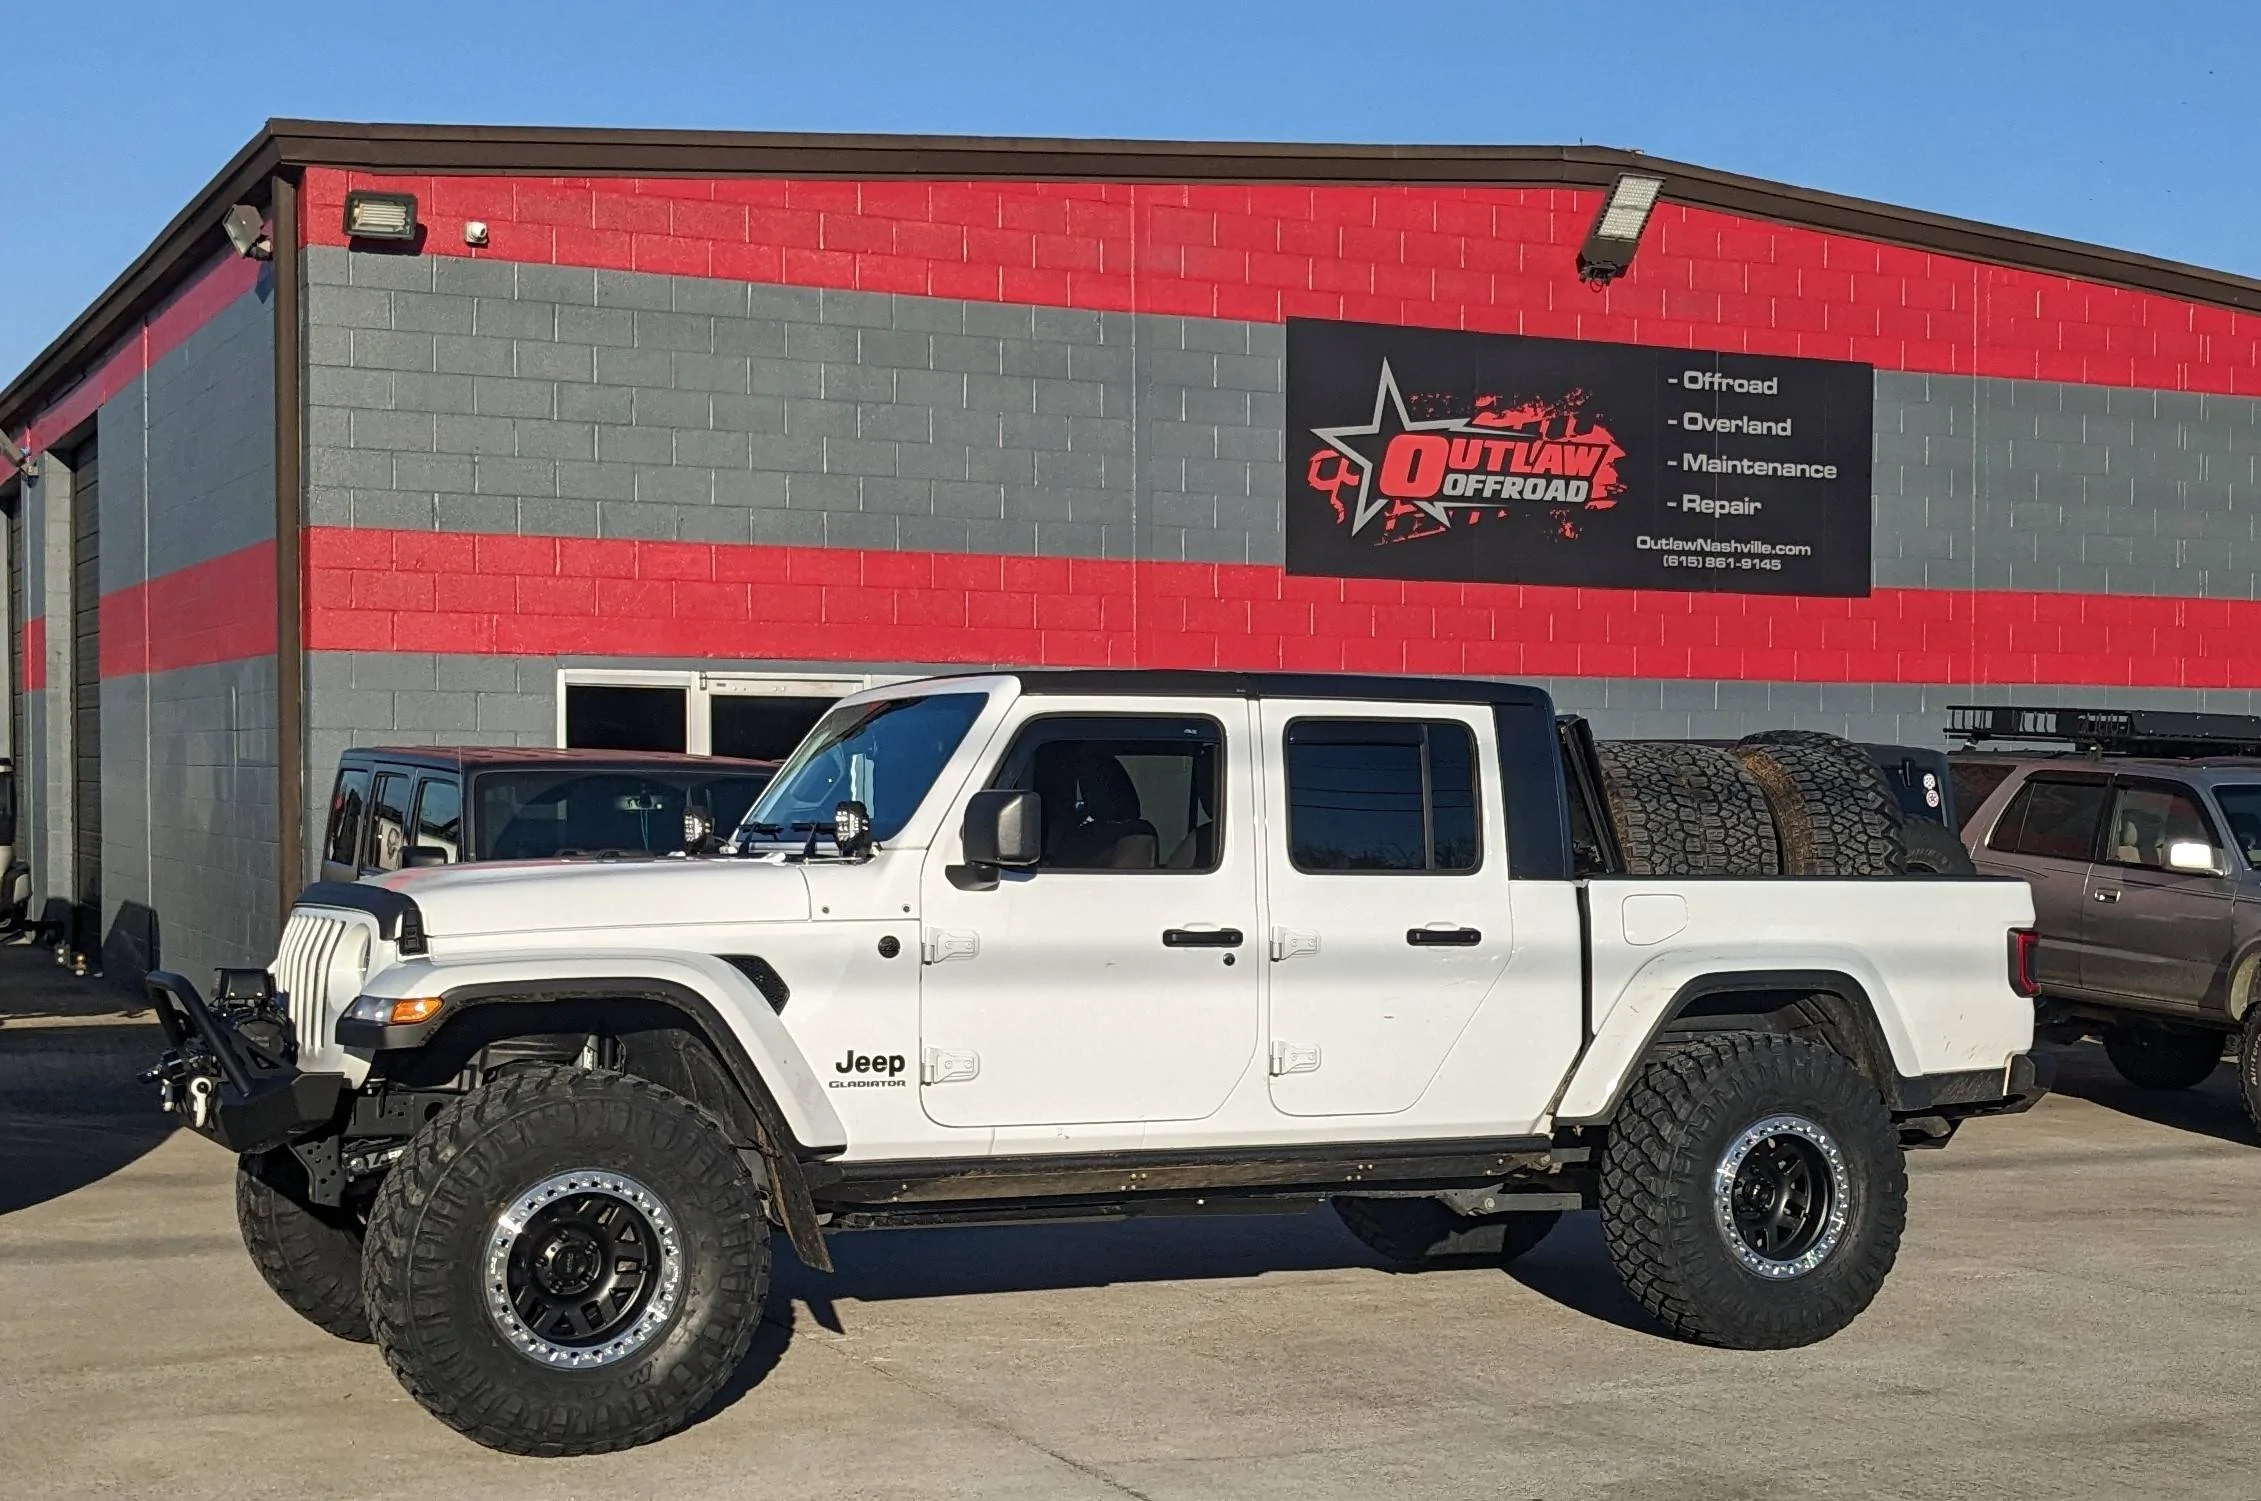
She was looking good when leaving the shop that day after her 'glow up'
A short time later, I yeeted the factory Sport fenders and inner fenders for some Rugged Ridge Max Terrain fenders, these were surprisingly adequate for their price point and were bought, knowing full well that I intended to upgrade to Motobilt's at some point in the future, but these cheaply gave me extra room for flex.
The Rugged Ridge fender set up called for the re-use of the OEM plastic inner fenders and I hated that, so shortly afterwards I grabbed a set of inners from Motobilt. You can see in the below picture, I had also fully embraced my Jeep's name at that point.
So we're getting close to the bobbed bed portion of the story and turning it into a trail rig, but I feel the need to issue a disclaimer - from the moment the bobbed bed was released I SWORE I wasn't going to do it, I wanted to keep what little square footage of bed I had for more functional activities like hauling things. I had even recently bought a set of Molle Panels for the bed, but dang it - I hated that rear overhang, I had dragged the ass of this truck in 3 different states already... then Northridge 4x4 caught me at a weak moment with a 15% off coupon for anything they sold and I curiously clicked the bobbed bed and added it to my cart to see if the coupon worked on that and I bought it....
From order to arrival was roughly 3-4 weeks, comes in on LTL freight -
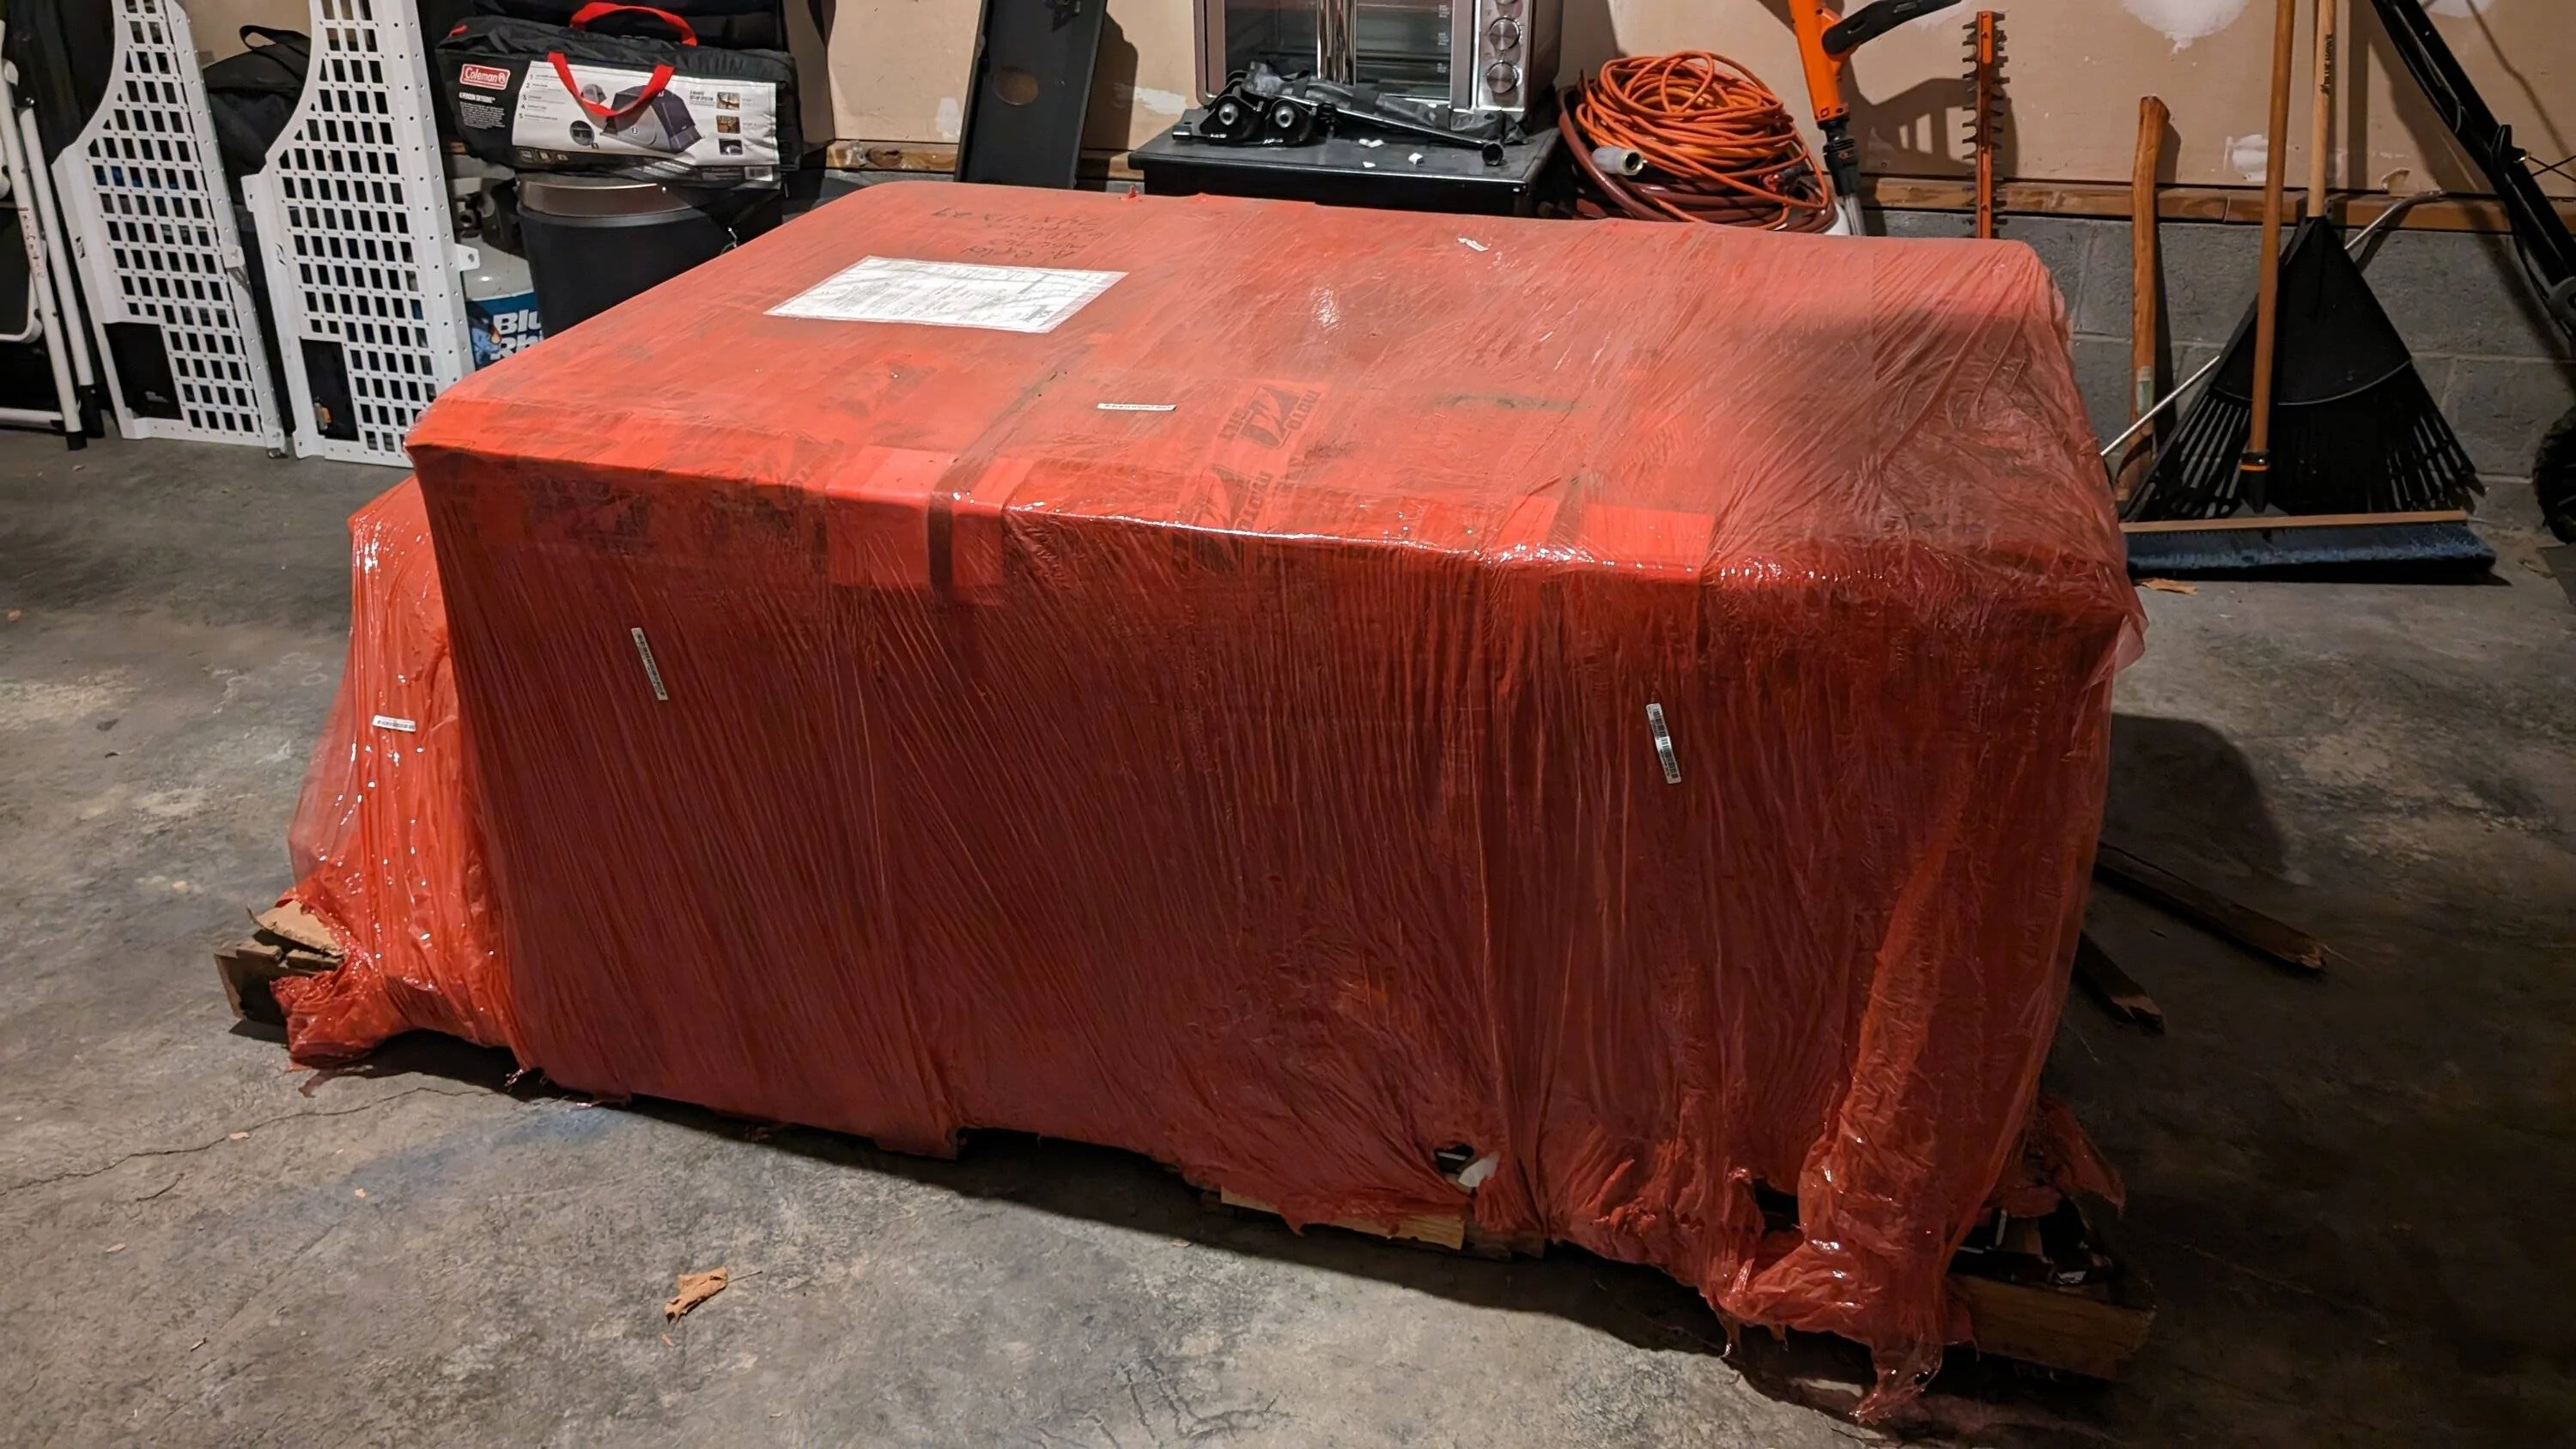
For anyone unfamiliar with Motobilt, they package and ship their products very well -
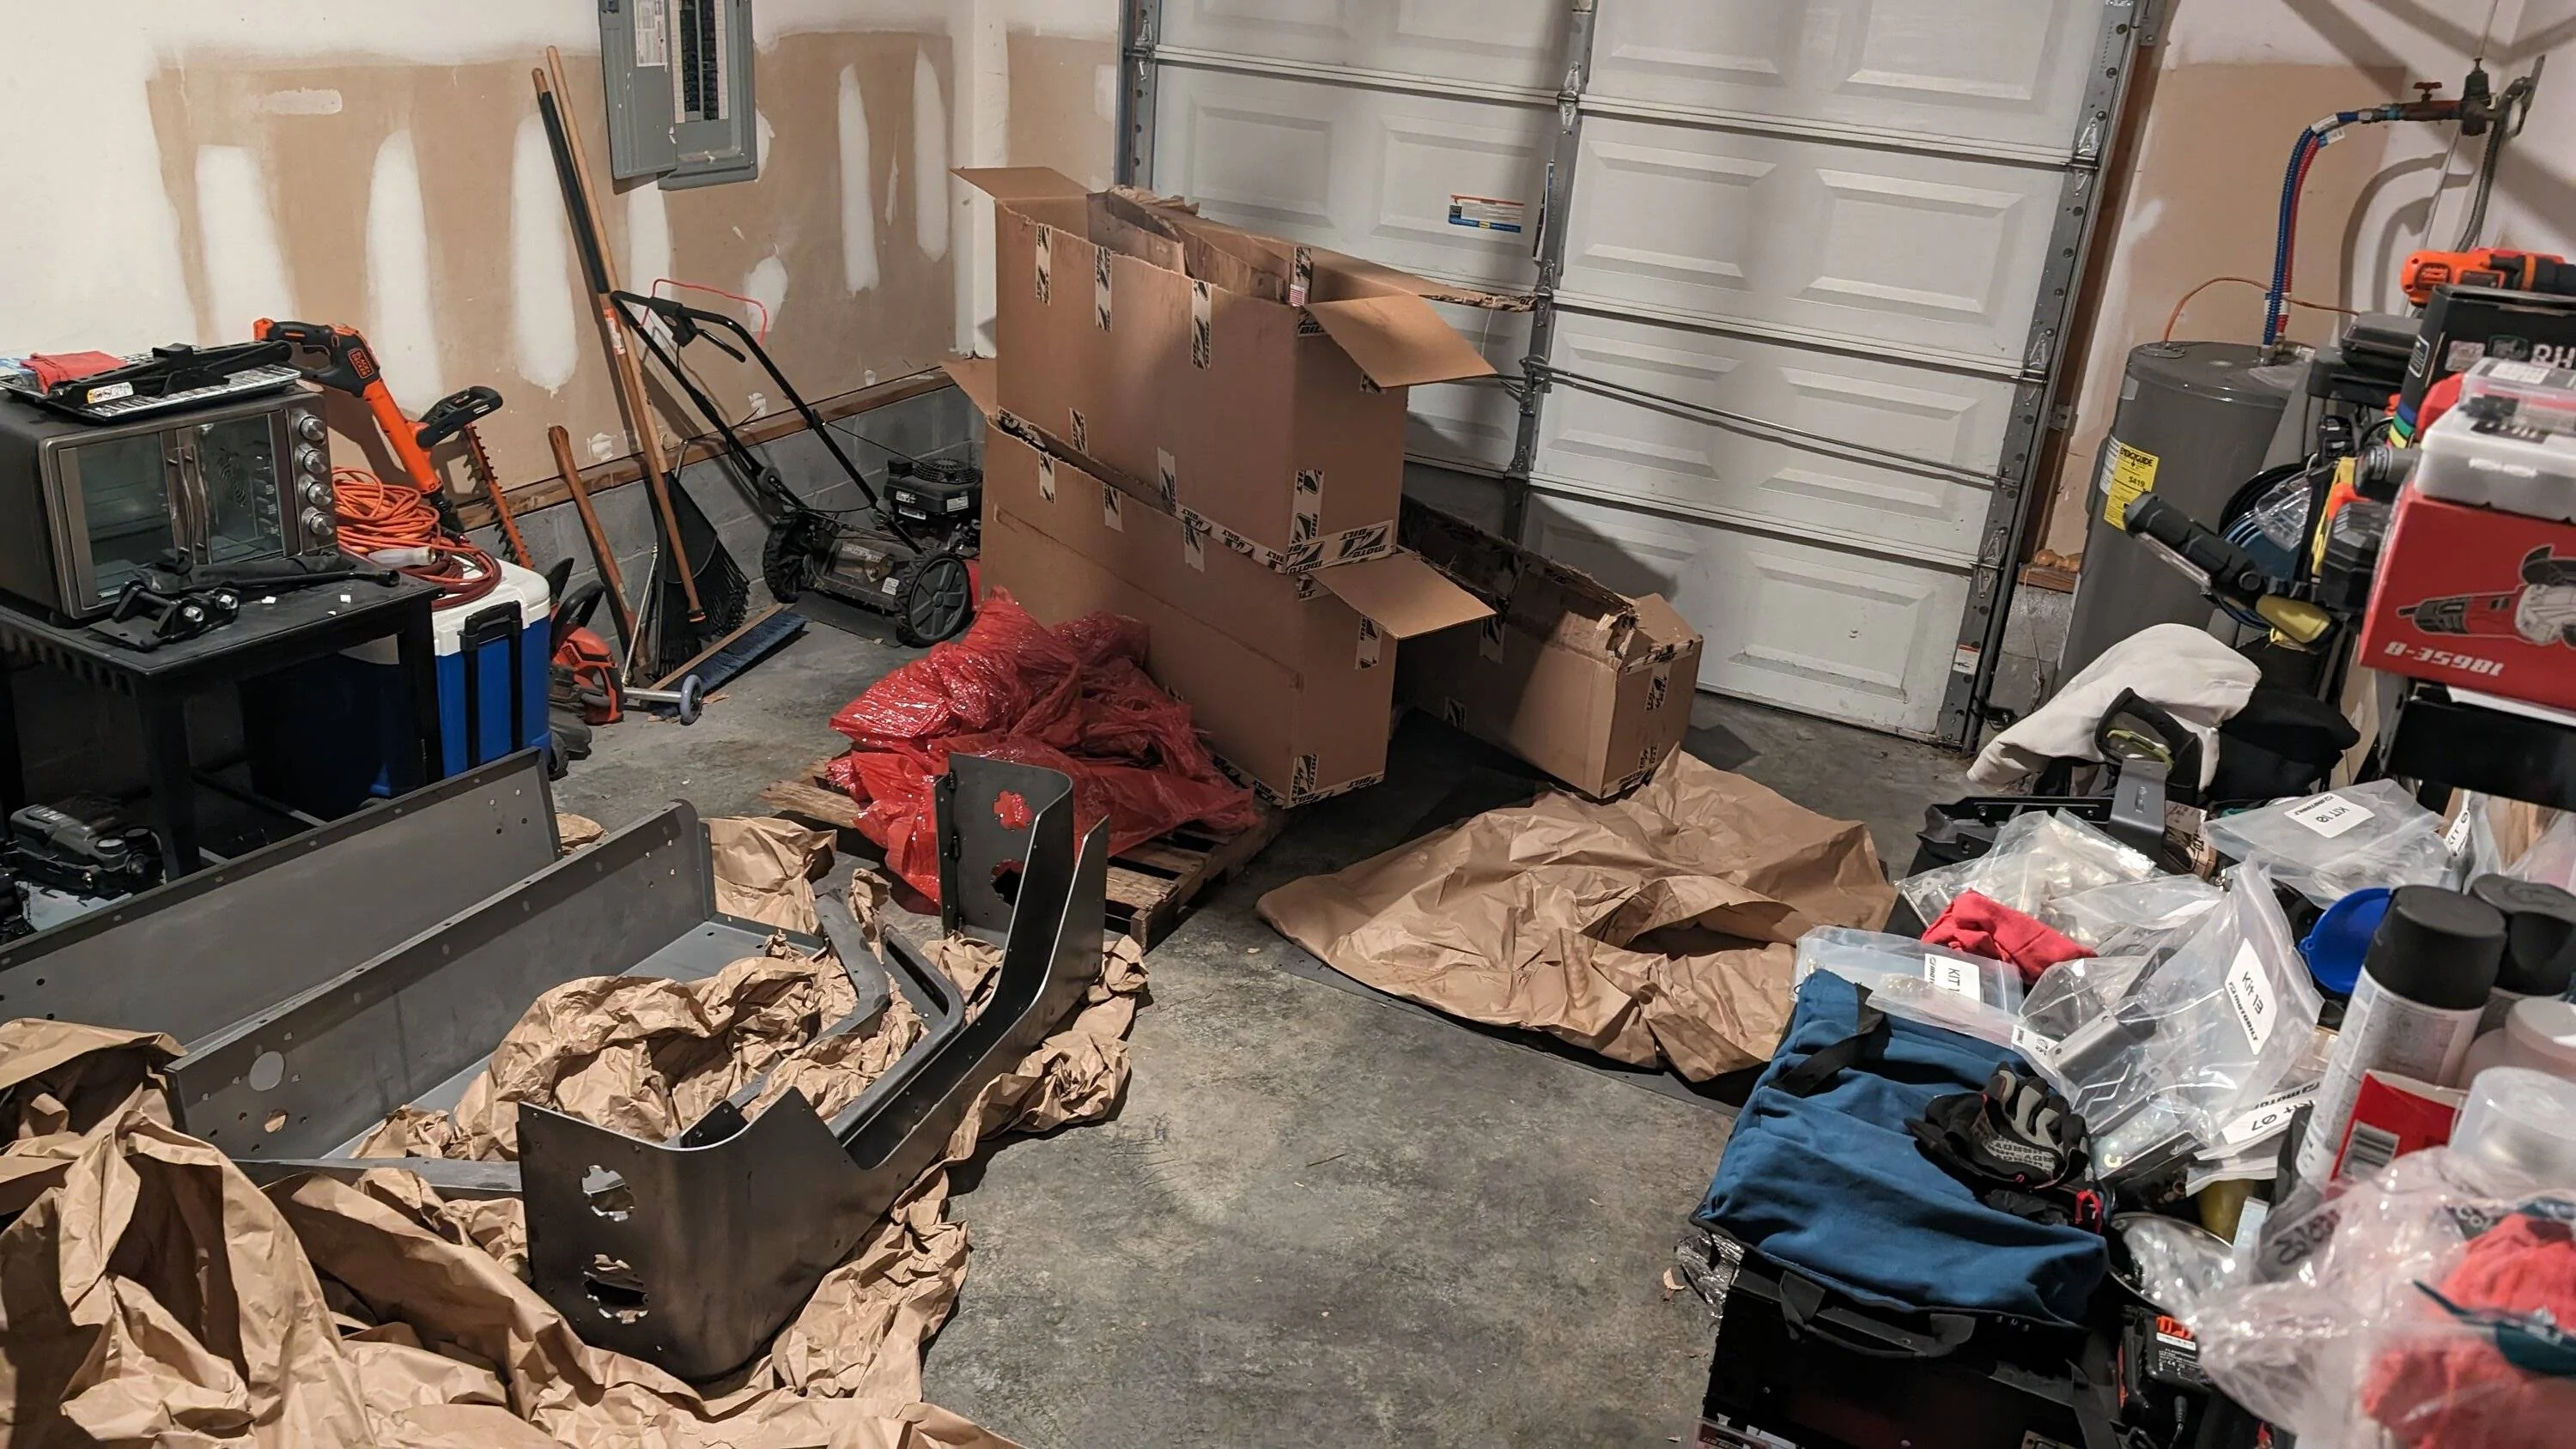
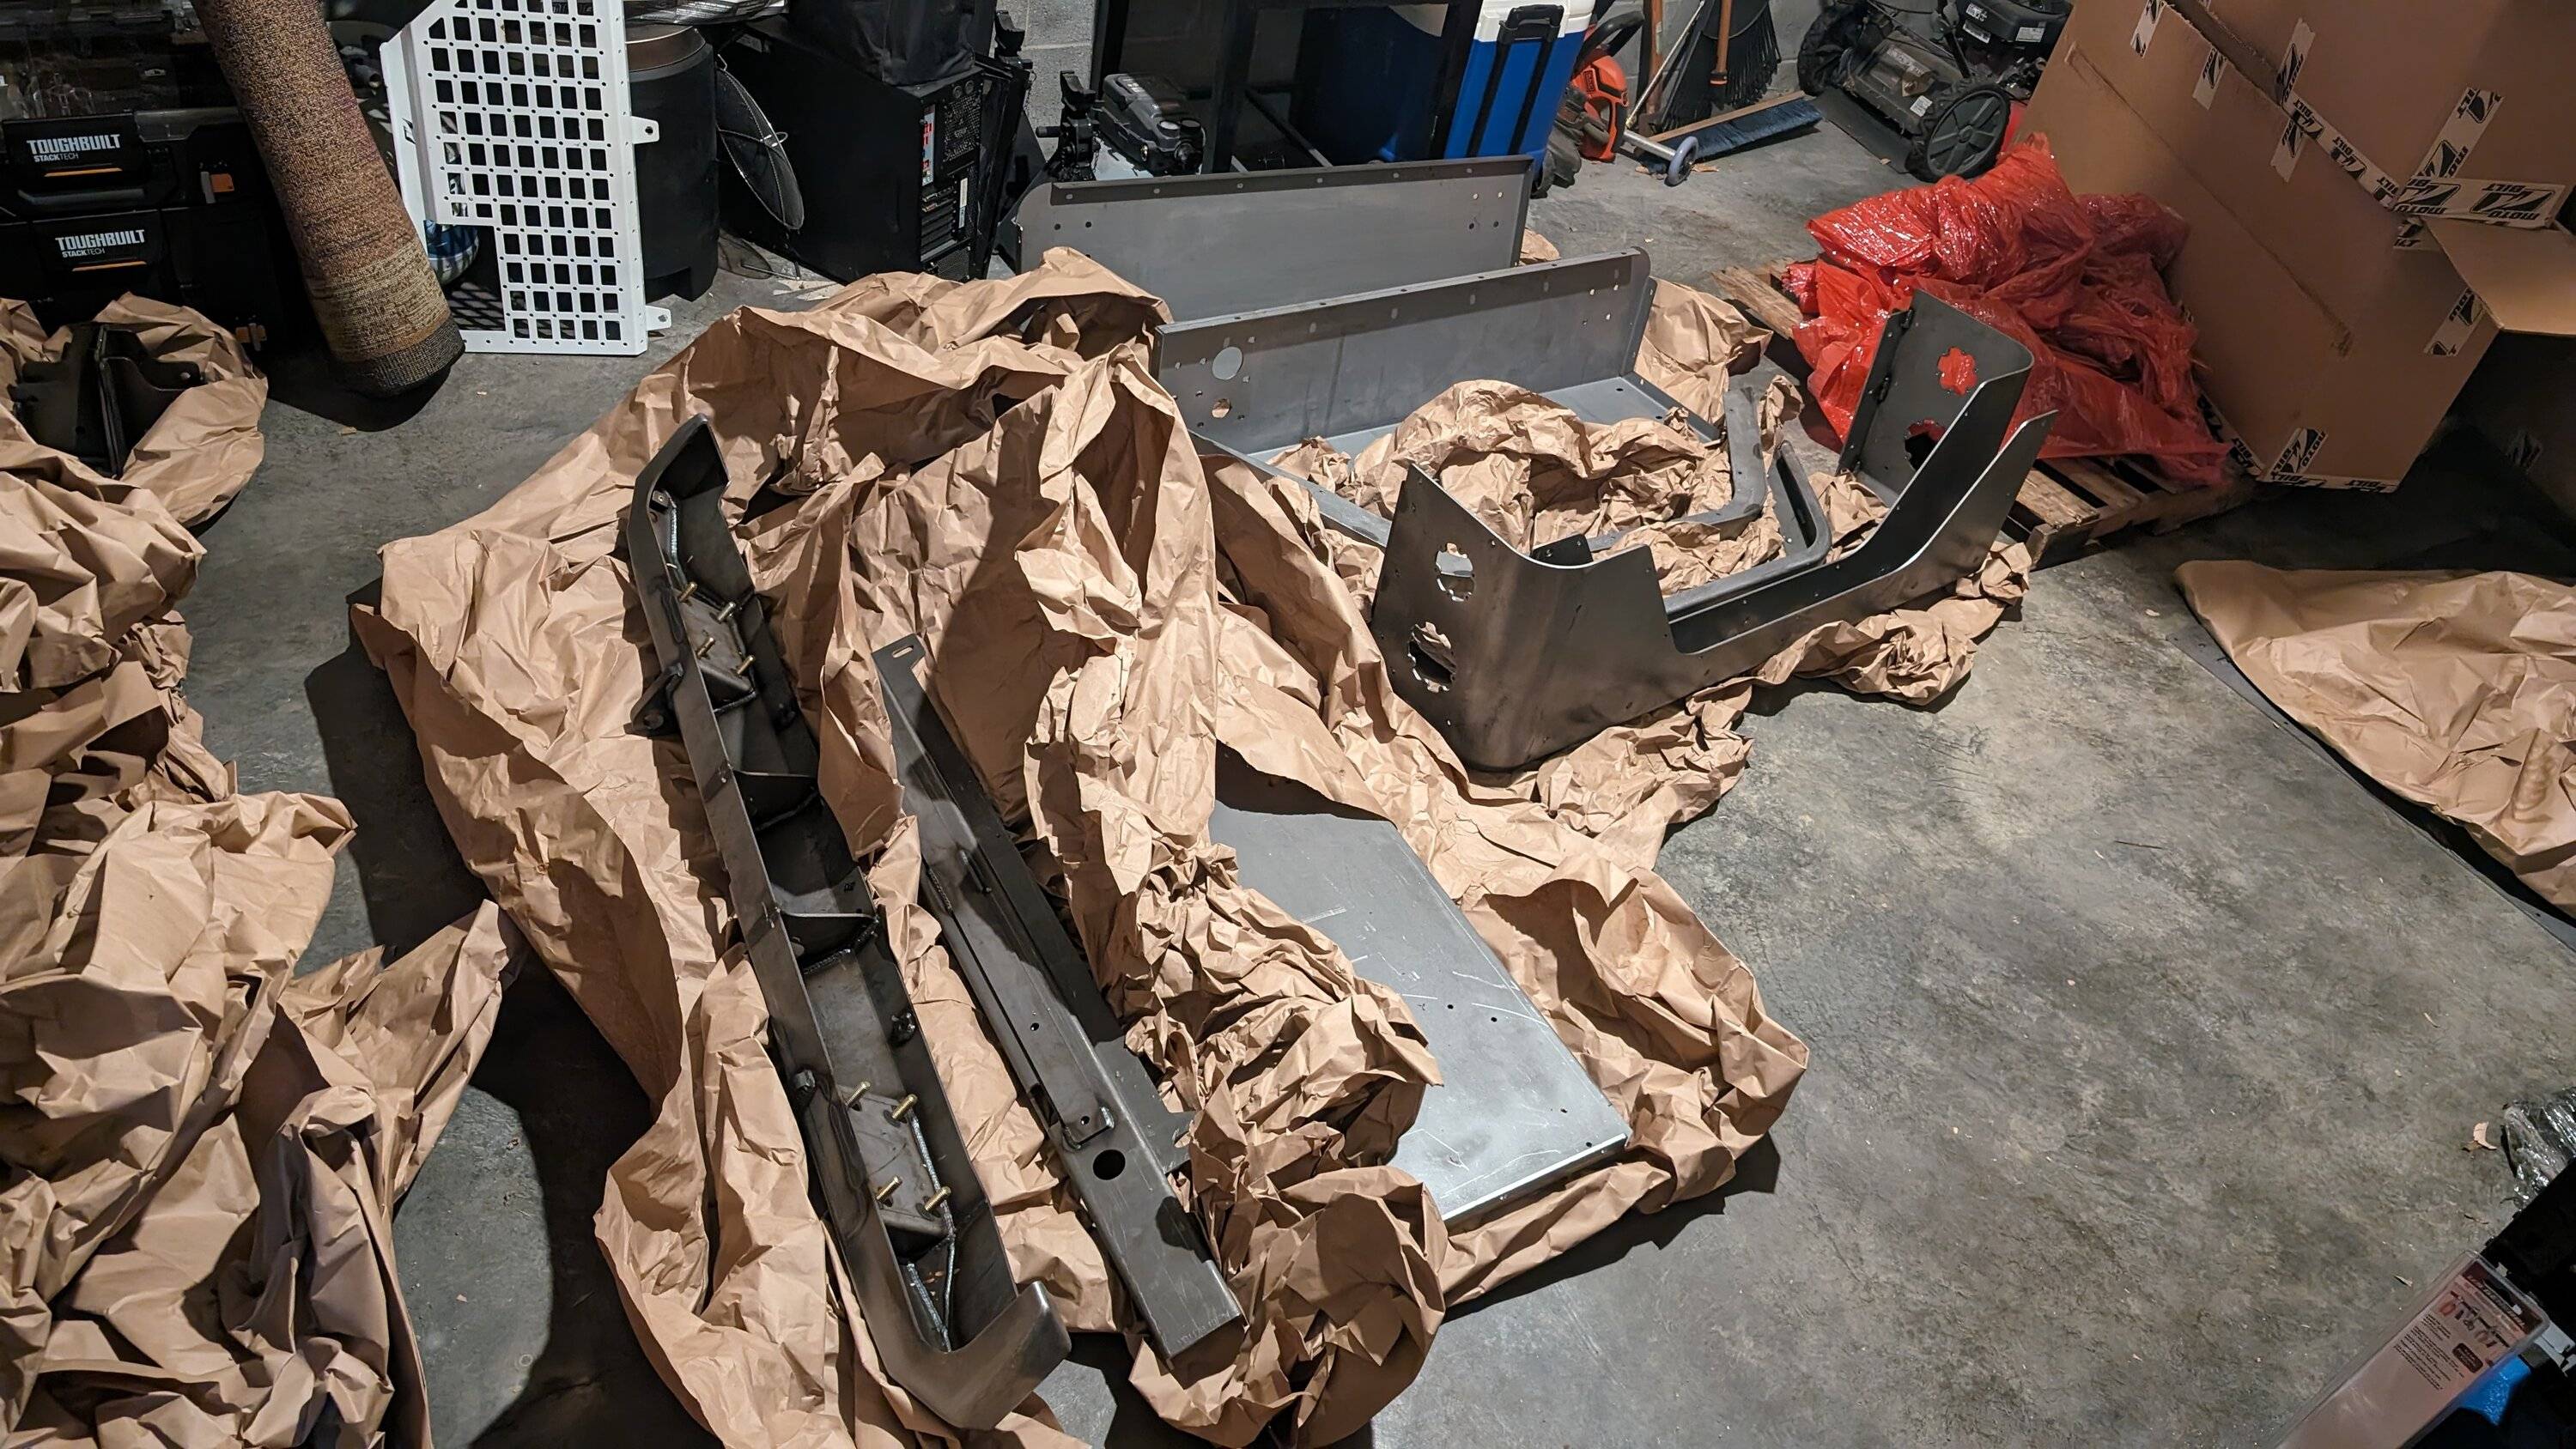
Look at this mound of packing paper -
So I got it all unpacked, inventoried and then it was off to powder coat for most of the large pieces -
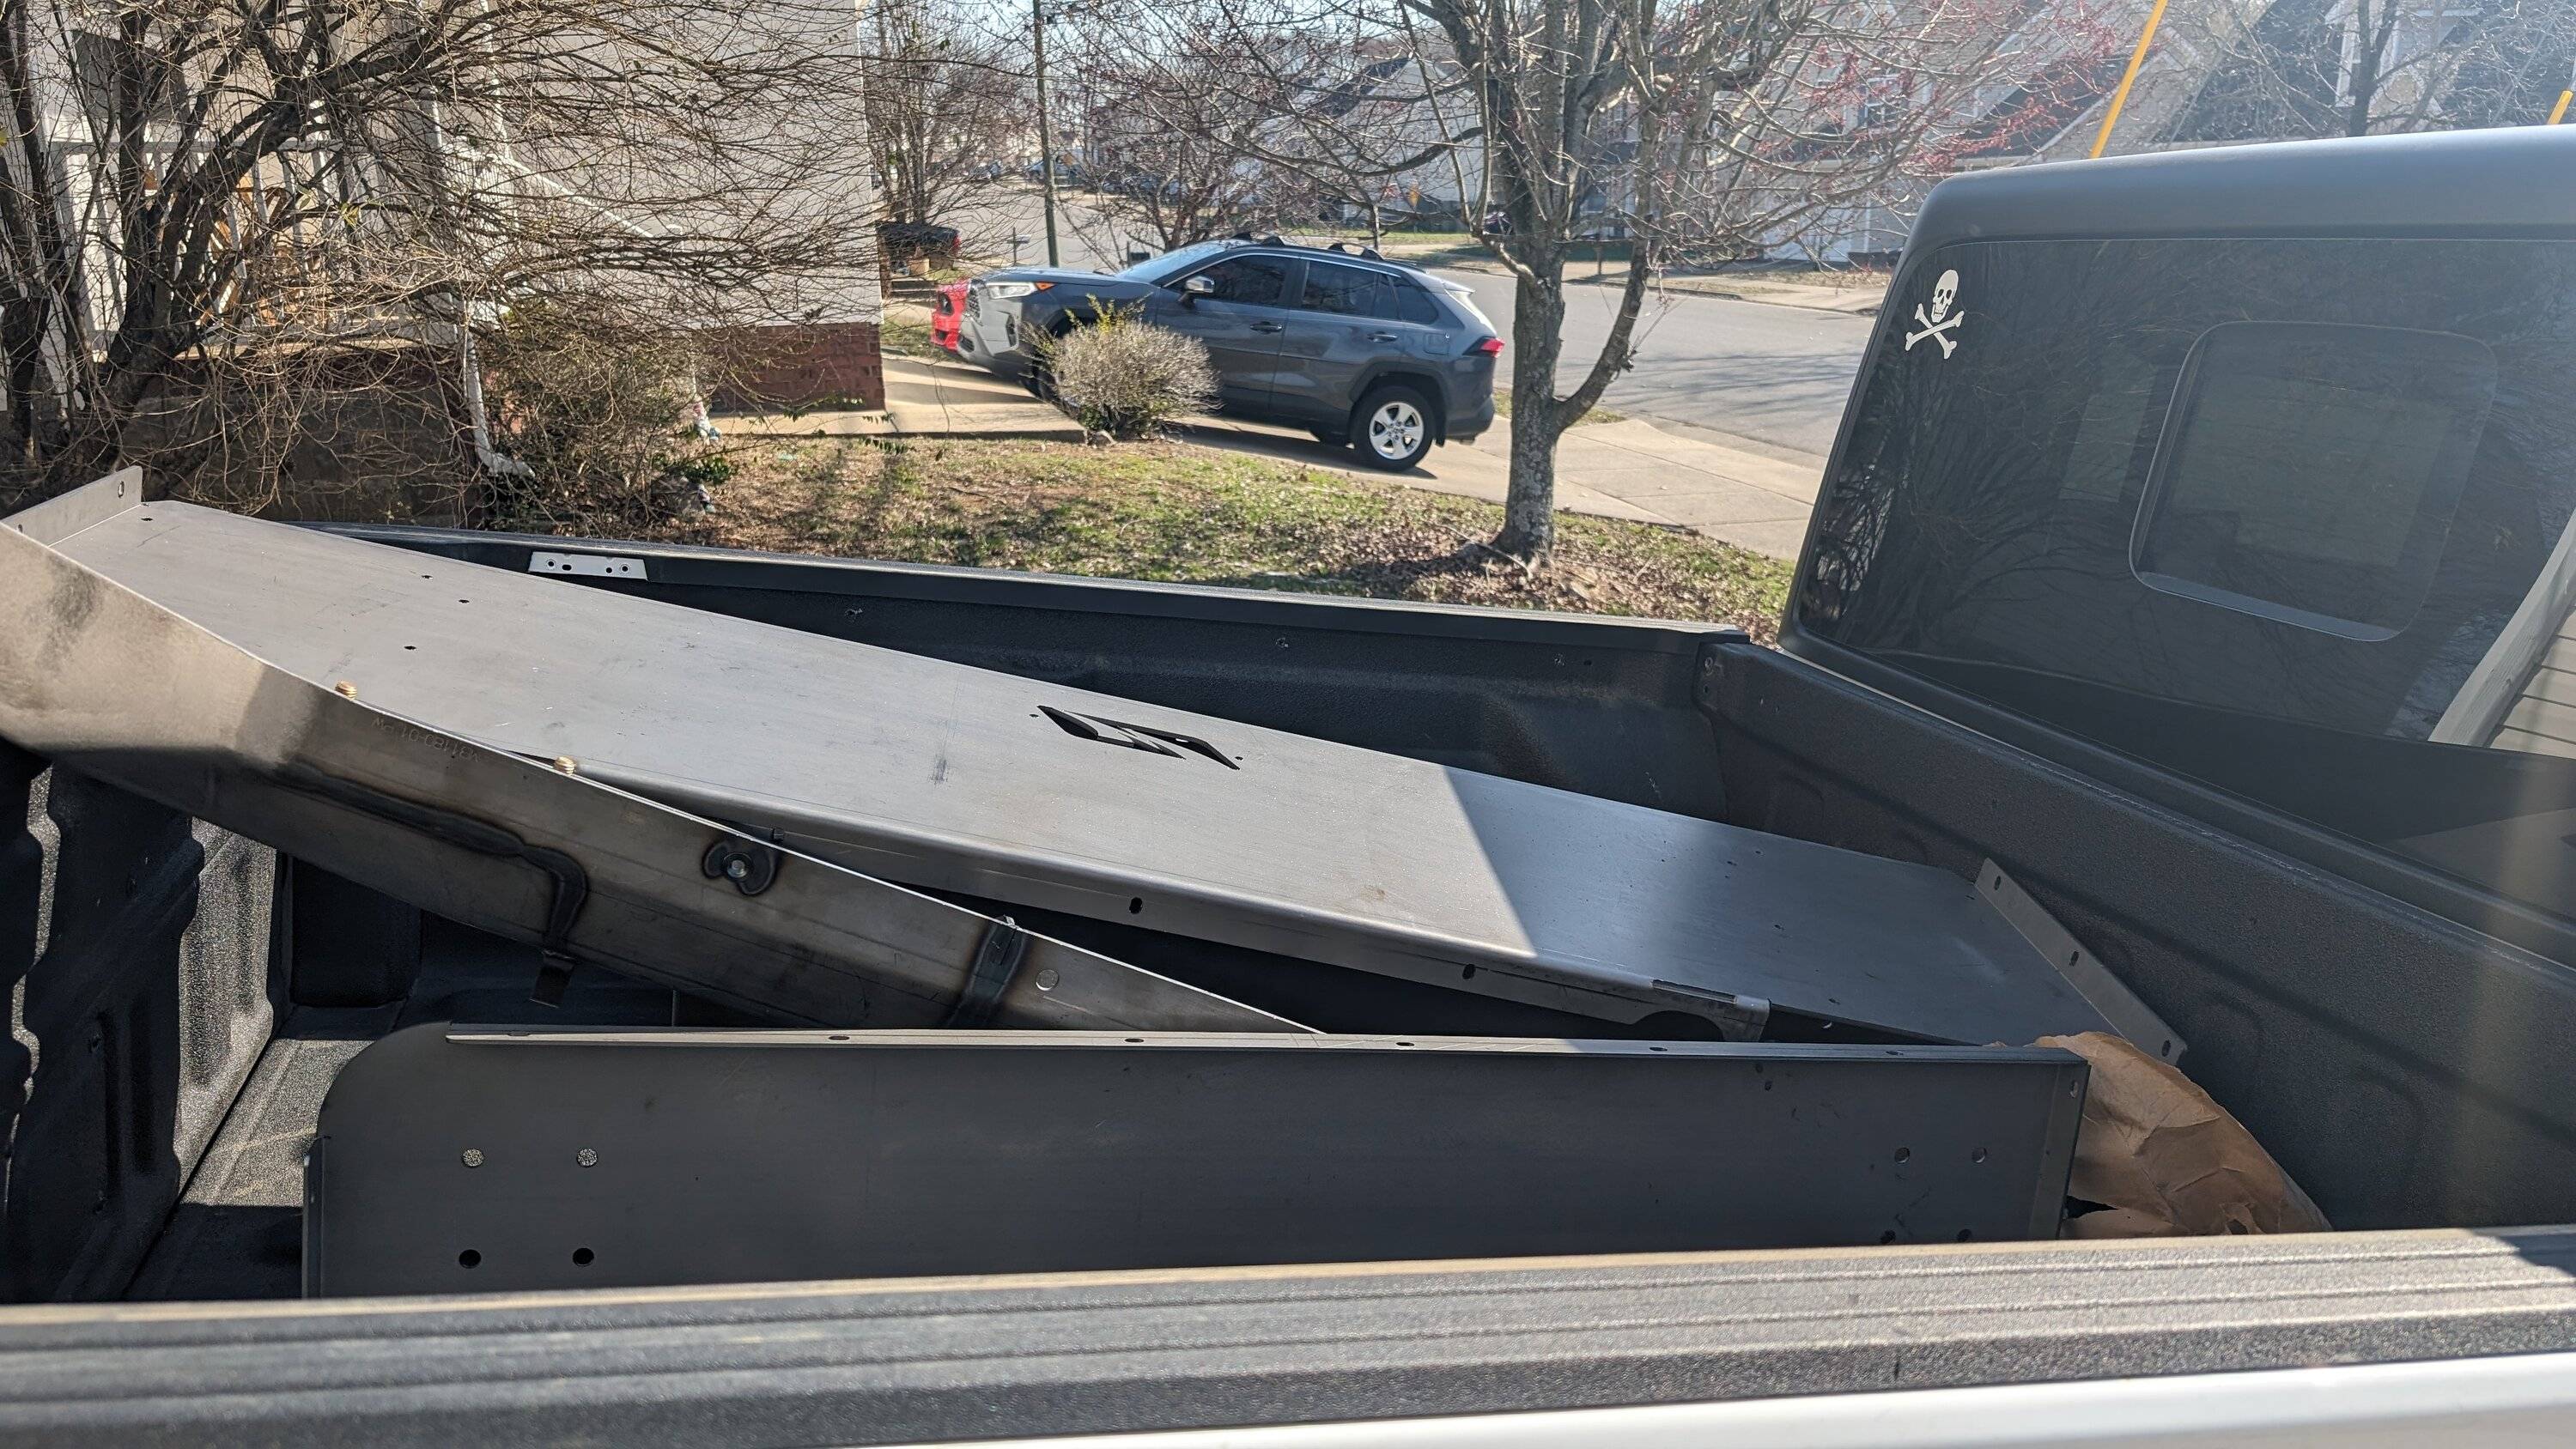
Some in the back seat too -
Most of the smaller concealed brackets and mounting hardware that needed coated I coated at home in the garage, used Steel-It for the first time on the majority of the pieces, however I finished the last crossmember with VHT Roll Bar and Chassis.
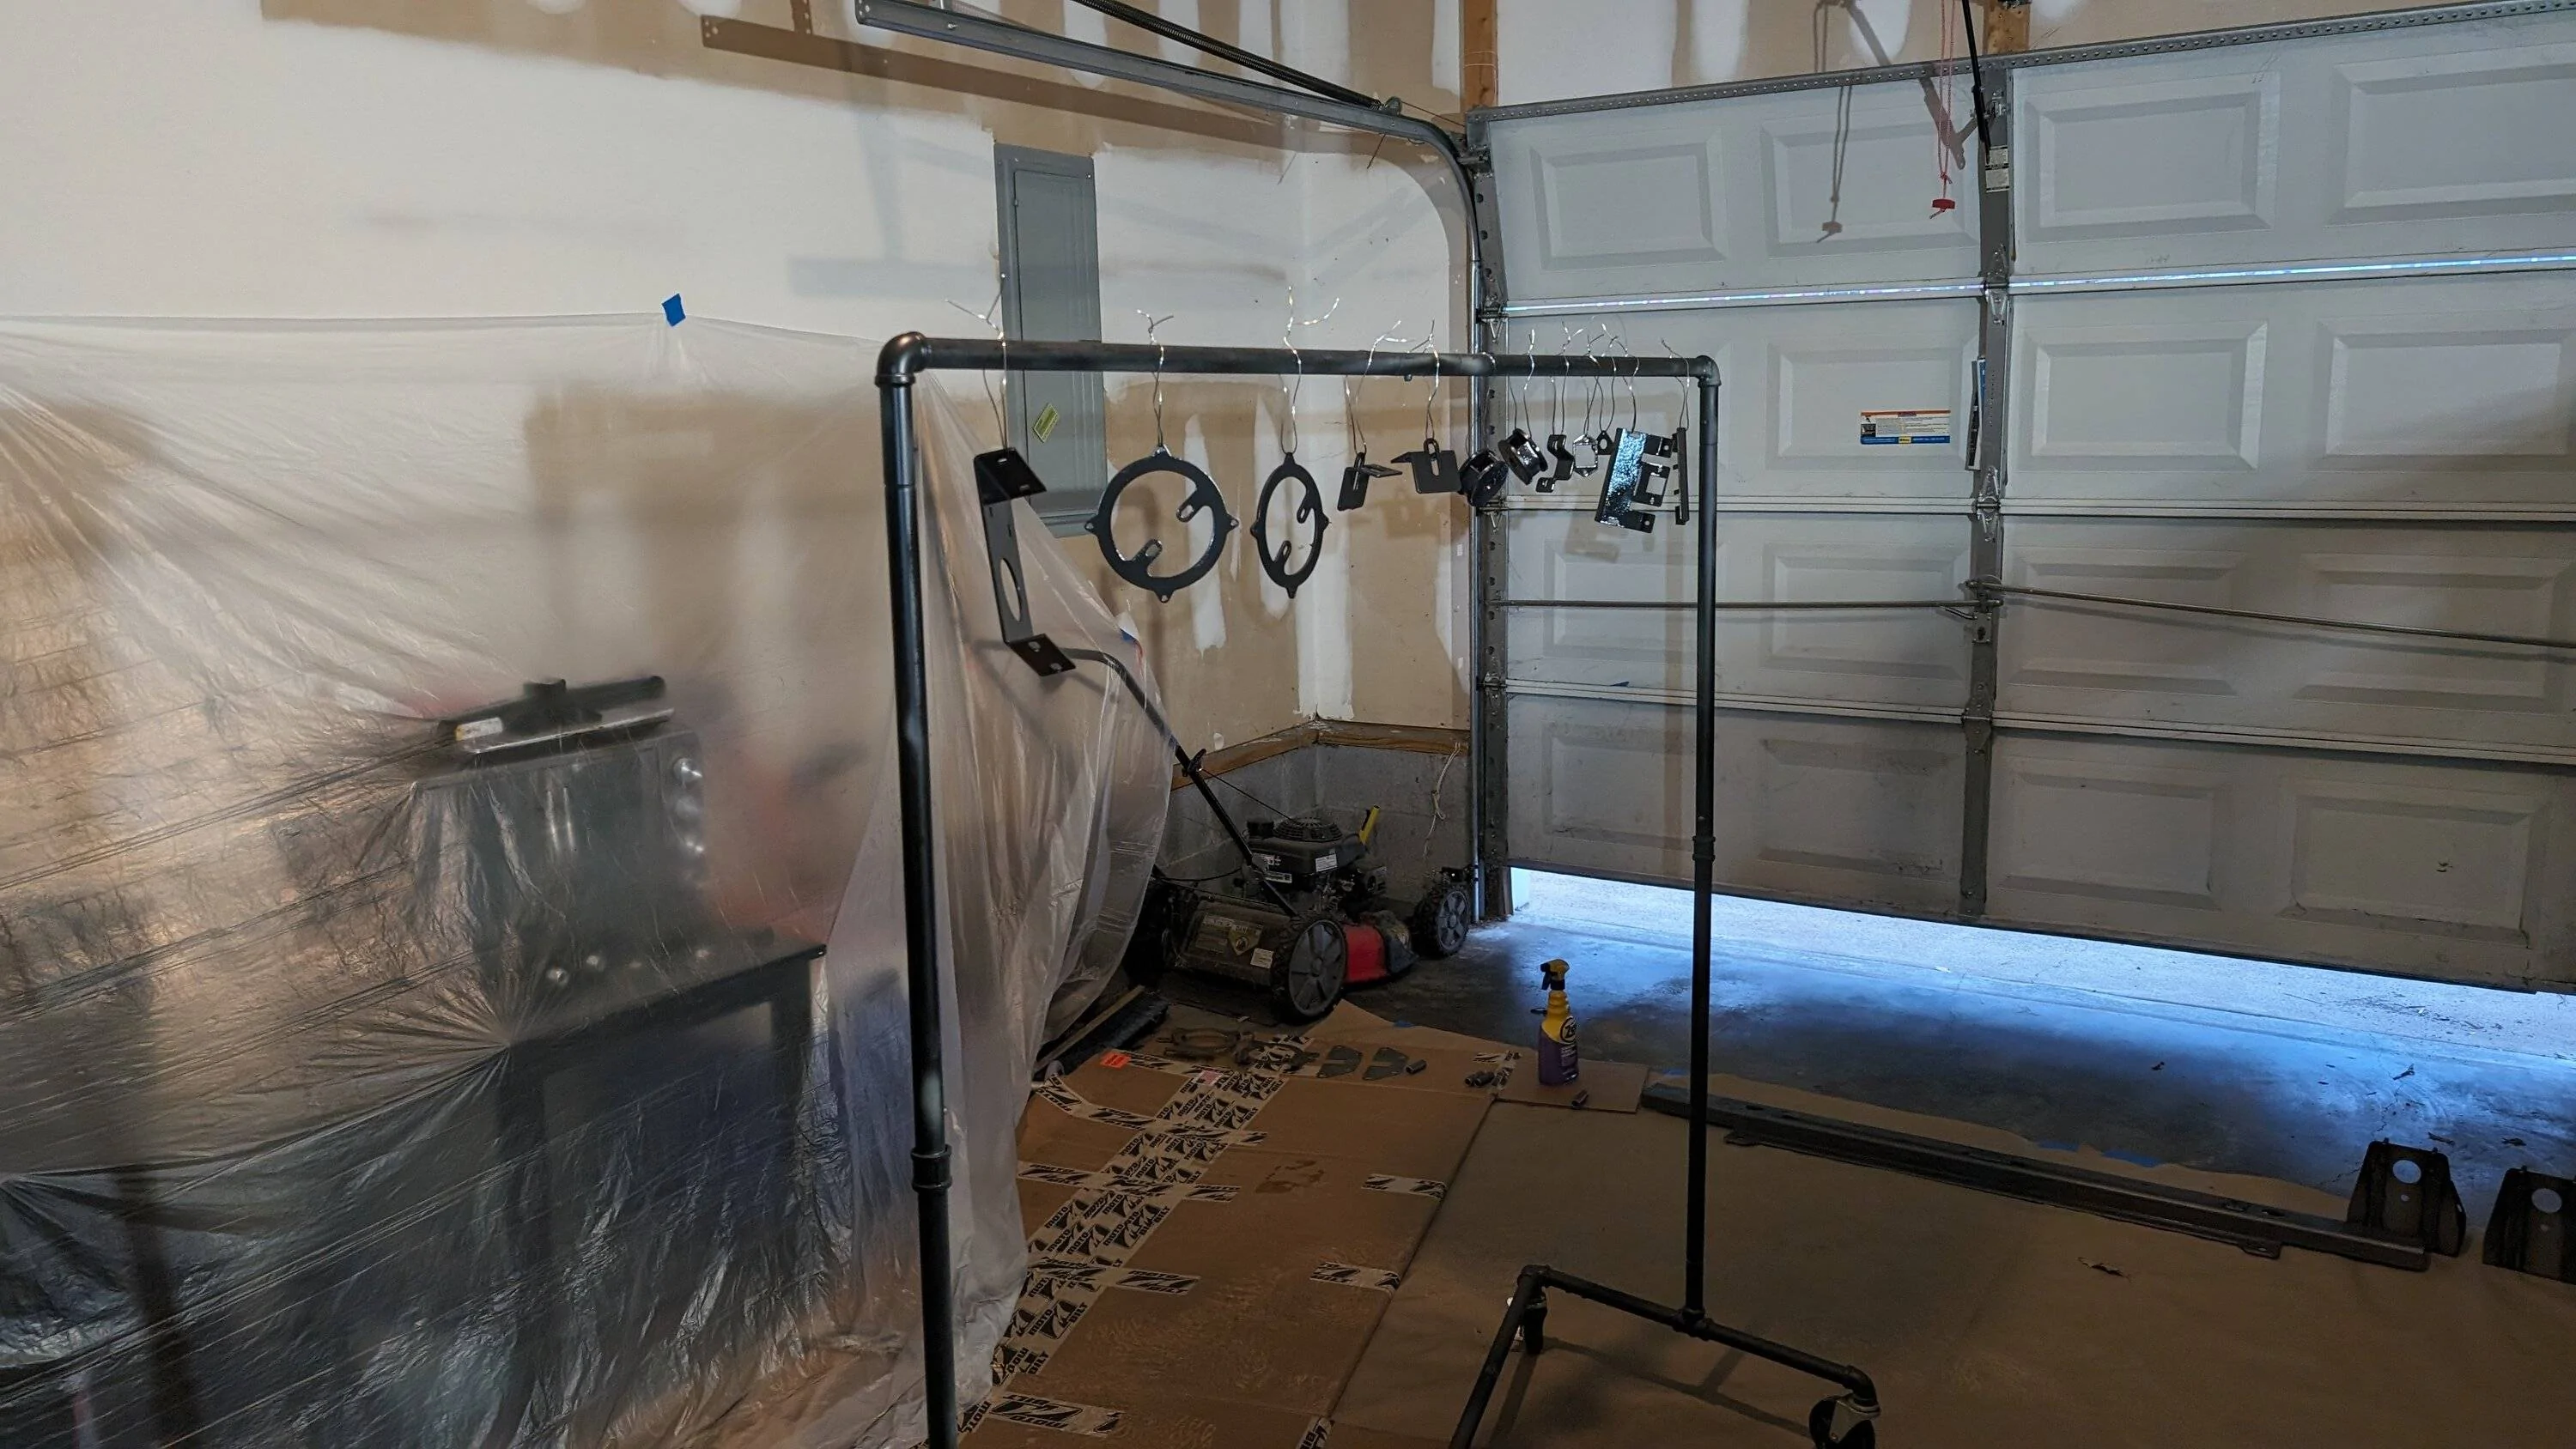
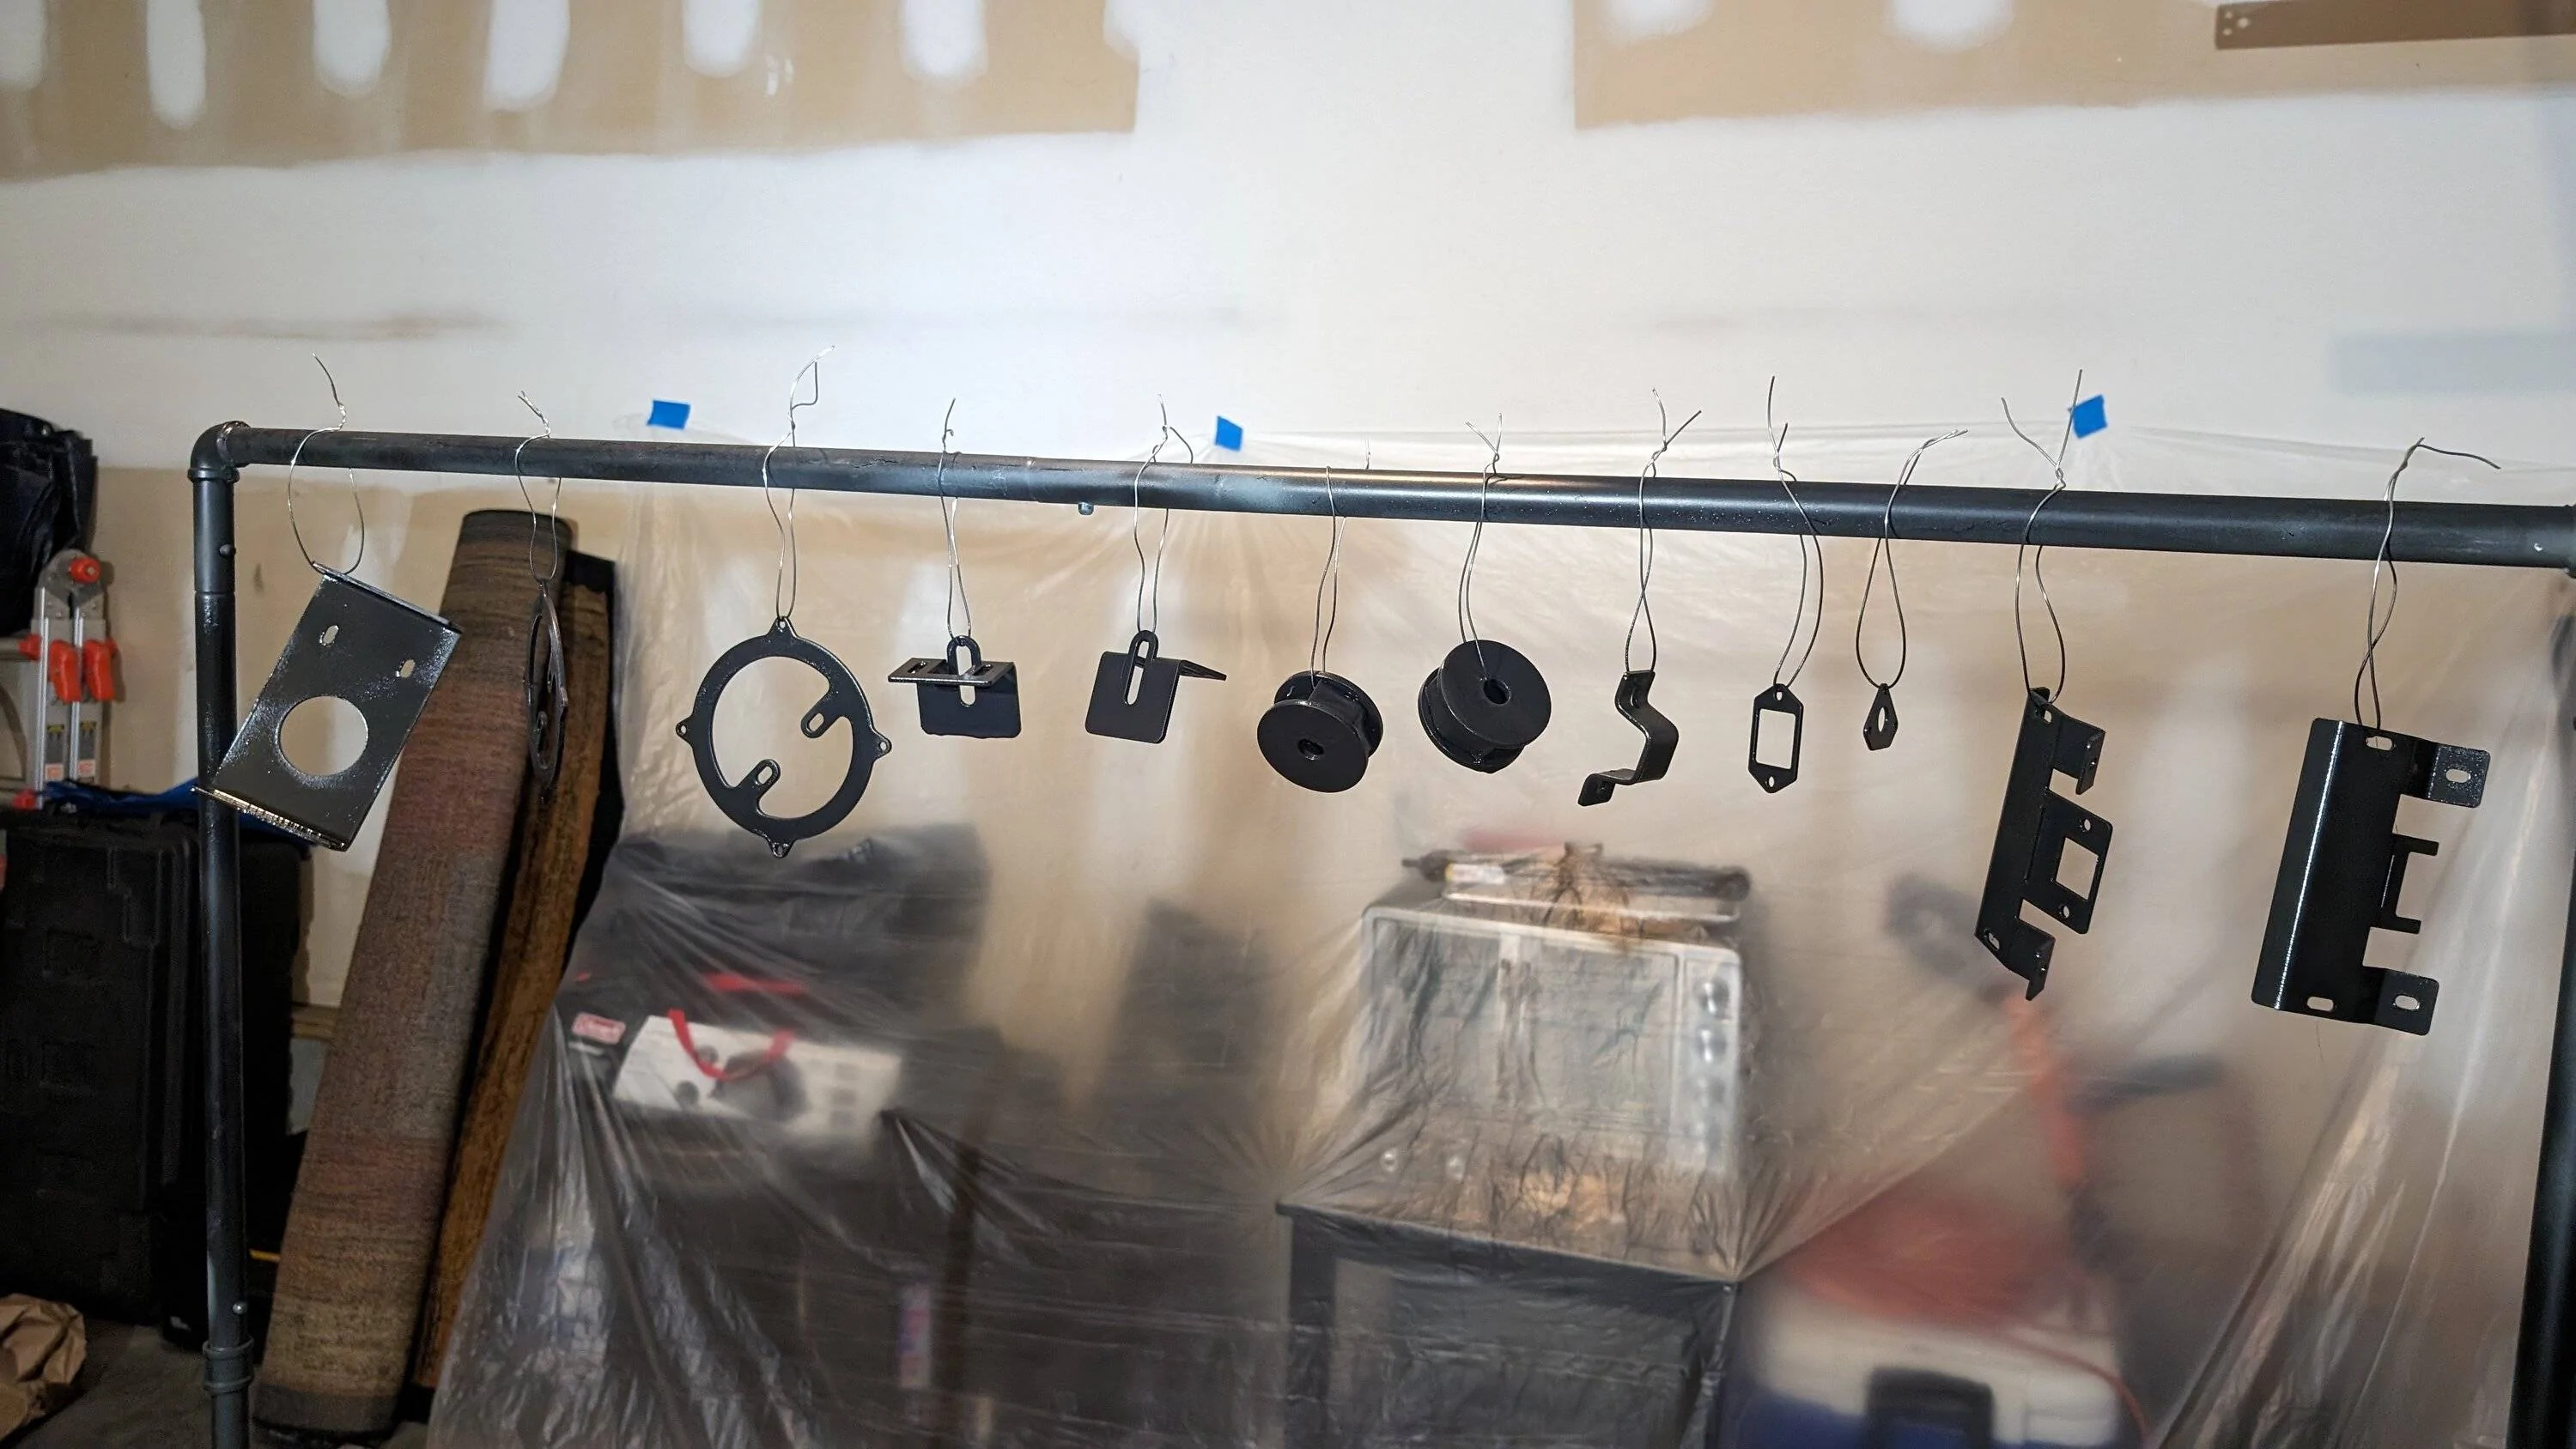
Steel-It is an interesting product, I will say that. I cannot yet attest to whether or not it can be truly welded on, that would be interesting to see. It sprays and looks like liquid on the piece, however residue on the floor swept up like powder coat and the finish after curing feels like powder coat instead of paint.
Picked up the large pieces from powder, used moving blankets to individually wrap almost every piece to avoid dings or scratches on the ride home.
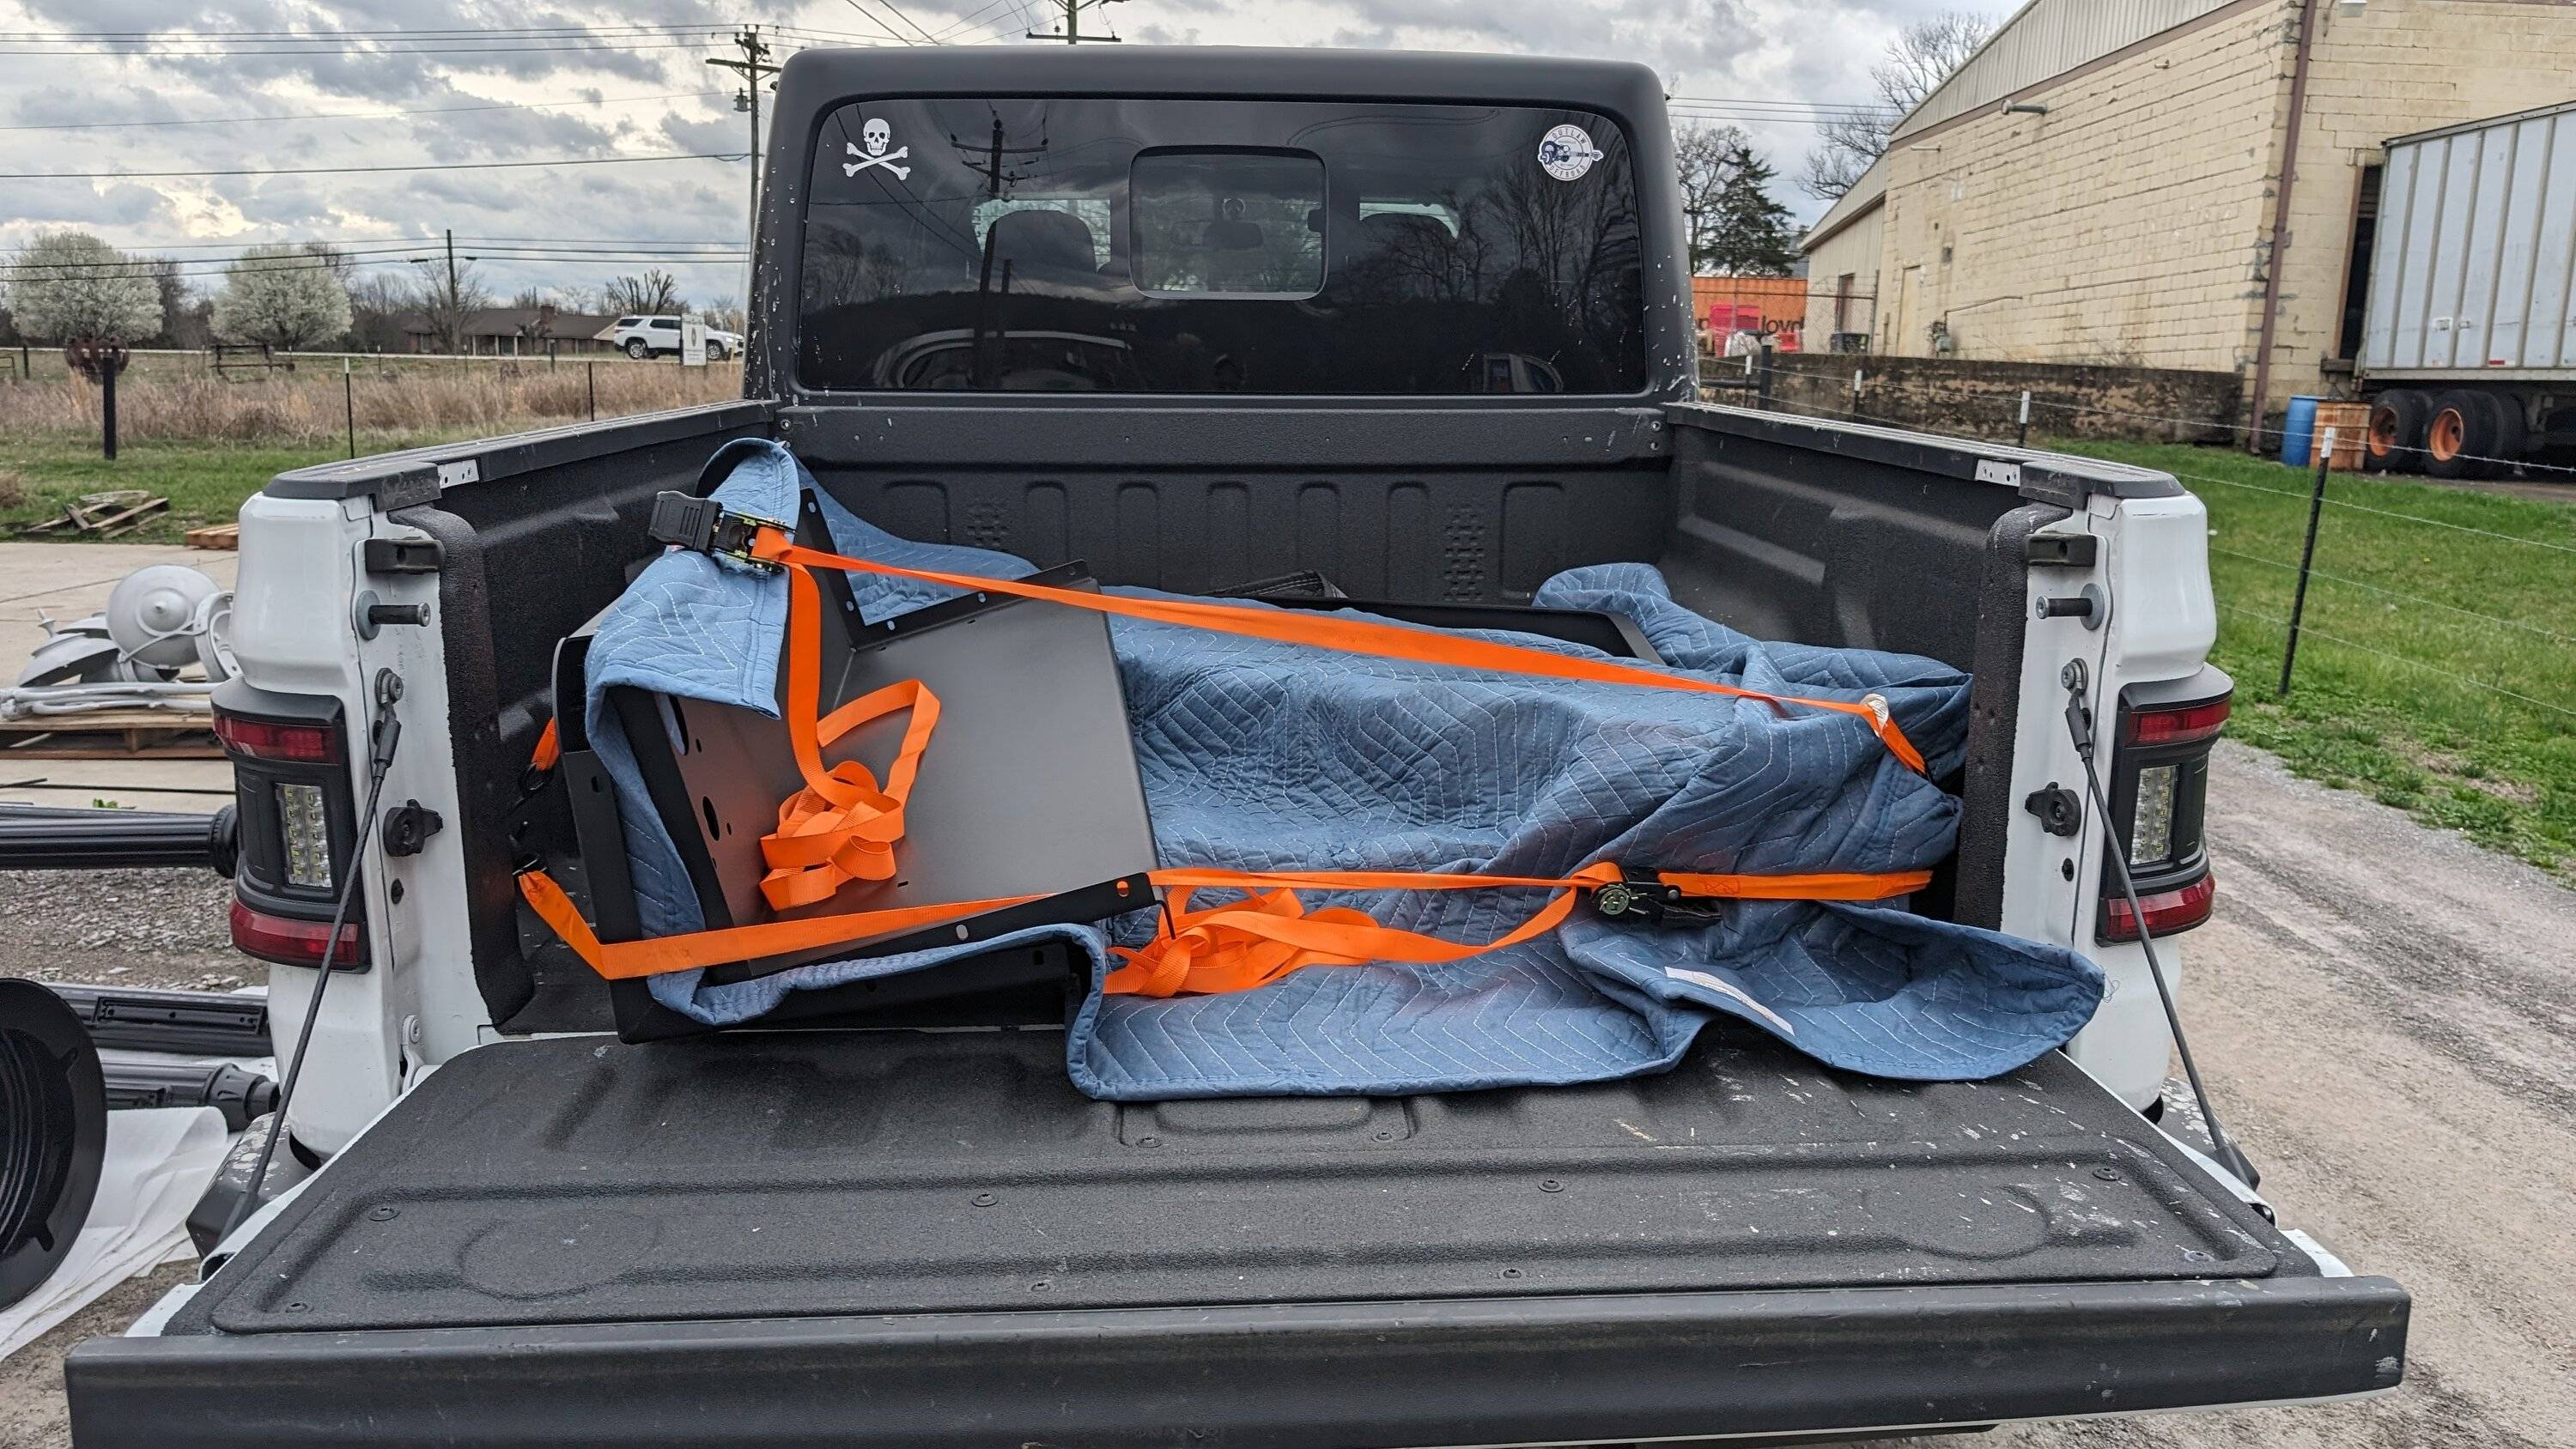
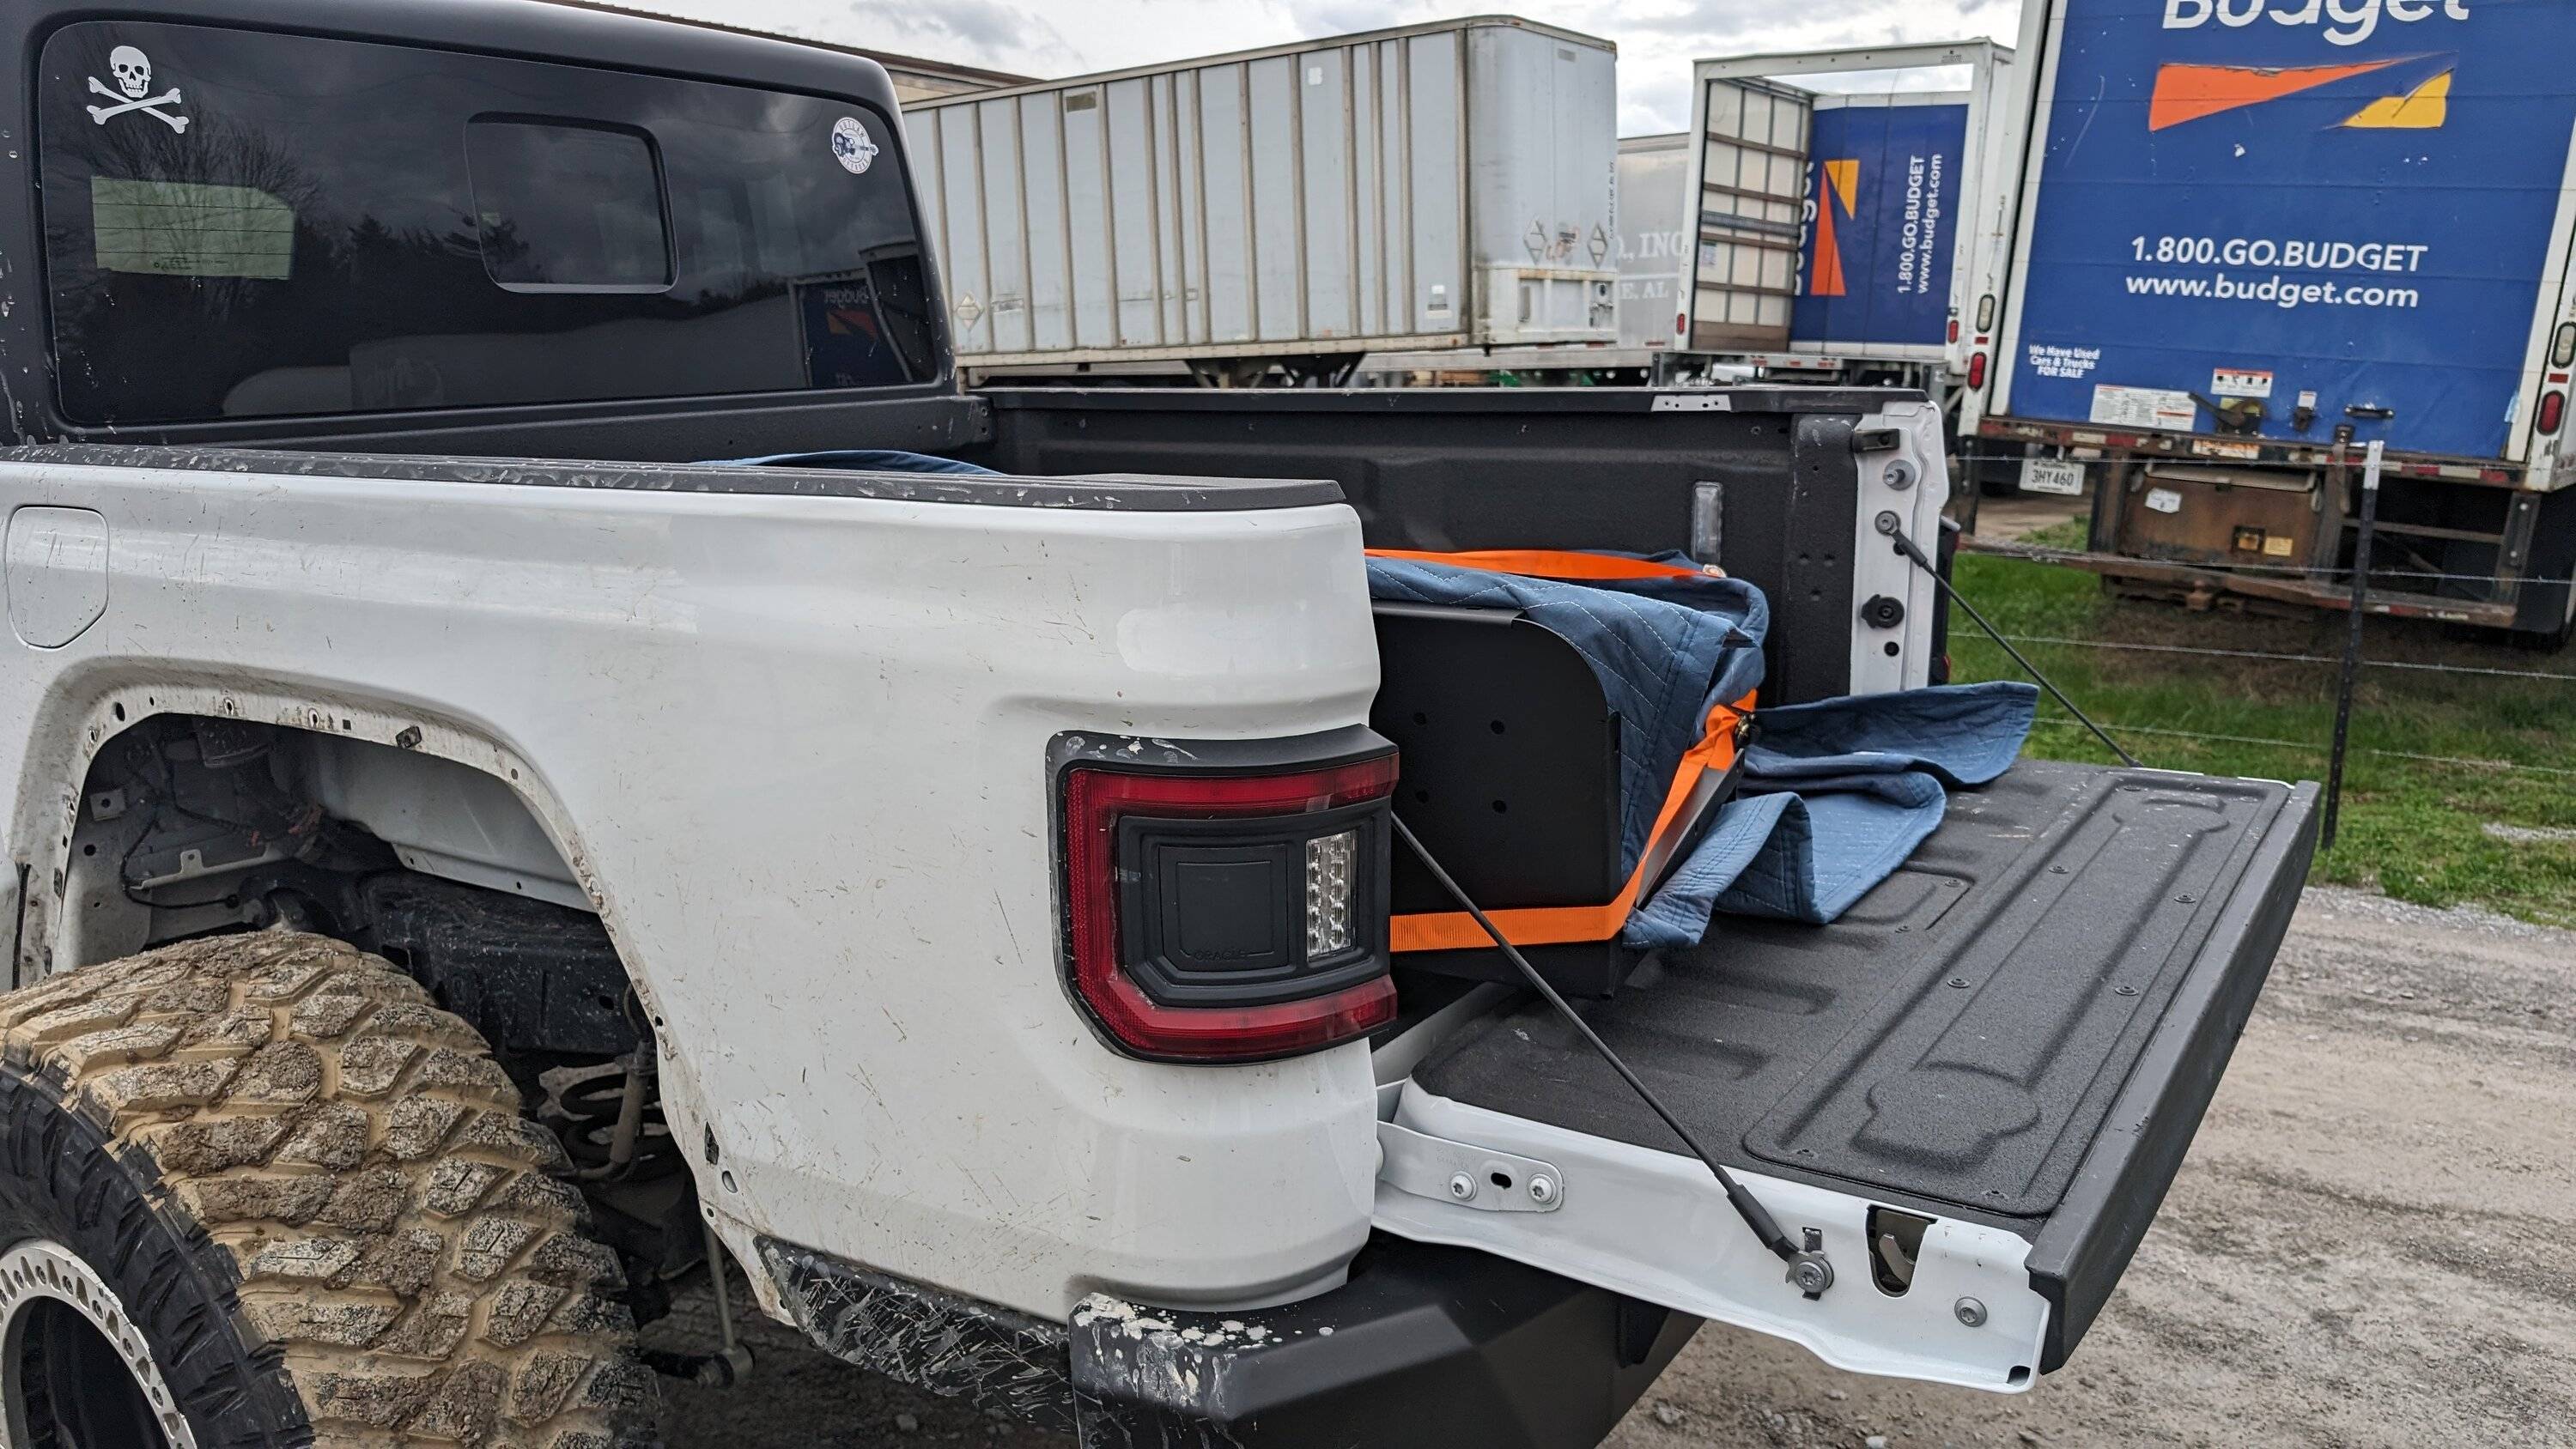
The majority of the pieces are a Black Mini Texture powder coat from Columbia Coatings, the exterior fender walls and tailgate are color matched Bright White using All Powder Paints. I was new to All Powder Paints, but it turned out amazing and they have a large collection of Jeep/Dodge color match powders - https://www.allpowderpaints.com/dodge-jeep/
Got it all home and unloaded it into the living room, so that I had space in the garage to work and start ripping apart the bed. I mean the kids don't need to use the sofa right?
Tear down started with my Oracle Flush Mount Tail Lights (already sold), ripped the fenders off to get to the wiring harnesses and fuel filler and disconnect those, then removed the rear bumper, the back up camera, tailgate wiring harness, and tail light wiring harnesses. After those harness connected by push tabs are removed from the bed, it's just 6 -15 mm bolts that hold the bed on and a great big gob of red Loctite on each bolt. Also these bolts are recessed through the frame into the bed - socket extensions are your friend.
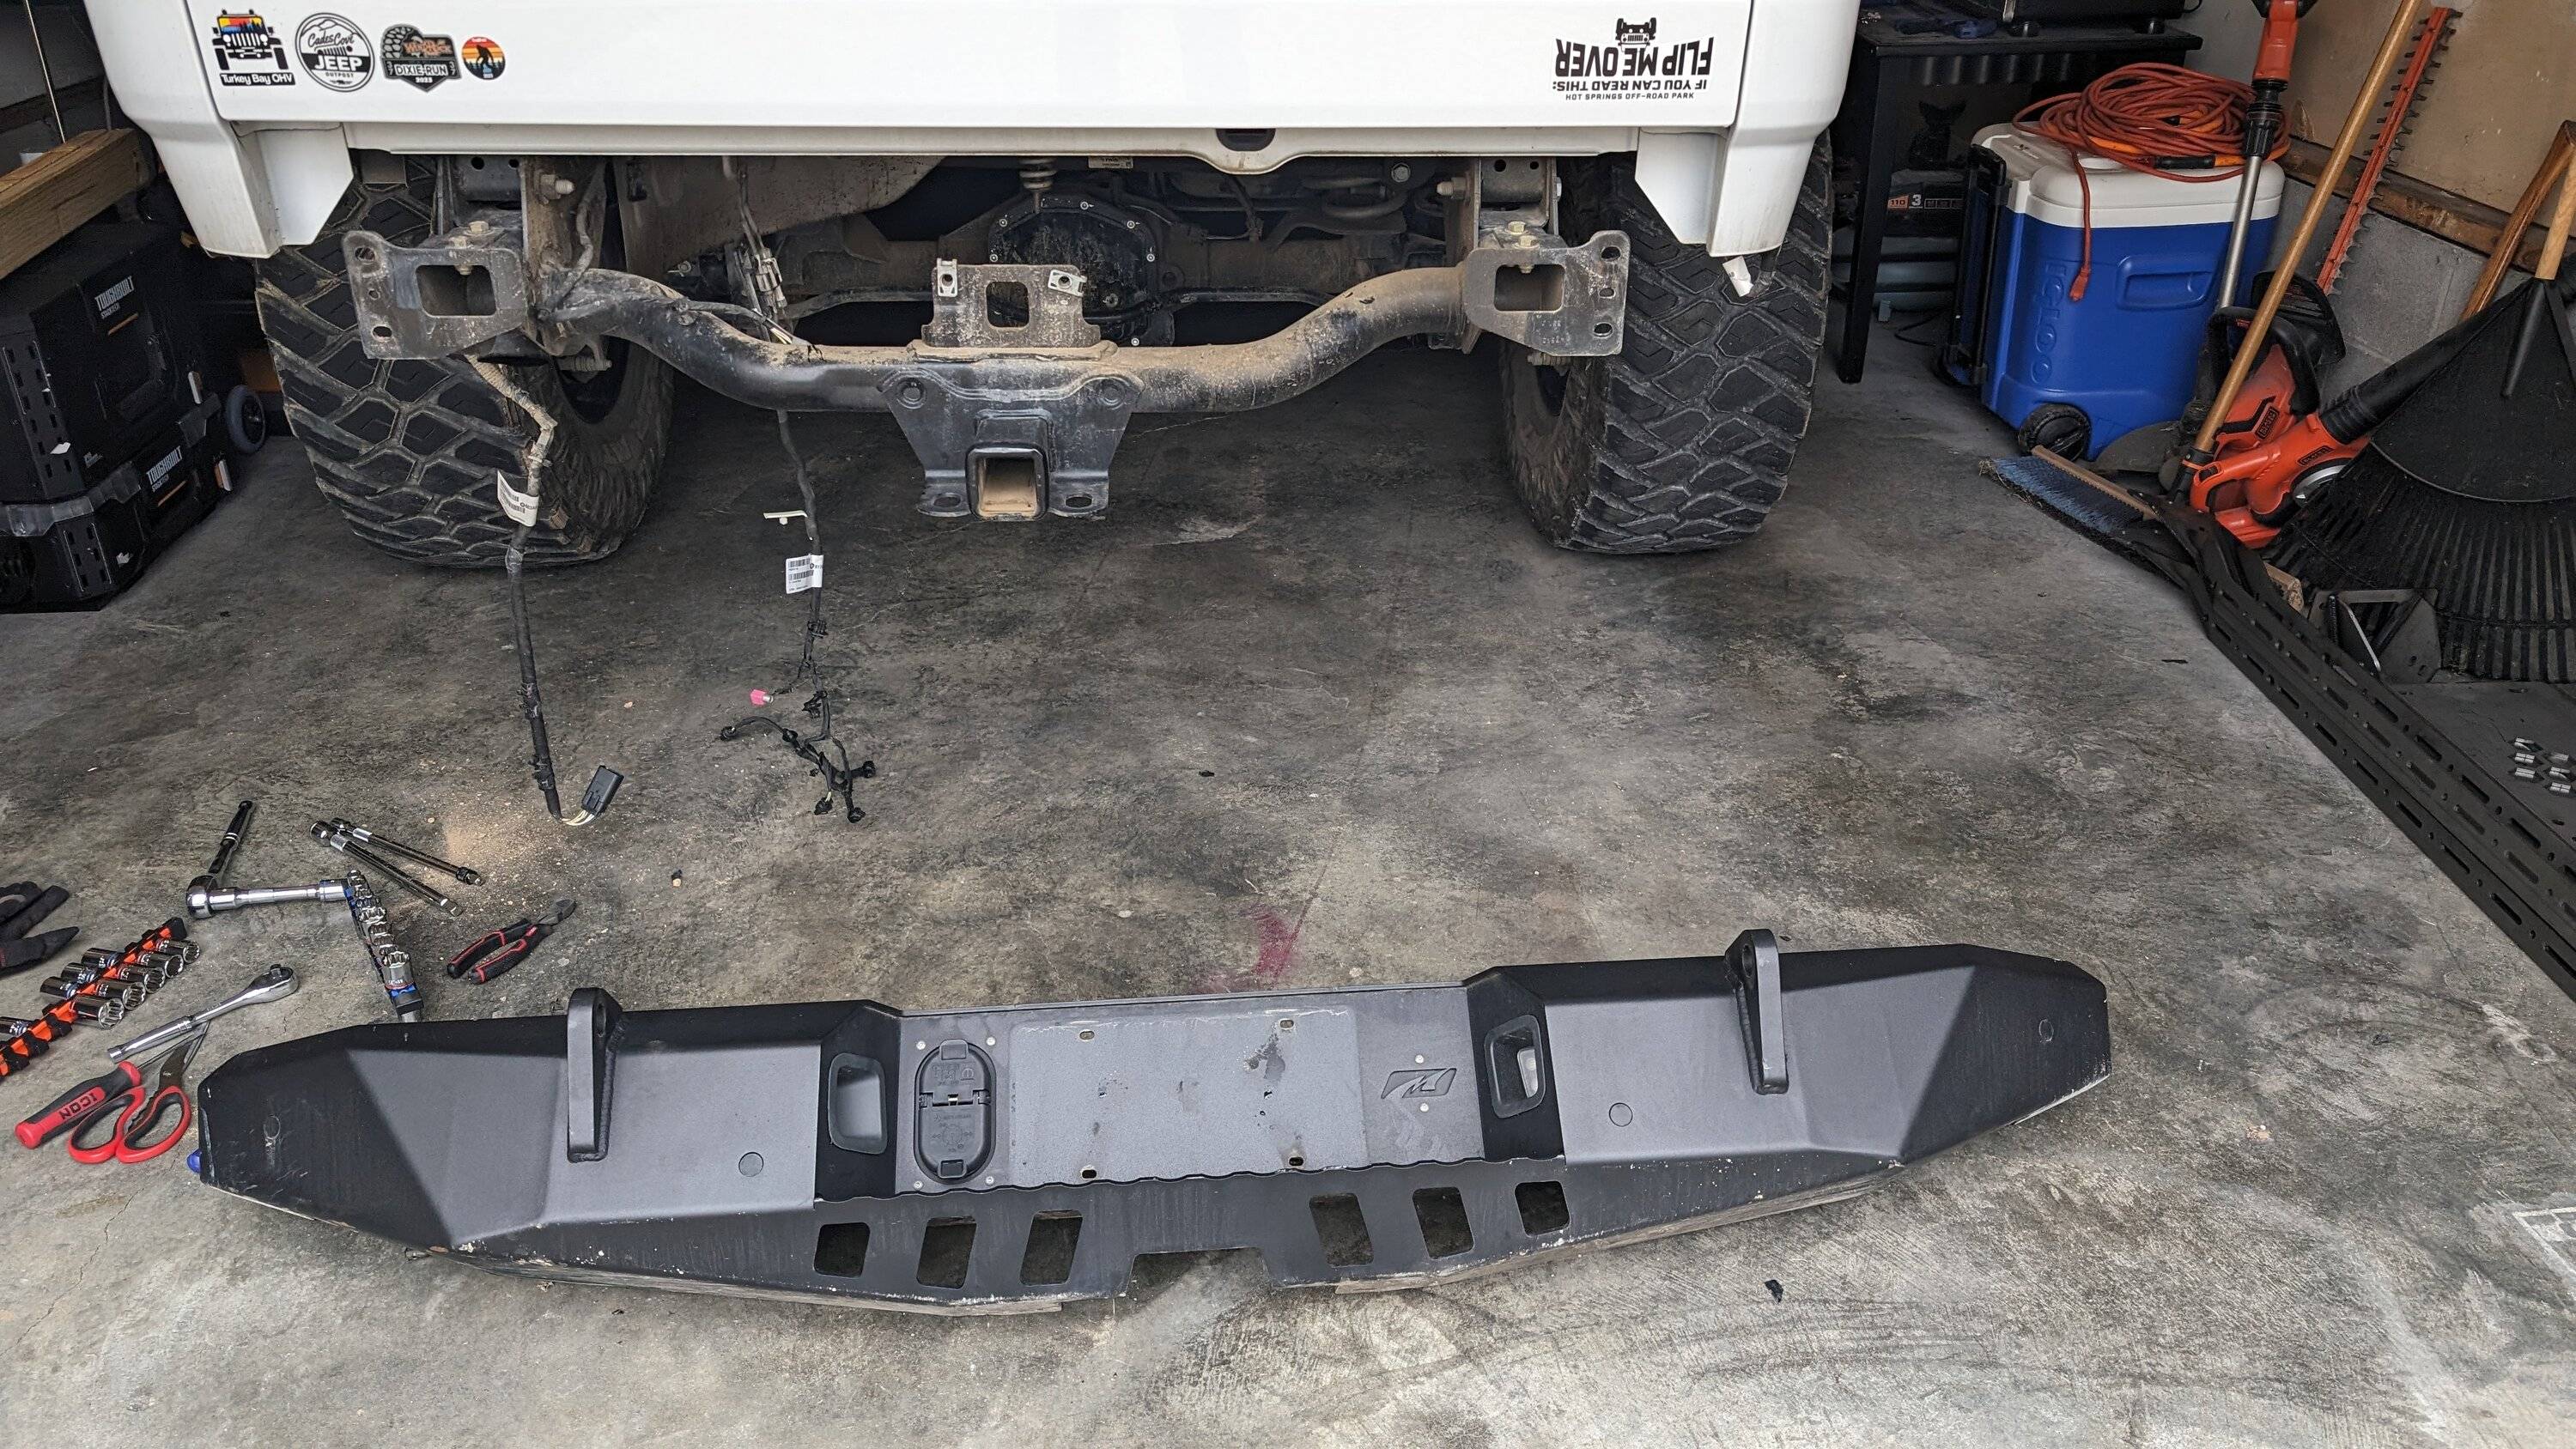
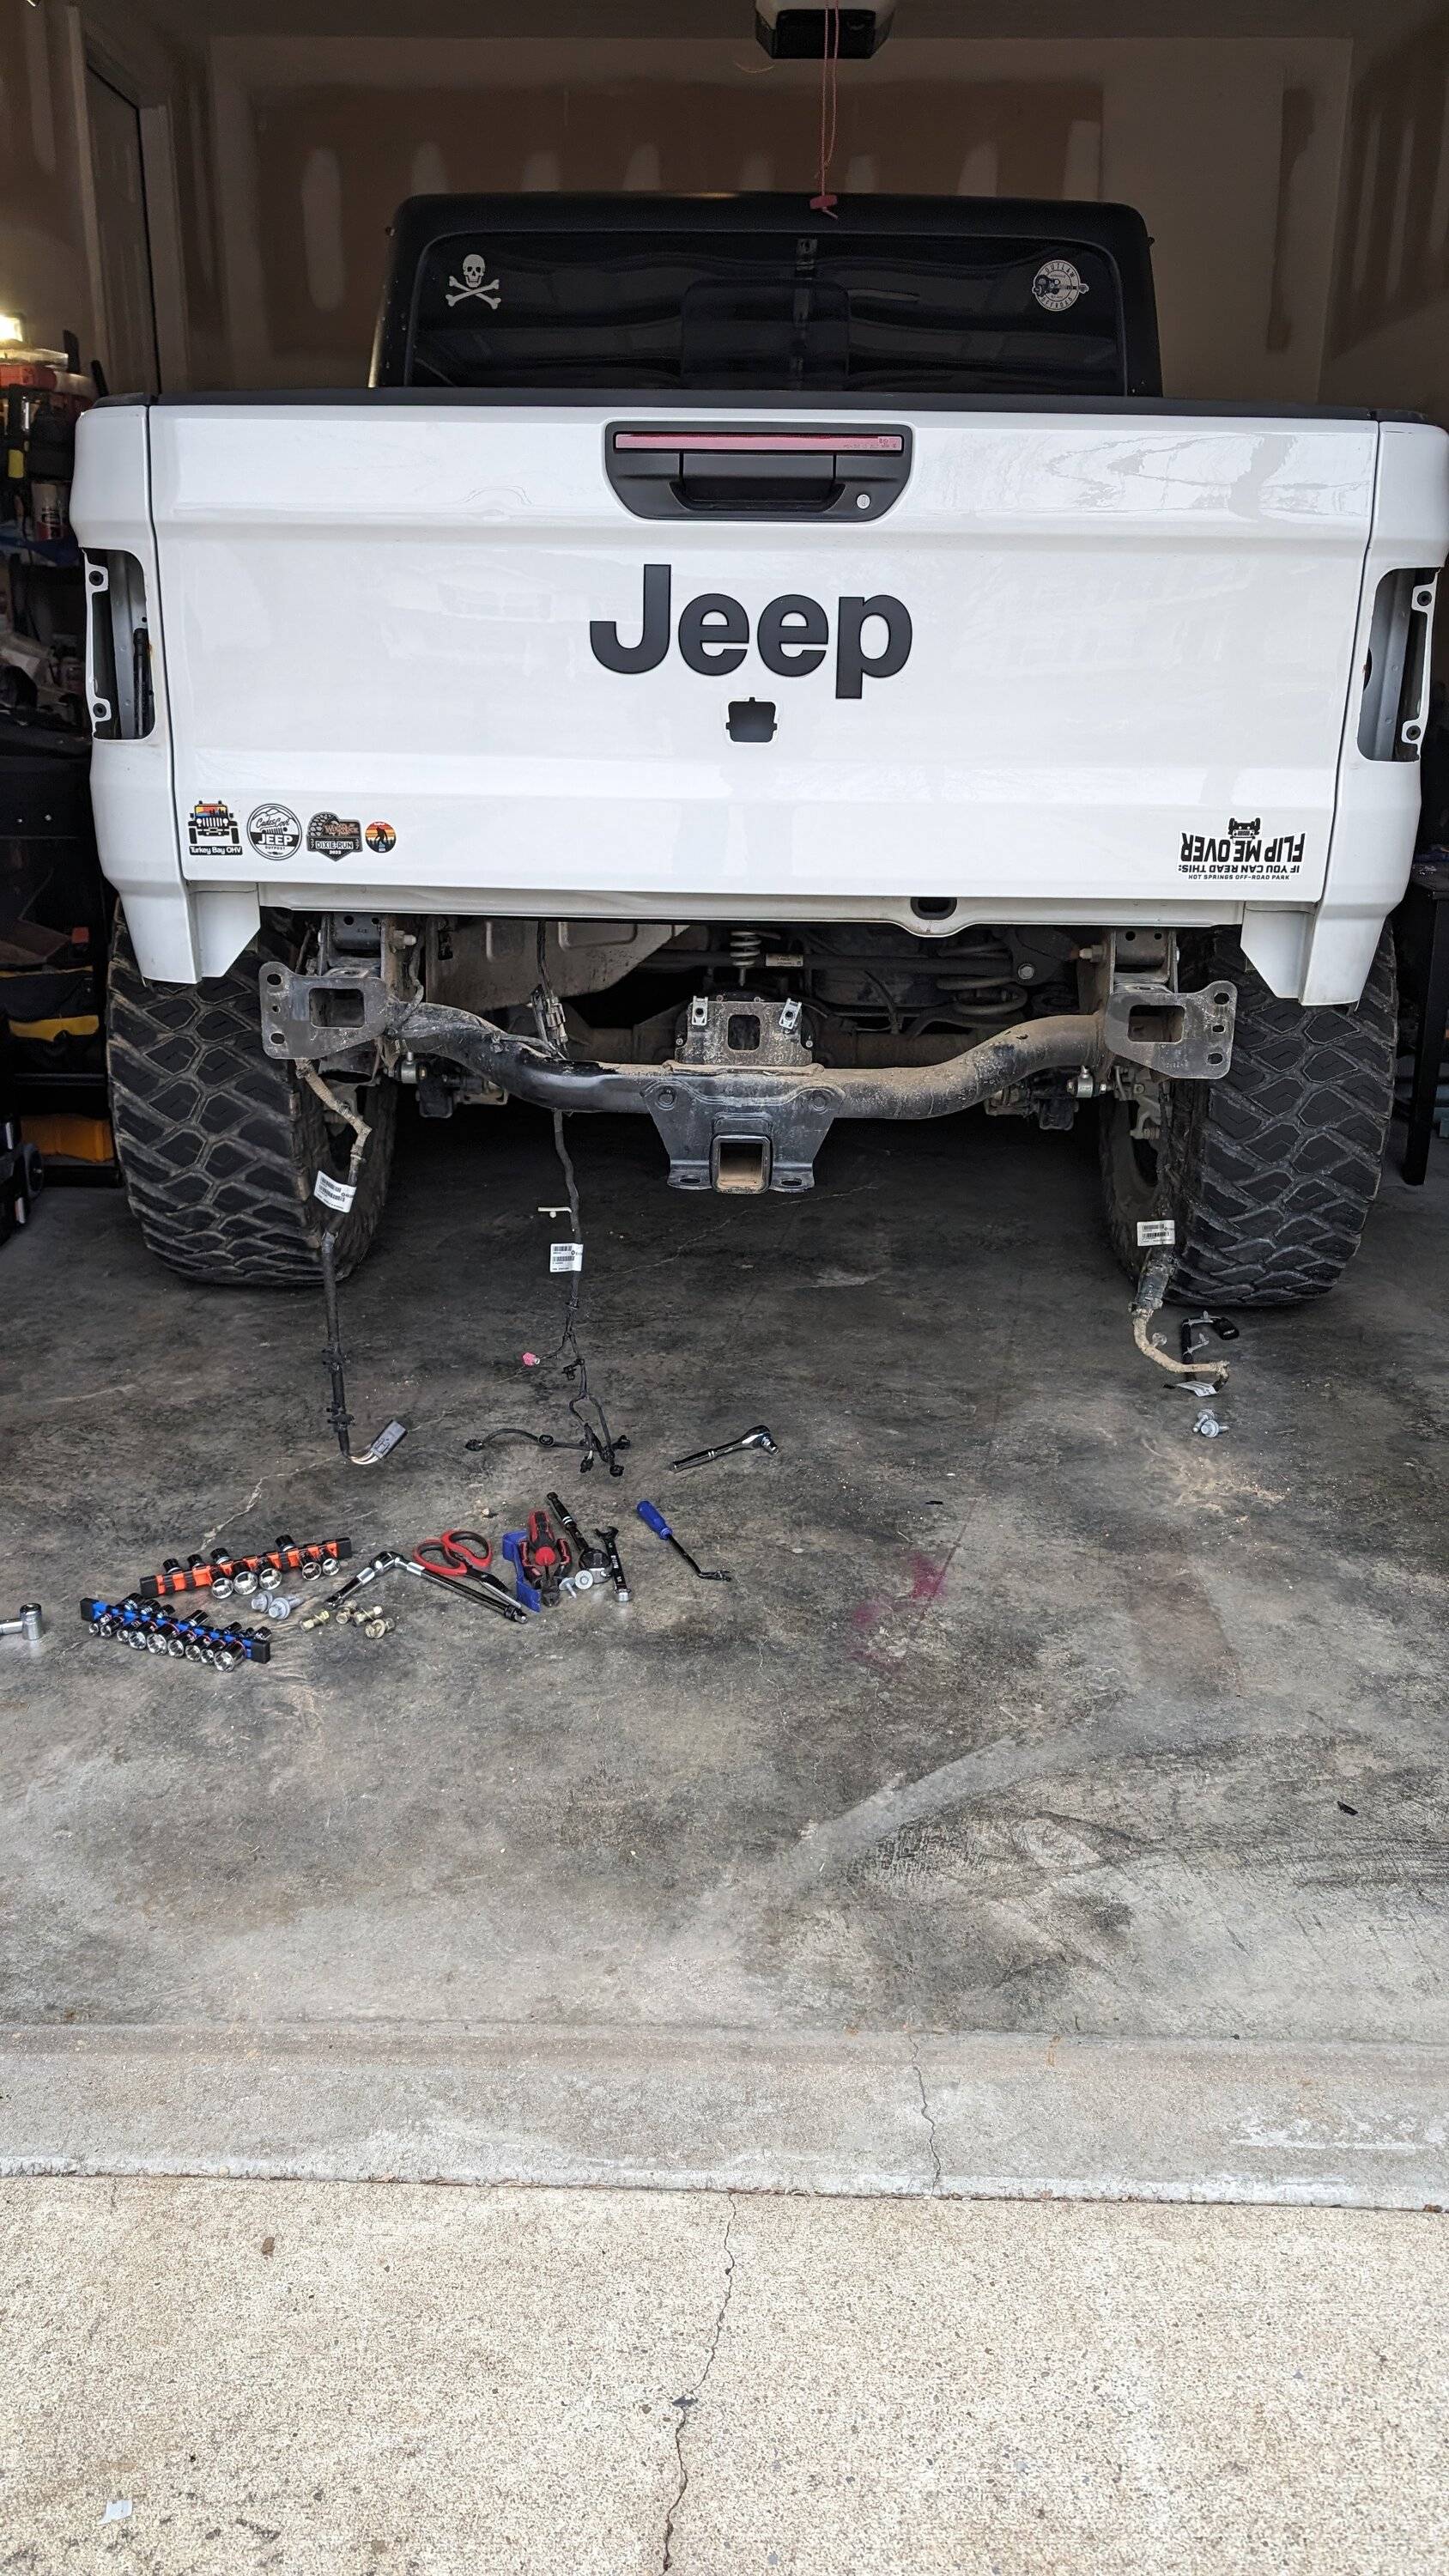
Then the bed came off -
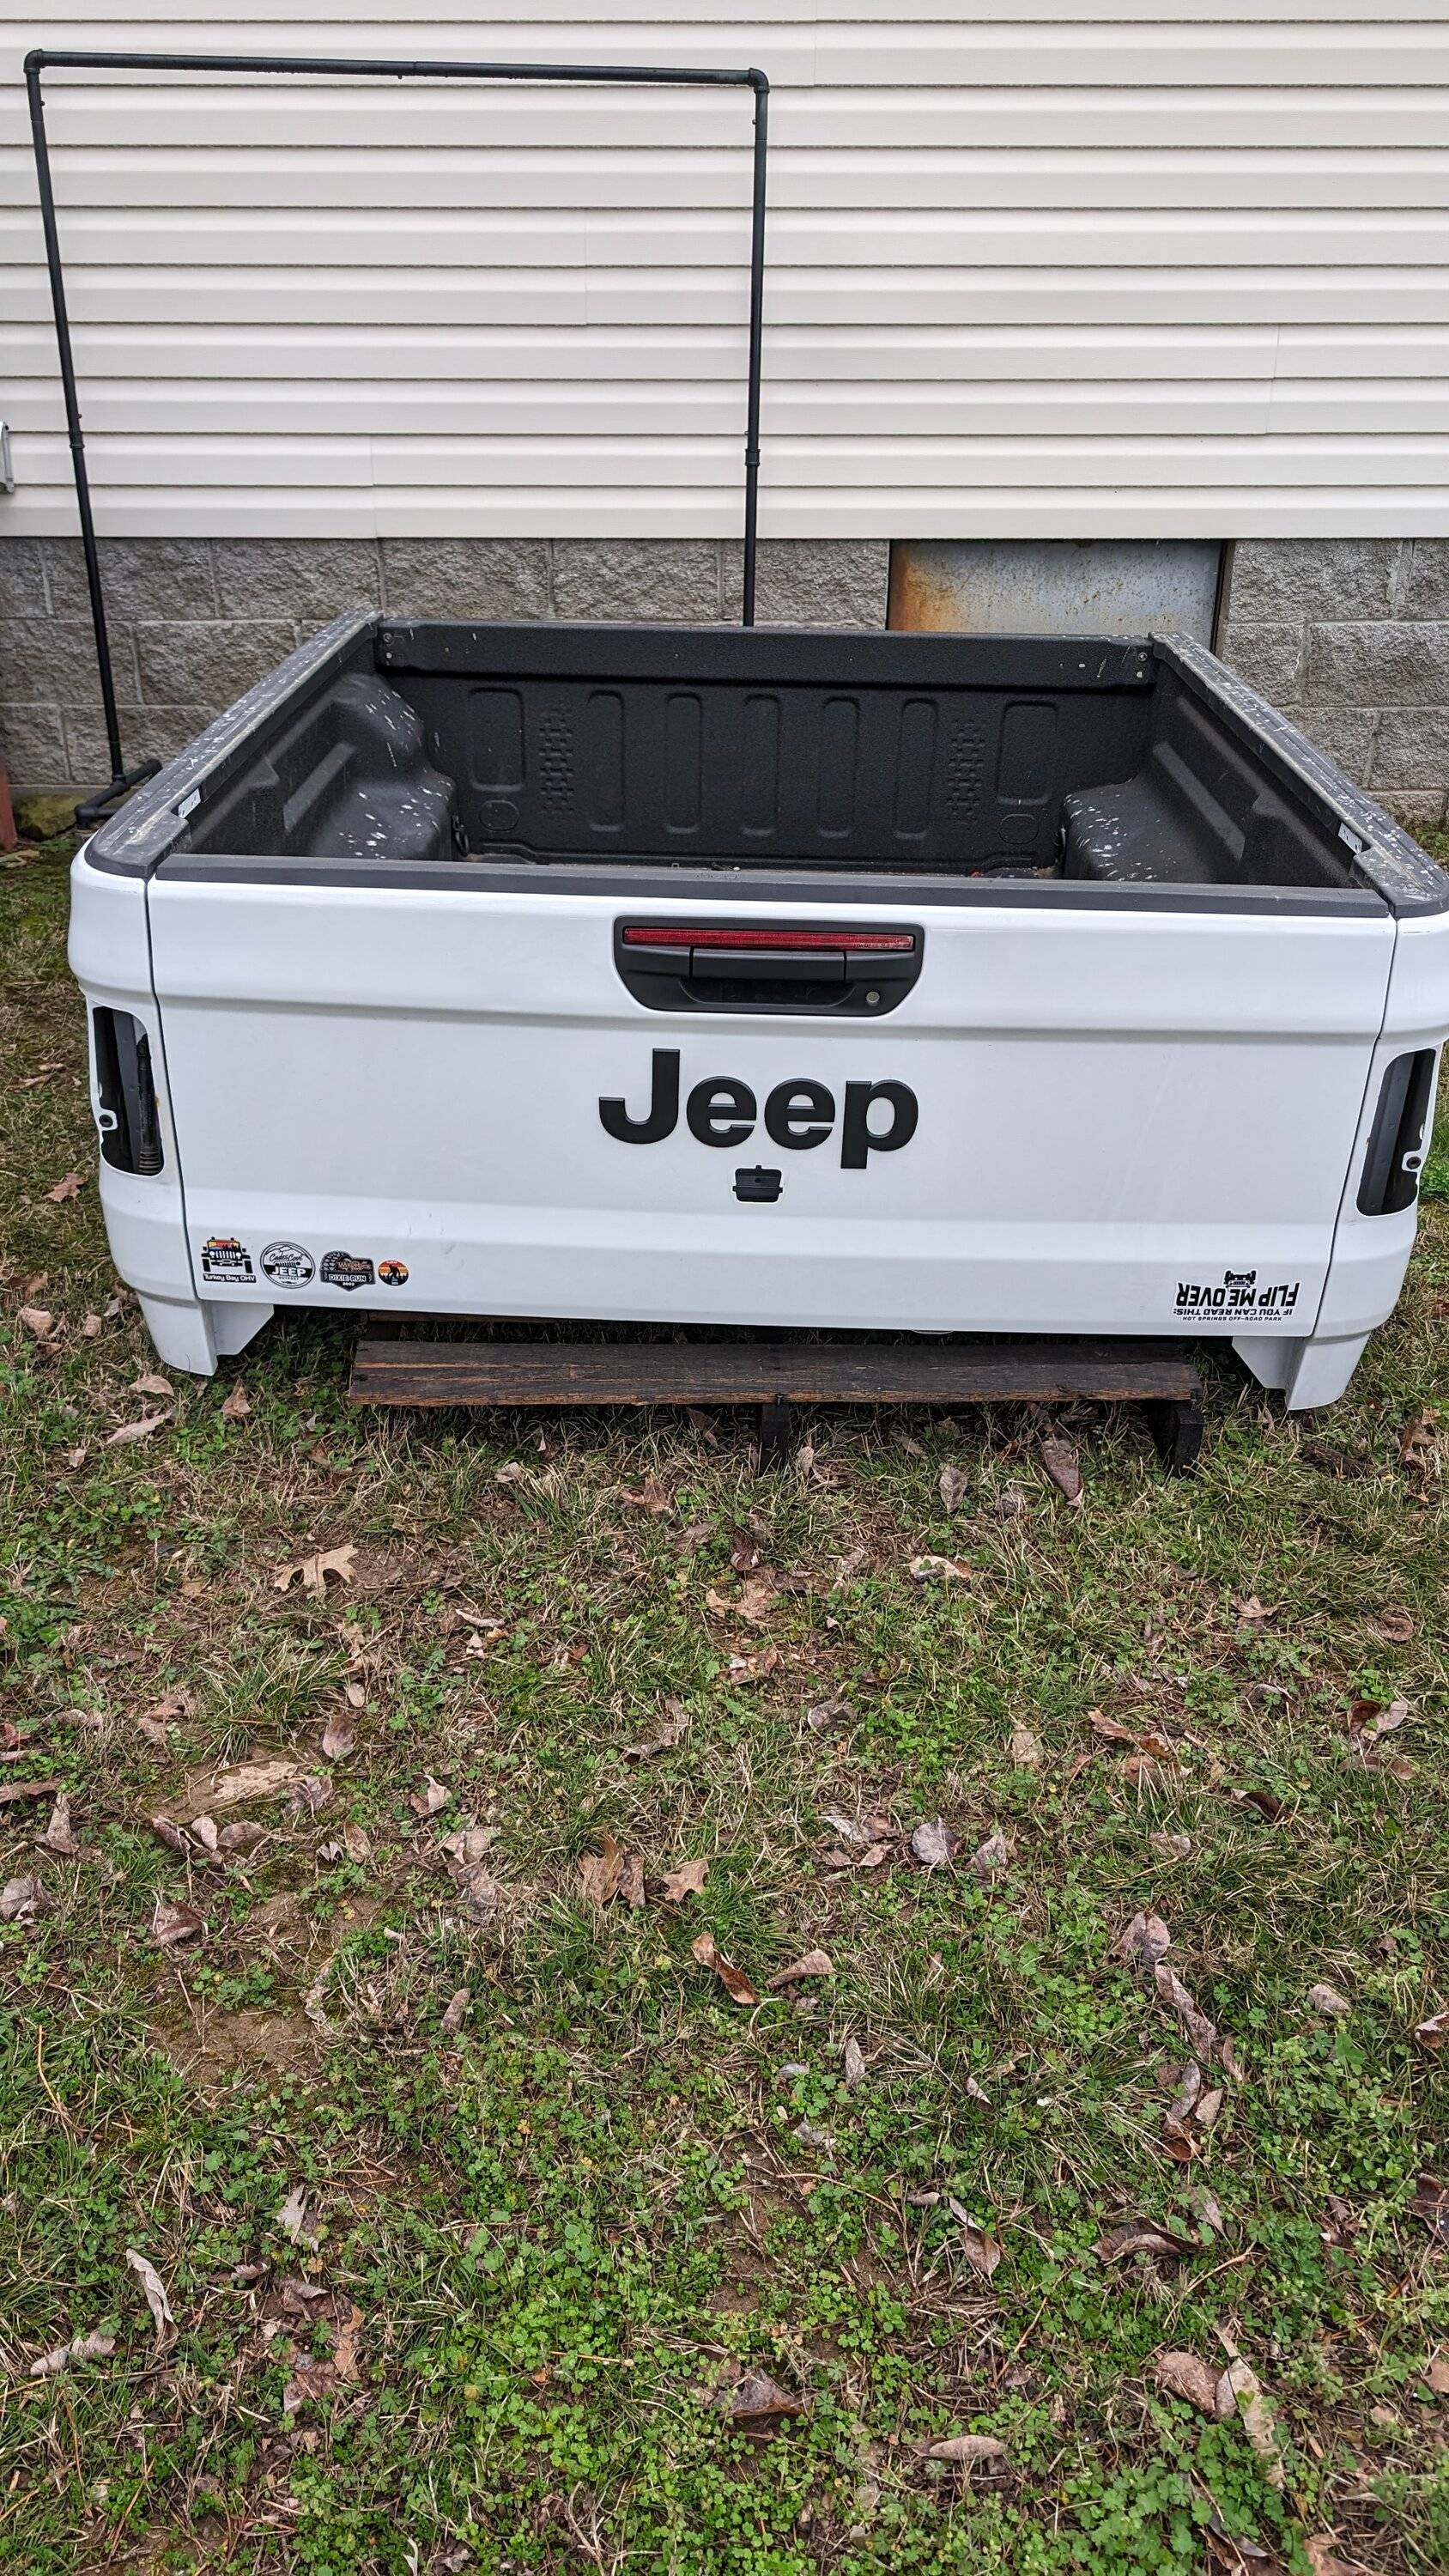
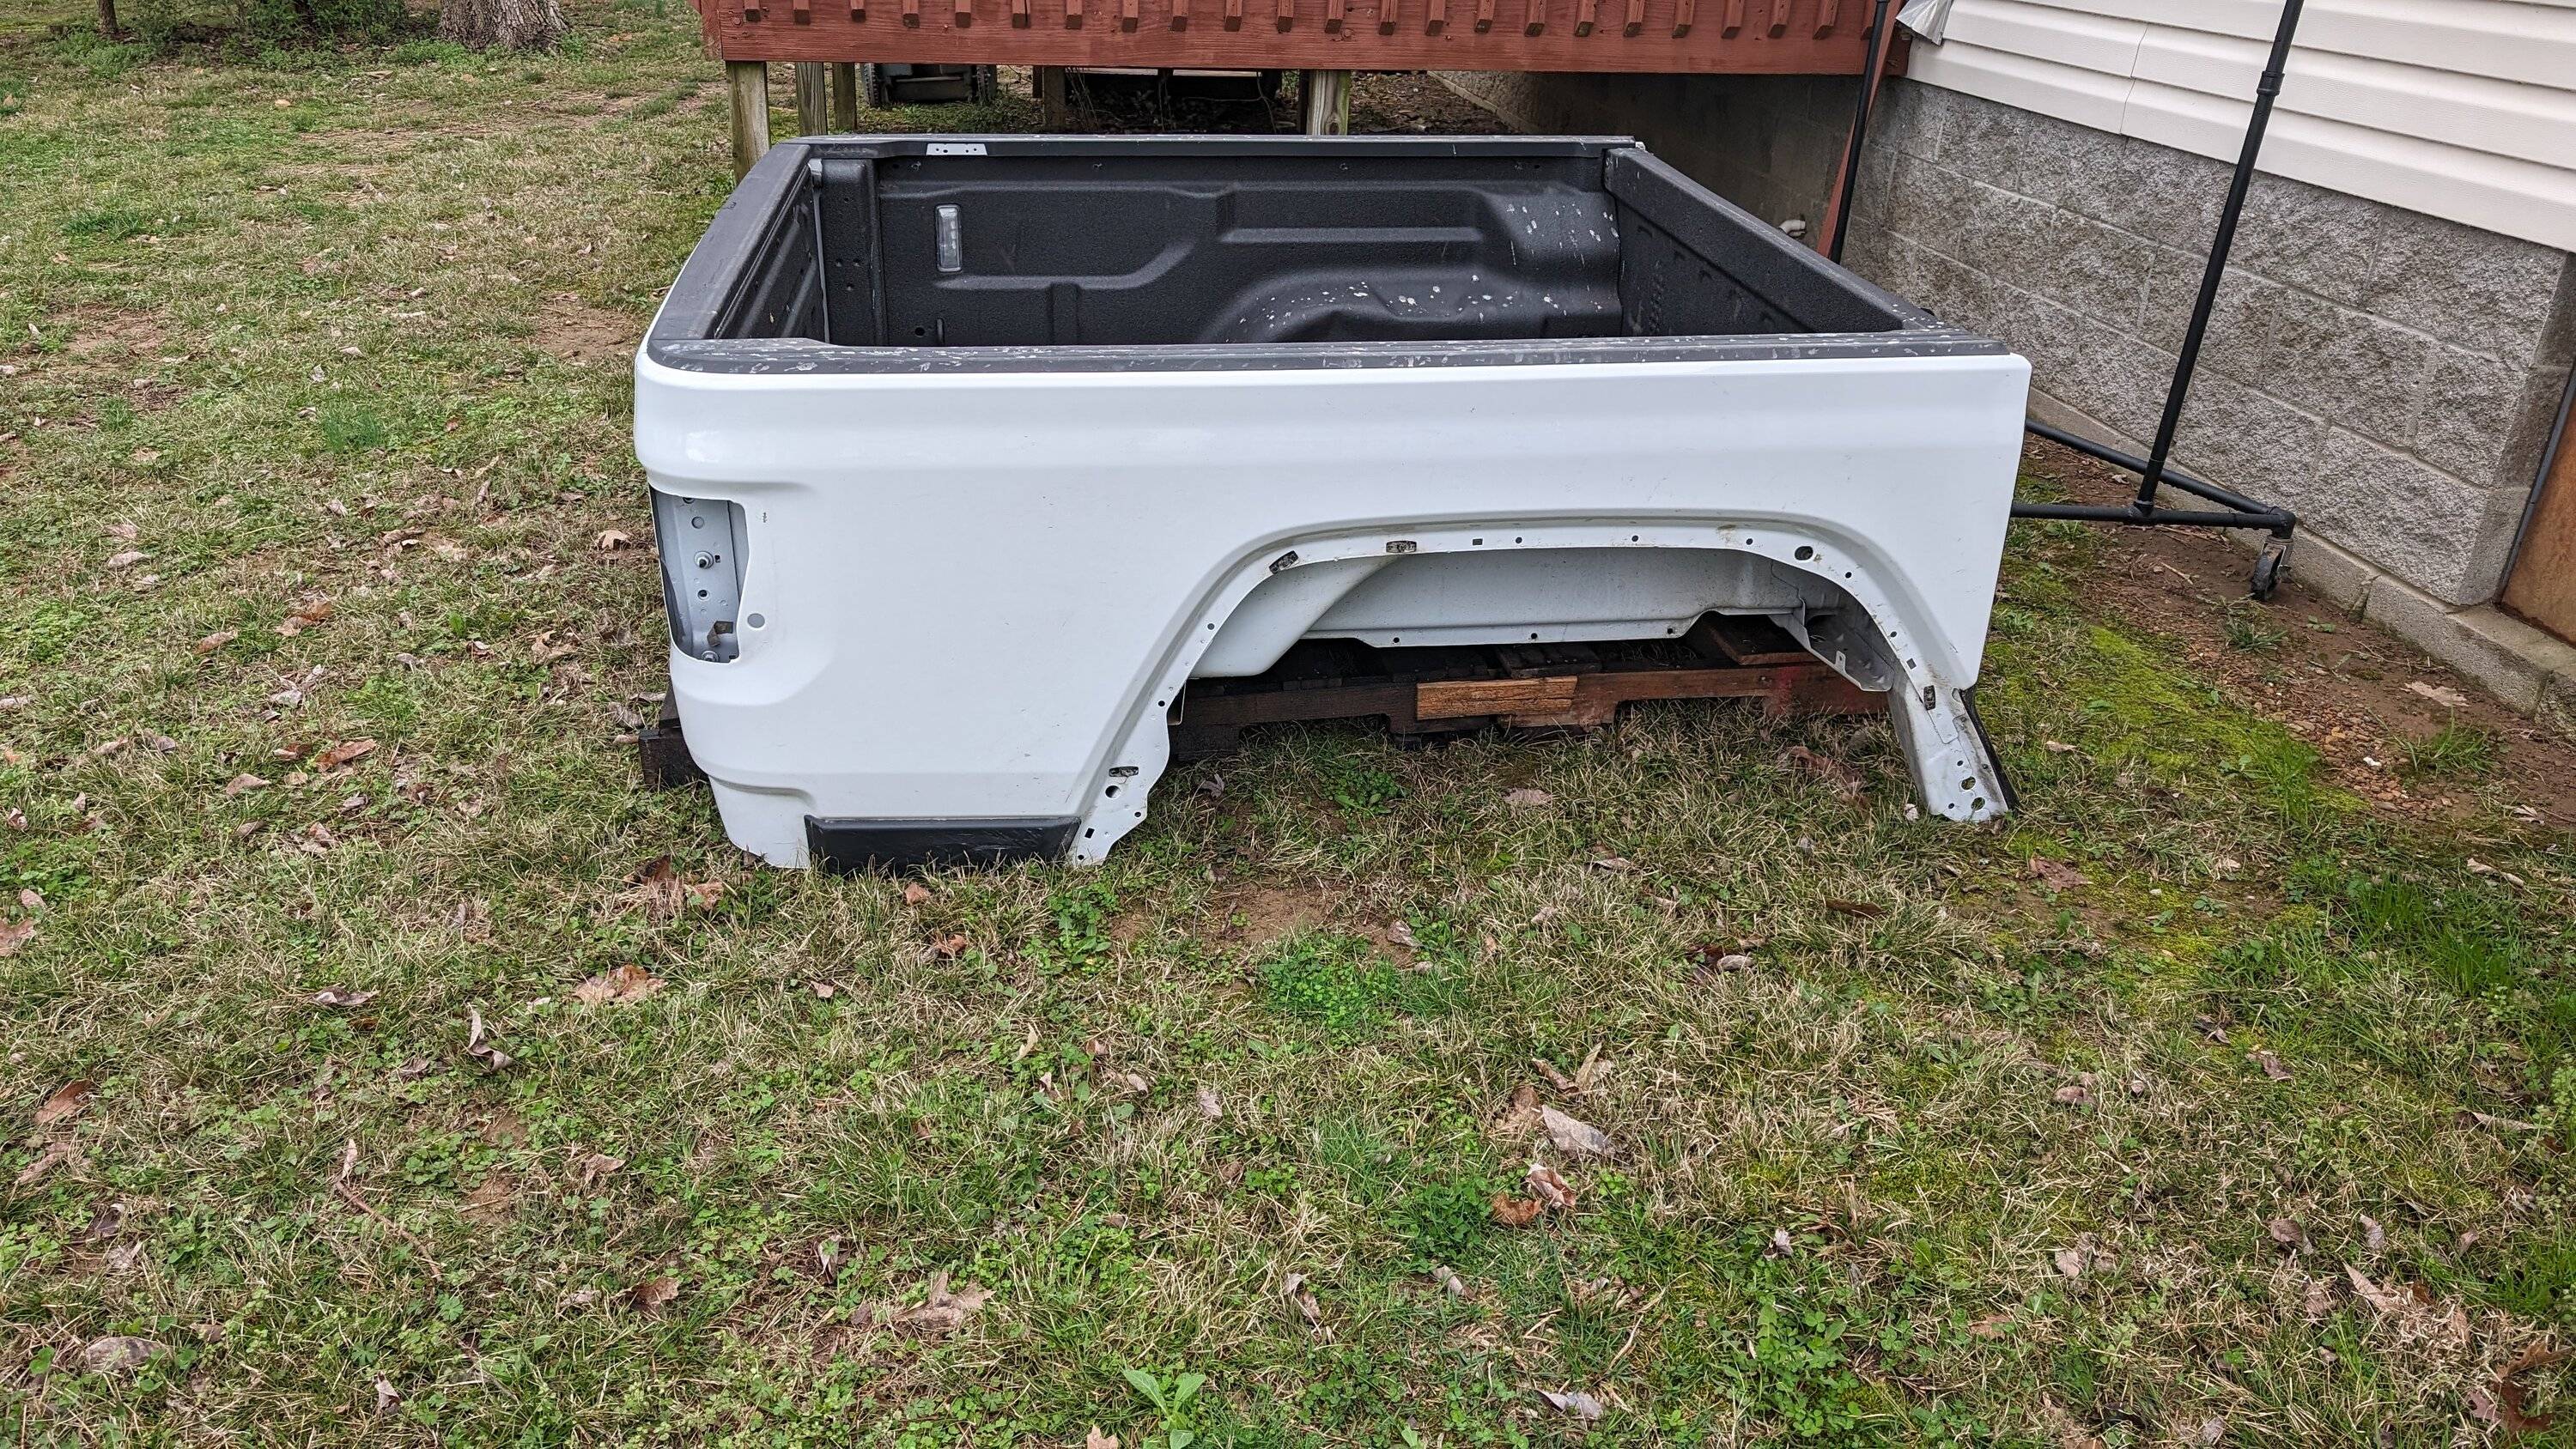
Set it on the shipping pallet for now, but possibly already have a buyer lined up for $2K.
Next up was the part I was dreading but also sorta looking forward to, it was time to cut the frame. Directions call for you to remove 14 5/8" from the front side of the frame, plus the entire assembly for the spare tire from in-between the frame rails. If you notice the small bracket on the underside of the passenger frame rail also highlighted in red to remove, I would LOVE for someone to tell me a valid reason why they added that piece... more on it in a few.
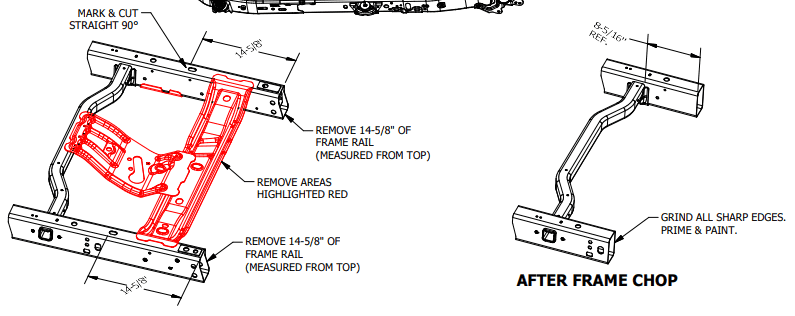
First we ground down the welds holding the spare tire assembly to the cross member to break those welds.
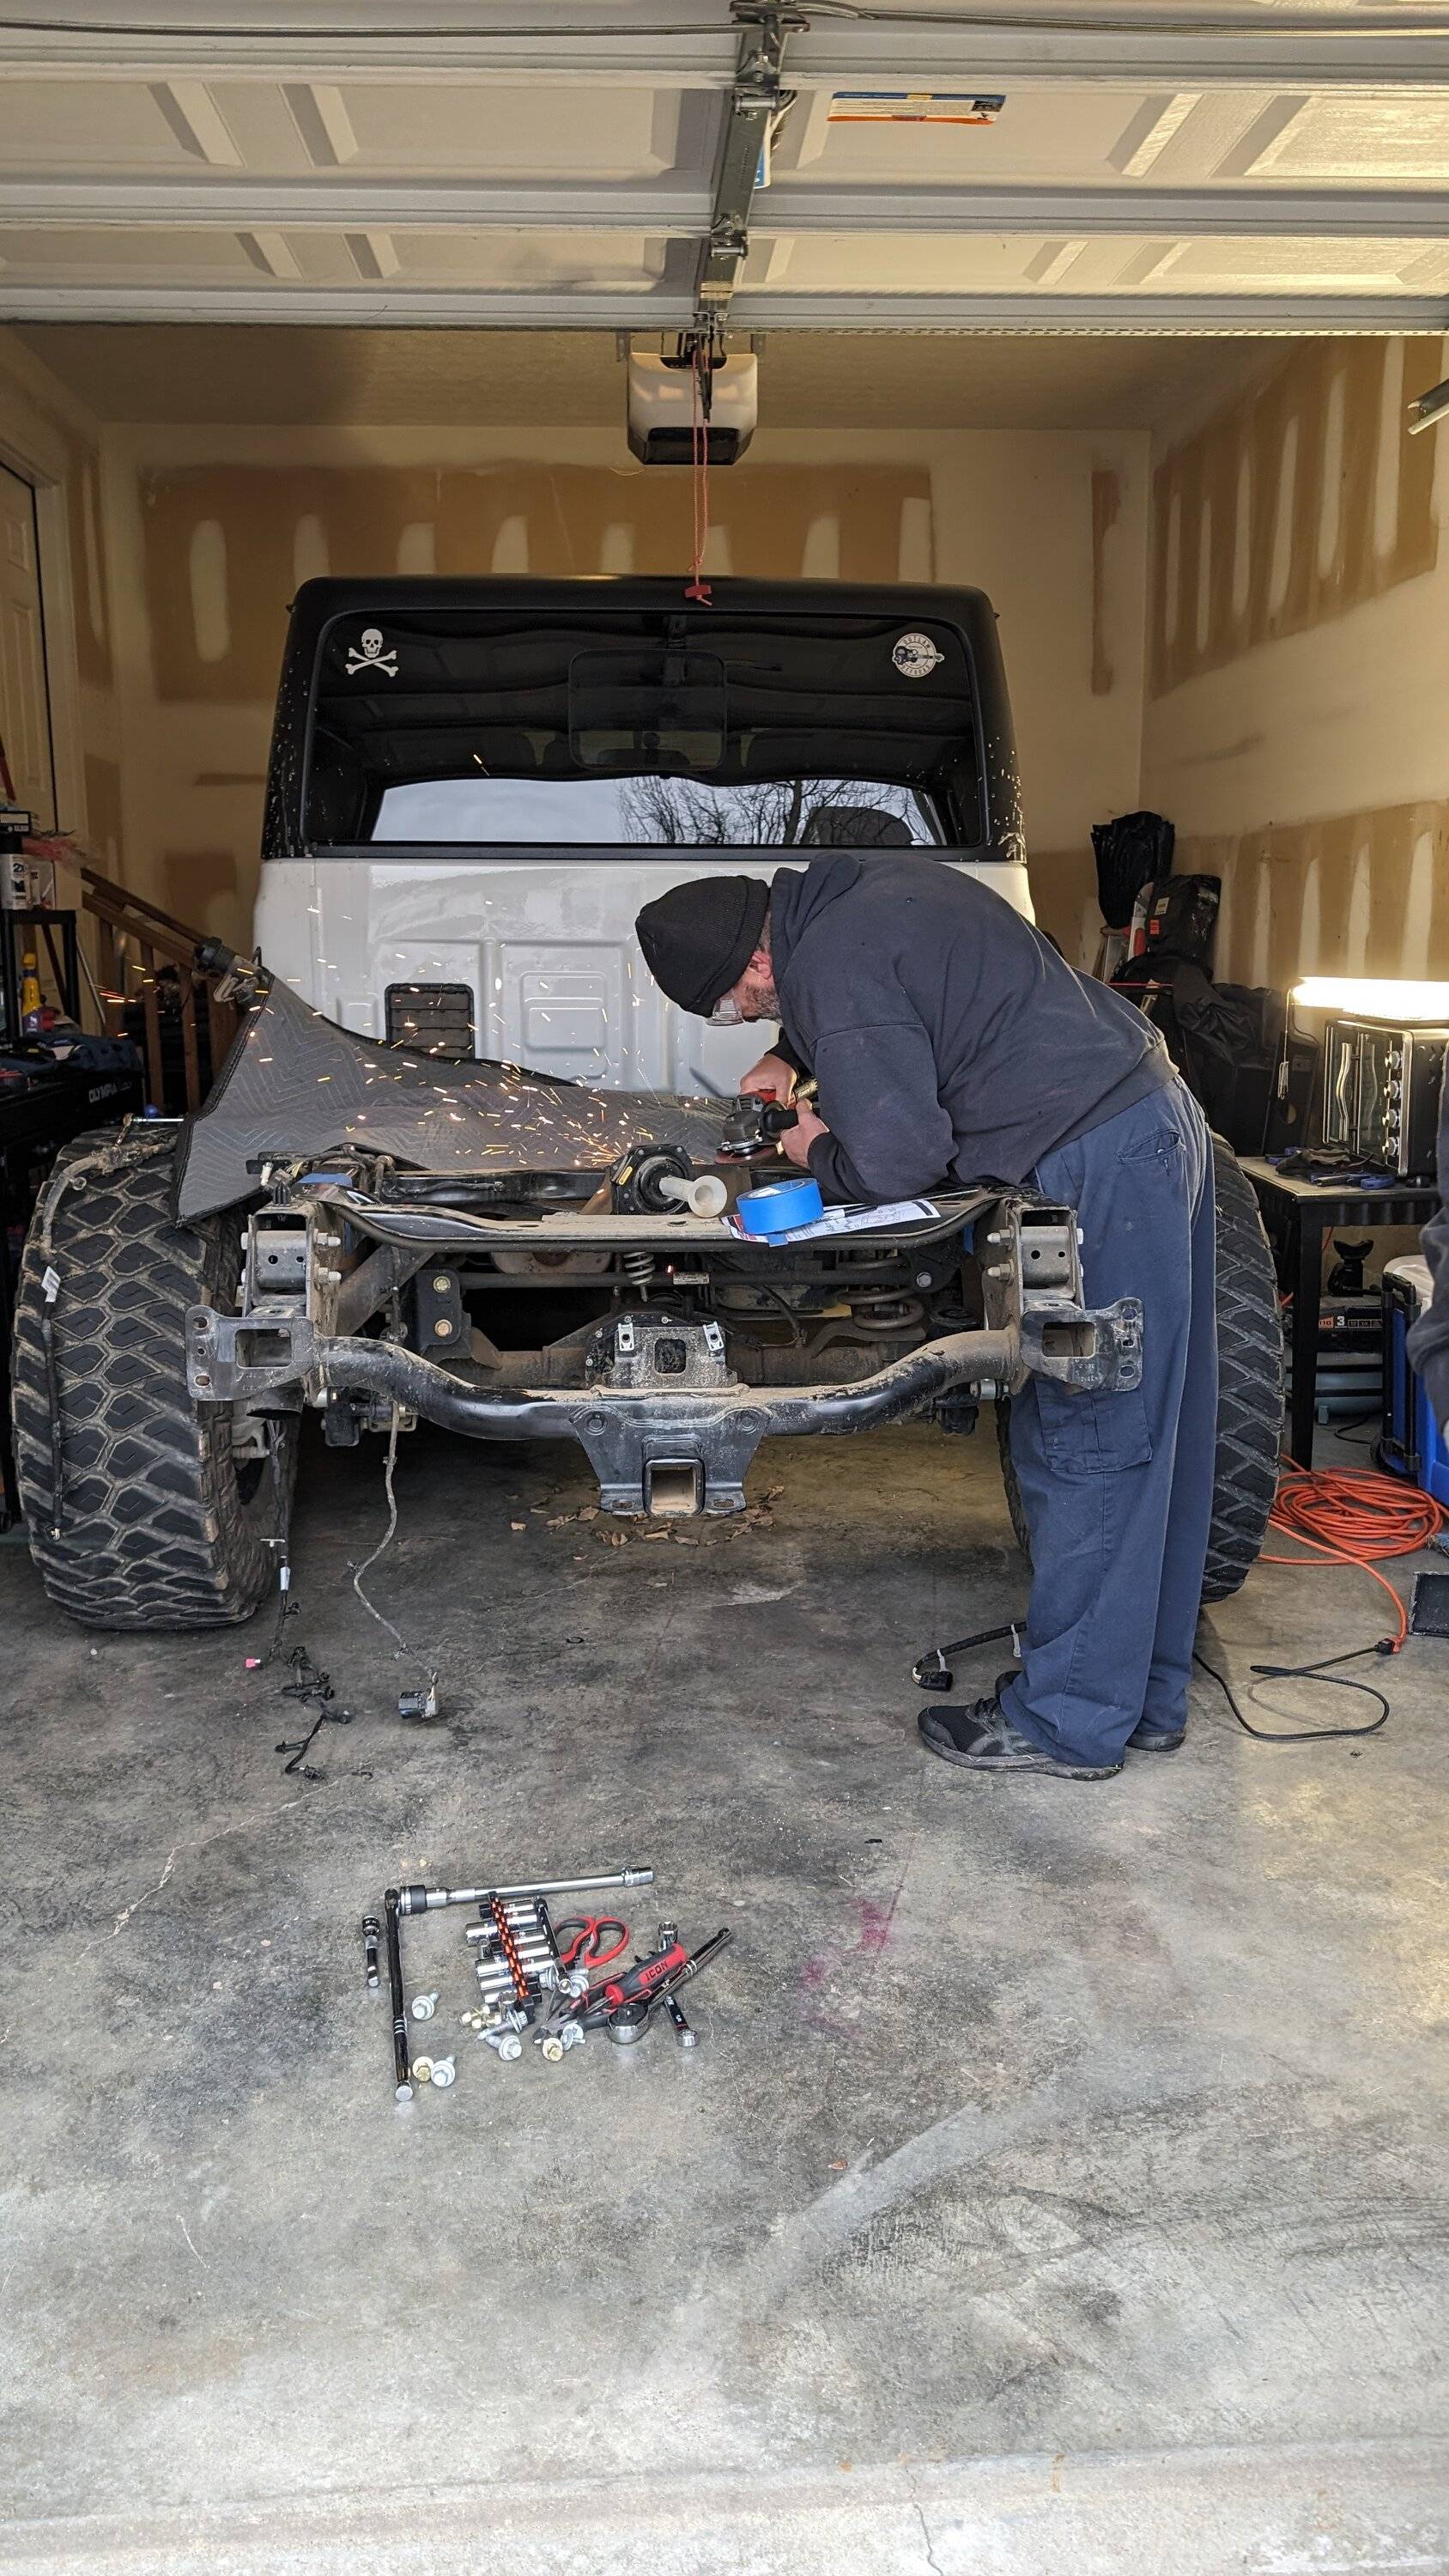
Then it was first cut to the frame, my buddy Mike was having too much fun cutting and hogged most of the good times -
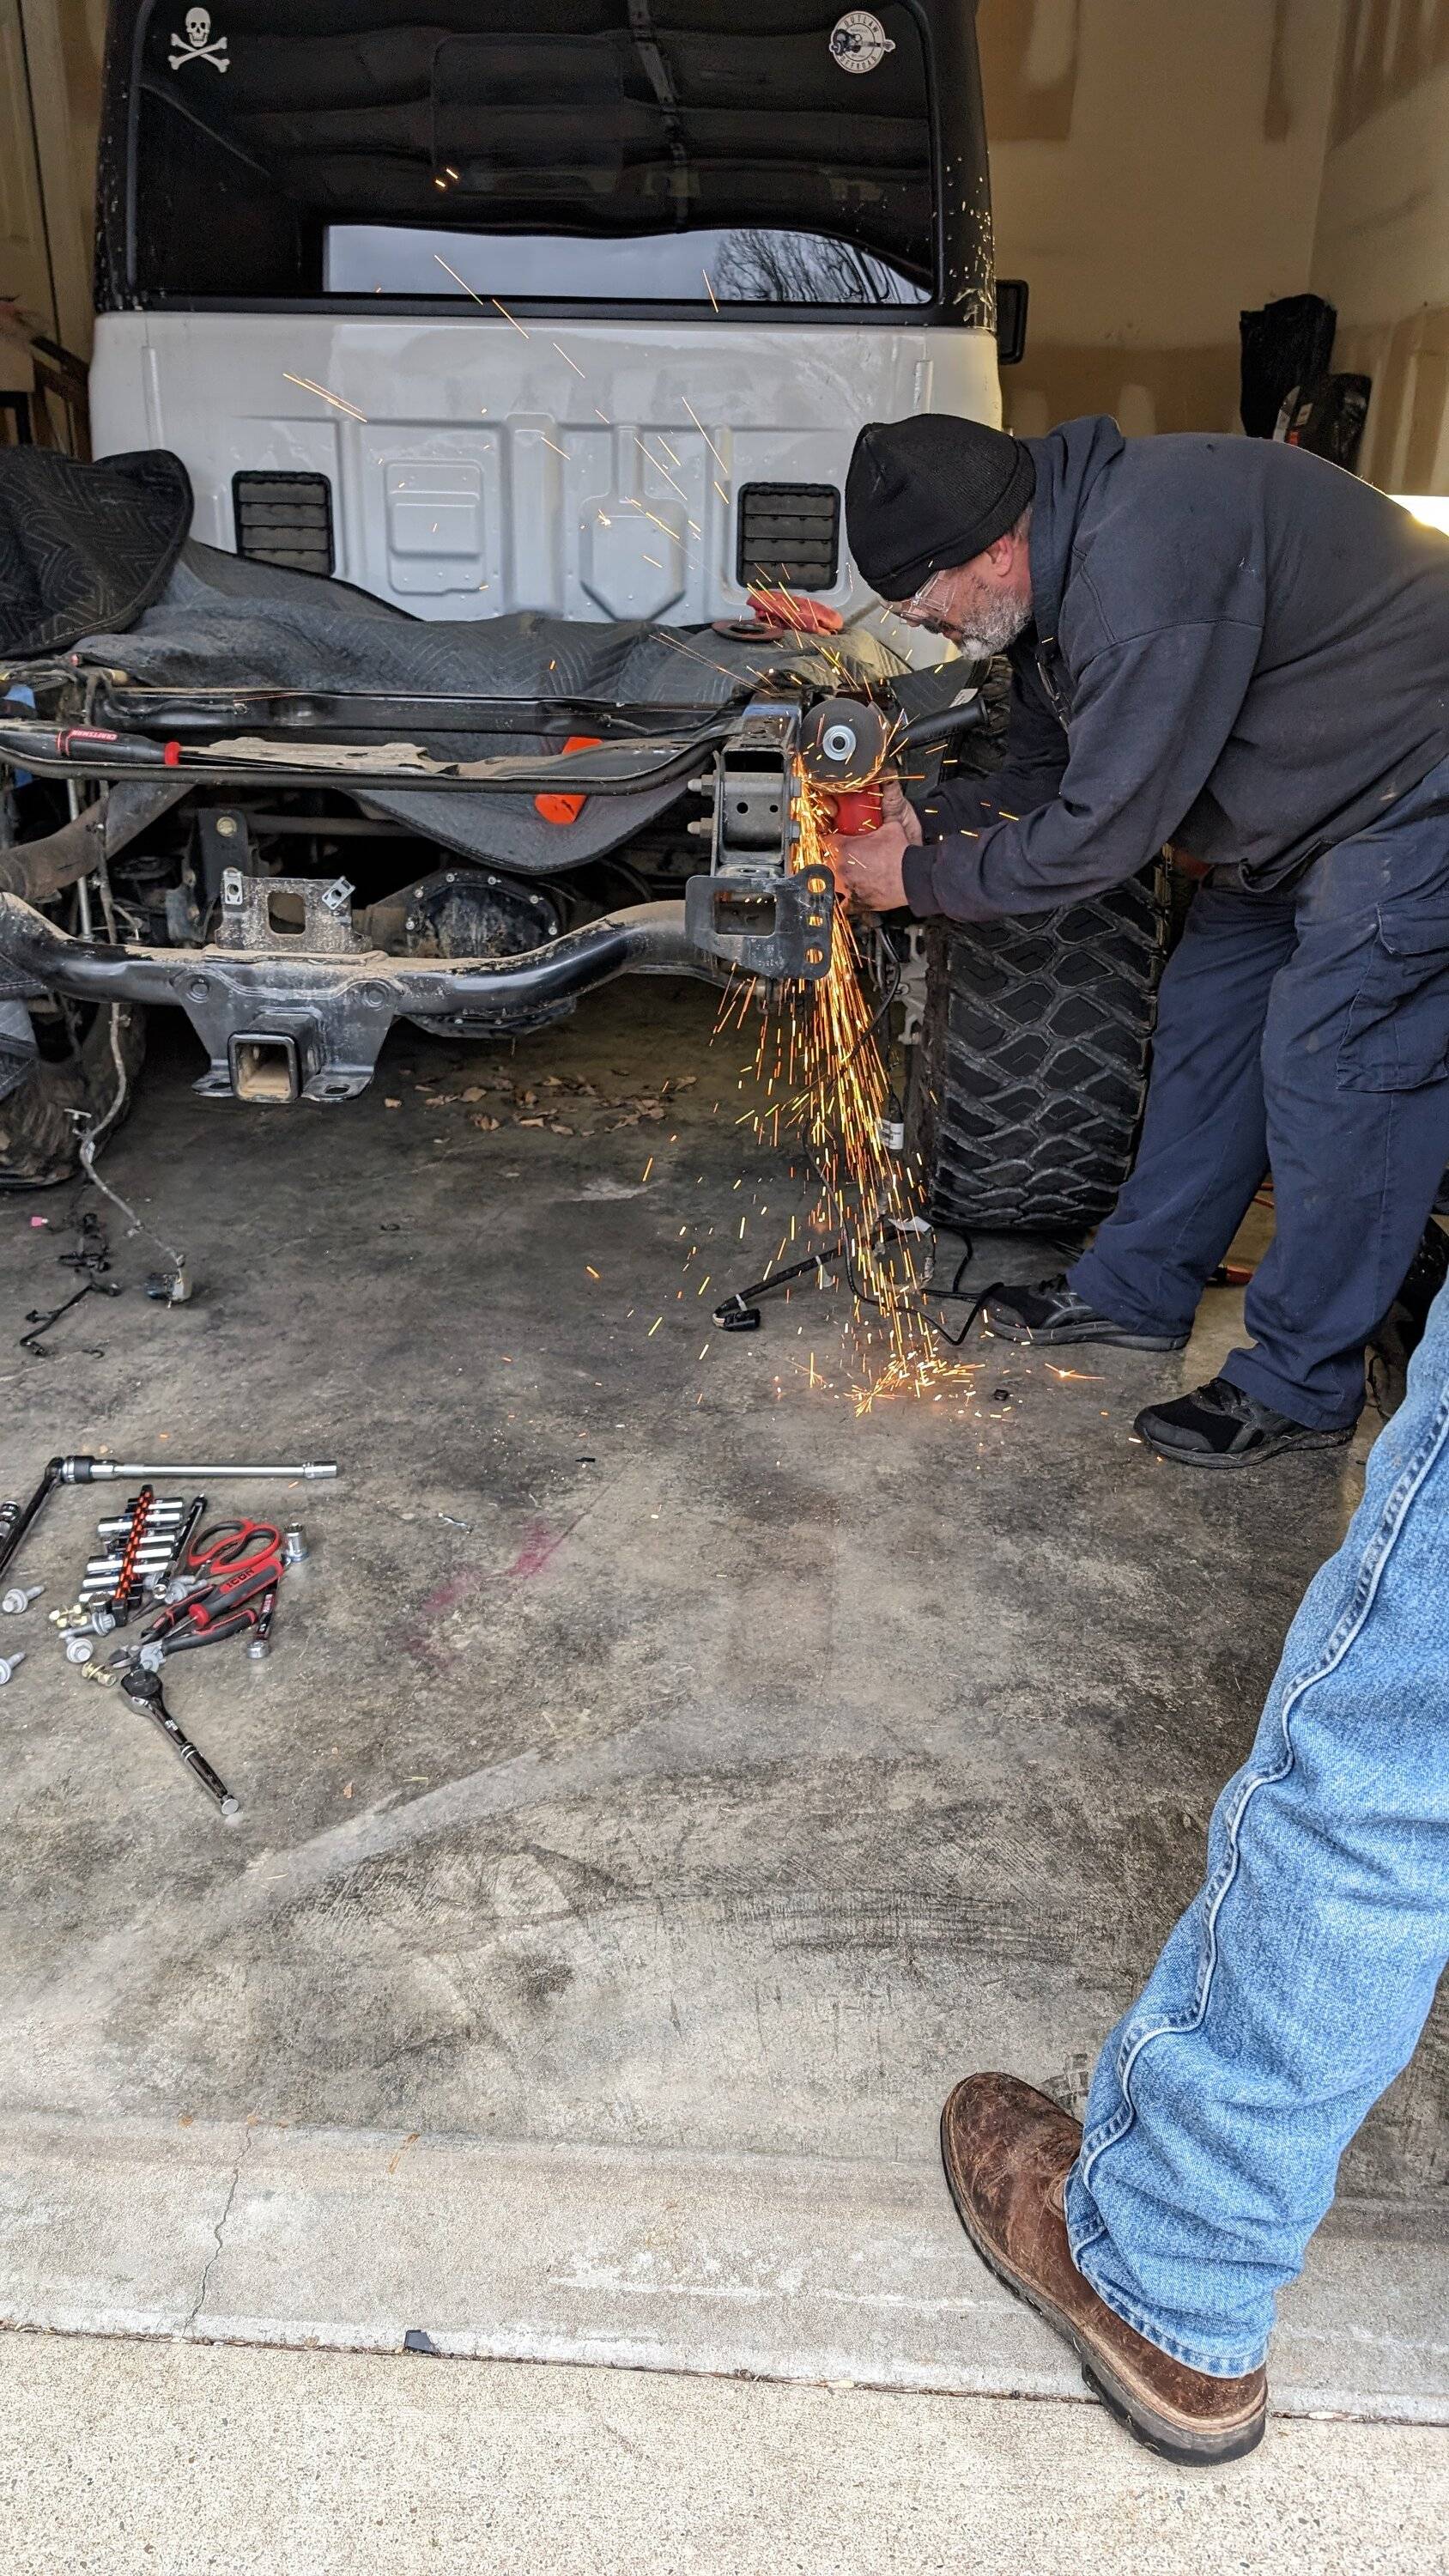
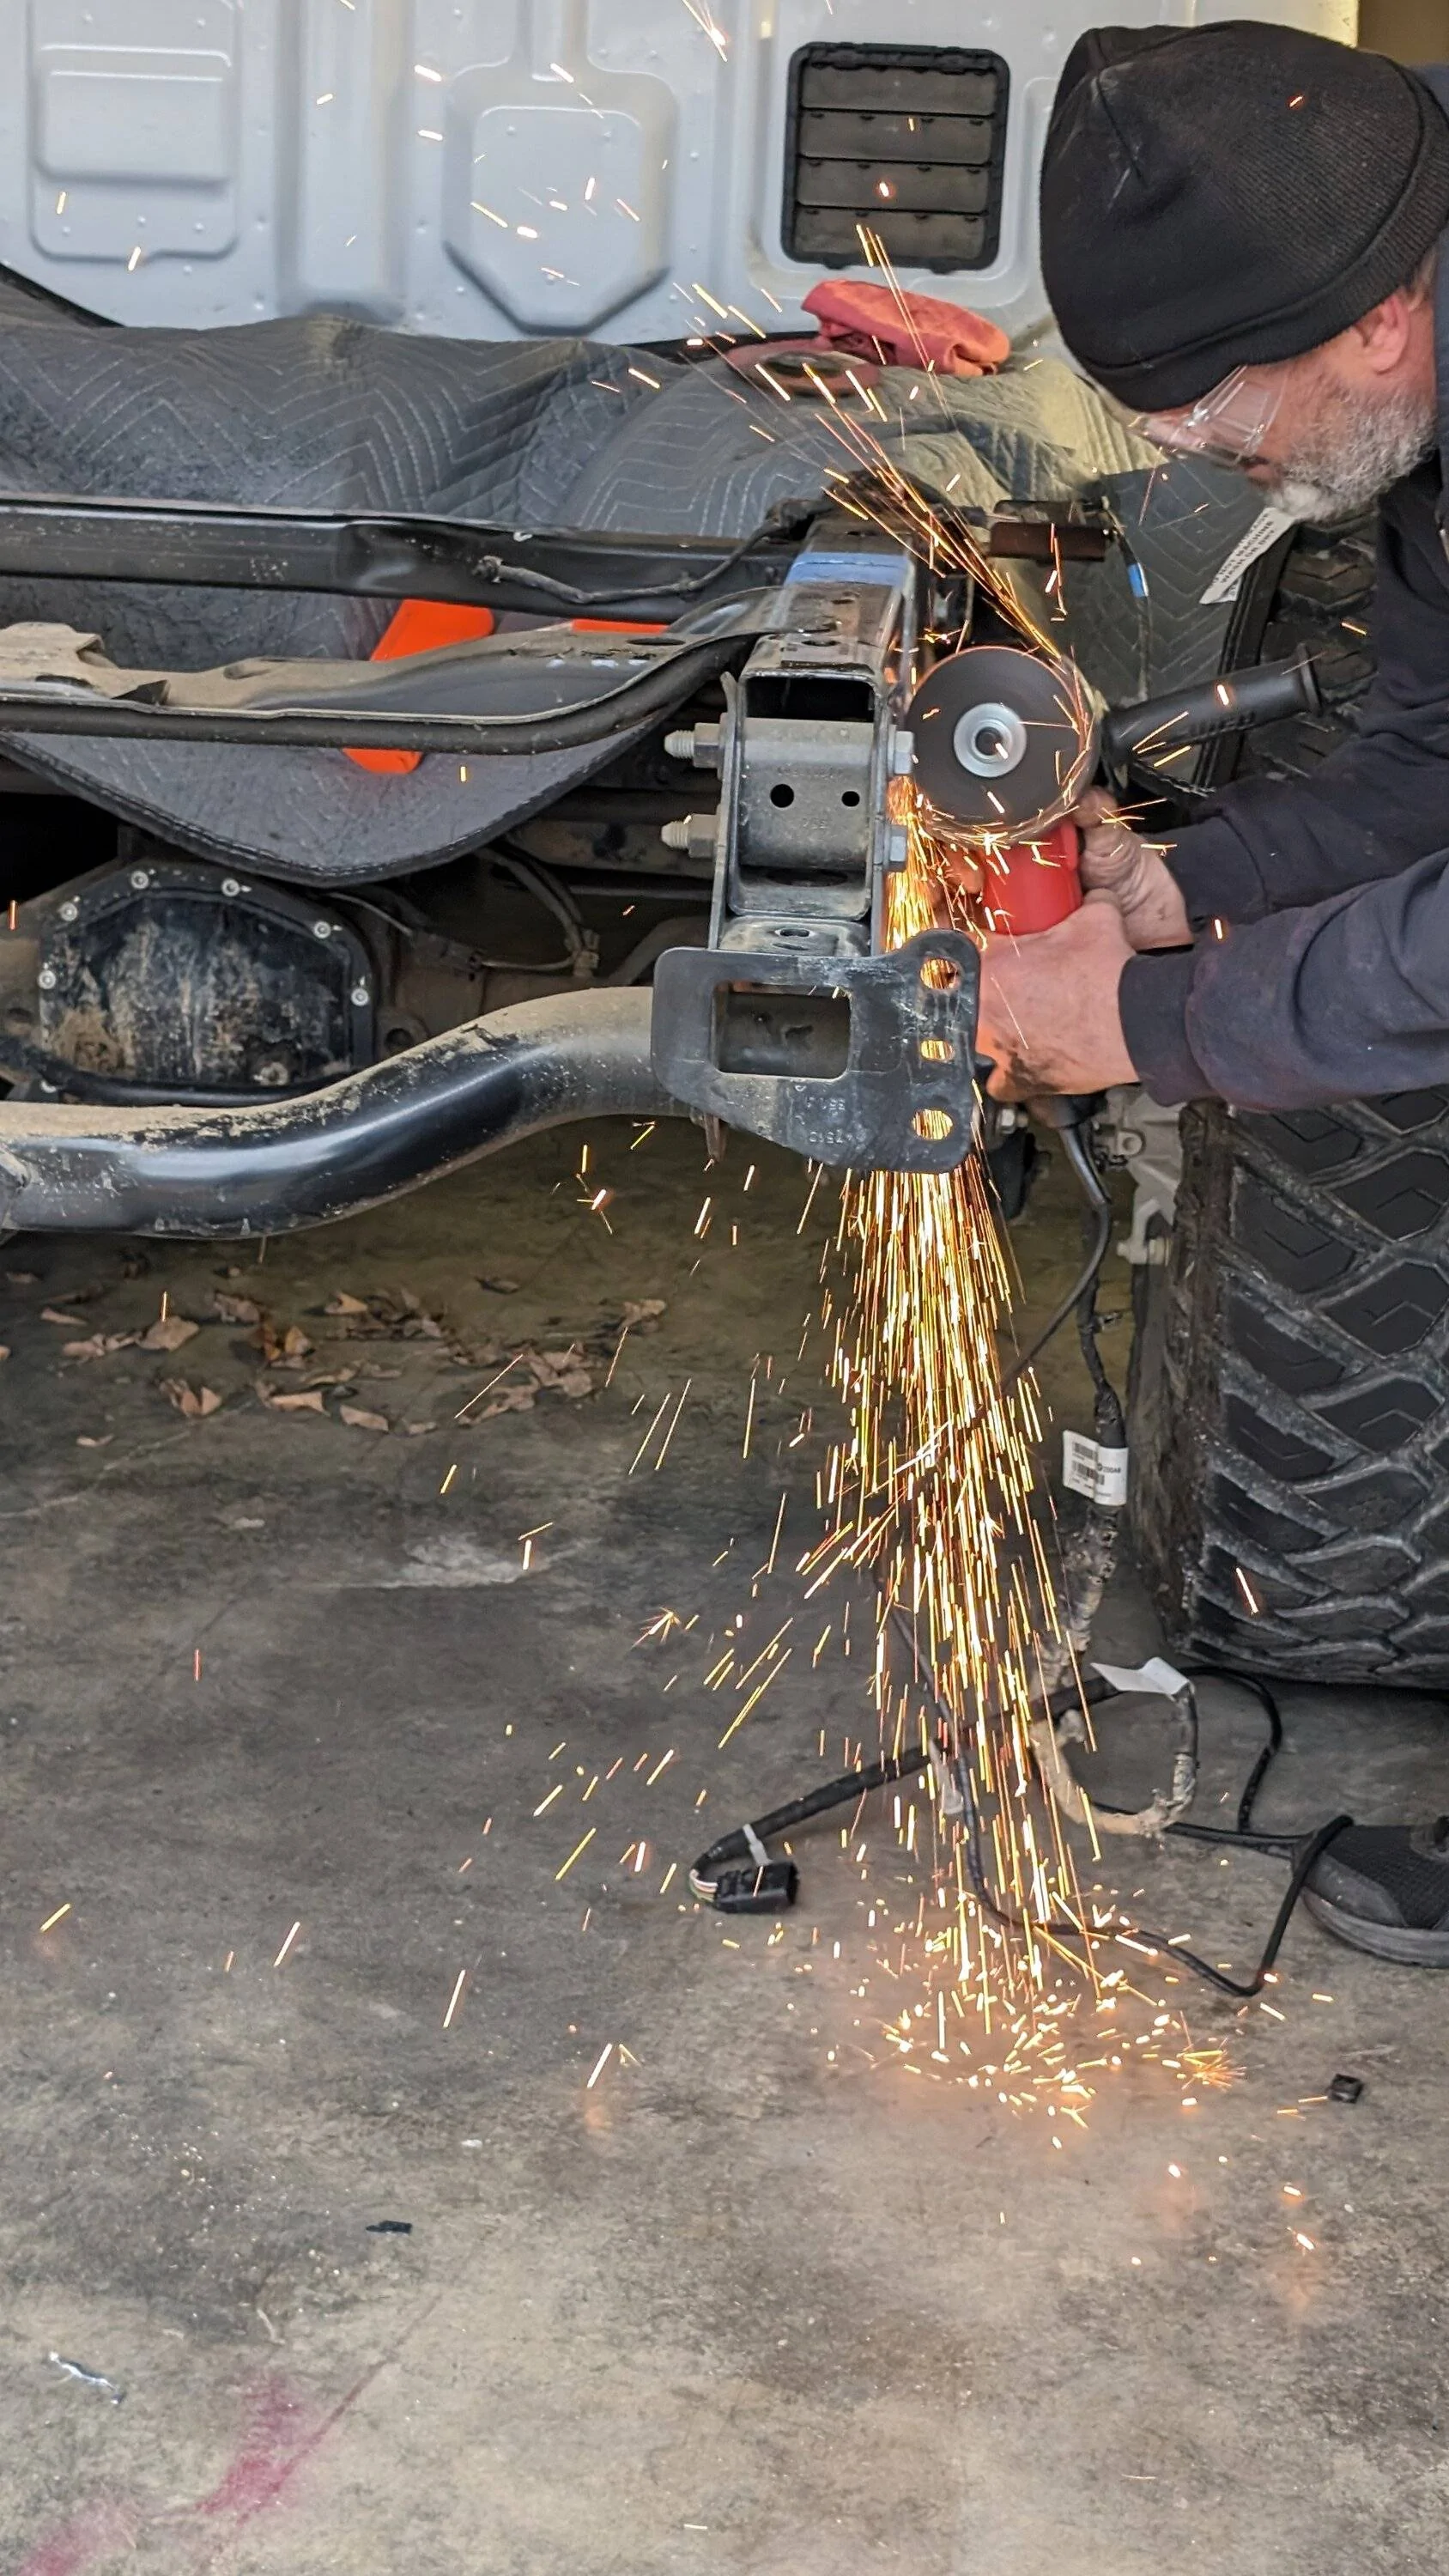
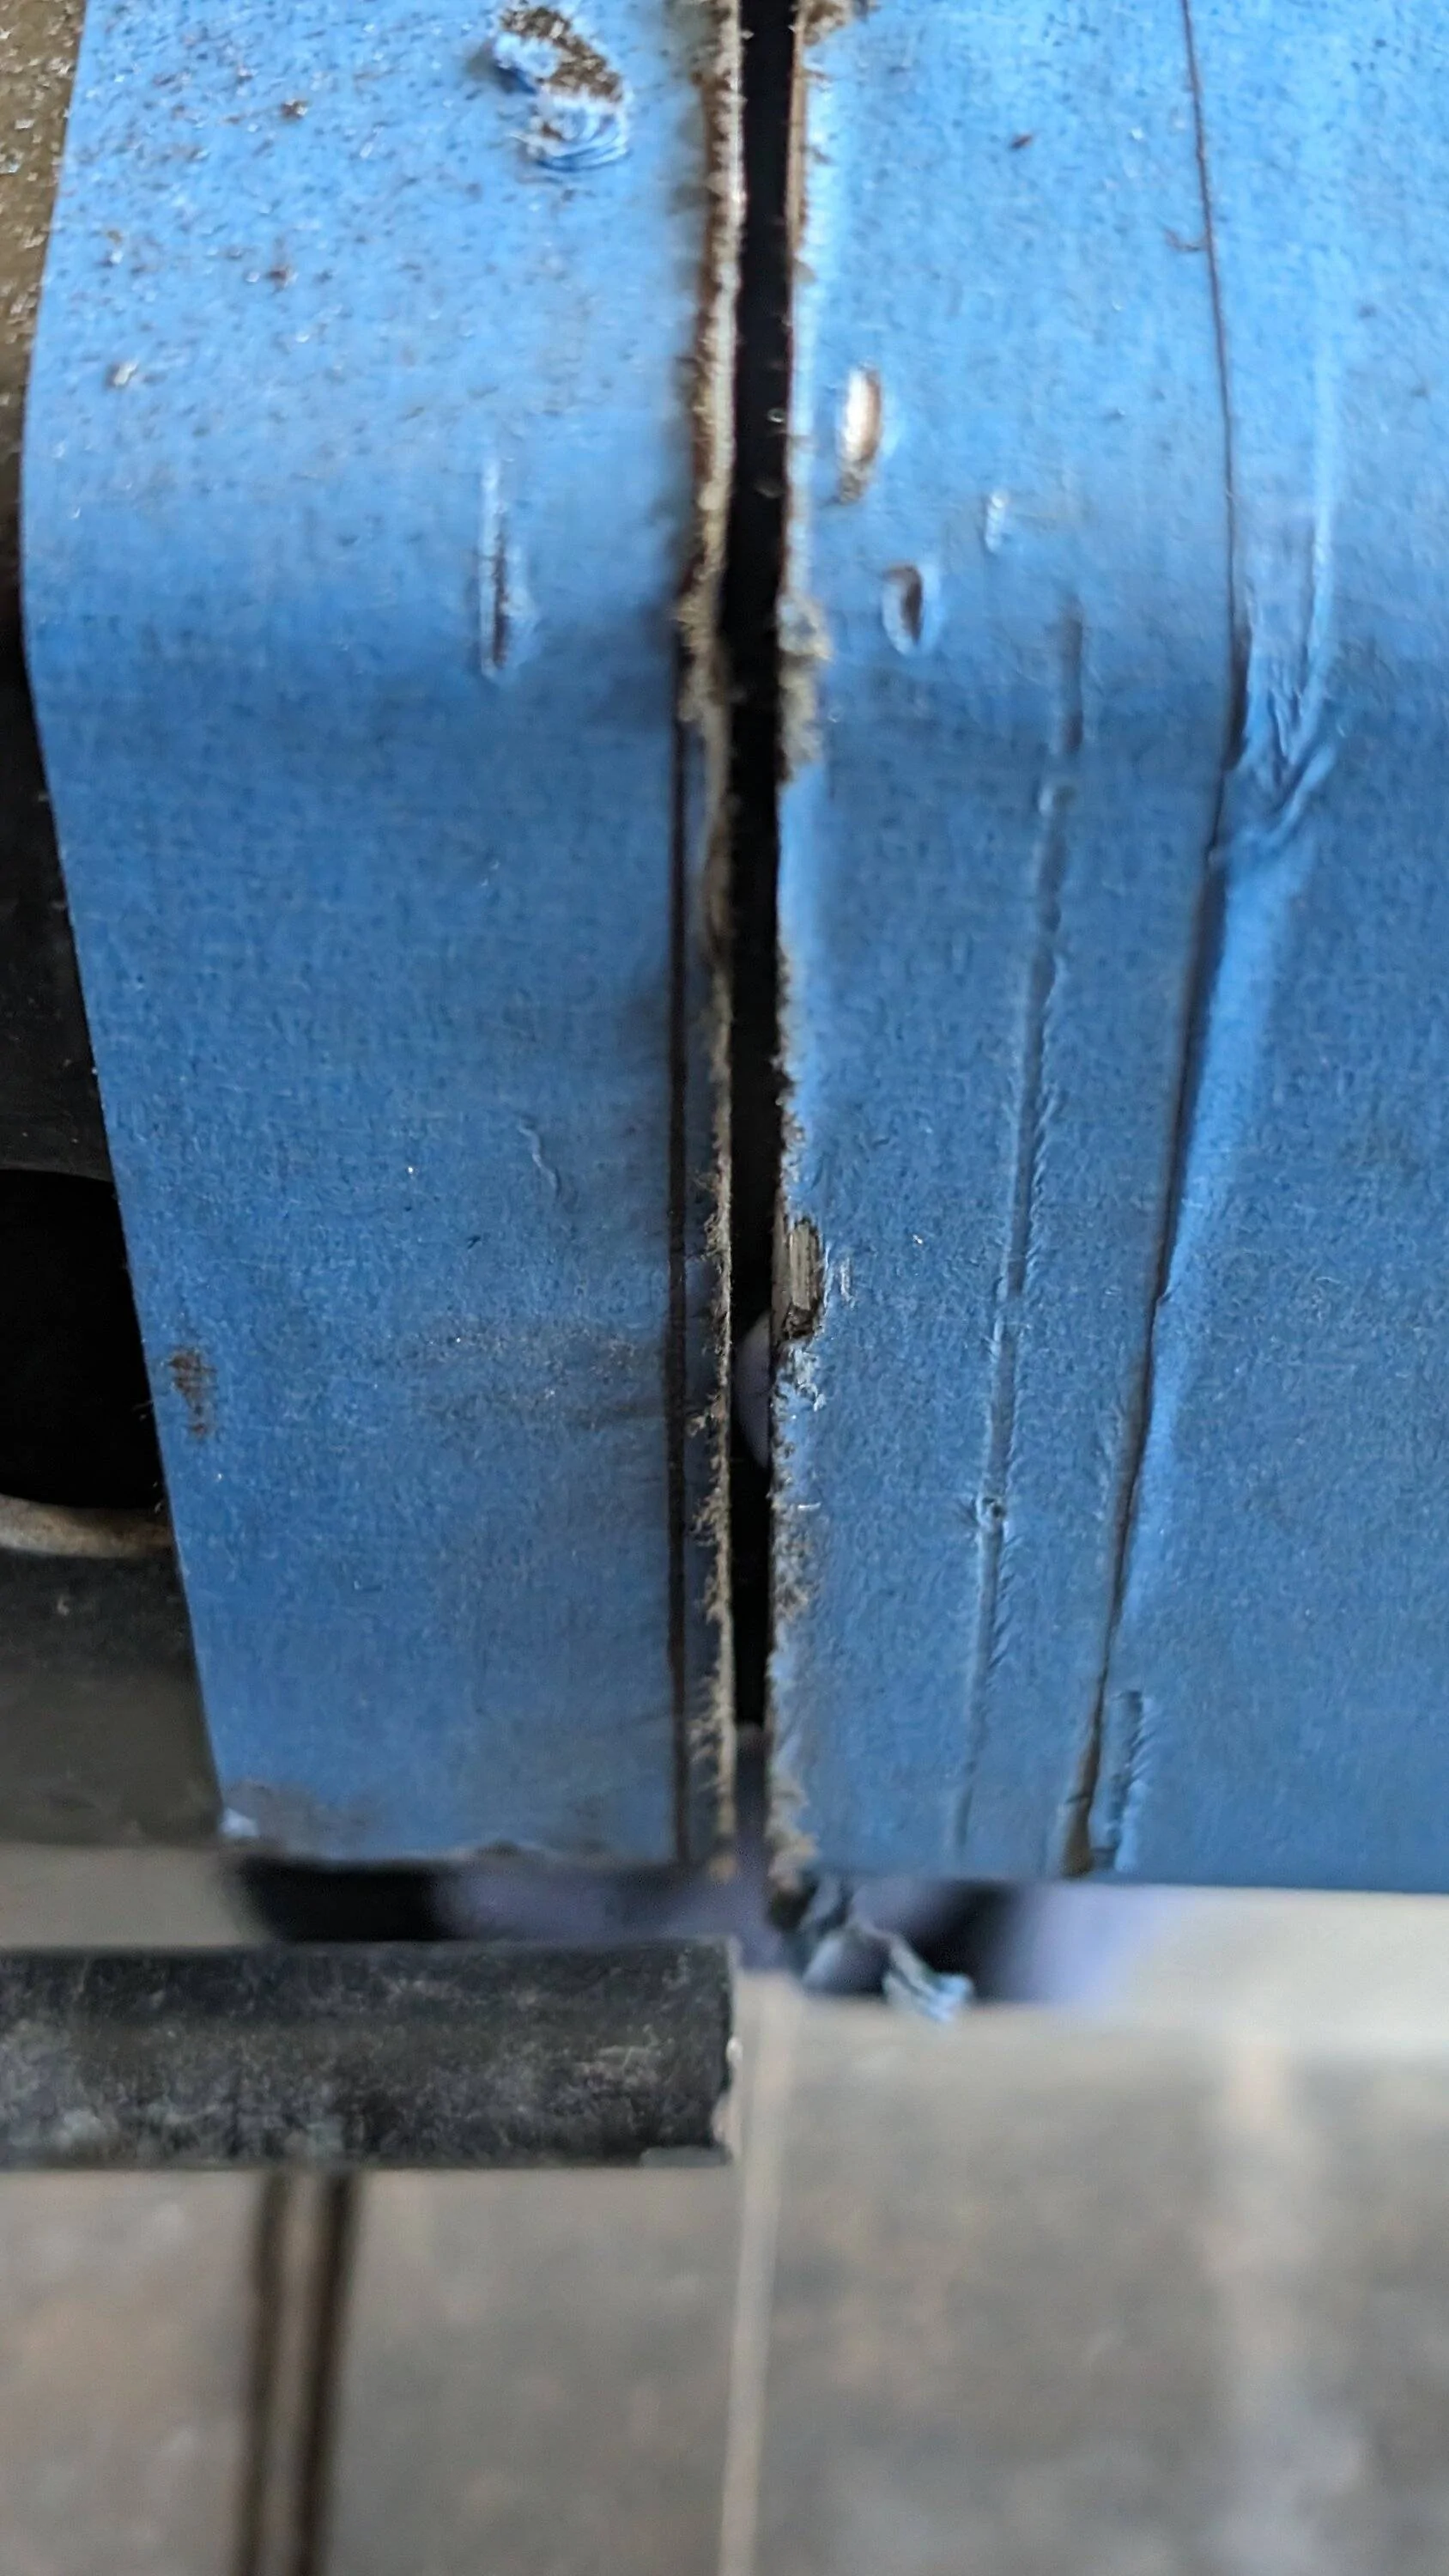
And then it was gone -
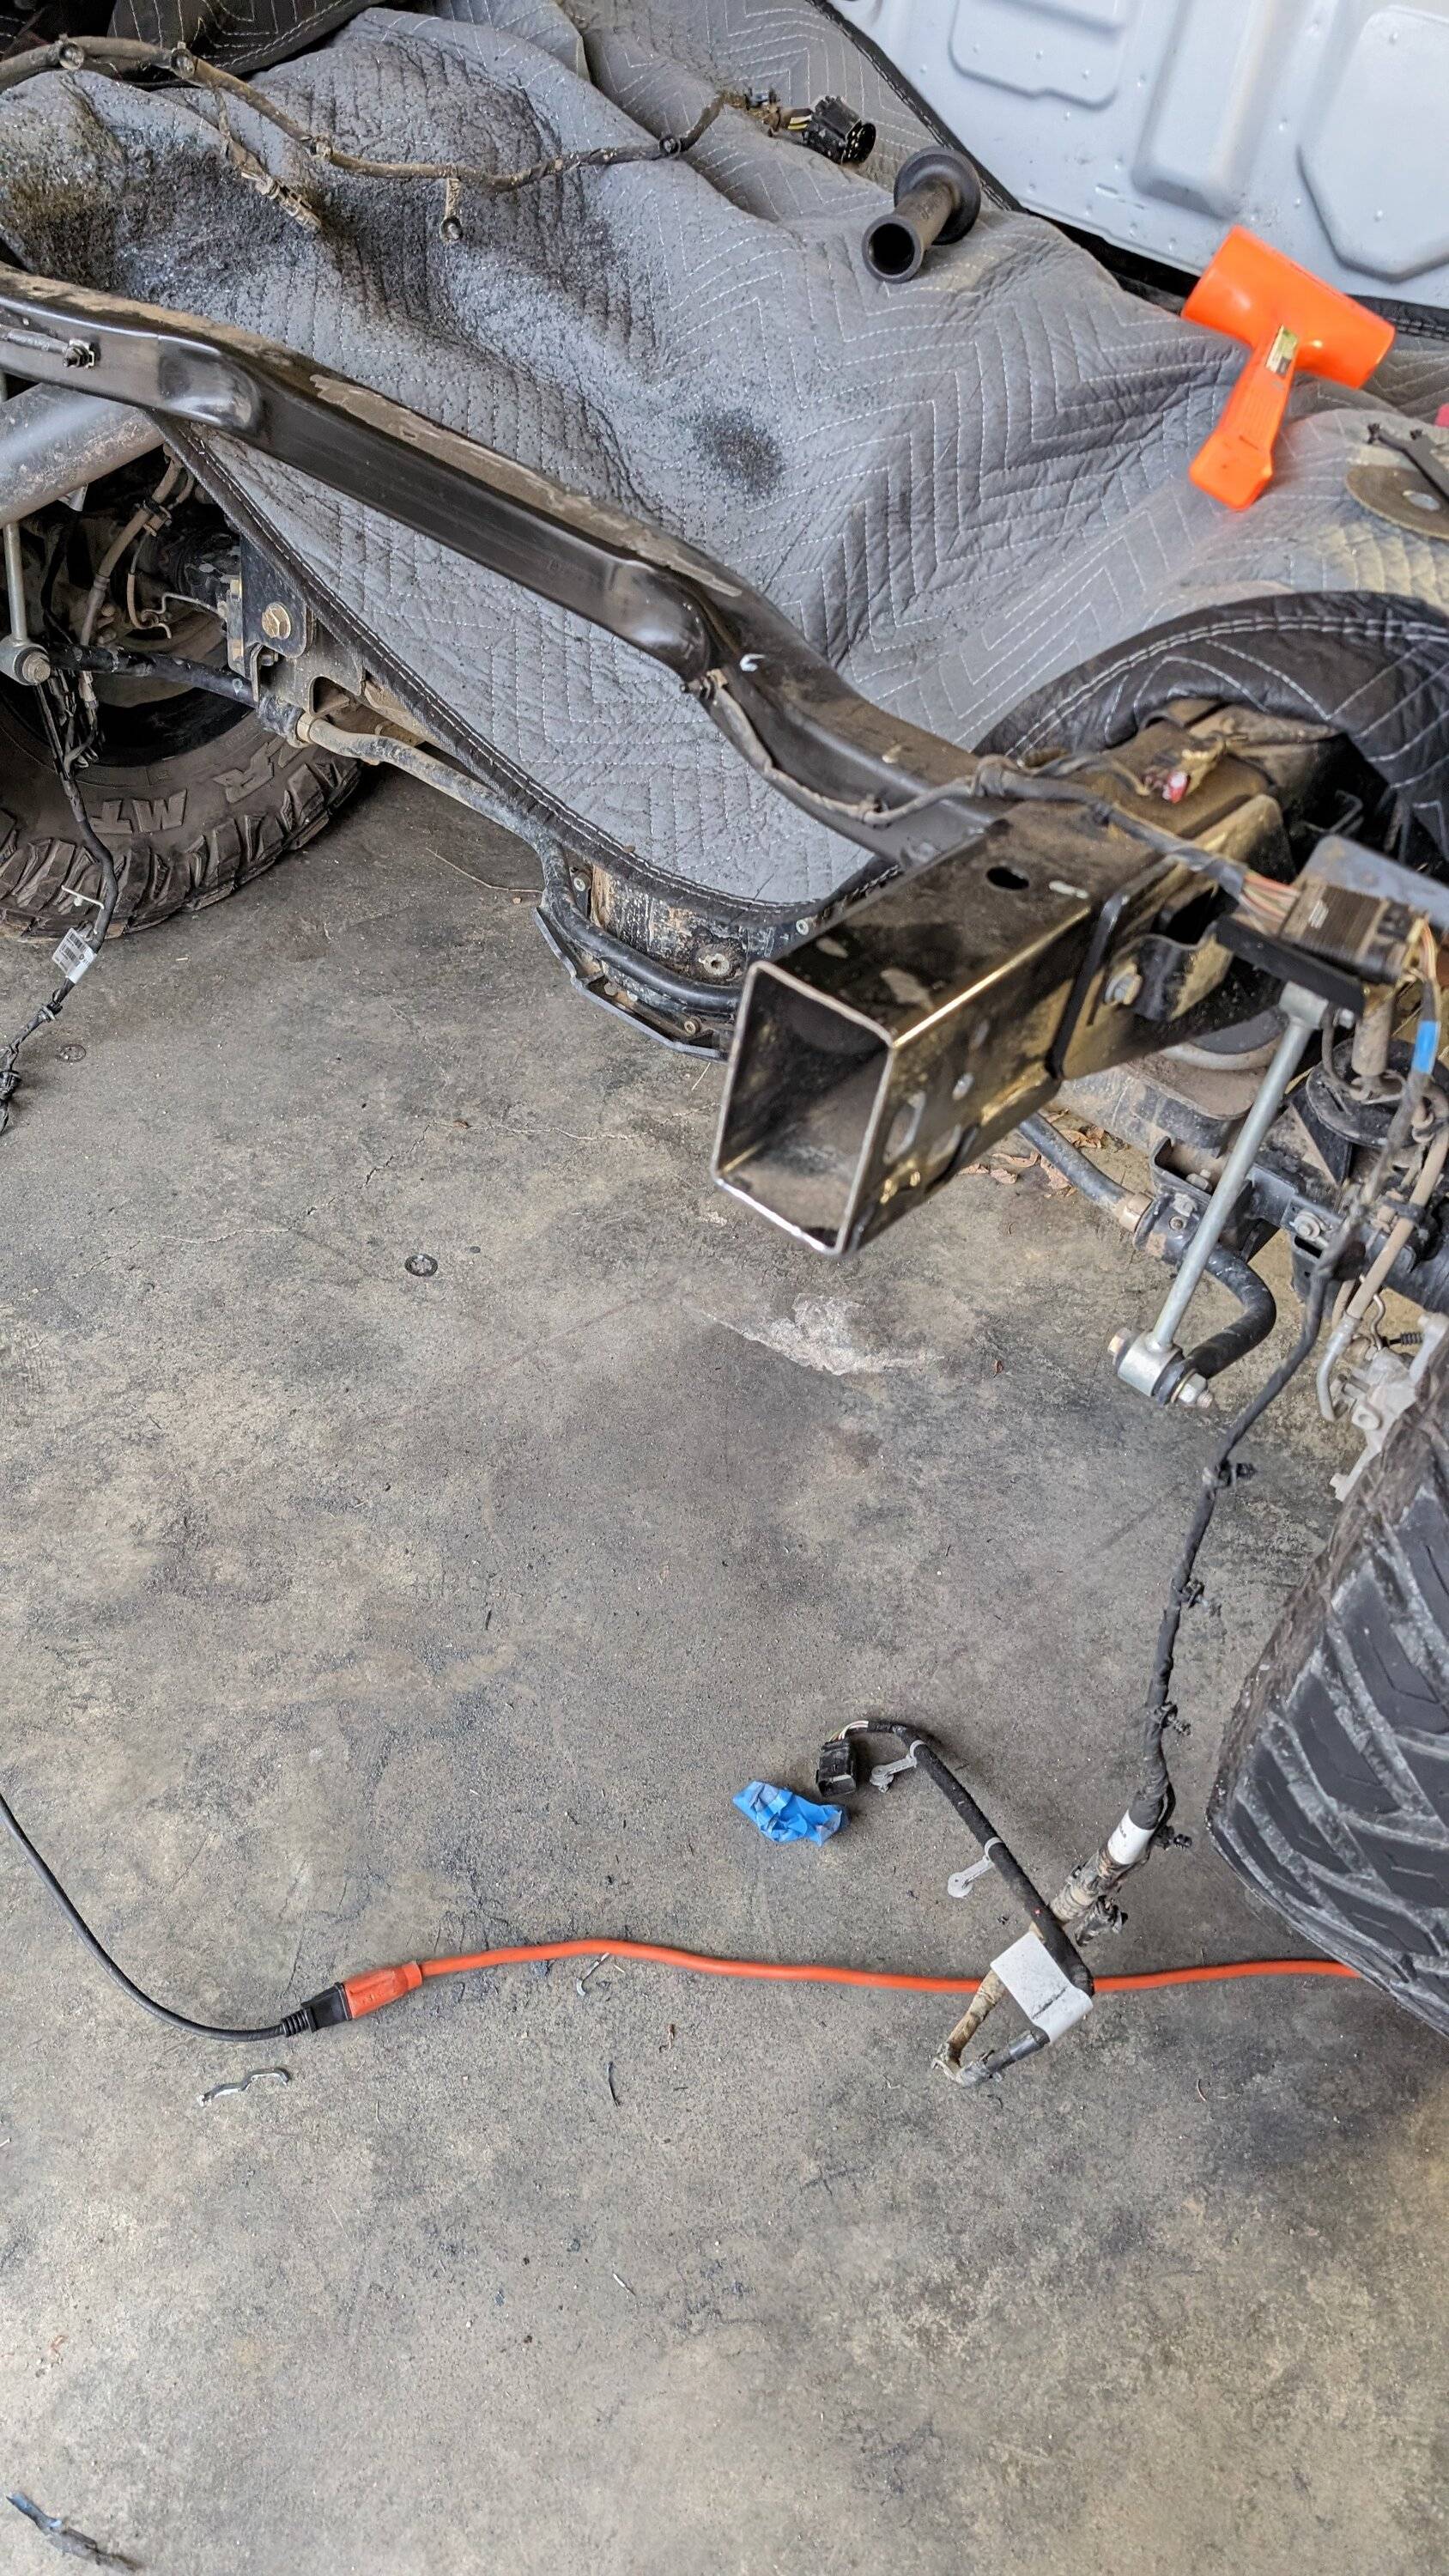
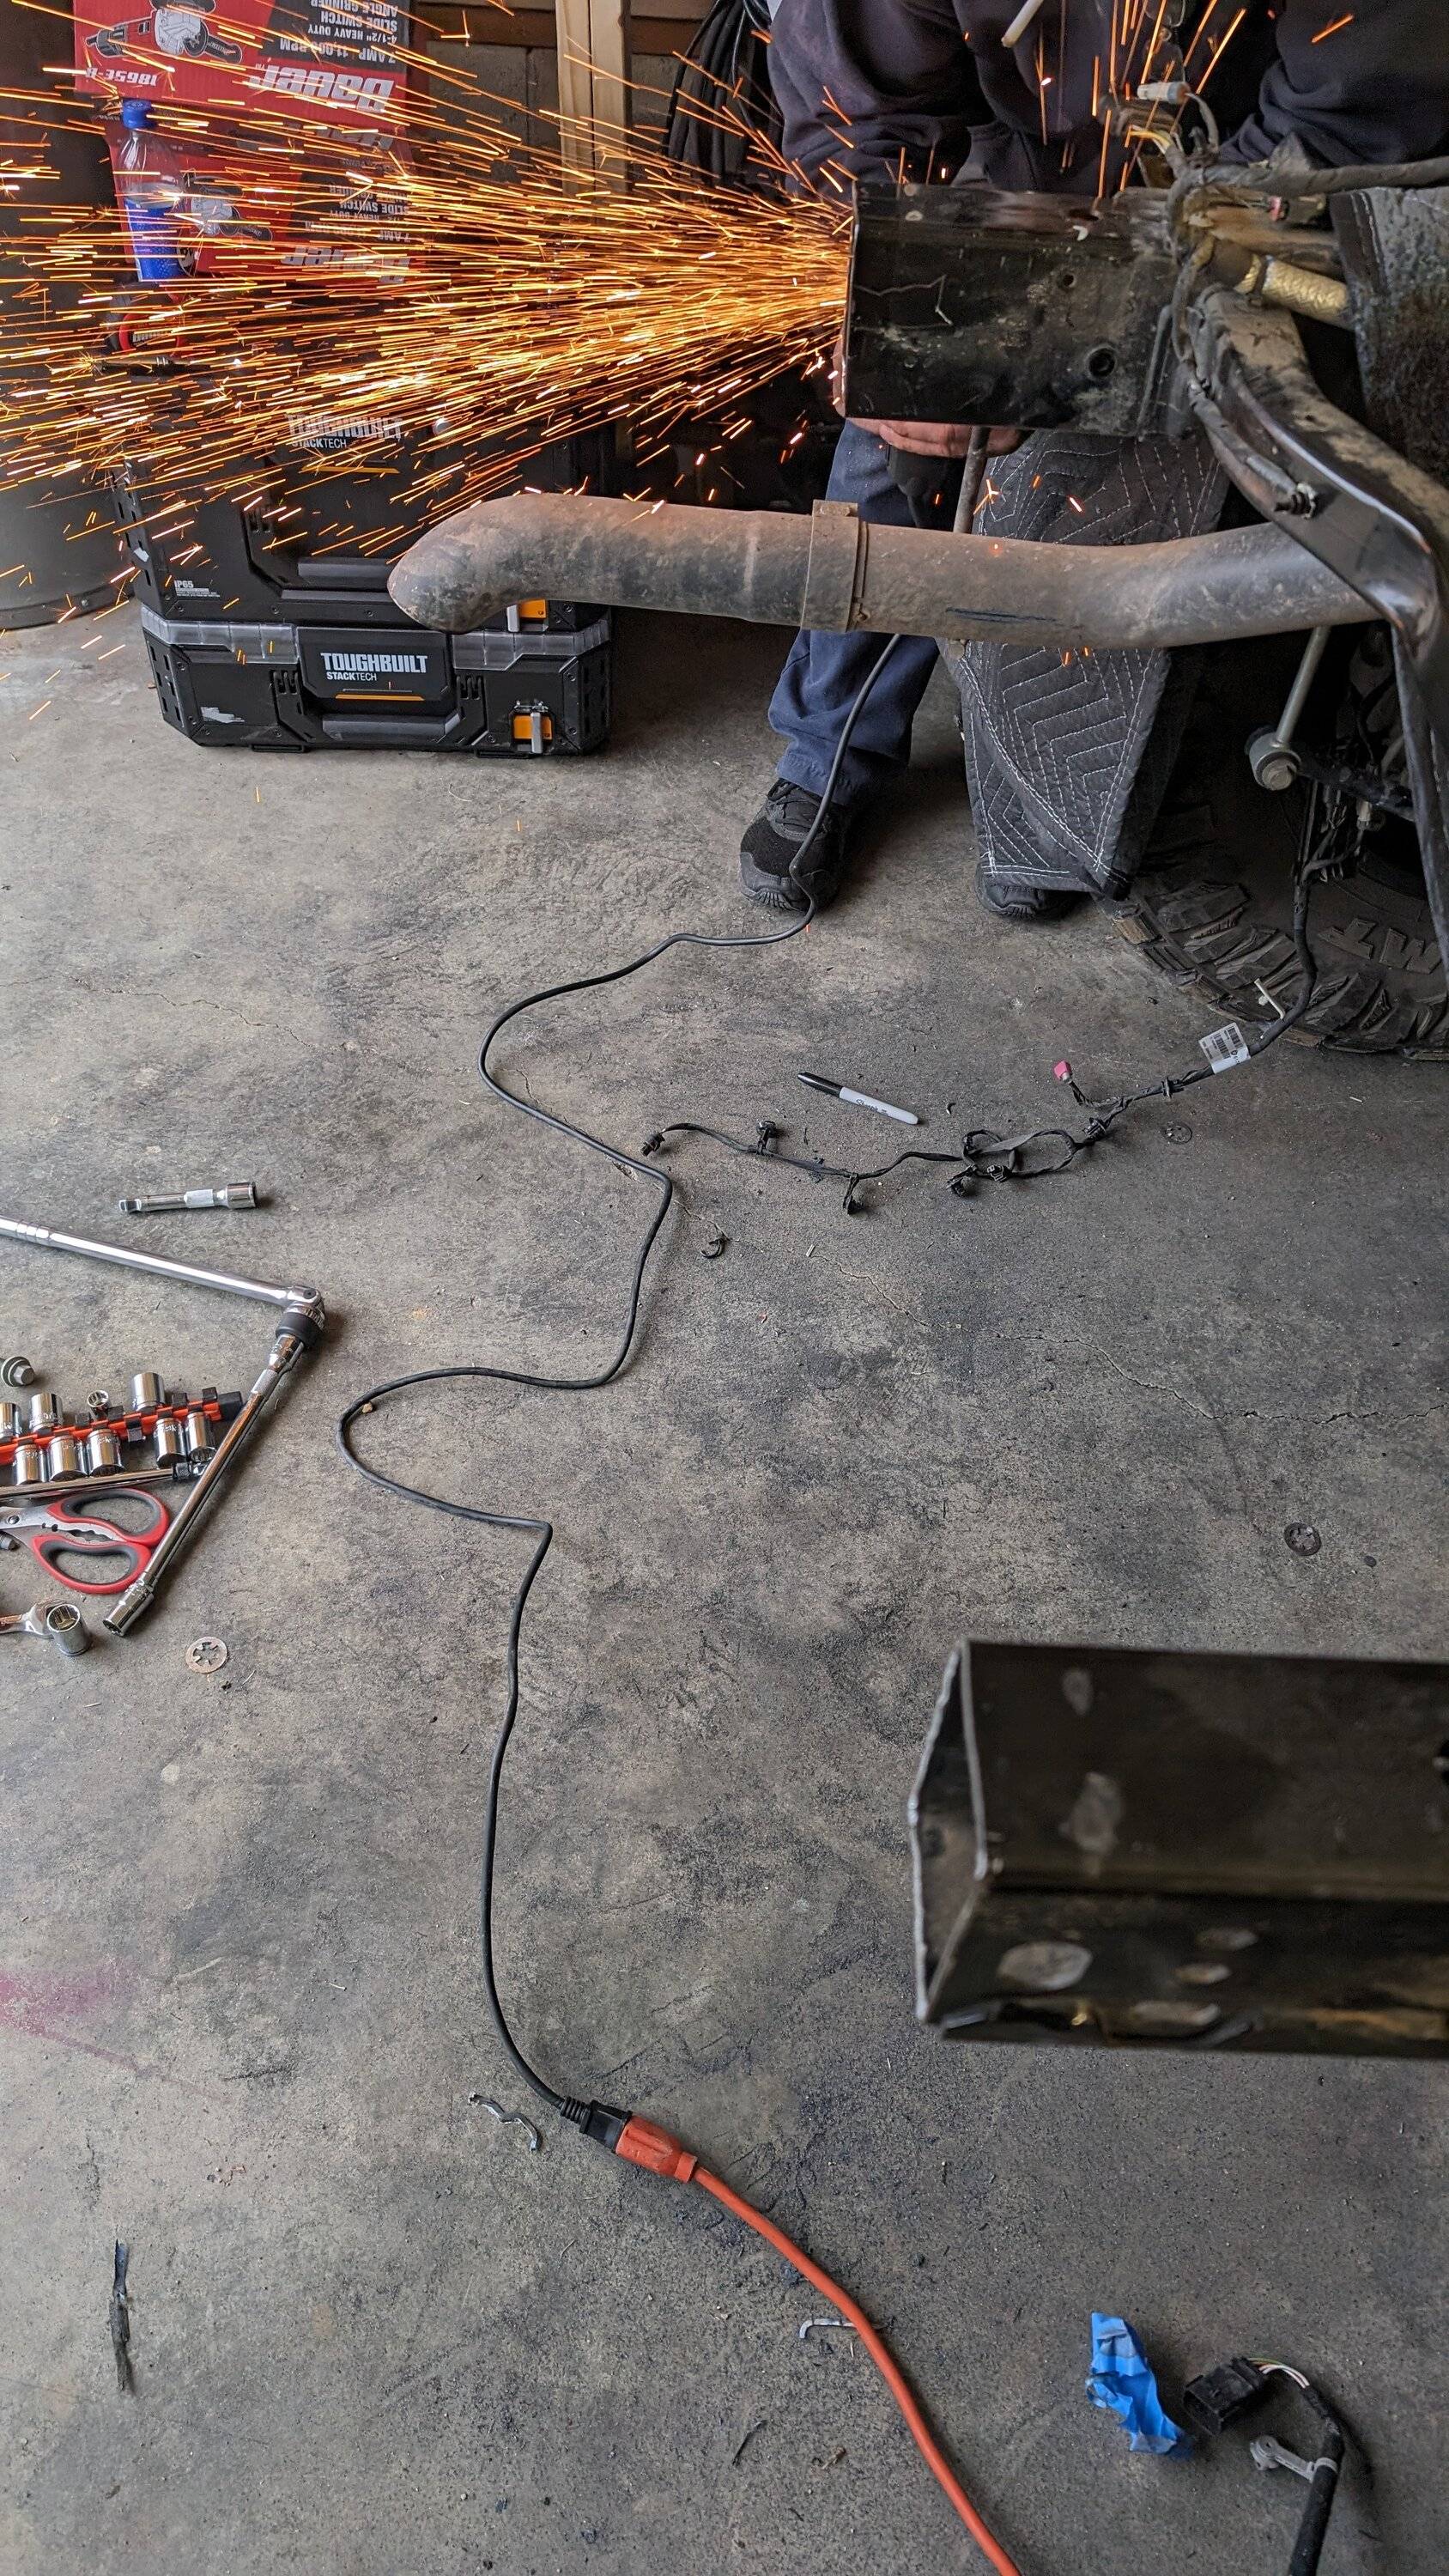
So far that's most of the hard part completed, remember that weird bracket on the underside of the passenger frame? You can see it in the preceding two pictures if you look for it, that bracket which I cannot fathom a purpose for... was the single hardest piece to remove...
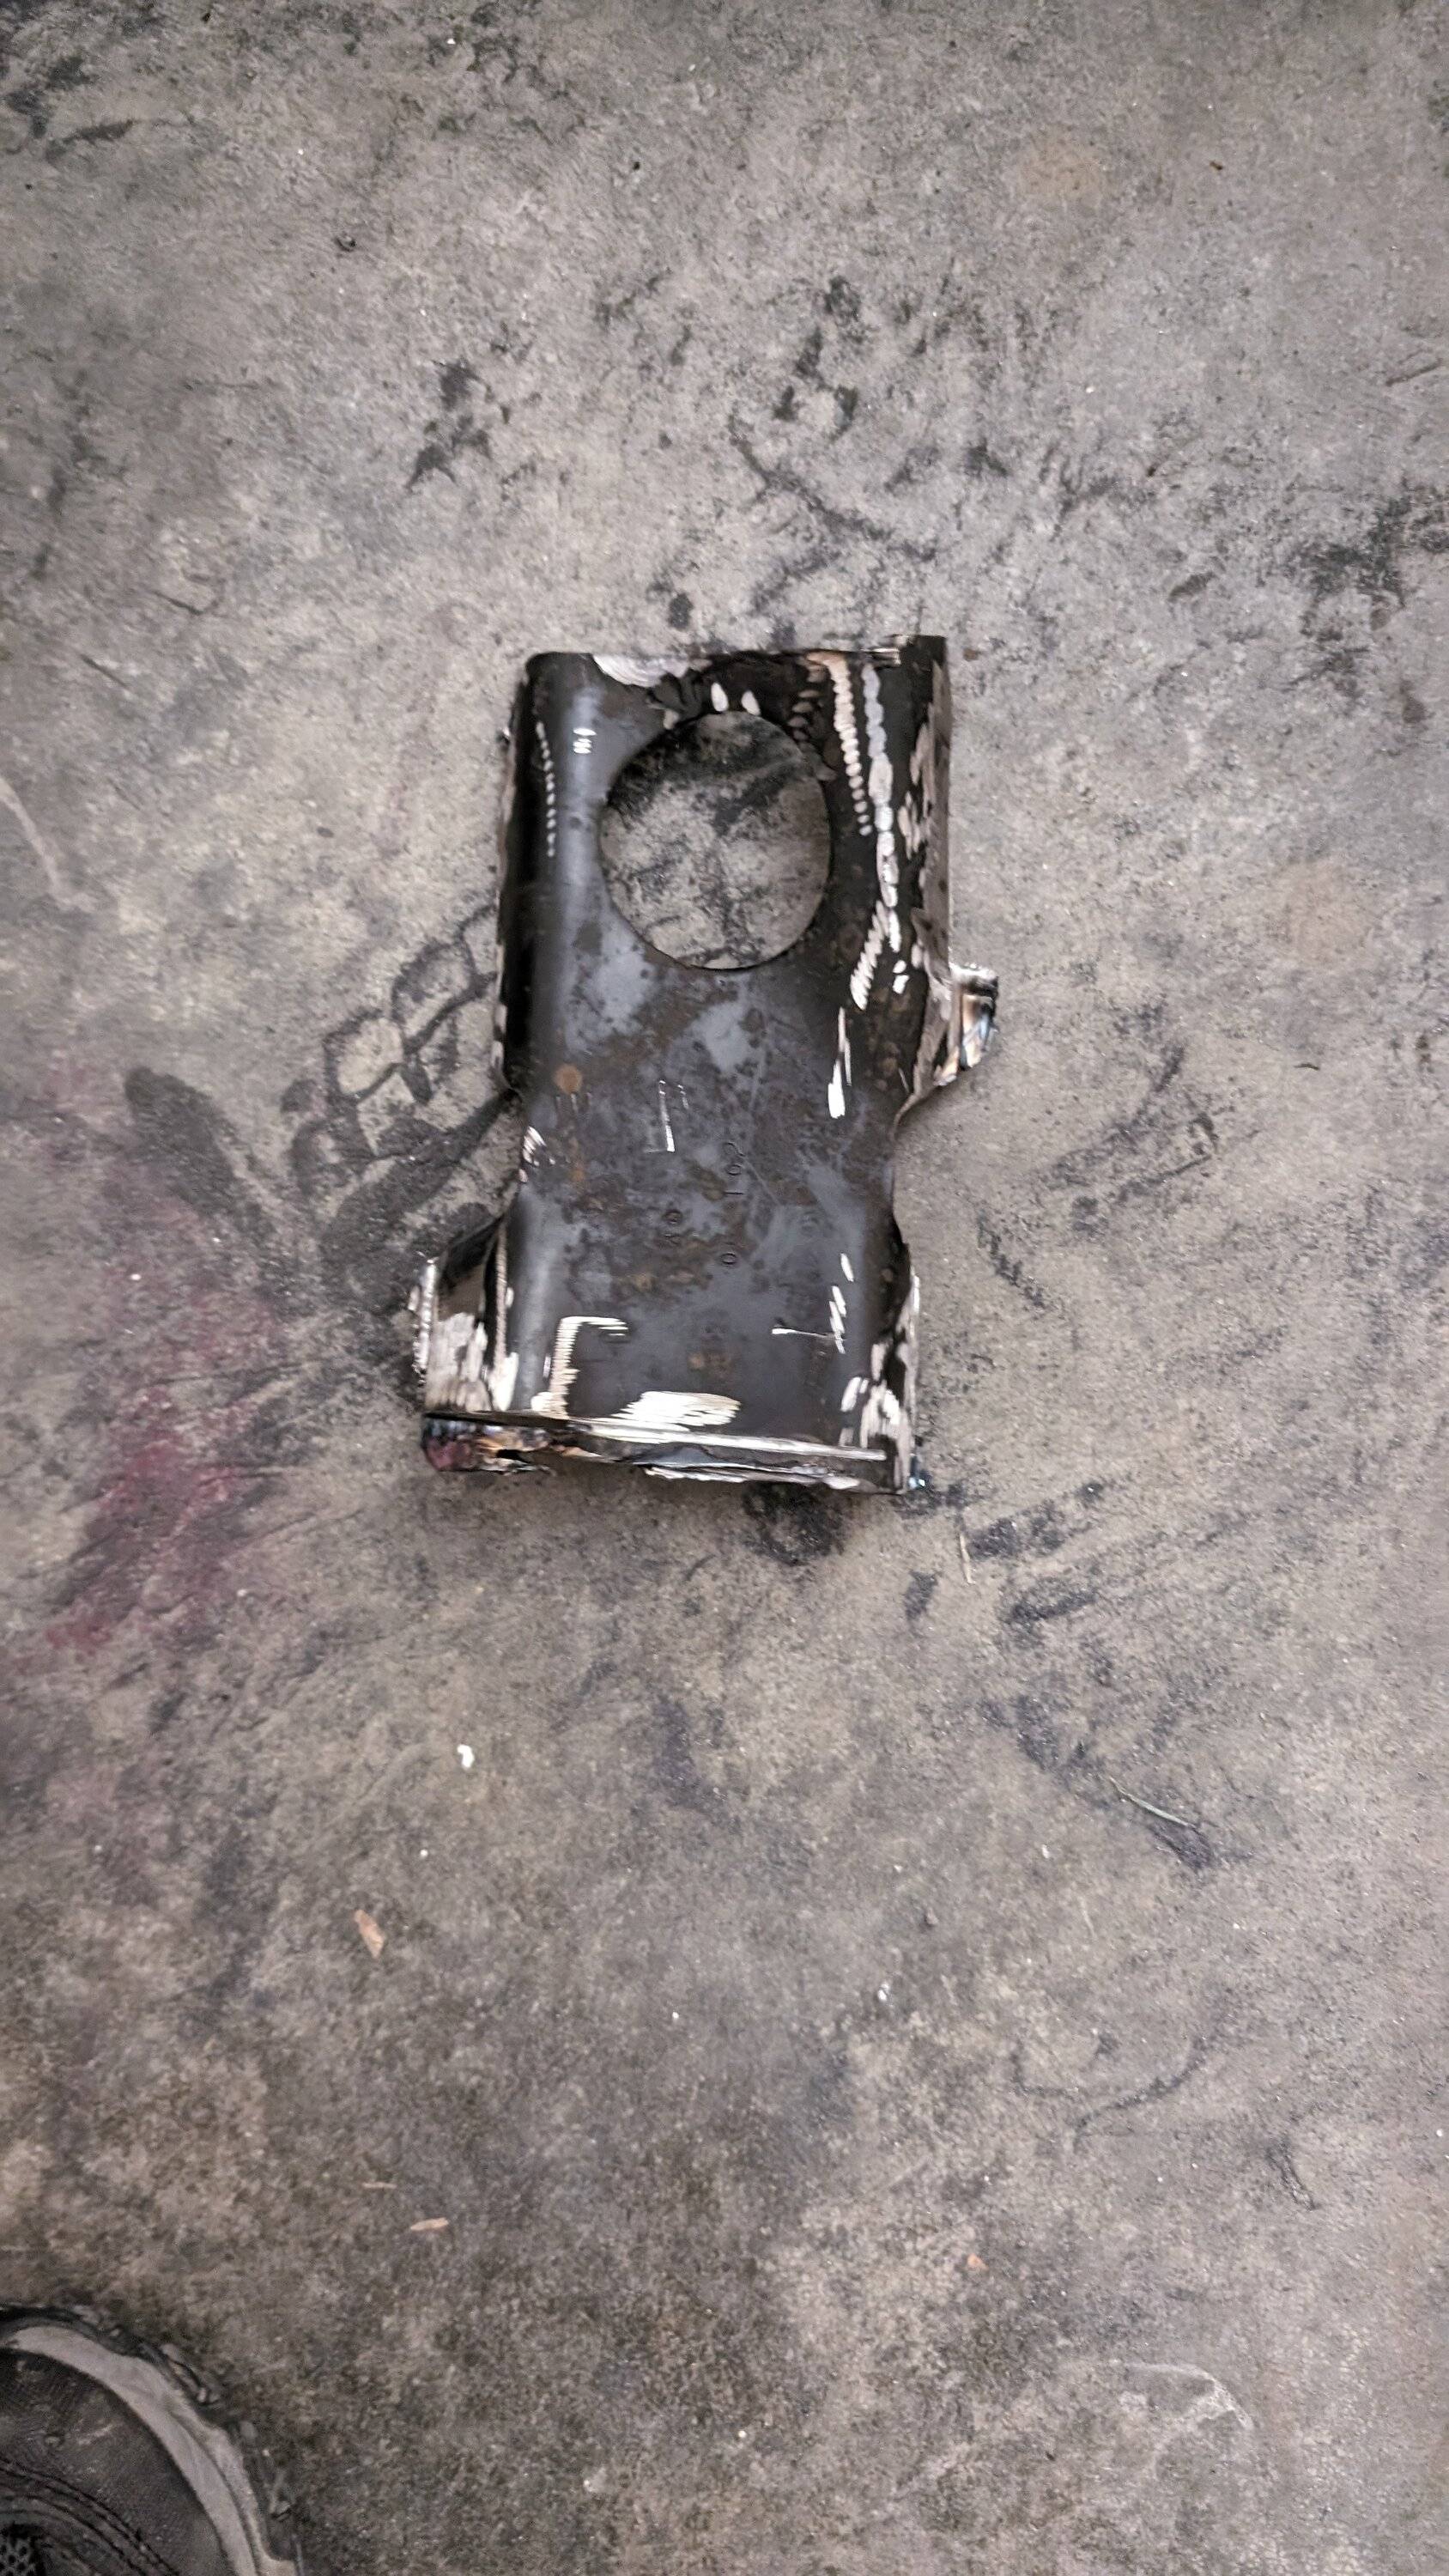
This is basically how it was attached before we cut it off.. and it has to be cut off for the bumper mounts to fit correctly.
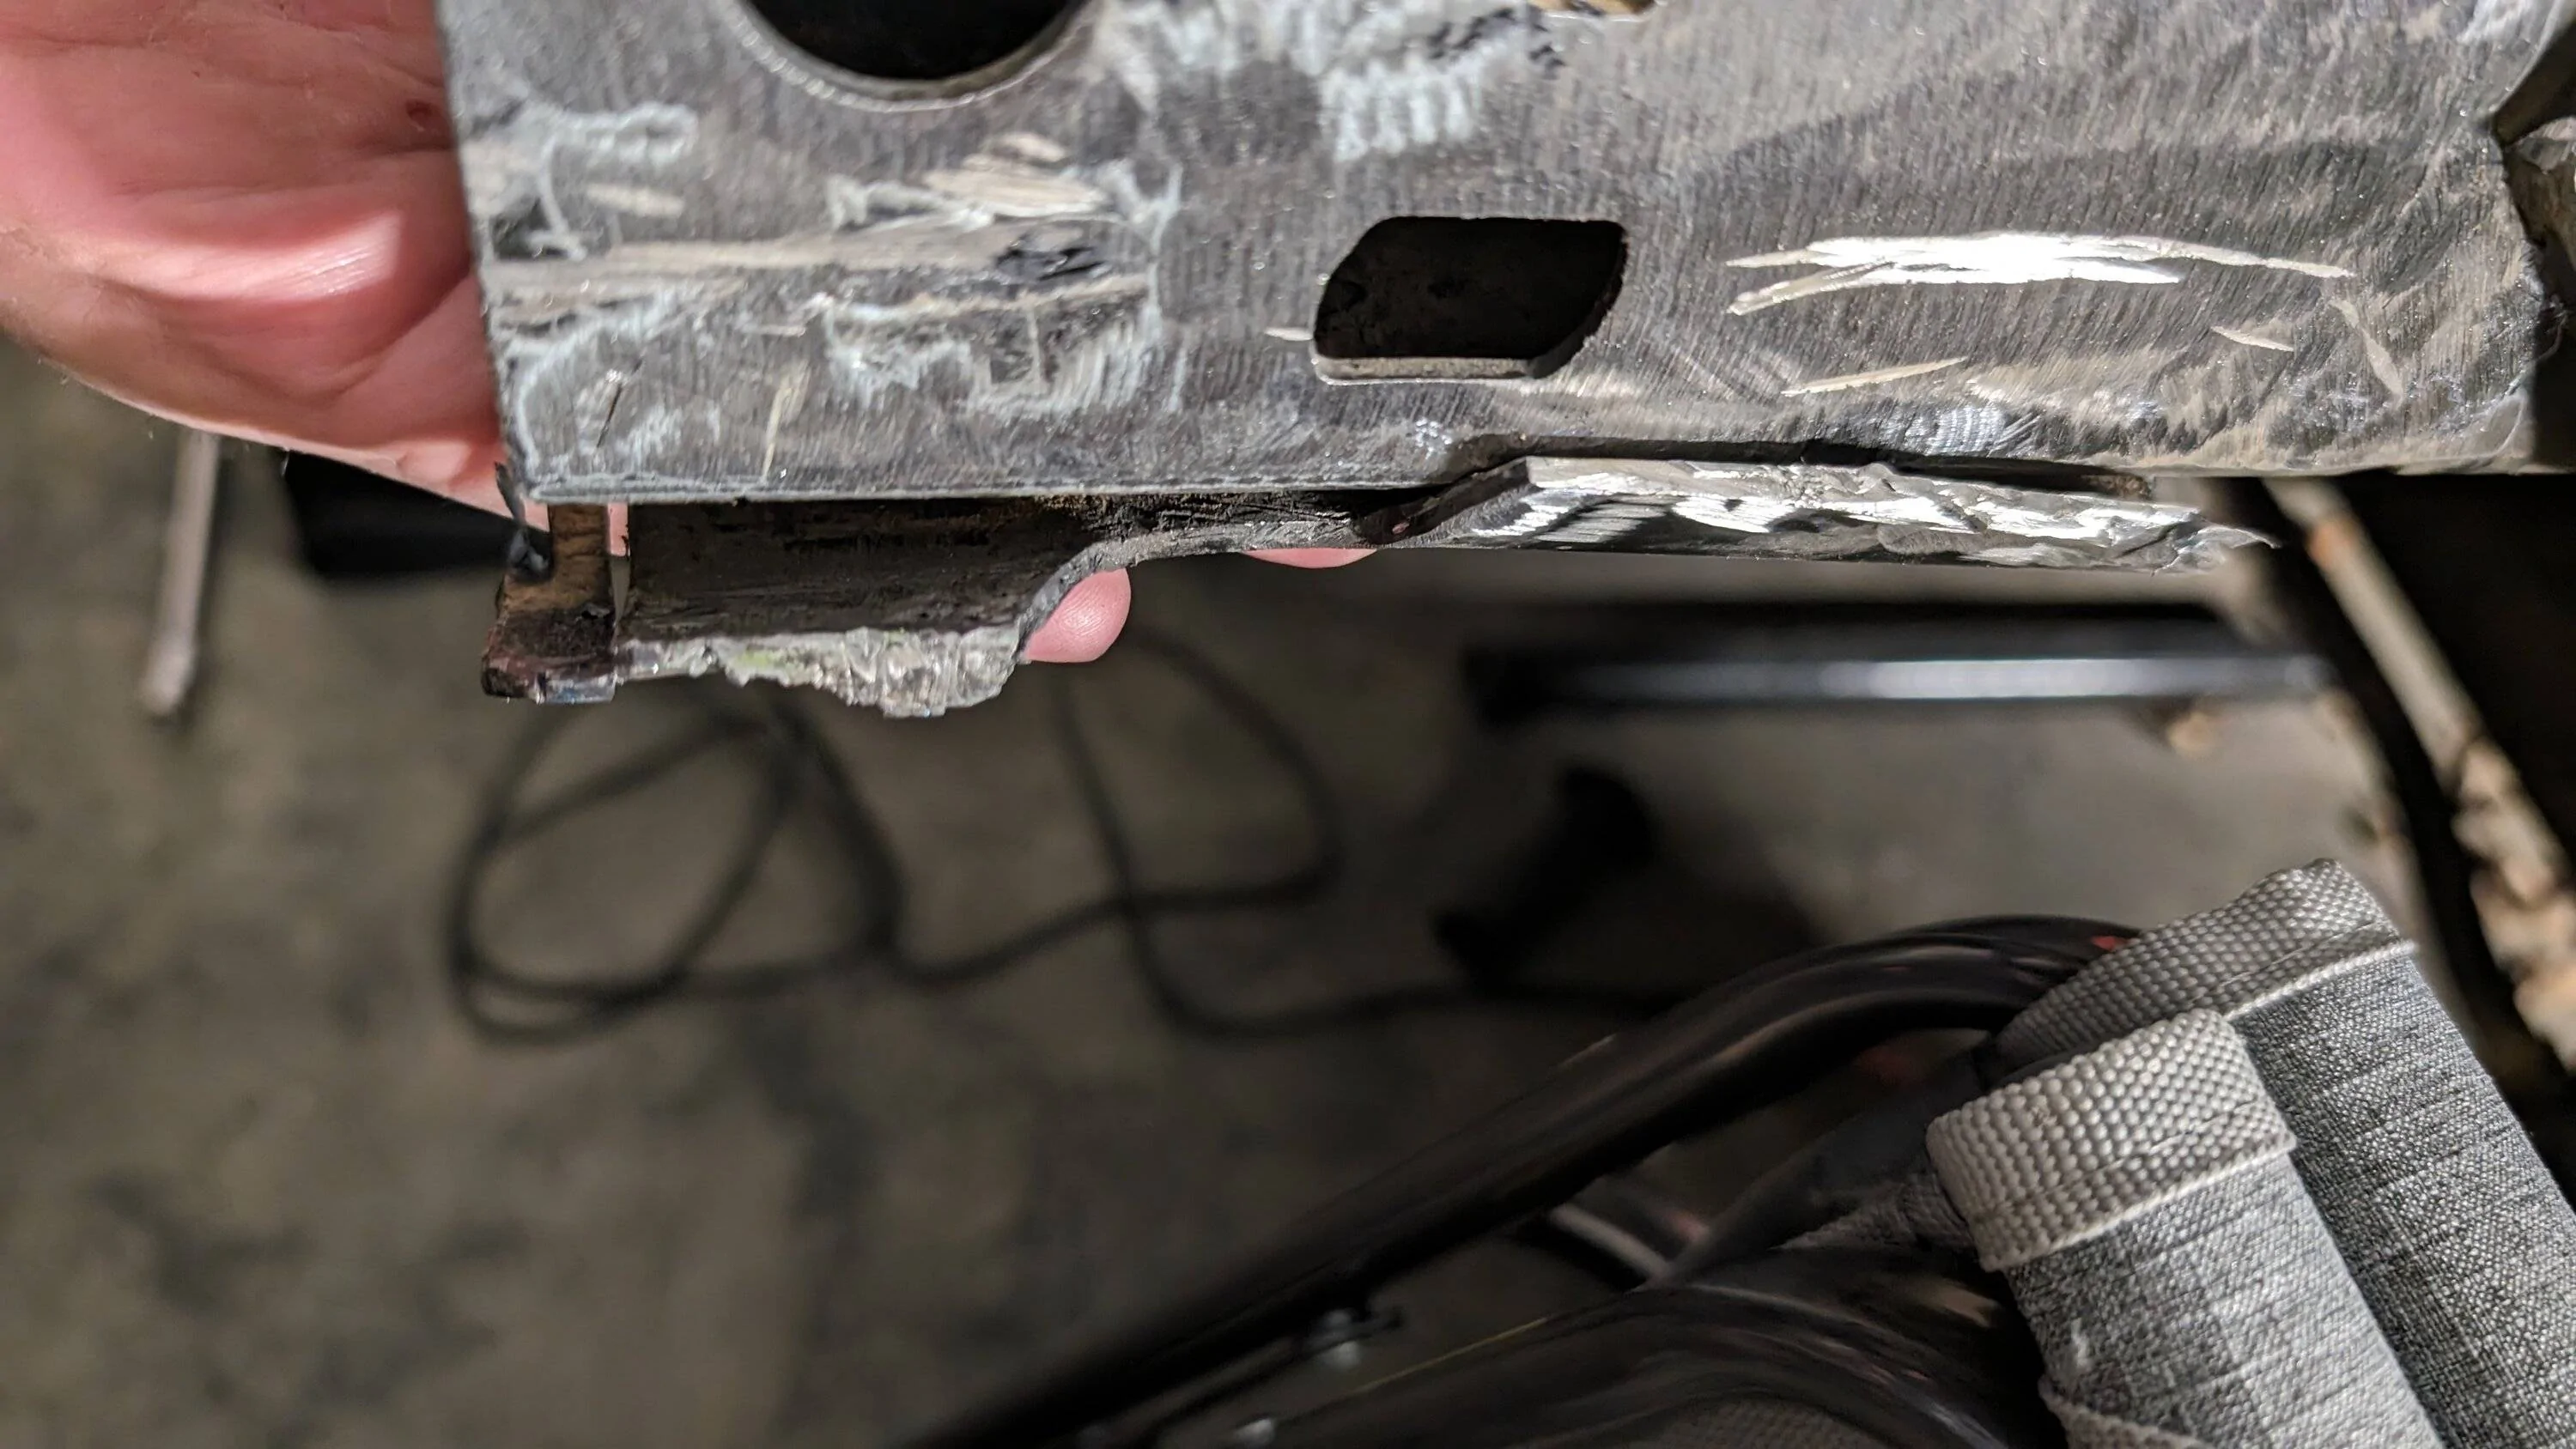
Other notes so far -
Cut off wheel ran through the frame like butter.
Hardest part was grinding some of the welds.
There are two captured nuts in the driver's side frame rail, that we had to grind down/off, along with that weird bracket on the passenger frame rail that had to come off.
Moving blankets will catch fire from sparks.
Having buddies around to help is priceless and helps keep your sanity.
Will add to this as I progress through the rest of the bobbed bed build and try and update it later on as well for my next WTFDIGMI moment.
For those who still haven't made the connection, WTFDIGMI is my 5 second anxiety moment I allow myself before I tackle anything that's outside of my comfort zone (which is getting quite large). It's a way to express that anxiety, still take ownership of the situation, and steady my nerves to take the next step or action.
Future plans after bobbed bed -
Tire carrier rack for bobbed bed.
Weld on sliders from Motobilt along with the Rocker armor.
High Line front fenders from (can you guess?) to match those on the bobbed bed.
Axle love - Ball Joint deletes, Cast Knuckles, Artec truss/gussets, RCVs, RPM Steering, and rear anti-rock
Lift 2.0 - Looking at Rusty's new 4" Advanced with 4-link rear.
40's
If you read all this, you deserve a drink. I'm having one. Cheers all -
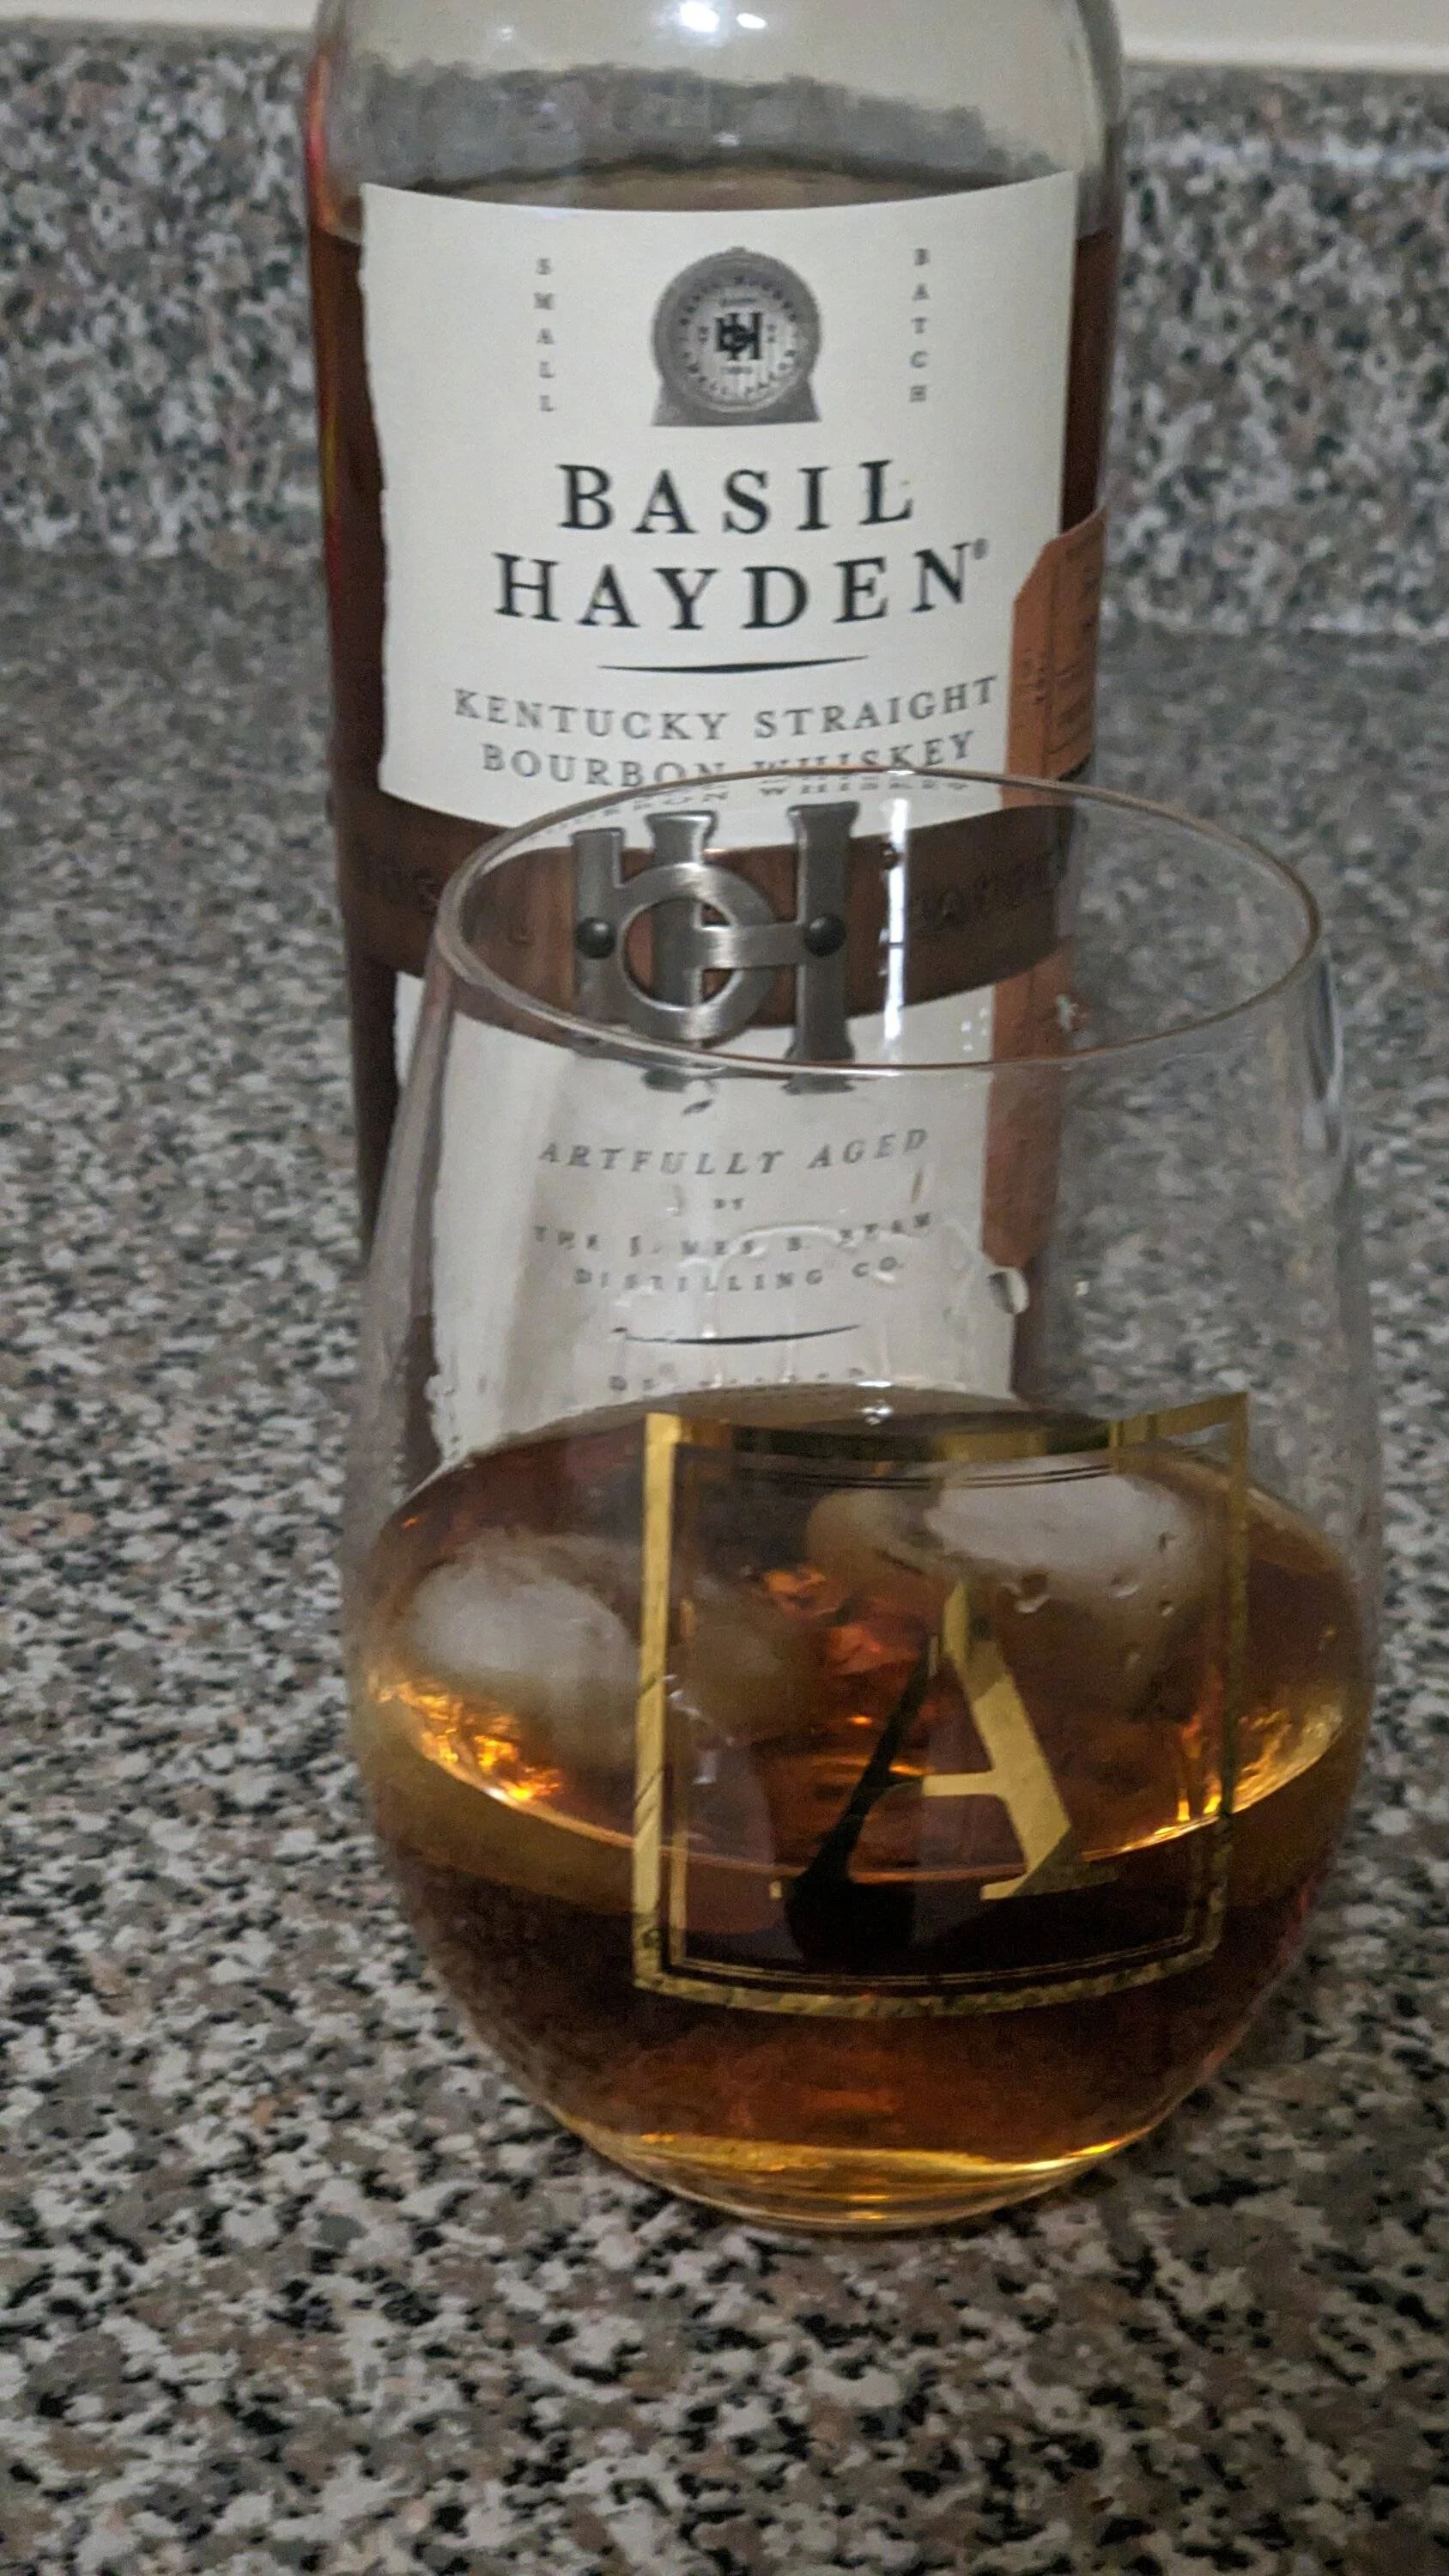
Also for anyone curious, this is me, I'm the Land Use/Safety Officer for my local Jeep club. We are a 501 (c) non-profit member organization that celebrated it's 10th anniversary last year.
You can find us online at - https://www.jeepsandwrenches.com/who-we-are
Sponsored
Last edited: