Sponsored

What did you do TO your Gladiator today? [ADMIN WARNING: NO POLITICS, NO GUN TALK]

ChrisNLA

Well-Known Member
First Name
Chris
Joined
Jun 7, 2022
Threads
17
Messages
2,301
Reaction score
4,174
Location
Louisiana
Vehicle(s)
2022 JT Sport Max Tow
Build Thread
Link
While sitting on my front porch sipping a Fanta, waiting on the roofer for my roof inspection (all good, in case anyone was wondering), I looked over at my Gladiator and smiled. Nice and clean. Except......

I grabbed my applicator pad, Griot's vinyl and rubber protectant....and cleaned my wheel wells. Yes I did. I may have a problem. But it does look nice, that's the scary part (or the justification ??).

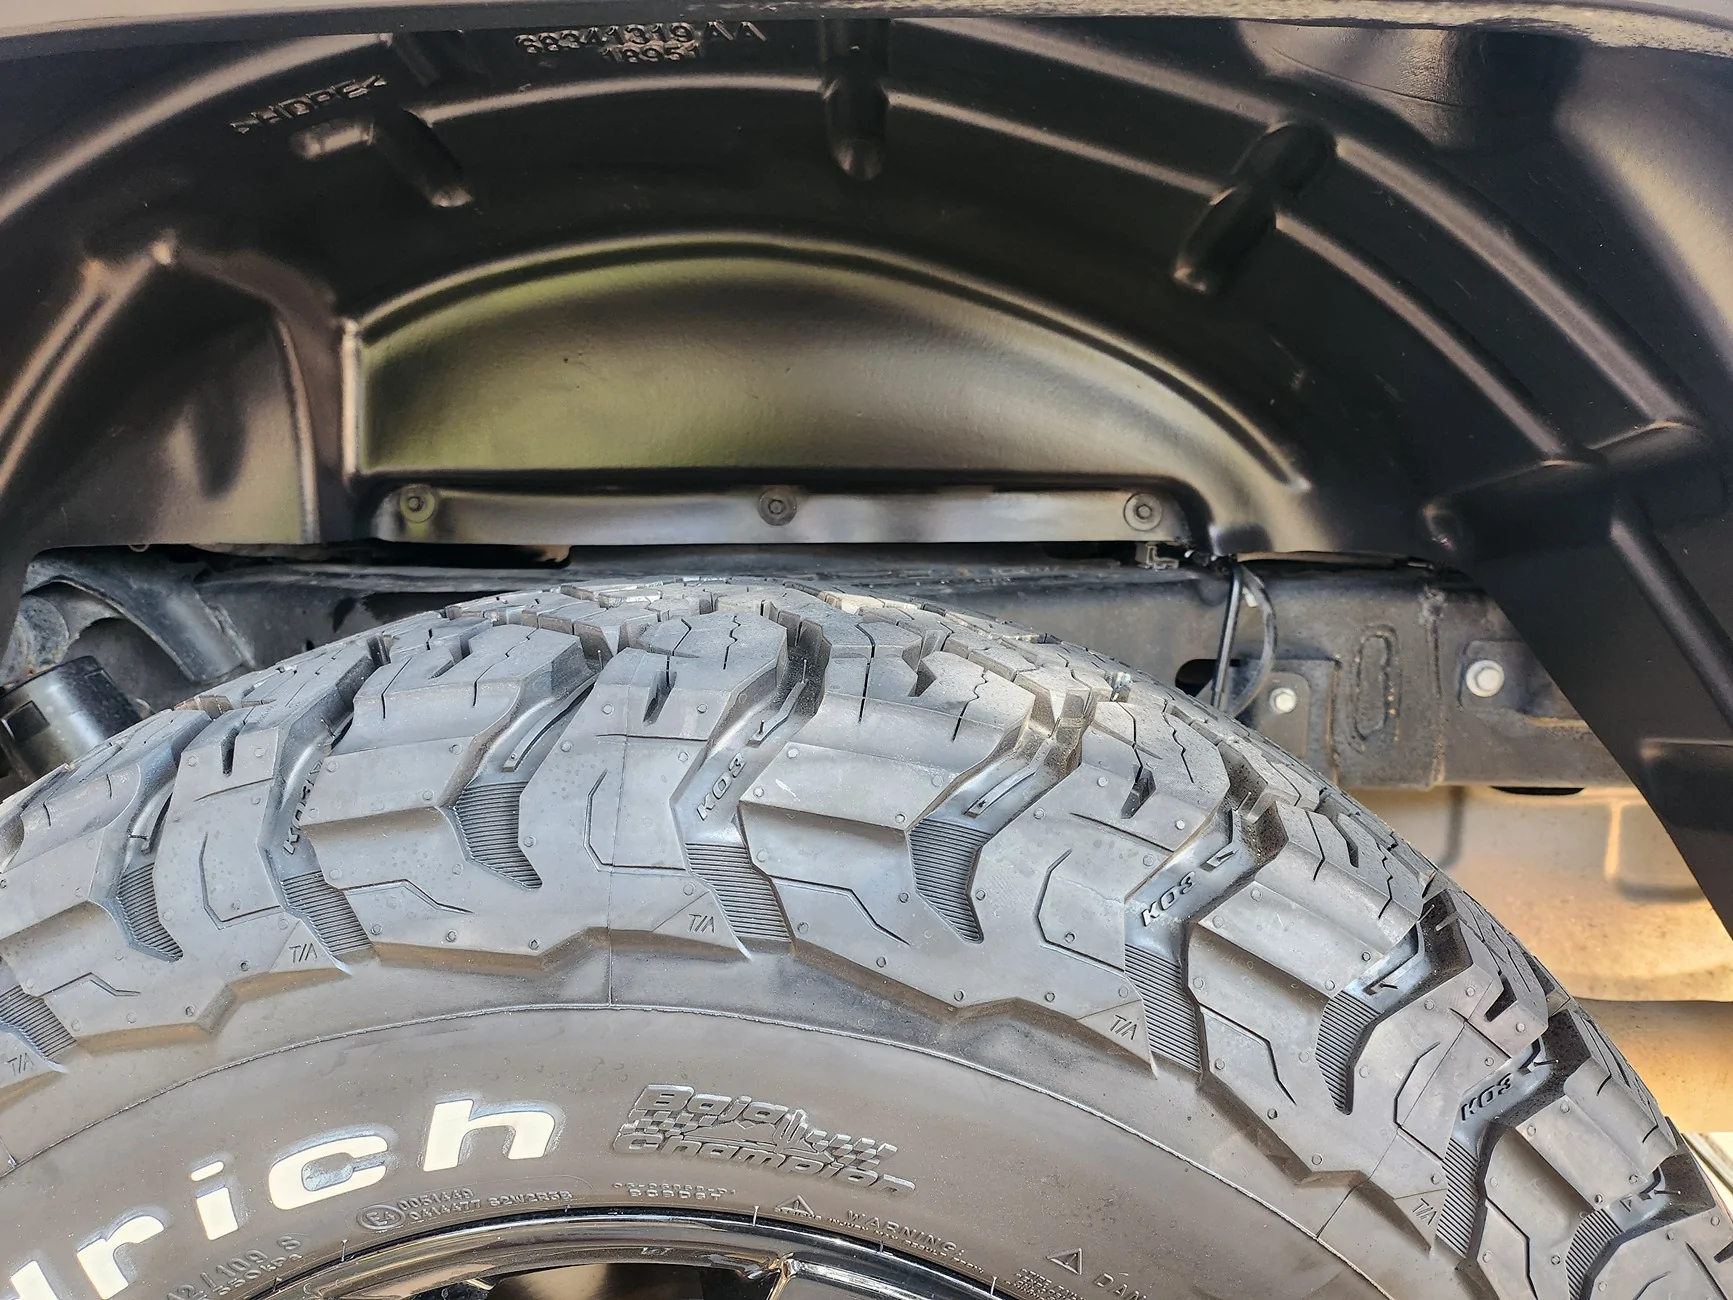
Rear Wheel Well.webp
I sometimes take tire shine and spray it willy nilly in the wheel wells and exposed frame rails after a wash.

It dries nice and matte. Looks good for a while, if a bit archaic in application 😄
Sponsored


Bandit’s Lair

Well-Known Member
First Name
Jason
Joined
Jul 9, 2025
Threads
36
Messages
3,219
Reaction score
5,286
Location
Southern California
Vehicle(s)
2021 Gladiator Sport S
Occupation
Retired
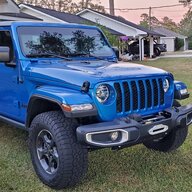
Curious if WD40 would do the same trick.
Id be very leery of using standard WD-40 in this application. It doesn’t have a very long use life. You’d be reapplying every other week and it has a tendency to strip other lubricants away from surfaces.
 

Neomonk21

Well-Known Member
First Name
Travis
Joined
May 8, 2025
Threads
6
Messages
190
Reaction score
287
Location
PA
Vehicle(s)
2023 JT Mojave
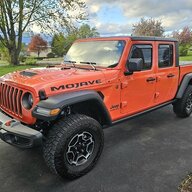
If those are Adventure Life decals I was able to work mine in pretty tight.
They are LB Designworks. I watched one of their videos and saw how they tucked them in tighter. I might pull them off and give it a try. I was afraid that the radius would cause them to wrinkle up and not be flat. The video showed him using a heat gun to help smooth them out.
 

Mud Pie

Well-Known Member
Joined
Nov 18, 2025
Threads
10
Messages
413
Reaction score
1,146
Location
TX
Vehicle(s)
2023 Gladiator Freedom, 1953 CJ-3A
Occupation
Retired. Finally !!
They are LB Designworks. I watched one of their videos and saw how they tucked them in tighter. I might pull them off and give it a try. I was afraid that the radius would cause them to wrinkle up and not be flat. The video showed him using a heat gun to help smooth them out.
Odds are very high if you try to remove the decal, it will stretch and never fit right again when you re-apply. I know on Adventure Life decals (my personal favorite), using a heat gun activates the glue, so on their decals you can pull and reset the decal until it's where you like it. Give a a swipe with your heat gun; it's set. I like that concept. On the star decals I have on the bed, I bought some cheapies off Amazon. I used the wet method and hinge method to apply those; I highly doubt they are quality vinyl. I've been lucky these past few years; I haven't had to chase wrinkles out of a decal, not fun.

If you've never done wet method: A squirt of baby shampoo in a spray bottle, fill with distilled water, shake to mix. Mist decal area very well. Apply the decal and you can easily slide it to exactly where you want it. When satisfied, using a credit card wrapped in paper towel (or buy a decal squeegee), start in the center and work your way out. Lightly tamp the decal with a fresh paper towel and let it sit for a couple hours to totally dry.
 

Mud Pie

Well-Known Member
Joined
Nov 18, 2025
Threads
10
Messages
413
Reaction score
1,146
Location
TX
Vehicle(s)
2023 Gladiator Freedom, 1953 CJ-3A
Occupation
Retired. Finally !!
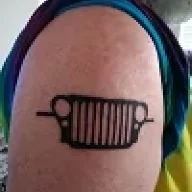
A brother from another mother!
432361775_10233628927611650_2140019633724823186_n.webp
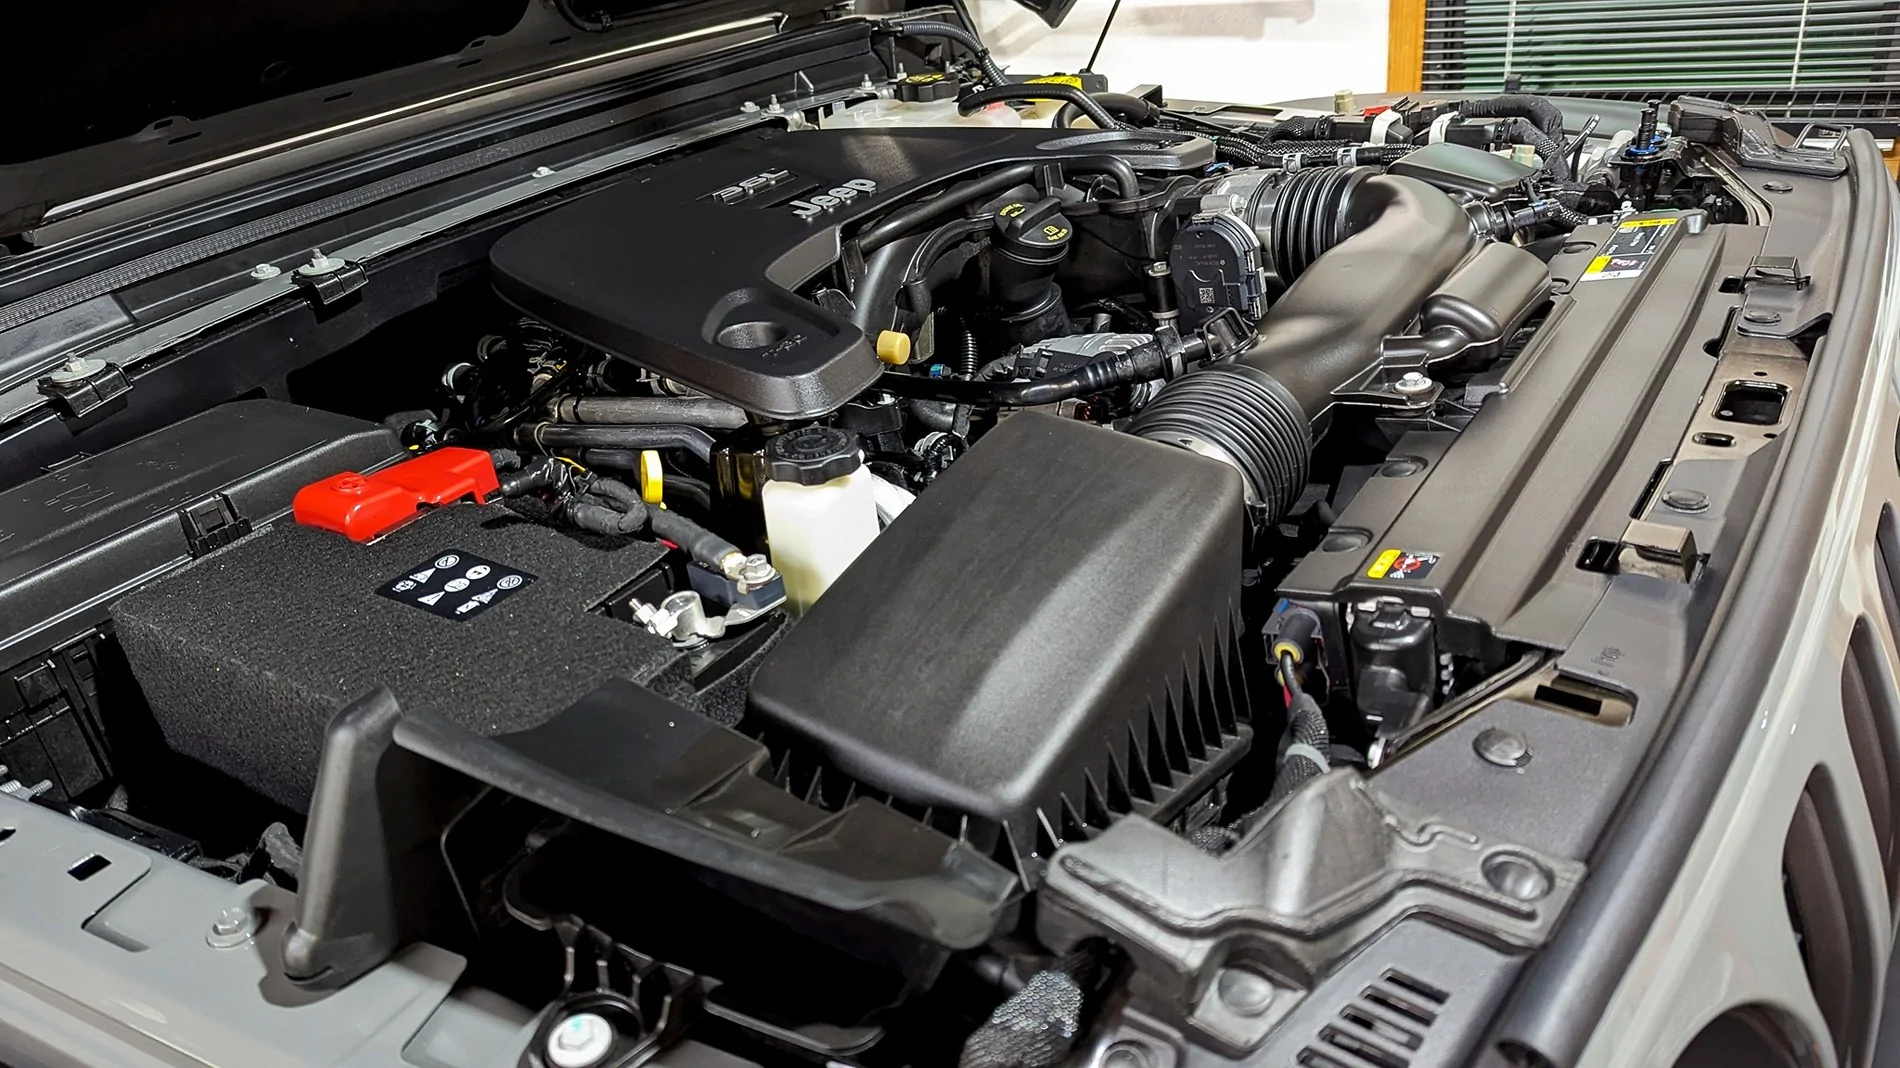
Ooooo !! Do I detect a version of The Big D**k Contest but with clean engines ?? :LOL:

I think it will be a contest with few to no contestants....

I have the time to do such things being I recently retired....

Here's mine:

Jeep Gladiator What did you do TO your Gladiator today? [ADMIN WARNING: NO POLITICS, NO GUN TALK] Clean V6
 

Sponsored

Neomonk21

Well-Known Member
First Name
Travis
Joined
May 8, 2025
Threads
6
Messages
190
Reaction score
287
Location
PA
Vehicle(s)
2023 JT Mojave
Odds are very high if you try to remove the decal, it will stretch and never fit right again when you re-apply. I know on Adventure Life decals (my personal favorite), using a heat gun activates the glue, so on their decals you can pull and reset the decal until it's where you like it. Give a a swipe with your heat gun; it's set. I like that concept. On the star decals I have on the bed, I bought some cheapies off Amazon. I used the wet method and hinge method to apply those; I highly doubt they are quality vinyl. I've been lucky these past few years; I haven't had to chase wrinkles out of a decal, not fun.

If you've never done wet method: A squirt of baby shampoo in a spray bottle, fill with distilled water, shake to mix. Mist decal area very well. Apply the decal and you can easily slide it to exactly where you want it. When satisfied, using a credit card wrapped in paper towel (or buy a decal squeegee), start in the center and work your way out. Lightly tamp the decal with a fresh paper towel and let it sit for a couple hours to totally dry.
That's how I applied these, the wet method. I couldn't get it to line up correctly with the gap but I didn't think about shoving the edge down into the gap between the fake vent and the fender. It wasn't until I watched another video that I realized that's how it was meant to be applied. When I put it on I thought it would cause the decal to be rippled because it's radiused and not flat.

It only slightly bothers me so I guess I'll just leave it be for now. I don't want to risk ripping these.

I appreciate the tips!
 

Bandit’s Lair

Well-Known Member
First Name
Jason
Joined
Jul 9, 2025
Threads
36
Messages
3,219
Reaction score
5,286
Location
Southern California
Vehicle(s)
2021 Gladiator Sport S
Occupation
Retired
That's how I applied these, the wet method. I couldn't get it to line up correctly with the gap but I didn't think about shoving the edge down into the gap between the fake vent and the fender. It wasn't until I watched another video that I realized that's how it was meant to be applied. When I put it on I thought it would cause the decal to be rippled because it's radiused and not flat.

It only slightly bothers me so I guess I'll just leave it be for now. I don't want to risk ripping these.

I appreciate the tips!
This is for both of you in the decal placement discussion, I was told to use glass cleaner for the wet method you’re referring to. The reasoning behind this is that soap, even just residue, tends to mold over time if it’s trapped somewhere, whereas window cleaner flashes off with heat is applied. Have you found this to be true or false?
Sponsored


Top