Reddout99
Well-Known Member
- First Name
- Bob
- Joined
- Oct 27, 2022
- Threads
- 13
- Messages
- 637
- Reaction score
- 667
- Location
- Papillion, NE
- Vehicle(s)
- Black 2021 80th Anniv. JT Sport S
- Occupation
- Cad Manager - Retired
- Vehicle Showcase
- 1
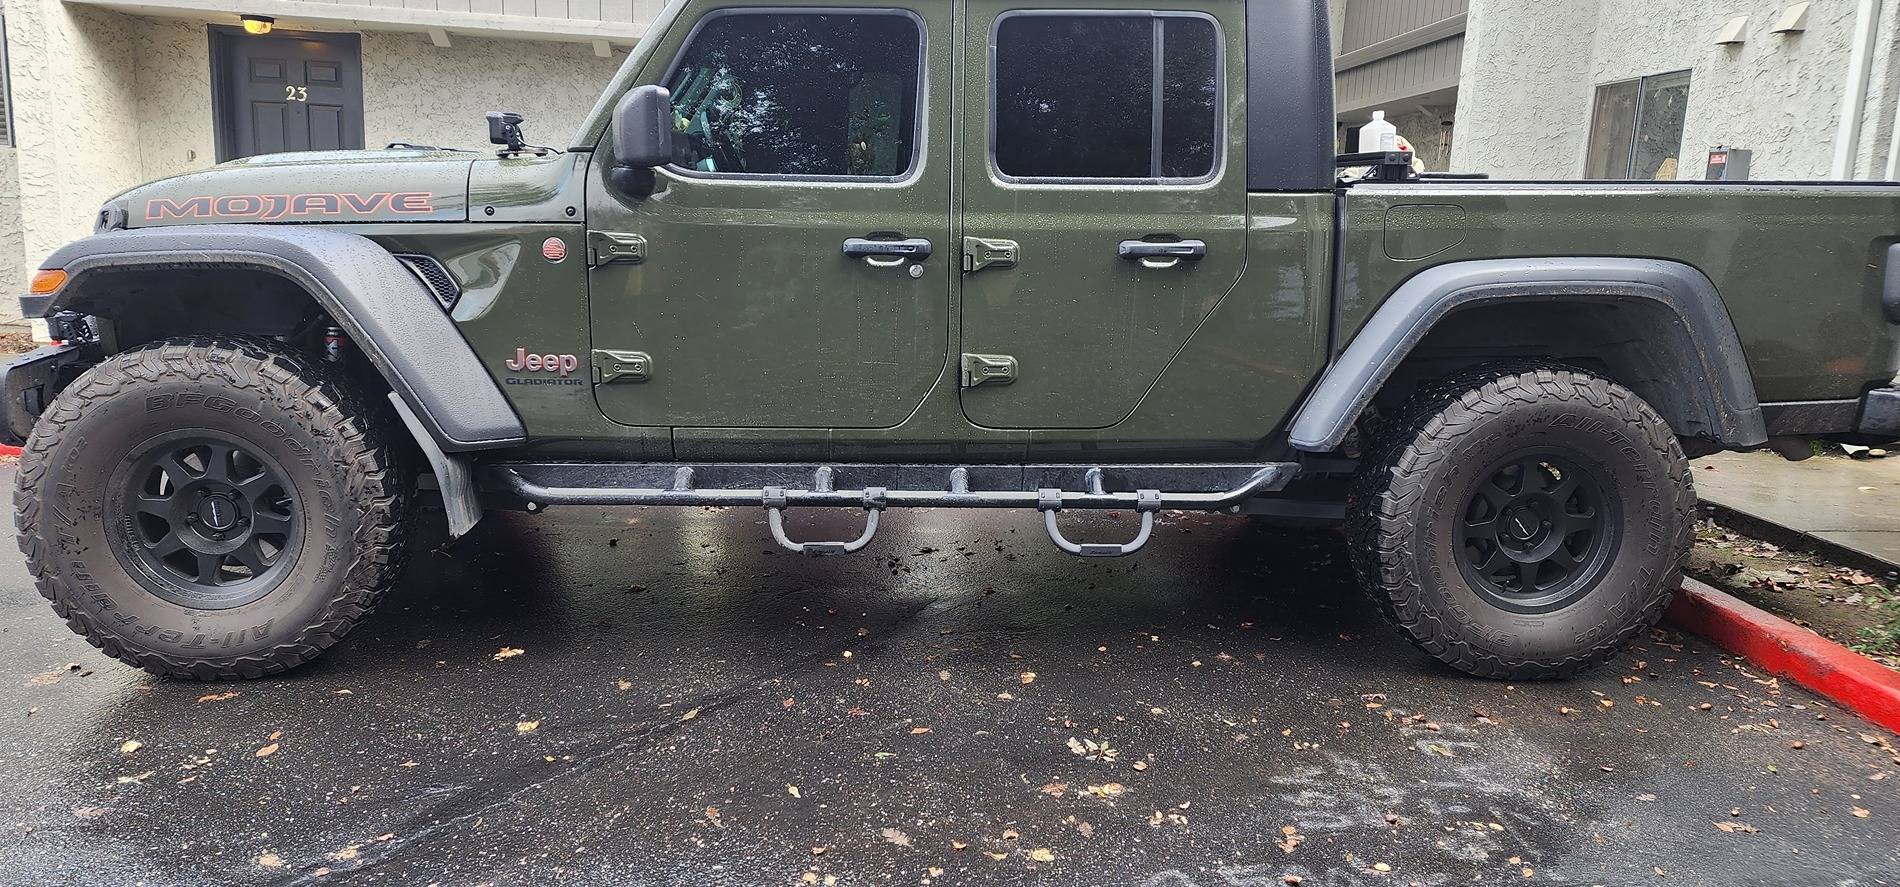
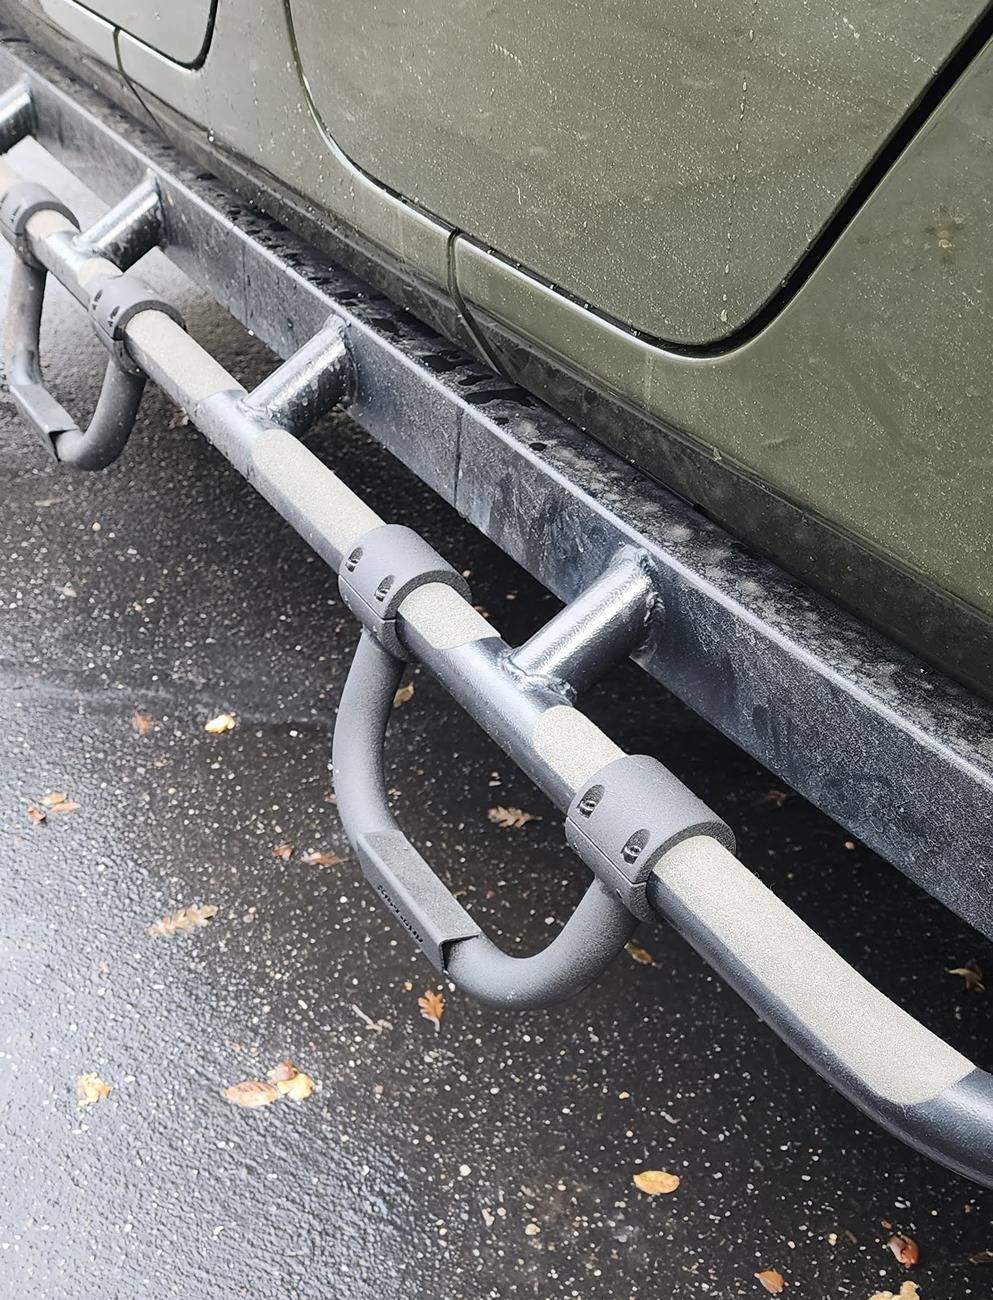
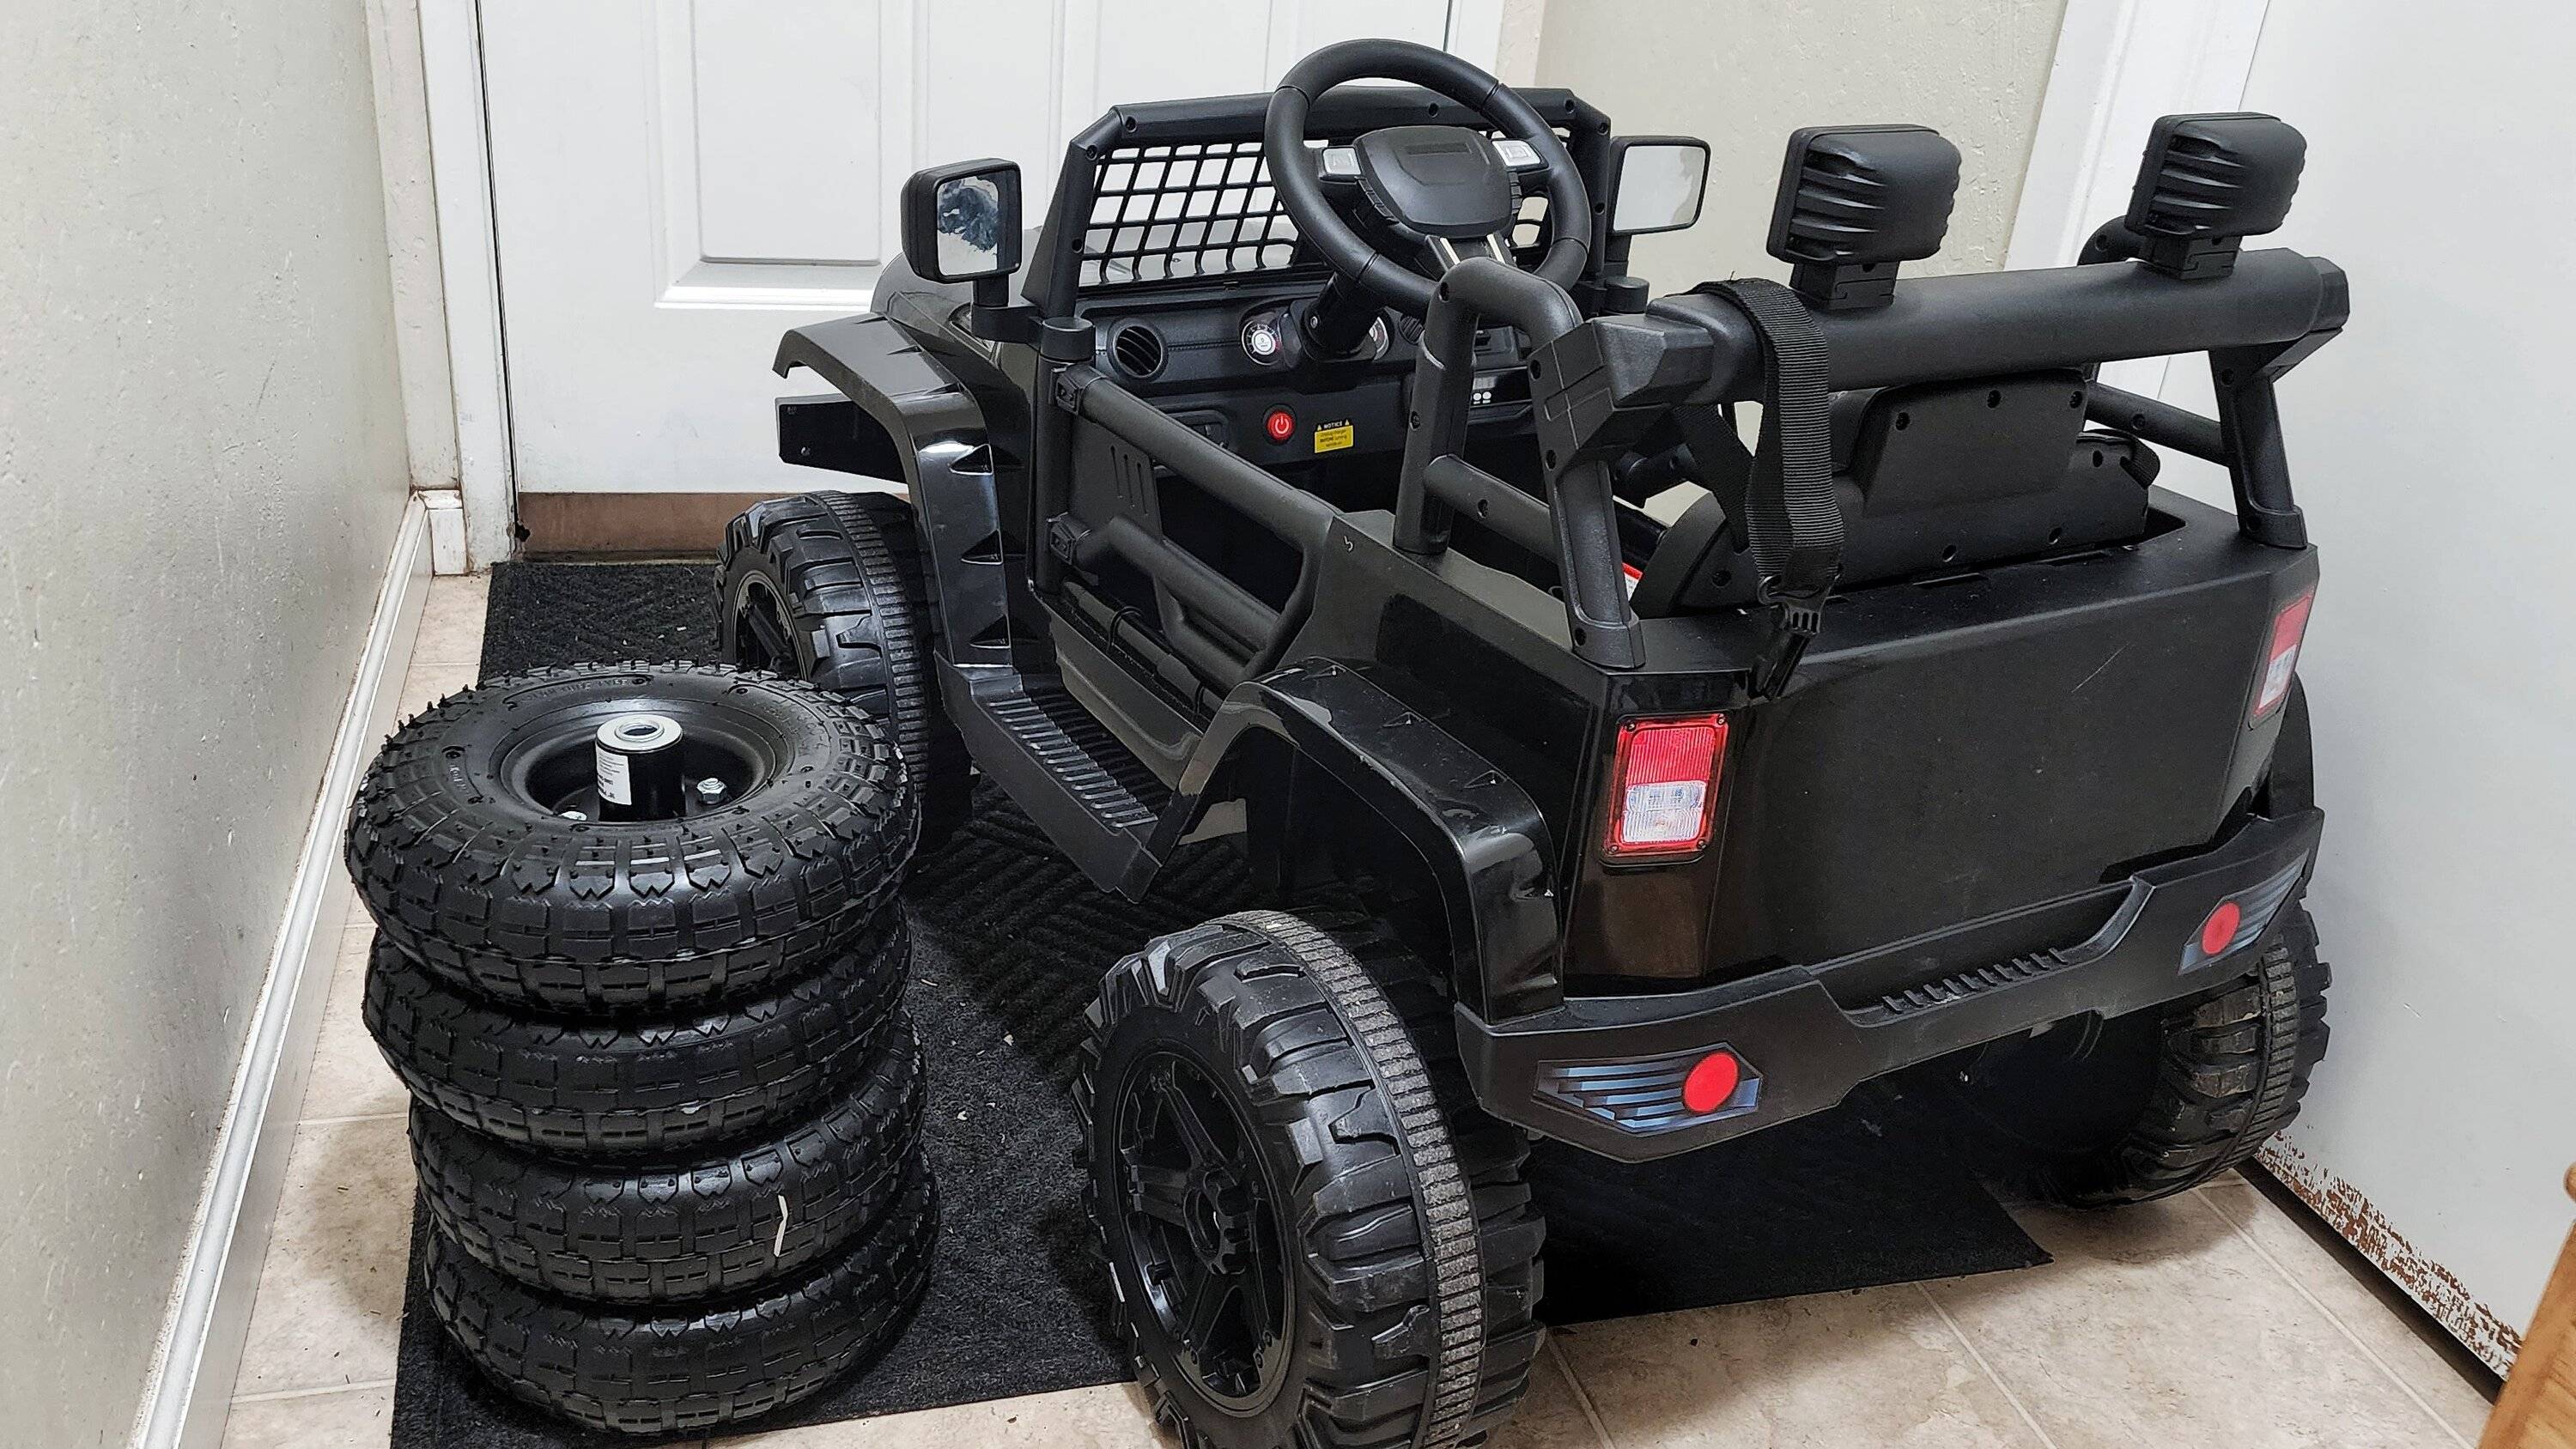
Love thisGoing to sidebar for a second with a Jeep "adjacent" project. Bought a wheel+tire package, but not for my Jeep, but my son's ride-on "Jeep" I got him for Christmas. He's been loving it, but it's apparent its a pretty rough ride and its pretty loud on pavement (as to be expected, the wheels are hard plastic).
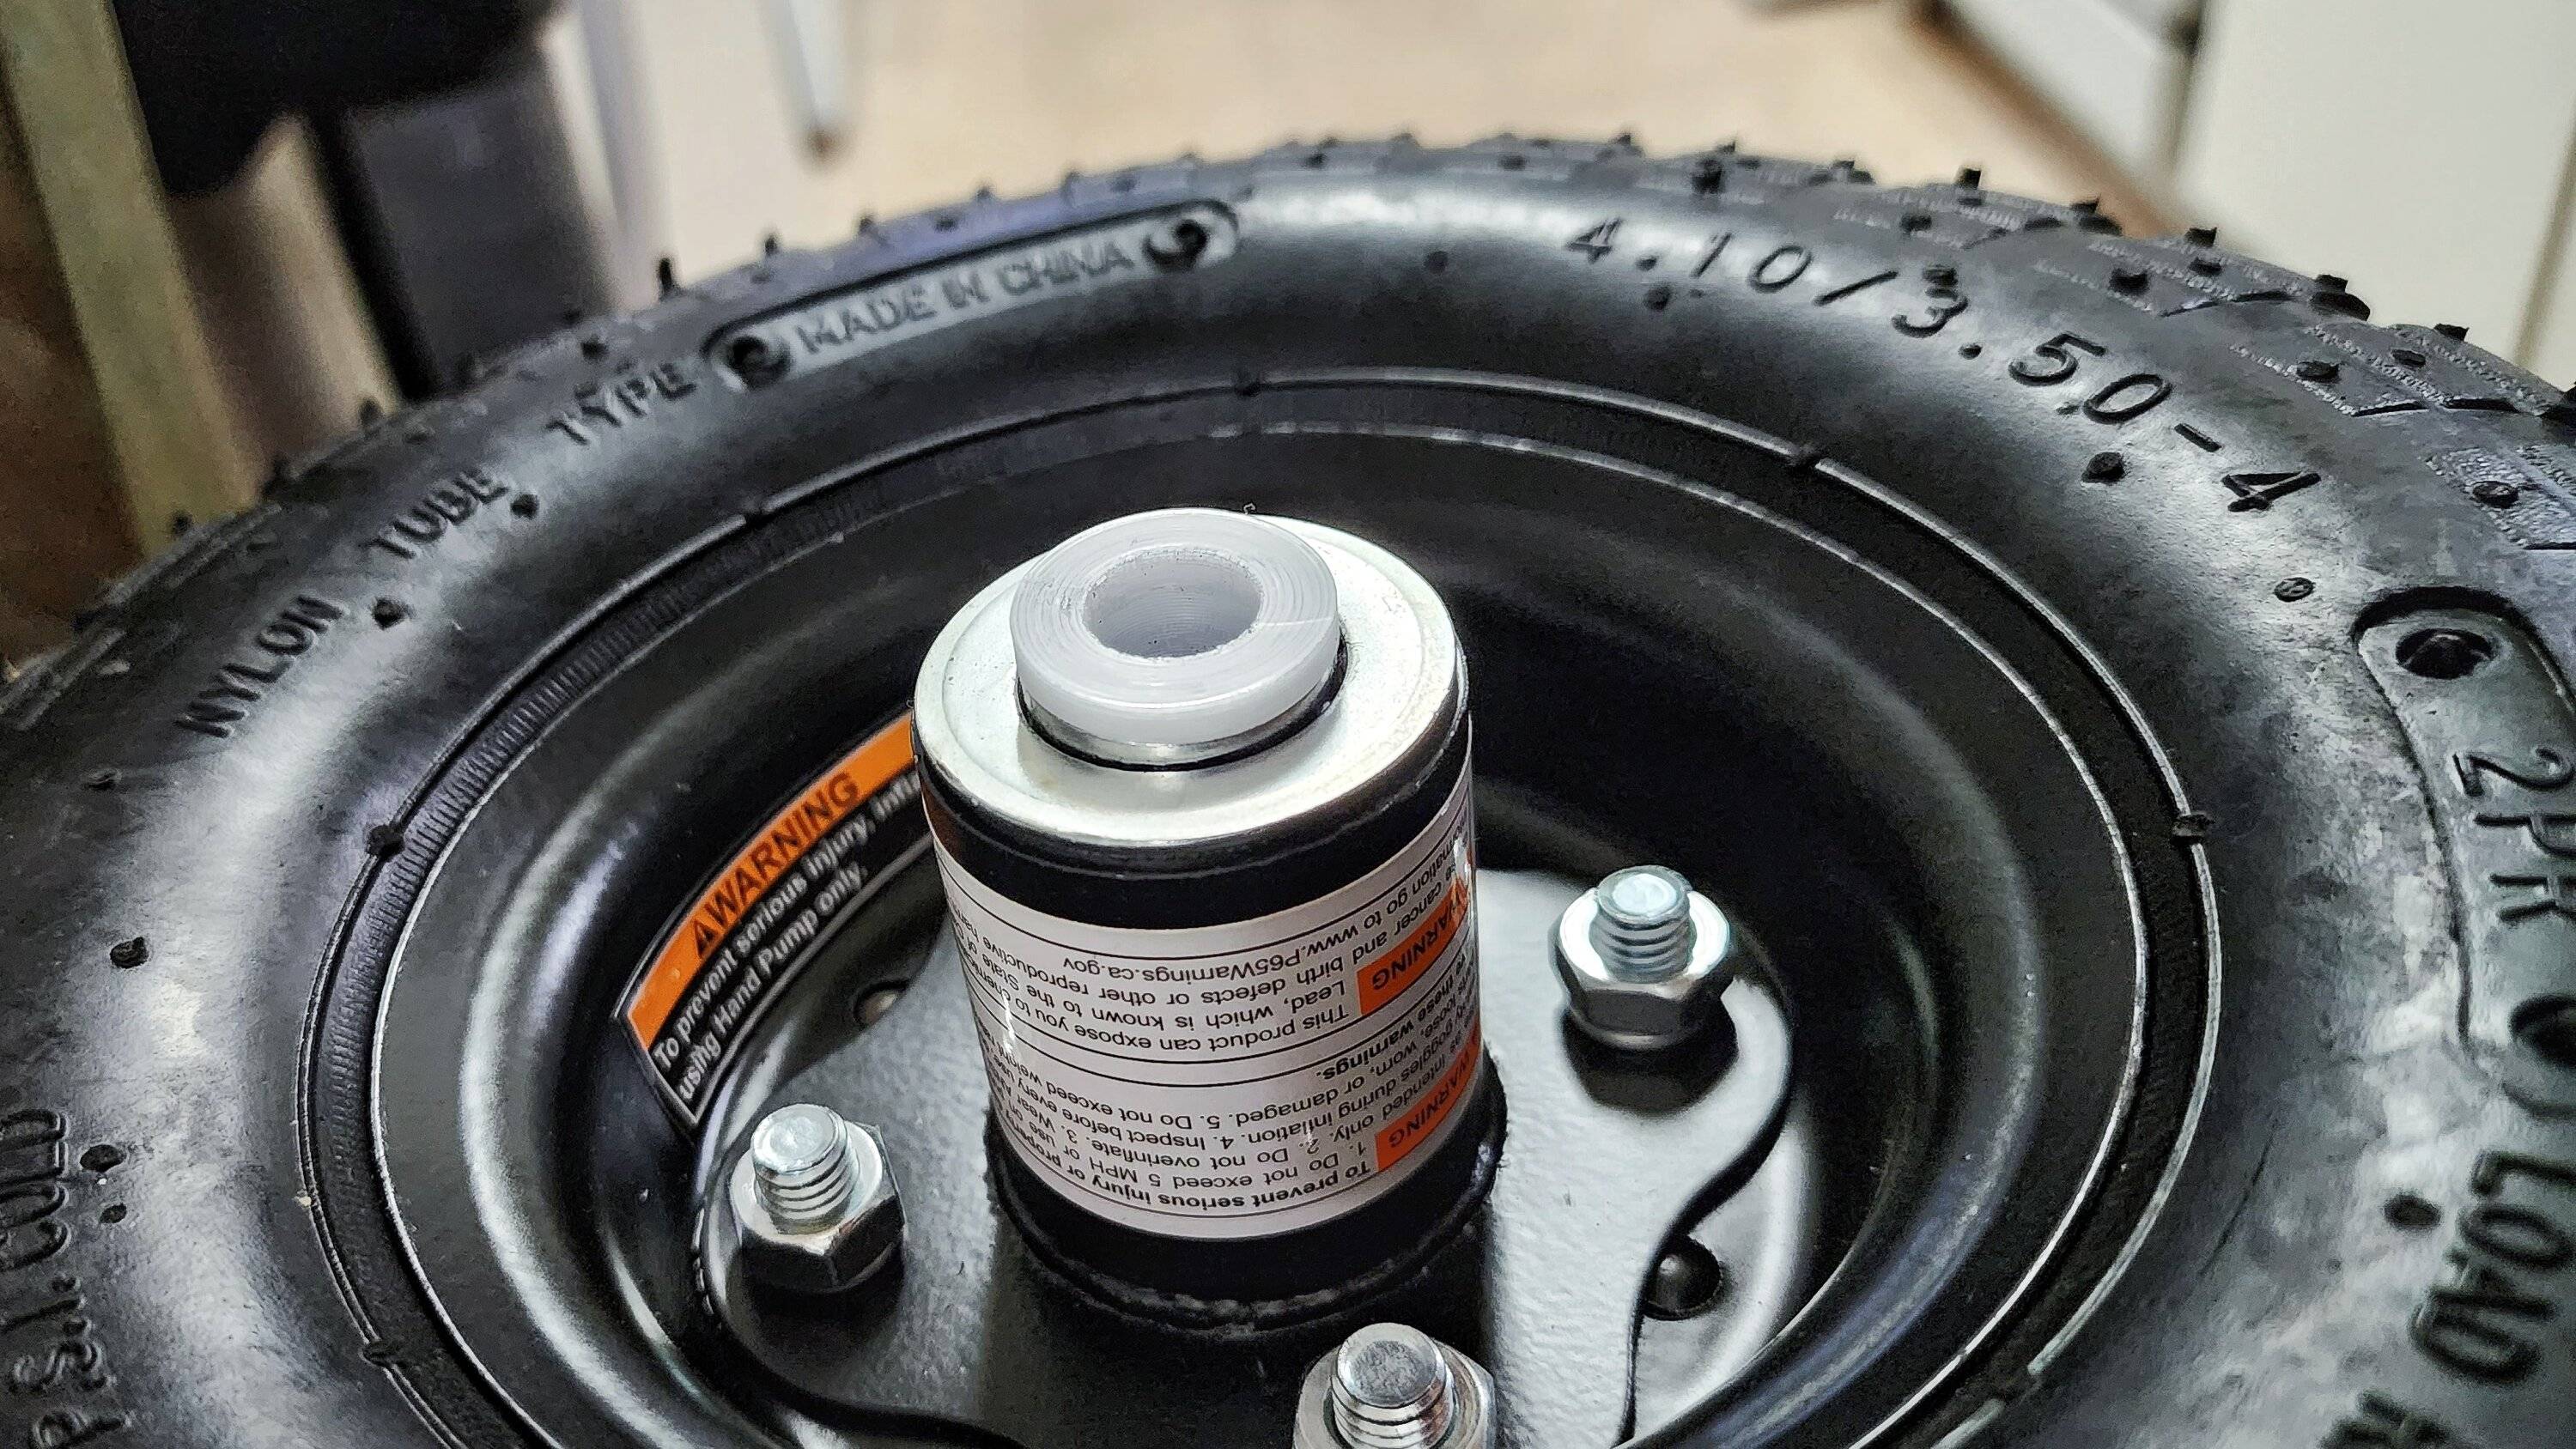
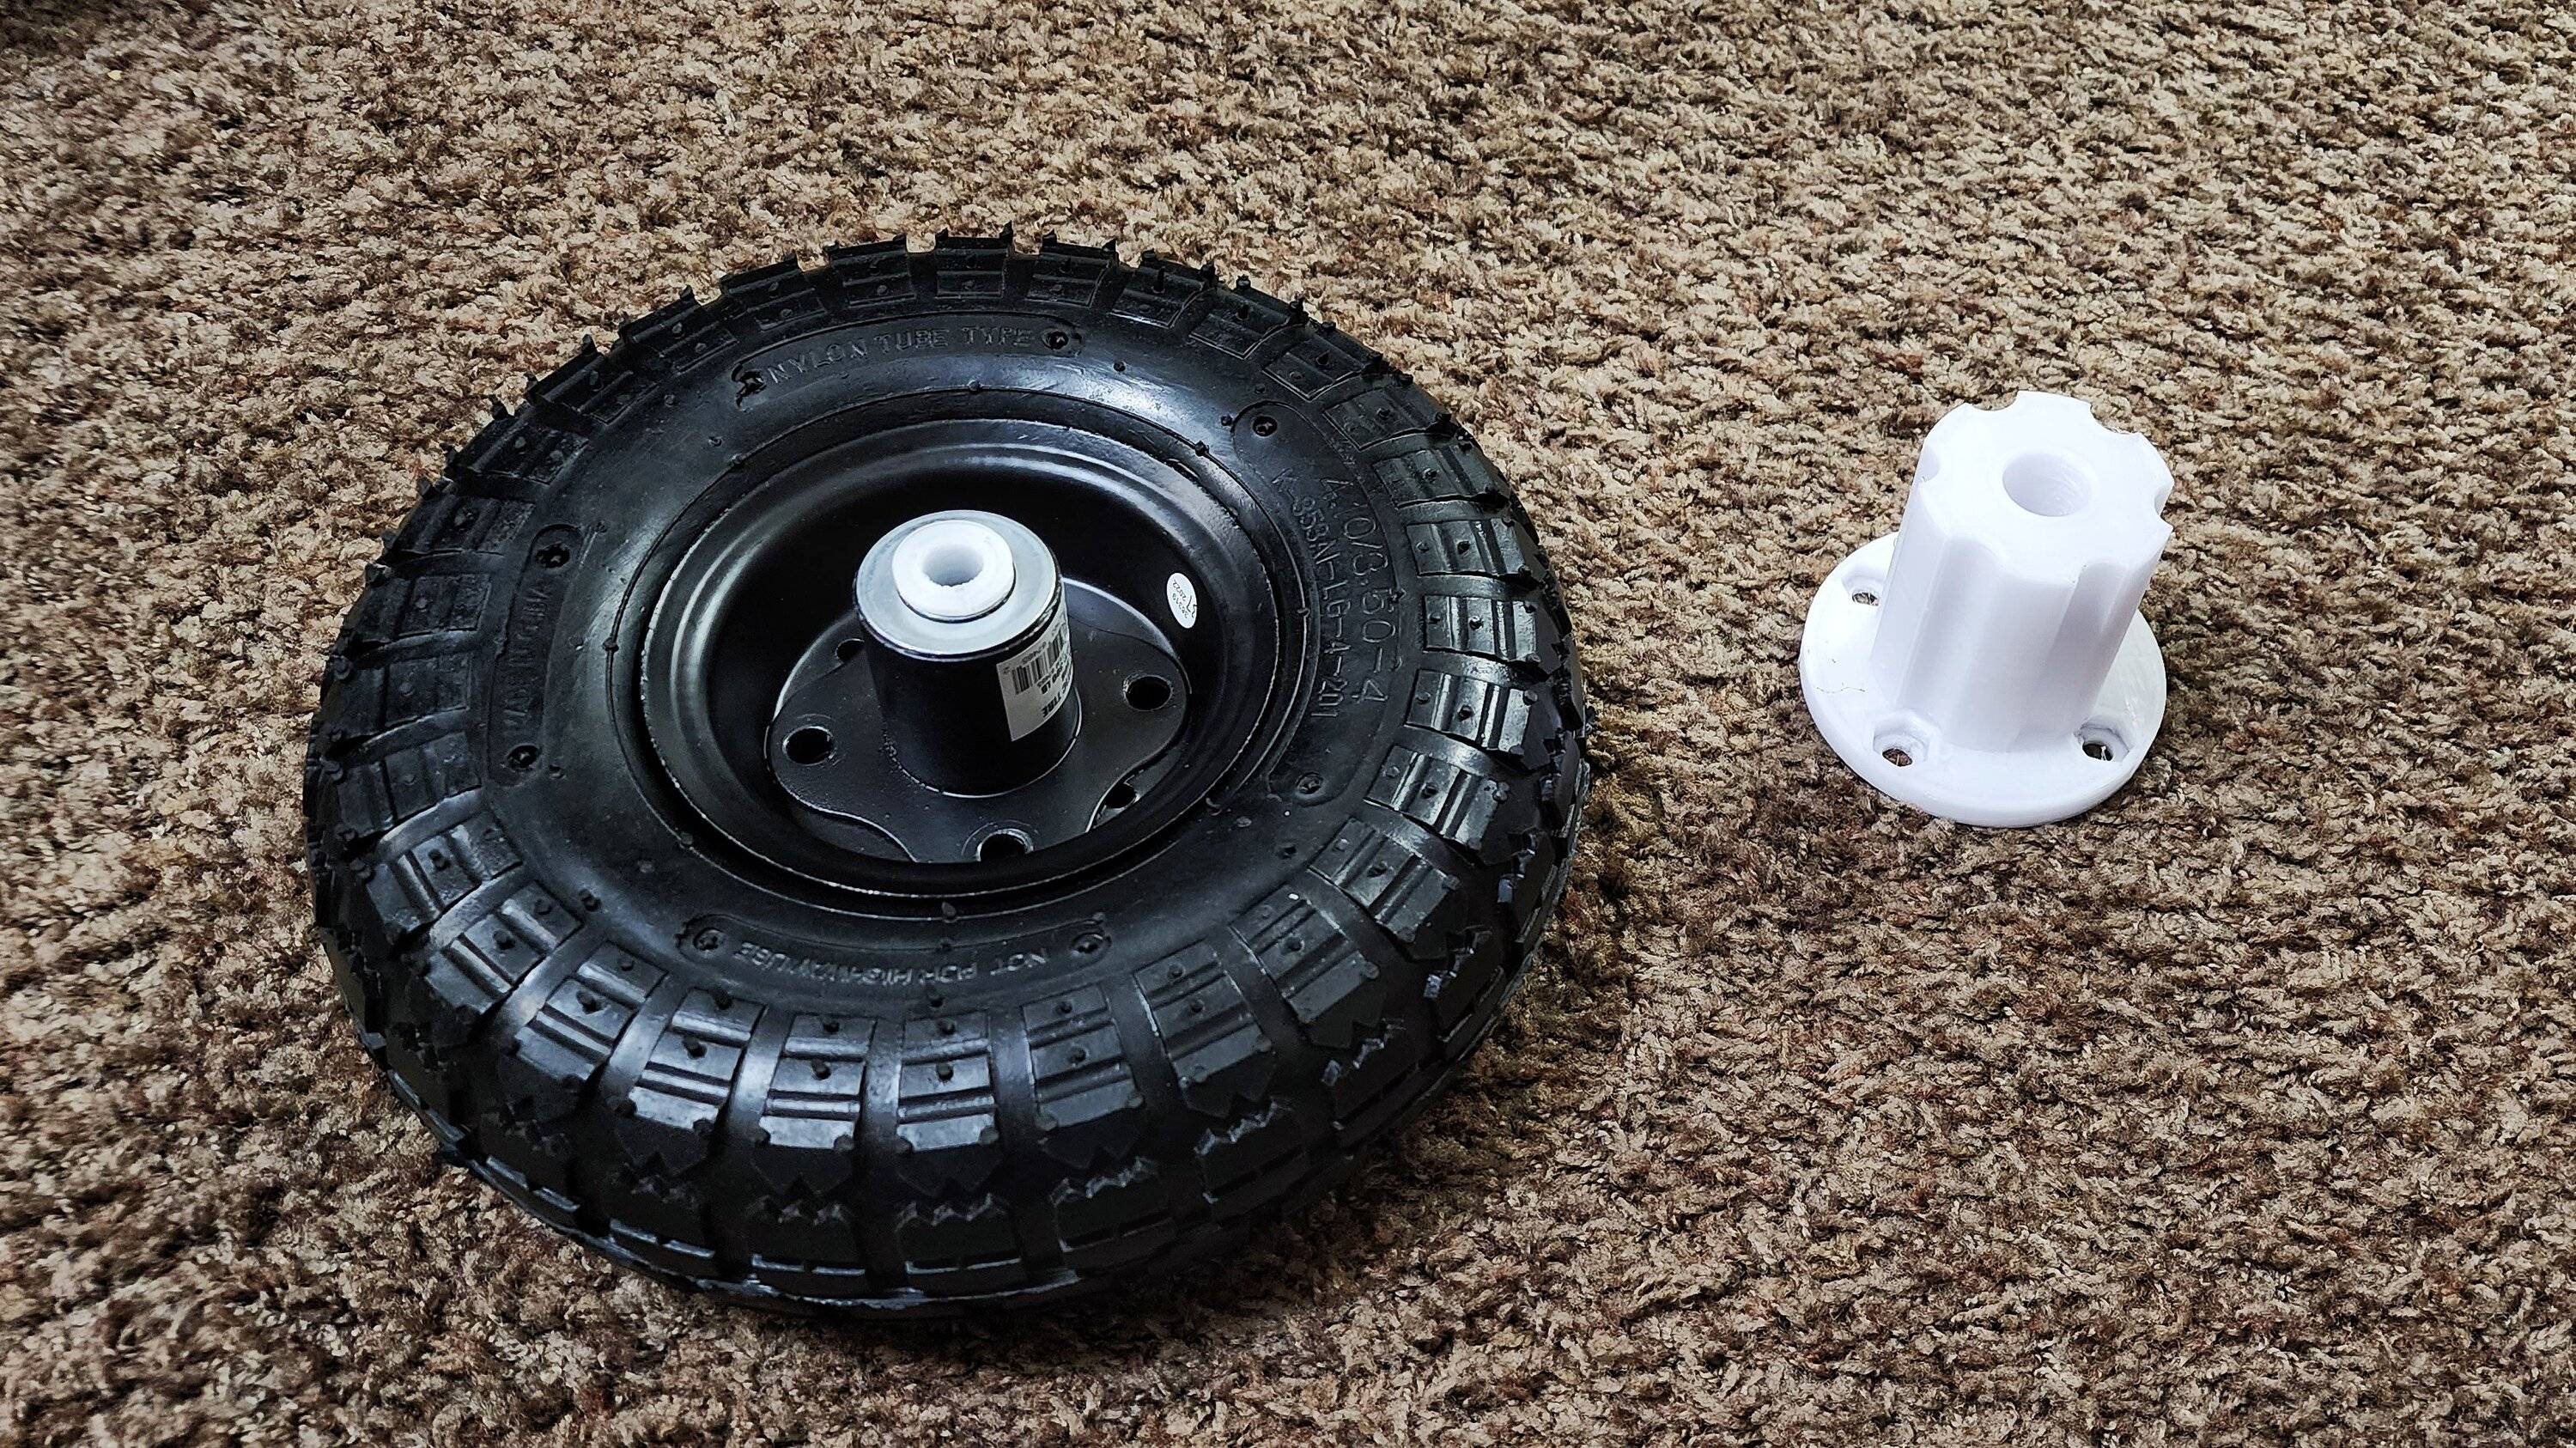
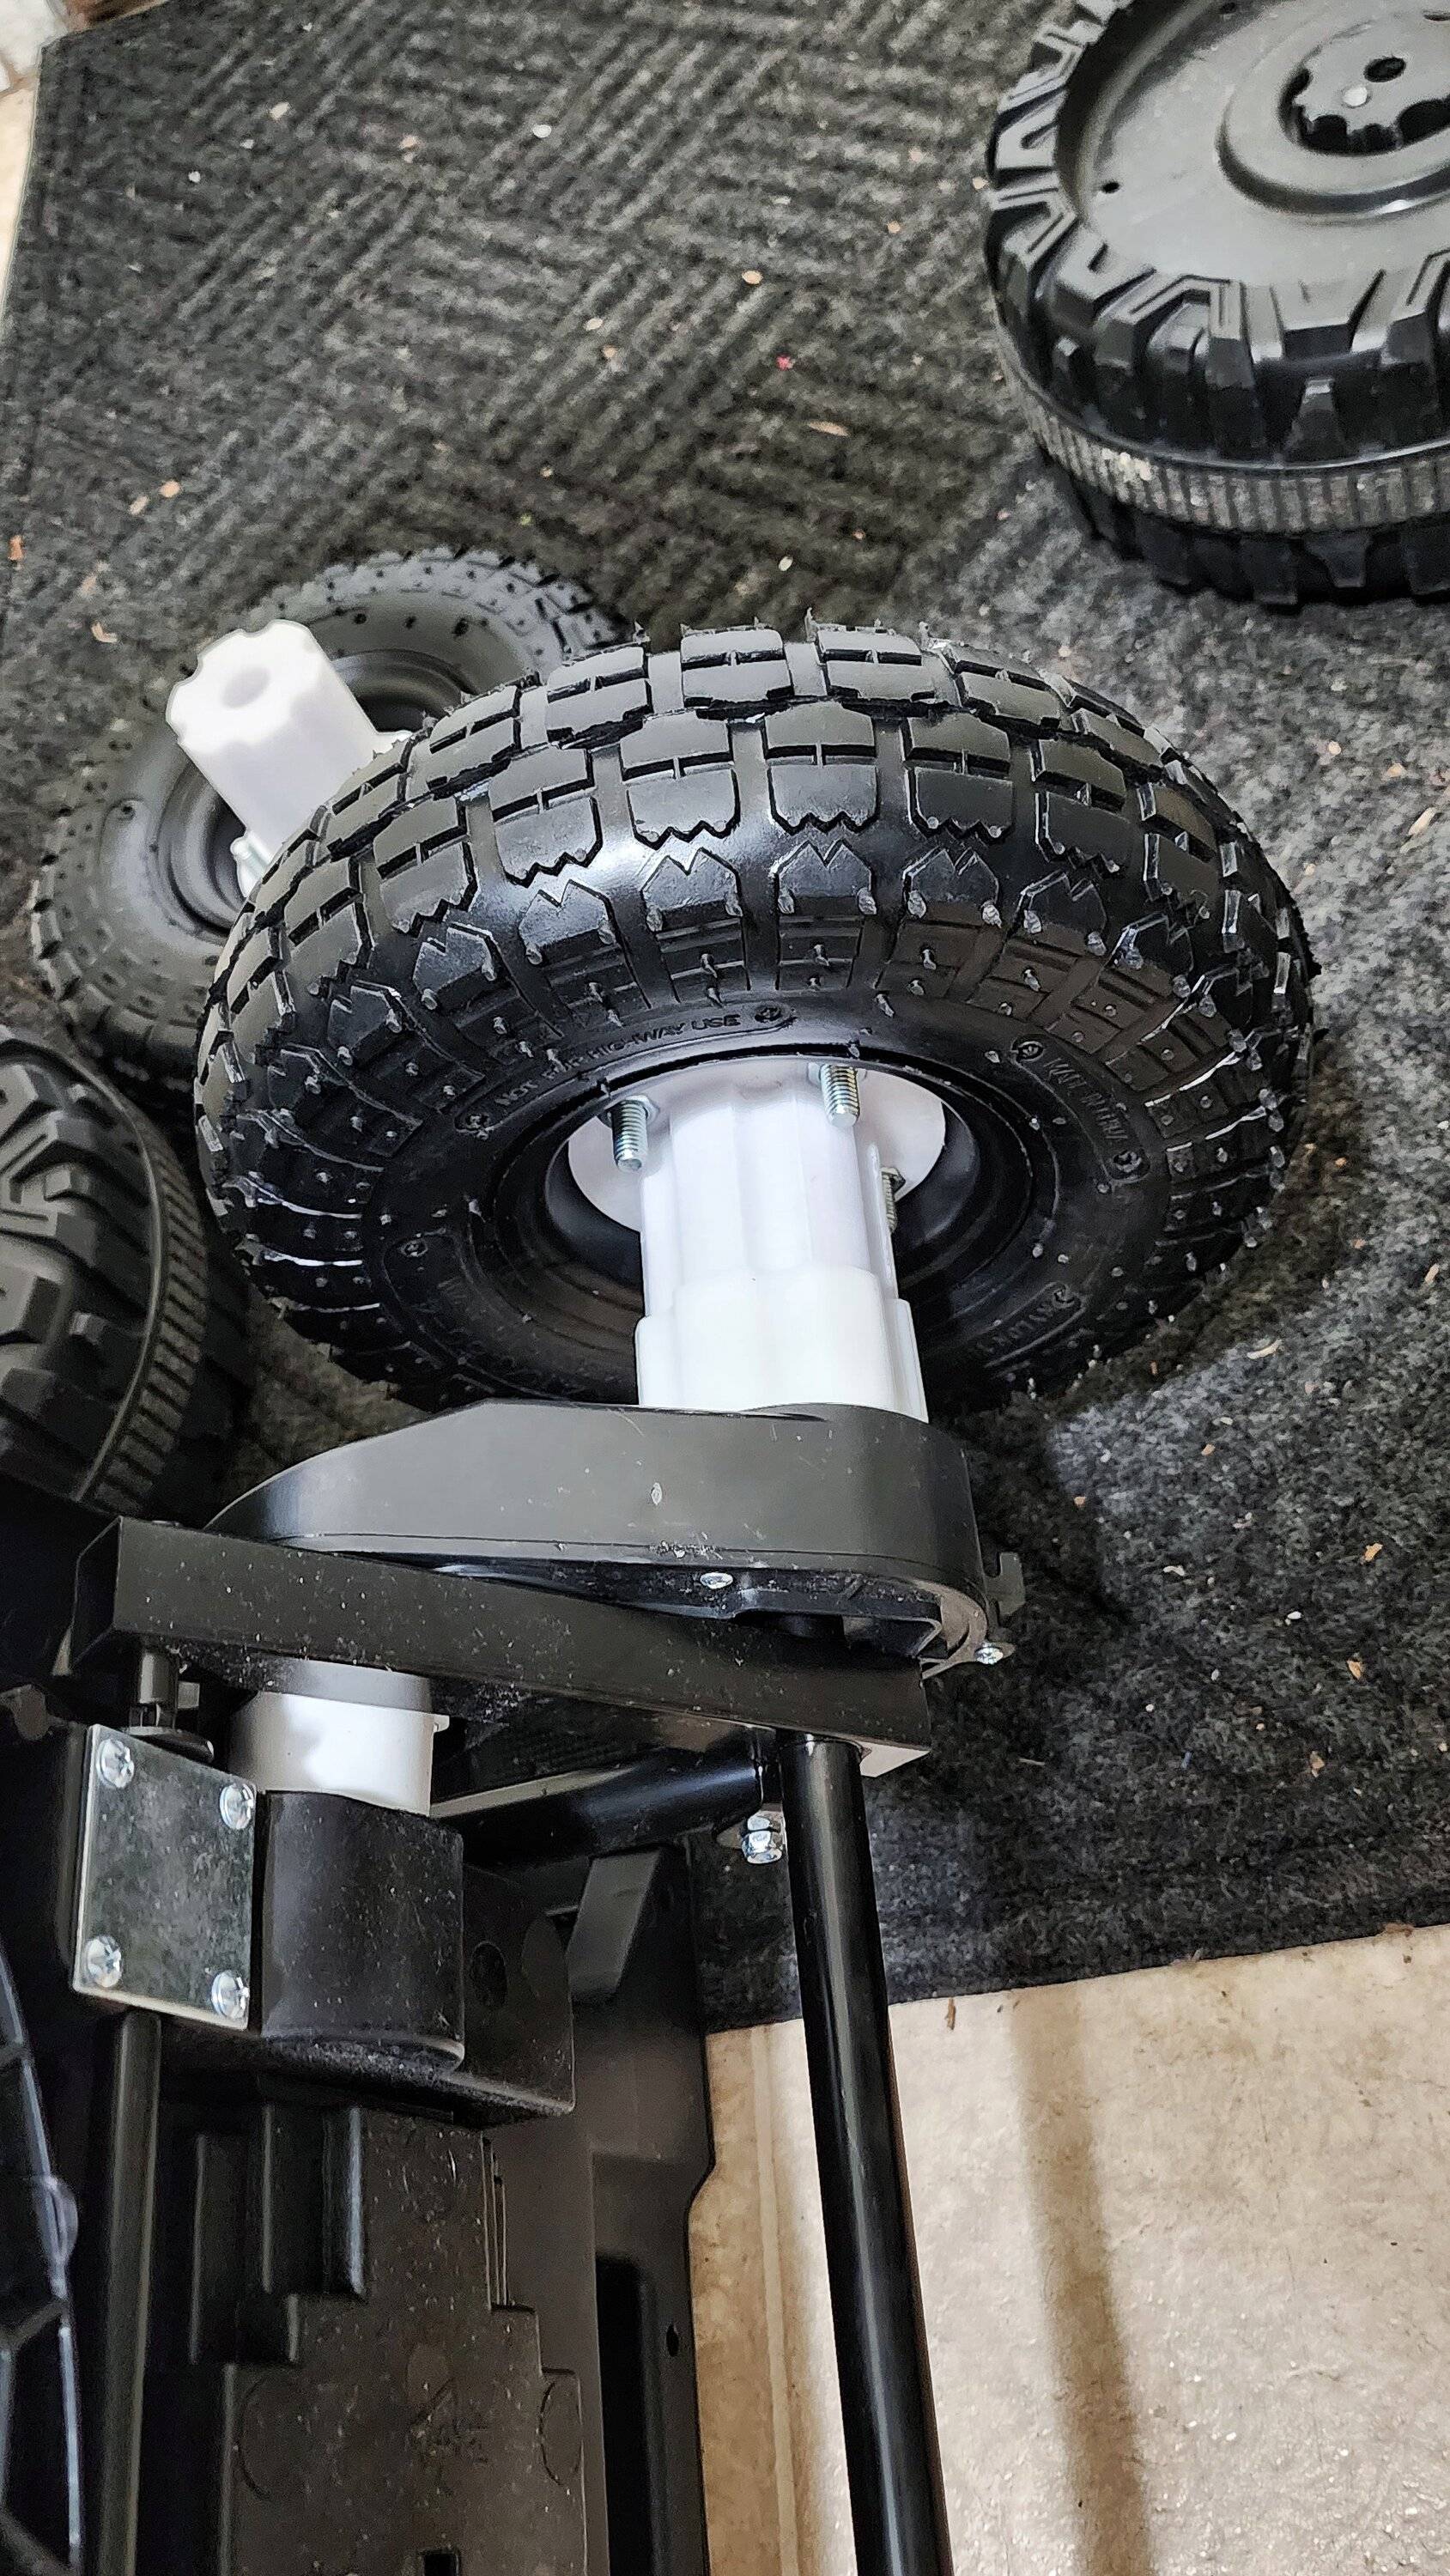
Since I modify all my vehicles, I figured I'd do this one as well. Bought some harbor freight pneumatic 10" tires and got to work. You can see them below. Since pizza cutter tires are all the rage these days the look like they would work pretty well.

I designed and 3d printed some flanged bushings for a tight fitment on the "axle" (set of two for each wheel) and pressed them into the bearings. That (+ some spacers) was enough for the front wheels.
Next came the rear drive wheels. I found someone who had designed a hub adapter for a similiar ride-on to convert to the 4 bolt pattern. First print almost worked, I ended up having to modify the design to be about ~ 8.5mm shorter and reprinted to make it fit my particular model.


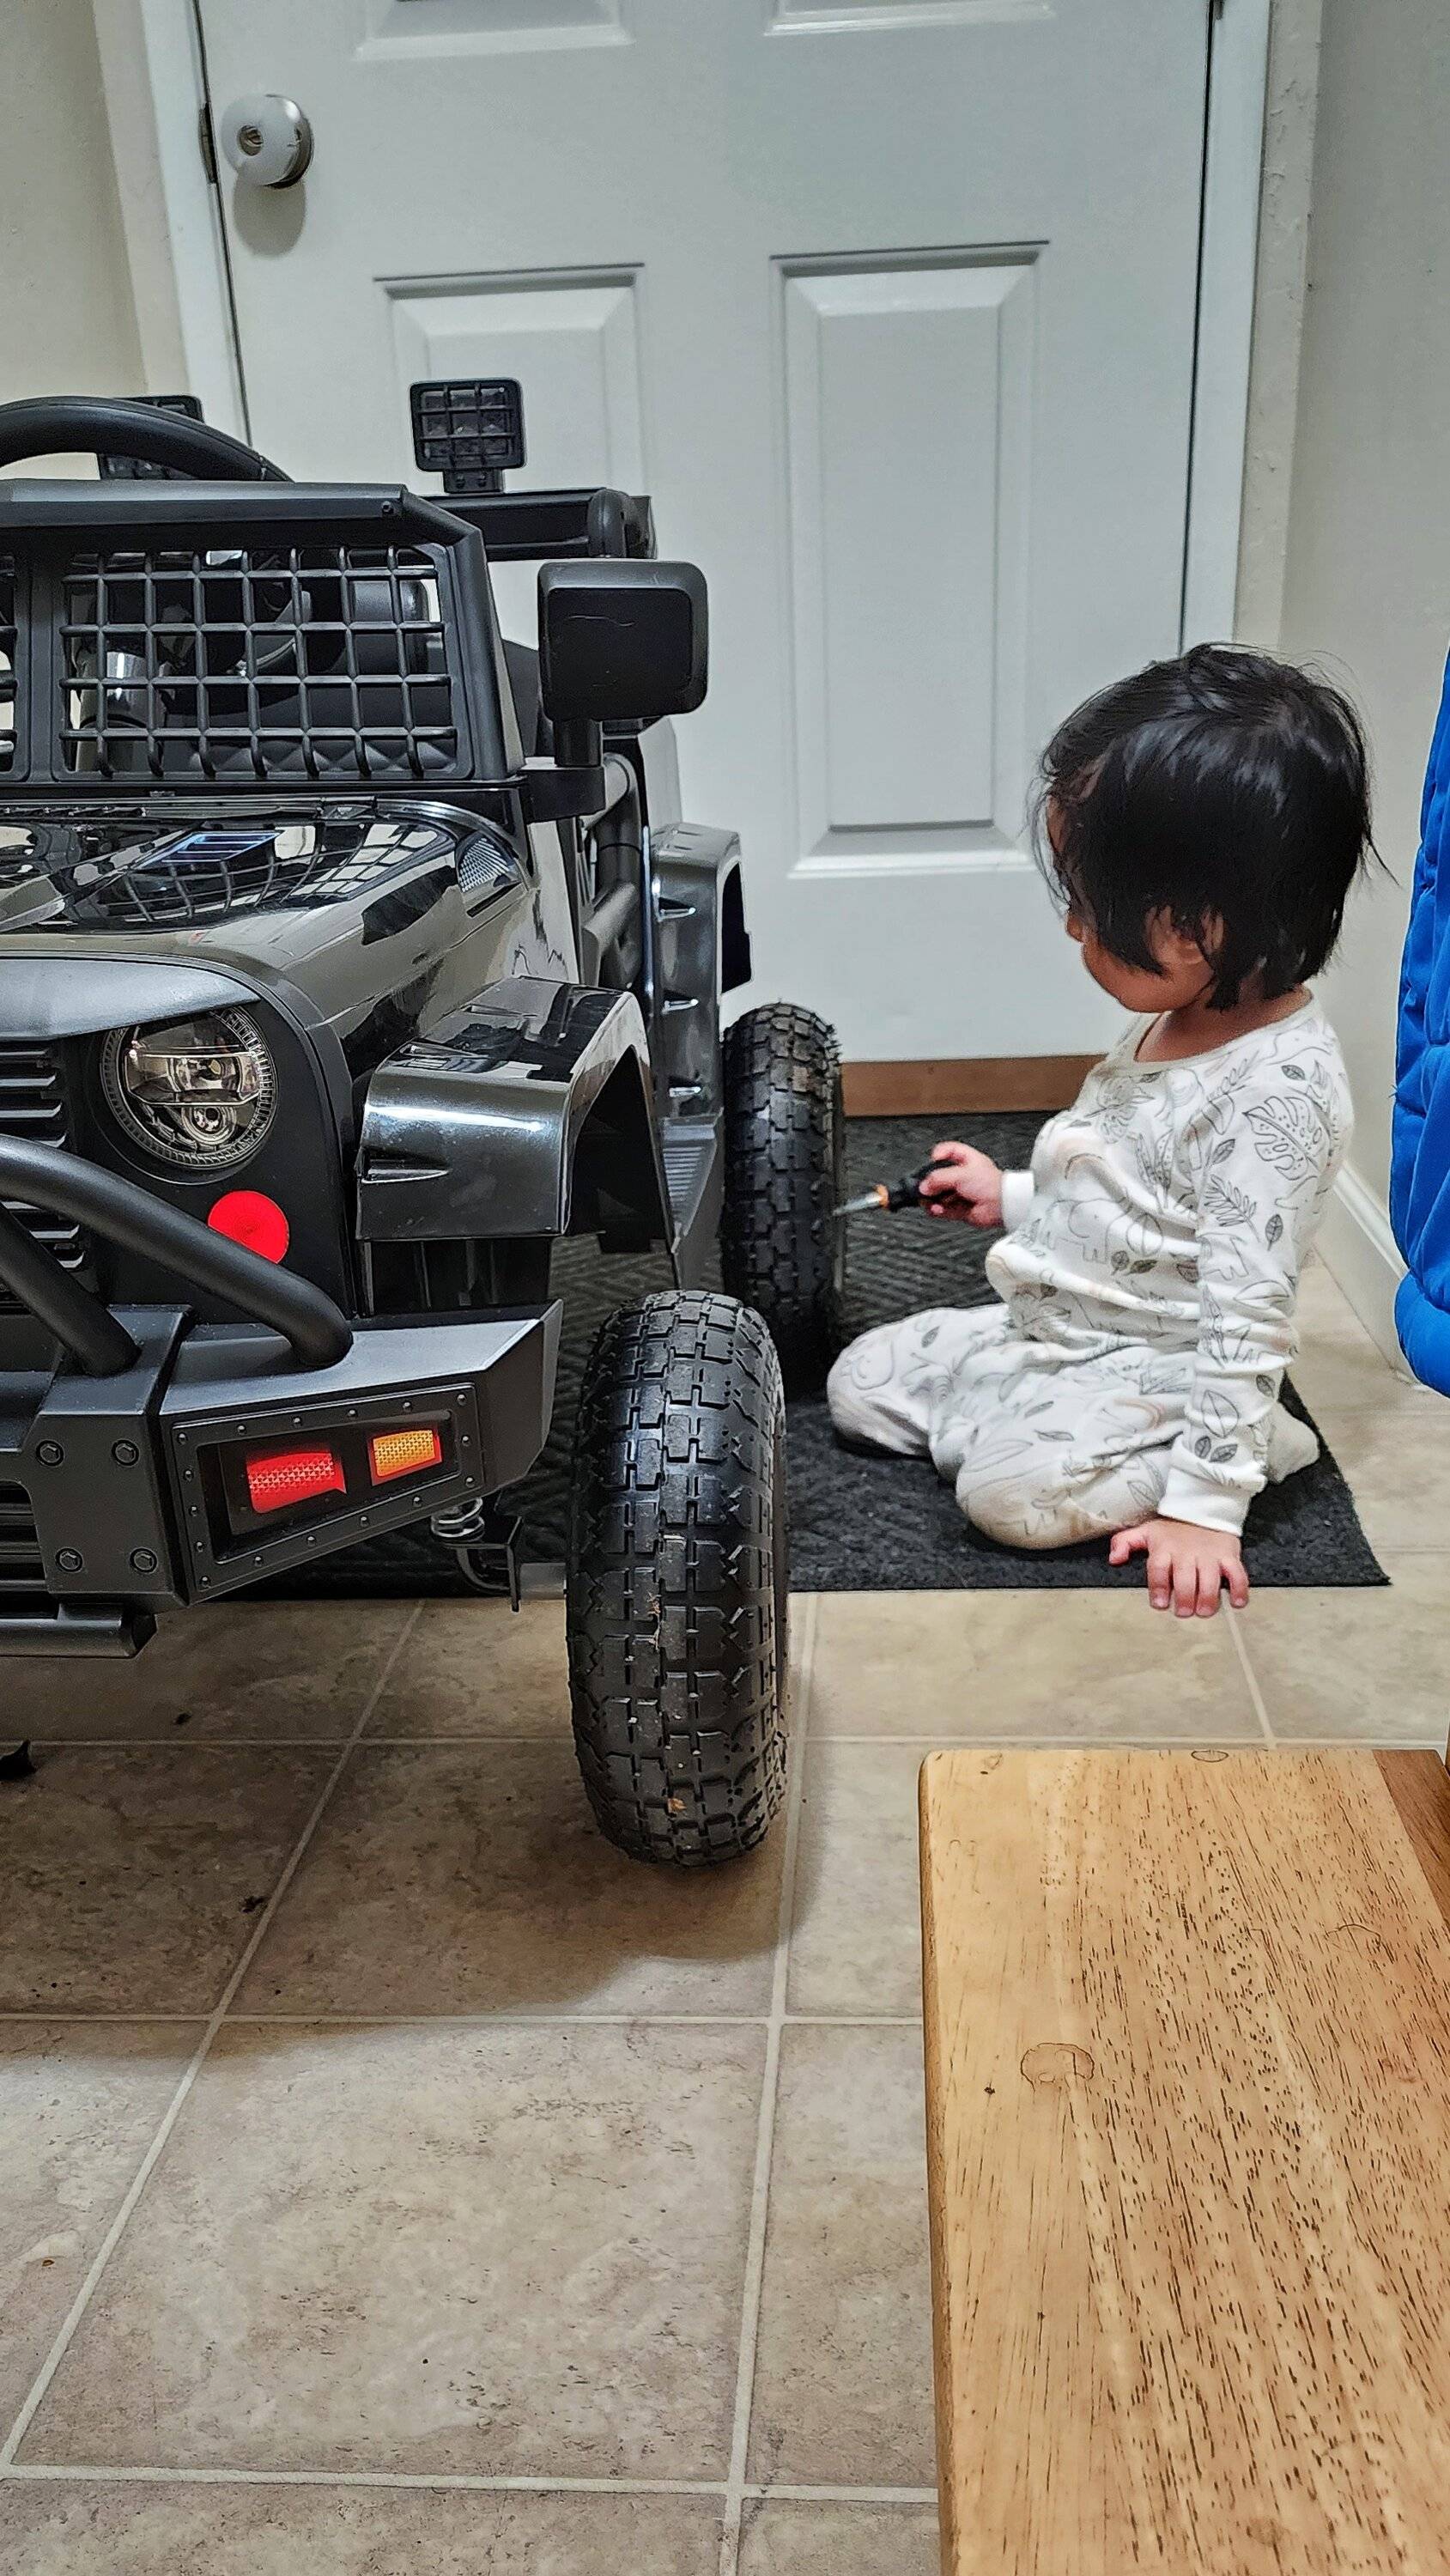
After that was the inspection by the expert who will be driving this thing.
The pneumatic tires are obviously heavier than the hollow plastic wheels so acceleration from a stop seems slower, but boy did this make a difference in grip and reduce how loud this thing is on pavement. Likely I'll be doing further modifications (ie power) but that will be after he gets a bit more comfortable with it.
Sponsored