khokhonutt
Well-Known Member
- First Name
- Jeff
- Joined
- Oct 18, 2019
- Threads
- 1
- Messages
- 113
- Reaction score
- 339
- Location
- Concord, NC
- Vehicle(s)
- 2020 Jeep Gladiator Sport, 2004 Jeep Wrangler Sport
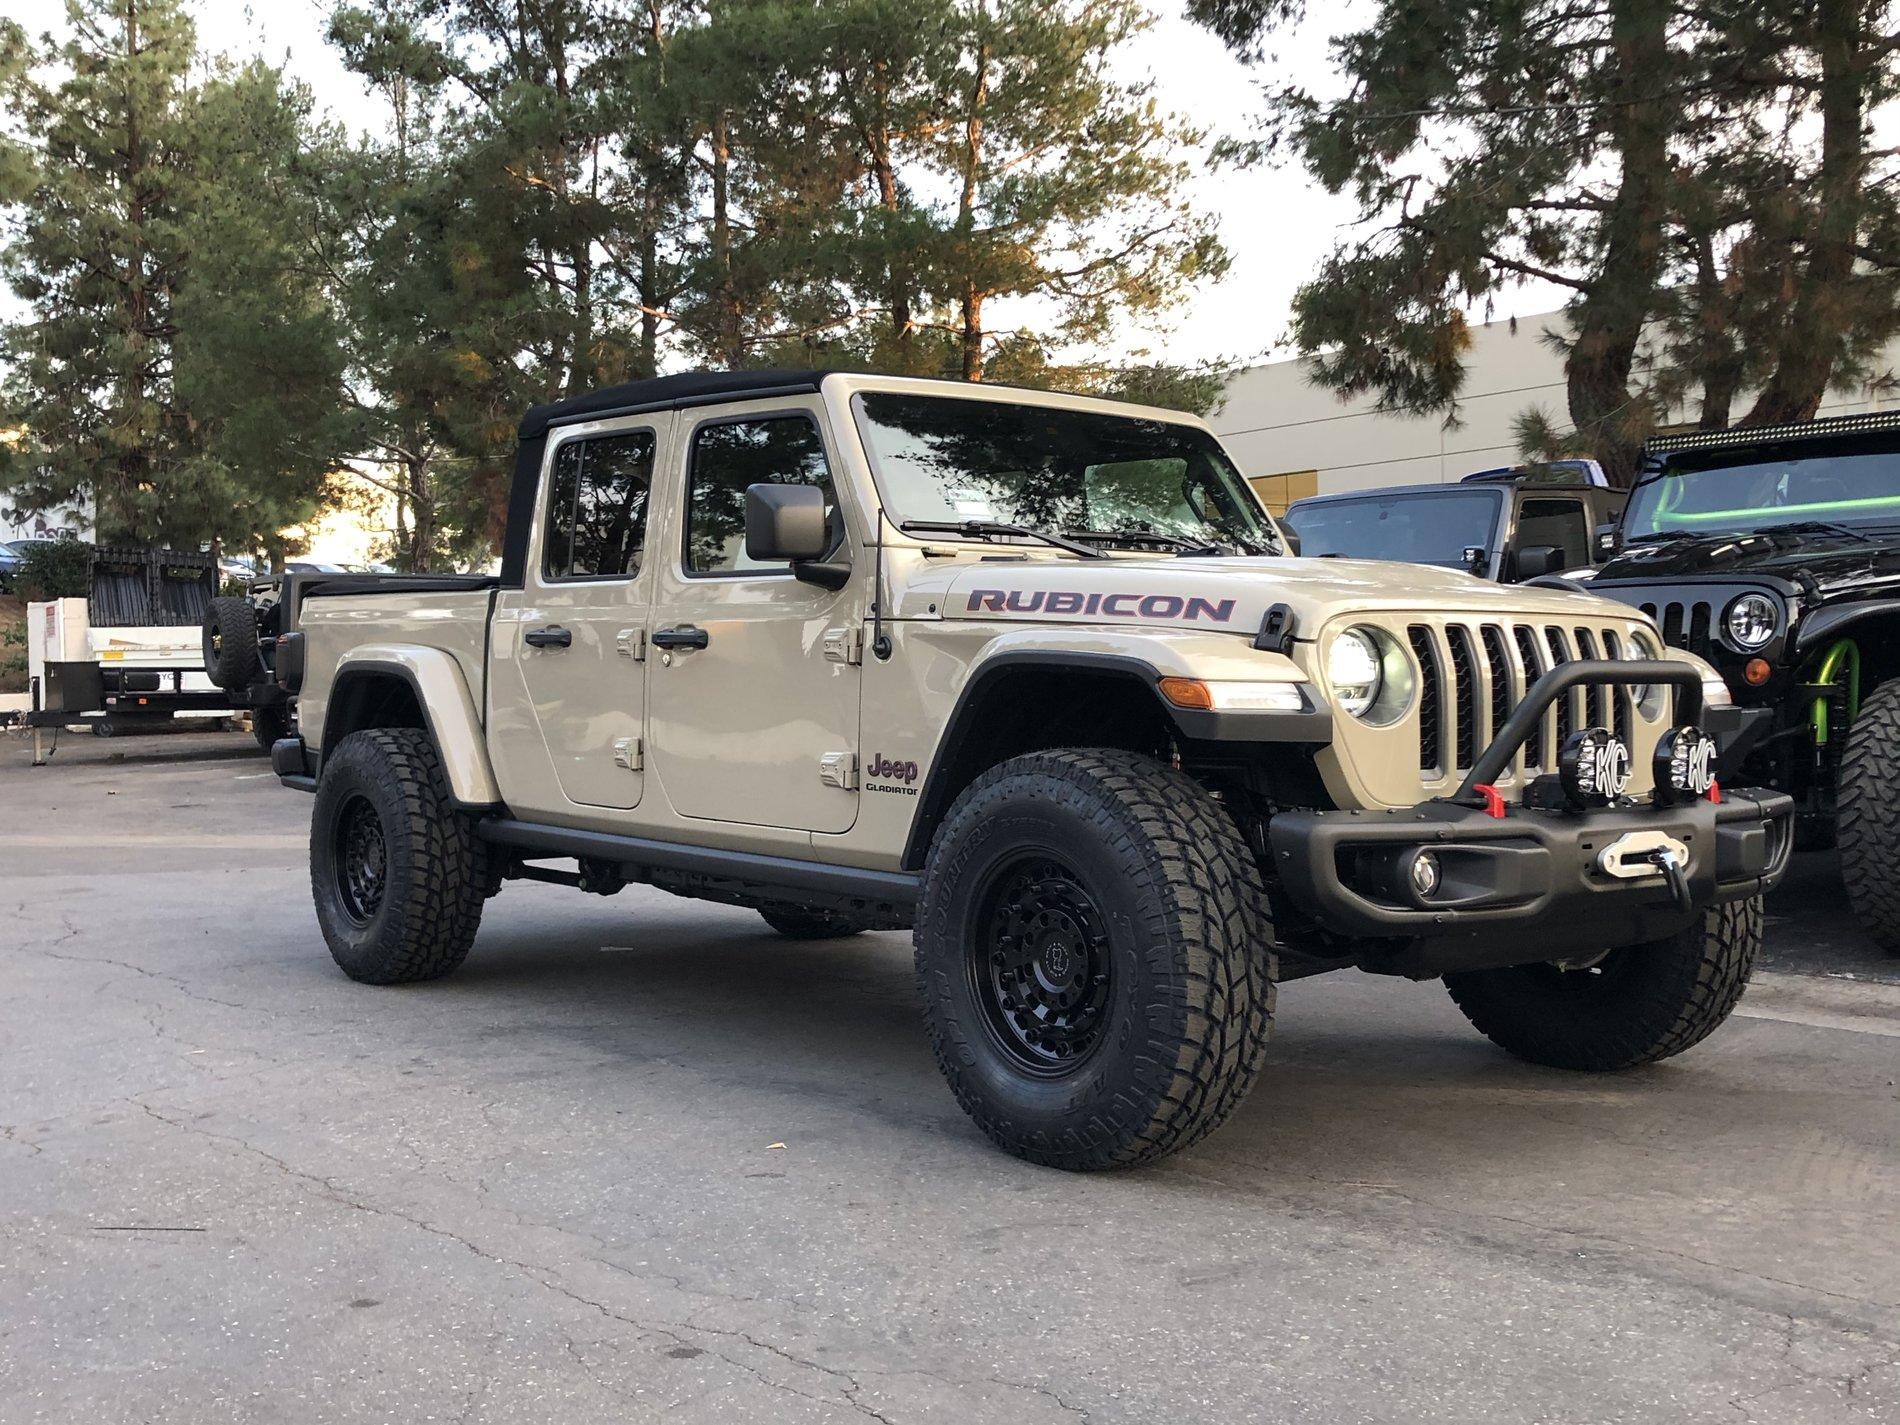
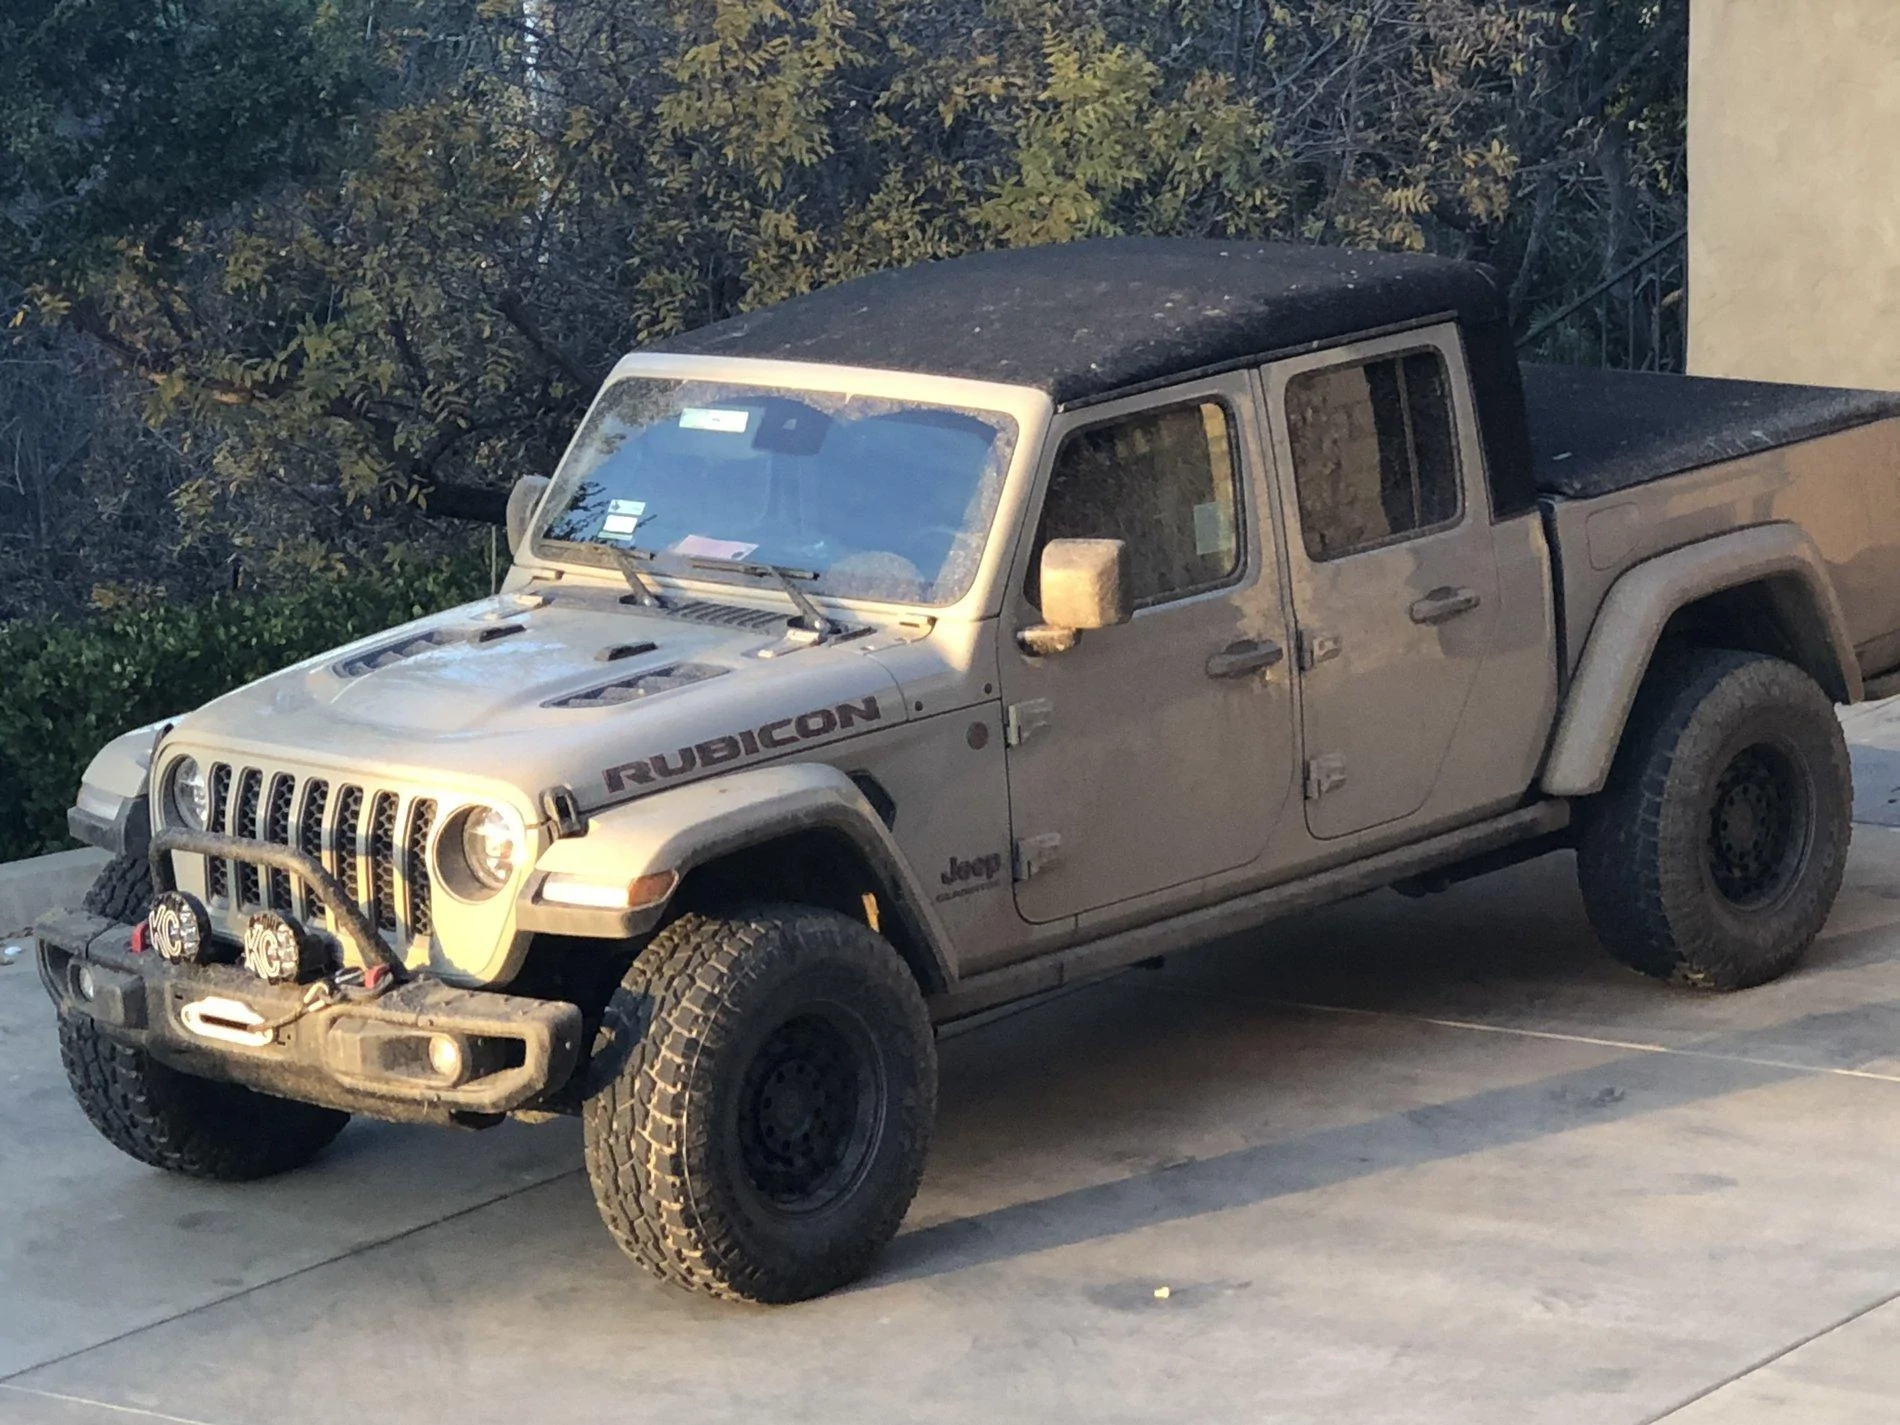
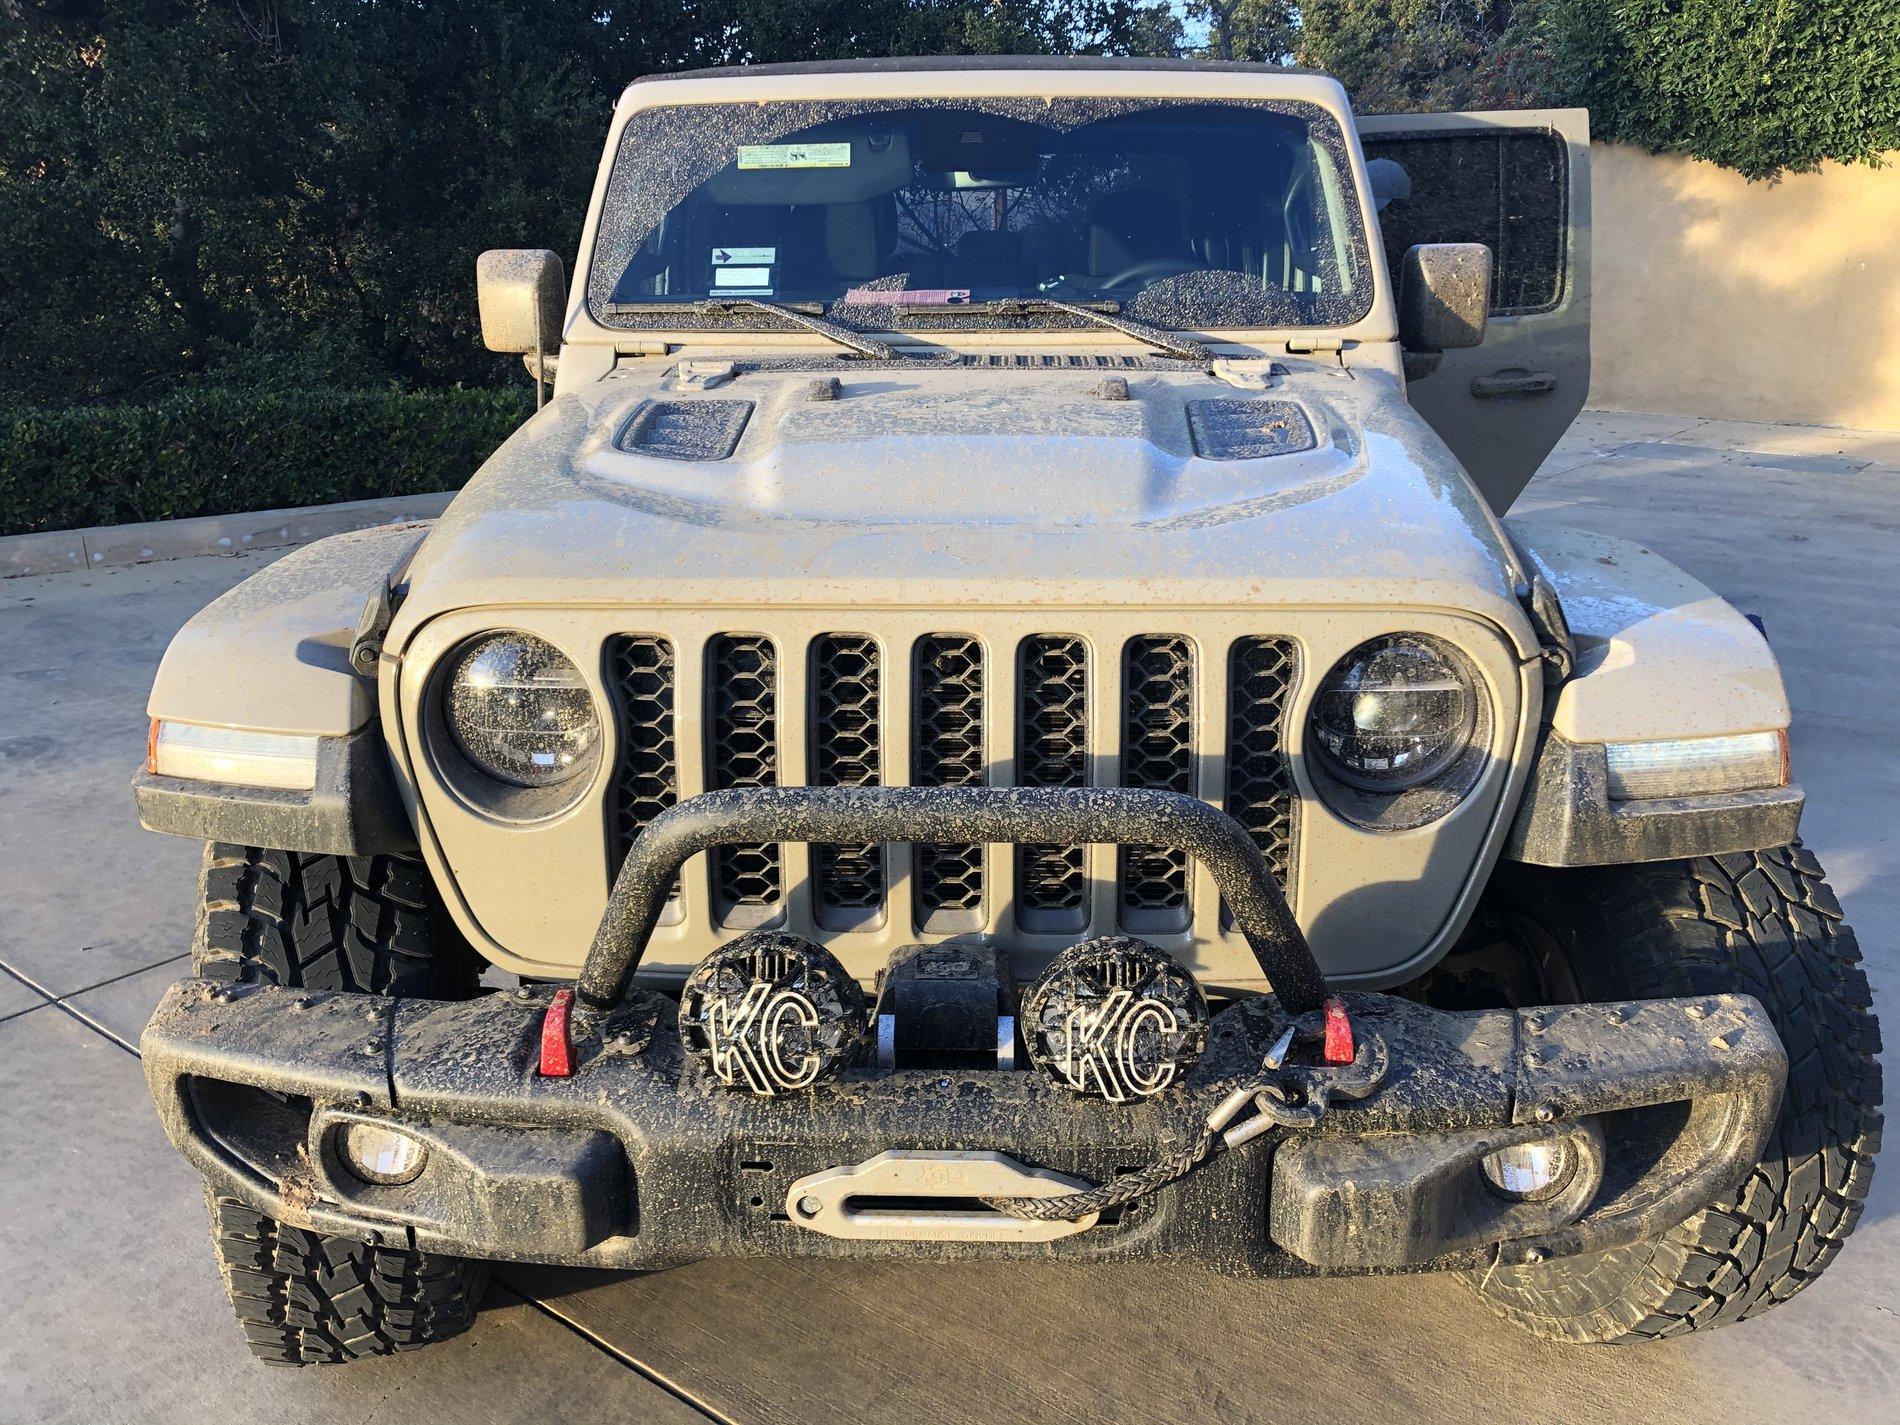
Put the Daystar 2" spacer lift on. The stock kit goes for a more level stance, but I prefer the stock stance, so I added a 3/4 spacer to the rear. It's a decent kit for the money and will give me a little more clearance until there are more options available for the Gladiator.
Before:
![Jeep Gladiator What did you do TO your Gladiator today? [ADMIN WARNING: NO POLITICS, NO GUN TALK] i-6sZxs77-L](data:image/svg+xml;charset=utf-8,%3Csvg xmlns%3D'http%3A%2F%2Fwww.w3.org%2F2000%2Fsvg' width='800' height='600' viewBox%3D'0 0 800 600'%2F%3E)
After:
Before:
![Jeep Gladiator What did you do TO your Gladiator today? [ADMIN WARNING: NO POLITICS, NO GUN TALK] i-6sZxs77-L](https://cdn.jeepgladiatorforum.com/attachments/54/54222-bfe53baa68248f1fa423330b30342cf1.jpg)
After:
![Jeep Gladiator What did you do TO your Gladiator today? [ADMIN WARNING: NO POLITICS, NO GUN TALK] i-M9vF4gS-L](https://cdn.jeepgladiatorforum.com/attachments/54/54223-be772b4e00914d37f69a329927858516.jpg)
Sponsored
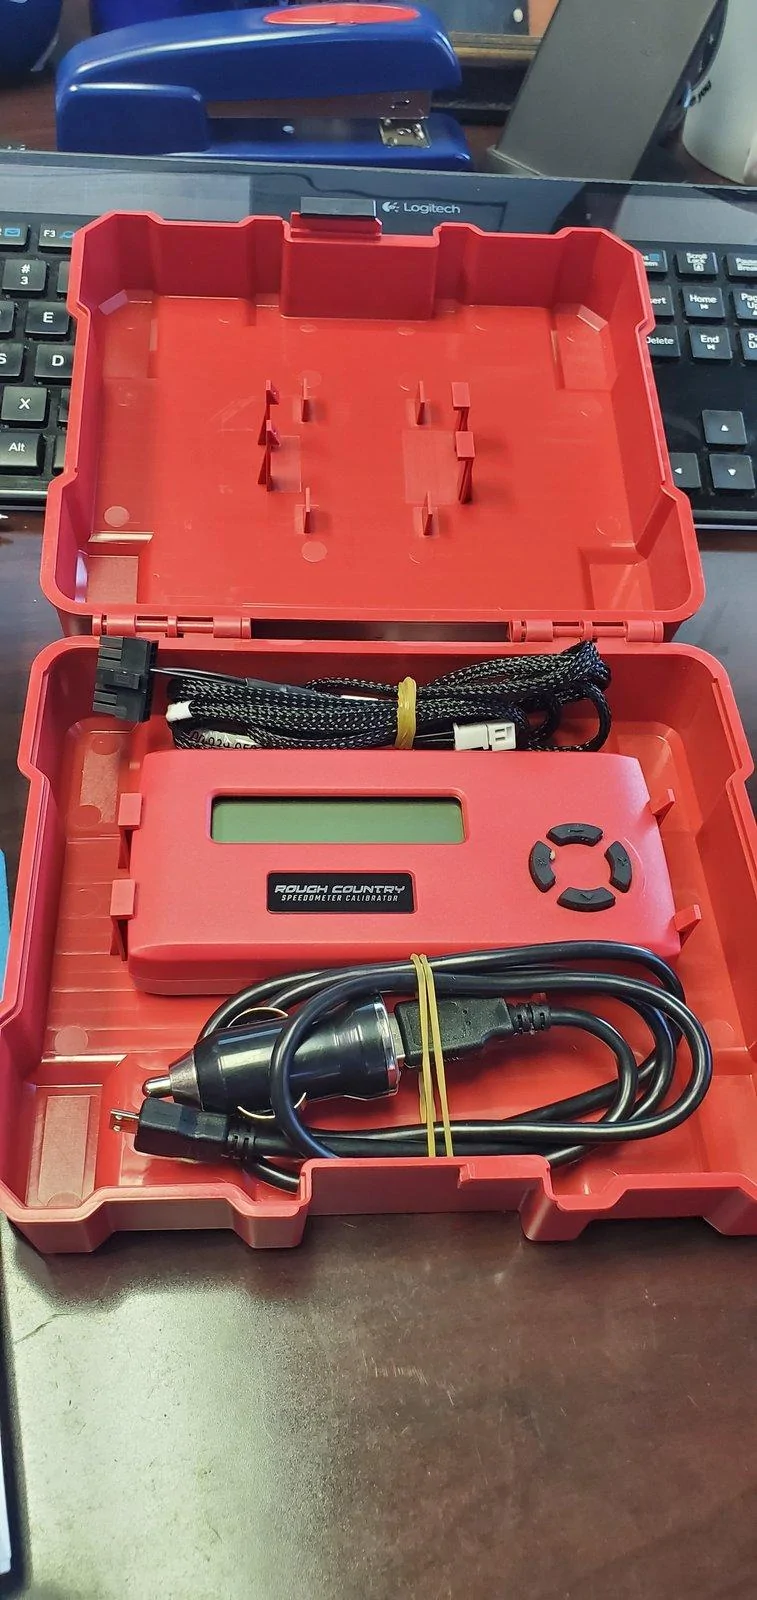

![Jeep Gladiator What did you do TO your Gladiator today? [ADMIN WARNING: NO POLITICS, NO GUN TALK] 20200107_170733~2_resized](https://cdn.jeepgladiatorforum.com/attachments/54/54241-1831605f90b573352bb42eabd04618db.webp)
![Jeep Gladiator What did you do TO your Gladiator today? [ADMIN WARNING: NO POLITICS, NO GUN TALK] upload_2020-1-7_22-0-54](https://cdn.jeepgladiatorforum.com/attachments/54/54255-75b80397395c73a0bba057f4bb074846.jpeg)