Sponsored
What did you do TO your Gladiator today? [ADMIN WARNING: NO POLITICS, NO GUN TALK]
- Thread starter The4x4Guys
- Start date
- Watchers 1,483


Greg75
Well-Known Member
- First Name
- Greg
- Joined
- Nov 13, 2019
- Threads
- 2
- Messages
- 91
- Reaction score
- 336
- Location
- California/Nevada/DC
- Vehicle(s)
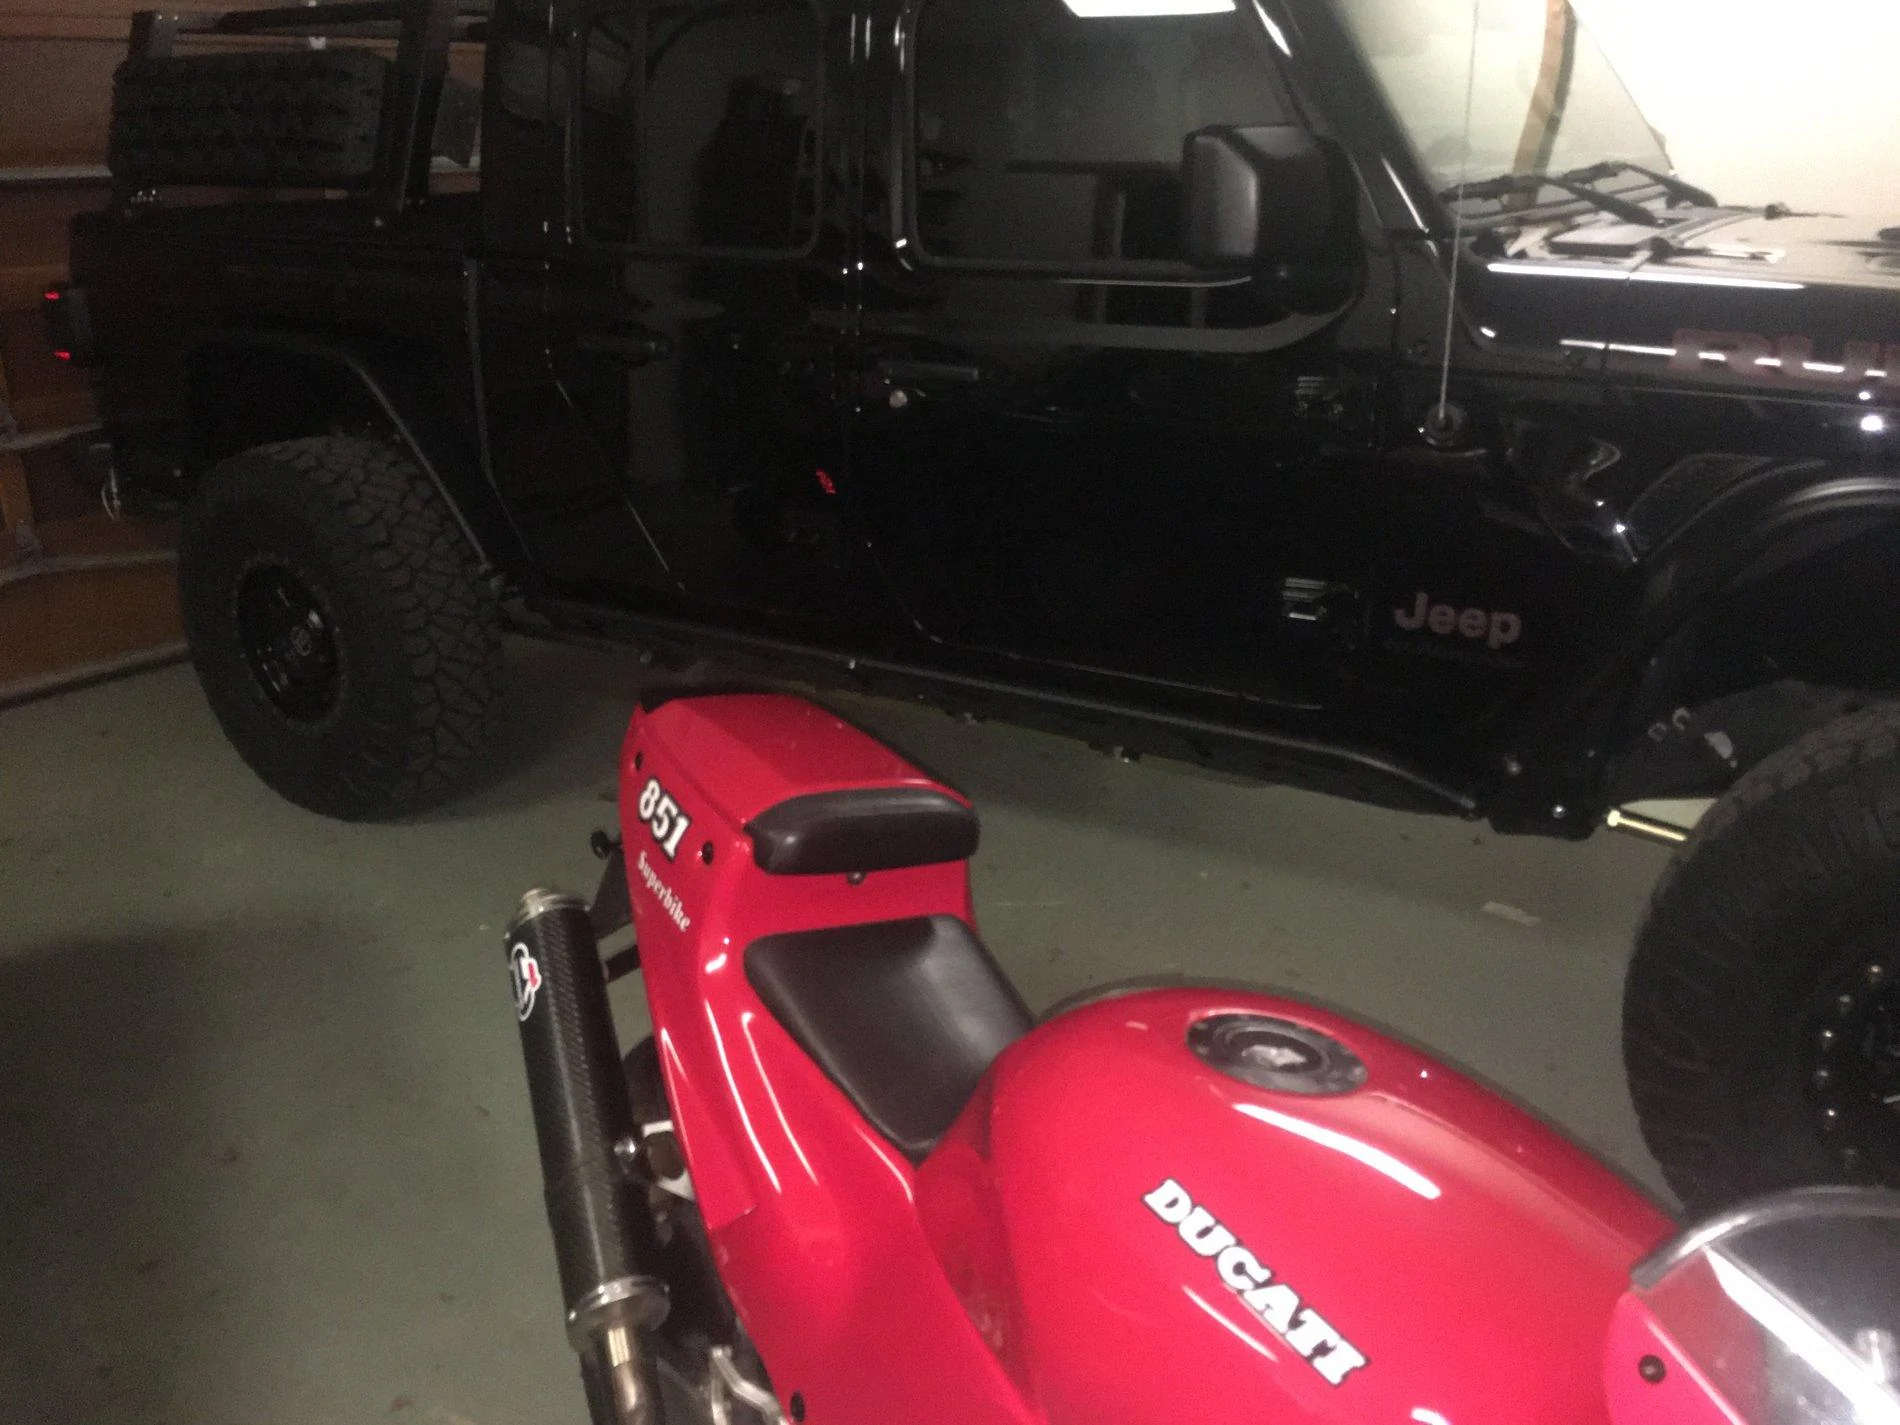
- Gladiator Rubicon LE, BMW M2 Competition, MBZ 560 SL, Ducati 851, Ducati 900 SS
Truly, they are. Promise to take and post better pictures tomorrow, in the light of day.
wow... I want more picture of those sliders. They look amazeballz!
Englane
Well-Known Member
- First Name
- Elliott
- Joined
- Nov 15, 2018
- Threads
- 4
- Messages
- 50
- Reaction score
- 114
- Location
- Toledo, Ohio
- Vehicle(s)
- JT Sport S, ‘06 LJ, ‘67 Mustang, Indian Chief, Triumph Thruxton, Triumph TR6
- Vehicle Showcase
- 2
It took a day longer than expected, and now it’s either too late at night, or too early in the morning, but I finally got my Mopar lift and 37” tires on! Tomorrow will be a lot of ibuprofen, a trip to the car wash to get all the salt off, and hopefully some better pictures. This definitely convinced me that I need to invest in an impact driver.
Update: I havent washed it yet, but I did get the headlights adjusted and finally took a family picture with my LJ!
![Jeep Gladiator What did you do TO your Gladiator today? [ADMIN WARNING: NO POLITICS, NO GUN TALK] 423D25B0-07D0-4F25-AF49-0D8DA2E537D9](data:image/svg+xml;charset=utf-8,%3Csvg xmlns%3D'http%3A%2F%2Fwww.w3.org%2F2000%2Fsvg' width='1900' height='1425' viewBox%3D'0 0 1900 1425'%2F%3E)
Update: I havent washed it yet, but I did get the headlights adjusted and finally took a family picture with my LJ!
![Jeep Gladiator What did you do TO your Gladiator today? [ADMIN WARNING: NO POLITICS, NO GUN TALK] 423D25B0-07D0-4F25-AF49-0D8DA2E537D9](https://cdn.jeepgladiatorforum.com/attachments/64/64315-f0a9cfbb3bbda25d166153b6fbefe2a3.jpeg)
![Jeep Gladiator What did you do TO your Gladiator today? [ADMIN WARNING: NO POLITICS, NO GUN TALK] 9B5035AF-83EA-4EF3-AE0A-240C621DE34E](https://cdn.jeepgladiatorforum.com/attachments/64/64316-9cce8c947c26af336b408b22b5d4dcd1.webp)
![Jeep Gladiator What did you do TO your Gladiator today? [ADMIN WARNING: NO POLITICS, NO GUN TALK] 006D2526-8DAA-4E89-88D4-52CE046F7C5A](https://cdn.jeepgladiatorforum.com/attachments/64/64342-29a15aef974e2244b028a643b3842ff7.jpeg)
Last edited:
mojocho
Well-Known Member
Nice 851!
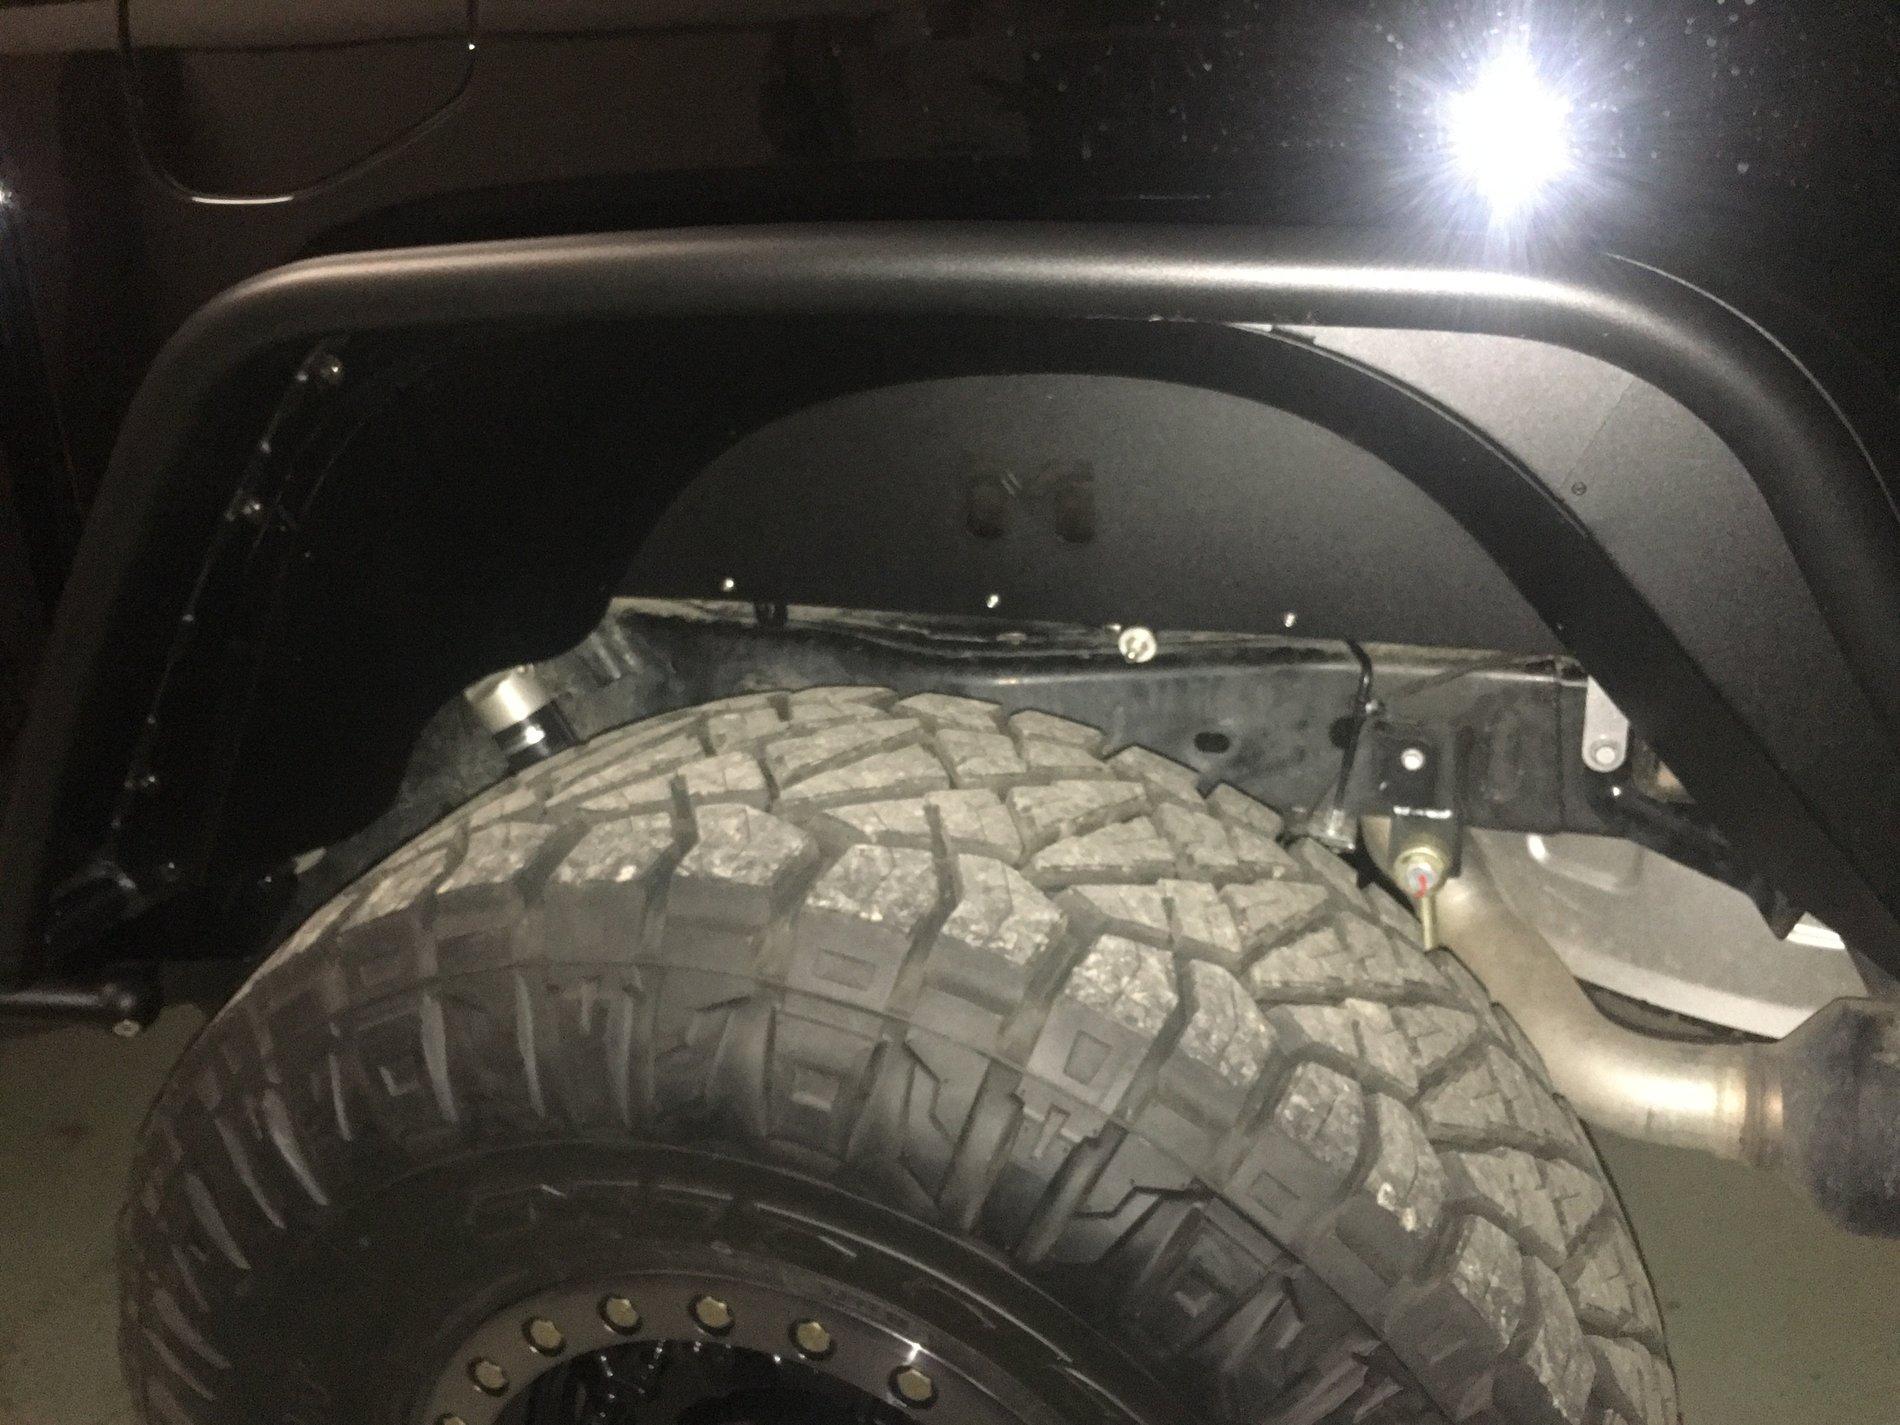
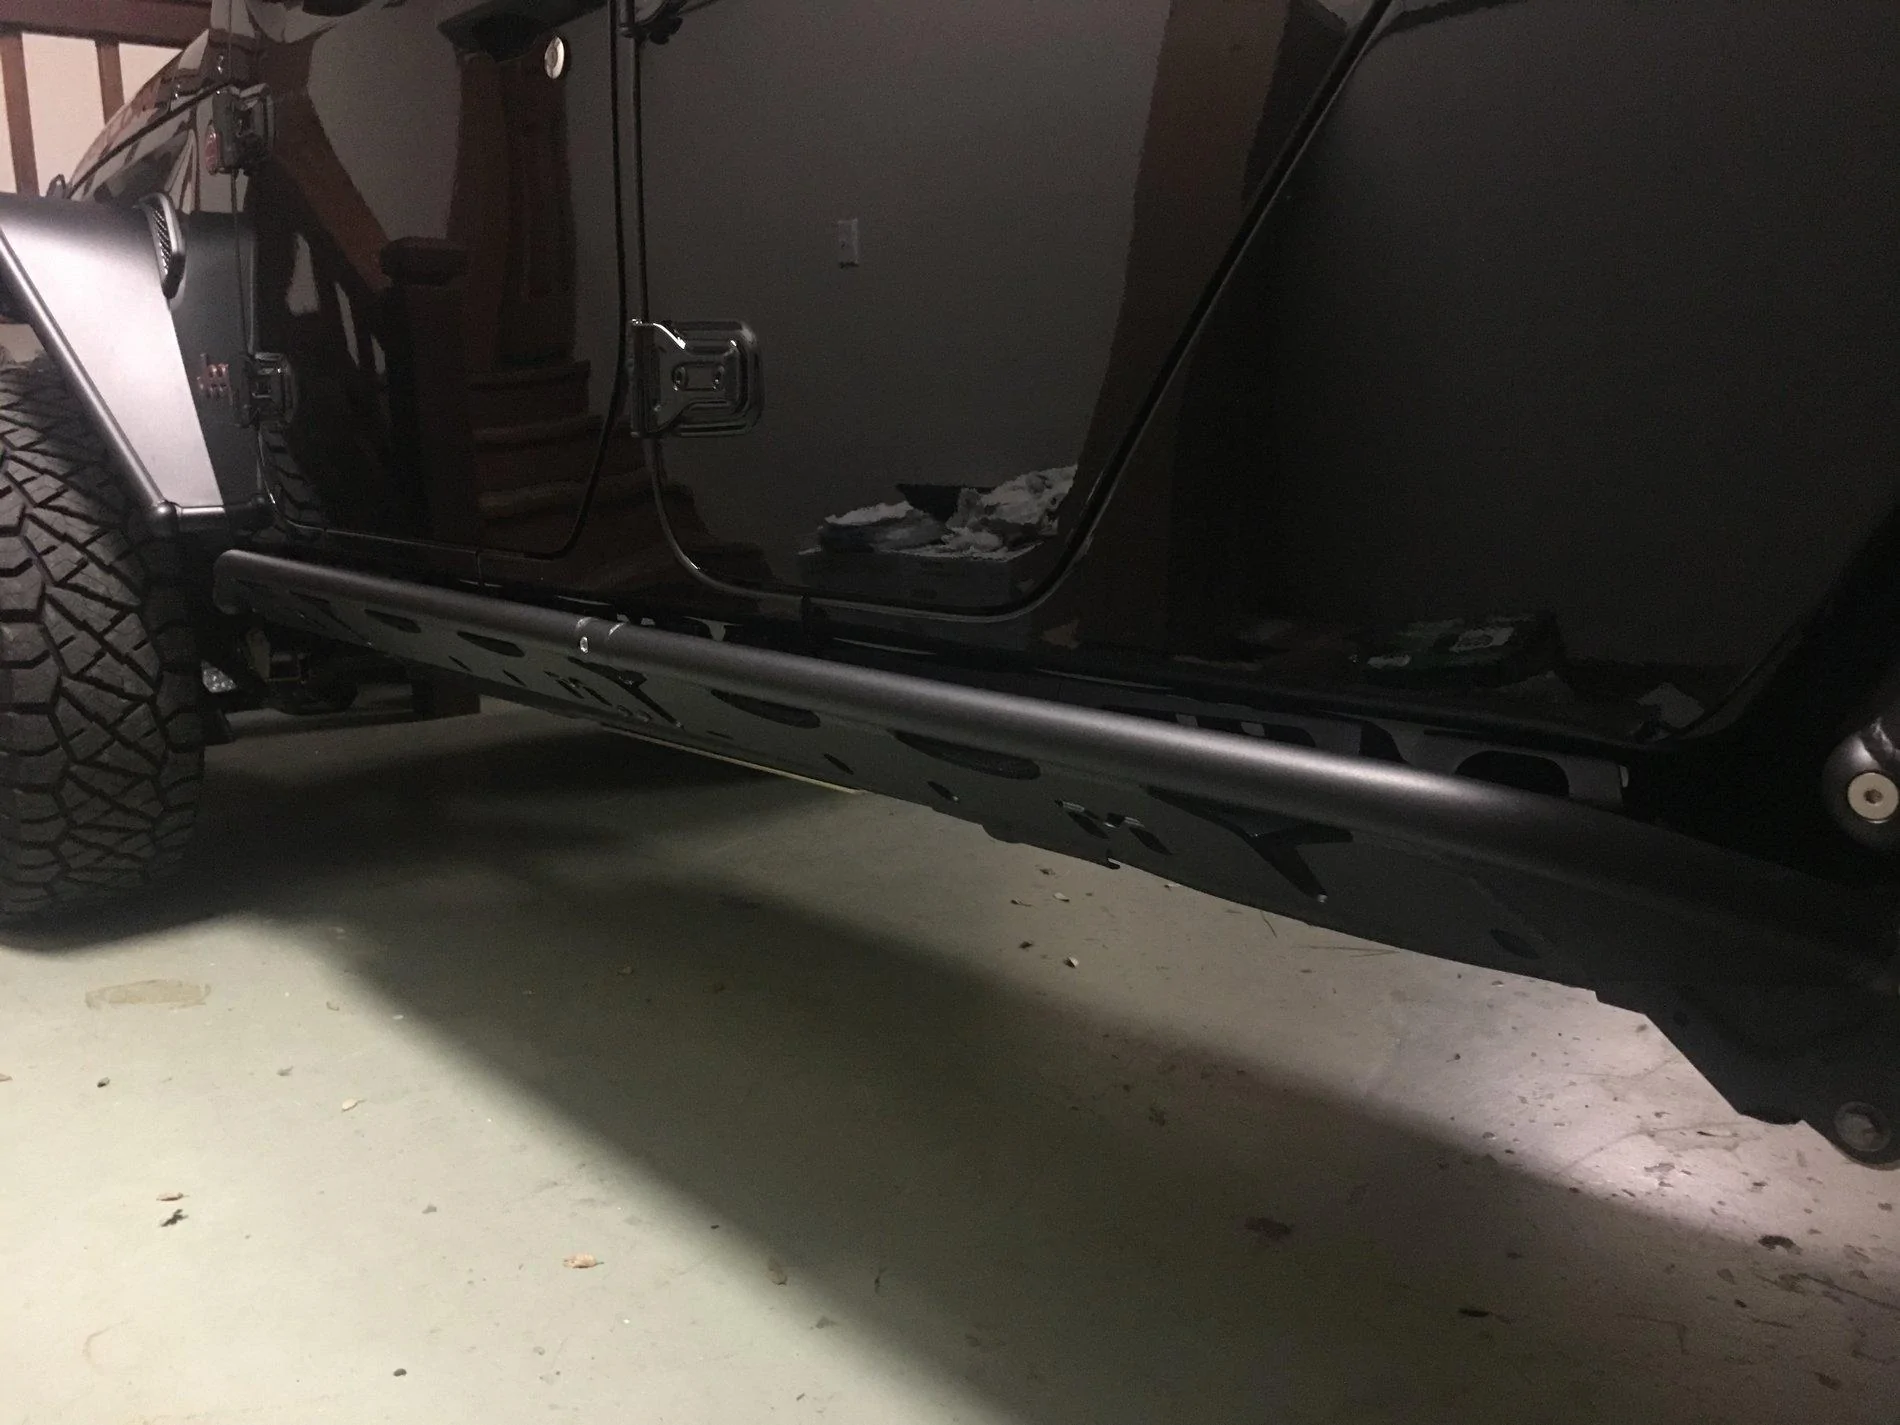
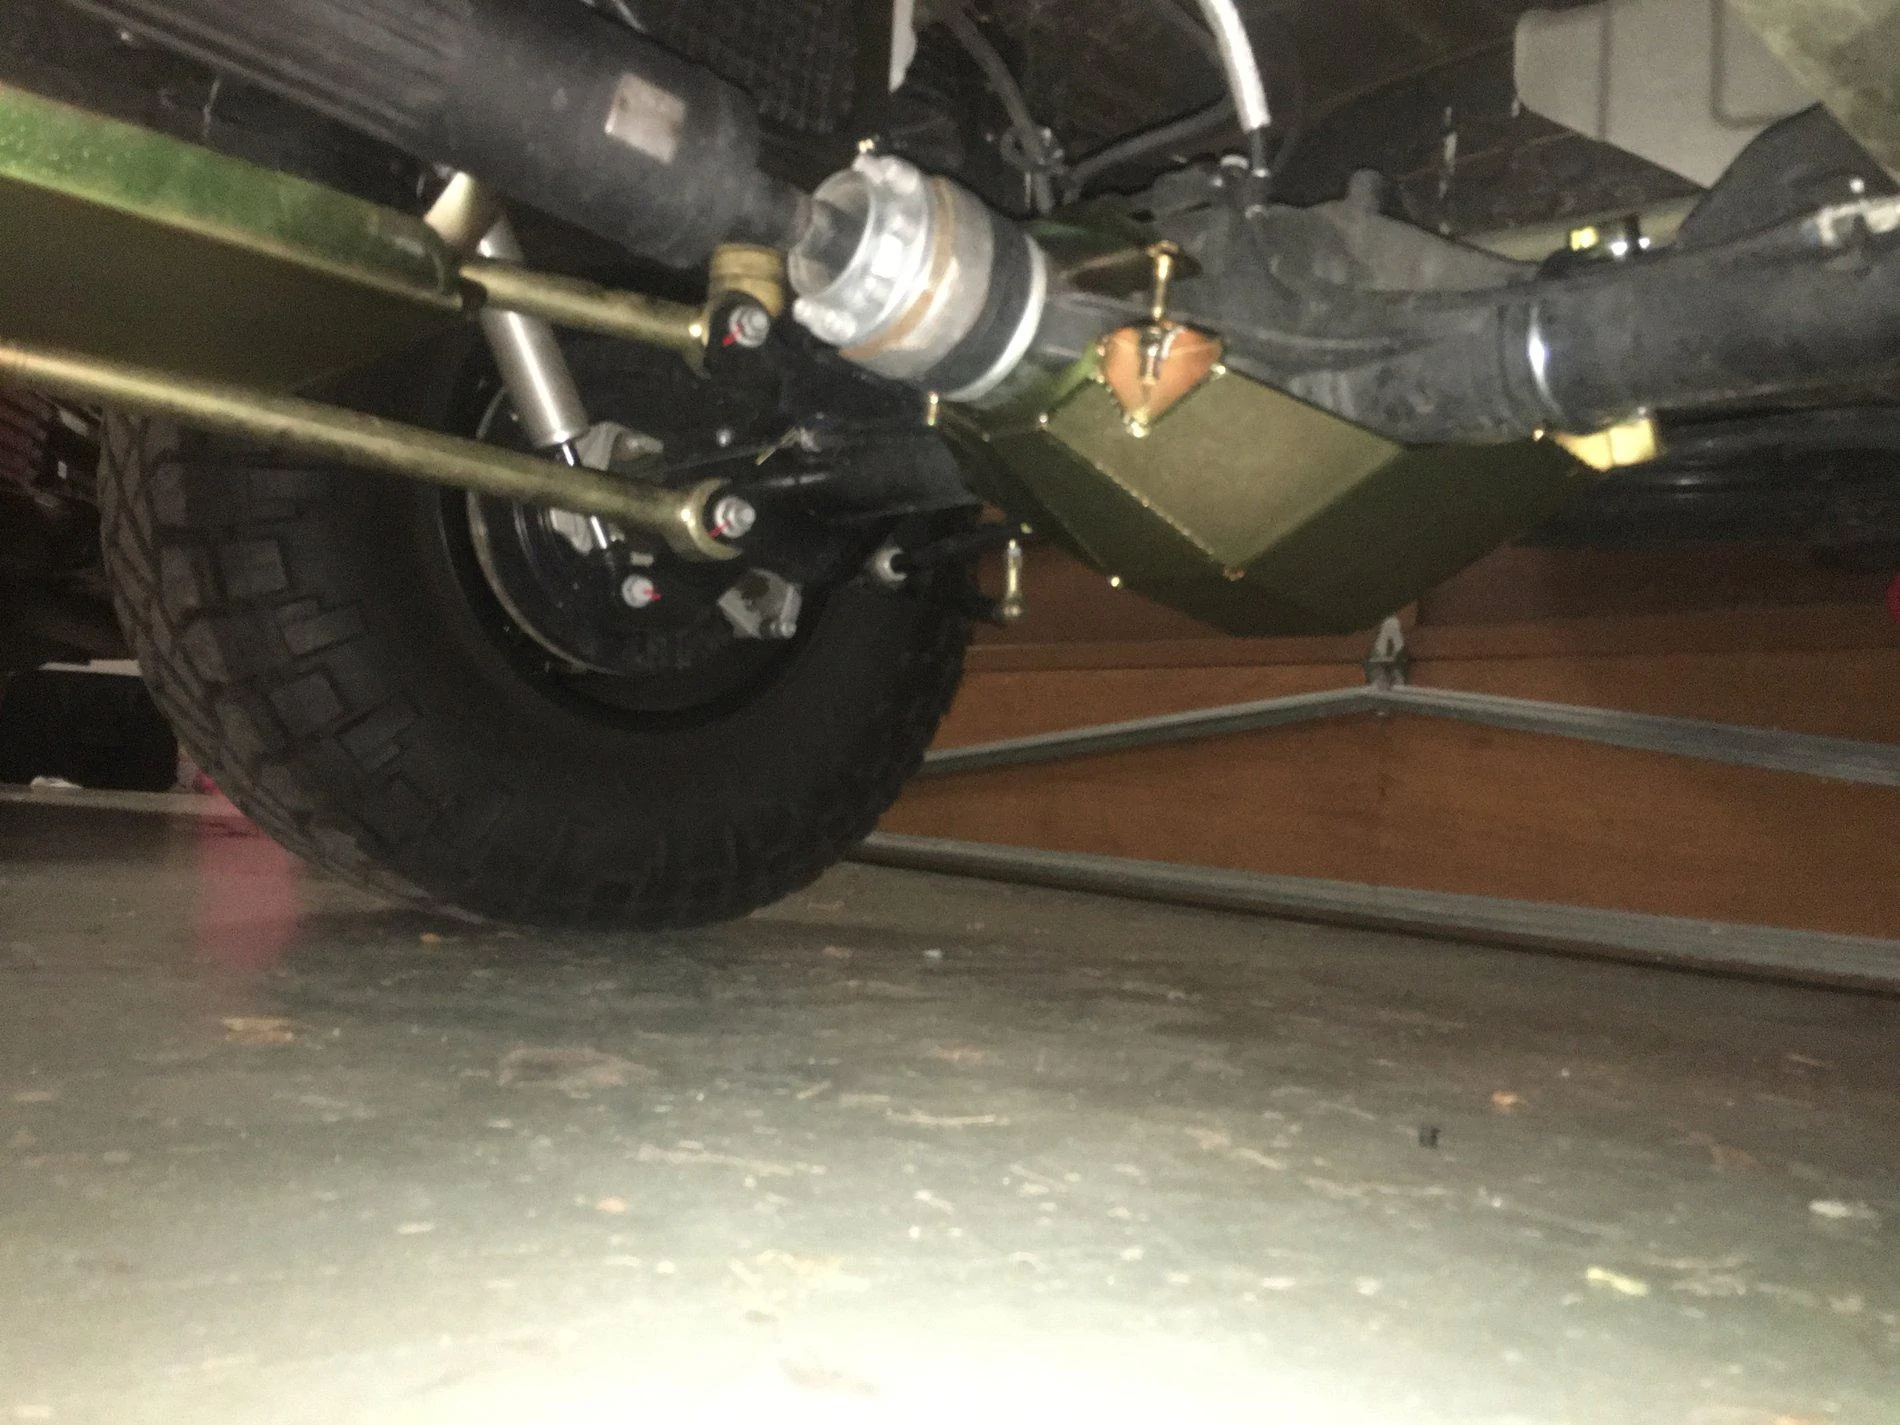
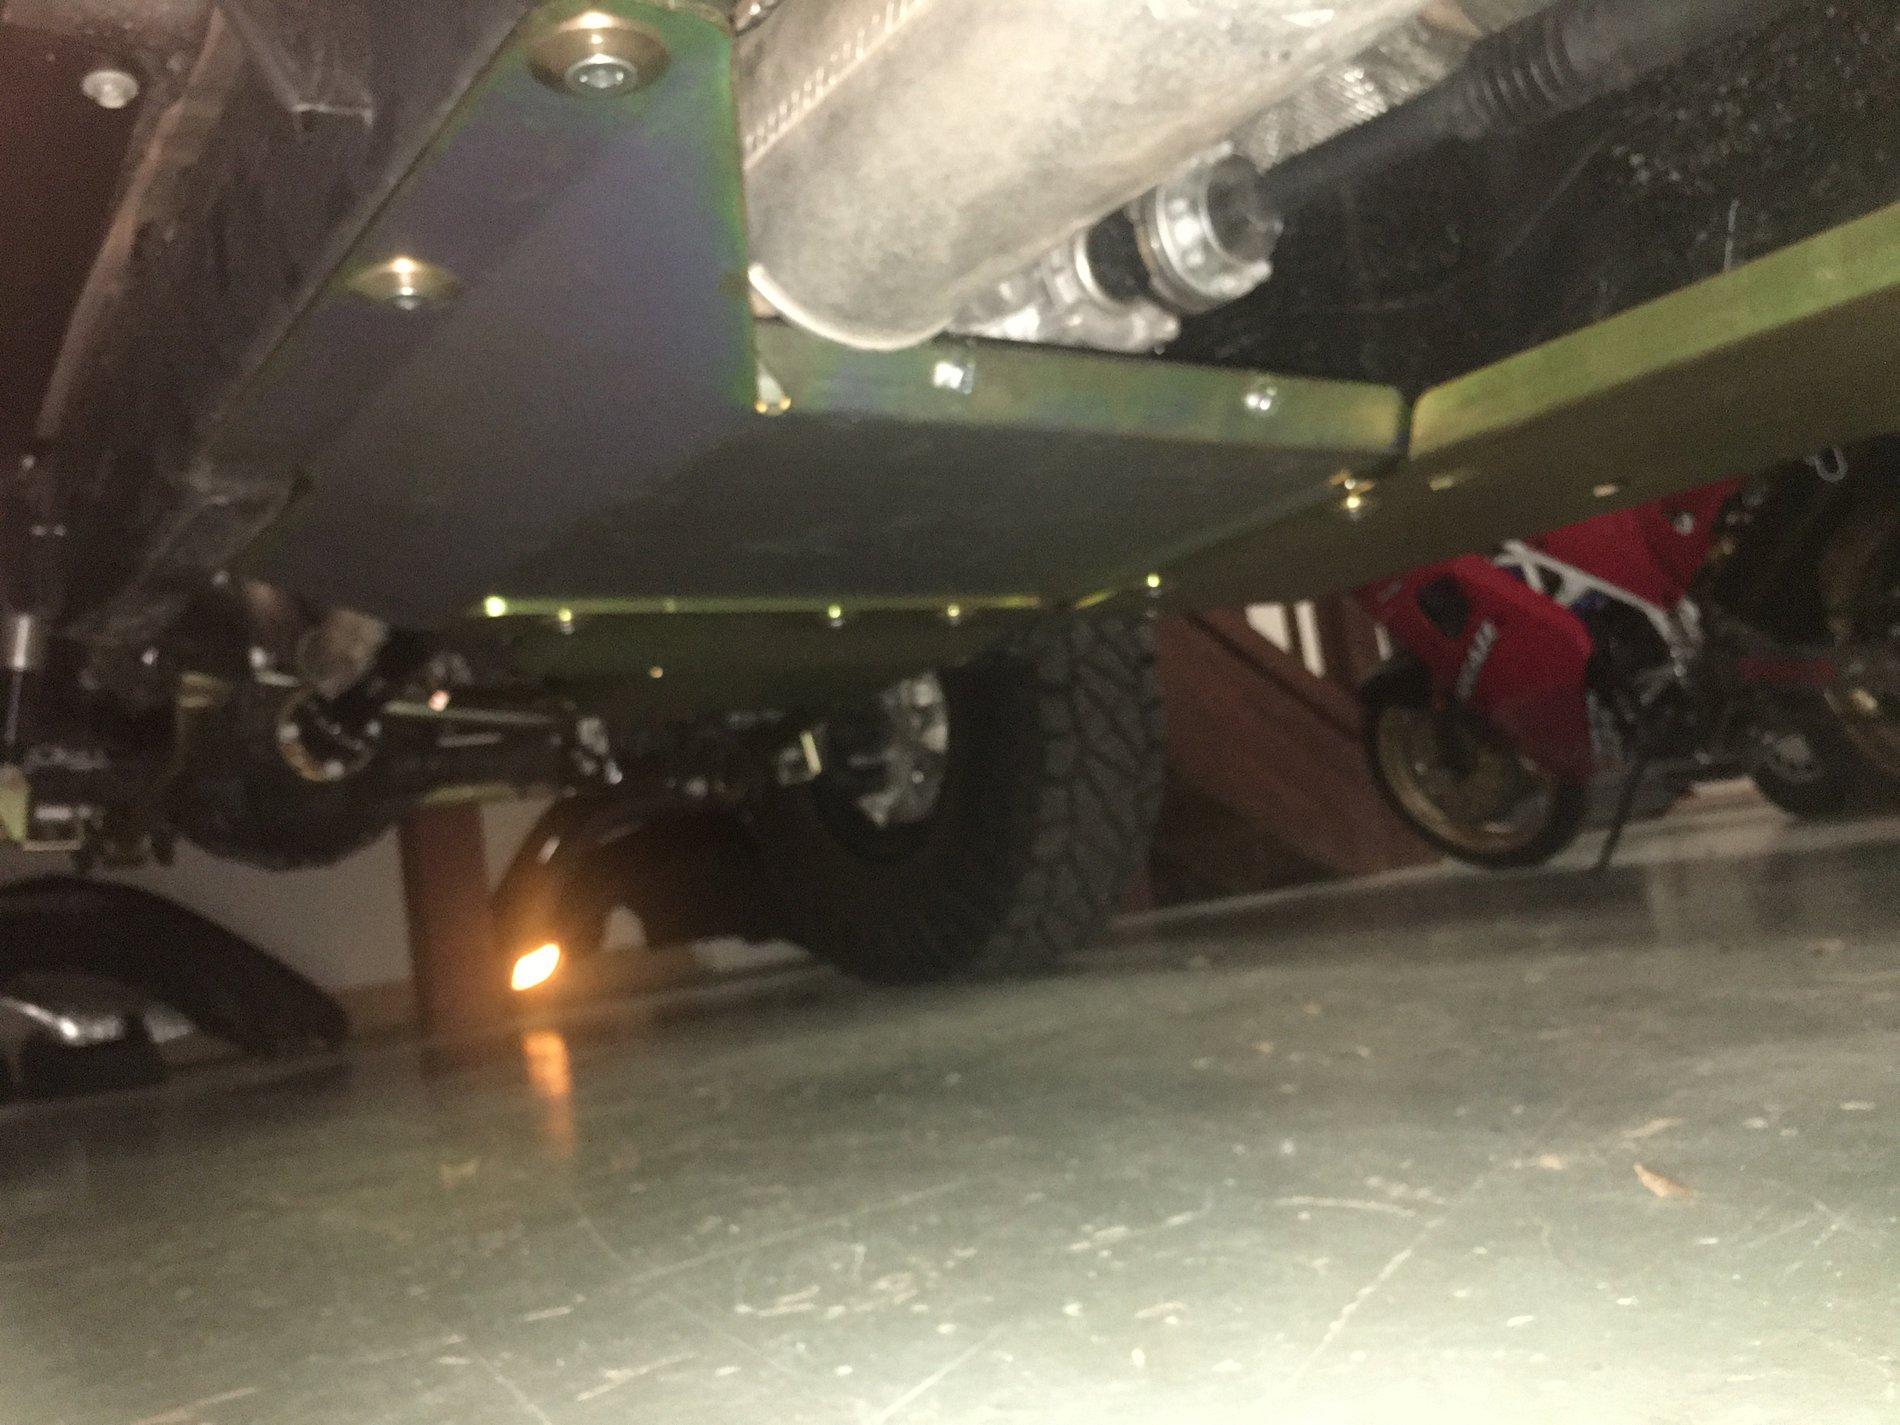
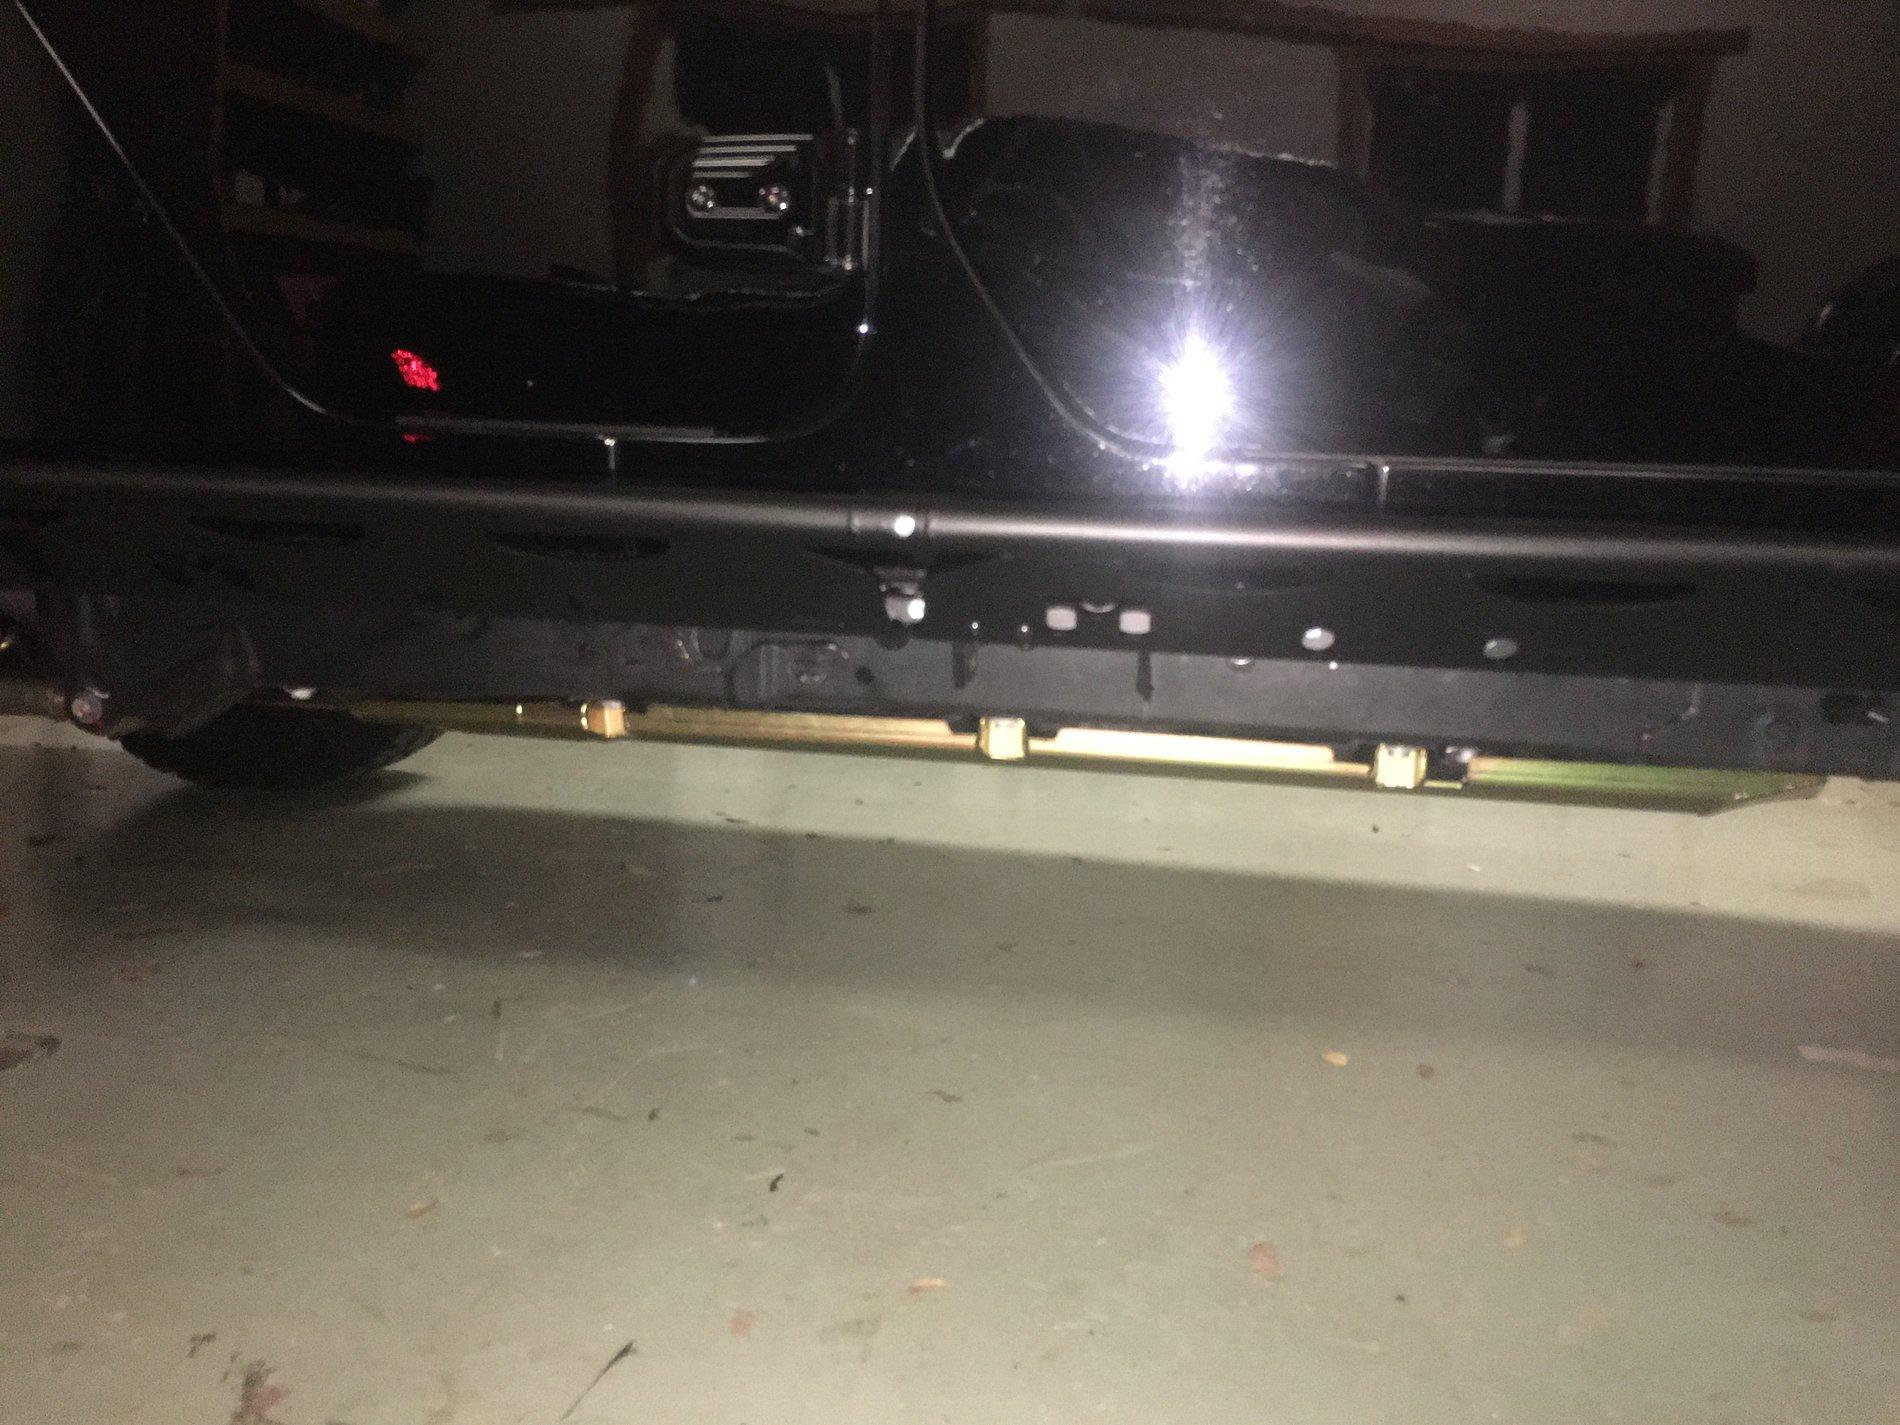
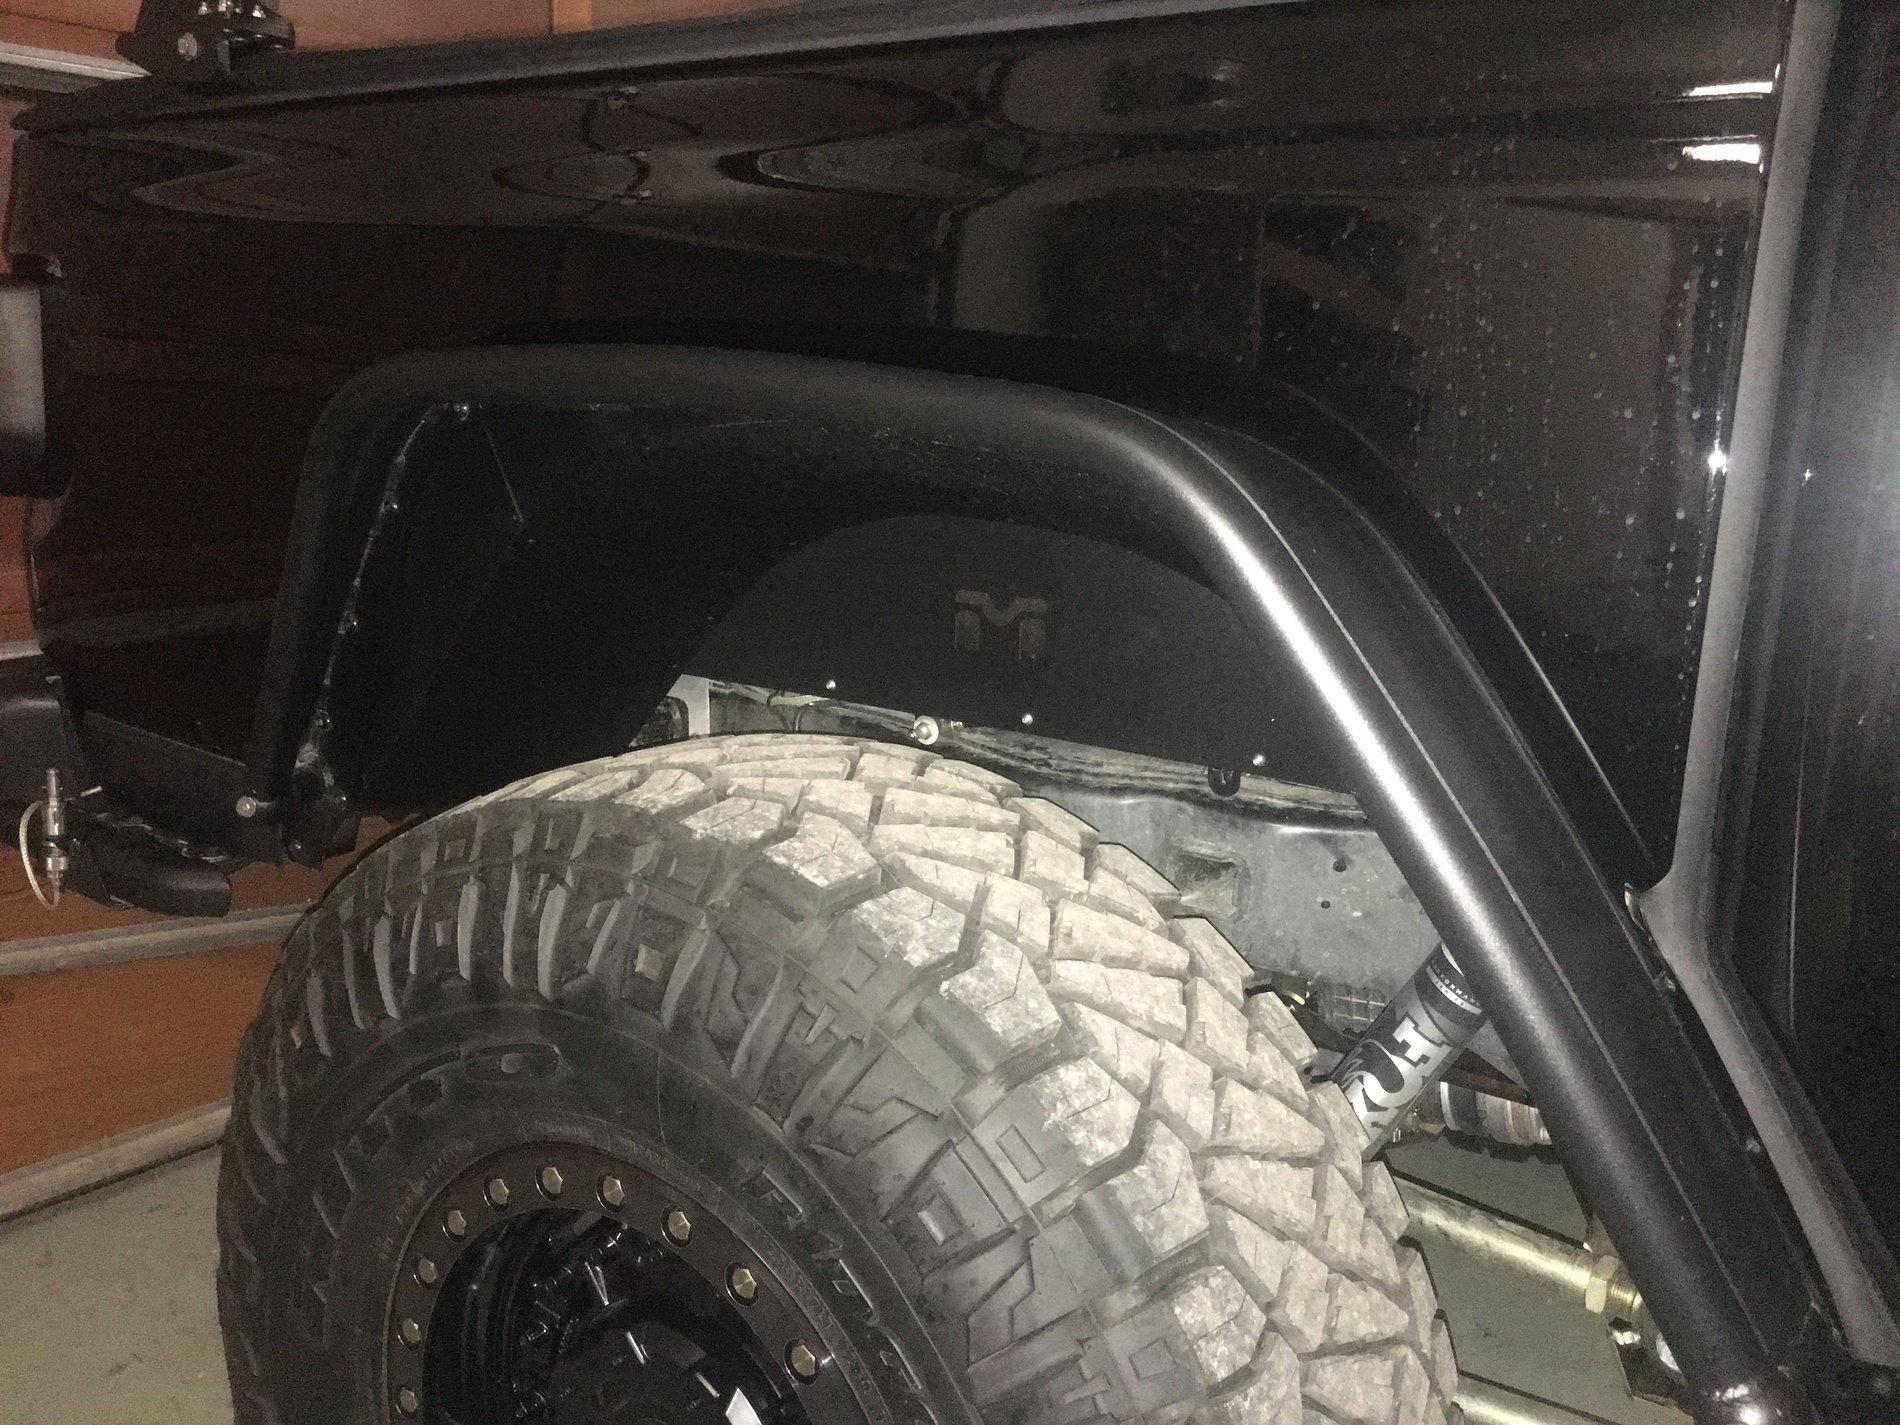
Went over to MetalCloak and CloakWorks this morning. Scott and his team installed my rear inner fenders, full Undercloak skid plate system (including skid for the rear differential), and Overline Rocker Rails—all, I believe, the first production units installed on a JT. Came out great. Will add better pics tomorrow, as it was too dark to take any good ones.

Greg75
Well-Known Member
- First Name
- Greg
- Joined
- Nov 13, 2019
- Threads
- 2
- Messages
- 91
- Reaction score
- 336
- Location
- California/Nevada/DC
- Vehicle(s)
- Gladiator Rubicon LE, BMW M2 Competition, MBZ 560 SL, Ducati 851, Ducati 900 SS
My favorite—only slightly behind my son and my dog.Nice 851!
") Thank you.
Thank you.That plus more pics of new parts, as promised,
![Jeep Gladiator What did you do TO your Gladiator today? [ADMIN WARNING: NO POLITICS, NO GUN TALK] 736FD958-A0E4-4C10-815D-78EBF09393FE](https://cdn.jeepgladiatorforum.com/attachments/64/64392-b51528de7670ad1c57f276716d2a2717.webp)
![Jeep Gladiator What did you do TO your Gladiator today? [ADMIN WARNING: NO POLITICS, NO GUN TALK] 73BCC54F-34BF-4896-B818-B76CB29C7C9B](https://cdn.jeepgladiatorforum.com/attachments/64/64393-e87d6c26be92f29c384ffb1777e87bb3.jpeg)
![Jeep Gladiator What did you do TO your Gladiator today? [ADMIN WARNING: NO POLITICS, NO GUN TALK] EF229D4F-1A6A-472E-94C8-3A93D2559CC3](https://cdn.jeepgladiatorforum.com/attachments/64/64395-060a7a3049bb80d2b395dca22d4d5e47.jpeg)
![Jeep Gladiator What did you do TO your Gladiator today? [ADMIN WARNING: NO POLITICS, NO GUN TALK] B8F33185-5F1E-4000-9169-31FBFB8841C1](https://cdn.jeepgladiatorforum.com/attachments/64/64396-ff3cee0951816cf41f0a937dba5b2853.jpeg)
![Jeep Gladiator What did you do TO your Gladiator today? [ADMIN WARNING: NO POLITICS, NO GUN TALK] D8044302-709A-494C-8CD5-A03FADCCD2DE](https://cdn.jeepgladiatorforum.com/attachments/64/64397-f8538df946d6bb35b50832b9e04ed248.jpeg)
![Jeep Gladiator What did you do TO your Gladiator today? [ADMIN WARNING: NO POLITICS, NO GUN TALK] A1F66570-3C67-40E9-A752-31CB6A3C3C77](https://cdn.jeepgladiatorforum.com/attachments/64/64398-131fda951b36bb0b28d349e07ccddf54.jpeg)
![Jeep Gladiator What did you do TO your Gladiator today? [ADMIN WARNING: NO POLITICS, NO GUN TALK] 07A230A3-2DD0-4F8D-9121-DAB7AFC83529](https://cdn.jeepgladiatorforum.com/attachments/64/64399-88fe56d2882be55a9ac0fe1bf37d5145.jpeg)
![Jeep Gladiator What did you do TO your Gladiator today? [ADMIN WARNING: NO POLITICS, NO GUN TALK] 7D102E9B-D7FD-4C37-8977-D88CD8EF26E9](https://cdn.jeepgladiatorforum.com/attachments/64/64400-5f3a099b78c6c97fdcda3b688439d191.webp)
![Jeep Gladiator What did you do TO your Gladiator today? [ADMIN WARNING: NO POLITICS, NO GUN TALK] 6814898A-D146-414C-9994-94C5BC6E93D3](https://cdn.jeepgladiatorforum.com/attachments/64/64401-ab69dd308ee6bcea31e4b57746e1d873.jpeg)
![Jeep Gladiator What did you do TO your Gladiator today? [ADMIN WARNING: NO POLITICS, NO GUN TALK] 469864AE-7676-41D2-A82E-AF1C869440BB](https://cdn.jeepgladiatorforum.com/attachments/64/64403-7a5ceb5187d1ee5d9cf558cc36bfe5e2.jpeg)
![Jeep Gladiator What did you do TO your Gladiator today? [ADMIN WARNING: NO POLITICS, NO GUN TALK] 2E3447CE-2DBE-430C-8670-76361E3067CD](https://cdn.jeepgladiatorforum.com/attachments/64/64405-cba4ce48a442c9f21d82d8124479a67f.jpeg)
![Jeep Gladiator What did you do TO your Gladiator today? [ADMIN WARNING: NO POLITICS, NO GUN TALK] 3E0B8C0D-6FAF-4DA2-989C-6AE9C08CD47A](https://cdn.jeepgladiatorforum.com/attachments/64/64406-829508e4dd5162db33ff0a85537819a7.jpeg)
![Jeep Gladiator What did you do TO your Gladiator today? [ADMIN WARNING: NO POLITICS, NO GUN TALK] 828C15A7-F9EC-441A-9520-AE4D8C1C52BC](https://cdn.jeepgladiatorforum.com/attachments/64/64407-4a97bcc4a1b52473f2a5343c00beb90d.jpeg)
![Jeep Gladiator What did you do TO your Gladiator today? [ADMIN WARNING: NO POLITICS, NO GUN TALK] B1FD8342-1CB8-4672-A617-1435589E9343](https://cdn.jeepgladiatorforum.com/attachments/64/64408-29f5fae2e7bdd90d6120ea66487cd943.jpeg)
![Jeep Gladiator What did you do TO your Gladiator today? [ADMIN WARNING: NO POLITICS, NO GUN TALK] BBFFCD62-281E-4CD5-9325-3BF2C0BACAB9](https://cdn.jeepgladiatorforum.com/attachments/64/64409-6c5d1f8ab97b245fbad4a87e801a4c51.jpeg)
Last edited:
Sponsored
spazzyfry123
Well-Known Member
Installed my new-to-me Tazer Mini. Pretty cool what all you can do and how simple it is! Just need to do more things to the Jeep to take full advantage of its capabilities 
![Jeep Gladiator What did you do TO your Gladiator today? [ADMIN WARNING: NO POLITICS, NO GUN TALK] upload_2020-3-3_17-47-31](data:image/svg+xml;charset=utf-8,%3Csvg xmlns%3D'http%3A%2F%2Fwww.w3.org%2F2000%2Fsvg' width='320' height='240' viewBox%3D'0 0 320 240'%2F%3E)
I can dig the clean look (with the winch I want!). What were the snags?Finally got around to installing my Warn winch (VR EVO 10S). This was NOT straight forward. The instructions provided with the plate and winch or very rudimentary and there are definitely some errors/adjustments that need to be made for JT install. 5.5 hours later though it all came together. Really happy with how seemless it seems to integrate into the factory steel bumper. Kept the black and red theme going with a Factor 55 Flatlink.
@MarkO . I think this look fits your ride! #clean

![Jeep Gladiator What did you do TO your Gladiator today? [ADMIN WARNING: NO POLITICS, NO GUN TALK] upload_2020-3-3_17-47-31](https://cdn.jeepgladiatorforum.com/attachments/64/64433-dec8abd4bb9fc1b2762a7f4e5bce4851.gif)
MoultrieGladiator
Well-Known Member
- First Name
- Brian
- Joined
- Sep 4, 2019
- Threads
- 7
- Messages
- 54
- Reaction score
- 94
- Location
- Charleston, SC
- Vehicle(s)
- Jeep Gladiator 2020
- Occupation
- Physician
Mostly the order with which they tell you to detach and reattach things. Here are my tips:Installed my new-to-me Tazer Mini. Pretty cool what all you can do and how simple it is! Just need to do more things to the Jeep to take full advantage of its capabilities
I can dig the clean look (with the winch I want!). What were the snags?
1.) Make sure you have deep sockets for removing the bumper nuts. They have long screws associated with them.
2.) Have a set of wobble extension bars. Vital for reaching the inner most nuts on both sides of the bumper.
Also this is the order I did thinks to have success:
1.) Remove skid plate
2.) Remove steel bumper
3.) Attach warn winch plate
4.) Attach the steel bumper.
5.) Install the winch.
6.) Wire the winch
7.) TURN THE WINCH ON ITS SIDE (this will give you enough room to install the fair lead.)
8.) Install the fair lead.
9.) Use painters tape to secure the nuts inside their housing in the winch so you can get them easily lined up for installing the bolt.
10.) It is a TIGHT fit but a fit. Now place the winch in its appropriate horizontal position.
11.) Now the fun part of bolting the winch. The back two bolts are easy to get to but the FRONT two are now hidden between the bumper and the winch plate. You have top painstakingly tighten these by hand with a wrench. But it can be done and of course has to be.
12.) skid plate
13.) Beer.
This is how I did it. I am surely exposing that I did things out of order and maybe harder than I had to but everything was ultimately in place.
Good luck!
spazzyfry123
Well-Known Member
Excellent info. Still deciding the bumper but the Mopar steel is in the top three.Mostly the order with which they tell you to detach and reattach things. Here are my tips:
1.) Make sure you have deep sockets for removing the bumper nuts. They have long screws associated with them.
2.) Have a set of wobble extension bars. Vital for reaching the inner most nuts on both sides of the bumper.
Also this is the order I did thinks to have success:
1.) Remove skid plate
2.) Remove steel bumper
3.) Attach warn winch plate
4.) Attach the steel bumper.
5.) Install the winch.
6.) Wire the winch
7.) TURN THE WINCH ON ITS SIDE (this will give you enough room to install the fair lead.)
8.) Install the fair lead.
9.) Use painters tape to secure the nuts inside their housing in the winch so you can get them easily lined up for installing the bolt.
10.) It is a TIGHT fit but a fit. Now place the winch in its appropriate horizontal position.
11.) Now the fun part of bolting the winch. The back two bolts are easy to get to but the FRONT two are now hidden between the bumper and the winch plate. You have top painstakingly tighten these by hand with a wrench. But it can be done and of course has to be.
12.) skid plate
13.) Beer.
This is how I did it. I am surely exposing that I did things out of order and maybe harder than I had to but everything was ultimately in place.
Good luck!
robertm55
Well-Known Member
- First Name
- rob
- Joined
- Jul 25, 2019
- Threads
- 1
- Messages
- 74
- Reaction score
- 164
- Location
- East Brunswick n.j.
- Vehicle(s)
- 2020 rubicon gladiator
I was super disappointed in my rotopax first aid kit. Damn box isn't water tight. Drove in a slight rain and it was full of water.Should be a simple RotopaX 72 hour preparedness conversion.


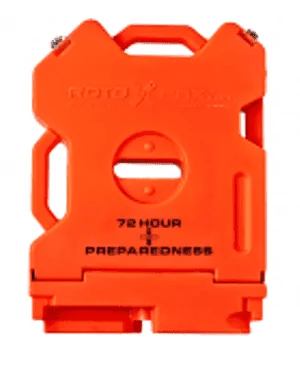
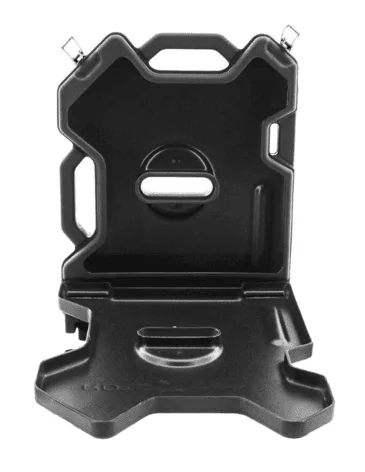
Spent an hour packing first aid stuff in Ziploc bags to keep dry when mounted on the truck
Sponsored
TYJ
Well-Known Member
- Joined
- Jan 24, 2019
- Threads
- 33
- Messages
- 378
- Reaction score
- 524
- Location
- California
- Vehicle(s)
- 2020 Gladiator
Weak sauce Rotopax!!!I was super disappointed in my rotopax first aid kit. Damn box isn't water tight. Drove in a slight rain and it was full of water.
Spent an hour packing first aid stuff in Ziploc bags to keep dry when mounted on the truck
Jdyowa
Well-Known Member
- First Name
- Jeff
- Joined
- Dec 23, 2019
- Threads
- 3
- Messages
- 311
- Reaction score
- 588
- Location
- Lakeland, Florida
- Vehicle(s)
- Gladiator overland
- Occupation
- Manager
Makeshift cover to keep the dust and the Florida sun off the leather.
I did color match the cover, though.
![Jeep Gladiator What did you do TO your Gladiator today? [ADMIN WARNING: NO POLITICS, NO GUN TALK] 20200304_084226](data:image/svg+xml;charset=utf-8,%3Csvg xmlns%3D'http%3A%2F%2Fwww.w3.org%2F2000%2Fsvg' width='1900' height='899' viewBox%3D'0 0 1900 899'%2F%3E)
I did color match the cover, though.
![Jeep Gladiator What did you do TO your Gladiator today? [ADMIN WARNING: NO POLITICS, NO GUN TALK] 20200304_084226](https://cdn.jeepgladiatorforum.com/attachments/64/64518-58e21e75333518ea9e0ee664e2aaef9e.webp)
Godfadr
Well-Known Member
- First Name
- Godfadr
- Joined
- Dec 7, 2018
- Threads
- 42
- Messages
- 533
- Reaction score
- 952
- Location
- Clermont, FL
- Website
- www.FredRewey.com
- Vehicle(s)
- 2018 Wrangler Unlimited, 2020 Jeep Gladiator
- Occupation
- Speaker, Author, Dude Who Likes Bacon
- Vehicle Showcase
- 1
Wow...that really sucks. Wonder if it was bad unit?I was super disappointed in my rotopax first aid kit. Damn box isn't water tight. Drove in a slight rain and it was full of water.
Spent an hour packing first aid stuff in Ziploc bags to keep dry when mounted on the truck
Godfadr
Well-Known Member
- First Name
- Godfadr
- Joined
- Dec 7, 2018
- Threads
- 42
- Messages
- 533
- Reaction score
- 952
- Location
- Clermont, FL
- Website
- www.FredRewey.com
- Vehicle(s)
- 2018 Wrangler Unlimited, 2020 Jeep Gladiator
- Occupation
- Speaker, Author, Dude Who Likes Bacon
- Vehicle Showcase
- 1
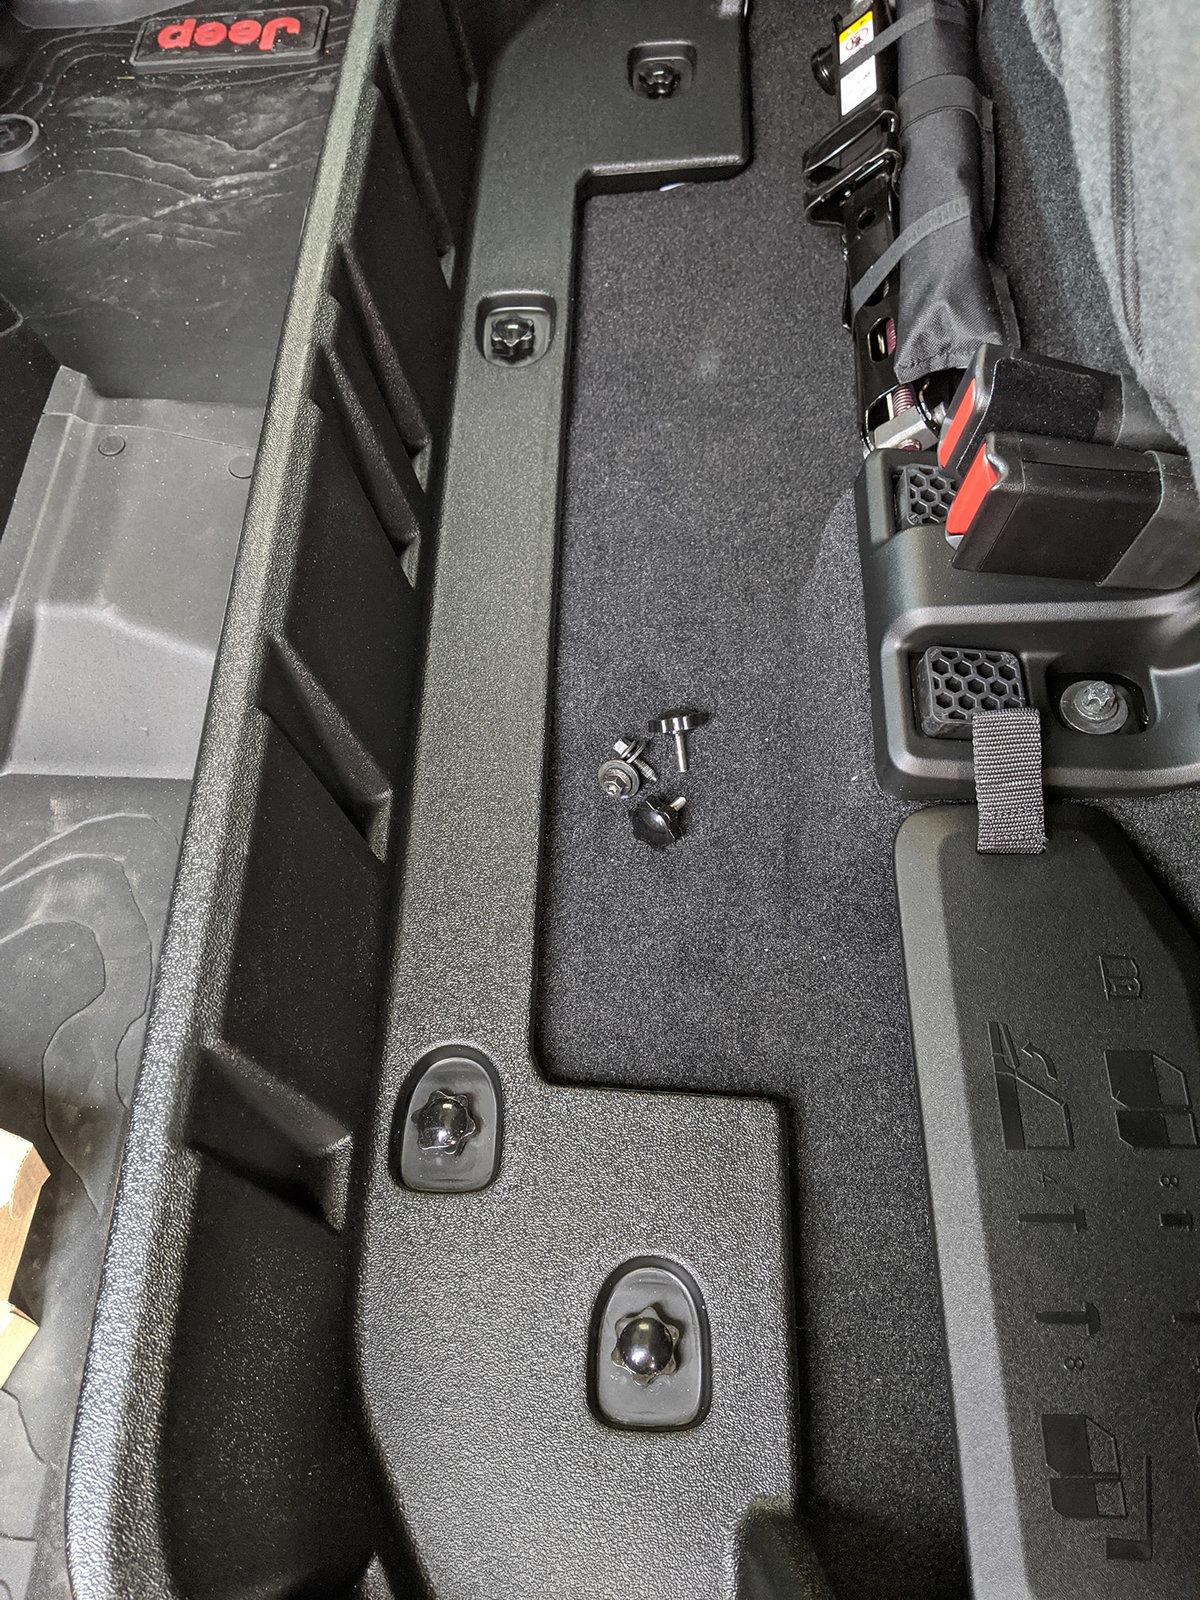
Interesting. Why would you want to remove it?I replaced the torx bolts with knobbed bolts to facility the removal of my non-locking storage wall.
Edit to add link https://www.amazon.com/gp/product/B077BGTD7B/ref=ppx_yo_dt_b_asin_title_o07_s00?ie=UTF8&psc=1

jebiruph
Well-Known Member
To increase the area of flat floor space available for hauling large items.Interesting. Why would you want to remove it?
Sponsored
Similar threads
- Replies
- 102
- Views
- 10,075
- Replies
- 307
- Views
- 50,831
