Fawkes
Well-Known Member
- First Name
- Brandon
- Joined
- May 26, 2020
- Threads
- 12
- Messages
- 188
- Reaction score
- 111
- Location
- Houston, TX
- Vehicle(s)
- 2020 Gladiator
- Occupation
- Building engineer
If you are pulling the letters off to add the vinyl, buy Rubicon letters - they are 2 piece with red underneath - and you may be able to get just the red part.OK so how would I go about doing that. Im putting the black vinyl on the gate and want black JEEP letters with red underneath. Can you tell me what I need to buy please?
Just ordered this...normally not into these kinds of decals but this one is really striking.I am not a big fan of the tailgate lettering - I thought this looks cool.....
https://etsy.me/2JmcU9e

That sounds reasonable. I didn't think they came apart. Would be ideal if they didIf you are pulling the letters off to add the vinyl, buy Rubicon letters - they are 2 piece with red underneath - and you may be able to get just the red part.
Someone posted pics- maybe earlier in this thread...That sounds reasonable. I didn't think they came apart. Would be ideal if they did
If you are pulling the letters off to add the vinyl, buy Rubicon letters - they are 2 piece with red underneath - and you may be able to get just the red part.
Found the post separating the letters...That sounds reasonable. I didn't think they came apart. Would be ideal if they did
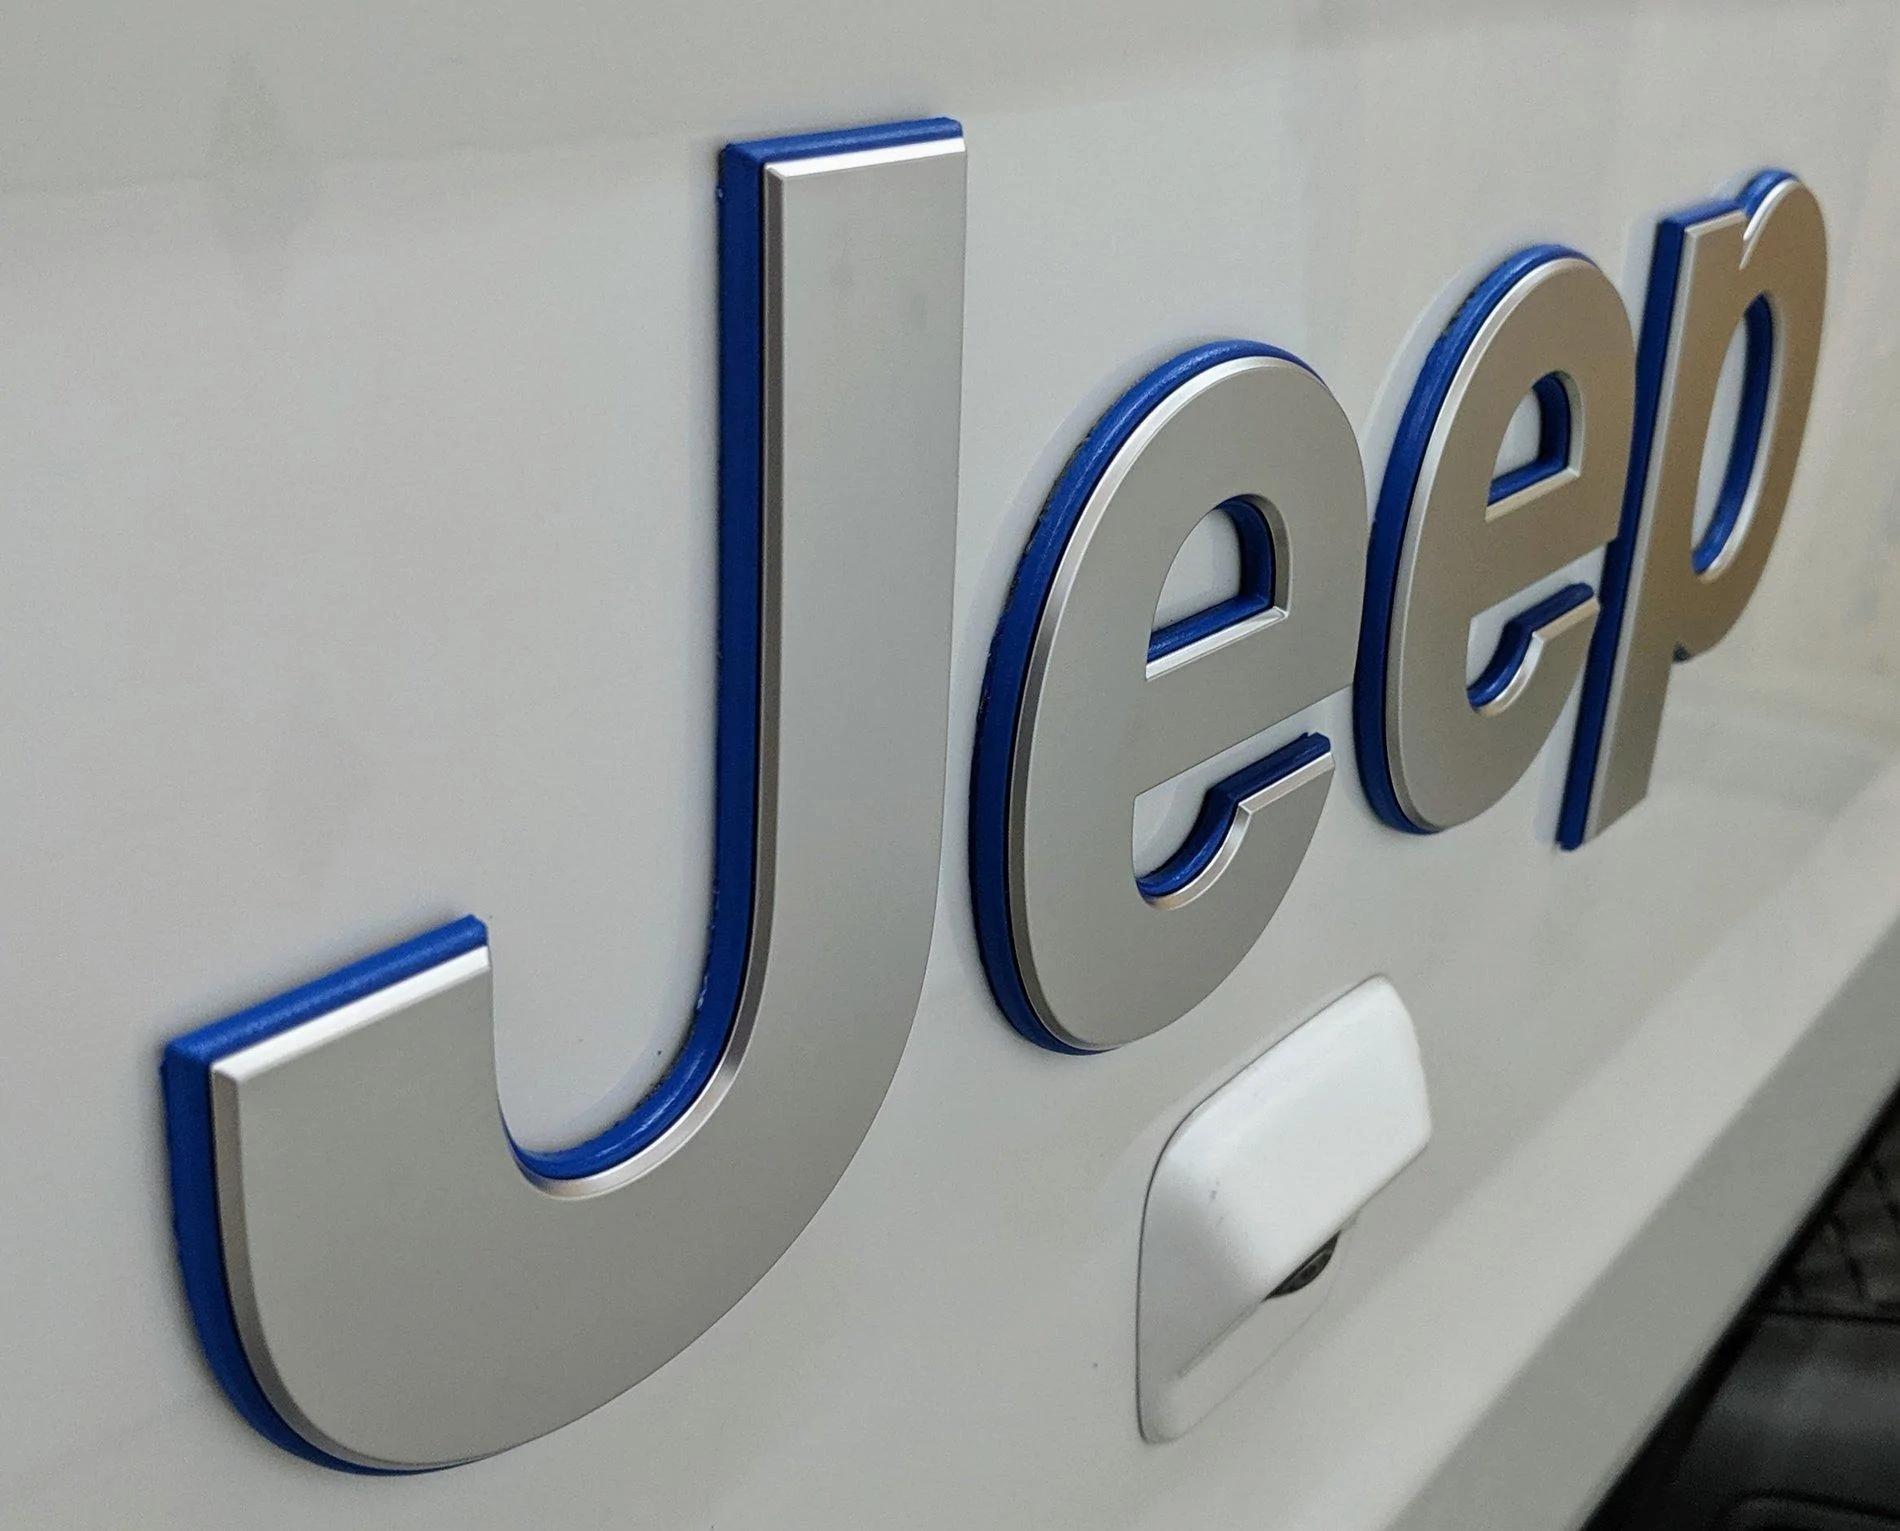
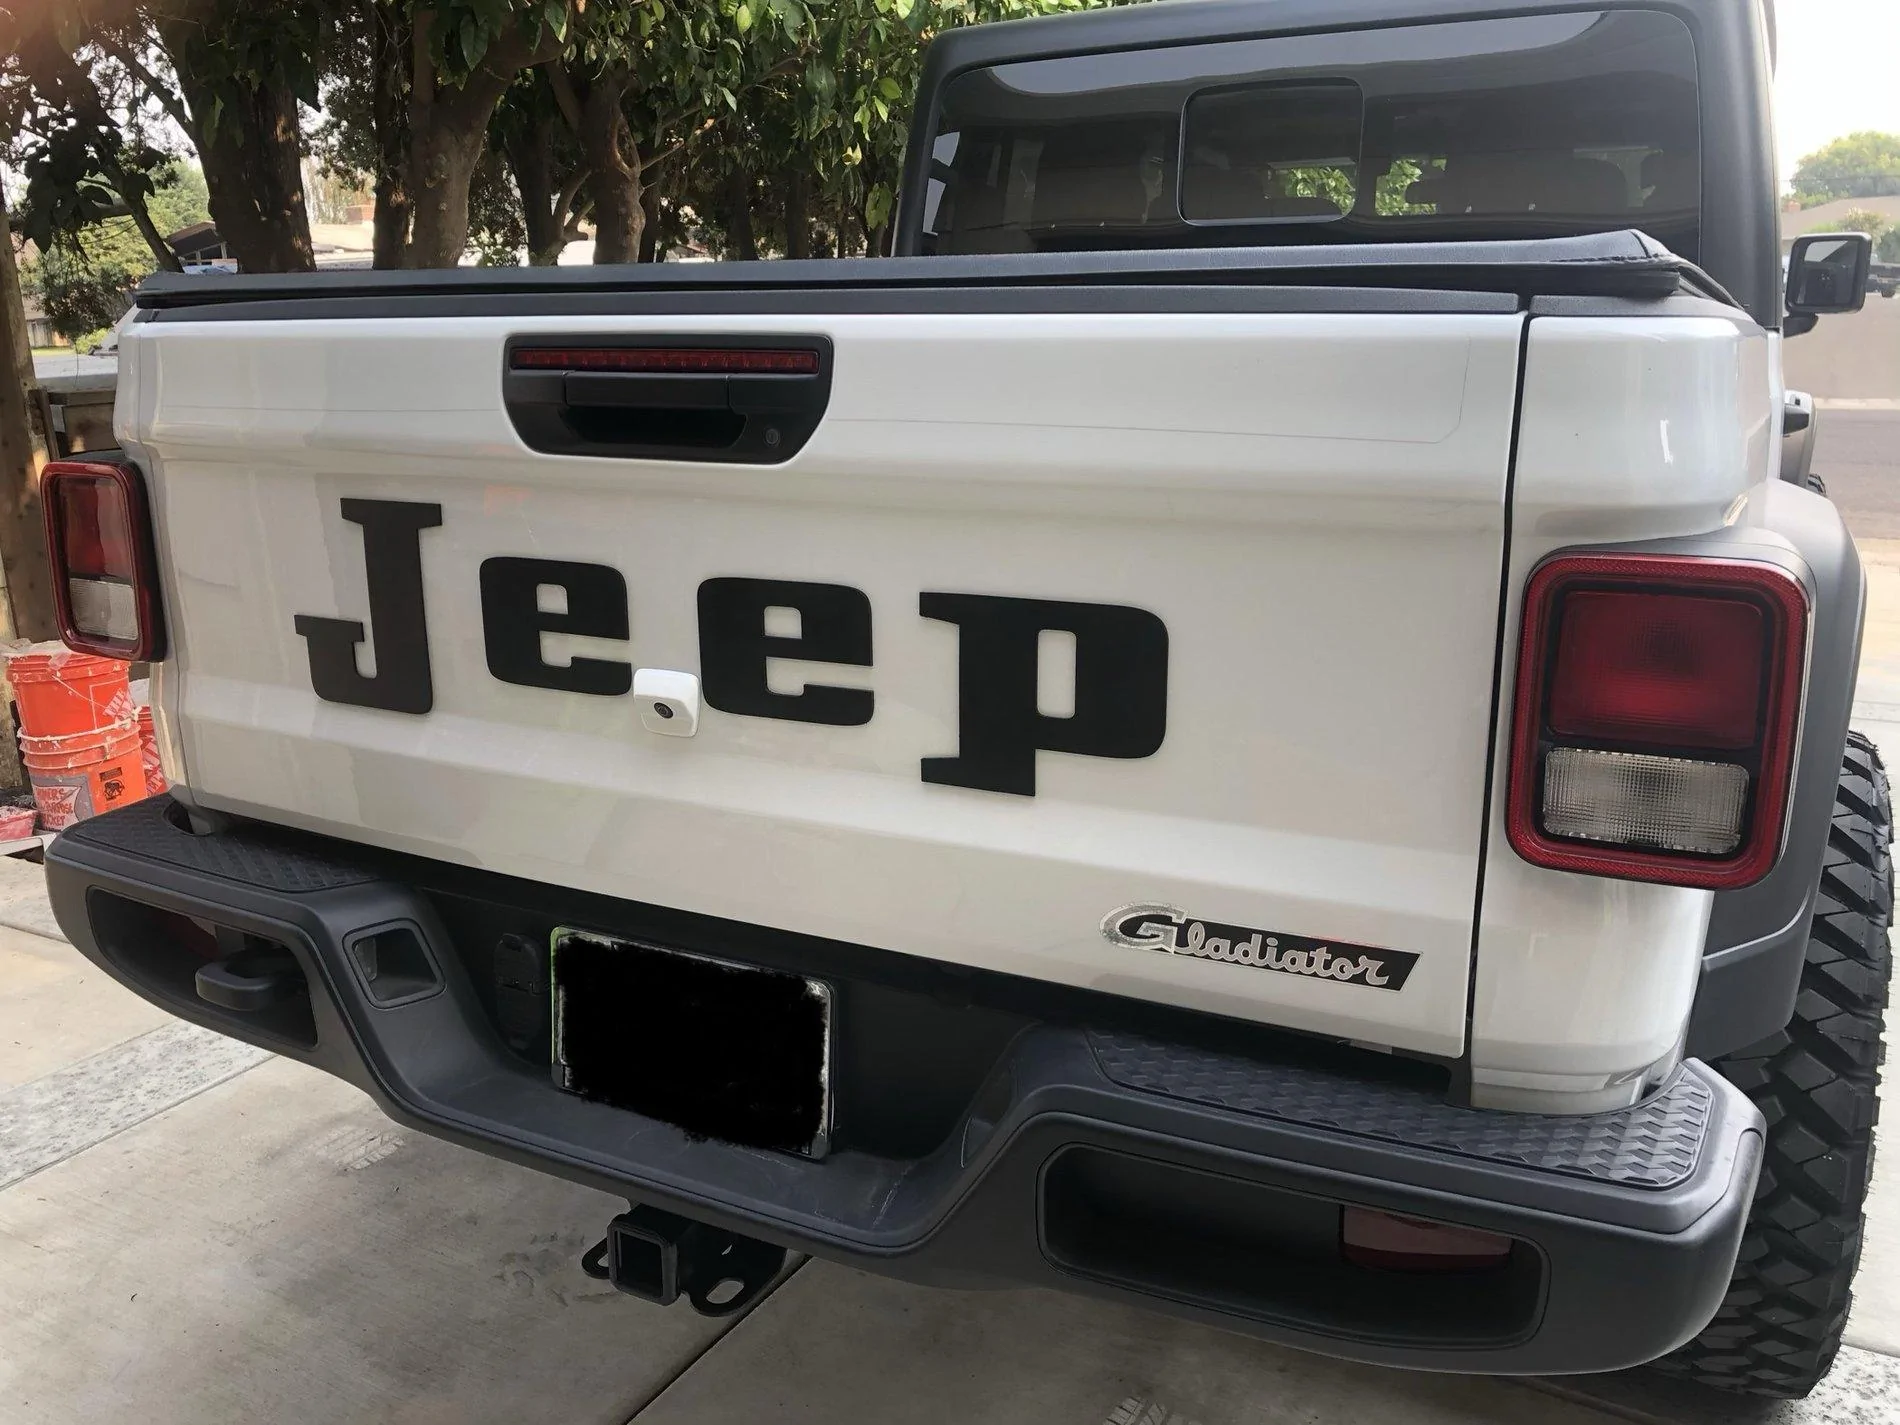
I have been asked by a couple people to explain how I did the 2 tone custom granite and orange Jeep badging so I figured I would post a little tutorial.

The first thing you will have to do is remove the emblems. There are a ton of YouTube videos out there on how to do this so I wont take much time explaining this part. Essentially I used 50# fishing line, slid it behind the letter and used this to separate the lettering form the adhesive. On the tailgate there are guide pins on the "J" and the "P" but that is all they are, they do not hold the unit in place at all. Use the line work it around until you reach the pin and then start form the other side doing the same. The letter will fall right out. Rub the majority of the adhesive off with your thumb or index finger and use isopropyl alcohol to remove the excess.
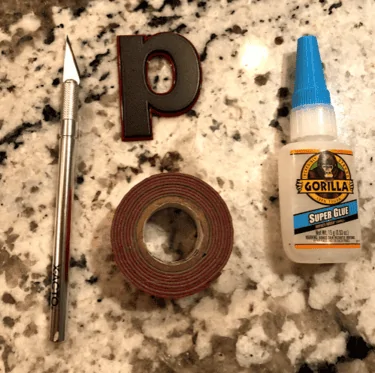
Now for the fun part, the supplies and tools you will need for this are pretty limited:
~Utility knife with extra blades
~Gorilla Glue
~ Removed (or preferably newly purchased(links at bottom)) emblems
~ Outdoor use double sided sticky tape

Step 1:
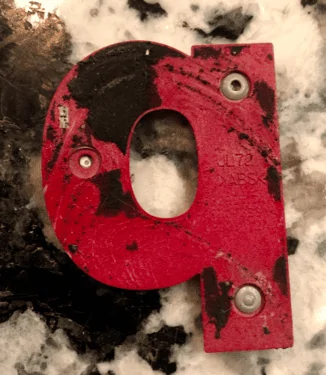
The Emblems are actually composed of 2 separate layers that are held together by several pins. If you turn the emblem over (after the adhesive is stripped away) you are able to see the locations of the pins.

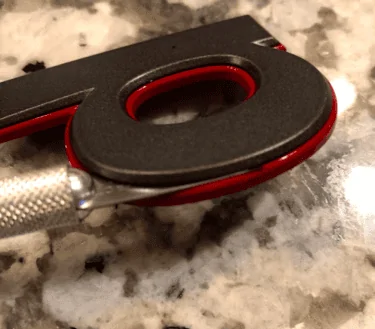
You are able to wiggle a utility knife between the layers. Once in-between slide the knife around until you are up against the first pin, gently twist the utility knife and pop out or break the pin to separate. Work your way around the letter until you have done this to all the pins and the 2 layers come apart.


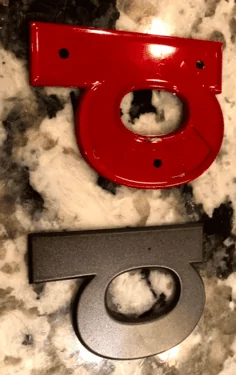
Step 2:
Paint. I painted mine with Mopar PL4 or Orange Crush paint. I will probably do this again in a few months with some new emblems and start with a nice coat of primer and then go into the colored paint. I think my finish is "good" but I would not qualify it as "great". I certainly learned a lot with the 3 separate sets I have done. My first attempt I had painted the whole emblem orange and attempted to remove the top section of paint. This is when I found out that the 2 broke apart. I essentially did this set all over and the results are better. Long story short, take your time, do it right and learn from my process and they will look great the first time.
Step 3:
Once you have applied 3-5 coats of paint to the bottom layer, let them dry for about 24 hours. After they have dried, put few drops of Gorilla glue on the center of the freshly colored lettering and line the granite top pice up before lowering it onto the glue. Recenter the top and hold it together with clamps as the 2 pieces permanently bond together.

Step 4:
Apply the double sided tape to the back of the emblems and they are ready to line up. I used a piece of painters tape on the truck where I wanted the lettering to go so I could insure they were properly lined up. I used my best judgment as far as distance between and thought I got pretty close.
Reference:
Small Side Jeep Emblems:
https://www.allmoparparts.com/sku-y...MIh_C9paKV5AIVCVYMCh34qw8lEAQYByABEgLyMPD_BwE
Large Tailgate Jeep Emblem:
https://www.ebay.com/i/153480772816...MIv_3j1qKV5AIVho7ICh1UJAumEAQYASABEgKQifD_BwE
Let me know if this was helpful and post some pictures of your custom lettering!
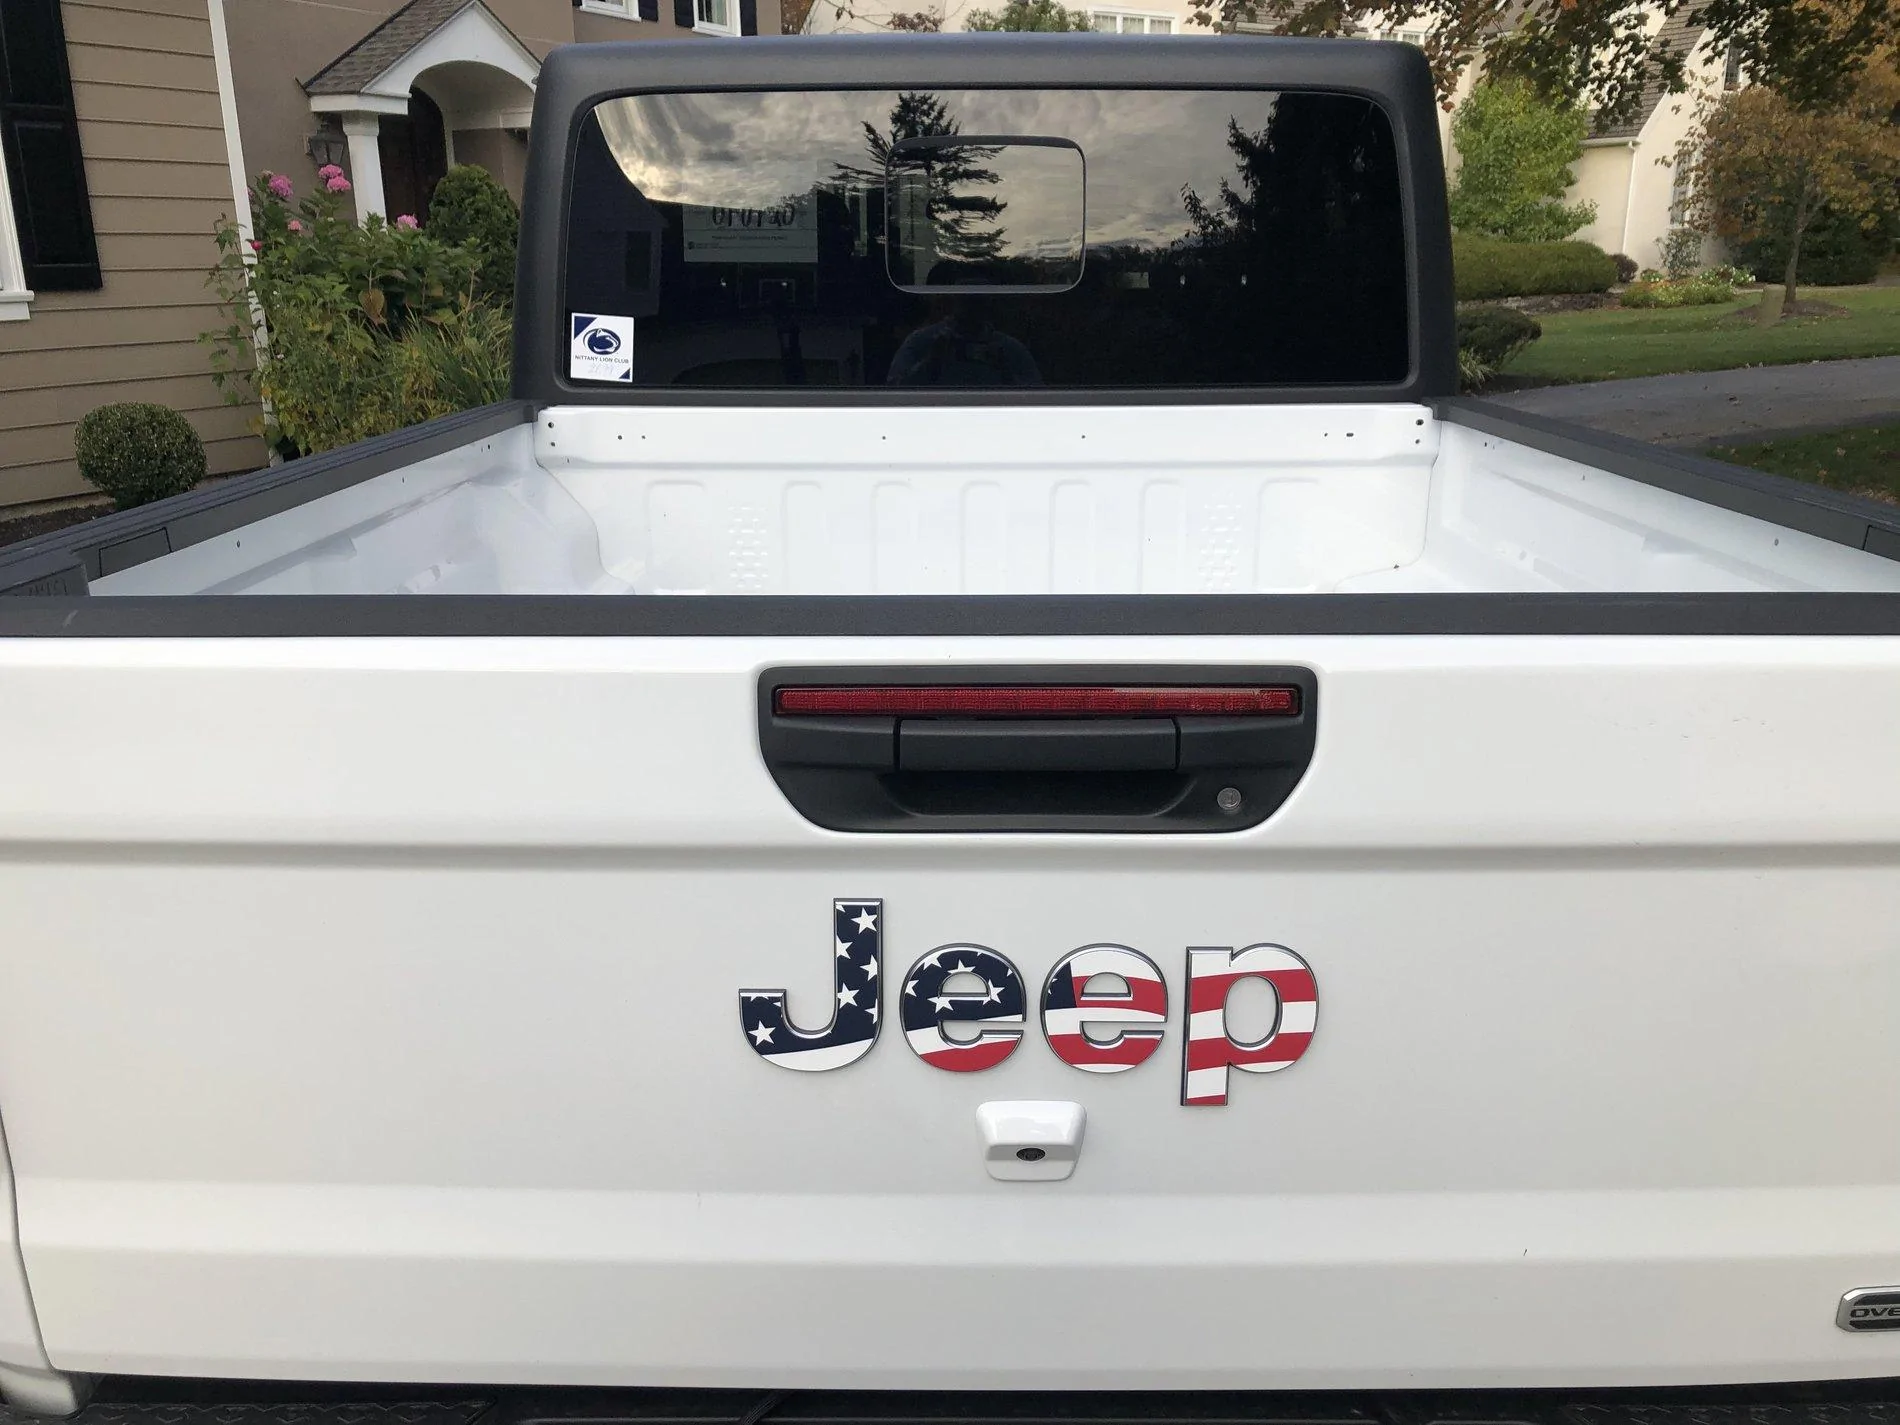
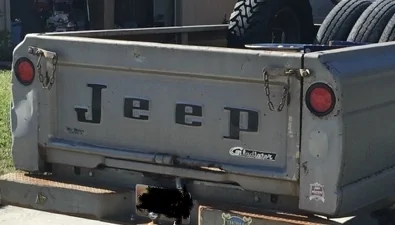
Very nice - did you have to fill the holes from the oem letters? Where did you get these?Got this done today....throwback
I put a small strip of clear waterproof tape over the holejust for extra protection. I also made sure the “e”’s we’re covering the holes...I got the letters on eBay.Very nice - did you have to fill the holes from the oem letters? Where did you get these?
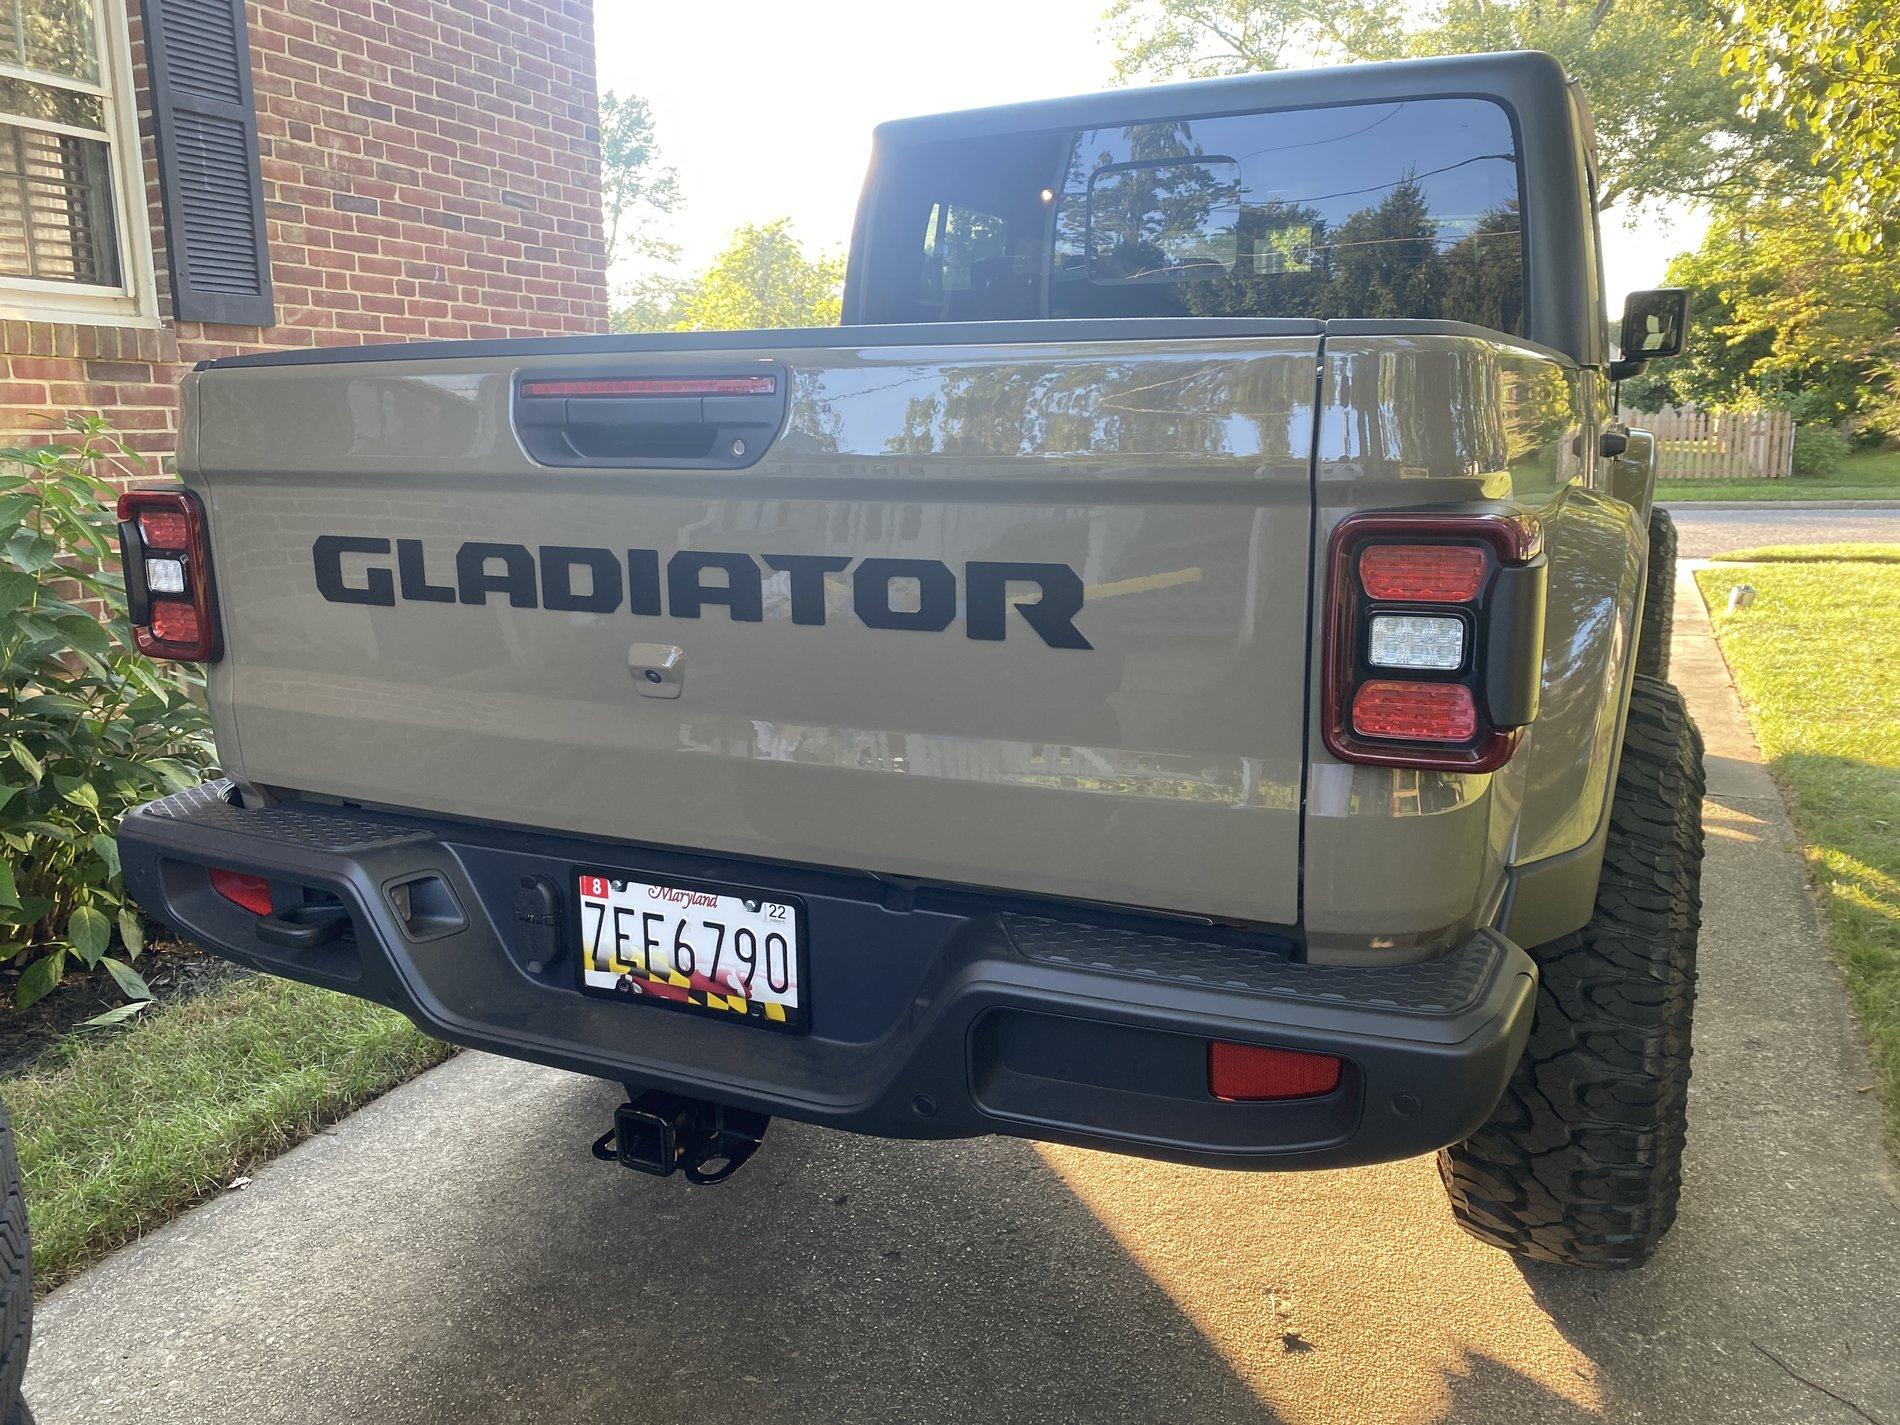
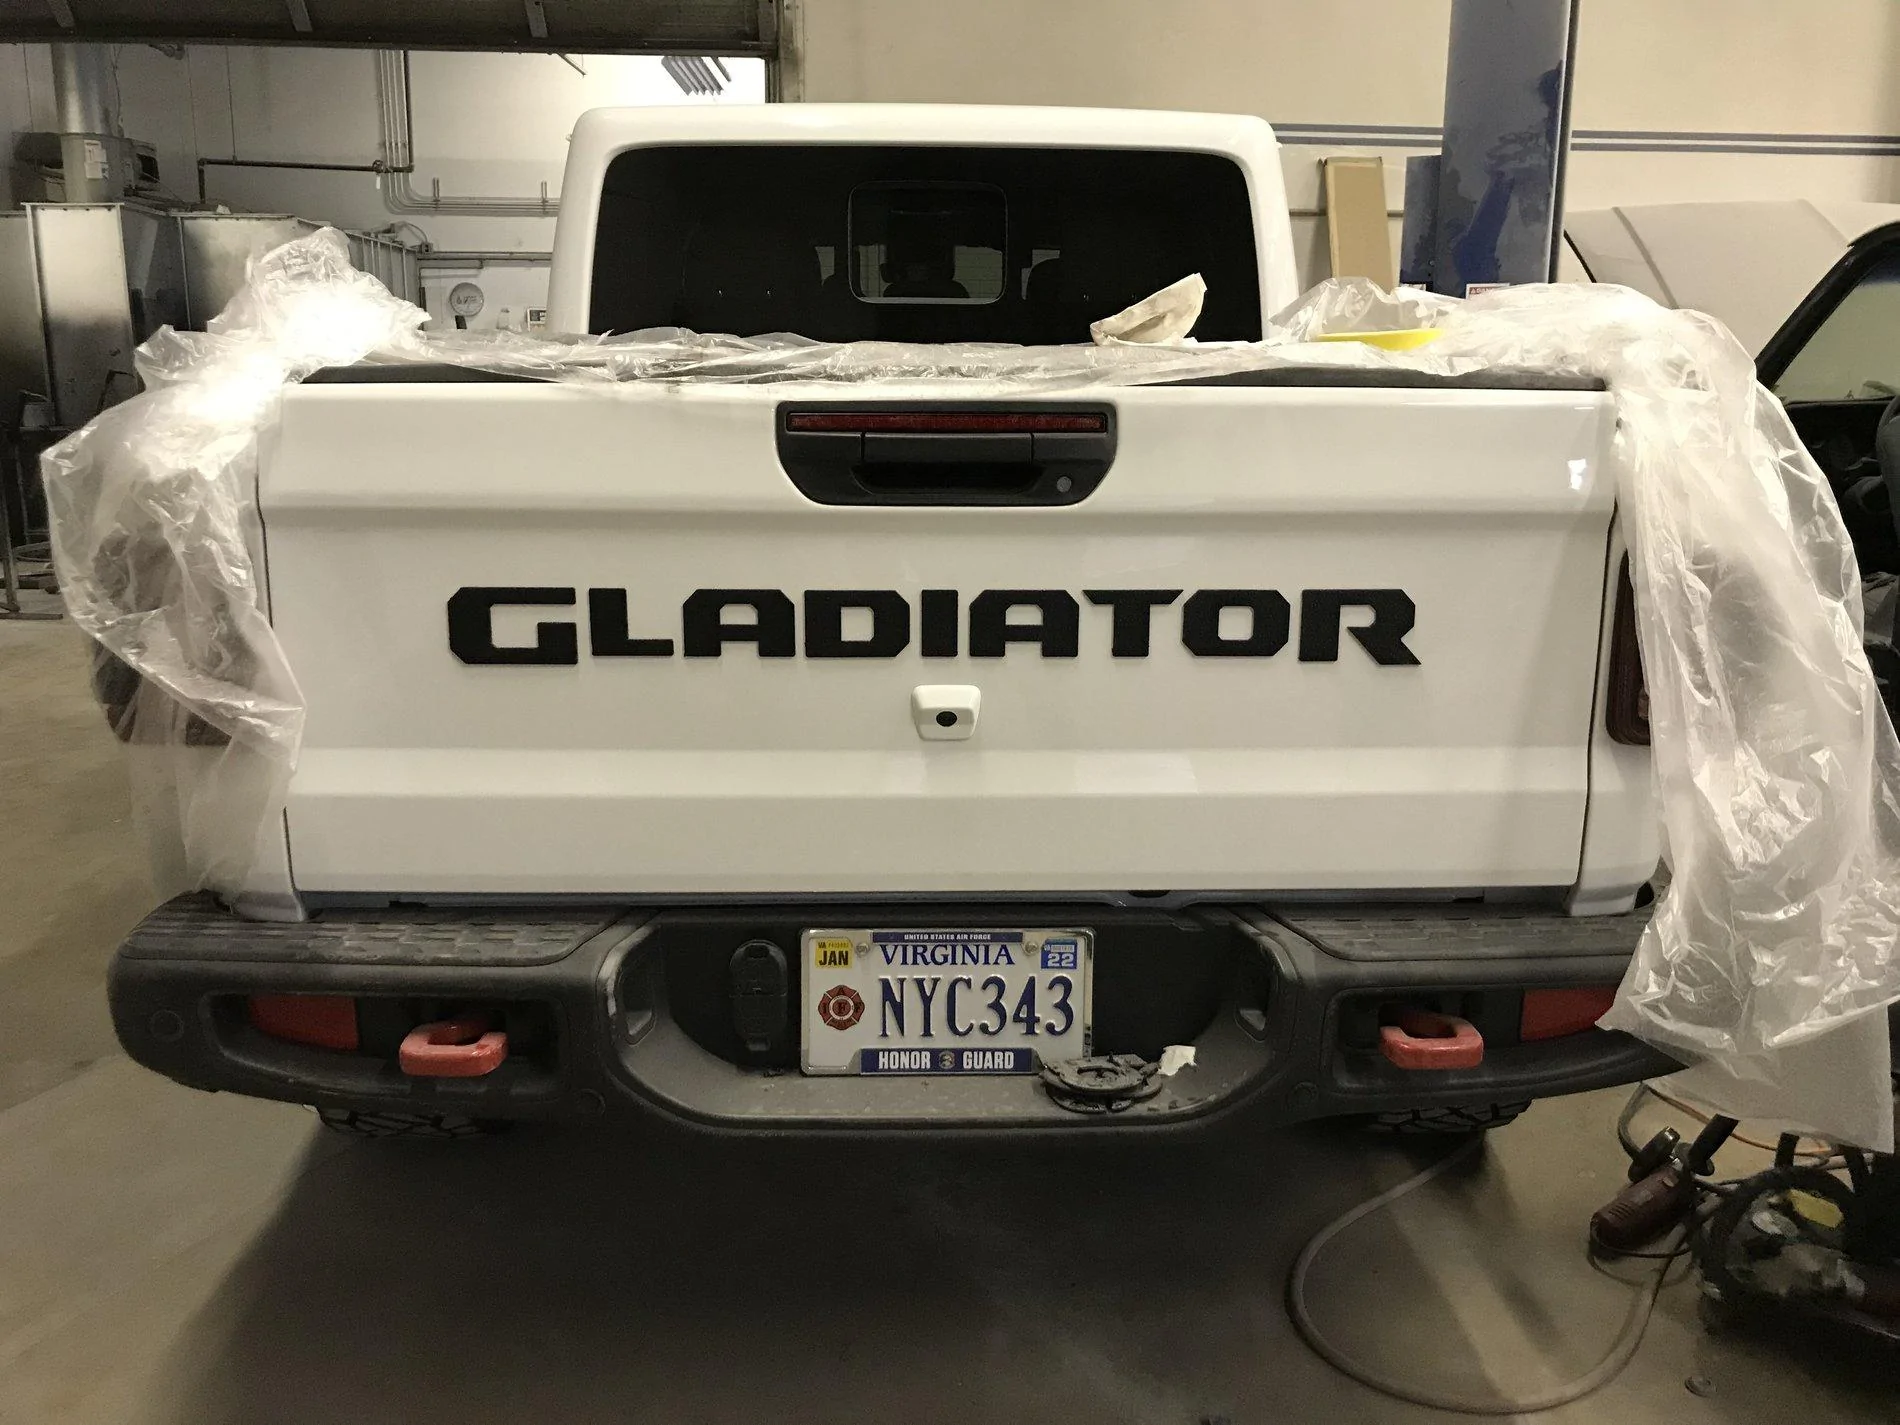
I did mine as an ode to the original gladiators and because I liked the tailgate on them. Respect your opinion, but I like it for my truck. To each their own I guess.It seems like everyone is yelling with their JTs. WHY IS THERE A NEED TO HAVE GIANT 'JEEP" or "GLADIATOR" EMBLEMS ON YOUR TRUCK!!!!!!!!
See, that's what that feels like! Simple is better...always.
Remember Tommy Hilfiger clothes from the 90s? Obnoxious brand displays on everyone's shirt; you don't see Porsche/Ferrari/Bugatti doing this. Respect your JT! (PSA)
Exactly as it should come from the factory = embossed & painted -