Sponsored

Alu-Cab Gladiator Bed Cap

coreoski

Well-Known Member
First Name
Corey
Joined
May 15, 2019
Threads
0
Messages
55
Reaction score
56
Location
Michigan
Vehicle(s)
2020 JTR
Occupation
Test Engineer
Vehicle Showcase
1
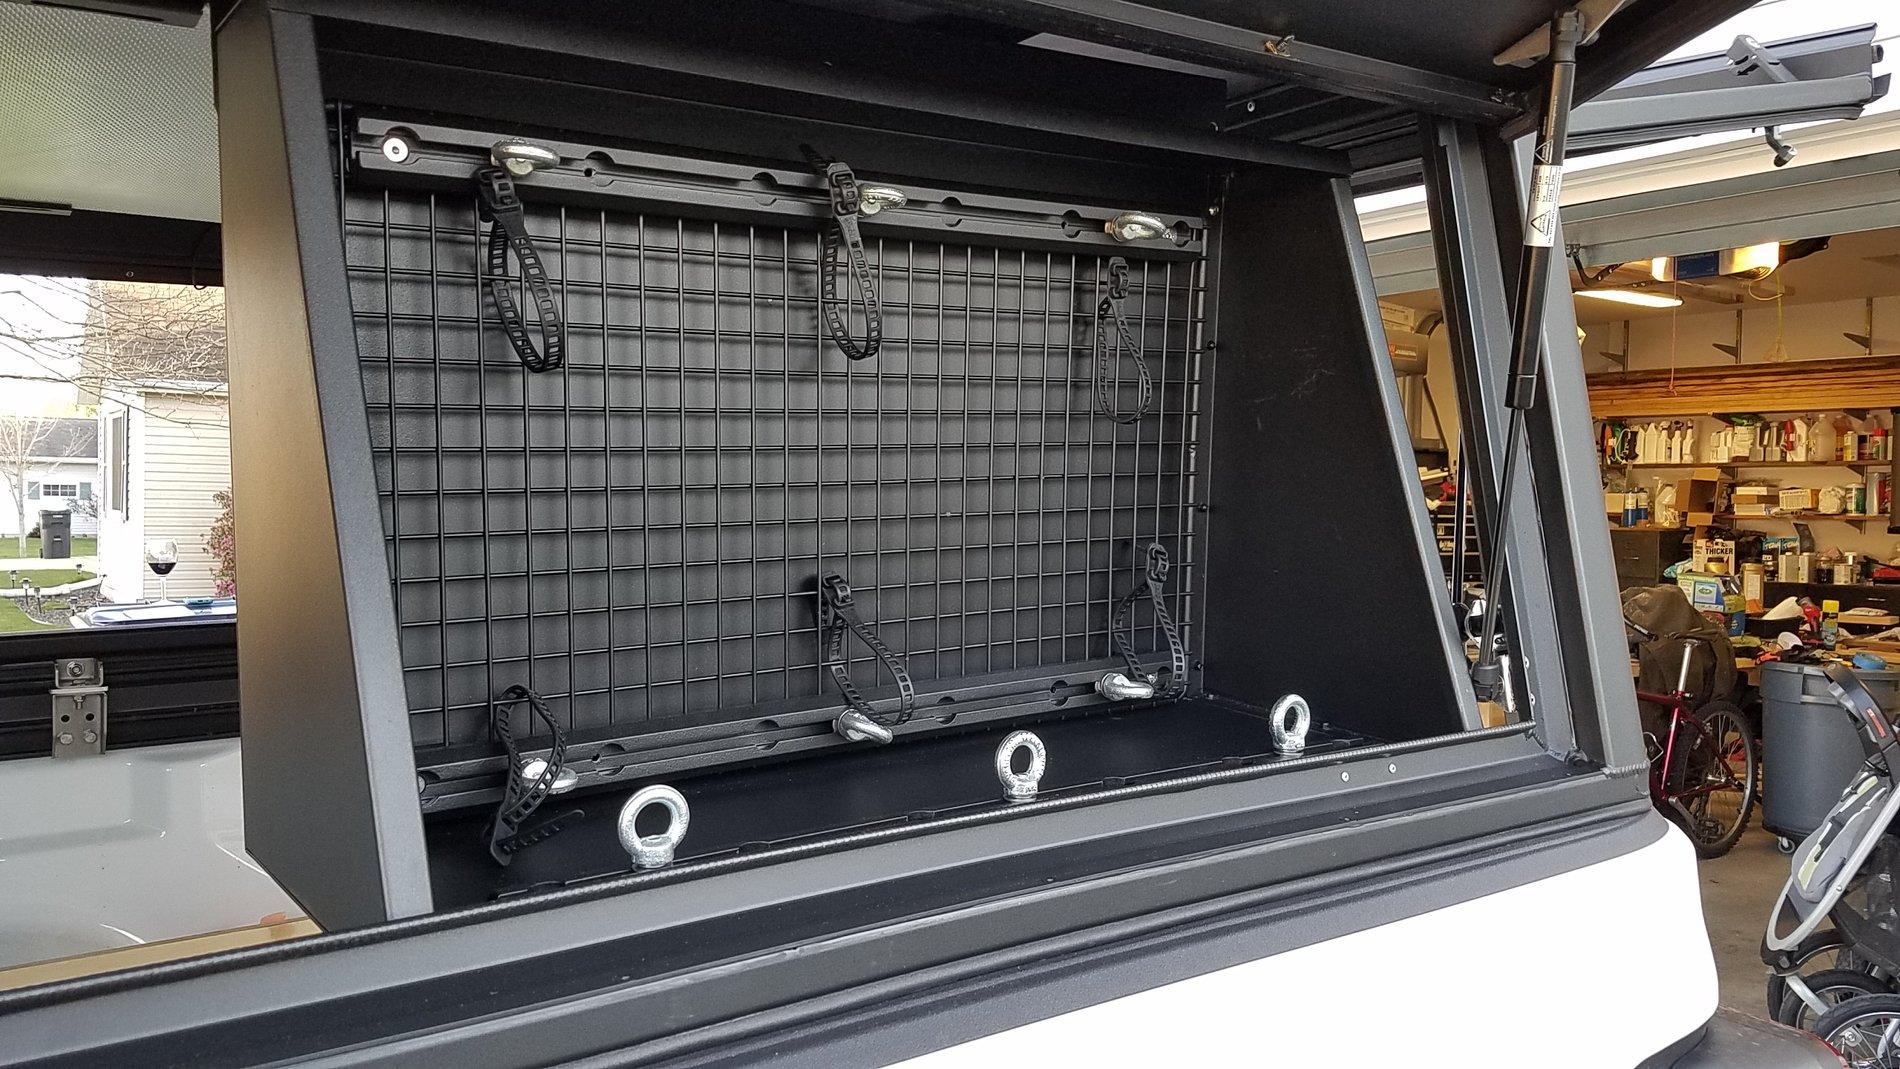
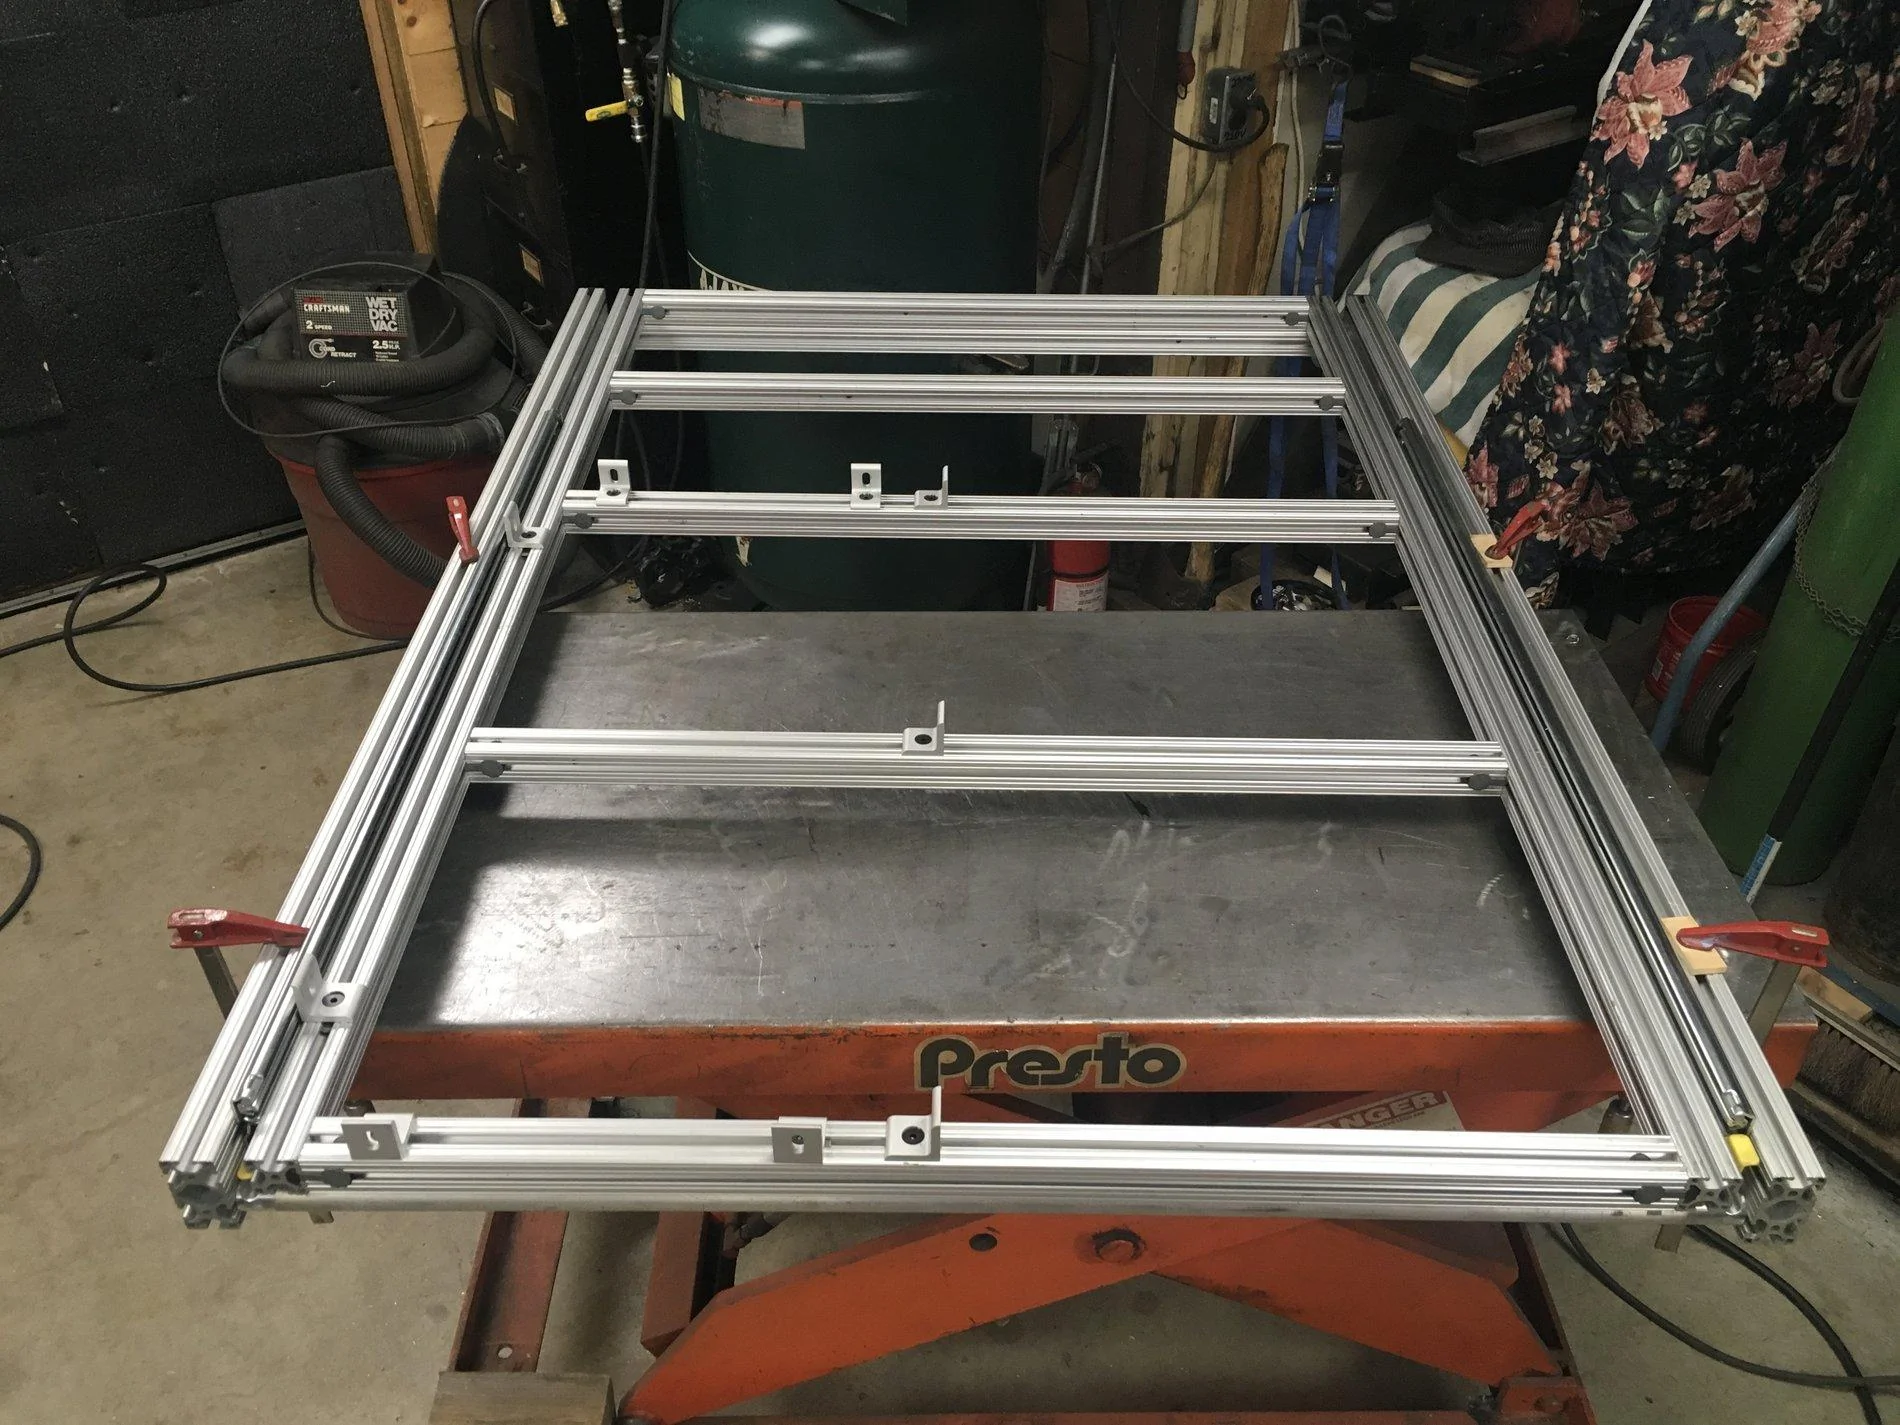
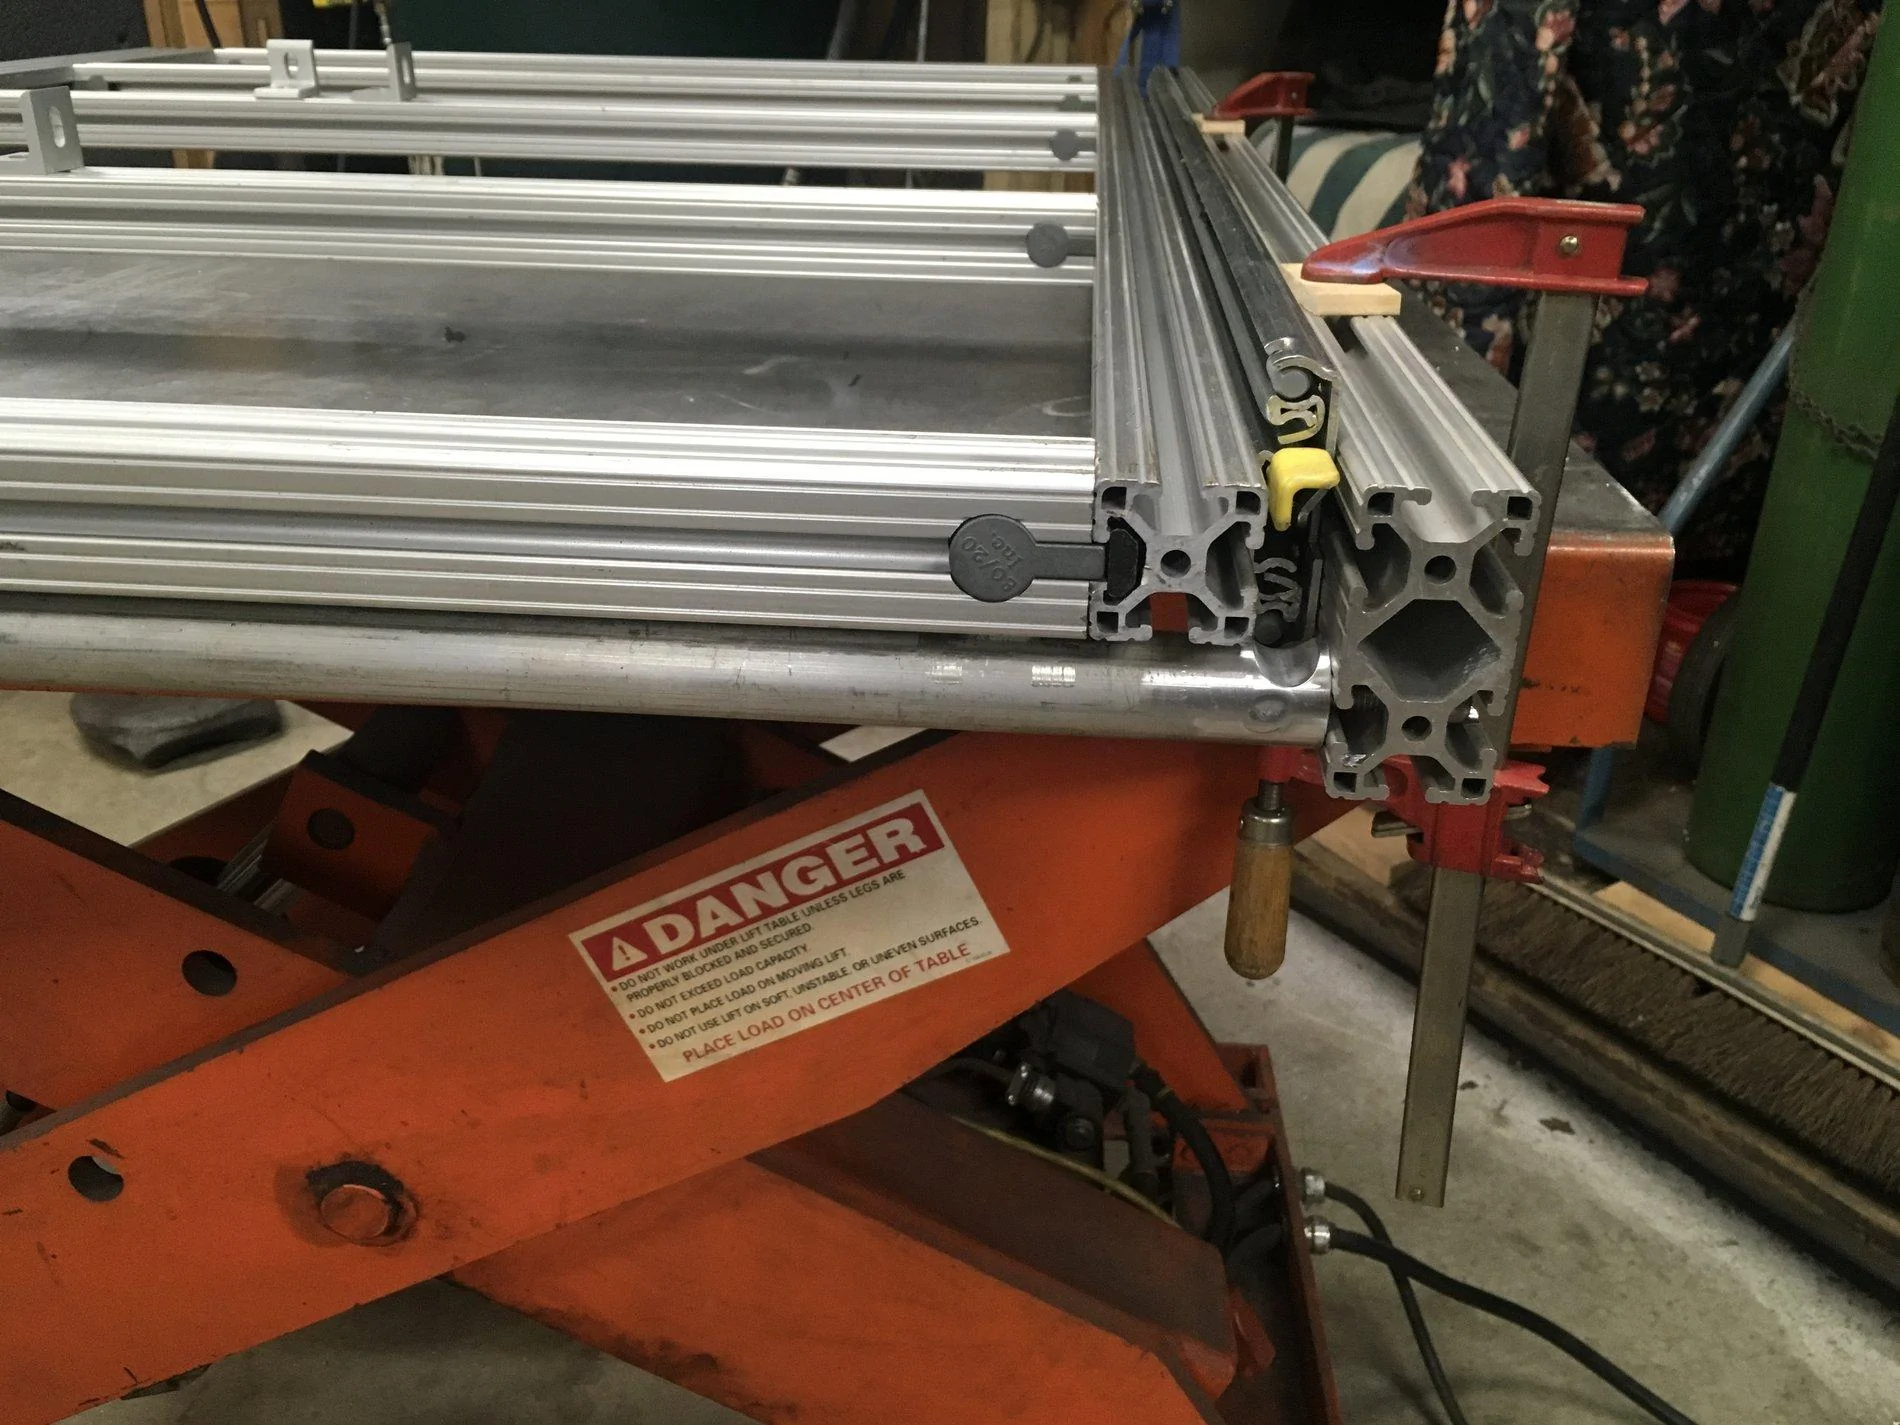
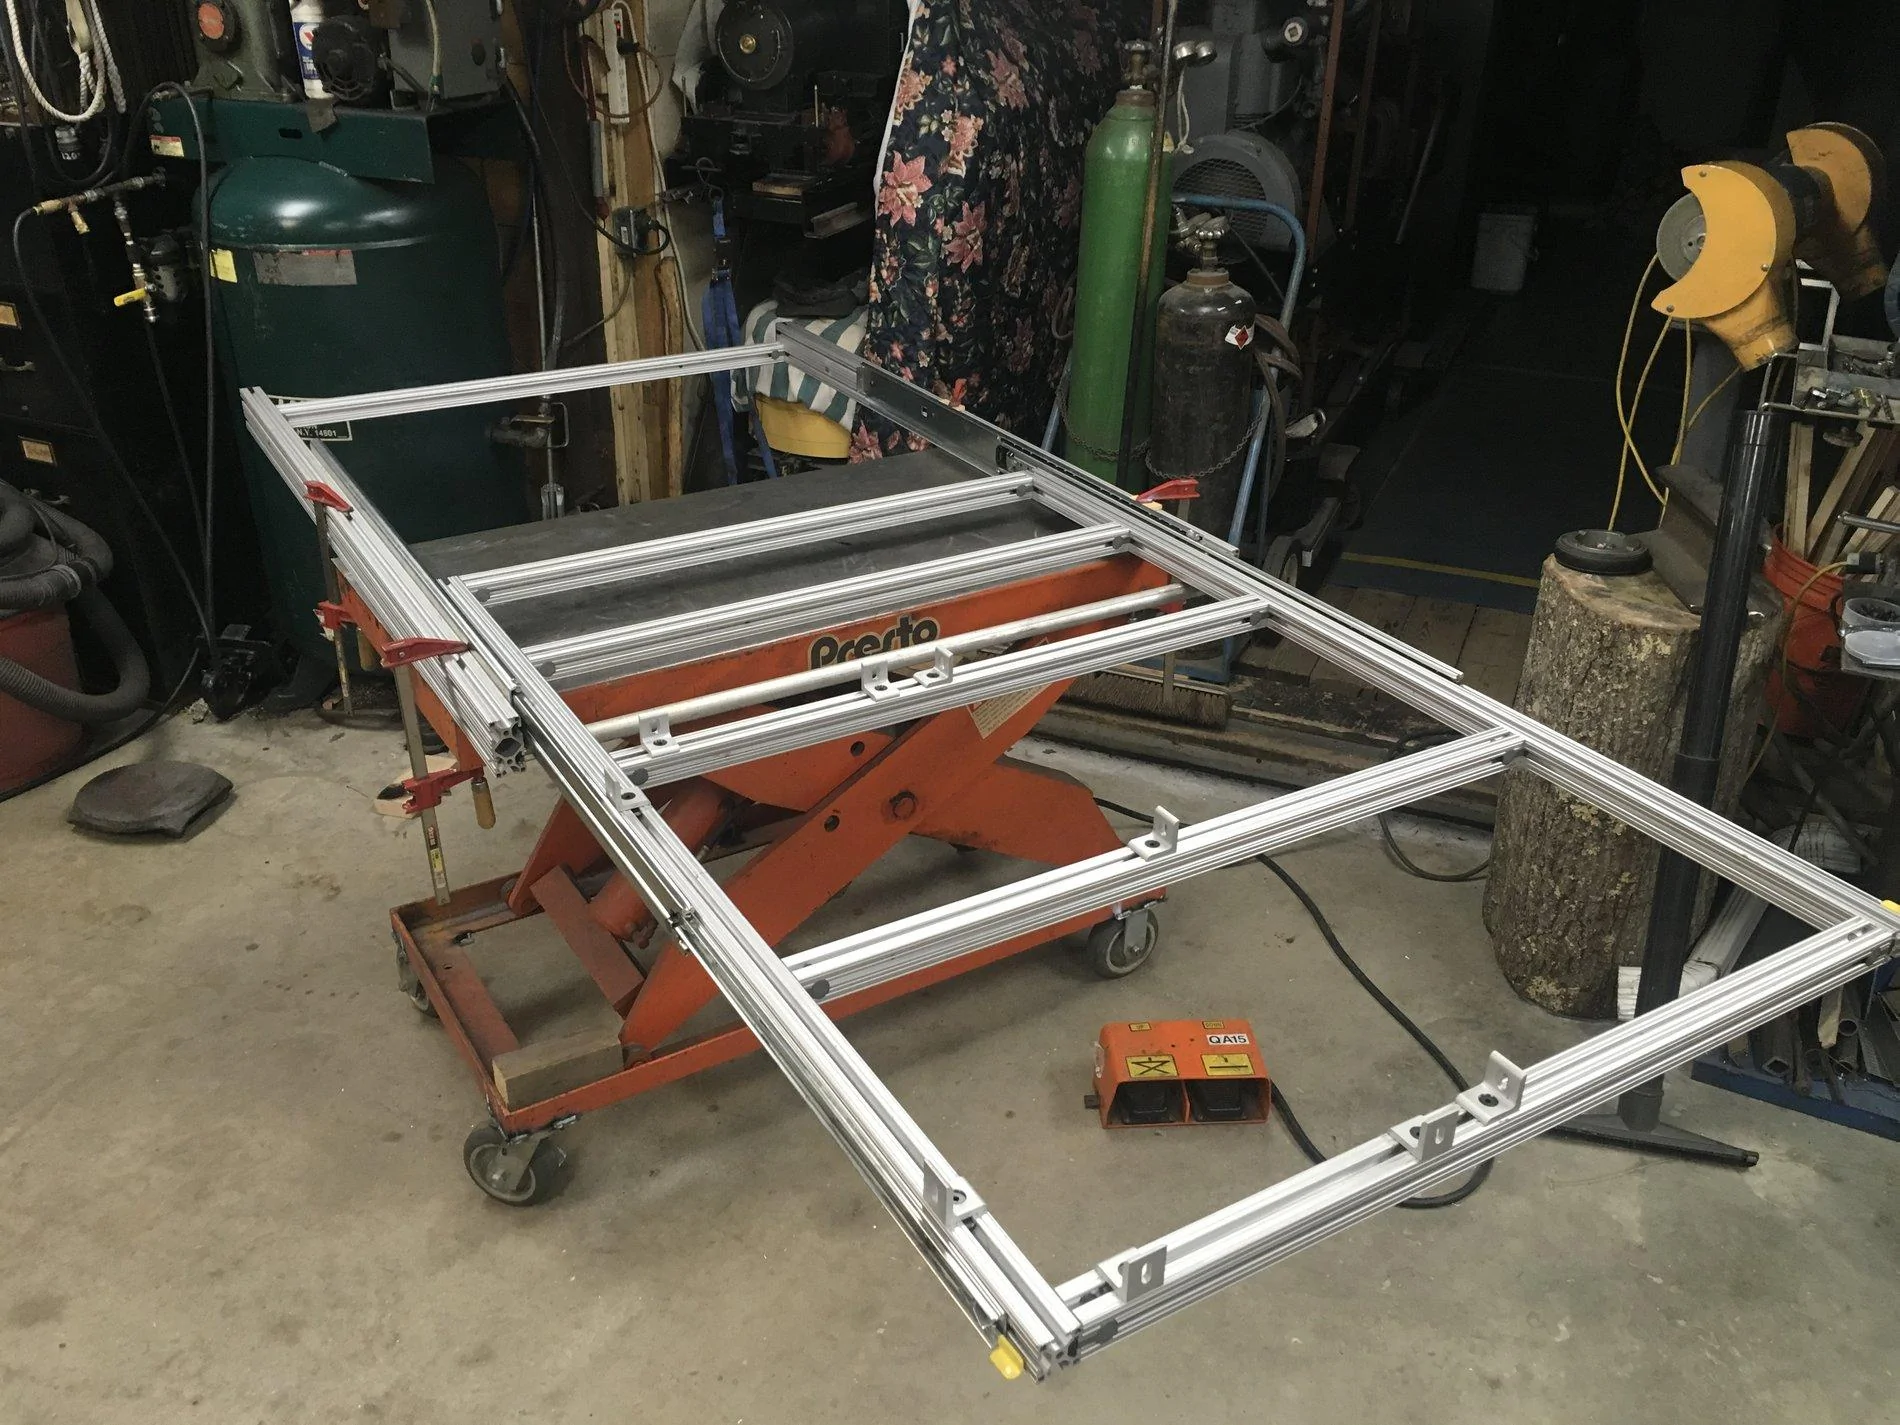
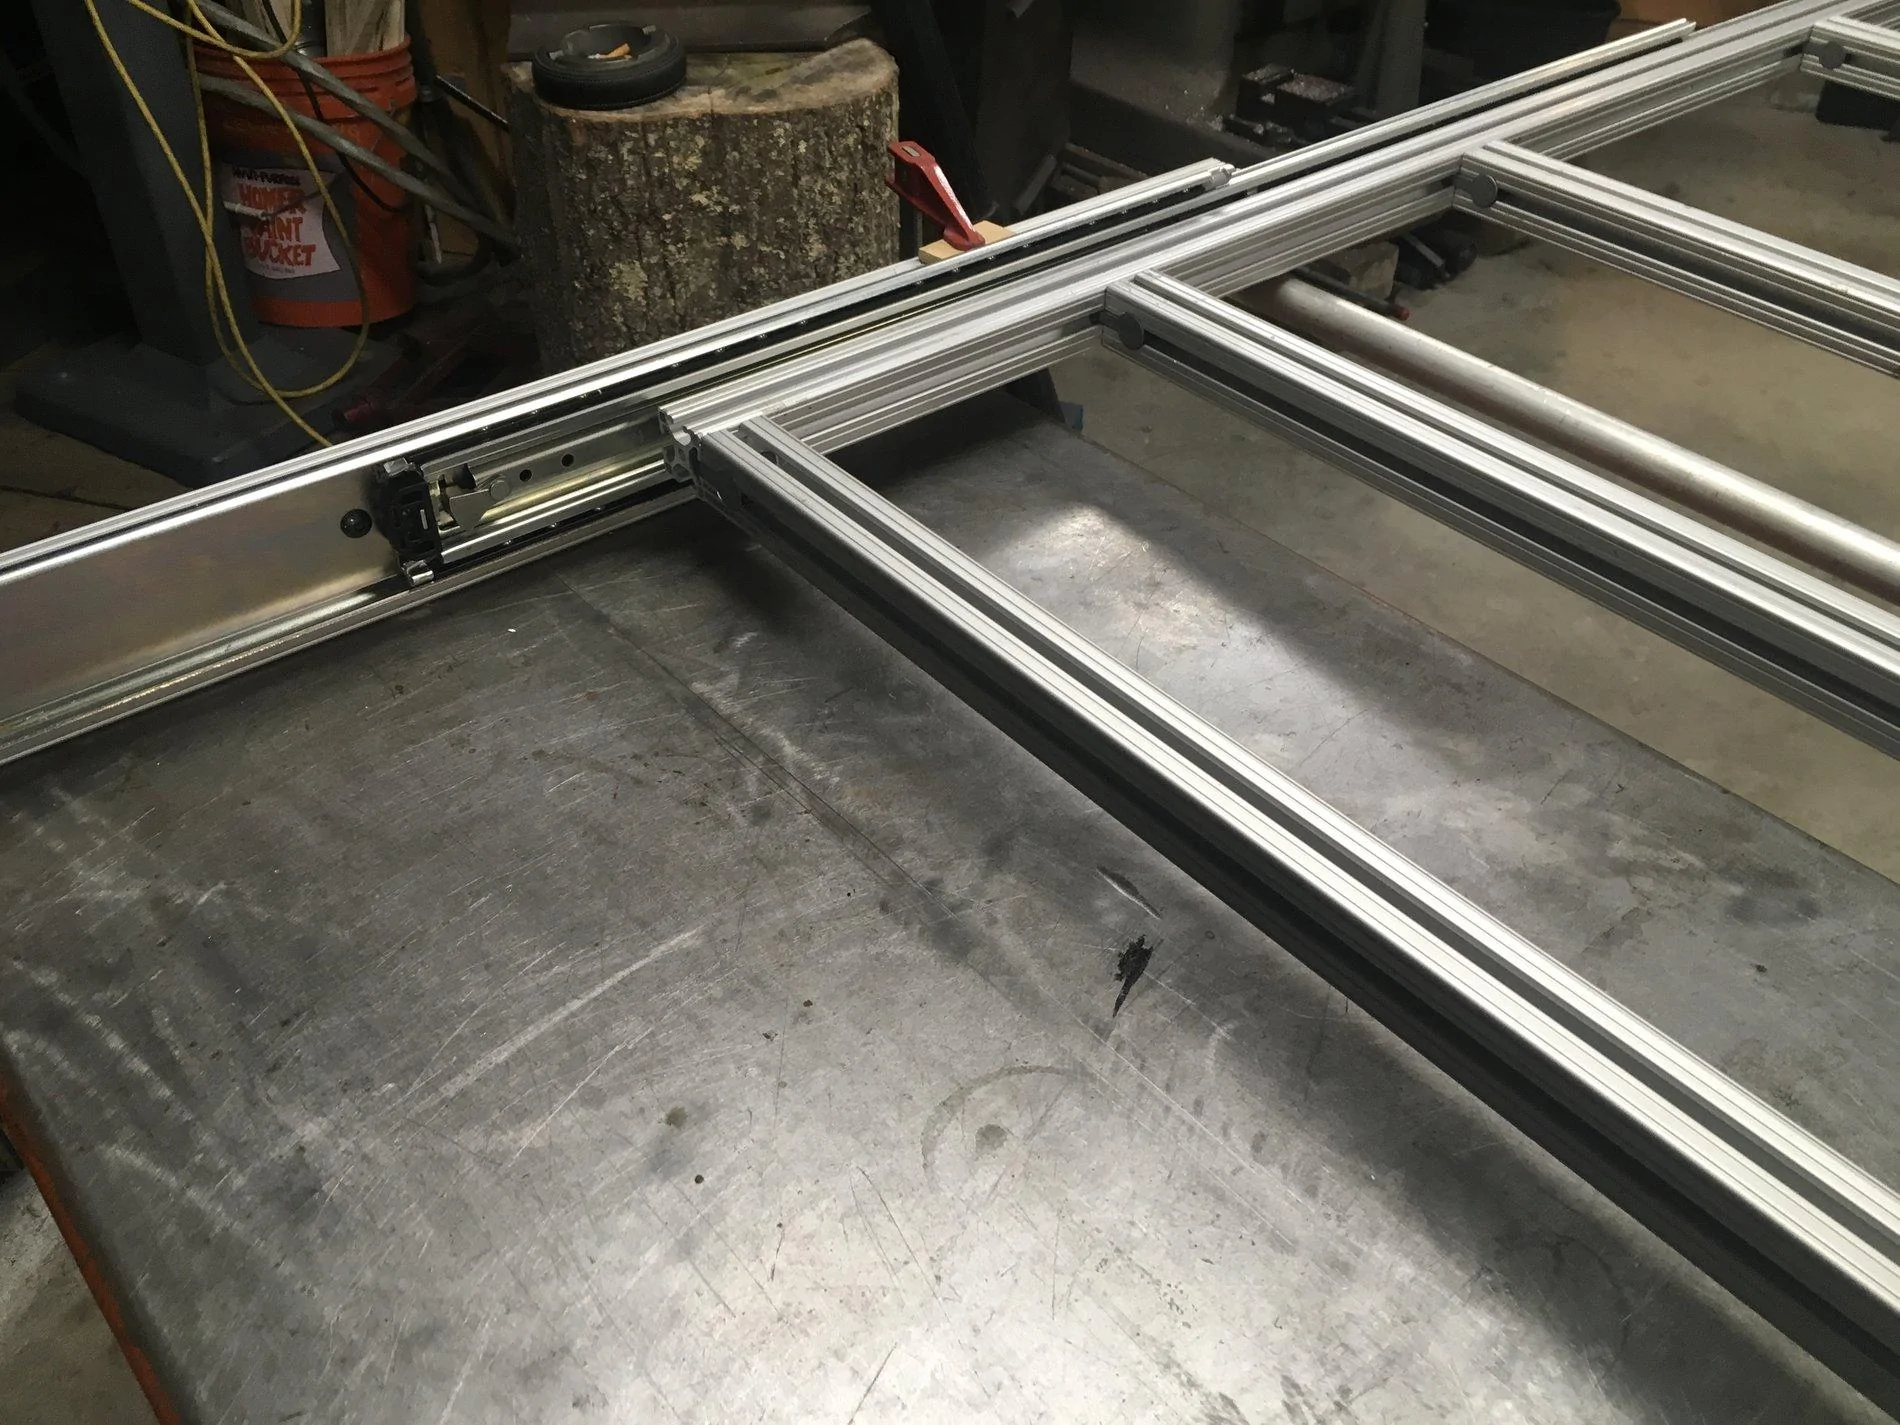
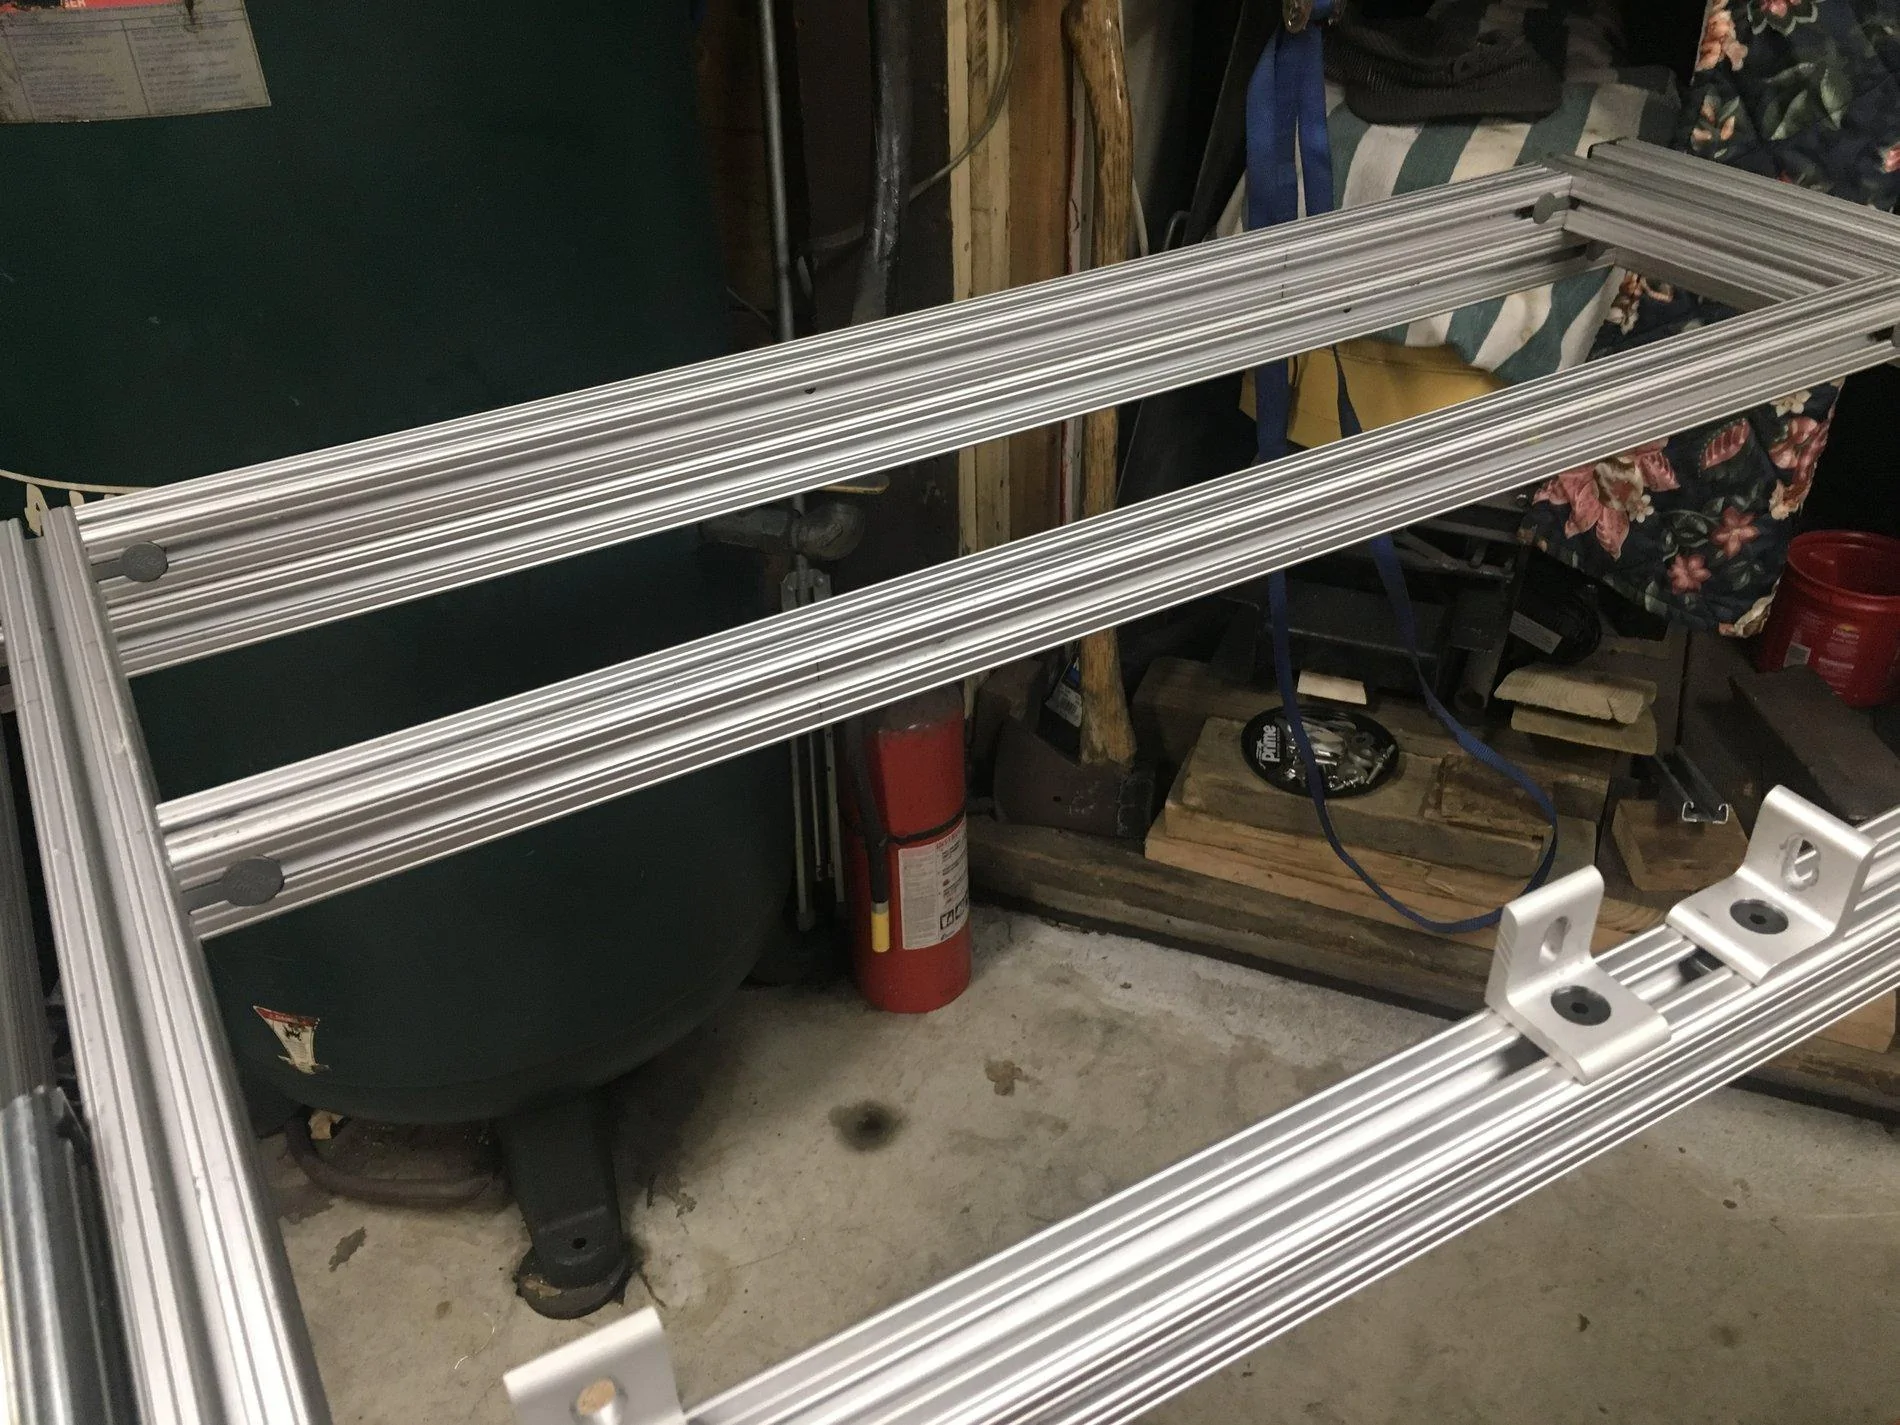
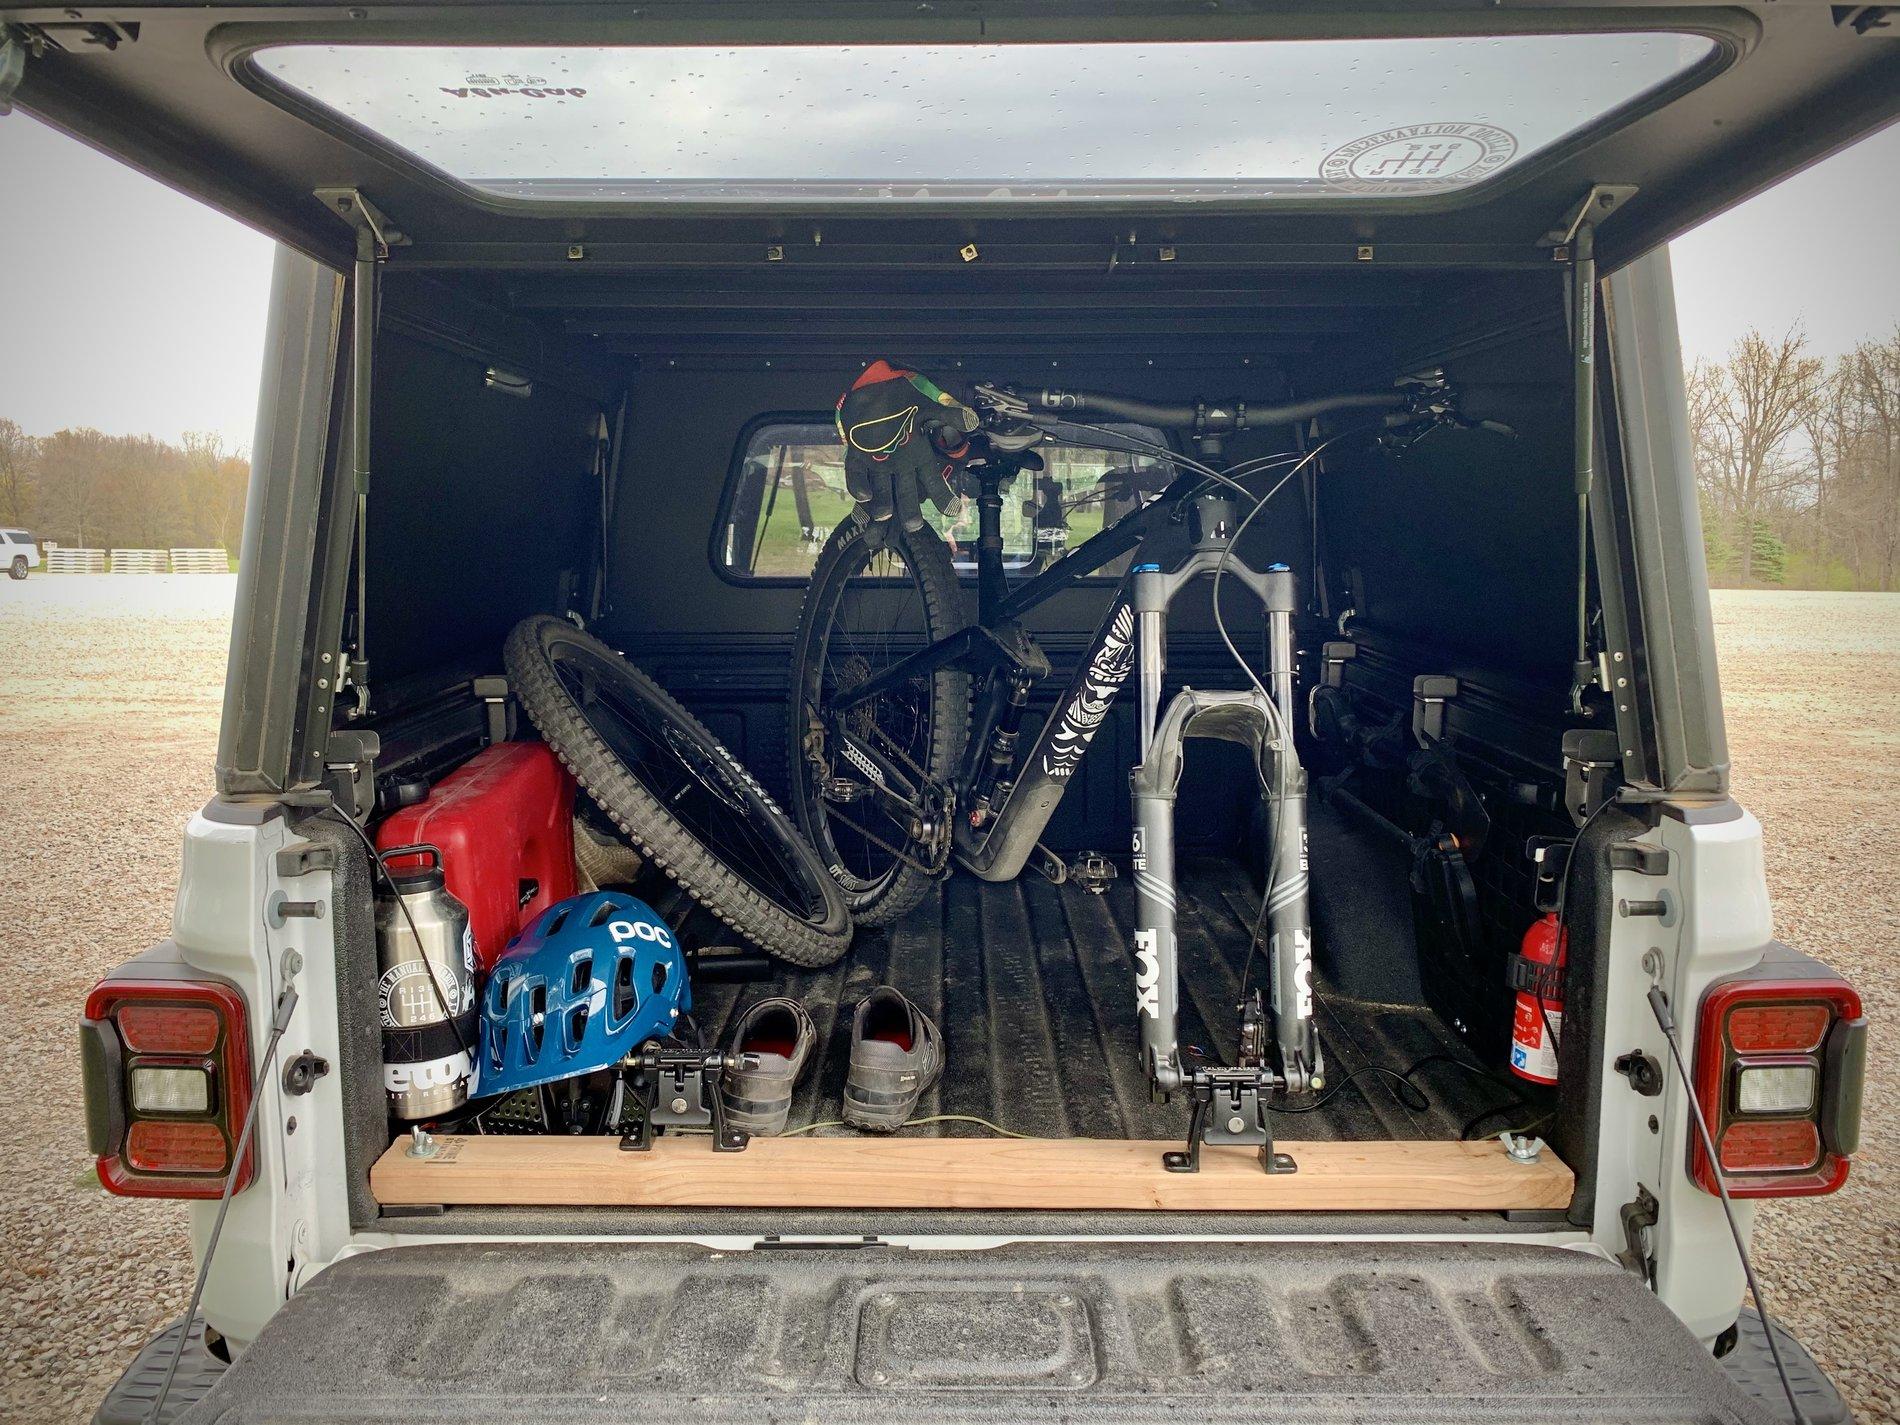
In other news, the MTB fits! Albeit at a pretty sharp angle. Going to have to get more creative for long trips with friends, but at least I can fit my two main bikes with only the front tire off now if I decide to go somewhere solo.

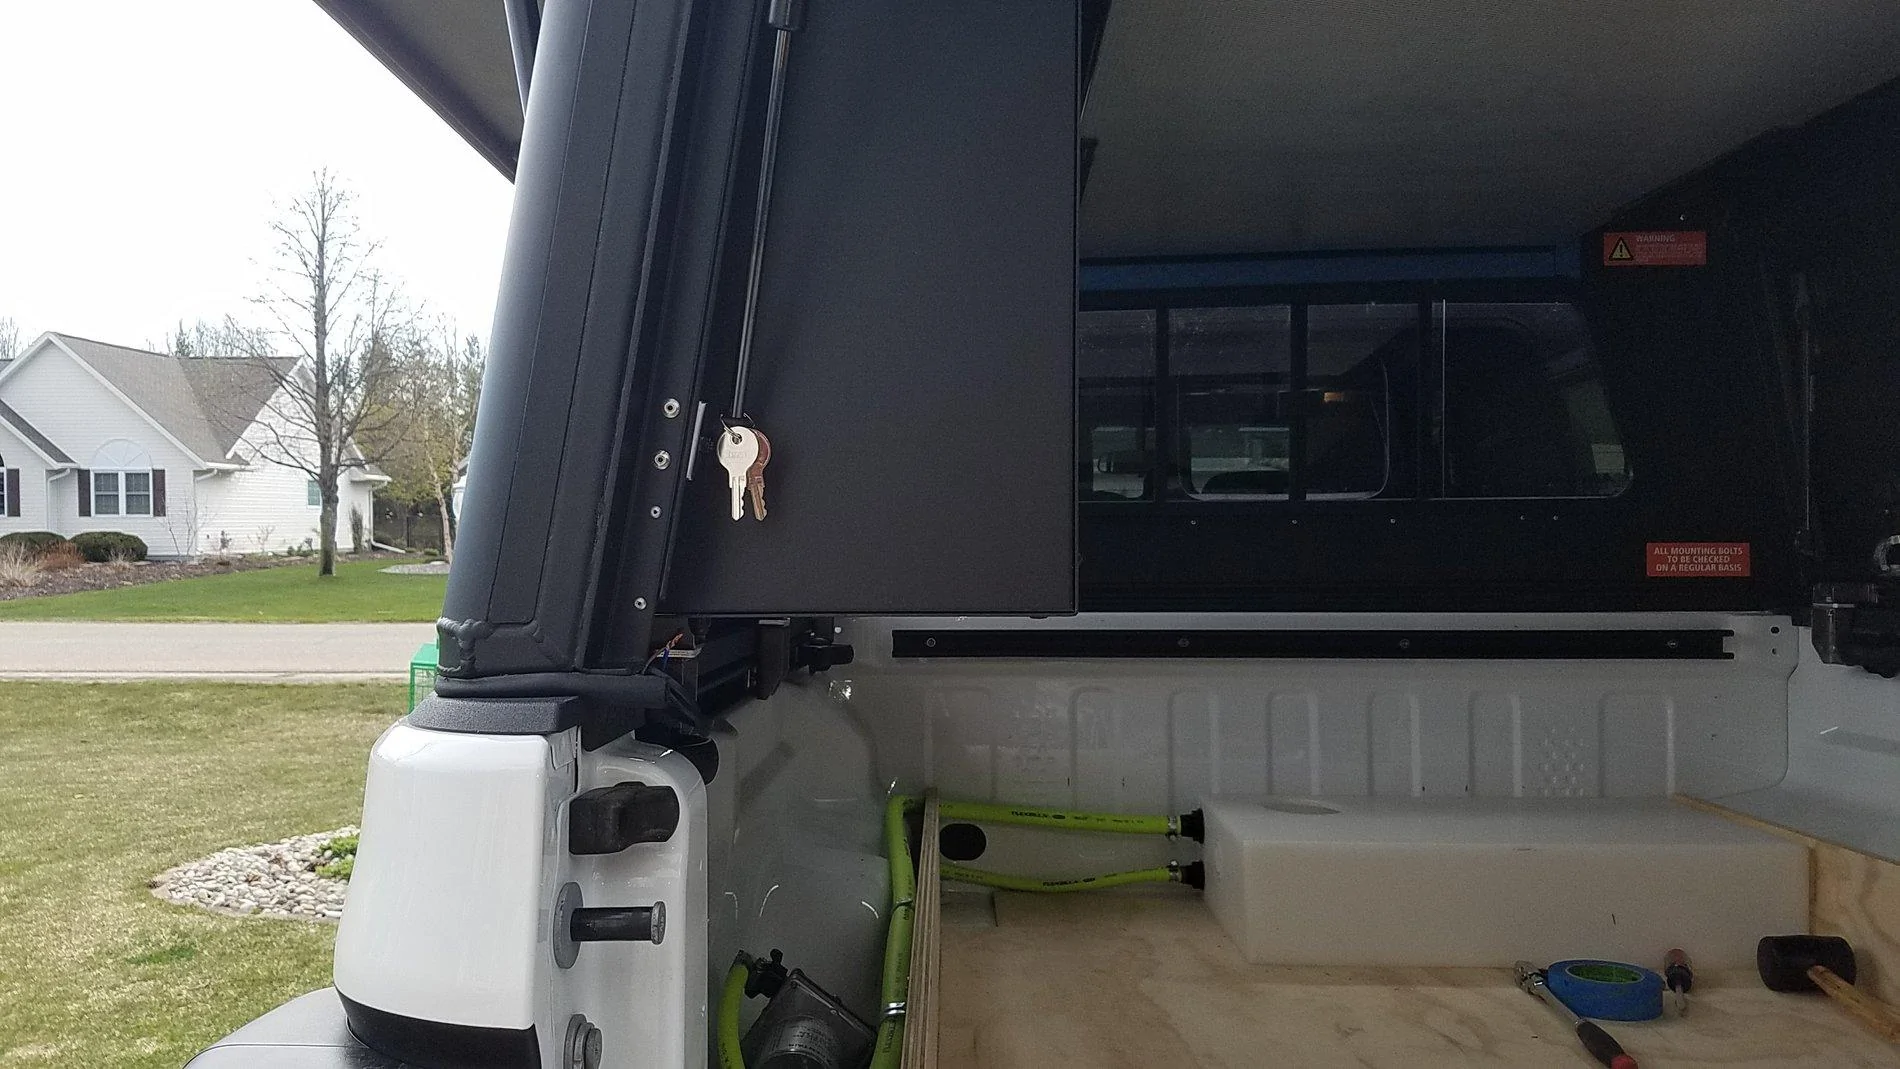
So nice to drive home in the downpour that started right after my ride and not cringe at all the water getting in the bearings and such!

Jeep Gladiator Alu-Cab Gladiator Bed Cap IMG_3030
Sponsored


smlobx

Well-Known Member
First Name
Eddie
Joined
Jun 28, 2018
Threads
86
Messages
2,645
Reaction score
4,505
Location
Mid Atlantic
Vehicle(s)
JTR, F-350 diesel, Porsche Spyder, Model Y
Occupation
Semi retired consultant
As others stated, the cardboard is stout! The cabinet box was a little smashed, but the metal cabinet itself was fine.

I made a video of some of my frustration with the canopy mounting. nothing a drill bit can't cure.

Wonder what you guys think about the shimming of these mounts. Normally I would just follow the directions, but then my rear gasket isn't making contact with the bed.....

Jon-

I think there are two issues that are easily solved.

First the gap in the front due to the difference in the bed height. On my truck I forgot that I had a piece of foam tape that was left on when I had the tonneau cover so that it was more or less level.

Secondly, the clamps not lining up may be due to how far forward you placed them. Remember on my pictures where they were back several inches like Corey installed his. Maybe that’s the reason.

As far as the shims being different heights I wouldn’t worry about it. Just install how may are necessary to level the two sides together...
 
Last edited:

steffen707

Well-Known Member
Joined
Jan 28, 2018
Threads
204
Messages
8,624
Reaction score
8,940
Location
Middle Wisconsin
Vehicle(s)
2001 Jetta TDI RIP, 89' Civic SI, 2019 Pacifica Hybrid, 2020 GLADIATOR SPORT S "GLADYS"
@steffen707
I had basically the same issues with my cap install.
My shims were also all the same.
I think the shim stack setup directions have a typo and it should be less height not more. That allows a bit more gasket compression than what is provided by just the weight of the cap. Besides, there are not enough shims to make all the stacks the height they state.
Make sure that the bed mounts are as high as you can make them before tightening. Cap mounts as low, (not much slop in those).
Had the same alignment issue on the front two as you. Use a couple of the shims behind the cap mount and you will be all set.
I don't really trust the plastic bed rail top trim to be that accurate but I saw the same alignment as you.
I have also discovered a roof leak. One of the screws inside the track didn't get sealed right. Will be easy enough to remove and reseal.
GOOD! I'm not alone, and i'm not crazy. :blush:

I am however guilty of not thinking outside my box. Why I didn't think to just shim that cap mount.....DUH! That saves me from FACKING up the mount holes by trying to make things bigger with a drill bit, which never seems to end cleanly. THANK YOU.

I probably over thought this because it's a multi-thousand dollar part and it should just be good to go out of the box....oh well.


Hope I'm not too late! Finally watched the video.

You're right, there's a contour to the bed sides, I think you just need to bring your front brackets back a bit so the contour is favorable. Mine's a solid 7 inches away from the front of the bed.

I also read the shim instructions to mean the thickness can be adjusted by adding/removing shims, not that they were different thicknesses. Possible I just skimmed and missed a typo though! lol
Thanks for your insight. I'll take a look at all your suggestions and fix it at lunch.


I think there are two issues that are easily solved.

First the gap in the front due to the difference in the bed height. On my truck I forgot that I had a piece of foam tape that was left on when I had the tonneau cover so that it was more or less level.

Secondly, the clamps not lining up may be due to how far forward you placed them. Remember on my pictures where they were back several issues like Corey installed his. Maybe that’s the reason.

As far as the shims being different heights I wouldn’t worry about it. Just install how may are necessary to level the two sides together...
Ohh, didn't know you had an extra gasket. Think I might go buy one if I can't find the one from my tonneau cover that I never installed.

Installing load bars, table and smaller side cabinet thingy today.

Thanks @smlobx ,@coreoski and @Rokon! We should form Team-Alu-Glad, lol. (kinda sounds like Team Alu-Cab....get it?:CWL:)
 

smlobx

Well-Known Member
First Name
Eddie
Joined
Jun 28, 2018
Threads
86
Messages
2,645
Reaction score
4,505
Location
Mid Atlantic
Vehicle(s)
JTR, F-350 diesel, Porsche Spyder, Model Y
Occupation
Semi retired consultant
When I was at my shop this am getting my F-350 ready to go to AK (hopefully) I tried to move my brackets to the ends of the track and, like steffen was not able to due to the issues he found so now we know why mine was installed the way it was by AVO. Just an FYI they used 3 shims to get the 2 pieces of the brackets together on each one.

Team Alu-Cab
 

steffen707

Well-Known Member
Joined
Jan 28, 2018
Threads
204
Messages
8,624
Reaction score
8,940
Location
Middle Wisconsin
Vehicle(s)
2001 Jetta TDI RIP, 89' Civic SI, 2019 Pacifica Hybrid, 2020 GLADIATOR SPORT S "GLADYS"
When I was at my shop this am getting my F-350 ready to go to AK (hopefully) I tried to move my brackets to the ends of the track and, like steffen was not able to due to the issues he found so now we know why mine was installed the way it was by AVO. Just an FYI they used 3 shims to get the 2 pieces of the brackets together on each one.

Team Alu-Cab
Thanks Smoley! I have the other 4 brackets using 3 shims as well. Driver side rear corner needed to be lifted slightly to get the 3rd shim in, but I think it makes more sense to have equal shimming all around.

Thanks again! Going out to my "shop" (driveway) to finish up the install I think. :LOL:
 

Sponsored

steffen707

Well-Known Member
Joined
Jan 28, 2018
Threads
204
Messages
8,624
Reaction score
8,940
Location
Middle Wisconsin
Vehicle(s)
2001 Jetta TDI RIP, 89' Civic SI, 2019 Pacifica Hybrid, 2020 GLADIATOR SPORT S "GLADYS"
Thought i'd drop a few photos for everyone. Here's the pallet and all the straps after I cut them. I was too eager to get going!

Jeep Gladiator Alu-Cab Gladiator Bed Cap 20200511_153015


@smlobx, does your cupboard lean forward too? my rear bracket is as far up as it can go, if I put some shim under the top mount it should level it out.

Jeep Gladiator Alu-Cab Gladiator Bed Cap 20200512_185241


This is what I had to do to modify the Alu-Cab rail mount to work with my @BuiltRight trail rail system. So instead of 1 thick plate, i have two separate strut nuts.

Jeep Gladiator Alu-Cab Gladiator Bed Cap 20200511_171333


I was surprised when i opened it up that there was NO WOOD, just cardboard.

Jeep Gladiator Alu-Cab Gladiator Bed Cap 20200511_155906


One of my table leg caps just pops out. I was thinking of putting a rivet through the leg and the plastic plug, or should I put some RTV or something in there instead? What do you guys recommend to keep those in there?


Jeep Gladiator Alu-Cab Gladiator Bed Cap 20200512_154103


I got the "Recovery Kitted Cupboard". It was nice that everything was already mounted. I don't remember how much more it was than the bare cupboard. I'm not sure yet if this is useful, but if not, i can just remove all that and make my own.

One thing to note, I was able to move the cupboard all the way against the gas strut. I just thought of this, might be able to actually straddle the strut with the cupboard to get a fe more inches. I think i'll try that tomorrow and report back. This might make the dead space behind the cabinet more useful. I might also play with mounting a fire extinguisher to the right of the cupboard to utilize that space more.

Jeep Gladiator Alu-Cab Gladiator Bed Cap 20200512_185252


That spec is where the right lock "arm" comes into contact with the cupboard. I filed that spot a bit and now it doesn't hit.

Jeep Gladiator Alu-Cab Gladiator Bed Cap Annotation 2020-05-12 212452


I can't wait to do a compare/contract for RSI, RLD and Alu-Cab. First thing is how they're mounted to the truck. Some use those chincy aluminum clamps that my $154 Amazon tonneau cover came with, while ALU has the beast brackets of badassery. Now that I shimed the rear most alu-rail mounts with 3 shims each, the bolts fit vertically just fine.

I'm excited to move the top back, clean the front side of the window and re-attach. Line up 2 bolts diagonally, BOOM ALIGNED. Drop 4 other bolts in, DONE. =) With a pulley system, this could be a 10 minute job for 1 person to do. :movember:
 

steffen707

Well-Known Member
Joined
Jan 28, 2018
Threads
204
Messages
8,624
Reaction score
8,940
Location
Middle Wisconsin
Vehicle(s)
2001 Jetta TDI RIP, 89' Civic SI, 2019 Pacifica Hybrid, 2020 GLADIATOR SPORT S "GLADYS"
oh yeah, totally got to move the cabinet. kinda disappointed, thought mine would be carpeted like I THINK this photo shows.... Wonder what an apolster/stereo place would charge to do that. I suppose I could also tackle that project. some day...

Jeep Gladiator Alu-Cab Gladiator Bed Cap 1589339068655
 

smlobx

Well-Known Member
First Name
Eddie
Joined
Jun 28, 2018
Threads
86
Messages
2,645
Reaction score
4,505
Location
Mid Atlantic
Vehicle(s)
JTR, F-350 diesel, Porsche Spyder, Model Y
Occupation
Semi retired consultant
Steffen my cupboard is level. There are a couple of different mounting holes on the piece that attaches to the roof. I think I have ours attached to the lowest set of holes. See post #106.

As far as the little rubber piece on the table leg just do what ever is easiest. I think either will hold.

Also, I am planning on carpeting our cupboard as well. I have some cheap thin carpet that I got on Amazon and will cut it to fit then use A spray adhesive to hold it securely. I’ve done this on another project and it worked well.
 
Last edited:
OP
OP

Rokon

Well-Known Member
First Name
Bob
Joined
Jun 18, 2019
Threads
18
Messages
483
Reaction score
707
Location
Maine
Vehicle(s)
Gladiator Rubicon
So this isn't so much about the cap but what is going inside the cap.
Had decided I wanted a bedslide for the Gladiator. They sure make things easy access. I emailed BedSlide concerning a purchase. In the two weeks it took them to reply I built my own....... I've had a score of 80/20 squirreled away for some time. The bearing slides were a swap meet score probably 15 years ago.
The overall frame is 44 1/2” wide by 59 1/2” long to just fit the bed. The pull out is 40” wide by 59 1/2”. Both sides lock fully in and fully out. Pulls out 42”. Pullout floor is 3” above bed floor.
Haven't quite decided on what to deck it with. Will likely go 1/8” aluminum and have it LineX'd.
Haven't weighed it yet.
Will be using the bed front, lower, tie down bolts to secure the front of the slide frame. The tailgate end will most likeLy be large rivnuts.
Don't know the capacity.... I think it can handle 750 lbs pretty easy. When locked in the slide rests on the frame so the slide bearings don't take all the load.
This is mostly for my camping gear setup so weight really isn't very much.

Jeep Gladiator Alu-Cab Gladiator Bed Cap 5FE477C4-1894-4C3D-A071-F08F49D54B20


Jeep Gladiator Alu-Cab Gladiator Bed Cap B8ED9D76-36CD-4222-9E24-3B53D5709DBA


Jeep Gladiator Alu-Cab Gladiator Bed Cap C46CA9E4-FD24-4704-834E-6E22282D7A8B


Jeep Gladiator Alu-Cab Gladiator Bed Cap E291CCB2-3EFB-455C-802C-066D30C66B17


Jeep Gladiator Alu-Cab Gladiator Bed Cap C8A00634-A916-4773-811B-652C7733678D
 
Last edited:

Sponsored

OP
OP

Rokon

Well-Known Member
First Name
Bob
Joined
Jun 18, 2019
Threads
18
Messages
483
Reaction score
707
Location
Maine
Vehicle(s)
Gladiator Rubicon
Well I pulled the trigger today and ordered min from OK4WD. It will ship out of South Africa on the shipment that goes out this Friday!!! Super excited but now I cant wait even more.
Congrats! Your going to love it. The wait is well worth it.
 

steffen707

Well-Known Member
Joined
Jan 28, 2018
Threads
204
Messages
8,624
Reaction score
8,940
Location
Middle Wisconsin
Vehicle(s)
2001 Jetta TDI RIP, 89' Civic SI, 2019 Pacifica Hybrid, 2020 GLADIATOR SPORT S "GLADYS"
Steffen my cupboard is level. There are a couple of different mounting holes on the piece that attaches to the roof. I think I have ours attached to the lowest set of holes. See post #106.

As far as the little rubber piece on the table leg just do what ever is easiest. I think either will hold.

Also, I am planning on carpeting our cupboard as well. I have some cheap thin carpet that I got on Amazon and will cut it to fit then use A spray adhesive to hold it securely. I’ve done this on another project and it worked well.
Are you going to try and do the interior in 1 piece? or separate pieces for each side? I think i'm going to try it in 1 piece. lol ordered some gray indoor/outdoor automotive carpet from Menards. 6'x3' was $9.87 shipped.
 

steffen707

Well-Known Member
Joined
Jan 28, 2018
Threads
204
Messages
8,624
Reaction score
8,940
Location
Middle Wisconsin
Vehicle(s)
2001 Jetta TDI RIP, 89' Civic SI, 2019 Pacifica Hybrid, 2020 GLADIATOR SPORT S "GLADYS"
I sorted out the cupboard and moved it today. the gas strut isn't the limiting point, the bar on the left rear lock is. So i made that arm just clear the side of the cabinet and mounted it.

Then I had to drill 3 new holes in the cabinet. Even using the bottom holes on the bracket, I was 10mm off. Call me picky, oh well. ALSO once I slid the box over, the channels in the roof were RIGHT in between the slot on the bracket, so I had to drill 2 new holes there too. Now it sits level. yay!
Jeep Gladiator Alu-Cab Gladiator Bed Cap 20200513_082236
Jeep Gladiator Alu-Cab Gladiator Bed Cap 20200513_085029
Jeep Gladiator Alu-Cab Gladiator Bed Cap 20200513_085041
Jeep Gladiator Alu-Cab Gladiator Bed Cap 20200513_085301


Jeep Gladiator Alu-Cab Gladiator Bed Cap 20200513_085301
 

steffen707

Well-Known Member
Joined
Jan 28, 2018
Threads
204
Messages
8,624
Reaction score
8,940
Location
Middle Wisconsin
Vehicle(s)
2001 Jetta TDI RIP, 89' Civic SI, 2019 Pacifica Hybrid, 2020 GLADIATOR SPORT S "GLADYS"
So this isn't so much about the cap but what is going inside the cap.
Had decided I wanted a bedslide for the Gladiator. They sure make things easy access. I emailed BedSlide concerning a purchase. In the two weeks it took them to reply I built my own....... I've had a score of 80/20 squirreled away for some time. The bearing slides were a swap meet score probably 15 years ago.
The overall frame is 44 1/2” wide by 59 1/2” long to just fit the bed. The pull out is 40” wide by 59 1/2”. Both sides lock fully in and fully out. Pulls out 42”. Pullout floor is 3” above bed floor.
Haven't quite decided on what to deck it with. Will likely go 1/8” aluminum and have it LineX'd.
Haven't weighed it yet.
Will be using the bed front, lower, tie down bolts to secure the front of the slide frame. The tailgate end will most likeLy be large rivnuts.
Don't know the capacity.... I think it can handle 750 lbs pretty easy. When locked in the slide rests on the frame so the slide bearings don't take all the load.
This is mostly for my camping gear setup so weight really isn't very much.

5FE477C4-1894-4C3D-A071-F08F49D54B20.jpeg


B8ED9D76-36CD-4222-9E24-3B53D5709DBA.jpeg


C46CA9E4-FD24-4704-834E-6E22282D7A8B.jpeg


E291CCB2-3EFB-455C-802C-066D30C66B17.jpeg


C8A00634-A916-4773-811B-652C7733678D.jpeg
That's awesome! I've got some plans up my sleeve for 3 levels of storage.

I'll post my ideas with photo/video later.

Go Team Alu-Cab!
 

smlobx

Well-Known Member
First Name
Eddie
Joined
Jun 28, 2018
Threads
86
Messages
2,645
Reaction score
4,505
Location
Mid Atlantic
Vehicle(s)
JTR, F-350 diesel, Porsche Spyder, Model Y
Occupation
Semi retired consultant
I sorted out the cupboard and moved it today. the gas strut isn't the limiting point, the bar on the left rear lock is. So i made that arm just clear the side of the cabinet and mounted it.

Then I had to drill 3 new holes in the cabinet. Even using the bottom holes on the bracket, I was 10mm off. Call me picky, oh well. ALSO once I slid the box over, the channels in the roof were RIGHT in between the slot on the bracket, so I had to drill 2 new holes there too. Now it sits level. yay!
20200513_082236.jpg
20200513_085029.jpg
20200513_085041.jpg
20200513_085301.jpg


20200513_085301.jpg
I just got a drill press. I’ve always wanted one and I may try to duplicate what you did with it to give me a bit more room.
Sponsored


Top