Sargegreen22
Active Member
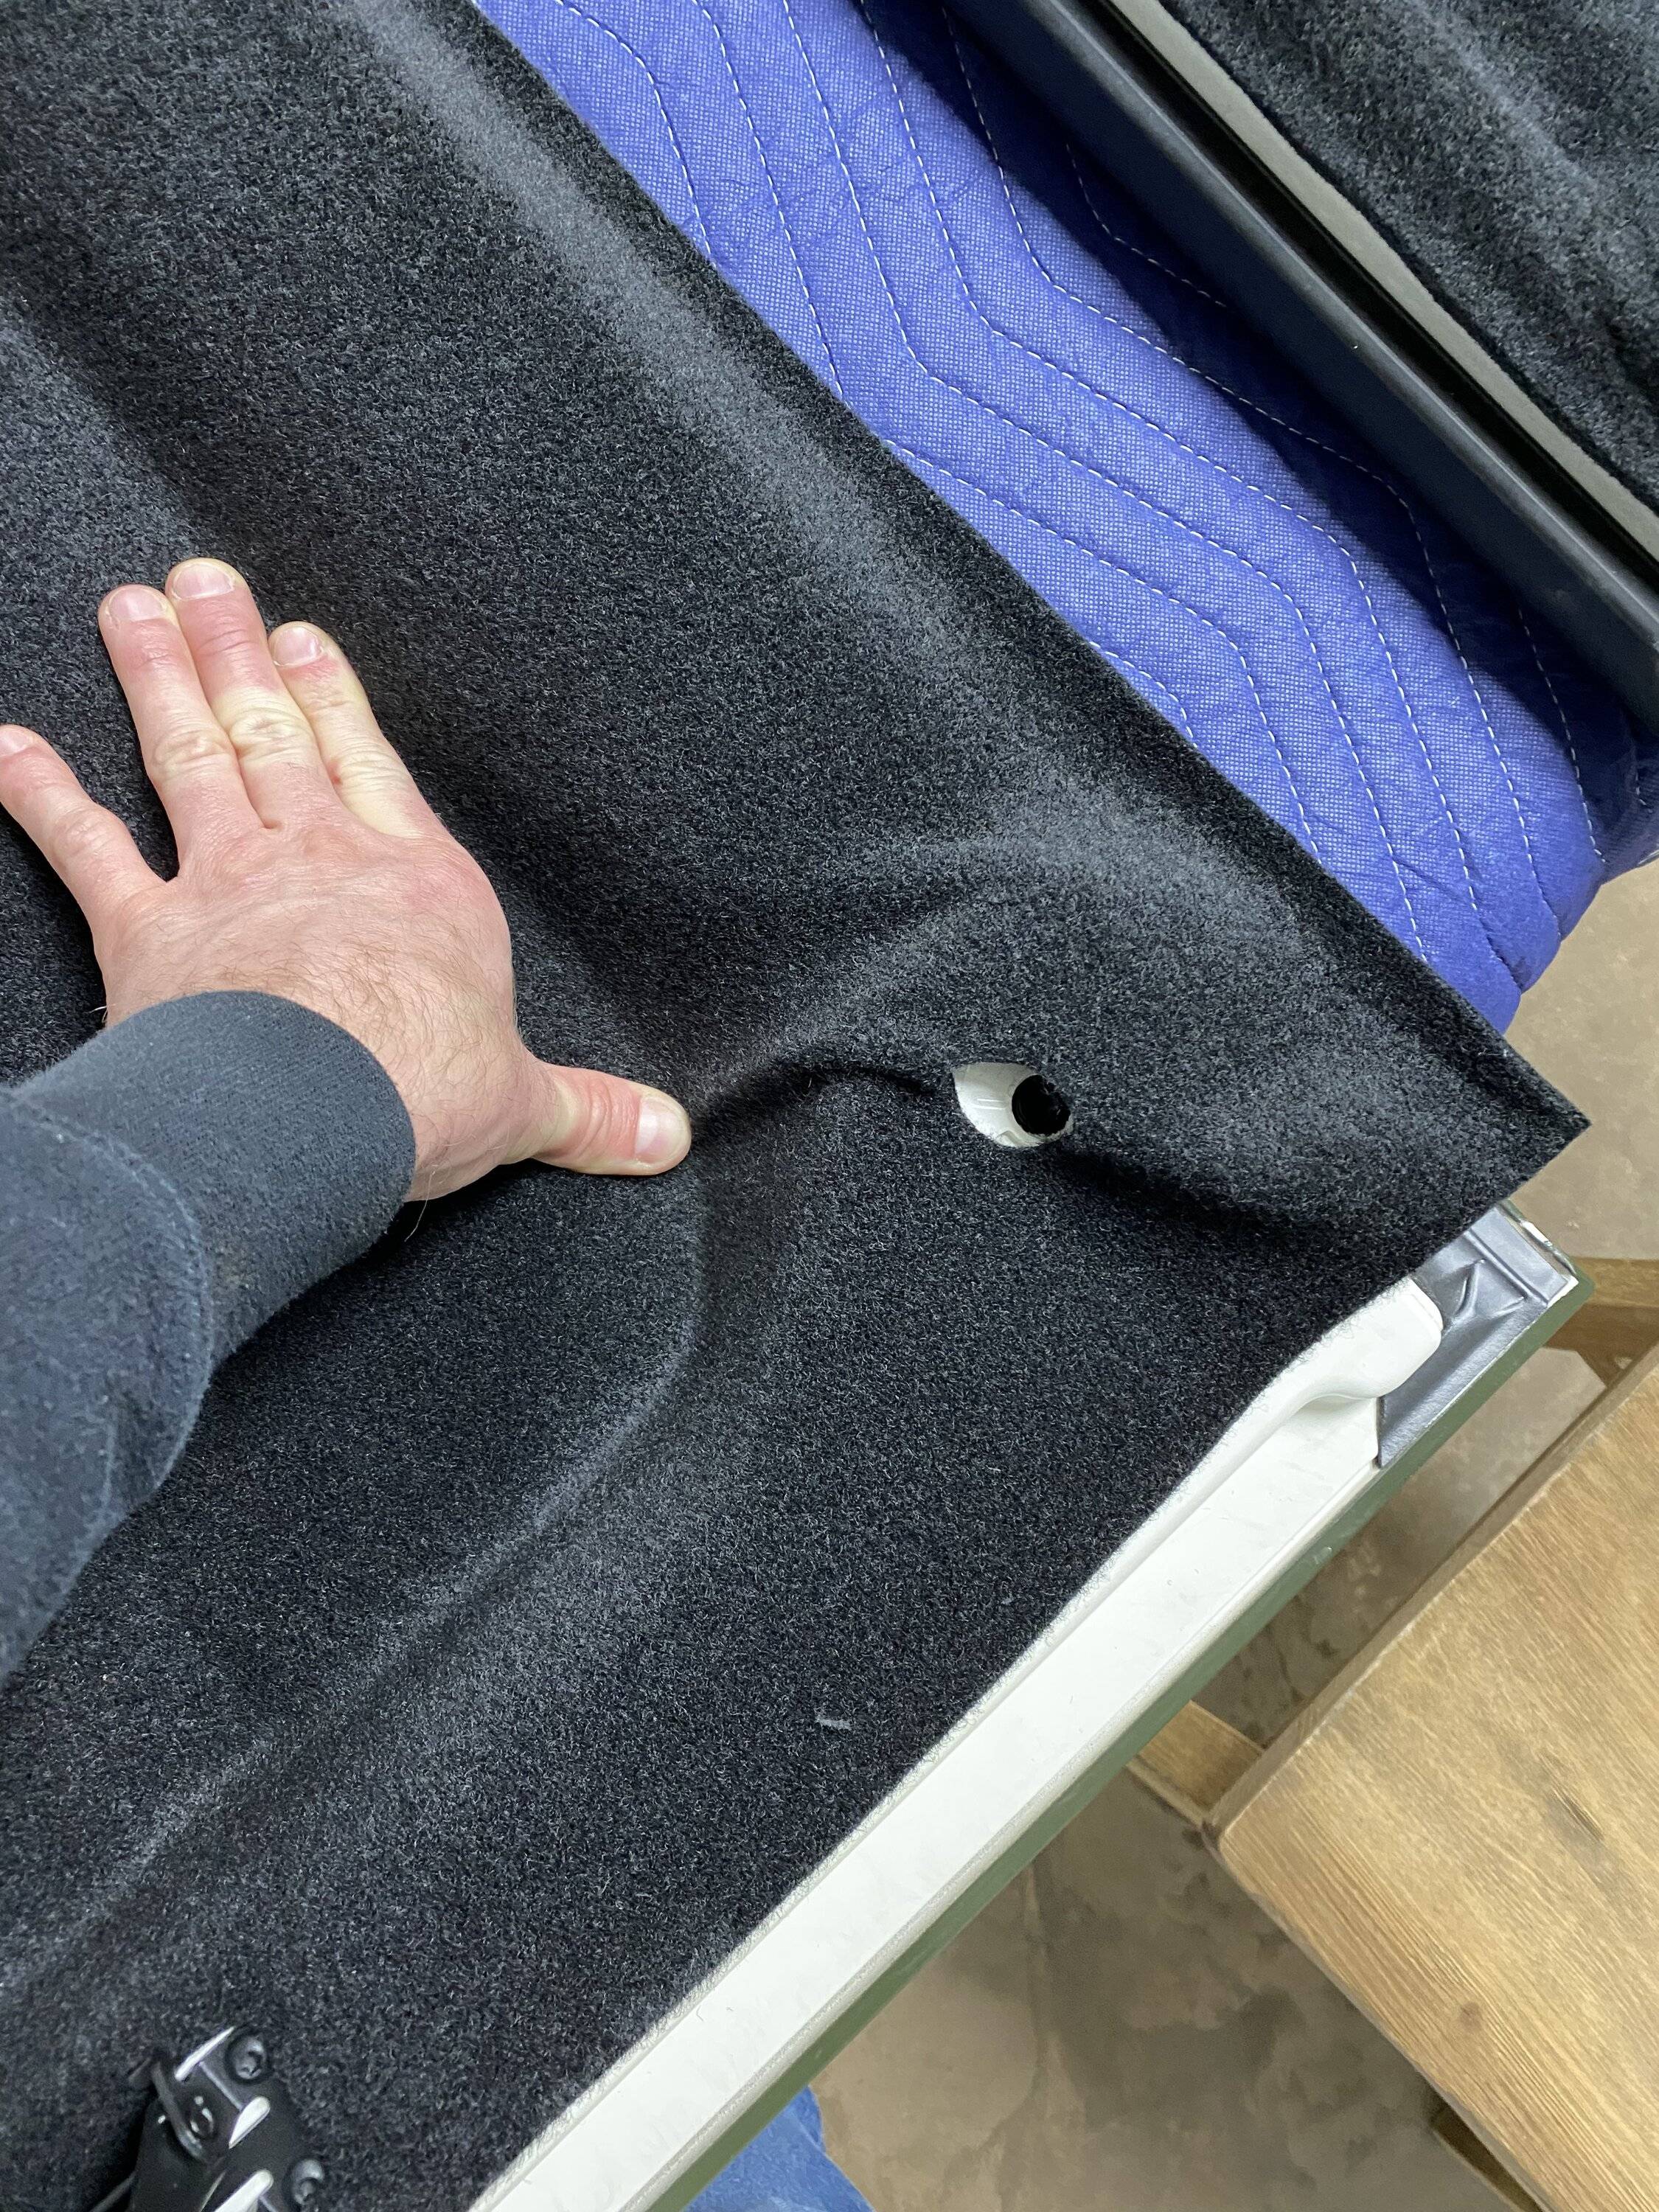
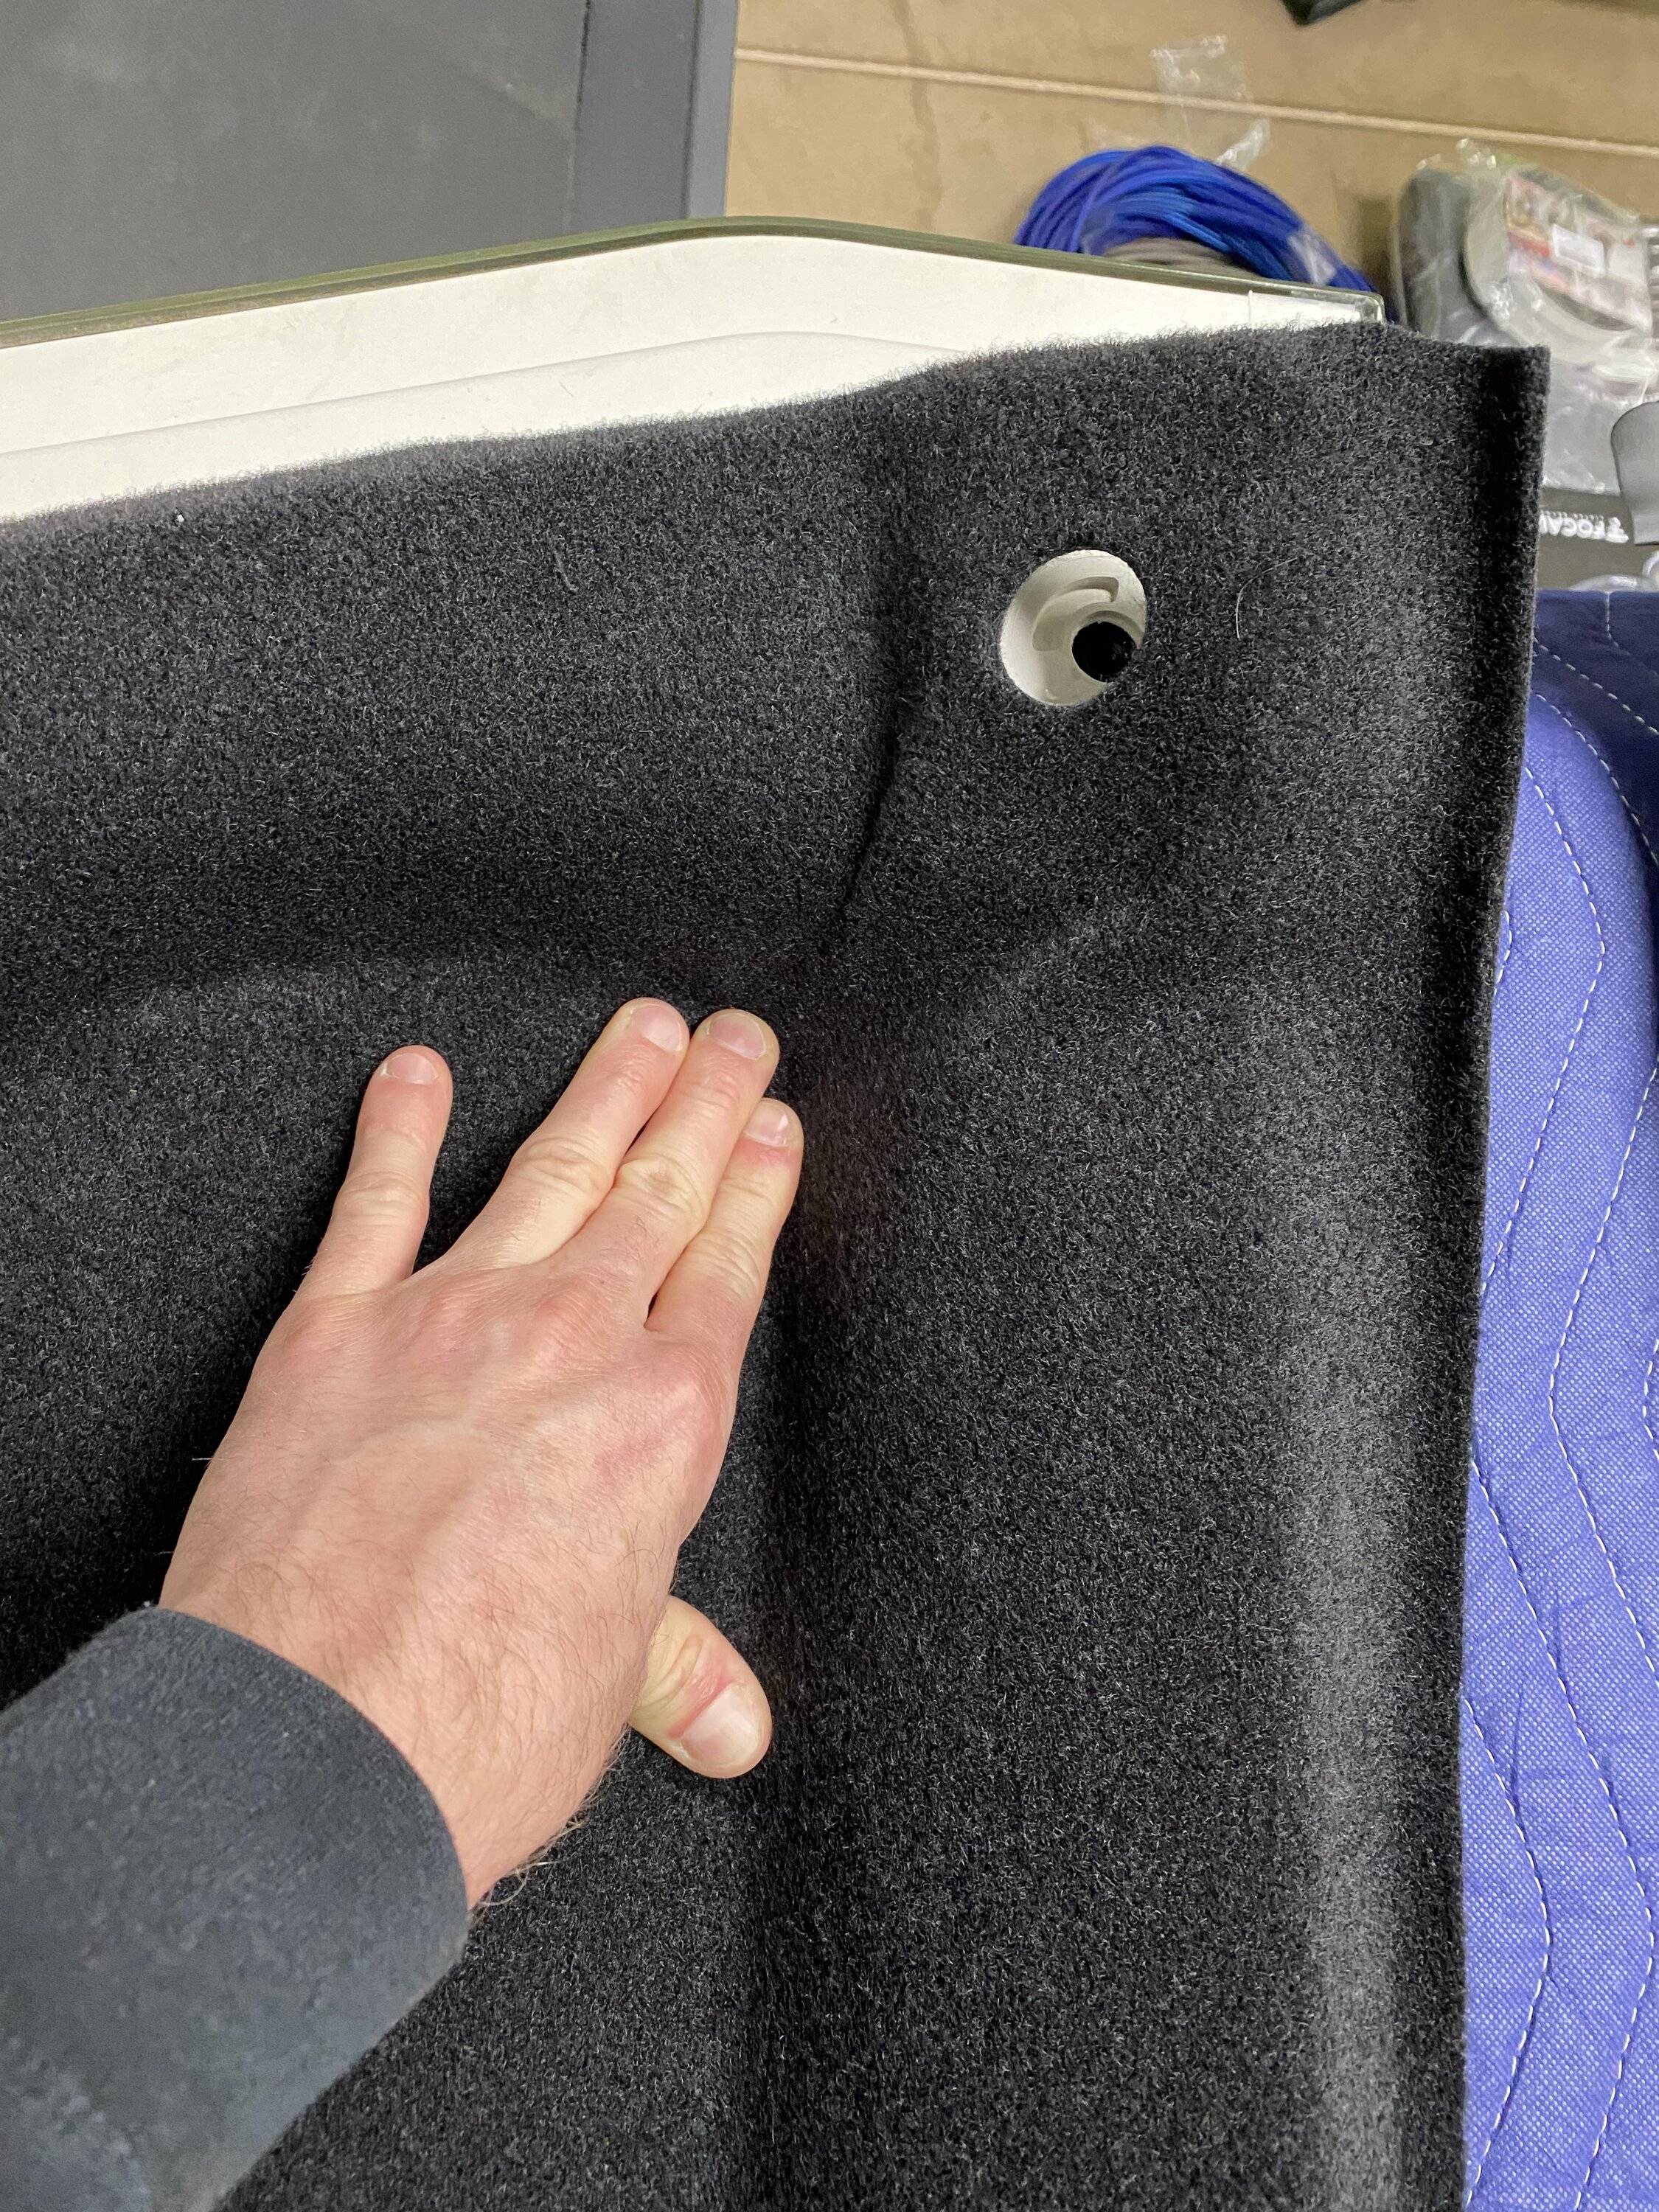
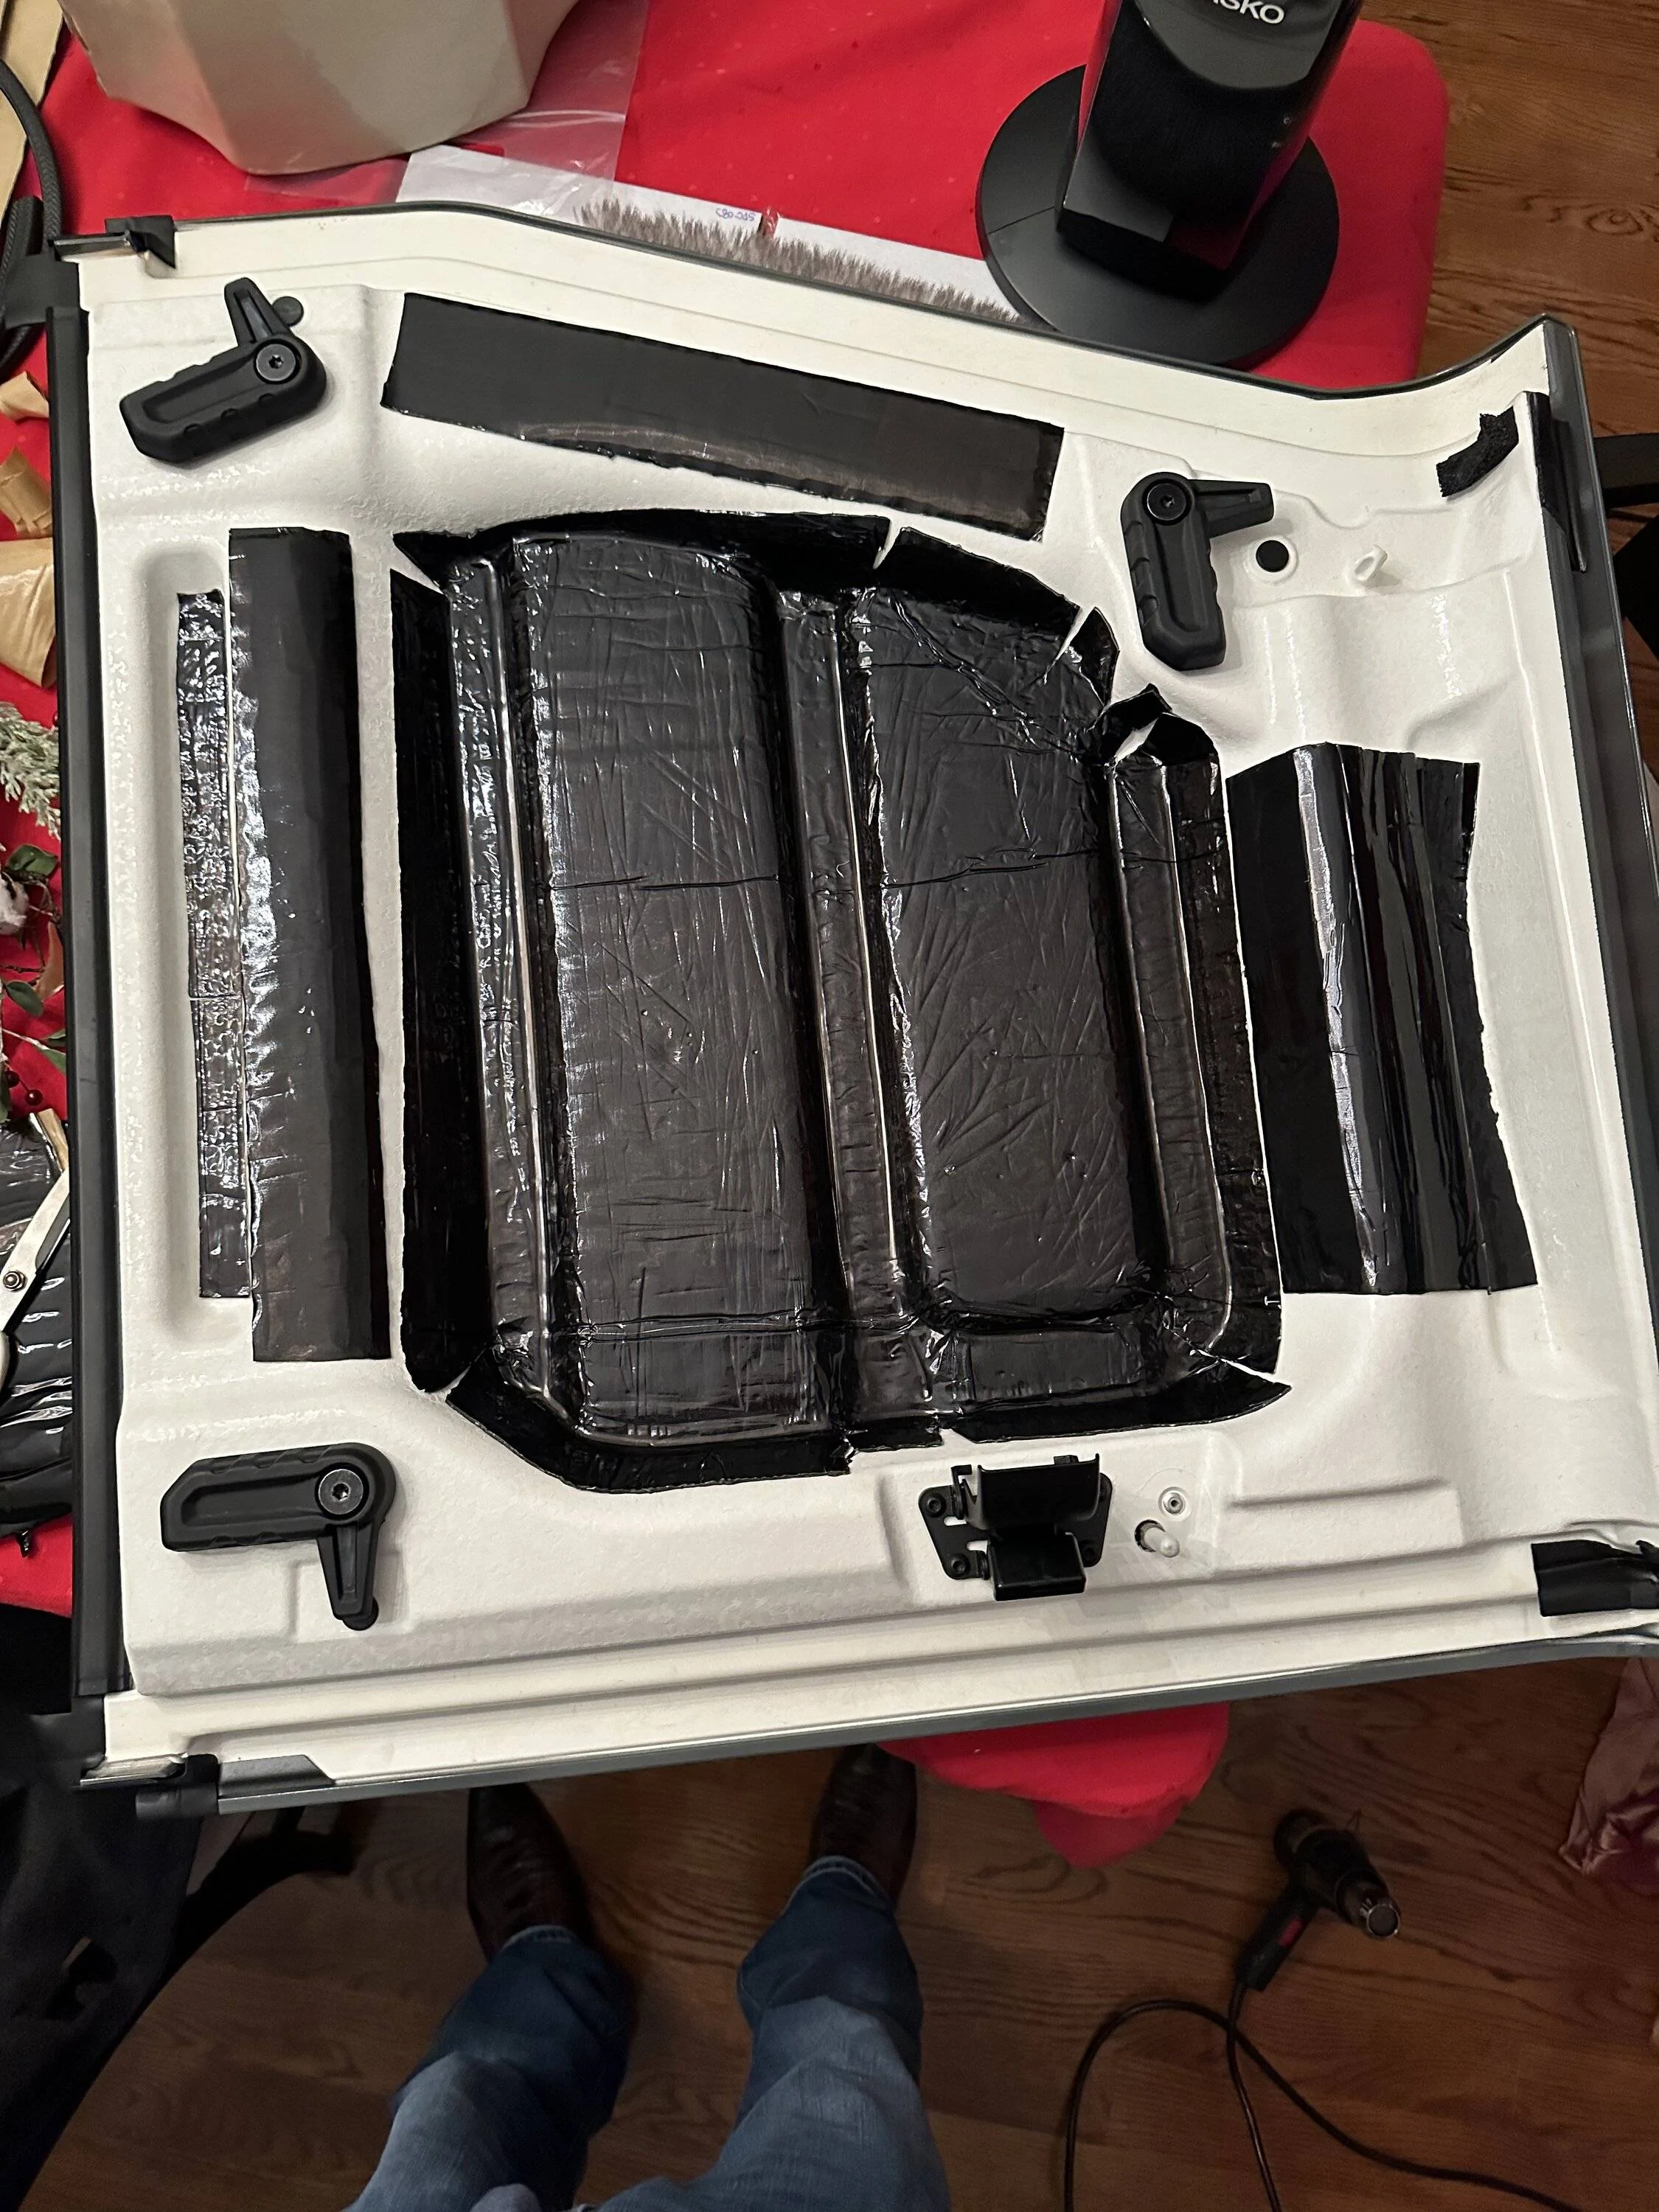
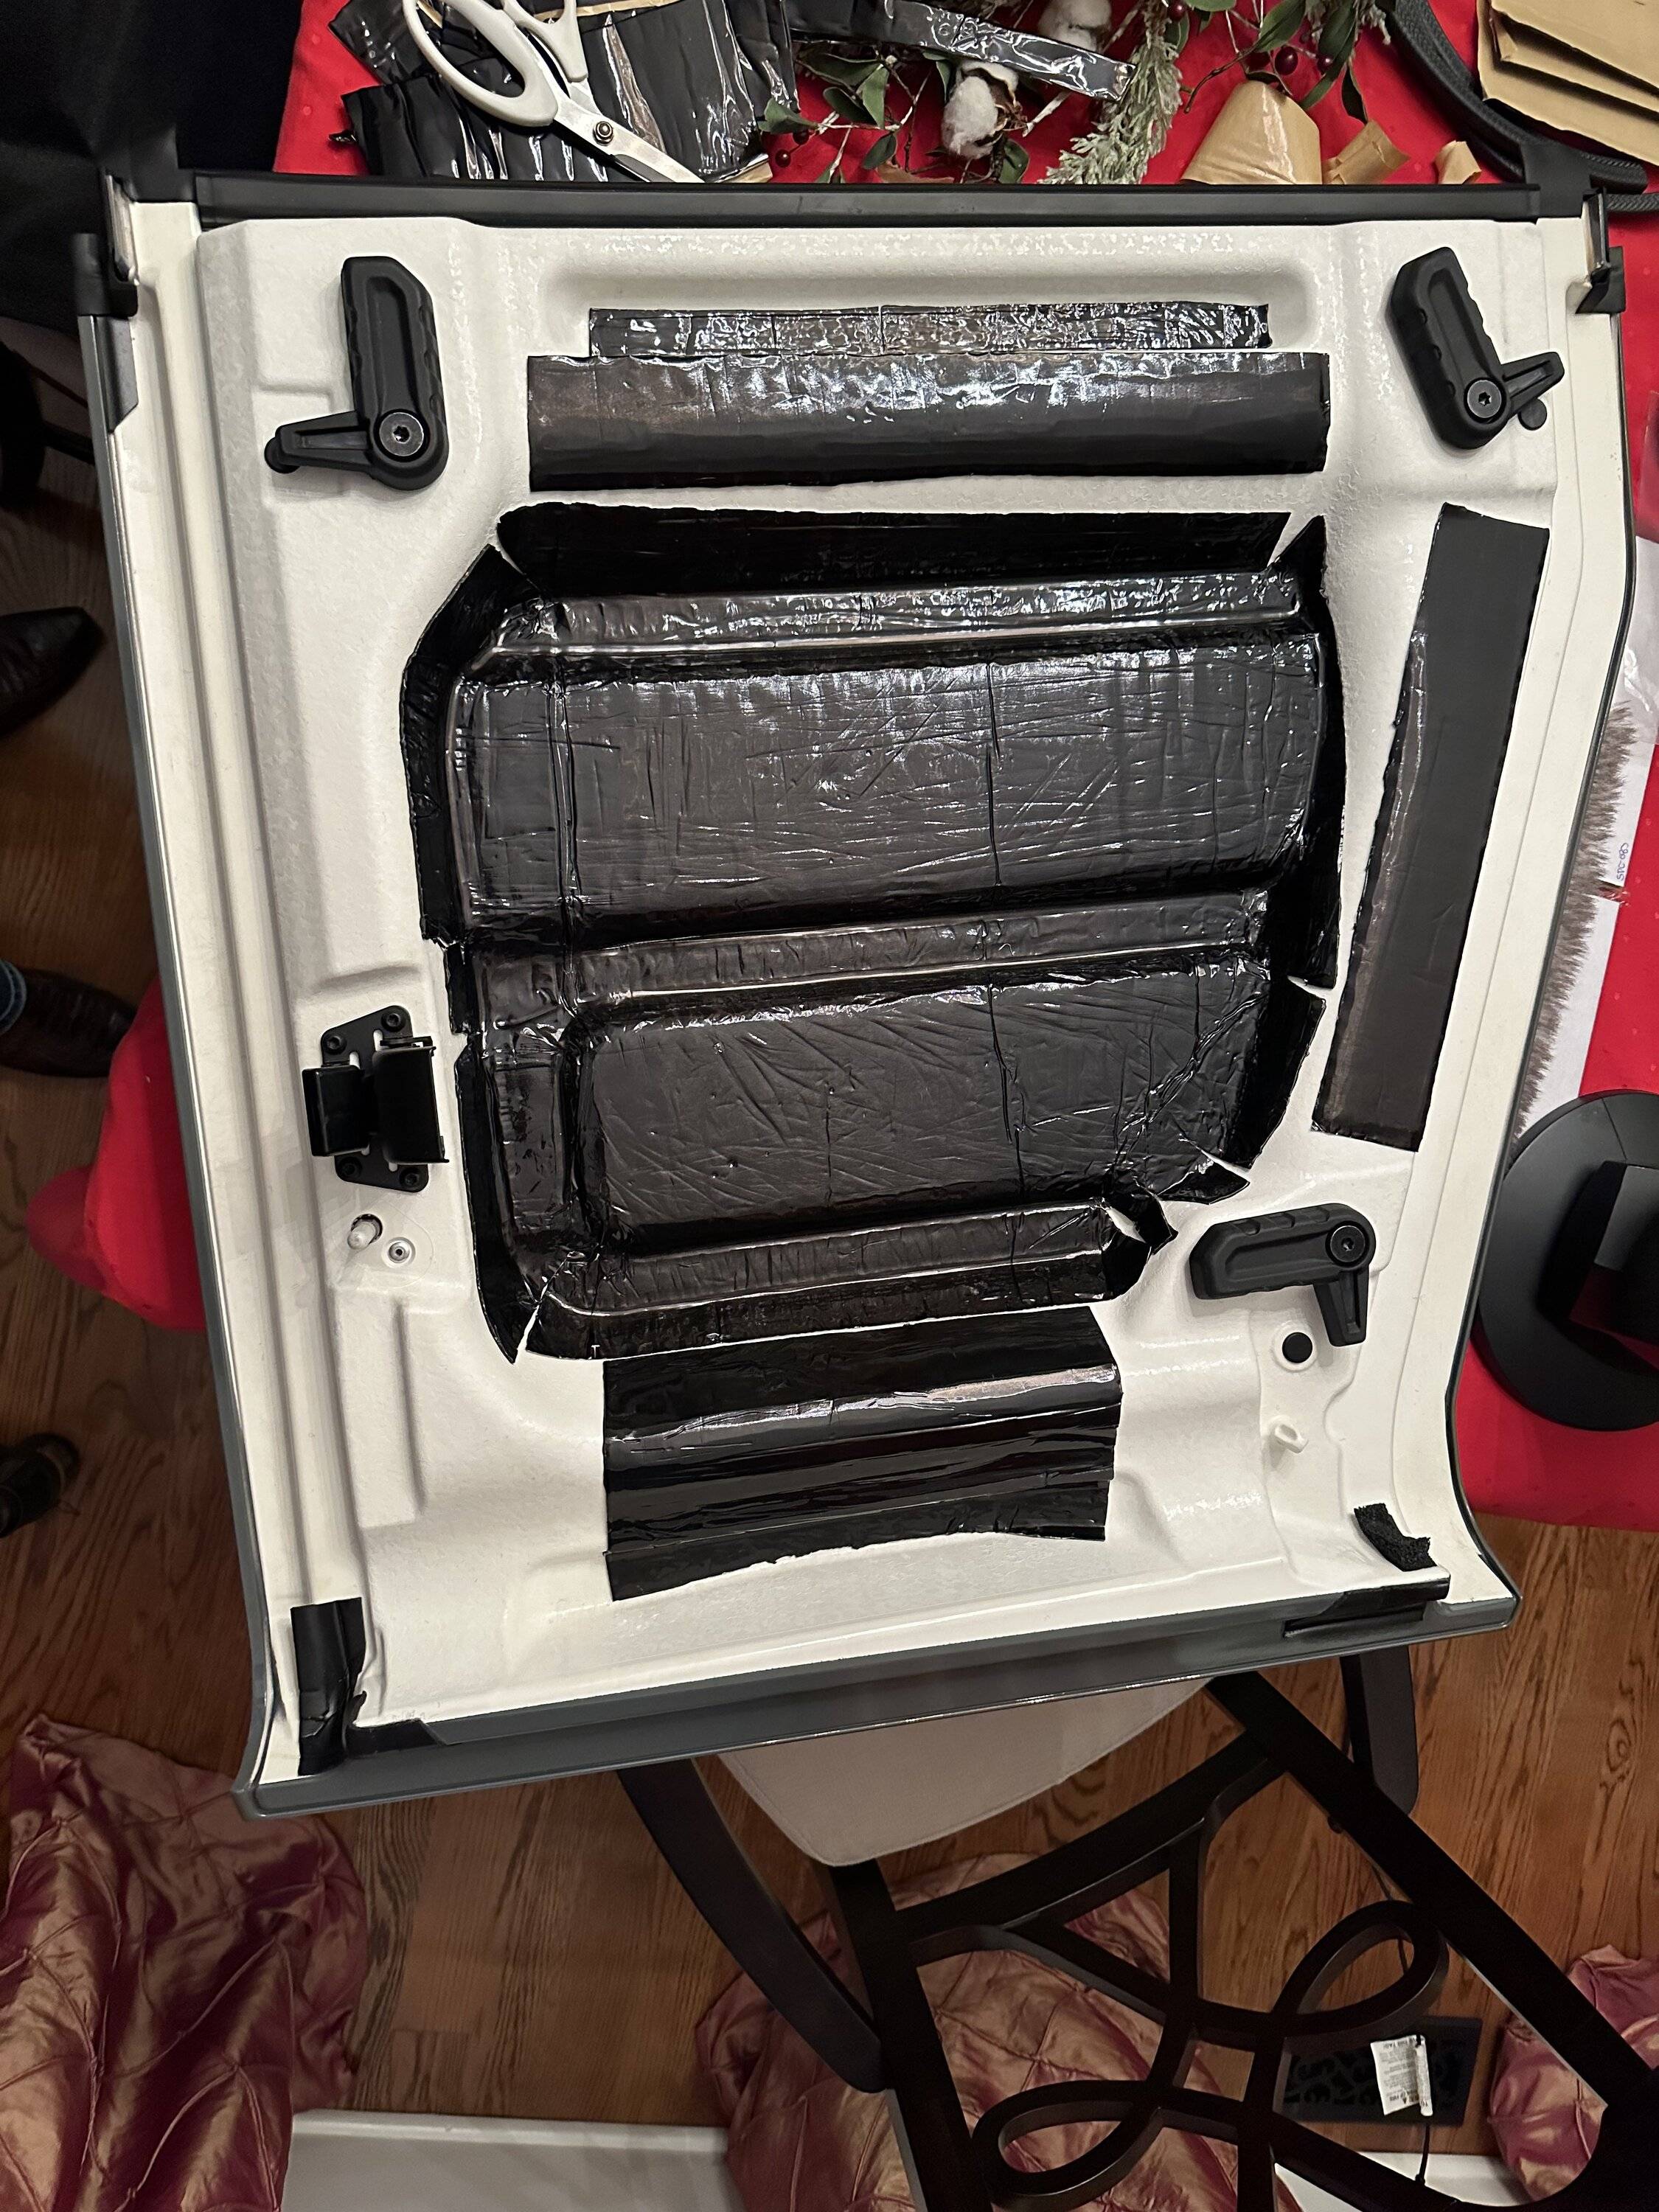
For yall that have installed the top liner. Did your liner fit down in the lower ribs against the fiberglass or float over them?
I have mine layed out and if I try and push it down into the ribs it wrinkles because the material is not formed deep enough if that makes sense. That sound normal from what y’all experienced?
I have mine layed out and if I try and push it down into the ribs it wrinkles because the material is not formed deep enough if that makes sense. That sound normal from what y’all experienced?
Sponsored