AustinKalb
Well-Known Member
- First Name
- Austin
- Joined
- Oct 17, 2022
- Threads
- 11
- Messages
- 108
- Reaction score
- 103
- Location
- Tehachapi, CA
- Vehicle(s)
- 2023 AEV Gladiator Rubicon
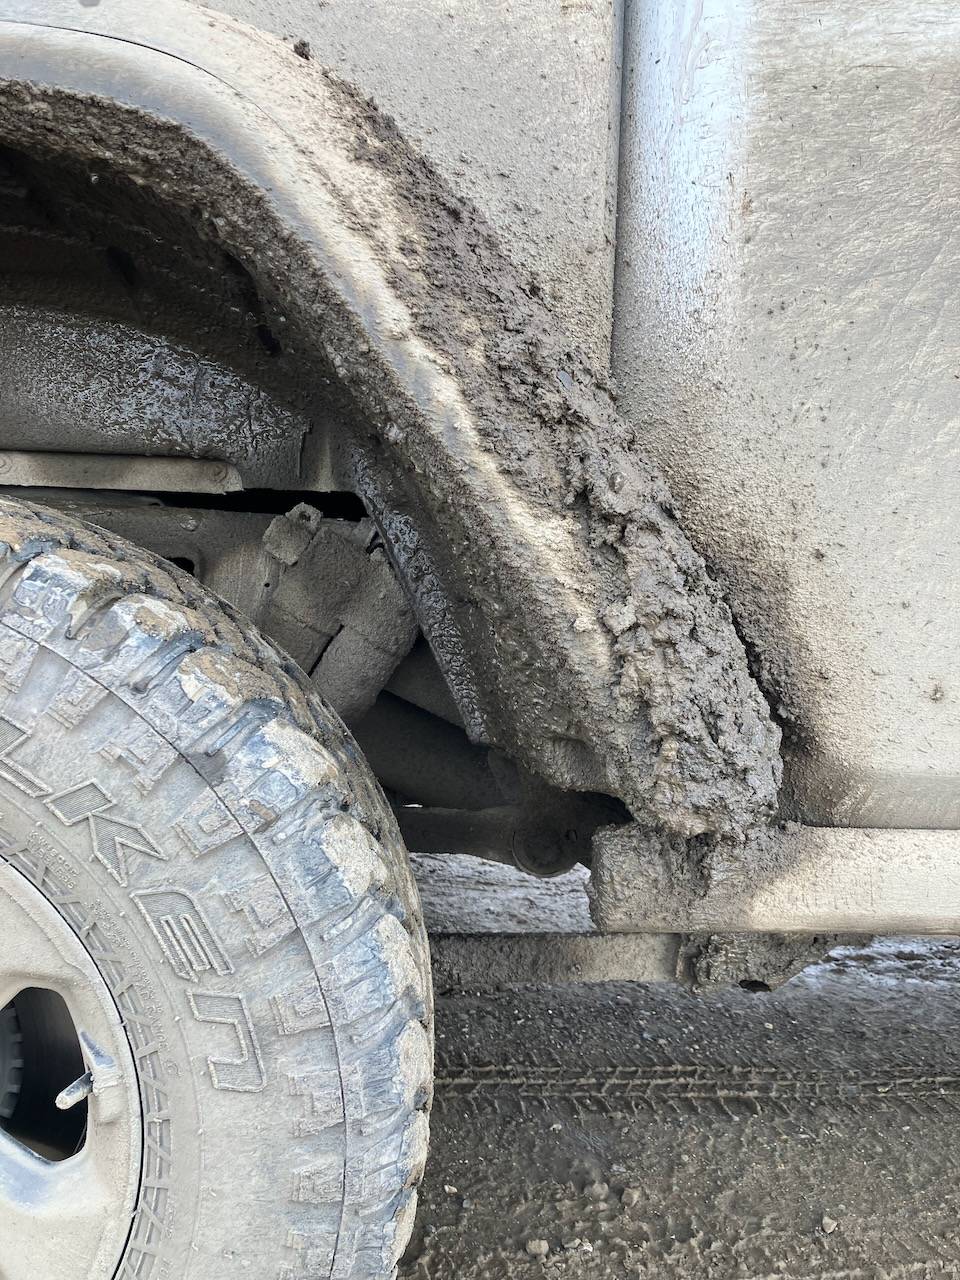
The Dempster in bad weather is utterly disgusting. A lot of the camp options were very muddy as well.

The Jeep seems to be a terrible vehicle in these conditions. It's incredibly hard to clean and tends to soil itself all over. We haven't seen any other vehicle as dirty as the Jeeps on this road. It's utterly disgusting.
We are running Rokblokz mudguards, but I don't get the impression they are doing much. If they do, the Jeep is even worse in getting itself dirty than I thought. I have cleaned the Land Cruiser a few times after bad weather outings and I've never seen such a frigging mess as on this Gladiator.
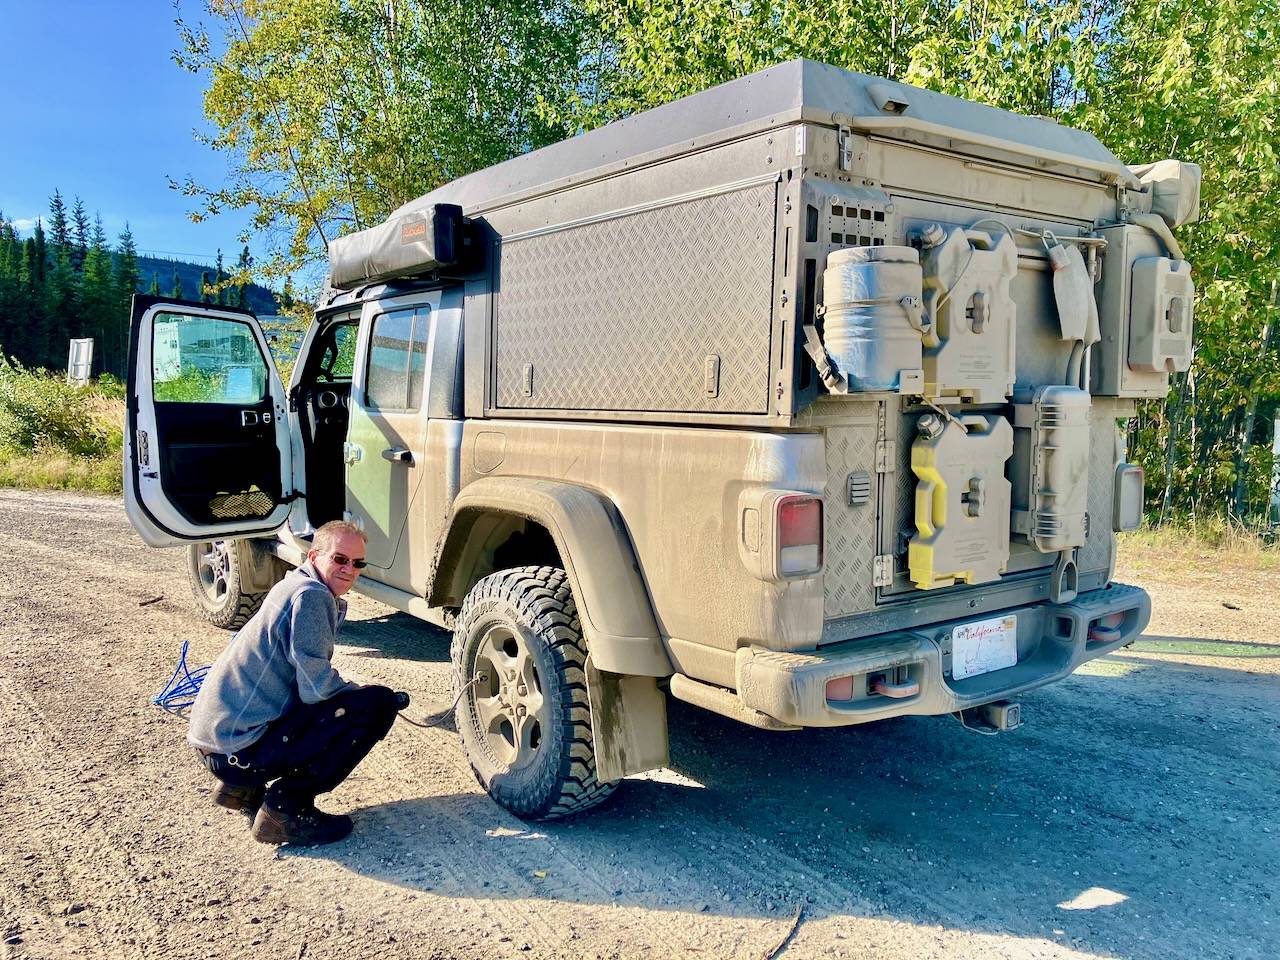
Due to corrugations and bad shape of the Dempster, we ran with a reduced tire pressure. Saw a lot of vehicles along the road with puntures or even torn up tires.
We stopped a few times checking whether people needed help, most didn't. They were still on the first flat ... ;-) But we did meet a couple from France a few times along the Klondike Highway and then on the Dempster and they did need some help. Fixed their tire puncture with our plug kit and gave them our spare tire pressure gauge when we parted ways. We heard that they made it safely to Dawson City and got the tire properly repaired there.
Here's me filling up the tires after we got on pavement again:

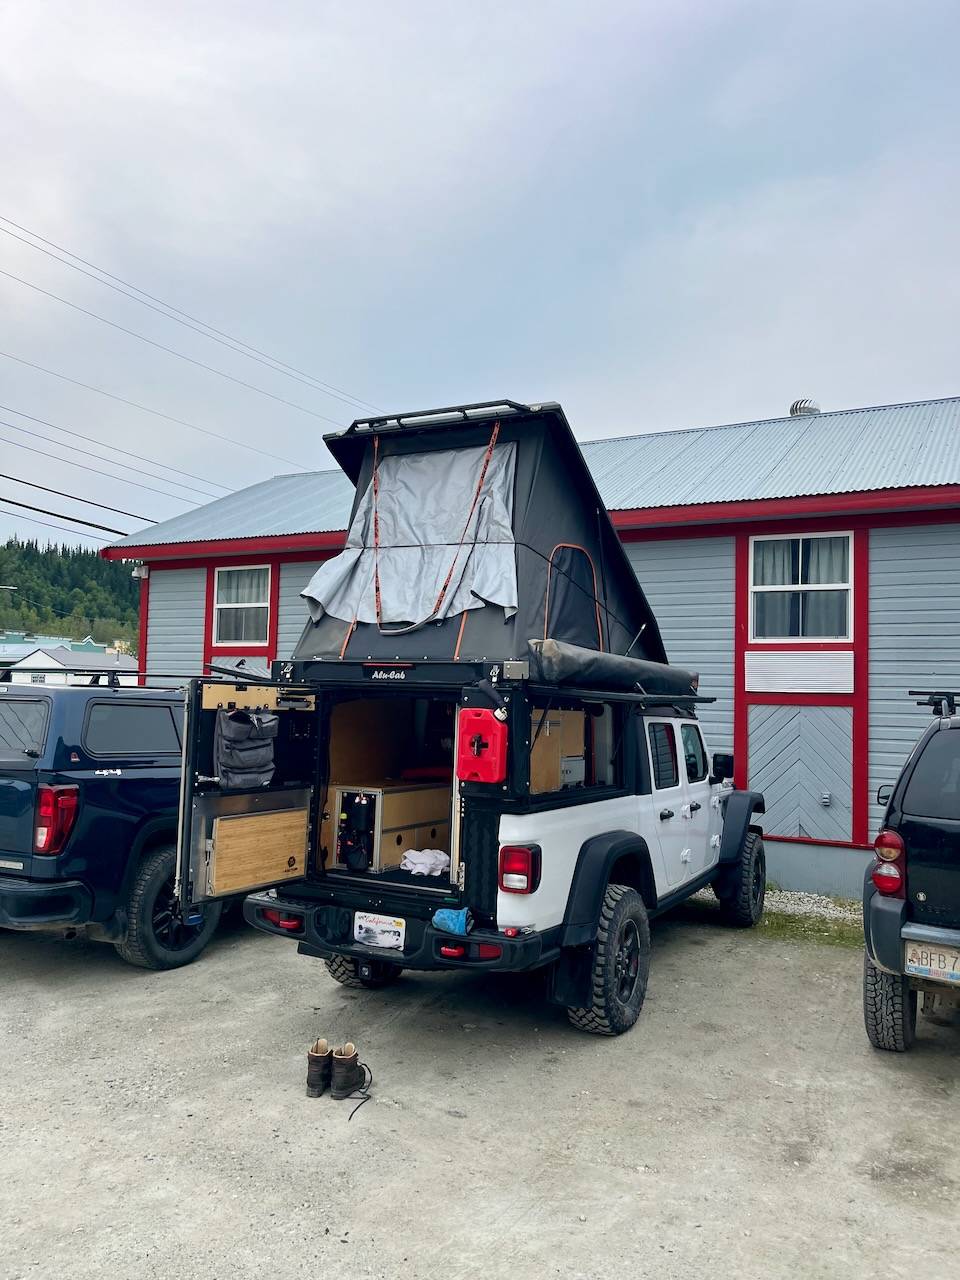
The AluCab Canopy camper was mostly tight, although it did leak some dust in the corner above our bear canister / trash container. Doesn't seem to have enough pressure on the seal there.
It's a bummer that AluCab uses these piss poor latches which can't be adjusted. I might have to drill some more holes into the camper to install beter ones when we are back home.
Our Patriot Camper used this style and they are vastly superior to the cheap things on the Canopy Camper, link is just an example for the style of adjustable latch:
https://www.amazon.com/Toggle-Upgrade-Adjustable-Release-Latches/dp/B08R8P37VB
After a pressure wash we found that some water made it past the side window seals. Not all that much, but still annoying. Overall, I'm not super concerned since this was a VERY extensive wash, but still doesn't speak to the quality of the AluCab components.
Here it is, mostly clean and drying out ...

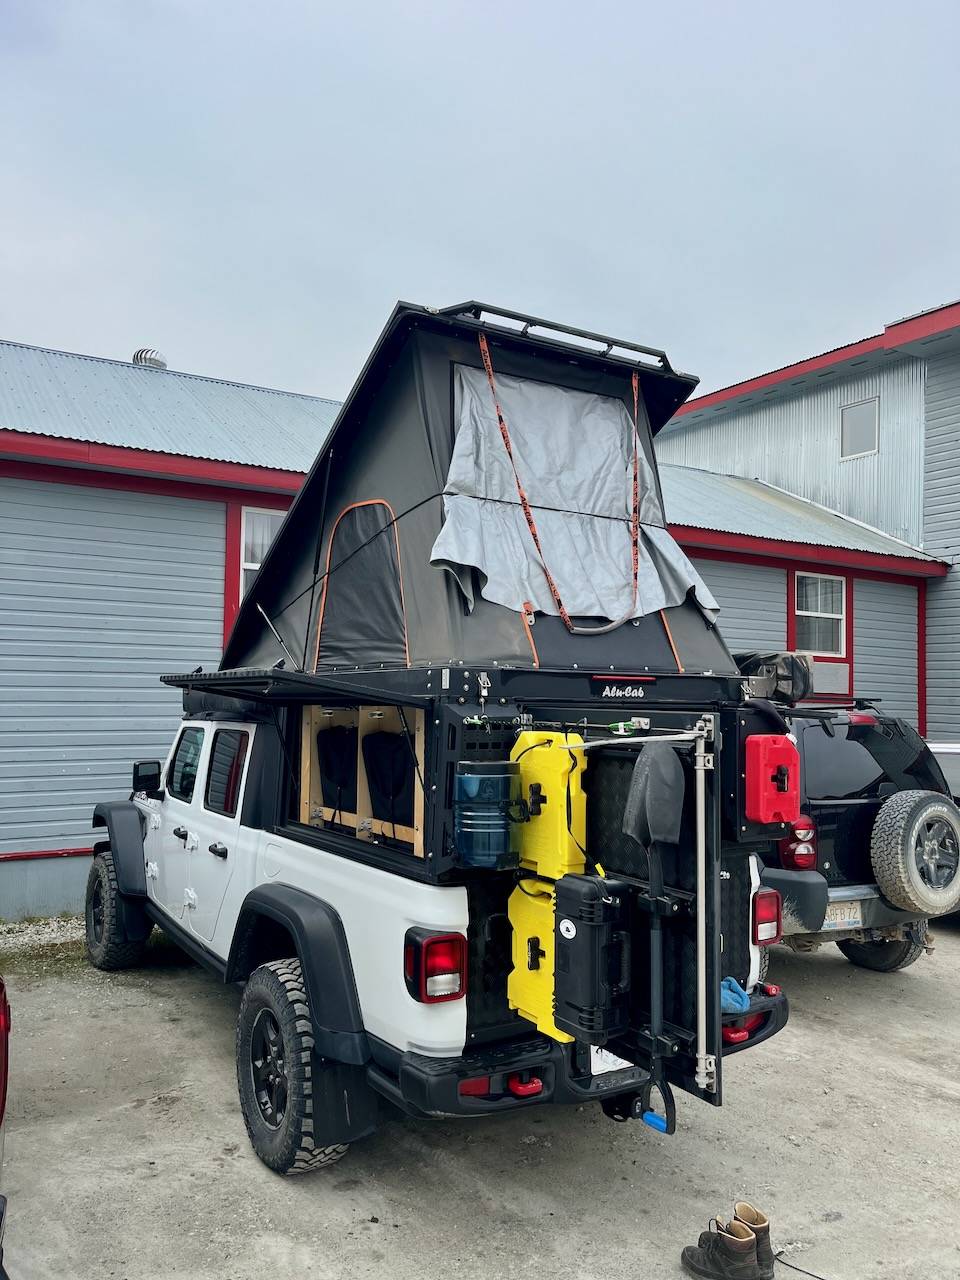
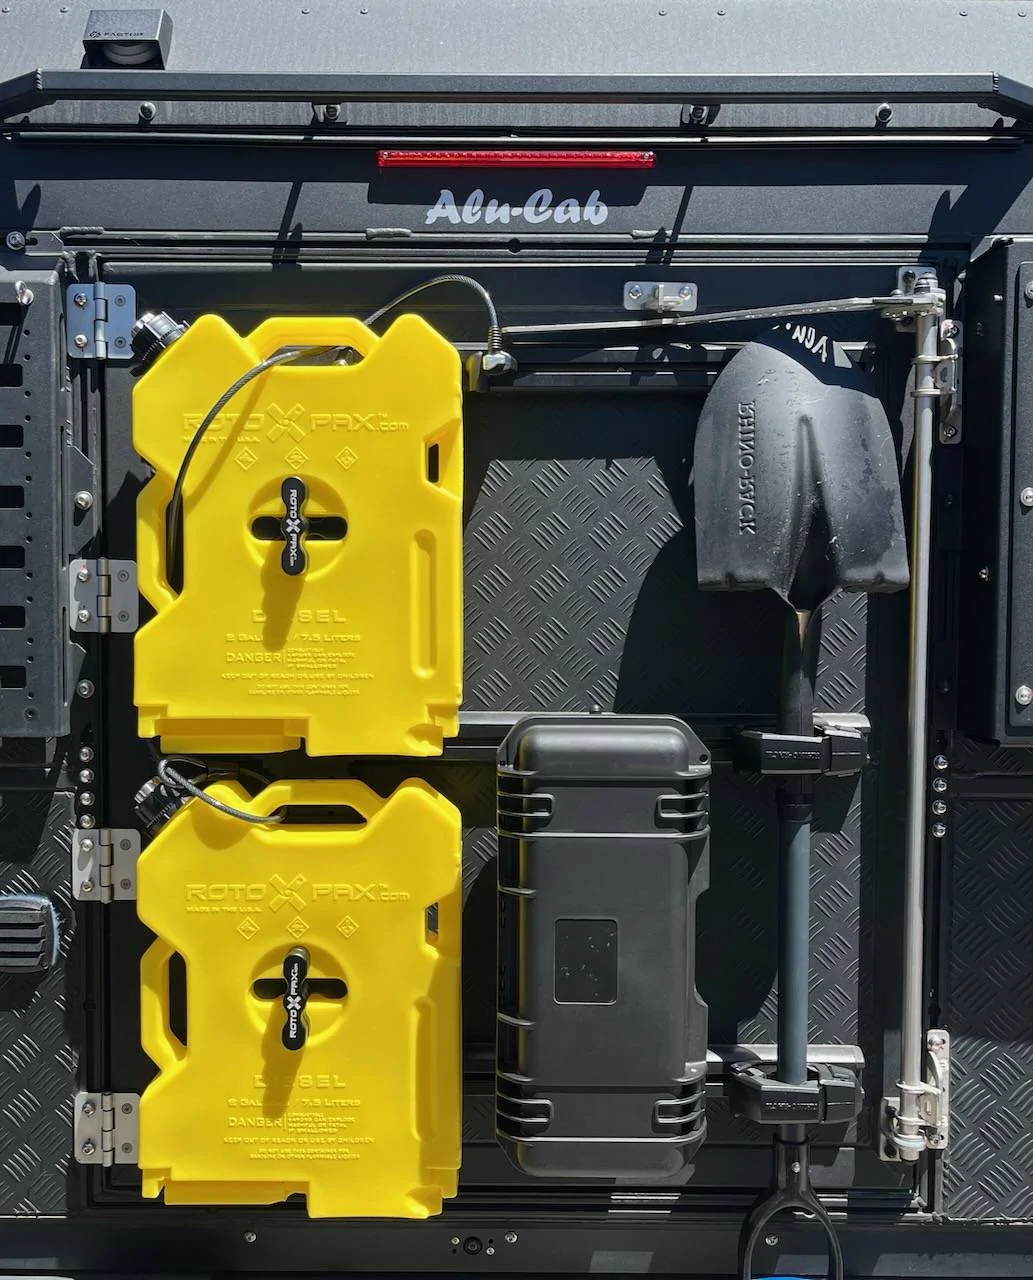
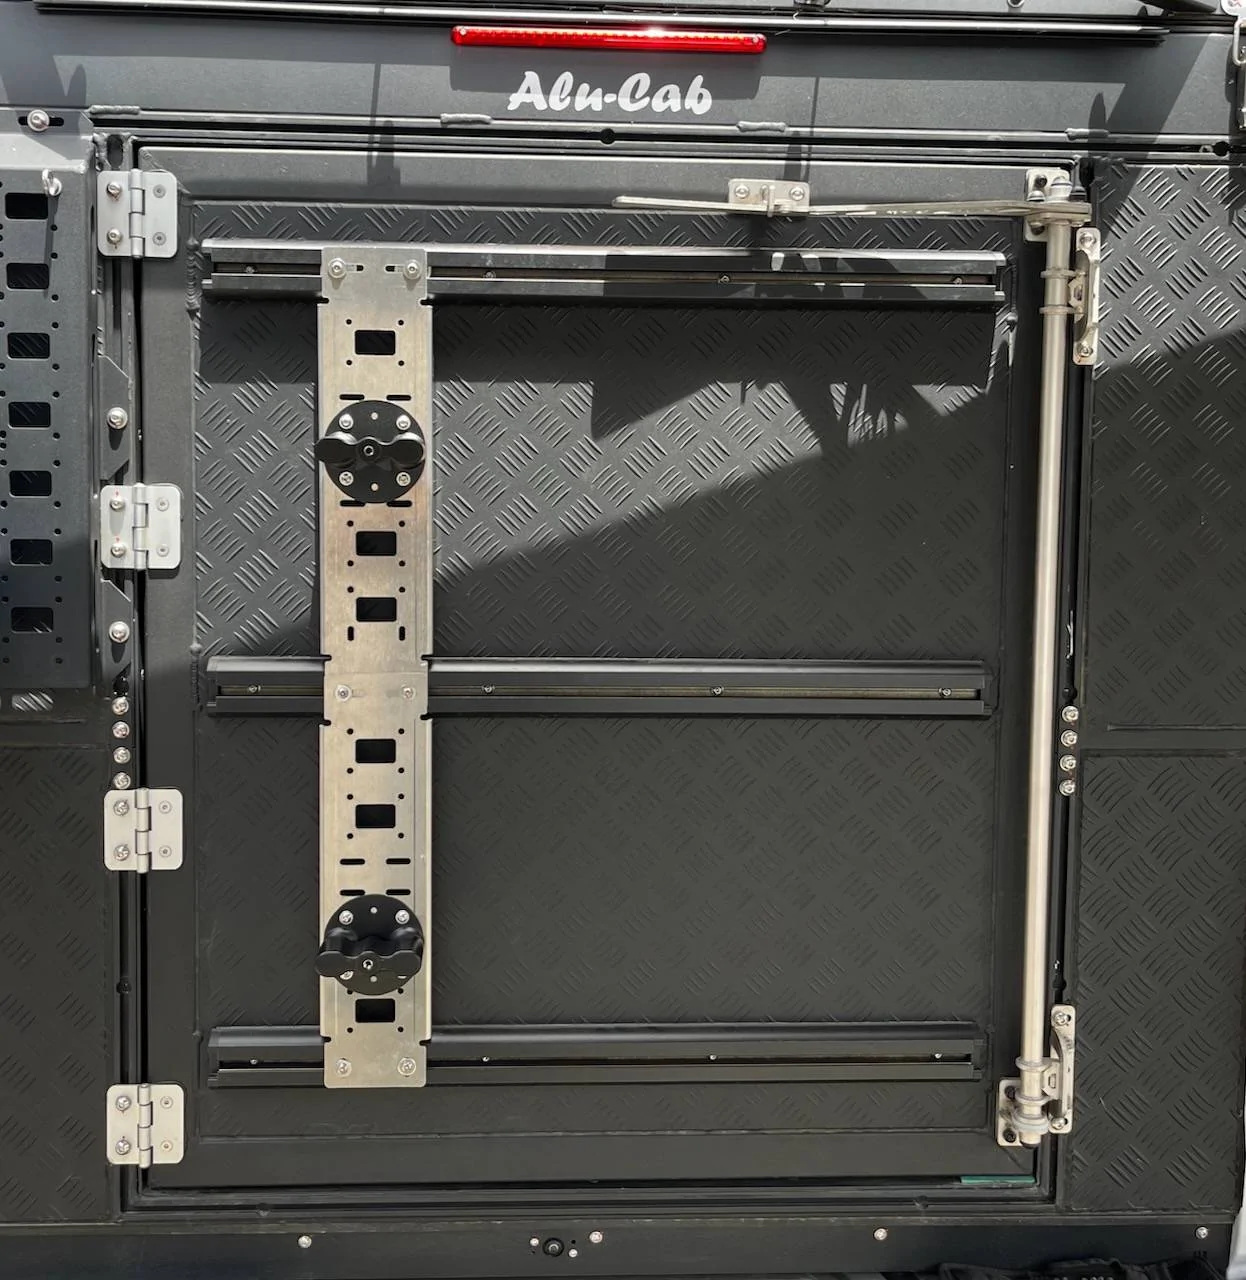
Did you install the rotopax? The two Alucab dealers I contacted wouldn’t do it.Packed the rear door.

Sponsored

")