ShadowsPapa
Well-Known Member
- First Name
- Bill
- Joined
- Oct 12, 2019
- Threads
- 247
- Messages
- 40,442
- Reaction score
- 53,860
- Location
- Runnells, Iowa
- Vehicle(s)
- '25 JTMX, '23 JLU 4xe, '82 SX4, '73 Javelin
- Occupation
- Retired auto mechanic, frmr gov't ntwrk security admin
- Vehicle Showcase
- 3
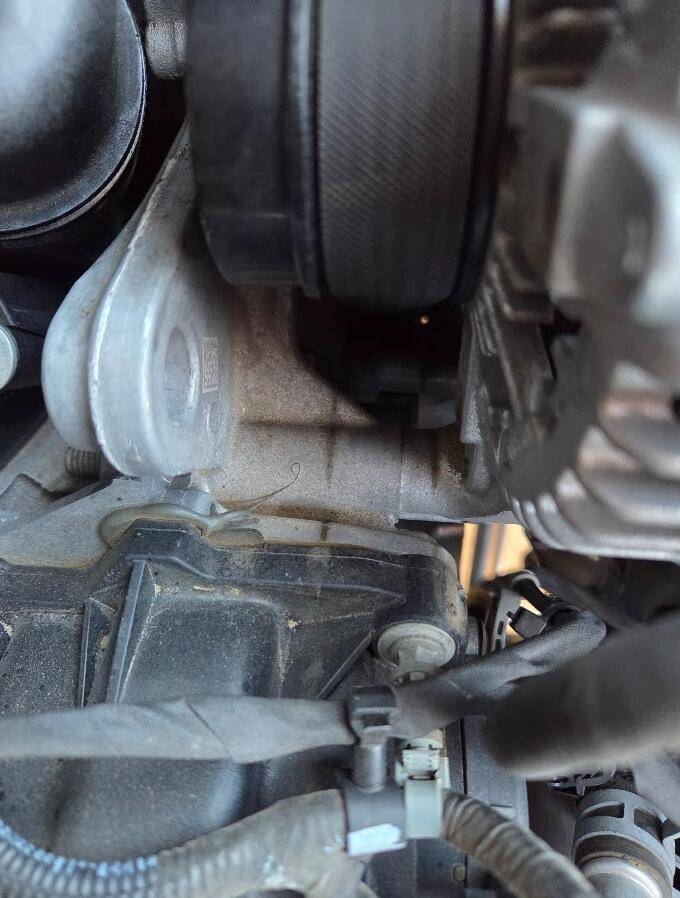
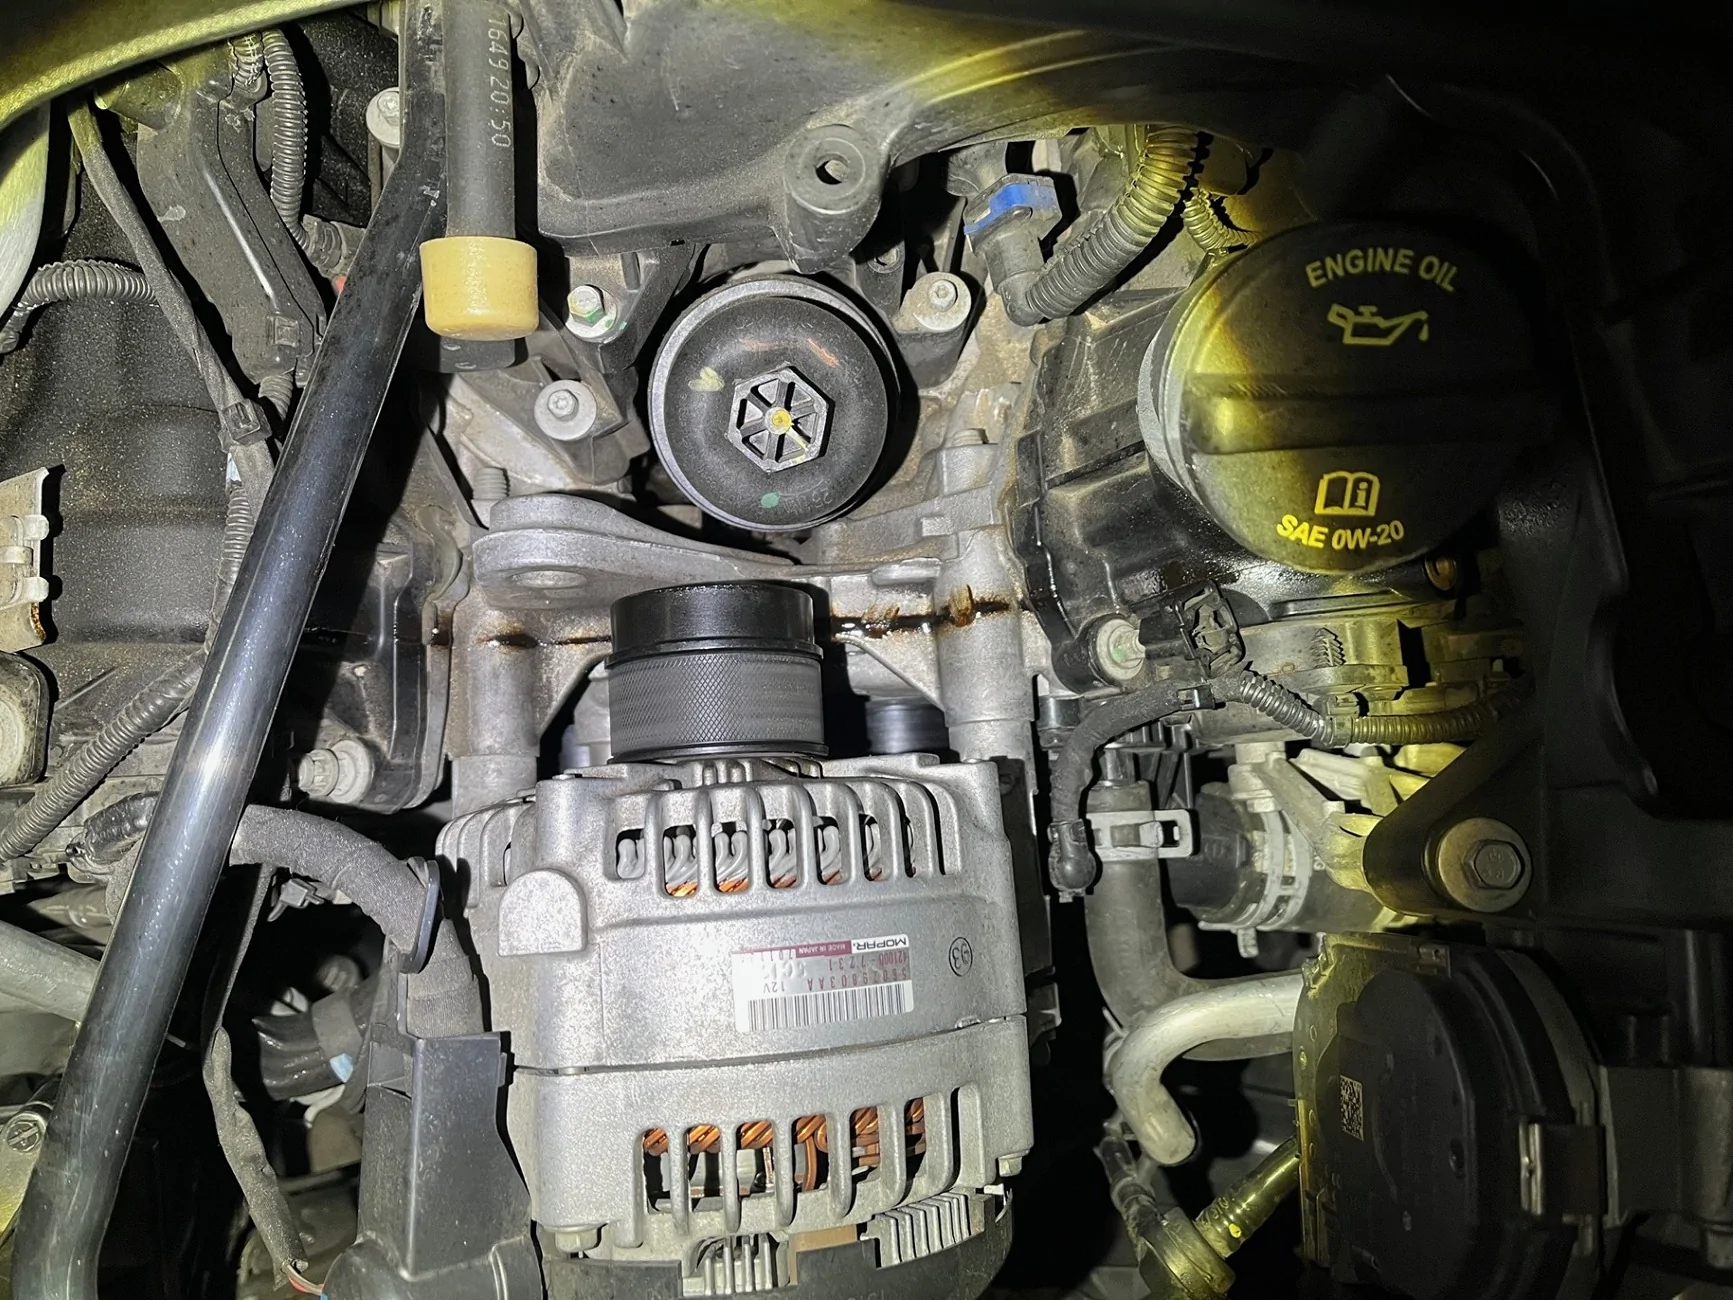
GREAT post - should be a sticky somewhere. I bet you'll save someone some work one of these days with that detail and the pictures.Just a quick update as I remove the OEM decoupler...
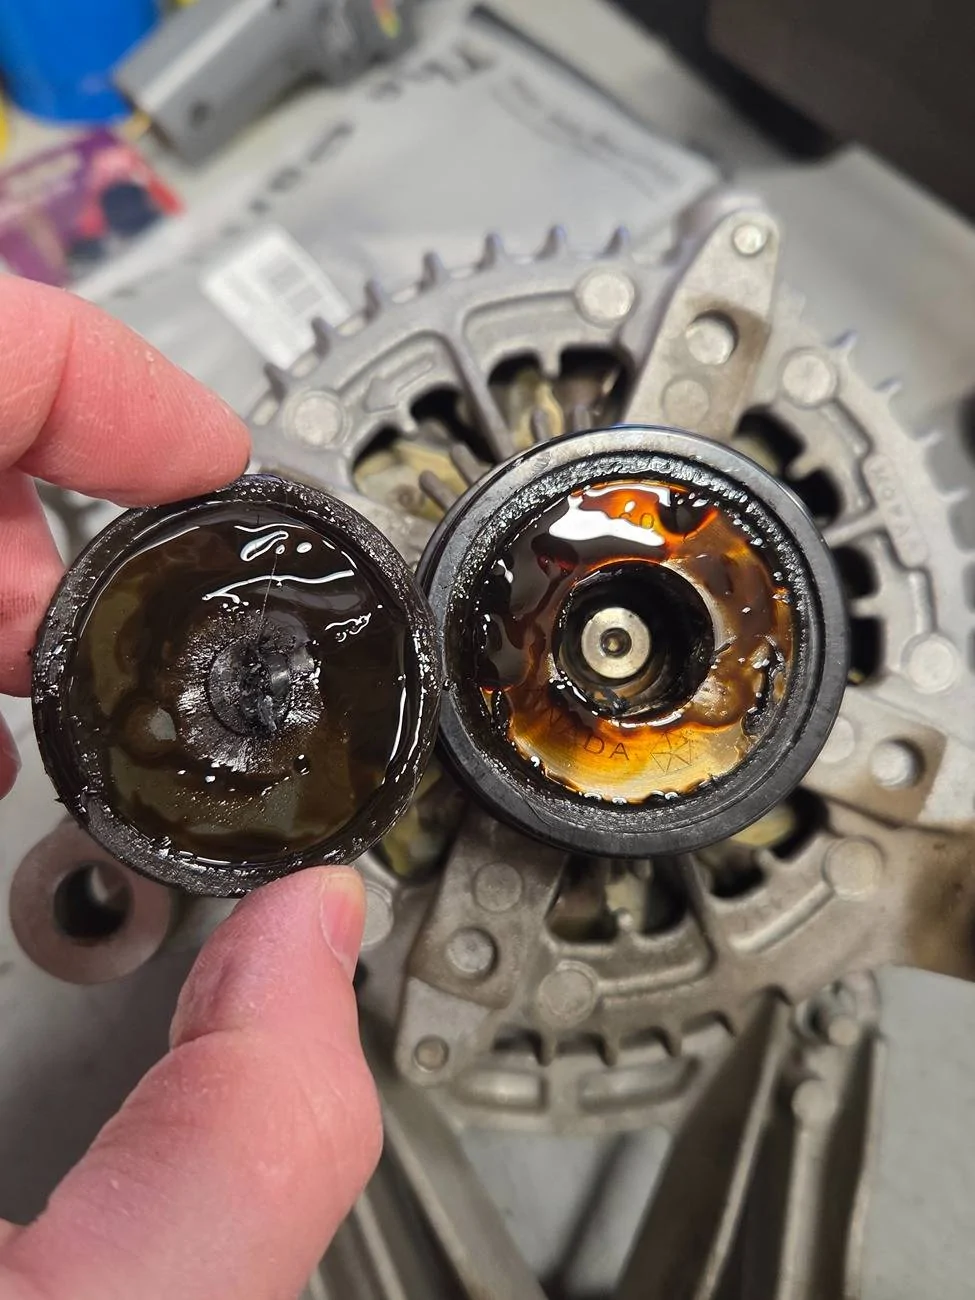
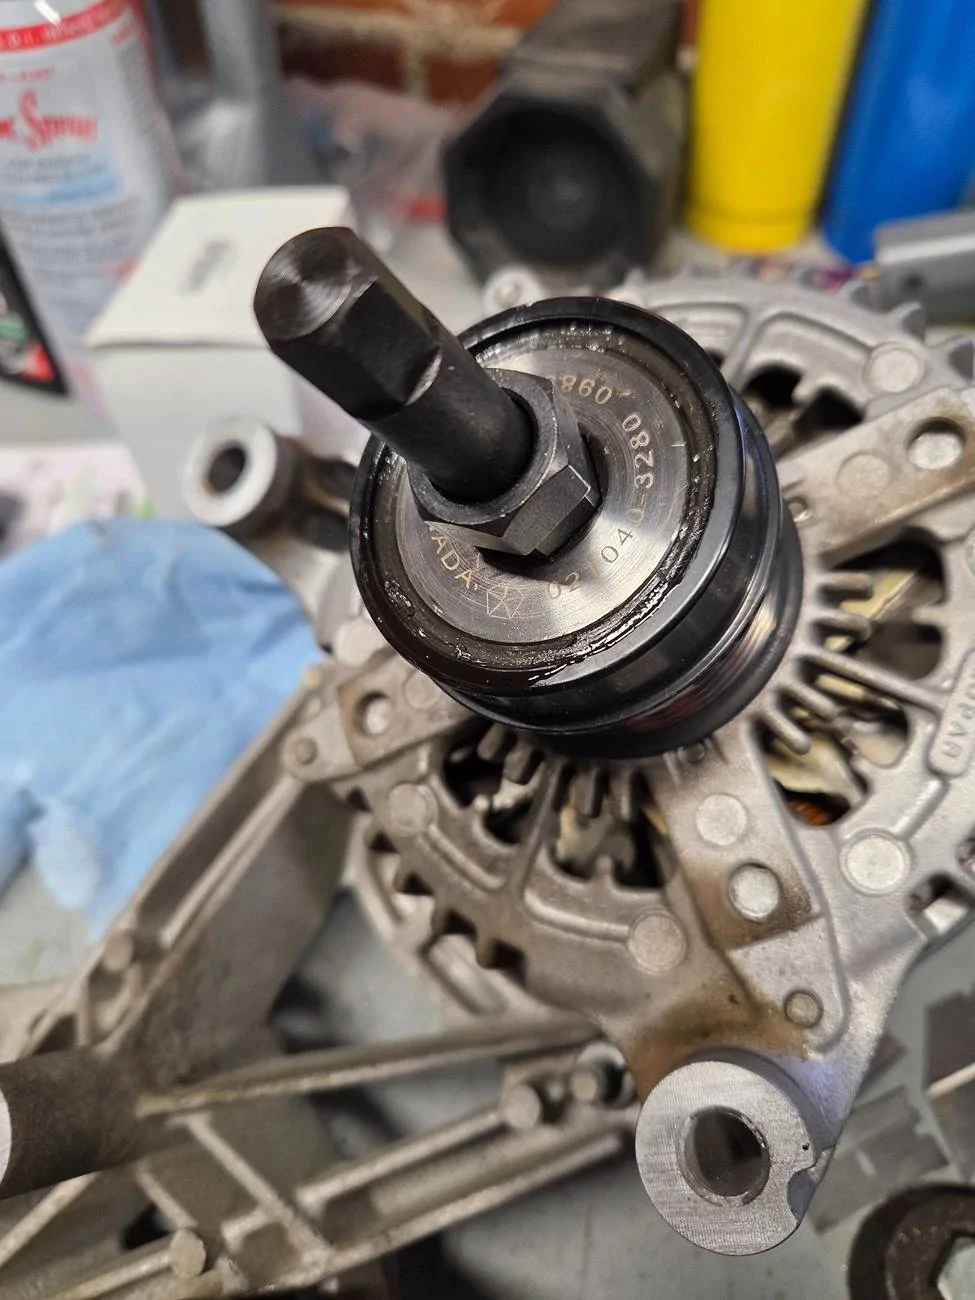
1) The dust cap was difficult to remove with a pick or small flat head screwdriver (for me at least). I simply drilled a small 1/8" hole in the center of the cap and used a punch to pry it out... worked great
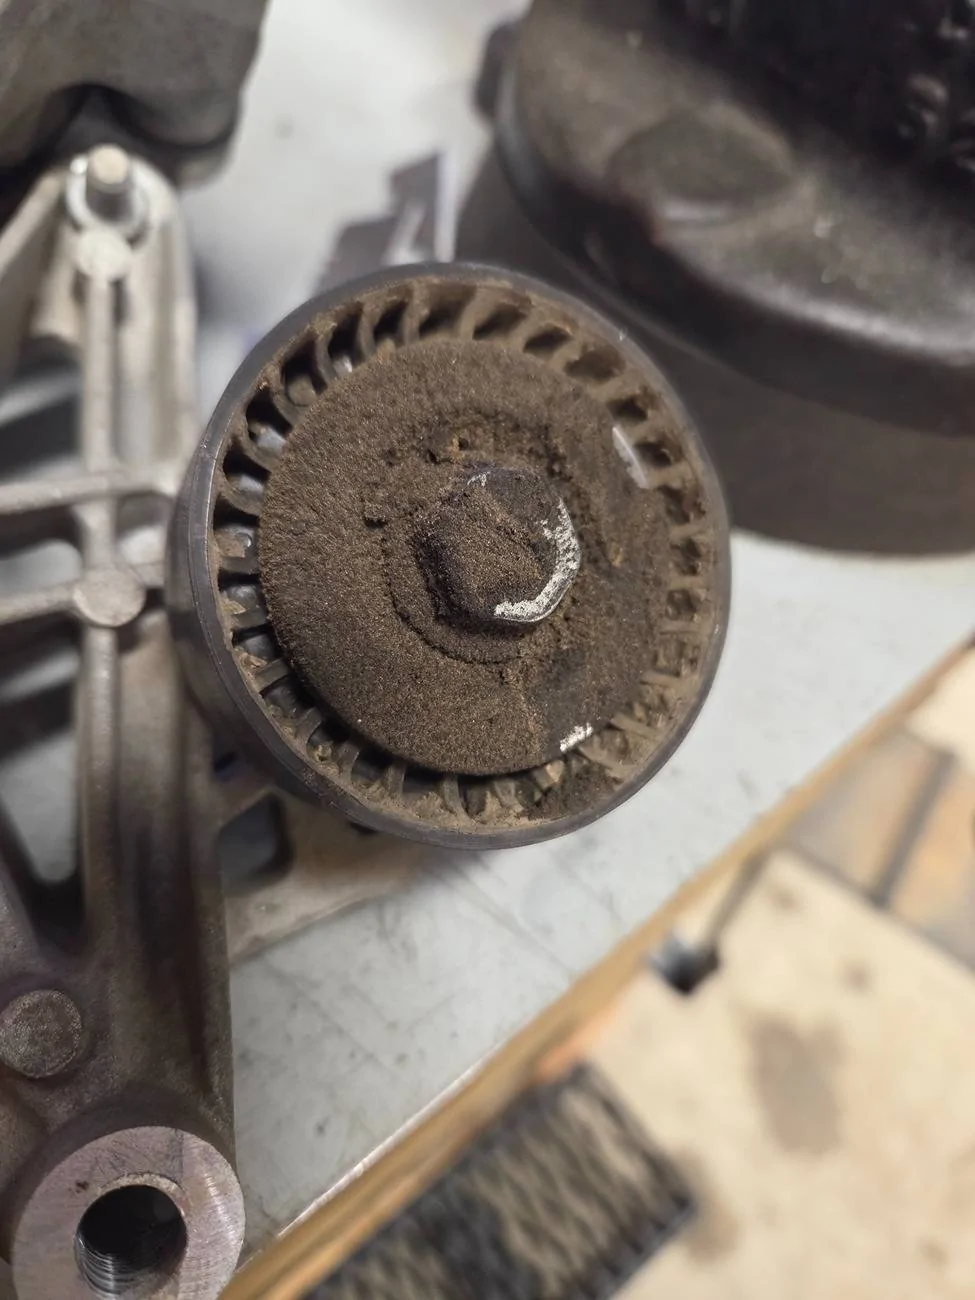
2) I had a lot of grease in the center of my decoupler pulley and it might be the reason the idler pulley looked so wet and crudy? I'm replacing both idler pulleys while I'm in here
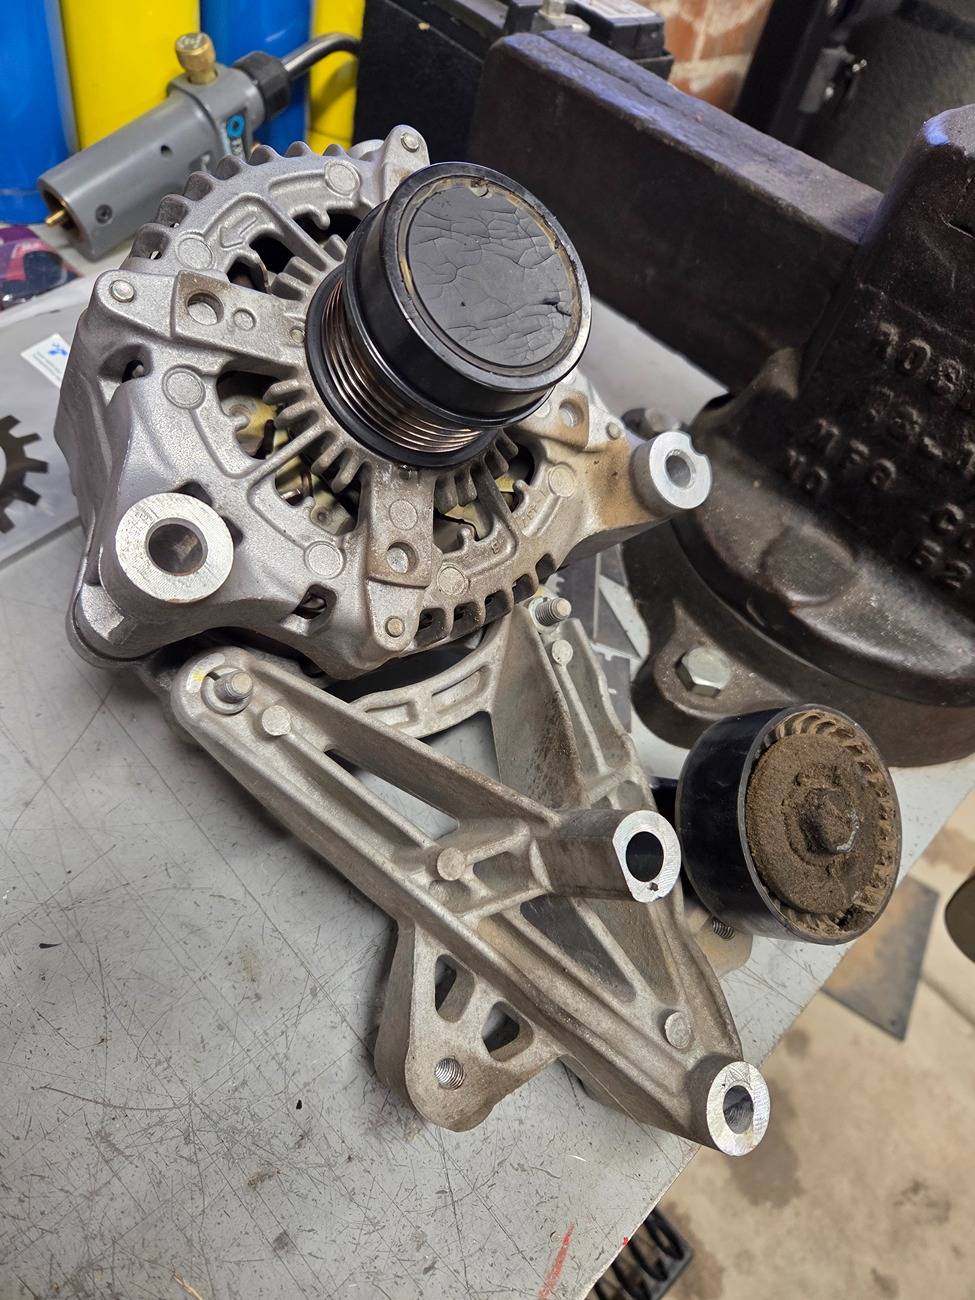
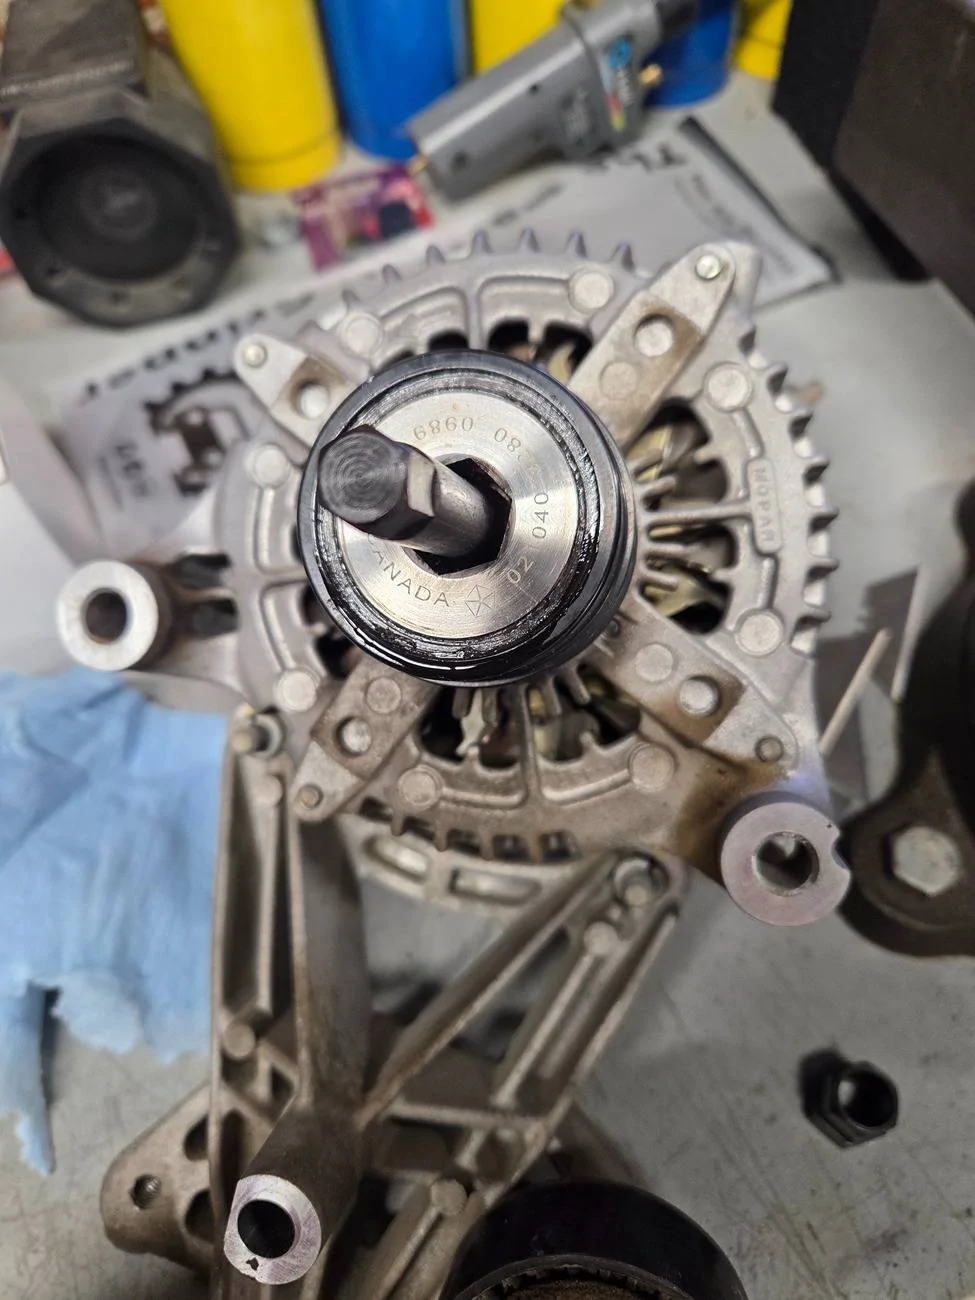
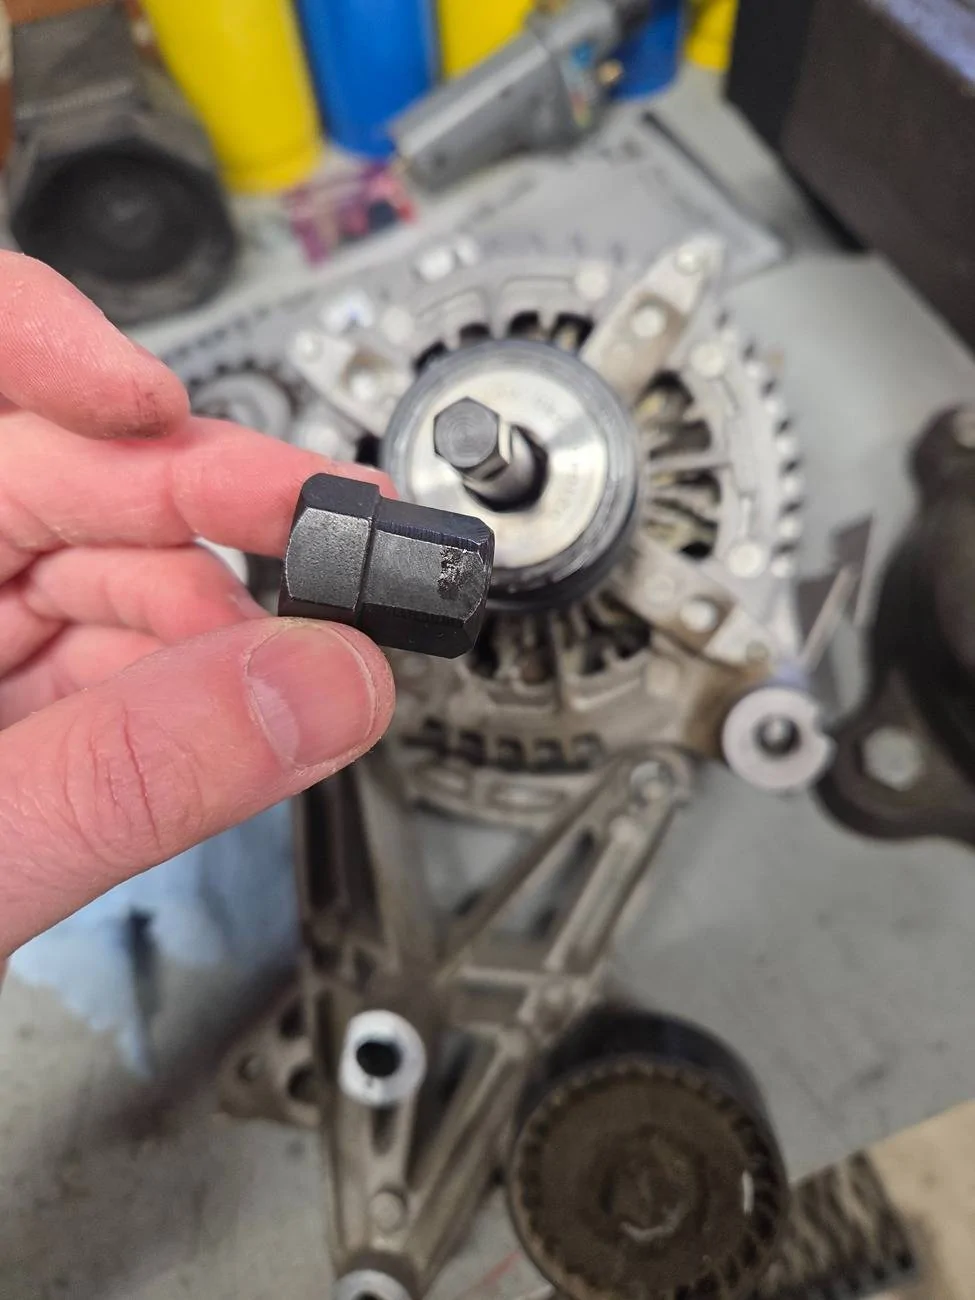
3) I personally needed all the leverage possible for the removal of the decoupler pulley... got a long 19mm box end to hold the large hex key in the body of the pulley and put a pipe extension on the 3/8" wrench with the 7/16" socket on the alternator shaft portion (10mm head) of the tool
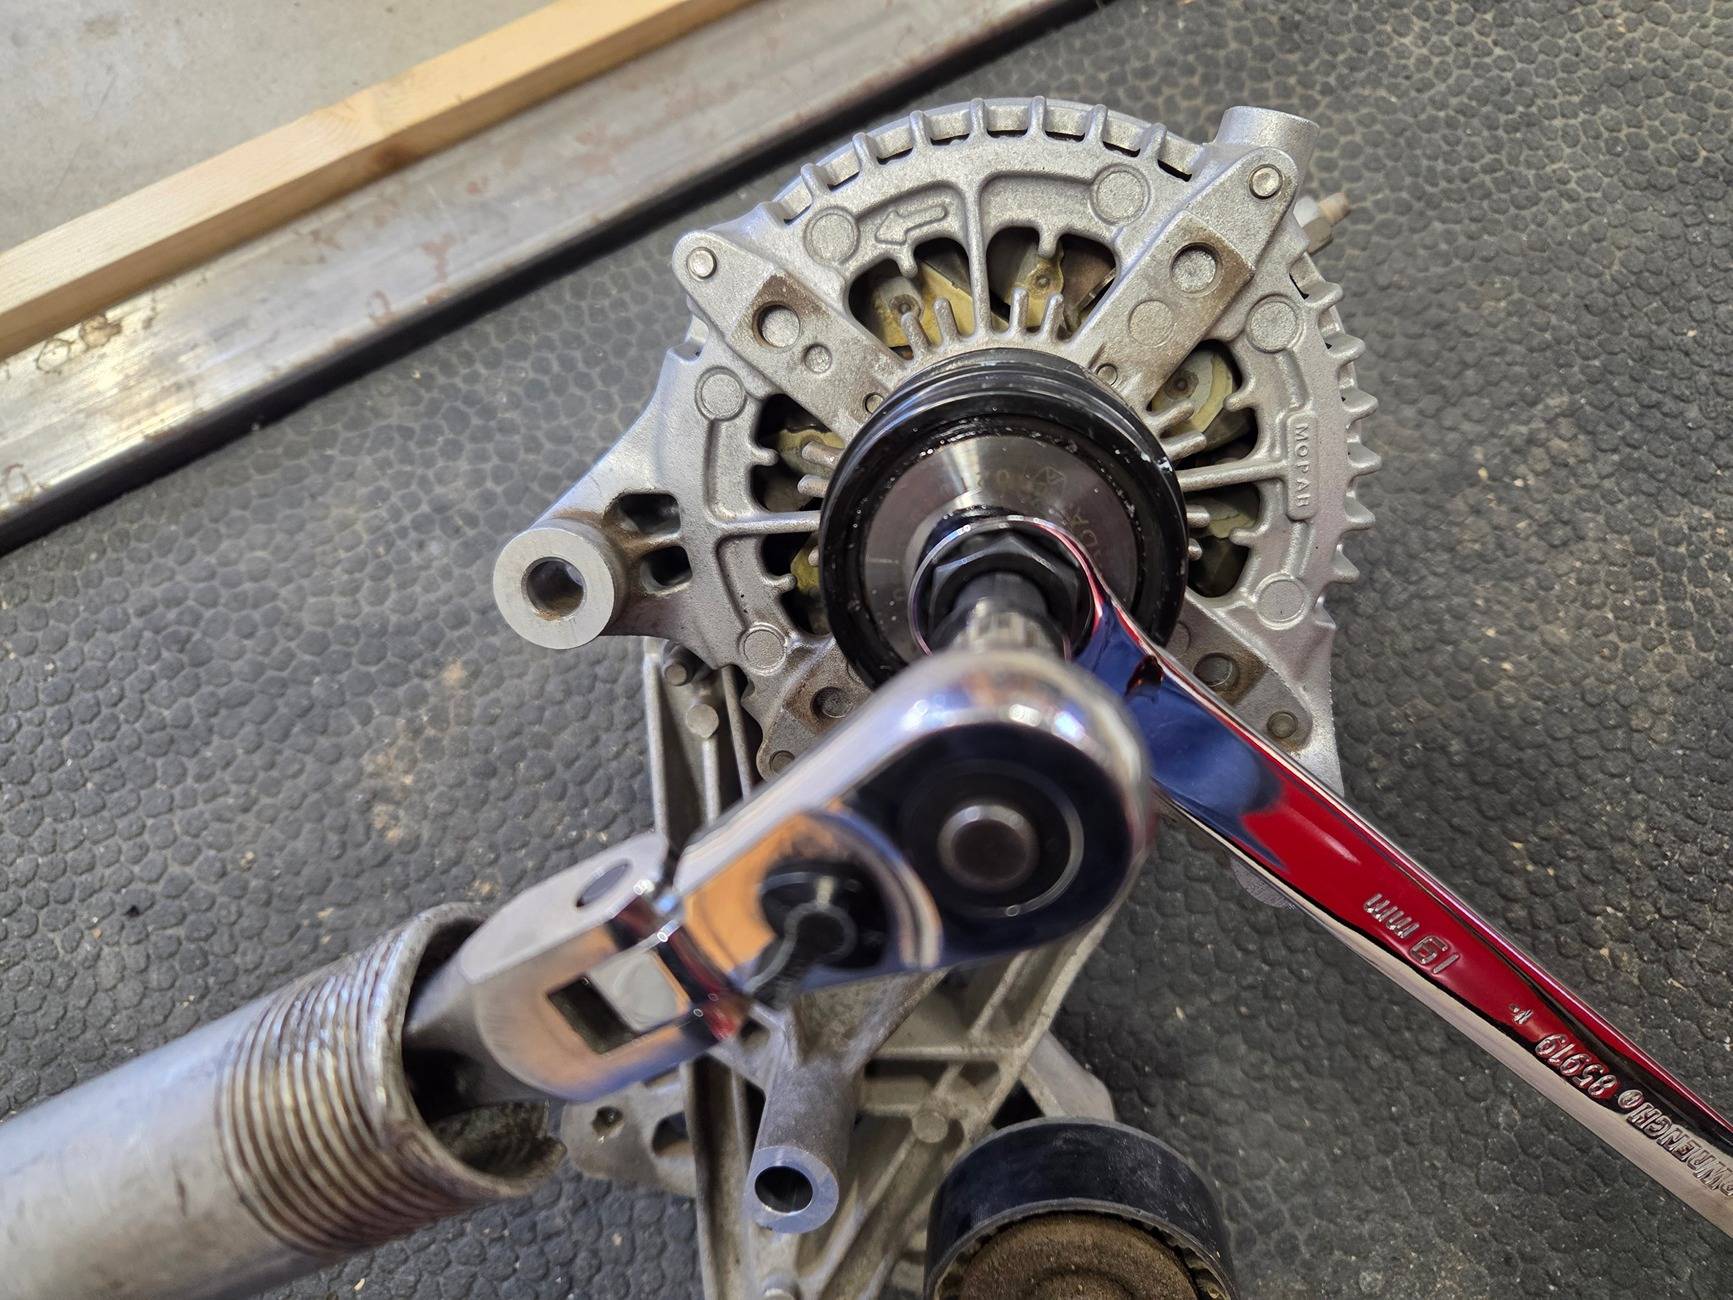
4) If looking at the pulley on the alternator while it's off the vehicle, turn the 7/16" socket counter-clockwise (follow the direction of the arrow stamped on the alternator) while holding the 19mm box wrench stationary. If you do this while the alternator is still on the vehicle and you're standing at the grill, then you'd turn the 7/16" socket clockwise(or towards the driver side). Again, always turn the 7/16" socket the same direction of the stamped arrow while holding the 19mm box wrench stationary to REMOVE only
5) Reinstall

View attachment 418905

View attachment 418912
View attachment 418913

Sponsored
") I'll be honest and admit it took me a minute to figure out the direction of the wrench to "loosen" vs "tighten" as you have to think of the decoupler pulley as the object that threads onto the alternator shaft.
I'll be honest and admit it took me a minute to figure out the direction of the wrench to "loosen" vs "tighten" as you have to think of the decoupler pulley as the object that threads onto the alternator shaft.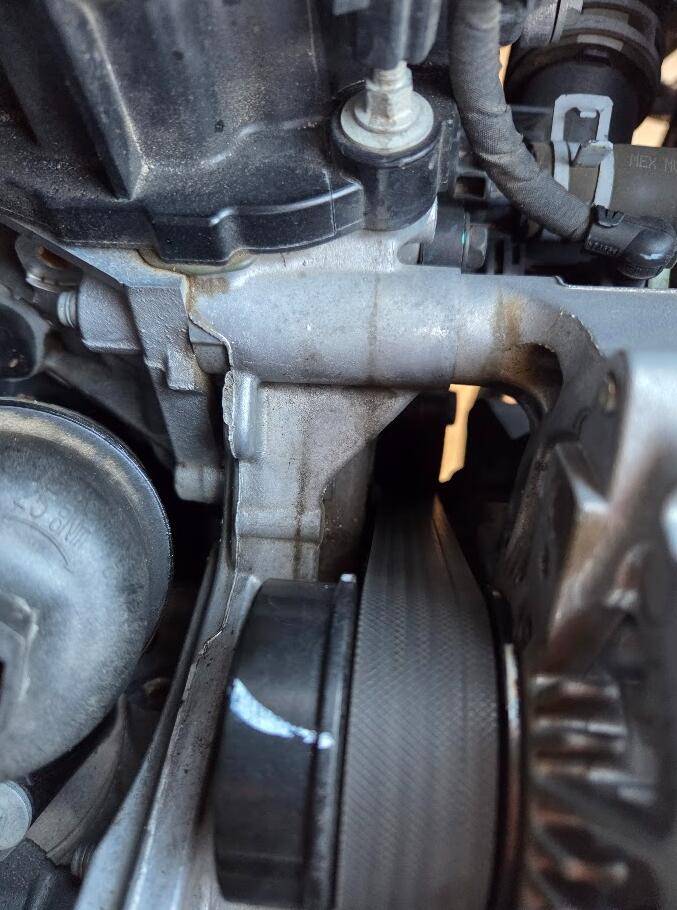
 and swaps it out for me. Van works fine now. I still have the OEM one for it as I want to get a good alternator shop to look at it for me. We were having issues but I'd like that original one to be kept for later as the remans from the stores suck.