Sponsored

Diamondback HD

GreenZJ

Well-Known Member
First Name
Roger
Joined
Nov 30, 2018
Threads
13
Messages
268
Reaction score
271
Location
Arizona
Vehicle(s)
2020 JTR....Jeep #10
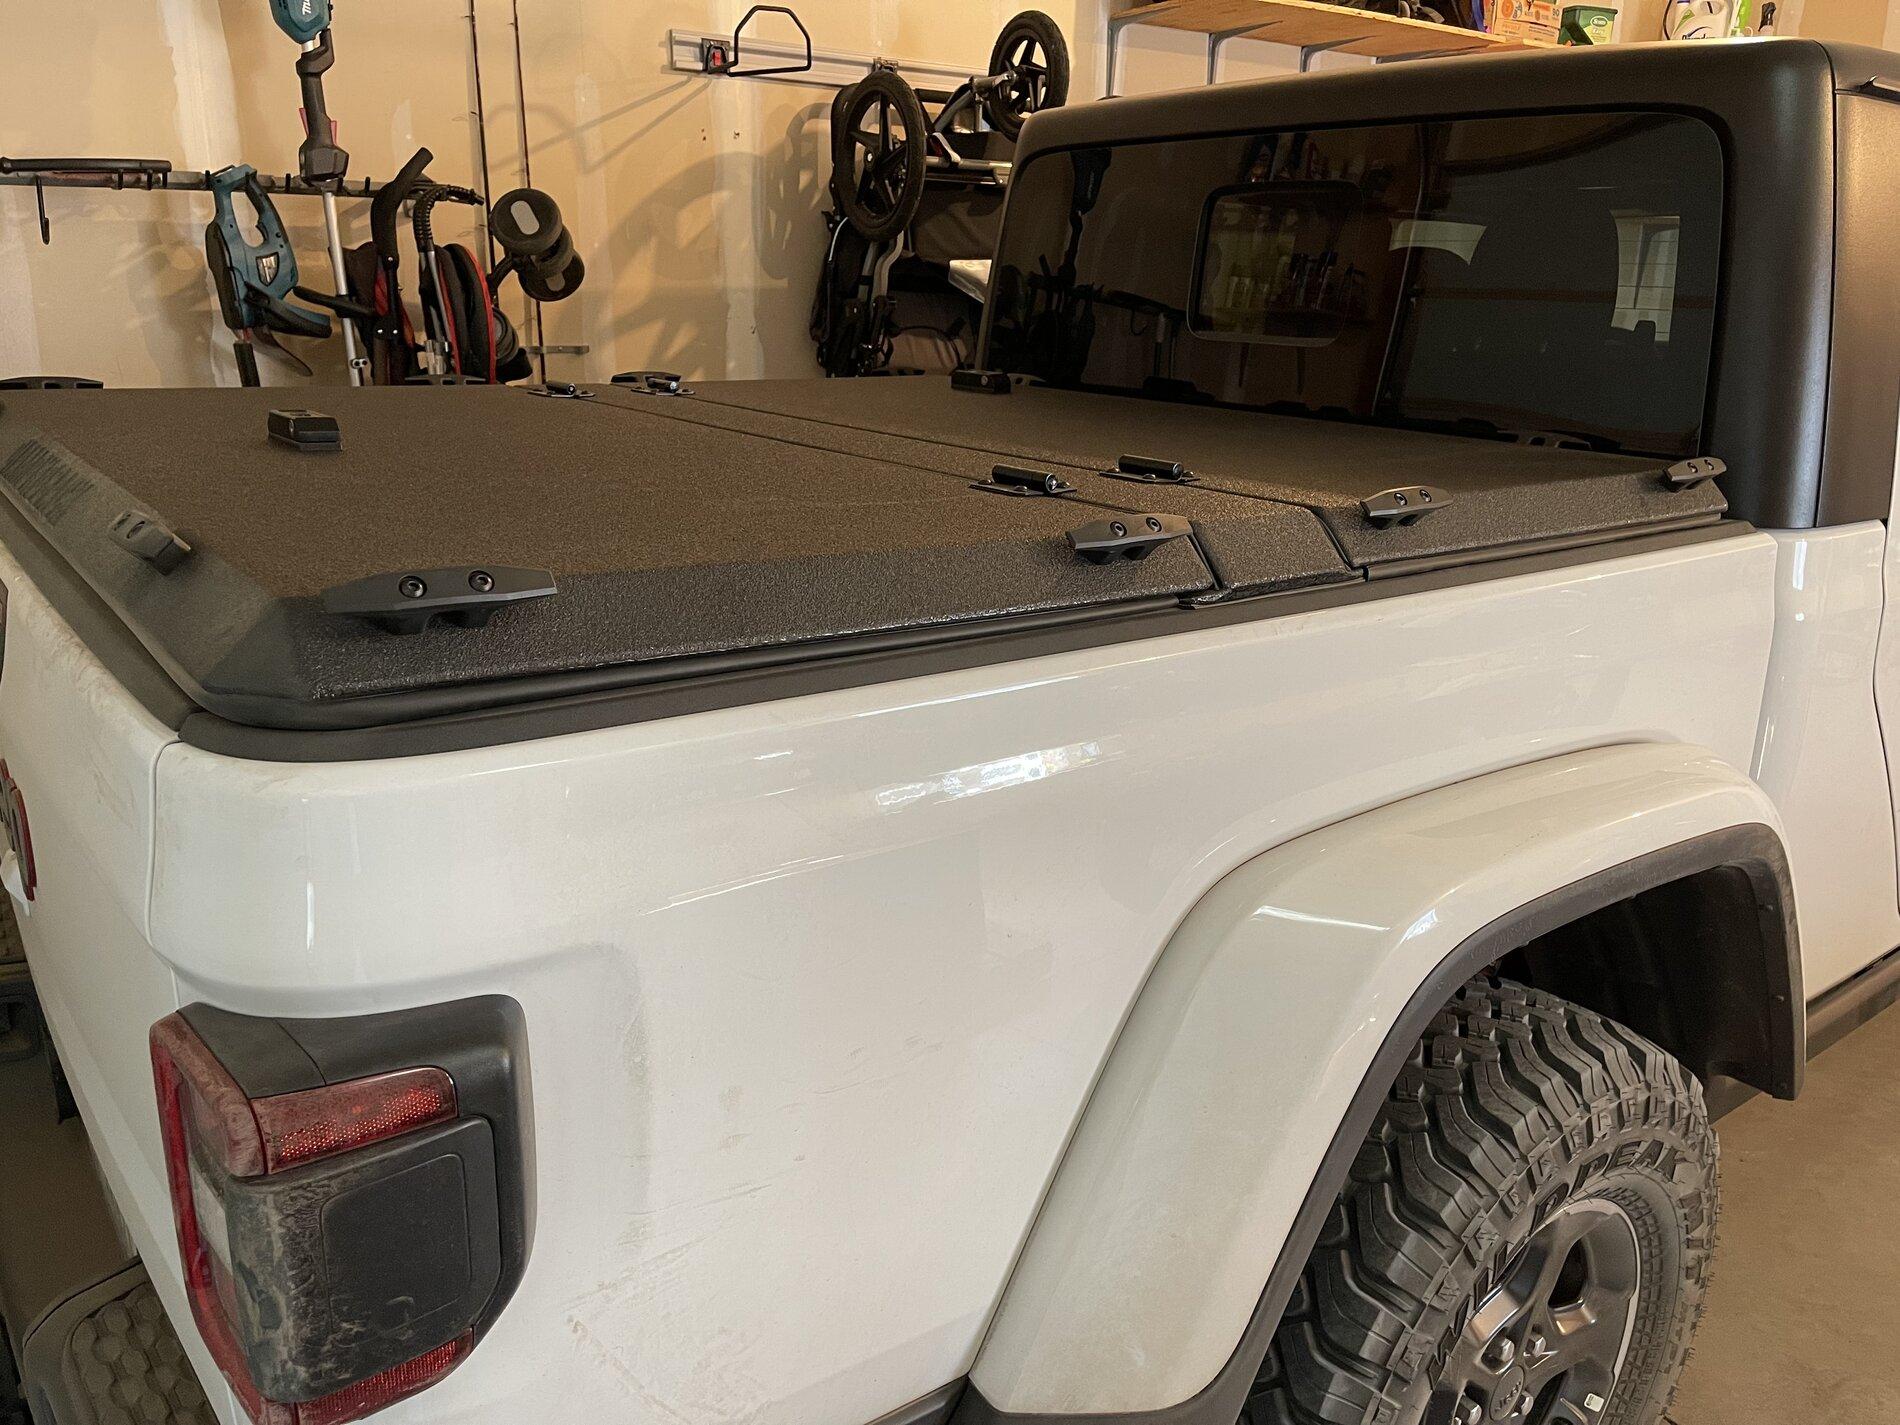
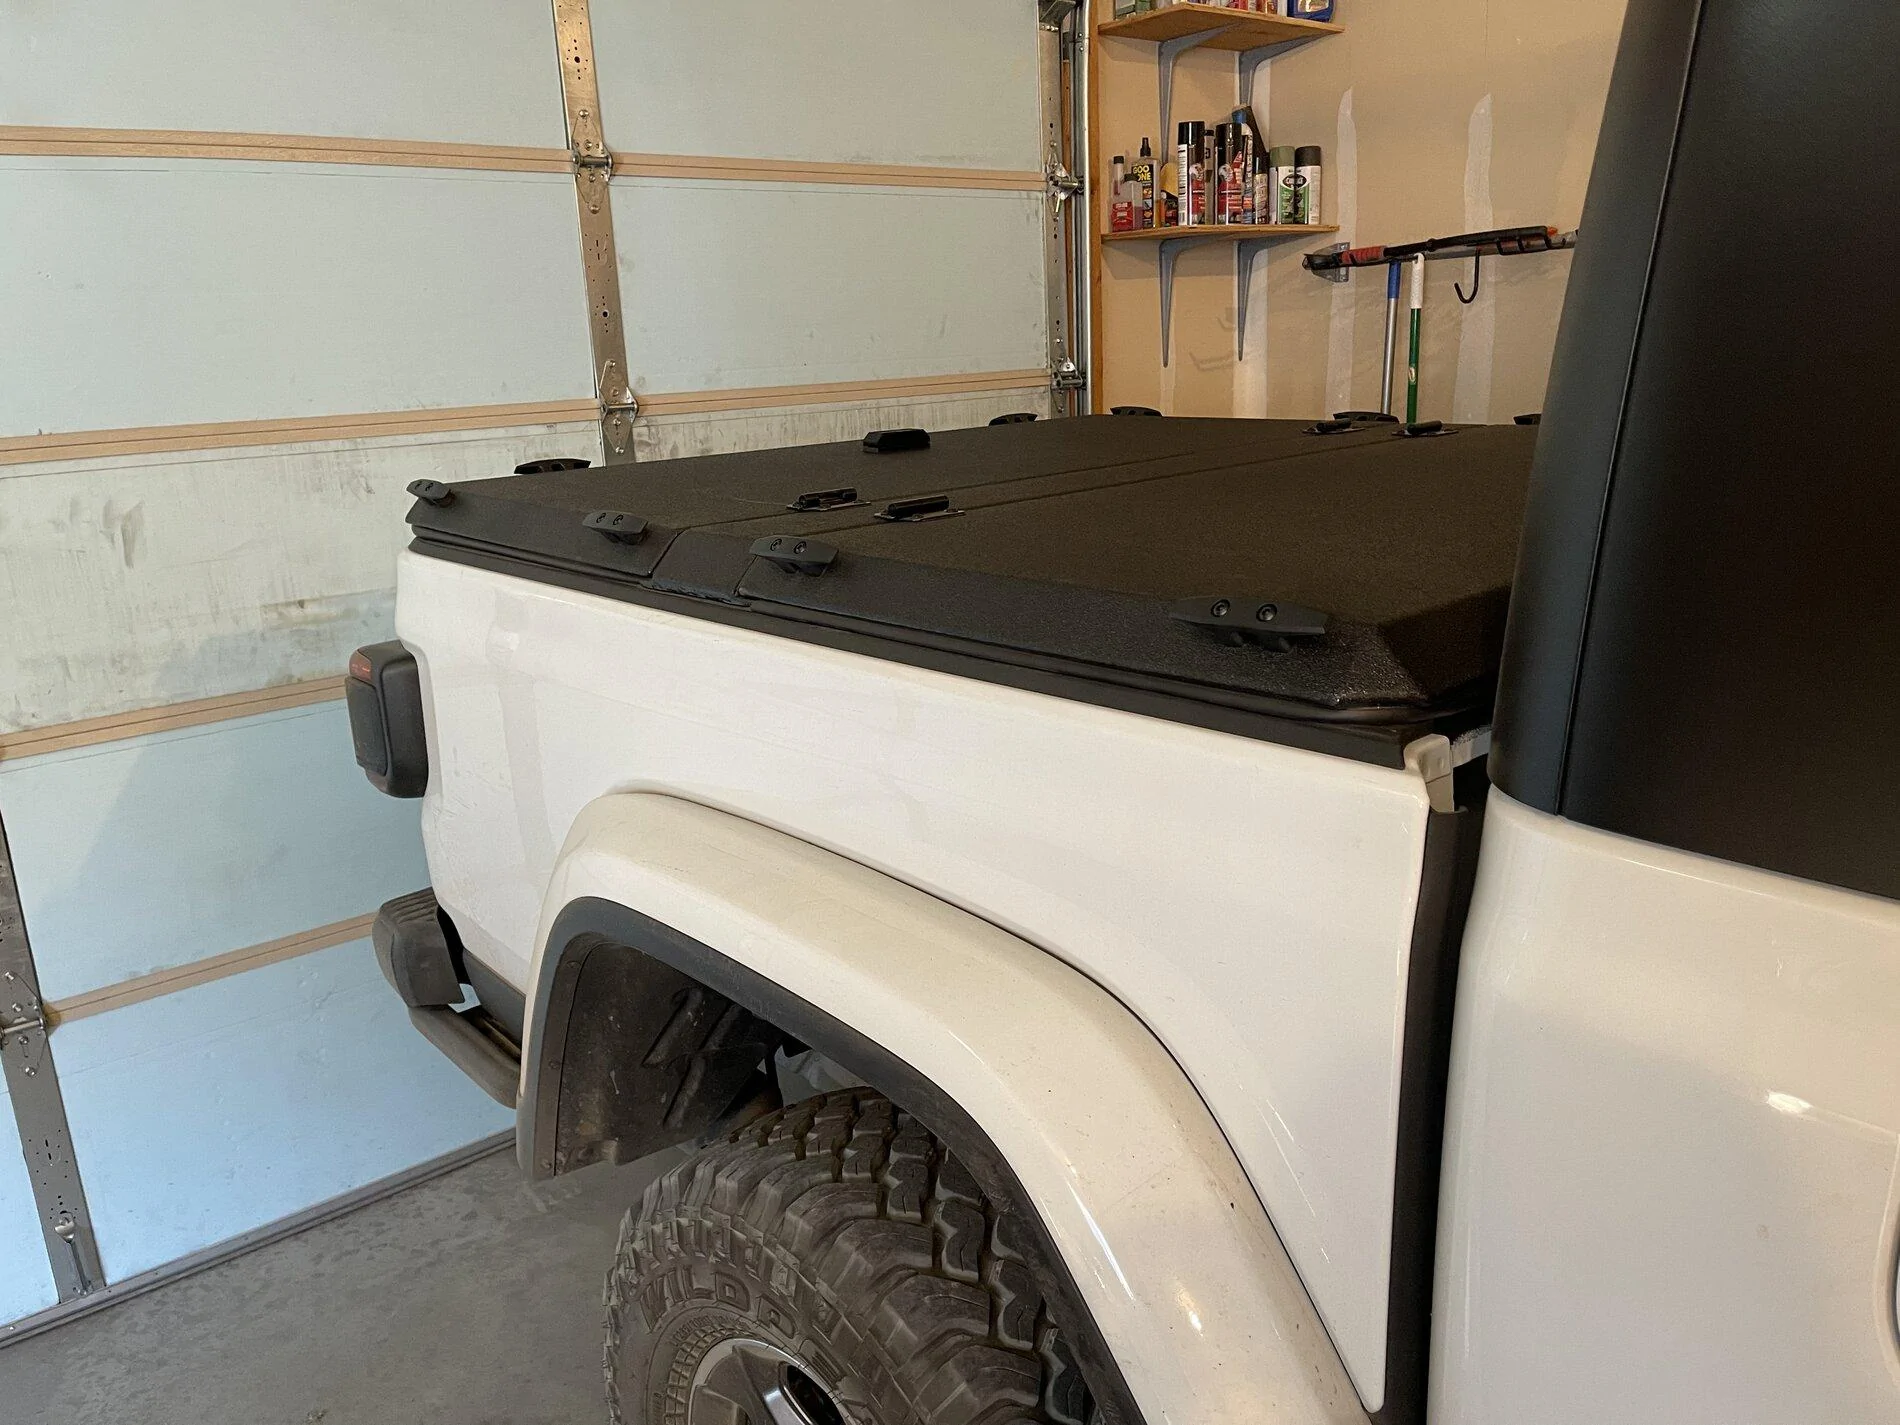
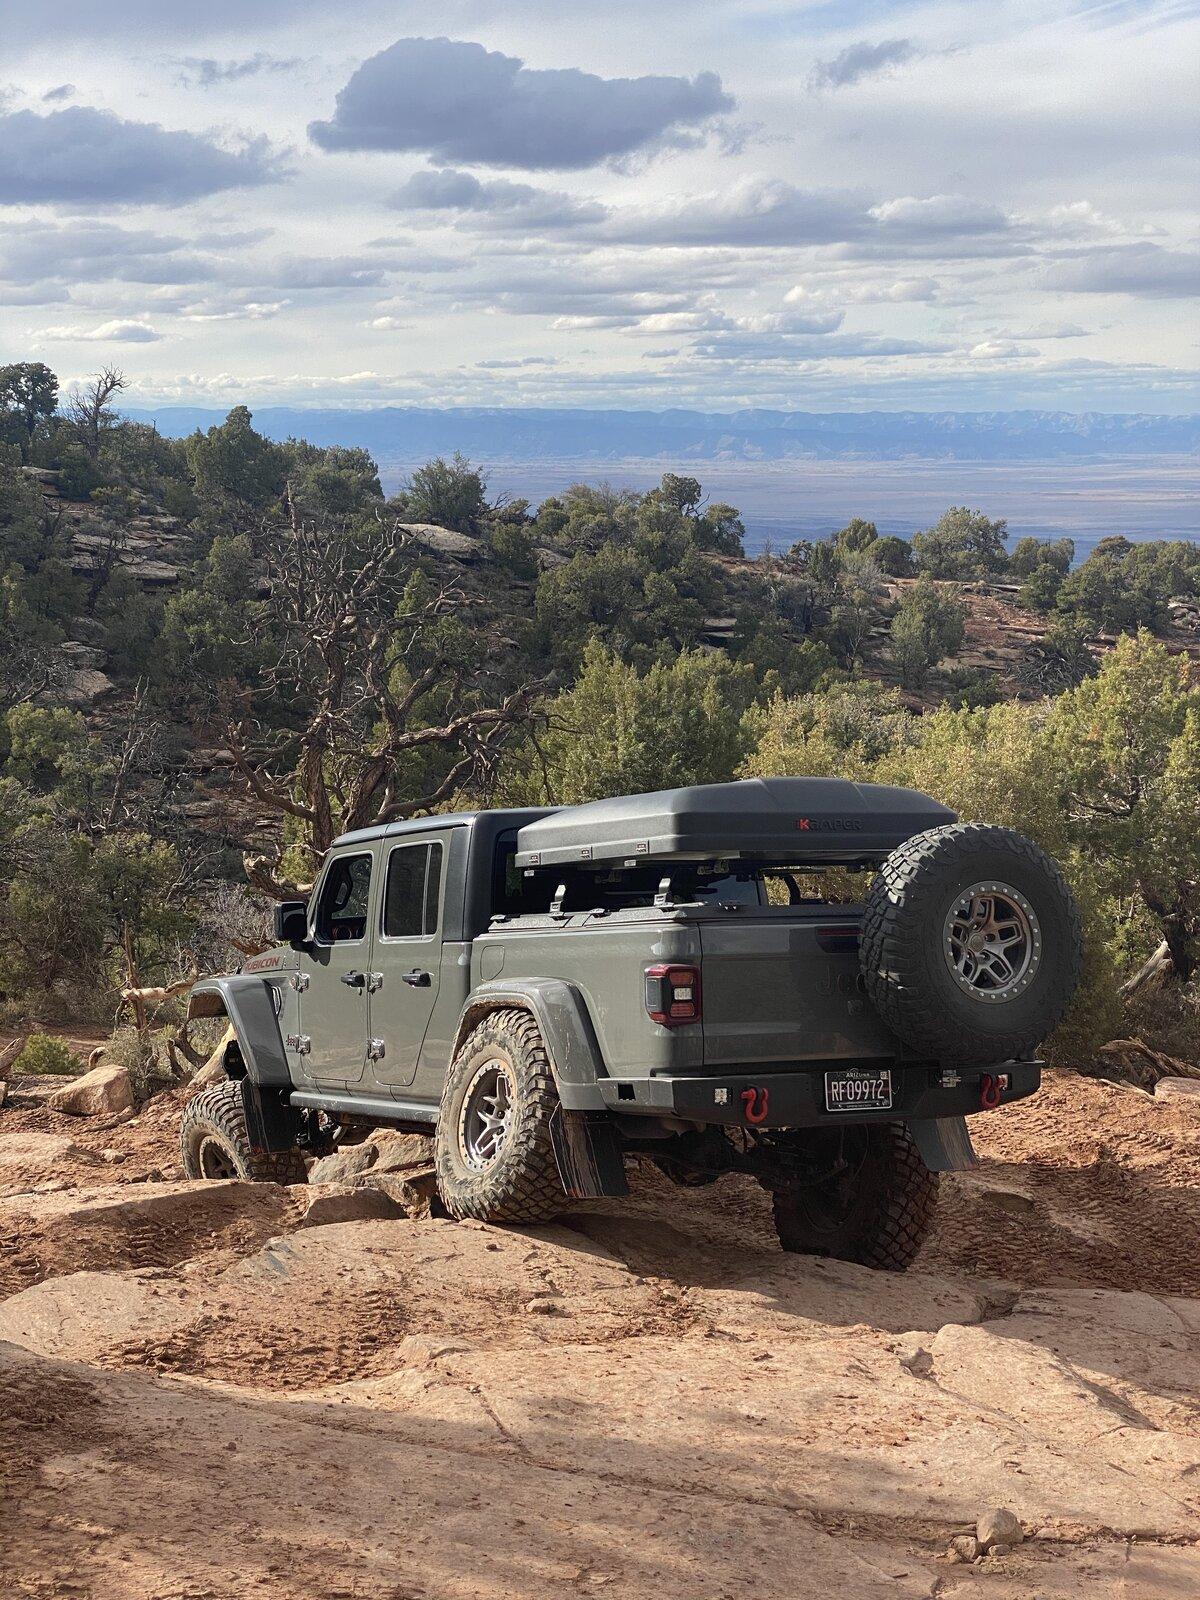
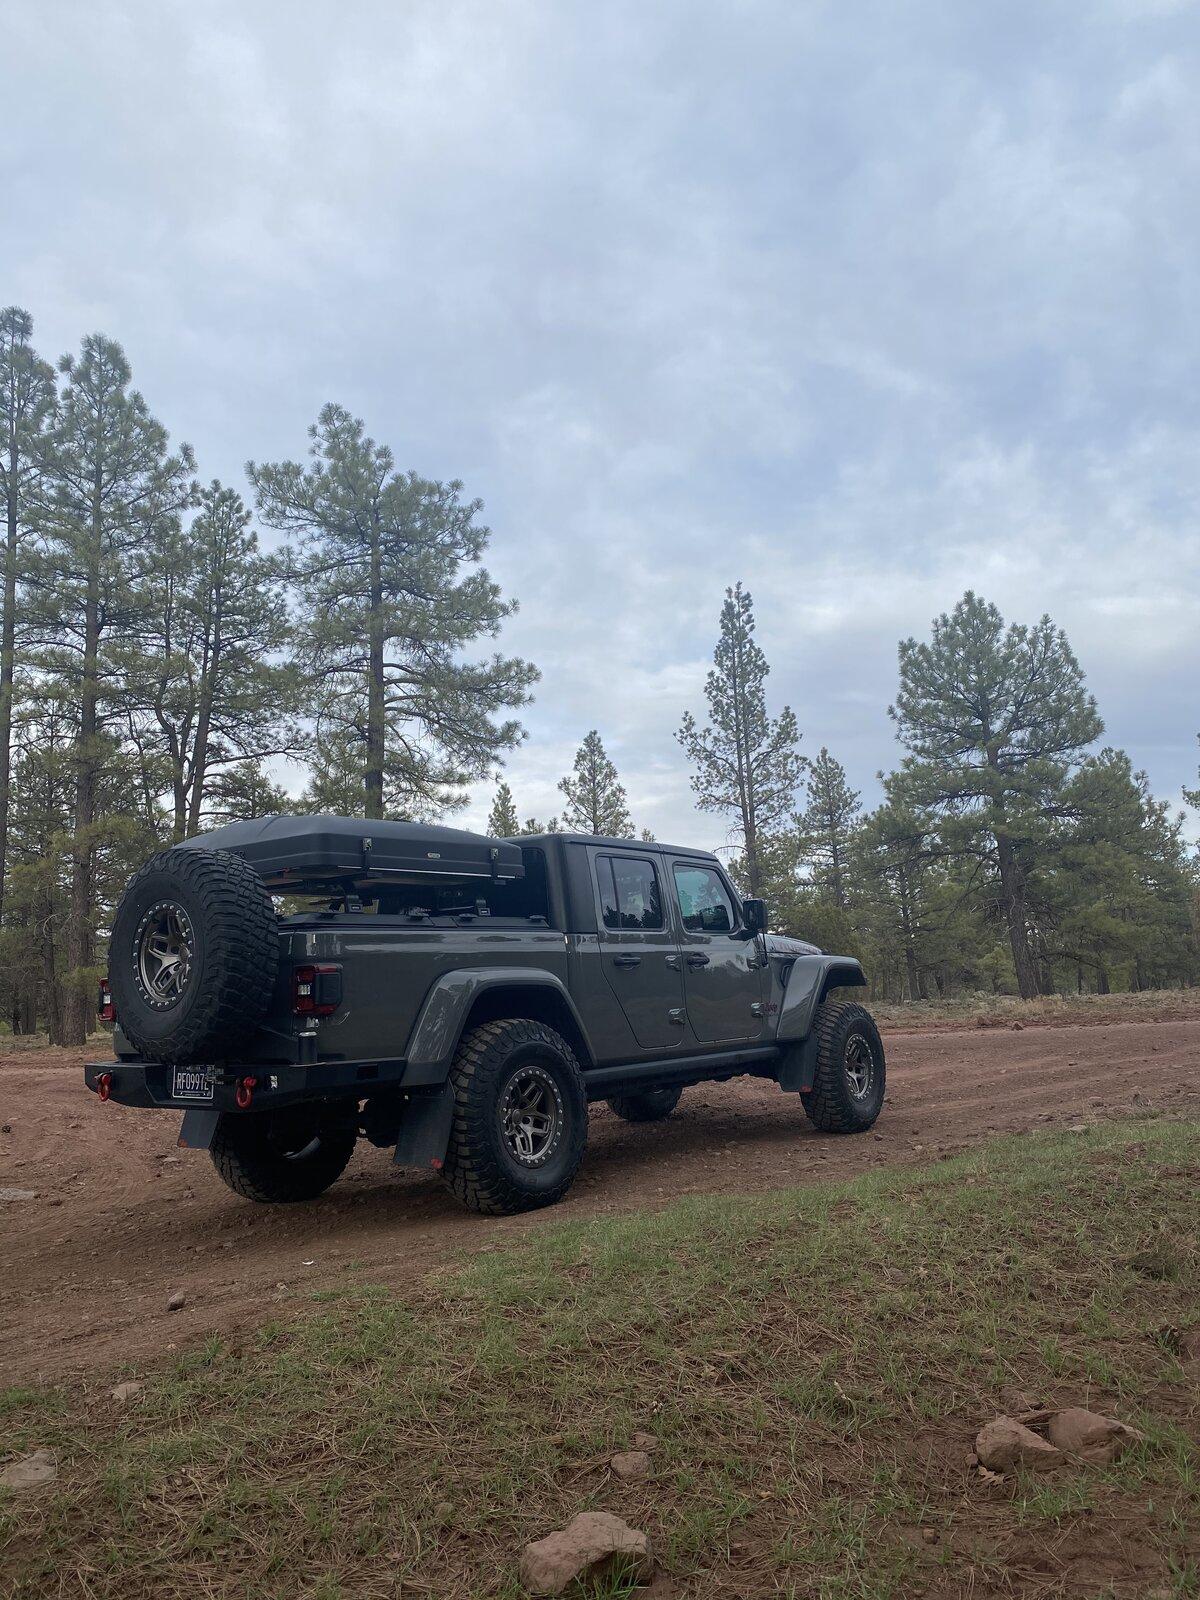
After owning many different rack and cover setups between my Tacoma and my Gladiator over the past 5 years, I can say 100% without a doubt that the Diamondback cover is WELL worth the added cost. This has been such an enjoyable ownership experience. I was worried that the Diamondback/Frontrunner setup was driven by social media hype through YouTube and Instagram, but I can say that they hype is real, and for a reason. It has been the most utilitarian and convenient setup and I couldn’t ask for more

Jeep Gladiator Diamondback HD 5C4B0526-FDF9-4CA0-84DE-3A69C01F617F
Jeep Gladiator Diamondback HD C7A623F6-6EA3-4DD8-8EFB-39D15D595CC4
Jeep Gladiator Diamondback HD 34E683BA-0884-41E7-B1D9-0F9FAF4EB43D
Jeep Gladiator Diamondback HD 387C05ED-B43A-48A1-83DA-1471983F01EC
Sponsored


Climbhigh

Well-Known Member
First Name
Bryan
Joined
Aug 8, 2019
Threads
9
Messages
258
Reaction score
409
Location
PA
Vehicle(s)
2020 Hydro Blue Jeep Gladiator Rubicon
Occupation
Arborist
Now if we could just figure out a way to open the cover with a tent still on....some kind of hinge and slide system that would allow the front to be opened (while tent was shut). Especially for a half rack or frontrunner setup.
 

WGD

Member
Joined
Jan 1, 2021
Threads
0
Messages
6
Reaction score
6
Location
Idaho
Vehicle(s)
JT Diesel
Just got mine installed. I wonder if I were to replace the c-clamp nuts with nylon lock nuts it would stop the loosening.

I don’t have any sag from the center piece.

Looks awesome!
 

Nebulocity

Well-Known Member
Joined
Sep 5, 2020
Threads
8
Messages
181
Reaction score
430
Location
Mississippi
Vehicle(s)
21 JT Mojave - Sting Gray
Just got mine installed. I wonder if I were to replace the c-clamp nuts with nylon lock nuts it would stop the loosening.

I don’t have any sag from the center piece.

Looks awesome!
Pics?
 

kd1yt

Well-Known Member
First Name
Trevor
Joined
Apr 6, 2019
Threads
31
Messages
296
Reaction score
311
Location
VT 05640
Vehicle(s)
2020 Gladiator JT Sport S Red, 2014 Ural sidecar 2wd motorcycle, '51 Dodge M37

Sponsored

Sarge502

Well-Known Member
Joined
Jul 3, 2021
Threads
34
Messages
1,088
Reaction score
1,964
Location
Kentucky
Vehicle(s)
2020 Jeep Gladiator Overland
Build Thread
Link
Occupation
Thin Blue Line
Vehicle Showcase
1
Very nice. That's the exact kind Im going for. HD Smooth Black. How was your install? Did you install the bed rail shims as well?

Also how long did it take to get it upon ordering? I know theyre based out of PA and Im in KY which isnt super far. I'm more concerned about assembly time than shipping.
 

WGD

Member
Joined
Jan 1, 2021
Threads
0
Messages
6
Reaction score
6
Location
Idaho
Vehicle(s)
JT Diesel
@Sarge502 not bad really. I took my time on the alignment since that is what you would notice the most.

I replaced the bolts with some grade 8 bolts. After wheeling, the original ones were a bit loose (20 miles or so from the initial install). Not sure what the torque specs are in the bolts but their snug now.

Also, the J-Tabs that are required to install underneath the bed rail covers were a pain. I already made cuts to install a trifold so the integrity were compromised on the rail covers, I need to cut back on the plastic and install them on the metal lip so I can get a nice tight fit when closed. I’ll have to call them on Monday.

Nice to have a hard cover to keep valuables away from peeping eyes and to put a tent up top eventually.
 

Sponsored

kd1yt

Well-Known Member
First Name
Trevor
Joined
Apr 6, 2019
Threads
31
Messages
296
Reaction score
311
Location
VT 05640
Vehicle(s)
2020 Gladiator JT Sport S Red, 2014 Ural sidecar 2wd motorcycle, '51 Dodge M37
Instead of using the adhesive "J-tabs" that came with the DB, I took short lengths of 1/2 PEX pipe (approx 1.5" long) and slit it sideways/lengthways and pried it open and popped it on the underside (combined) of the metal/plastic inside/underside of the bed side lips. The PEX is springy enough that it stays in place. Had to trim some minor notches out of it in places, in the lengthwise cut, for it to fit well. The PEX spreads the force of the DB's crossbolts over a wider area of the plastic/metal edge, and the rounded edge of the PEX seems to work well for the crossbolts of the DB to slide over to lock down. Haven't tried leaving the PEX in place with the lid off at interstate speeds (when I have needed to travel interstate speeds with the DB off, I just popped the PEX off and popped the PEX back on when I reinstalled the DB. My original plan was to make some fittings that I could mount into the L-track I put along the bed sides (where the factory "trail rails" would go) and that the DB's crossbolts could connect into but the PEX has functioned so well that I have no motive to make anything more elaborate any time soon.
 
  • Like
Reactions: WGD

Rockabillyroy

Well-Known Member
Joined
Nov 8, 2020
Threads
15
Messages
830
Reaction score
880
Location
CA
Vehicle(s)
JT
@WGD

If you look at step 13 on the instructions, you'll see that your bulb seals are still pretty rounded.

A pair of ratchet straps pulling down on the cleats while you set the rod positions will help flatten them out for weather sealing.
 
  • Like
Reactions: WGD

kd1yt

Well-Known Member
First Name
Trevor
Joined
Apr 6, 2019
Threads
31
Messages
296
Reaction score
311
Location
VT 05640
Vehicle(s)
2020 Gladiator JT Sport S Red, 2014 Ural sidecar 2wd motorcycle, '51 Dodge M37
@WGD

If you look at step 13 on the instructions, you'll see that your bulb seals are still pretty rounded.

A pair of ratchet straps pulling down on the cleats while you set the rod positions will help flatten them out for weather sealing.
I found that it seemed to work well to set the lock rods, let it all "settle in" for a few days to let the seals conform to the bed, then put a wheel + tire on top of the lid temporarily for weight, to fully compress the seals, and, then I reset the lock rods for final position. The seals sort of gradually take a bit of a "set" of compressed shape over time that they won't take, initially, during the initial install.
 

Rockabillyroy

Well-Known Member
Joined
Nov 8, 2020
Threads
15
Messages
830
Reaction score
880
Location
CA
Vehicle(s)
JT
I found that it seemed to work well to set the lock rods, let it all "settle in" for a few days to let the seals conform to the bed, then put a wheel + tire on top of the lid temporarily for weight, to fully compress the seals, and, then I reset the lock rods for final position. The seals sort of gradually take a bit of a "set" of compressed shape over time that they won't take, initially, during the initial install.
Sounds like a good method.

If you ratchet it, then you don't need to readjust the rods. But if you open the cover before the seals form, then you will need help closing the lid. Hahaha.
 

WGD

Member
Joined
Jan 1, 2021
Threads
0
Messages
6
Reaction score
6
Location
Idaho
Vehicle(s)
JT Diesel
You tie one end of the cleat, say the closets to the edge, and the other to.. the tow hook?
Sponsored


Top