@californiajeeping
Well-Known Member
- Joined
- Apr 1, 2020
- Threads
- 16
- Messages
- 956
- Reaction score
- 1,006
- Location
- California
- Vehicle(s)
- 2022 Jeep Gladiator diesel, 1977 cj5 LS swapped
Worked on getting a proper subwoofer installed
It sound amazing. Need to do more tuning in the morning.
![Jeep Gladiator What did you do TO your Gladiator today? [ADMIN WARNING: NO POLITICS, NO GUN TALK] 20200411_185914](data:image/svg+xml;charset=utf-8,%3Csvg xmlns%3D'http%3A%2F%2Fwww.w3.org%2F2000%2Fsvg' width='1200' height='1600' viewBox%3D'0 0 1200 1600'%2F%3E)
It sound amazing. Need to do more tuning in the morning.
![Jeep Gladiator What did you do TO your Gladiator today? [ADMIN WARNING: NO POLITICS, NO GUN TALK] 20200411_185914](https://cdn.jeepgladiatorforum.com/attachments/72/72085-a3ed6d0e8ef9a366c77e3947d8b527b4.webp)
Sponsored

![Jeep Gladiator What did you do TO your Gladiator today? [ADMIN WARNING: NO POLITICS, NO GUN TALK] 9CC5C2AE-9E4C-48F6-B590-B3950941439B](https://cdn.jeepgladiatorforum.com/attachments/72/72122-78d9707dded7966ea8e68d8d208004ec.webp)
![Jeep Gladiator What did you do TO your Gladiator today? [ADMIN WARNING: NO POLITICS, NO GUN TALK] E874C20C-0A0C-4588-9350-59B2AF71C302](https://cdn.jeepgladiatorforum.com/attachments/72/72123-1dde7419764e4968027f1ca758b1f7d5.jpeg)
 . The amperage, distance, gauge charts have the harder math done for you already. This is best illustrated by looking at a 30 amp fuse and a 10 AWG wire discussed above. The filament in the fuse is itty-bitty compared to the wire. The filament only carries the 30 amps for a fraction of an inch. The part about planning ahead for future add-ons is well worth the extra bit of time and materials. It’s great to have good distribution points ready for extra connections in the cab and bed/back of the truck.
![Jeep Gladiator What did you do TO your Gladiator today? [ADMIN WARNING: NO POLITICS, NO GUN TALK] 20200405_155226 - Copy](https://cdn.jeepgladiatorforum.com/attachments/72/72159-fe0ed1cd8607e8583068a7736028f8d5.webp)
![Jeep Gladiator What did you do TO your Gladiator today? [ADMIN WARNING: NO POLITICS, NO GUN TALK] 20200405_152347 - Copy](https://cdn.jeepgladiatorforum.com/attachments/72/72160-0716b1c3a1d16368cdcfe8e526aa50b3.webp)
![Jeep Gladiator What did you do TO your Gladiator today? [ADMIN WARNING: NO POLITICS, NO GUN TALK] 93053458_10217091191975671_1062525143244341248_n](https://cdn.jeepgladiatorforum.com/attachments/72/72171-ae0f5819e426f2d43cff00a3e9ab86c8.jpg)
![Jeep Gladiator What did you do TO your Gladiator today? [ADMIN WARNING: NO POLITICS, NO GUN TALK] 92547006_10217091192535685_7824748355325526016_n](https://cdn.jeepgladiatorforum.com/attachments/72/72172-0e25435ed81b8ed453c016156e4744a8.jpg)
![Jeep Gladiator What did you do TO your Gladiator today? [ADMIN WARNING: NO POLITICS, NO GUN TALK] 93243668_10217091193015697_5667827491650142208_n](https://cdn.jeepgladiatorforum.com/attachments/72/72173-b5ae0c2057b75962f1225423ccad5942.jpg)
![Jeep Gladiator What did you do TO your Gladiator today? [ADMIN WARNING: NO POLITICS, NO GUN TALK] 93149860_10217091193415707_4723590283223105536_n](https://cdn.jeepgladiatorforum.com/attachments/72/72174-ae0bf10498199a25ba219f9001874152.jpg)
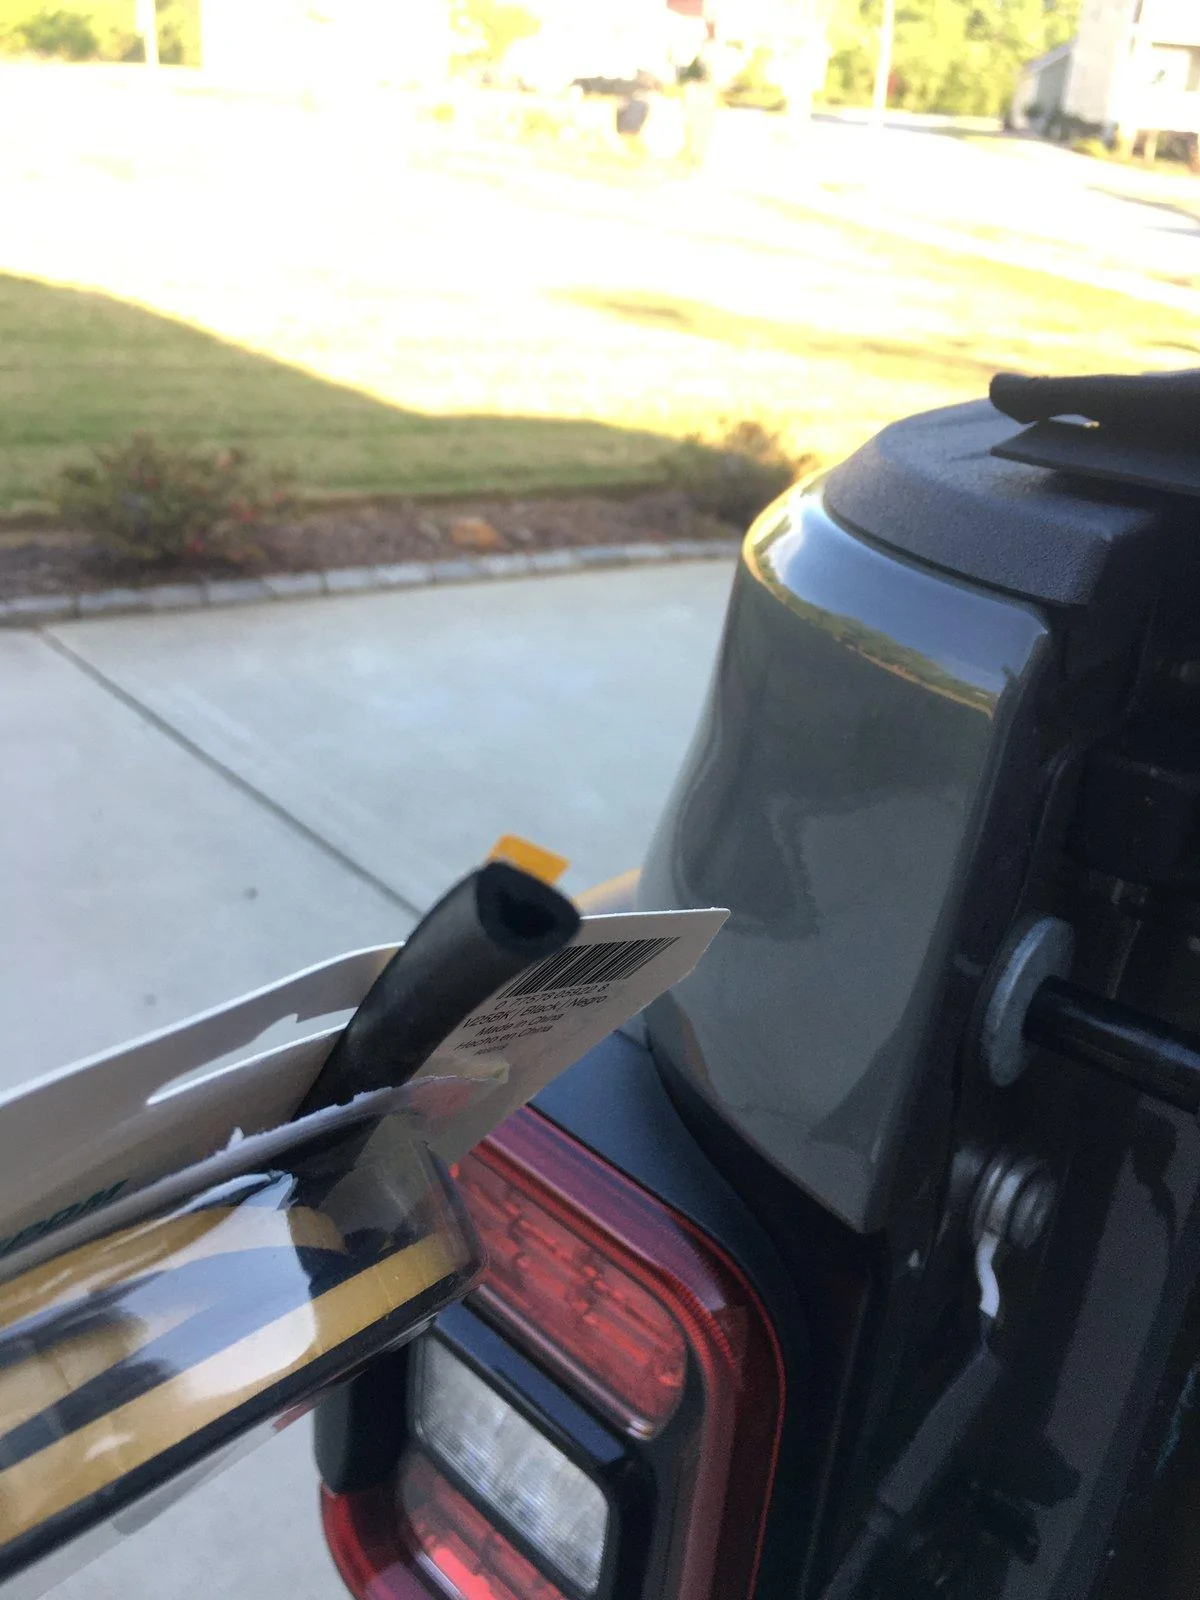
![Jeep Gladiator What did you do TO your Gladiator today? [ADMIN WARNING: NO POLITICS, NO GUN TALK] F1A5F310-1B88-4A94-9D93-DADBD25B26F2](https://cdn.jeepgladiatorforum.com/attachments/72/72338-d0184648c925cda801660c2757bc64d0.webp)
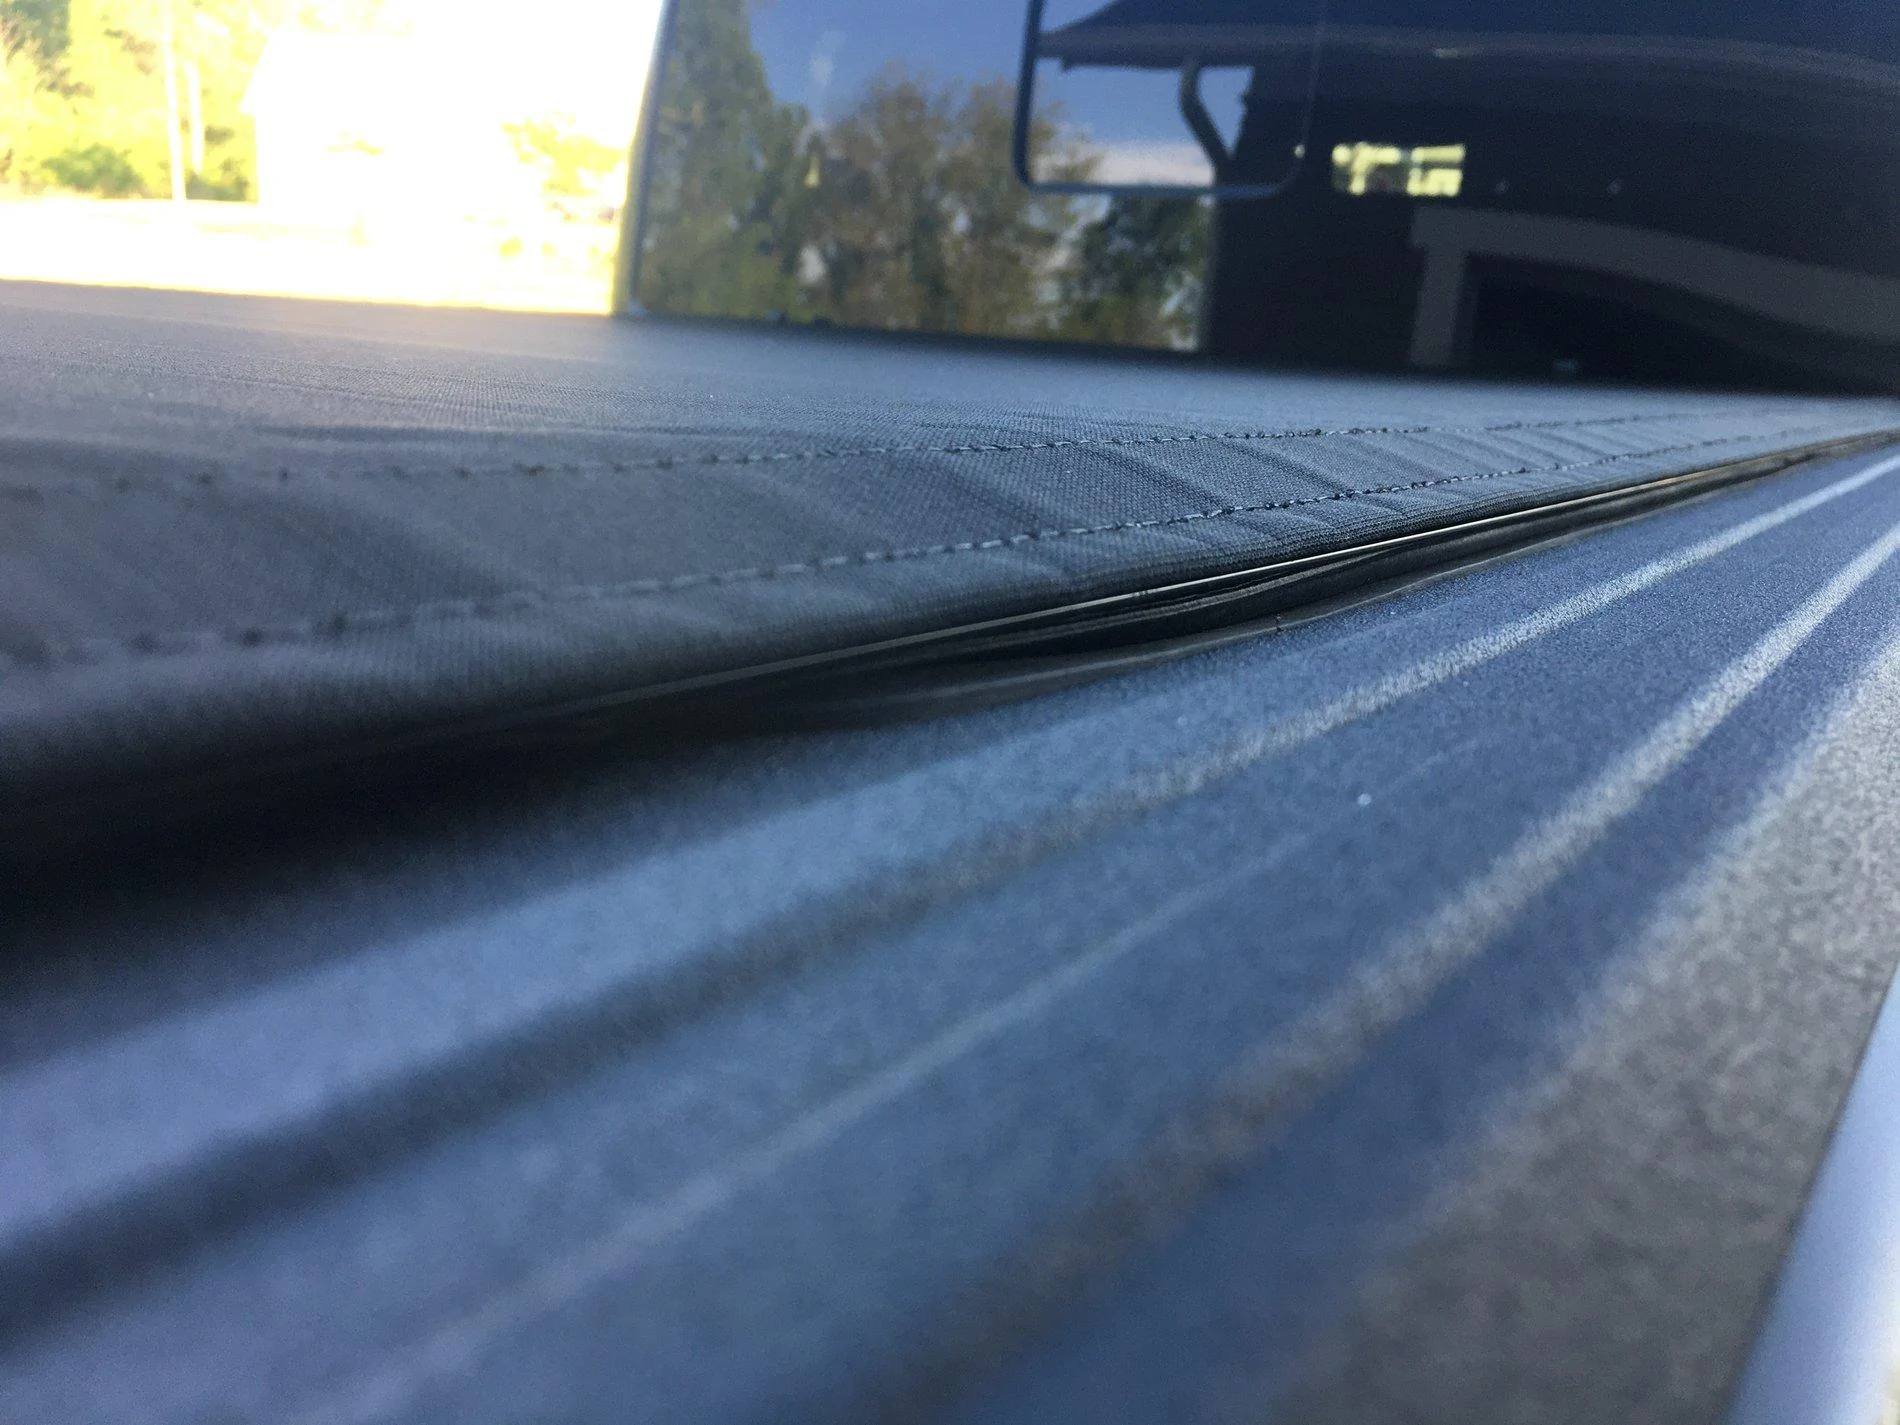
![Jeep Gladiator What did you do TO your Gladiator today? [ADMIN WARNING: NO POLITICS, NO GUN TALK] 696812AA-ADC9-4048-B647-C0A819B42335](https://cdn.jeepgladiatorforum.com/attachments/72/72339-2714ddd08f2ba0f7ece021c843118476.webp)
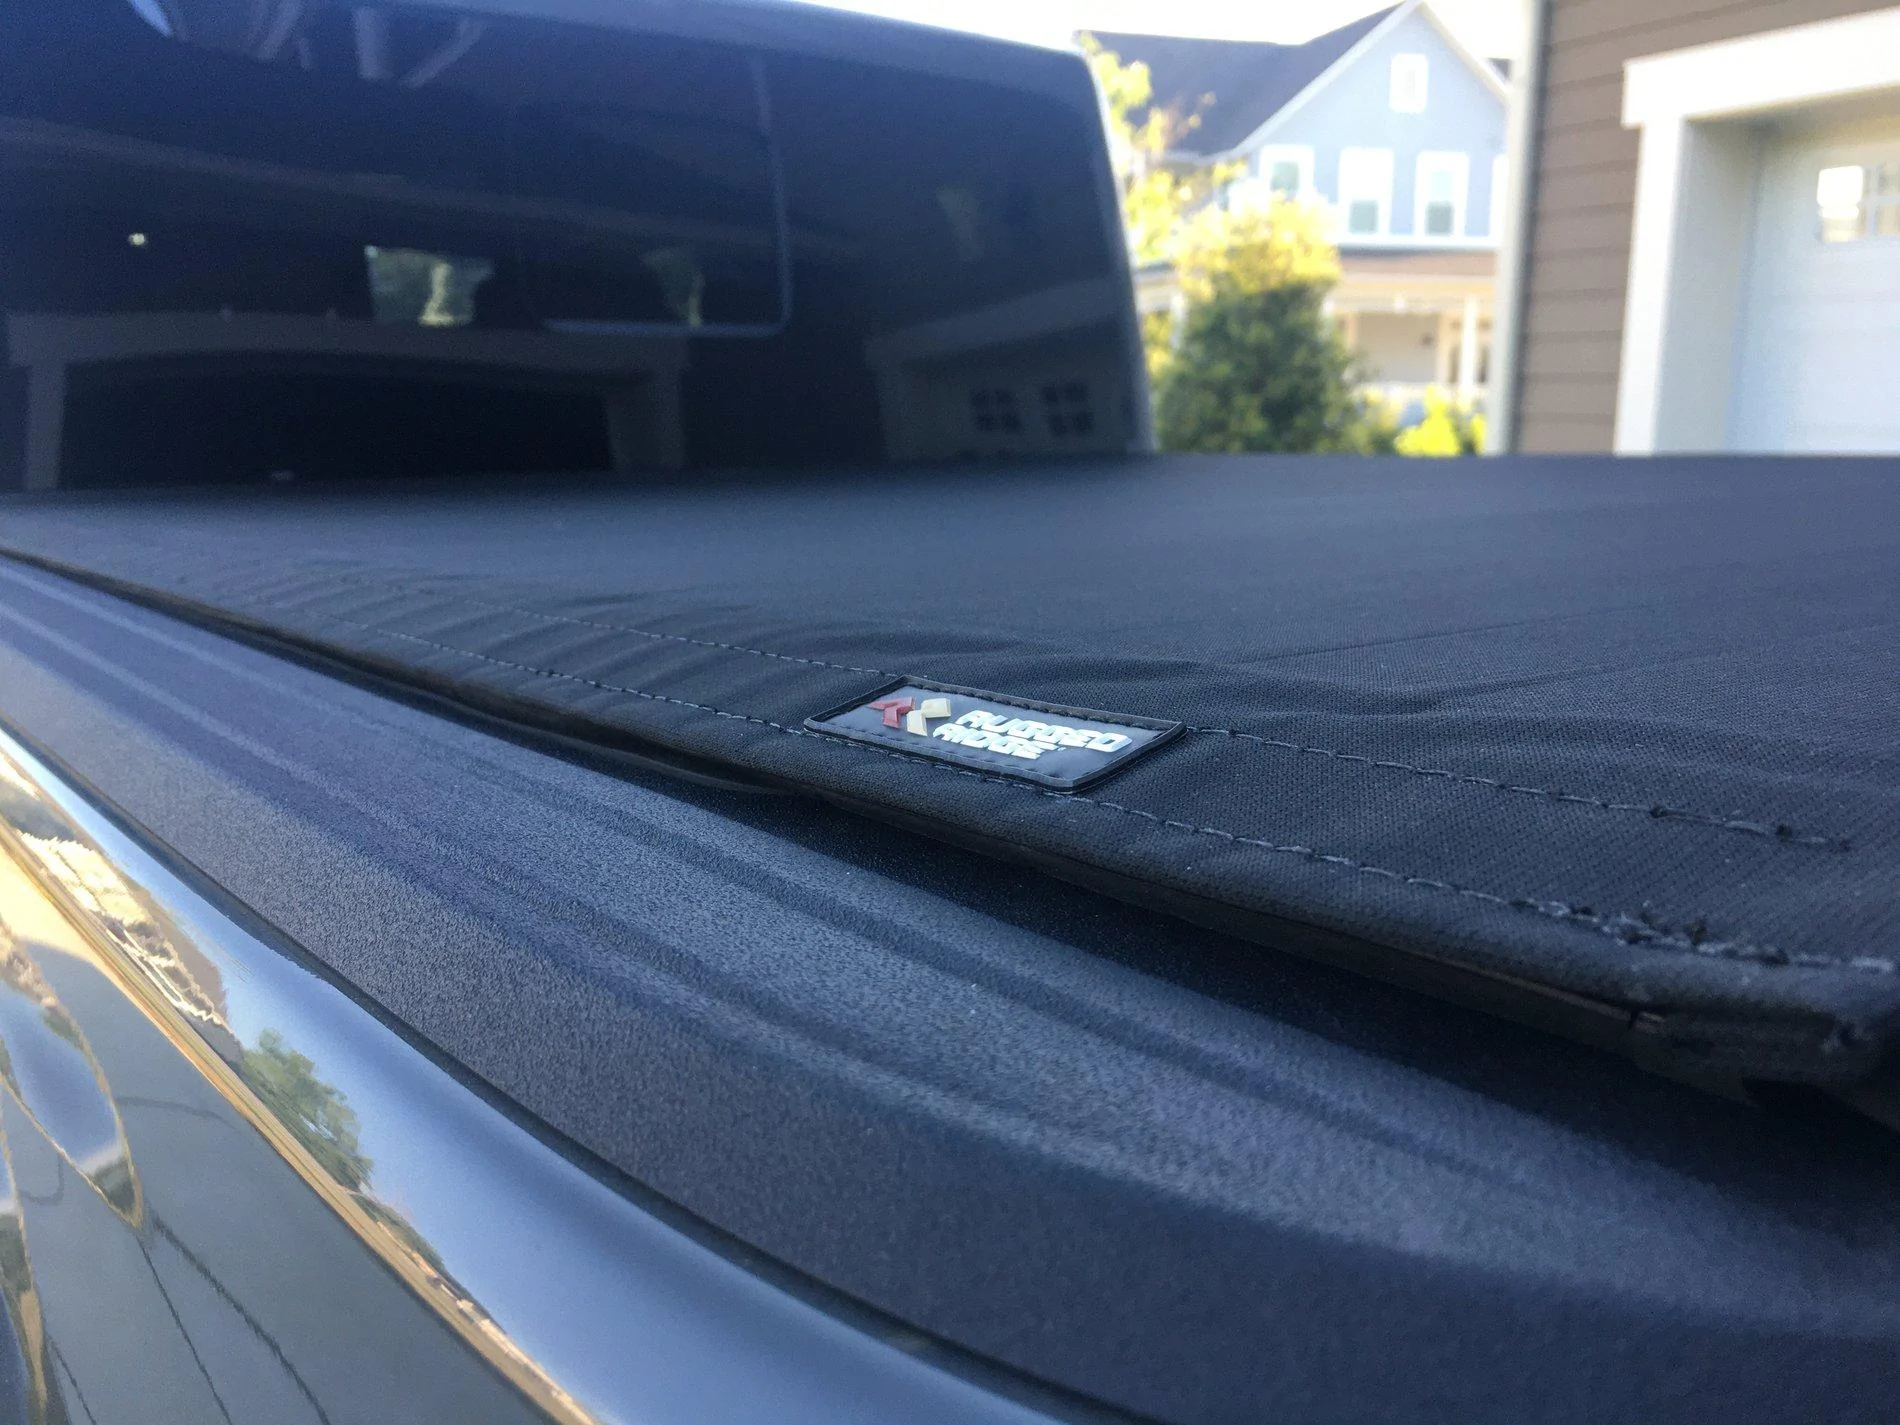
![Jeep Gladiator What did you do TO your Gladiator today? [ADMIN WARNING: NO POLITICS, NO GUN TALK] 308C33DD-78D6-4CA8-8D6F-A87A29F5BF2B](https://cdn.jeepgladiatorforum.com/attachments/72/72340-0f011c1ab9ba15366df0ac7d50a091e2.webp)
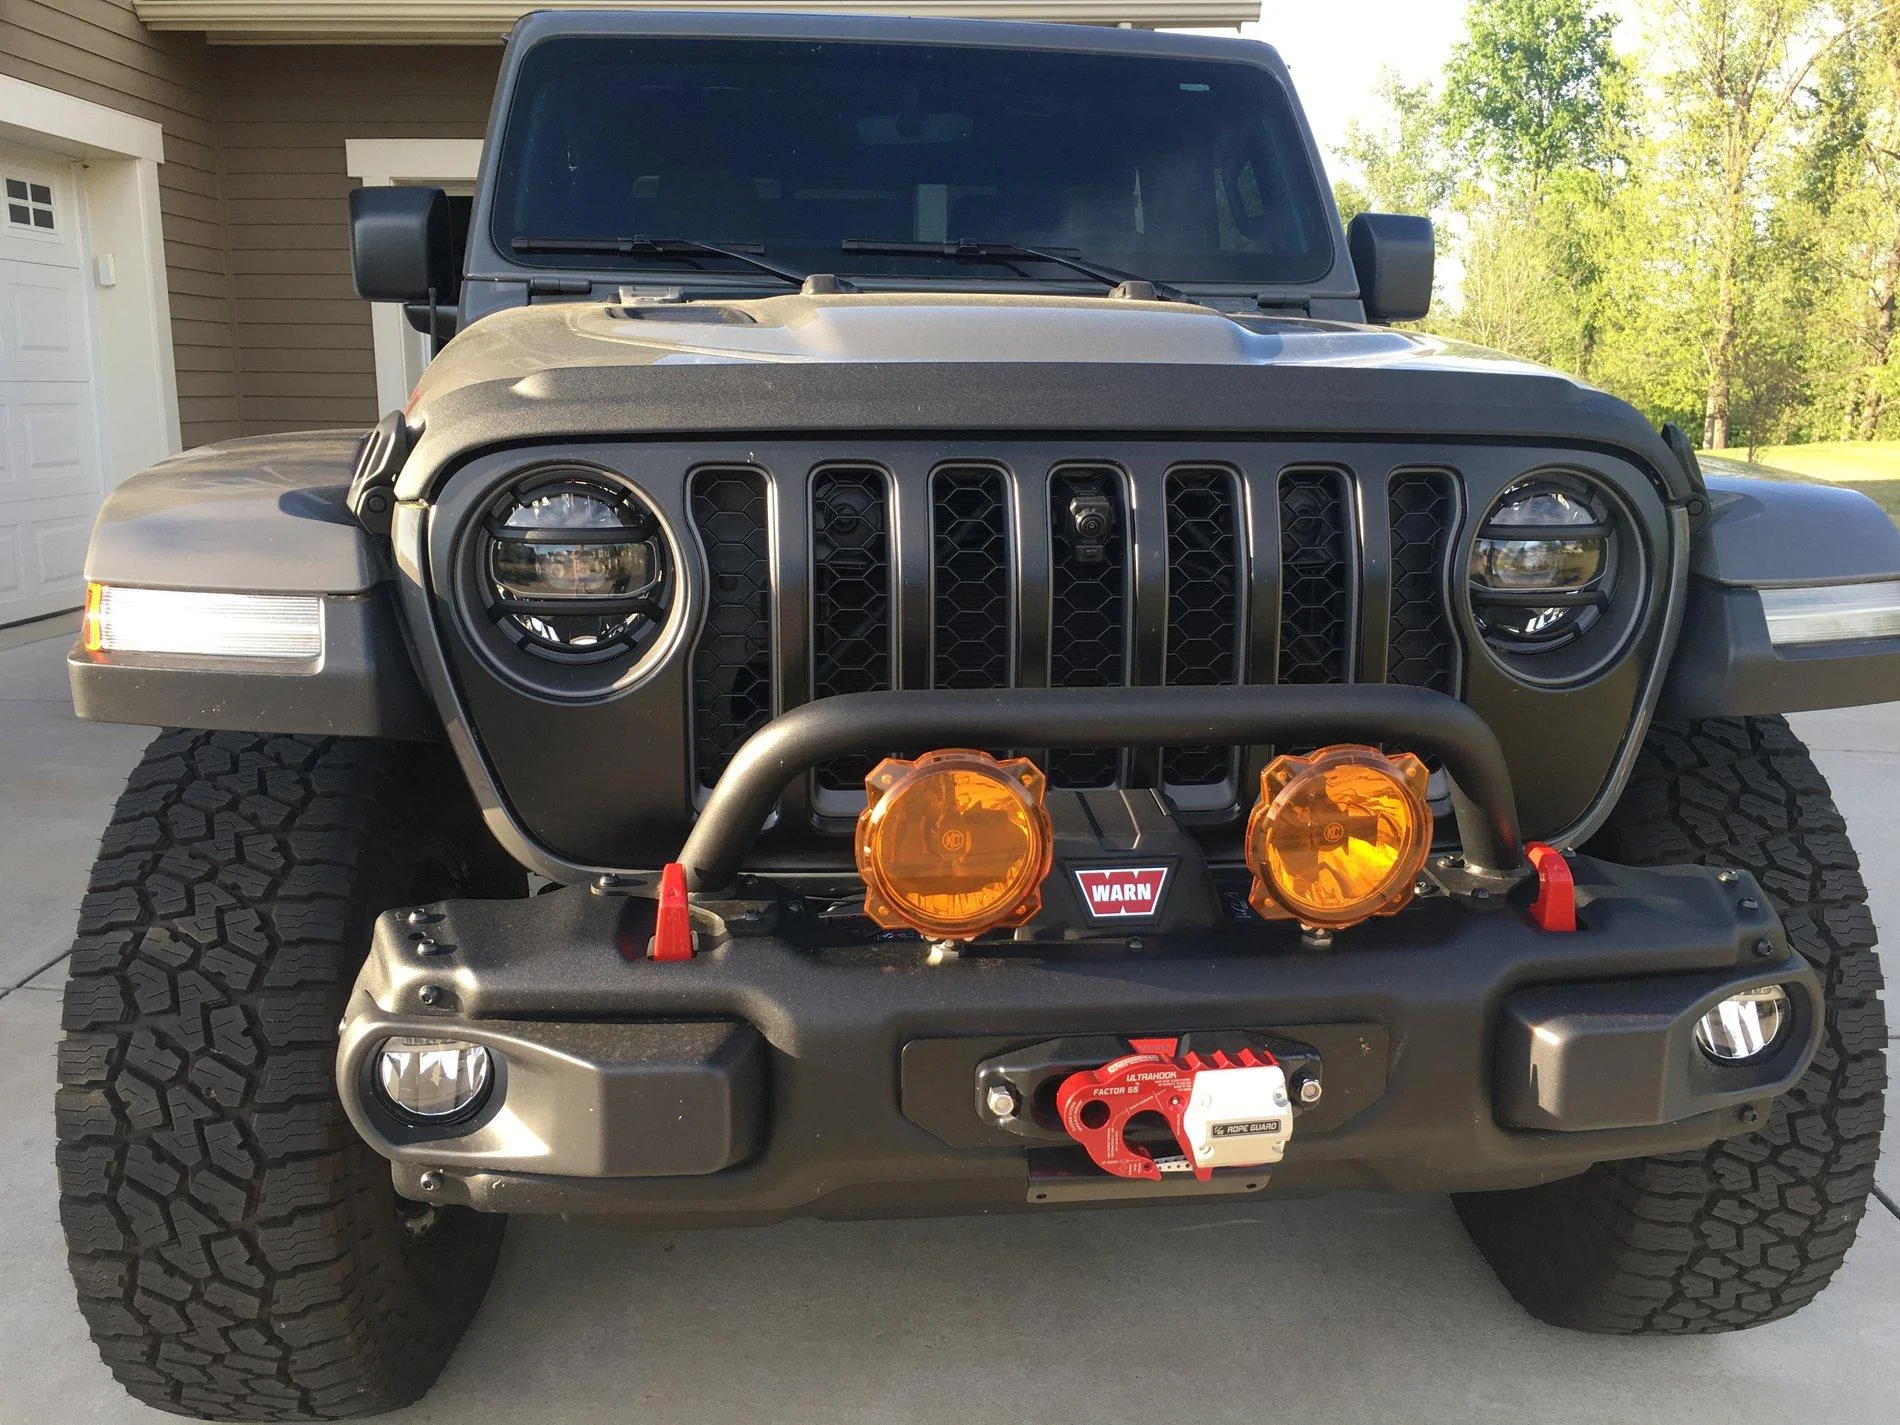
![Jeep Gladiator What did you do TO your Gladiator today? [ADMIN WARNING: NO POLITICS, NO GUN TALK] 0B6E3BEF-6FA4-4C2A-AD86-382789C59062](https://cdn.jeepgladiatorforum.com/attachments/72/72341-8a5098e91c92e2f3b67f51a4e5d0709e.jpeg)
