Gator Pit
Well-Known Member
- First Name
- Rob
- Joined
- Aug 12, 2020
- Threads
- 11
- Messages
- 146
- Reaction score
- 304
- Location
- Fort Wayne, IN
- Vehicle(s)
- 2020 Jeep Gladiator Sport S Max Tow Gator
- Occupation
- Operations Manager
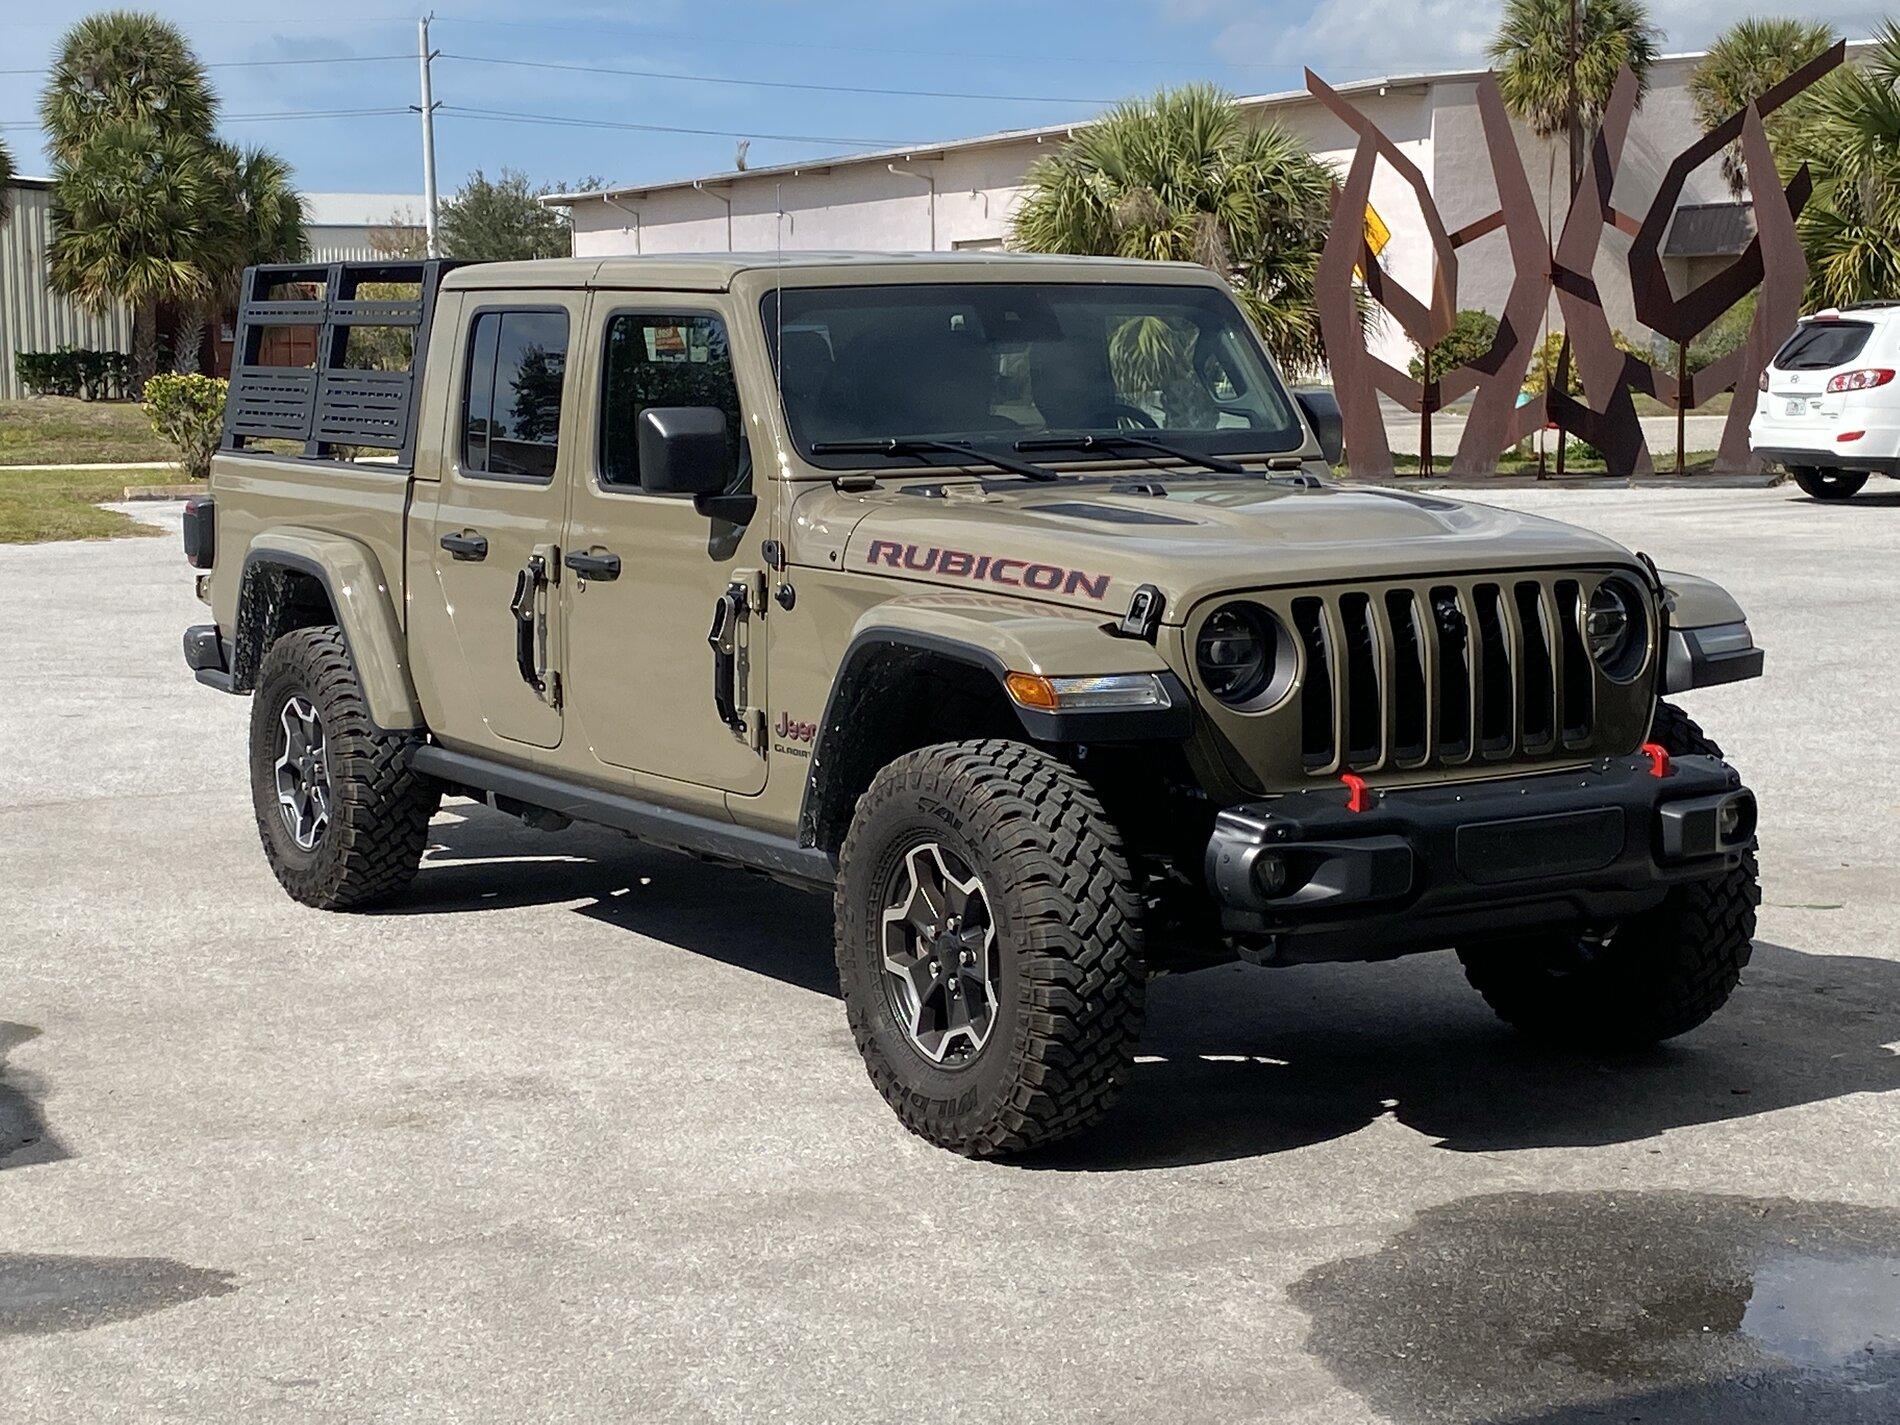
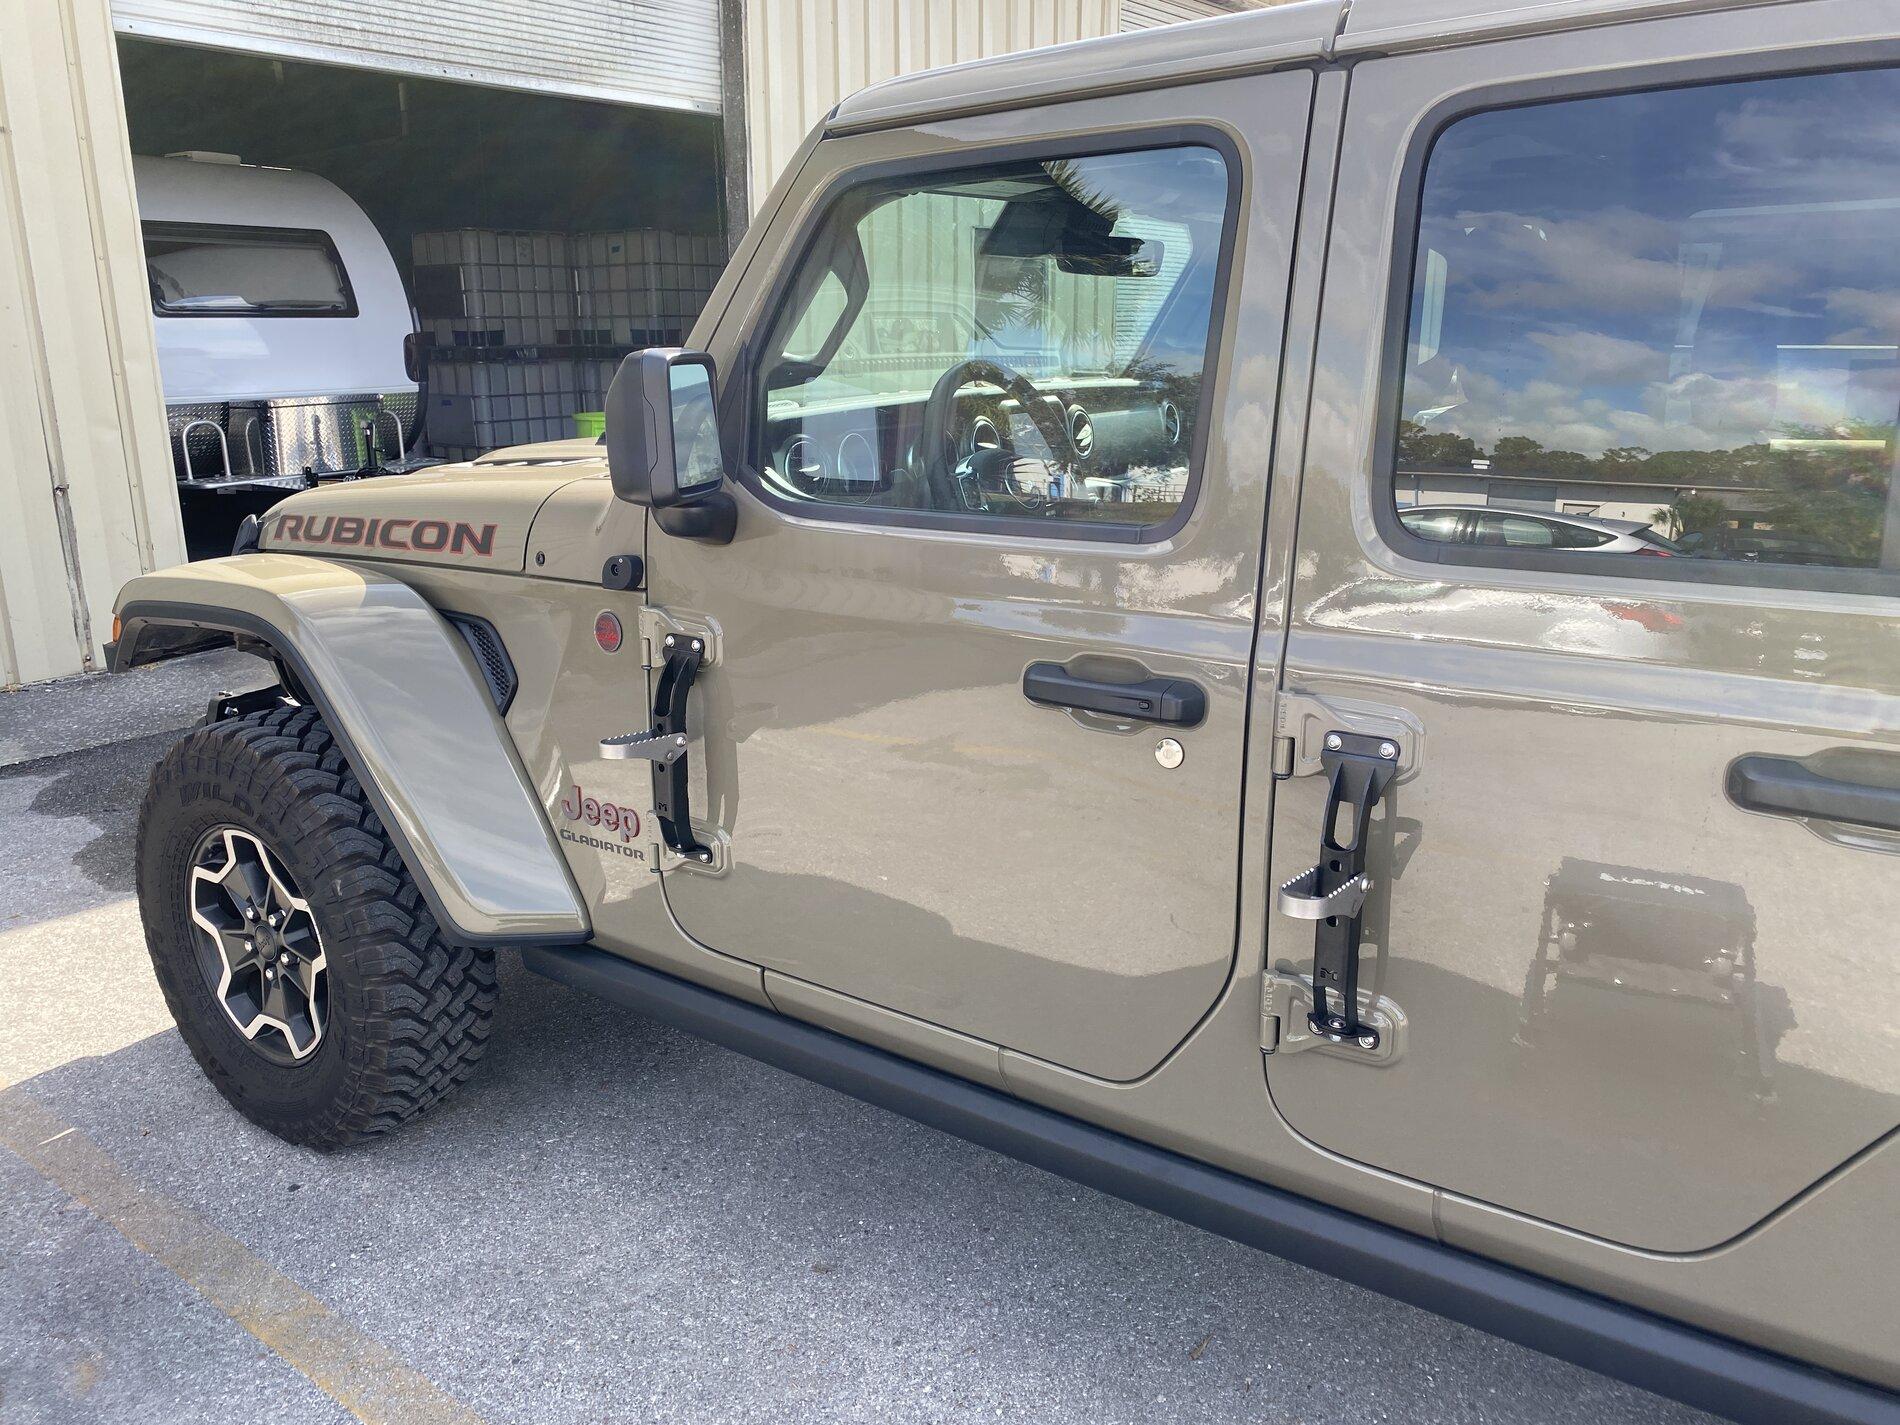
Motobilt Crusher front bumper installed today! Now to figure out what I want for a winch.
![Jeep Gladiator What did you do TO your Gladiator today? [ADMIN WARNING: NO POLITICS, NO GUN TALK] 1FFD8B3B-C573-4193-B0A0-F50A36A5364E](data:image/svg+xml;charset=utf-8,%3Csvg xmlns%3D'http%3A%2F%2Fwww.w3.org%2F2000%2Fsvg' width='1900' height='1426' viewBox%3D'0 0 1900 1426'%2F%3E)
![Jeep Gladiator What did you do TO your Gladiator today? [ADMIN WARNING: NO POLITICS, NO GUN TALK] 1FFD8B3B-C573-4193-B0A0-F50A36A5364E](https://cdn.jeepgladiatorforum.com/attachments/129/129613-eb8d4f0c553abf45df6ba90f87c86421.webp)
![Jeep Gladiator What did you do TO your Gladiator today? [ADMIN WARNING: NO POLITICS, NO GUN TALK] 5B22C4A2-0985-48A8-84BB-8AF7B33C36F3](https://cdn.jeepgladiatorforum.com/attachments/129/129614-0b093ae405e74bbb9c601ffa1bac3207.jpeg)
Sponsored
")
![Jeep Gladiator What did you do TO your Gladiator today? [ADMIN WARNING: NO POLITICS, NO GUN TALK] tempImagePfgBc2](https://cdn.jeepgladiatorforum.com/attachments/129/129617-53aba15f52157c84d531bbe351fd21f7.jpg)

![Jeep Gladiator What did you do TO your Gladiator today? [ADMIN WARNING: NO POLITICS, NO GUN TALK] 4329FC53-0DF4-45AD-8E83-D16FF113A5A6](https://cdn.jeepgladiatorforum.com/attachments/129/129622-4912c3b267921c5f4614468b02a28127.webp)
![Jeep Gladiator What did you do TO your Gladiator today? [ADMIN WARNING: NO POLITICS, NO GUN TALK] A0F2597C-6AD0-491F-A158-BF783BE92E3F](https://cdn.jeepgladiatorforum.com/attachments/129/129631-f3e437aaee80d3f3ff23be8c662bb920.jpeg)
![Jeep Gladiator What did you do TO your Gladiator today? [ADMIN WARNING: NO POLITICS, NO GUN TALK] 2693CB9B-15BF-4763-B70D-545D348336C5](https://cdn.jeepgladiatorforum.com/attachments/129/129632-285590467a3692023a8d126fdf279393.webp)
![Jeep Gladiator What did you do TO your Gladiator today? [ADMIN WARNING: NO POLITICS, NO GUN TALK] 57A3C12F-A4A4-4129-9A32-8029E7661410](https://cdn.jeepgladiatorforum.com/attachments/129/129630-78794900e4c434603fc22fba3c338444.jpeg)
![Jeep Gladiator What did you do TO your Gladiator today? [ADMIN WARNING: NO POLITICS, NO GUN TALK] 8BB57547-D15D-4BAB-A59C-01C6F989E1B4](https://cdn.jeepgladiatorforum.com/attachments/129/129648-4c7b2f2ad1f9ac96c087b2f65077dcad.jpeg)
![Jeep Gladiator What did you do TO your Gladiator today? [ADMIN WARNING: NO POLITICS, NO GUN TALK] E468B906-902E-464D-B50E-9A9434D178B6](https://cdn.jeepgladiatorforum.com/attachments/129/129649-61c0e710740bcbac0b5b6323088b47d7.jpeg)
![Jeep Gladiator What did you do TO your Gladiator today? [ADMIN WARNING: NO POLITICS, NO GUN TALK] 7A50735D-B393-4F16-A66D-F77E15D2F59B](https://cdn.jeepgladiatorforum.com/attachments/129/129650-df462ea7b8a773d03c91a1a4459f45f1.jpeg)
![Jeep Gladiator What did you do TO your Gladiator today? [ADMIN WARNING: NO POLITICS, NO GUN TALK] 08D9D159-AF7A-4E9F-99F7-8E40D32E5929](https://cdn.jeepgladiatorforum.com/attachments/129/129651-f916f279b454befae04d42f69760d1db.jpeg)
![Jeep Gladiator What did you do TO your Gladiator today? [ADMIN WARNING: NO POLITICS, NO GUN TALK] F87B2DFD-2CF0-442F-883E-CAD1F12B2FD7](https://cdn.jeepgladiatorforum.com/attachments/129/129652-a18f289b76646fafb45c4d2c01553354.webp)
![Jeep Gladiator What did you do TO your Gladiator today? [ADMIN WARNING: NO POLITICS, NO GUN TALK] 530107E6-34B2-450E-B90B-66B1CE7496E2](https://cdn.jeepgladiatorforum.com/attachments/129/129653-f71b5a15b4e837e9d8e003ed684e73d6.jpeg)
![Jeep Gladiator What did you do TO your Gladiator today? [ADMIN WARNING: NO POLITICS, NO GUN TALK] 3D029B52-012D-47D1-B032-E75B1EA2A6AC](https://cdn.jeepgladiatorforum.com/attachments/129/129654-c3d387669dd5d4cc9e5efdf3ab7f1d20.webp)

![Jeep Gladiator What did you do TO your Gladiator today? [ADMIN WARNING: NO POLITICS, NO GUN TALK] 20210124_201212](https://cdn.jeepgladiatorforum.com/attachments/129/129665-92eb401886e3a383a0145df359988240.jpg)
![Jeep Gladiator What did you do TO your Gladiator today? [ADMIN WARNING: NO POLITICS, NO GUN TALK] 20210124_200911](https://cdn.jeepgladiatorforum.com/attachments/129/129666-4bff2dc364db98fcd0dd666d93f2f5dc.jpg)
![Jeep Gladiator What did you do TO your Gladiator today? [ADMIN WARNING: NO POLITICS, NO GUN TALK] 20210124_201429](https://cdn.jeepgladiatorforum.com/attachments/129/129667-be764aac01b49e0ae708d777da14aae4.jpg)
![Jeep Gladiator What did you do TO your Gladiator today? [ADMIN WARNING: NO POLITICS, NO GUN TALK] 20210117_180058](https://cdn.jeepgladiatorforum.com/attachments/129/129672-2bb834b65c13ad731619f0d8c7e28ca5.webp)
![Jeep Gladiator What did you do TO your Gladiator today? [ADMIN WARNING: NO POLITICS, NO GUN TALK] 20210117_160756](https://cdn.jeepgladiatorforum.com/attachments/129/129673-339ea29f8e15eae730d49a0abc48c13c.jpg)
![Jeep Gladiator What did you do TO your Gladiator today? [ADMIN WARNING: NO POLITICS, NO GUN TALK] 20210117_175726](https://cdn.jeepgladiatorforum.com/attachments/129/129675-459153fd50e525e45a3e6418f05e982b.jpg)
