OP
OP
Flyin6
Well-Known Member
- Thread starter
- #16
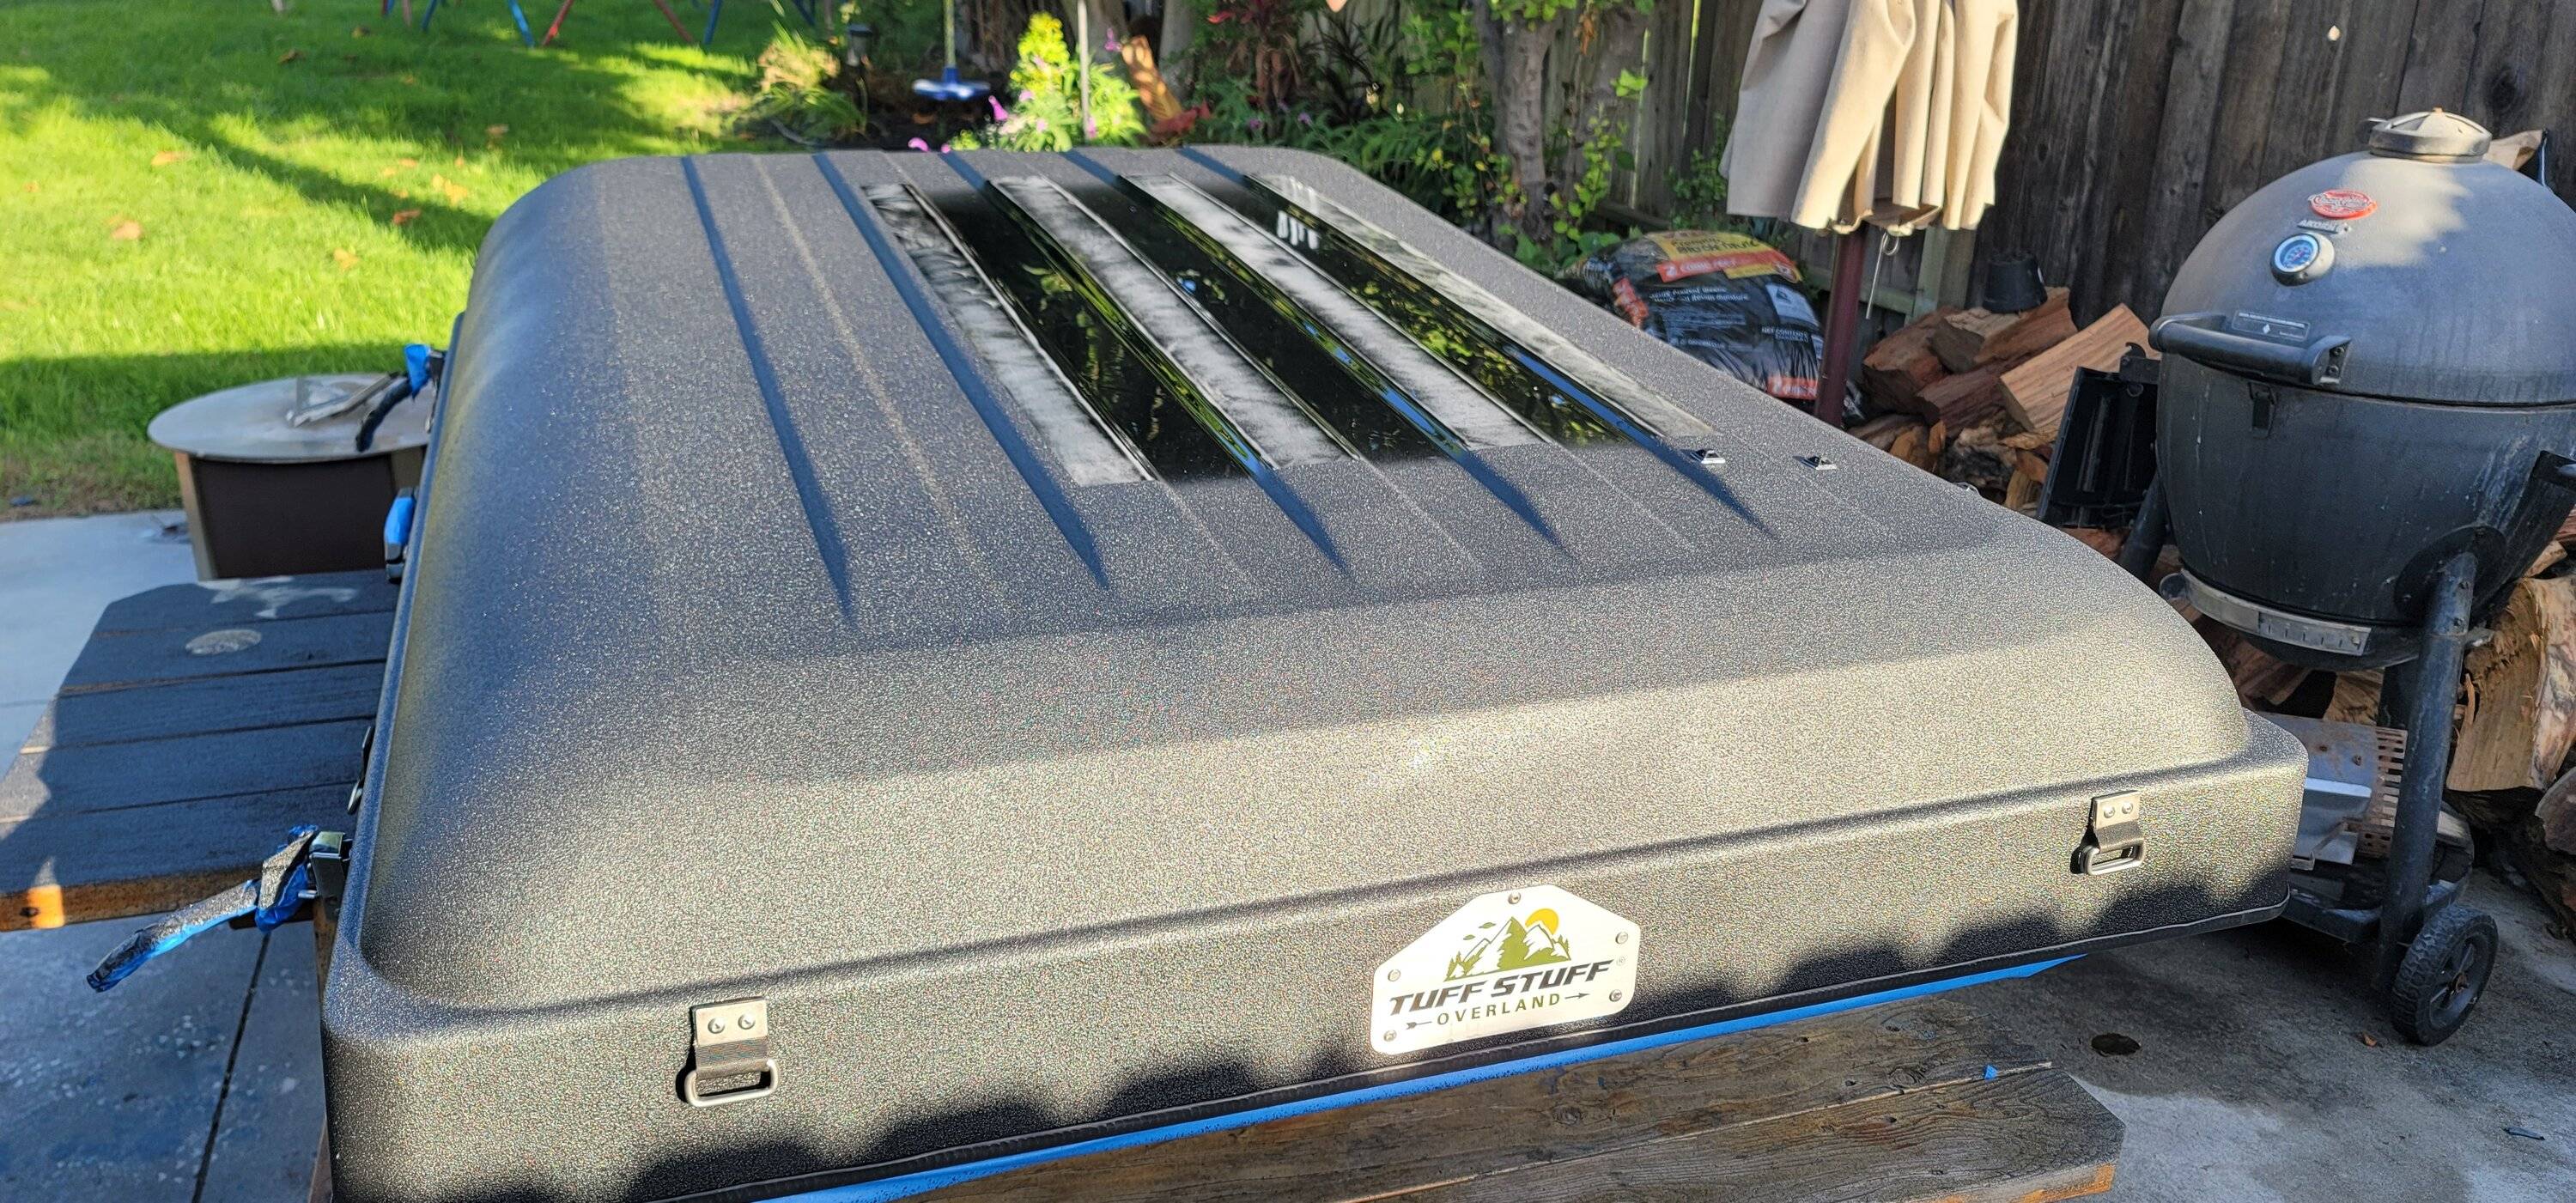
A couple of takeaways. Flexible panels #...hmmm makes me wonder if they will attach to the fiberglass shell of the IKamper???So here's a couple thoughts if you do go this route:
1) I totally get the weight concerns (my current build scaled at 200# over GVWR fully loaded just before Overland Expo West) but the Renogy 100W Flexible panels are only 4.2# each. That's pretty light and the value they bring to your experience is worth more than that (IMHO).
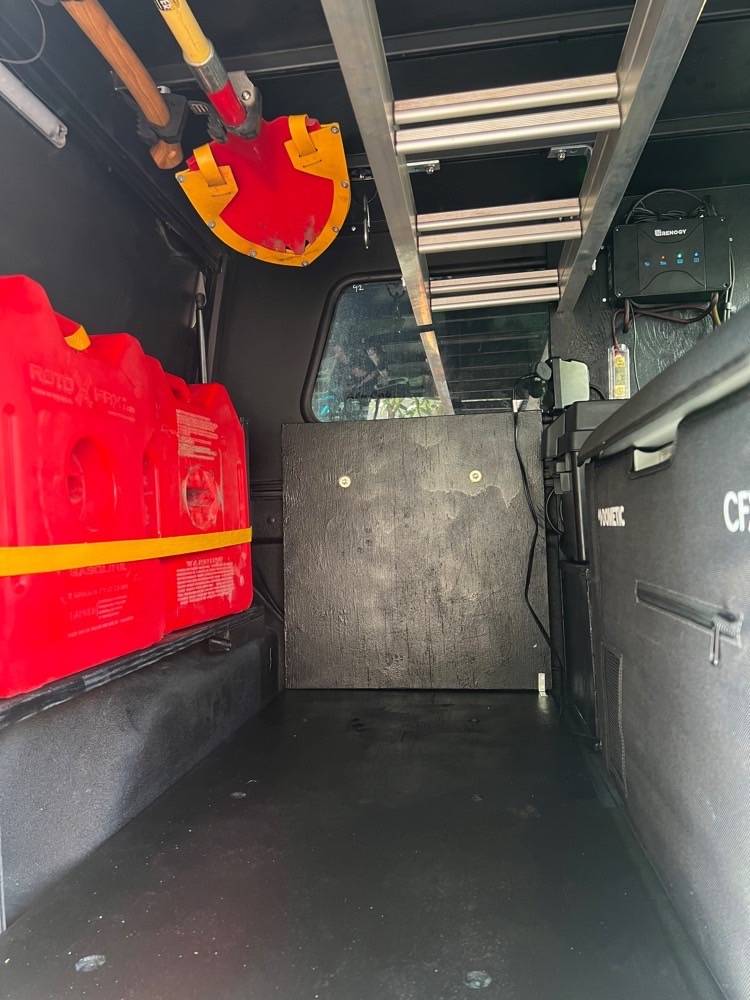
2) Depending on your power needs, you may not need 2 batteries. There are 200aH batteries as well. The challenge is that it has a bigger footprint and might not fit where you need it to.
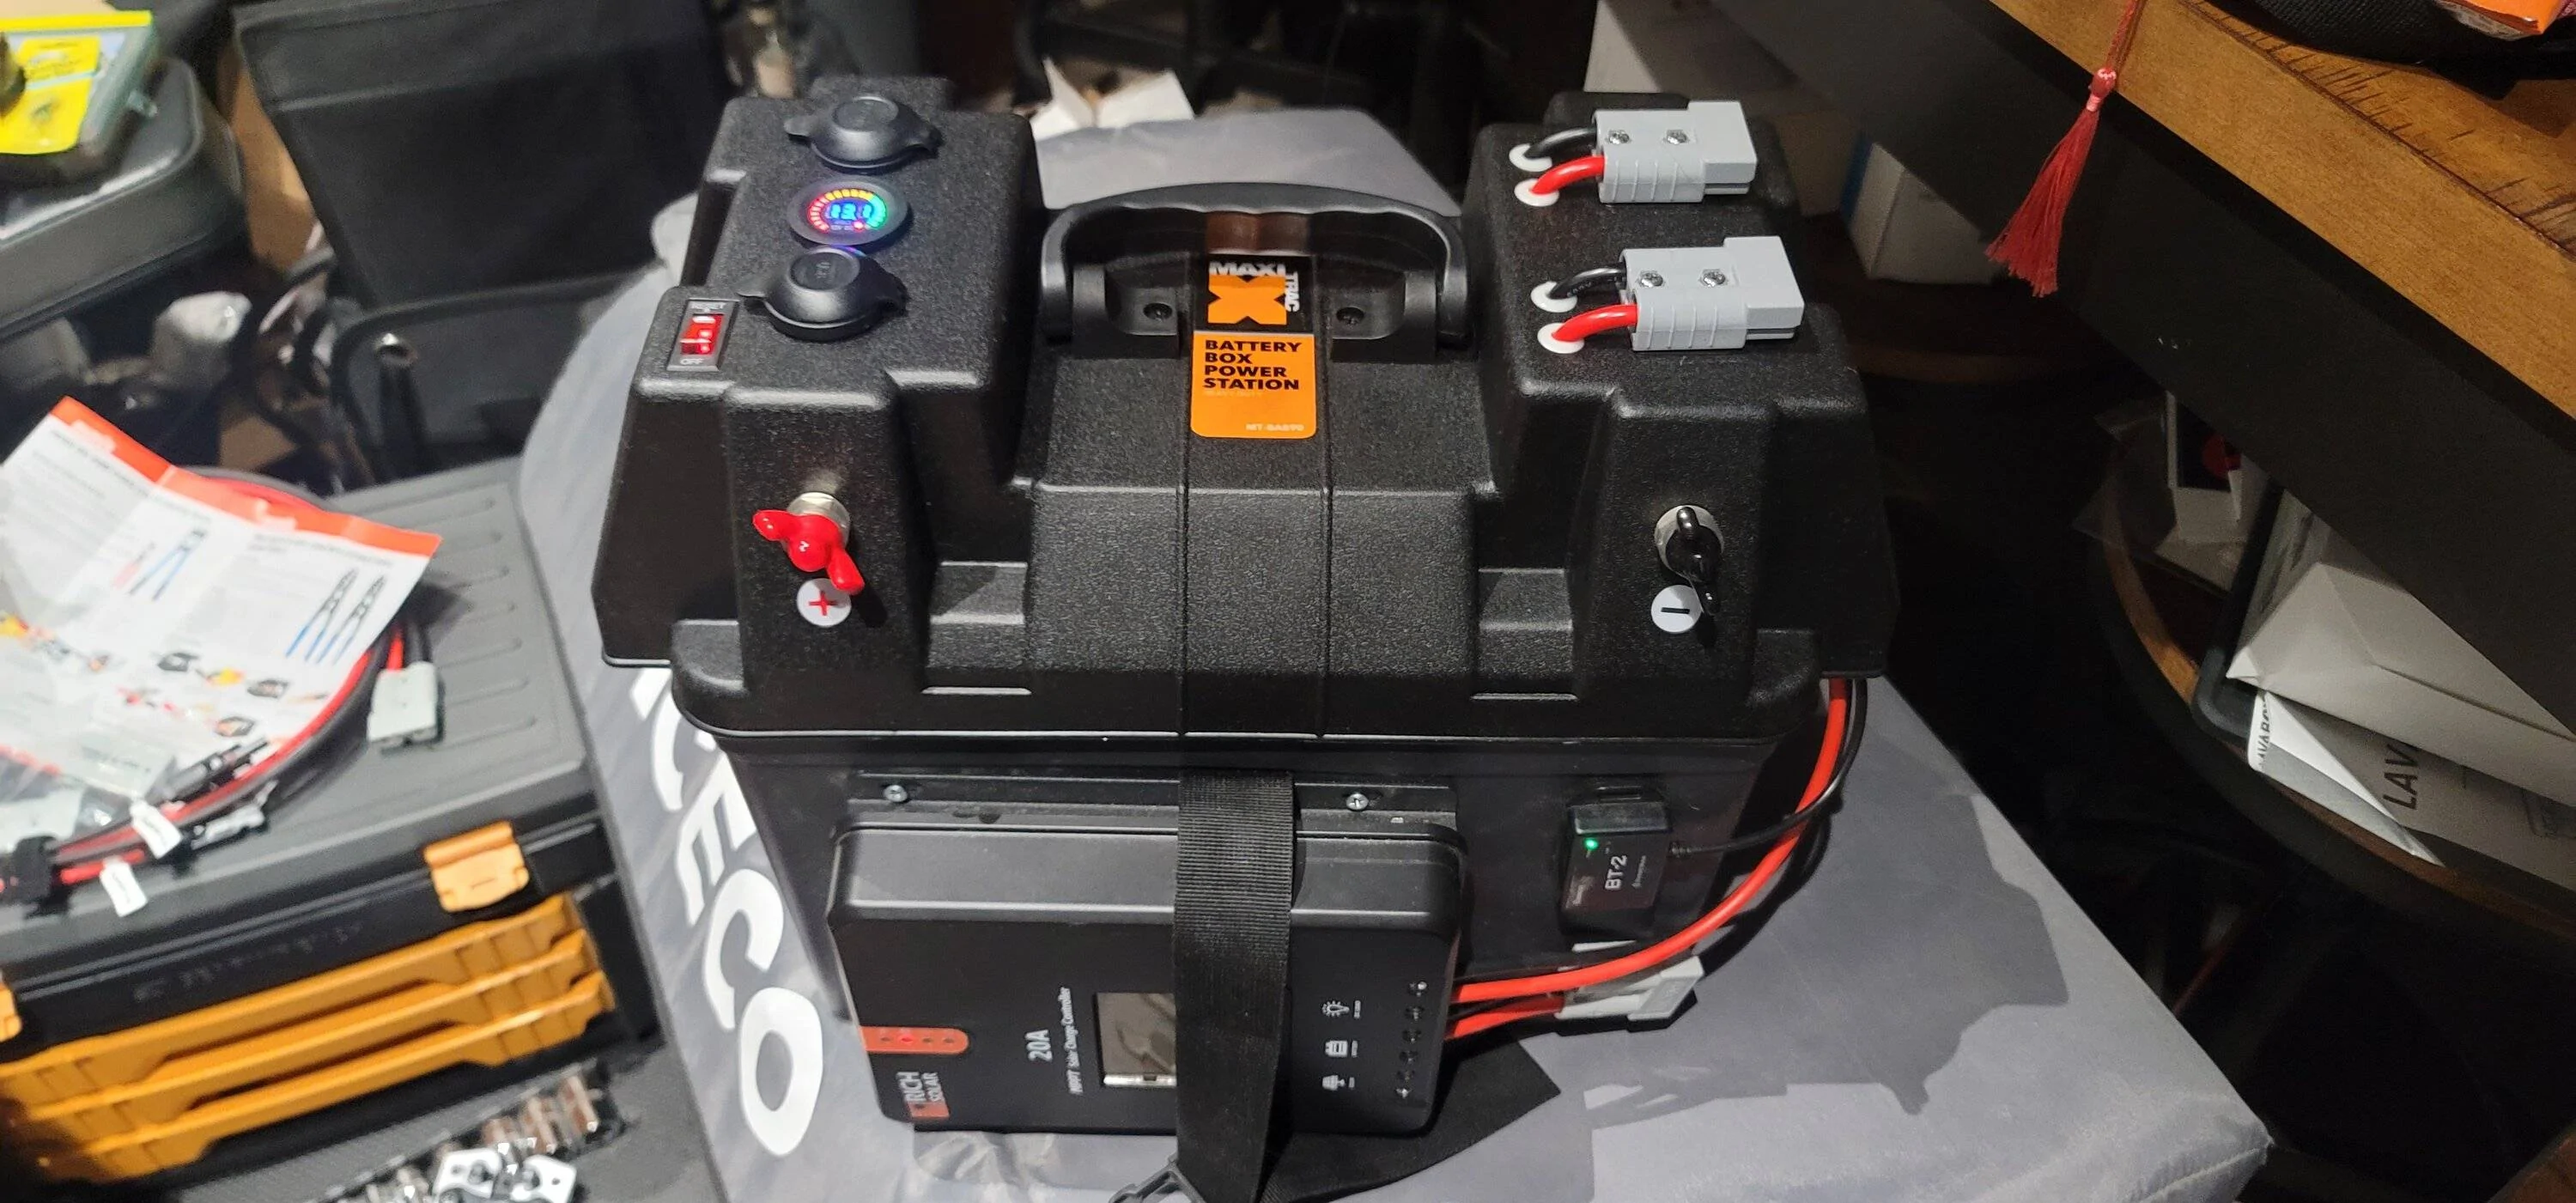
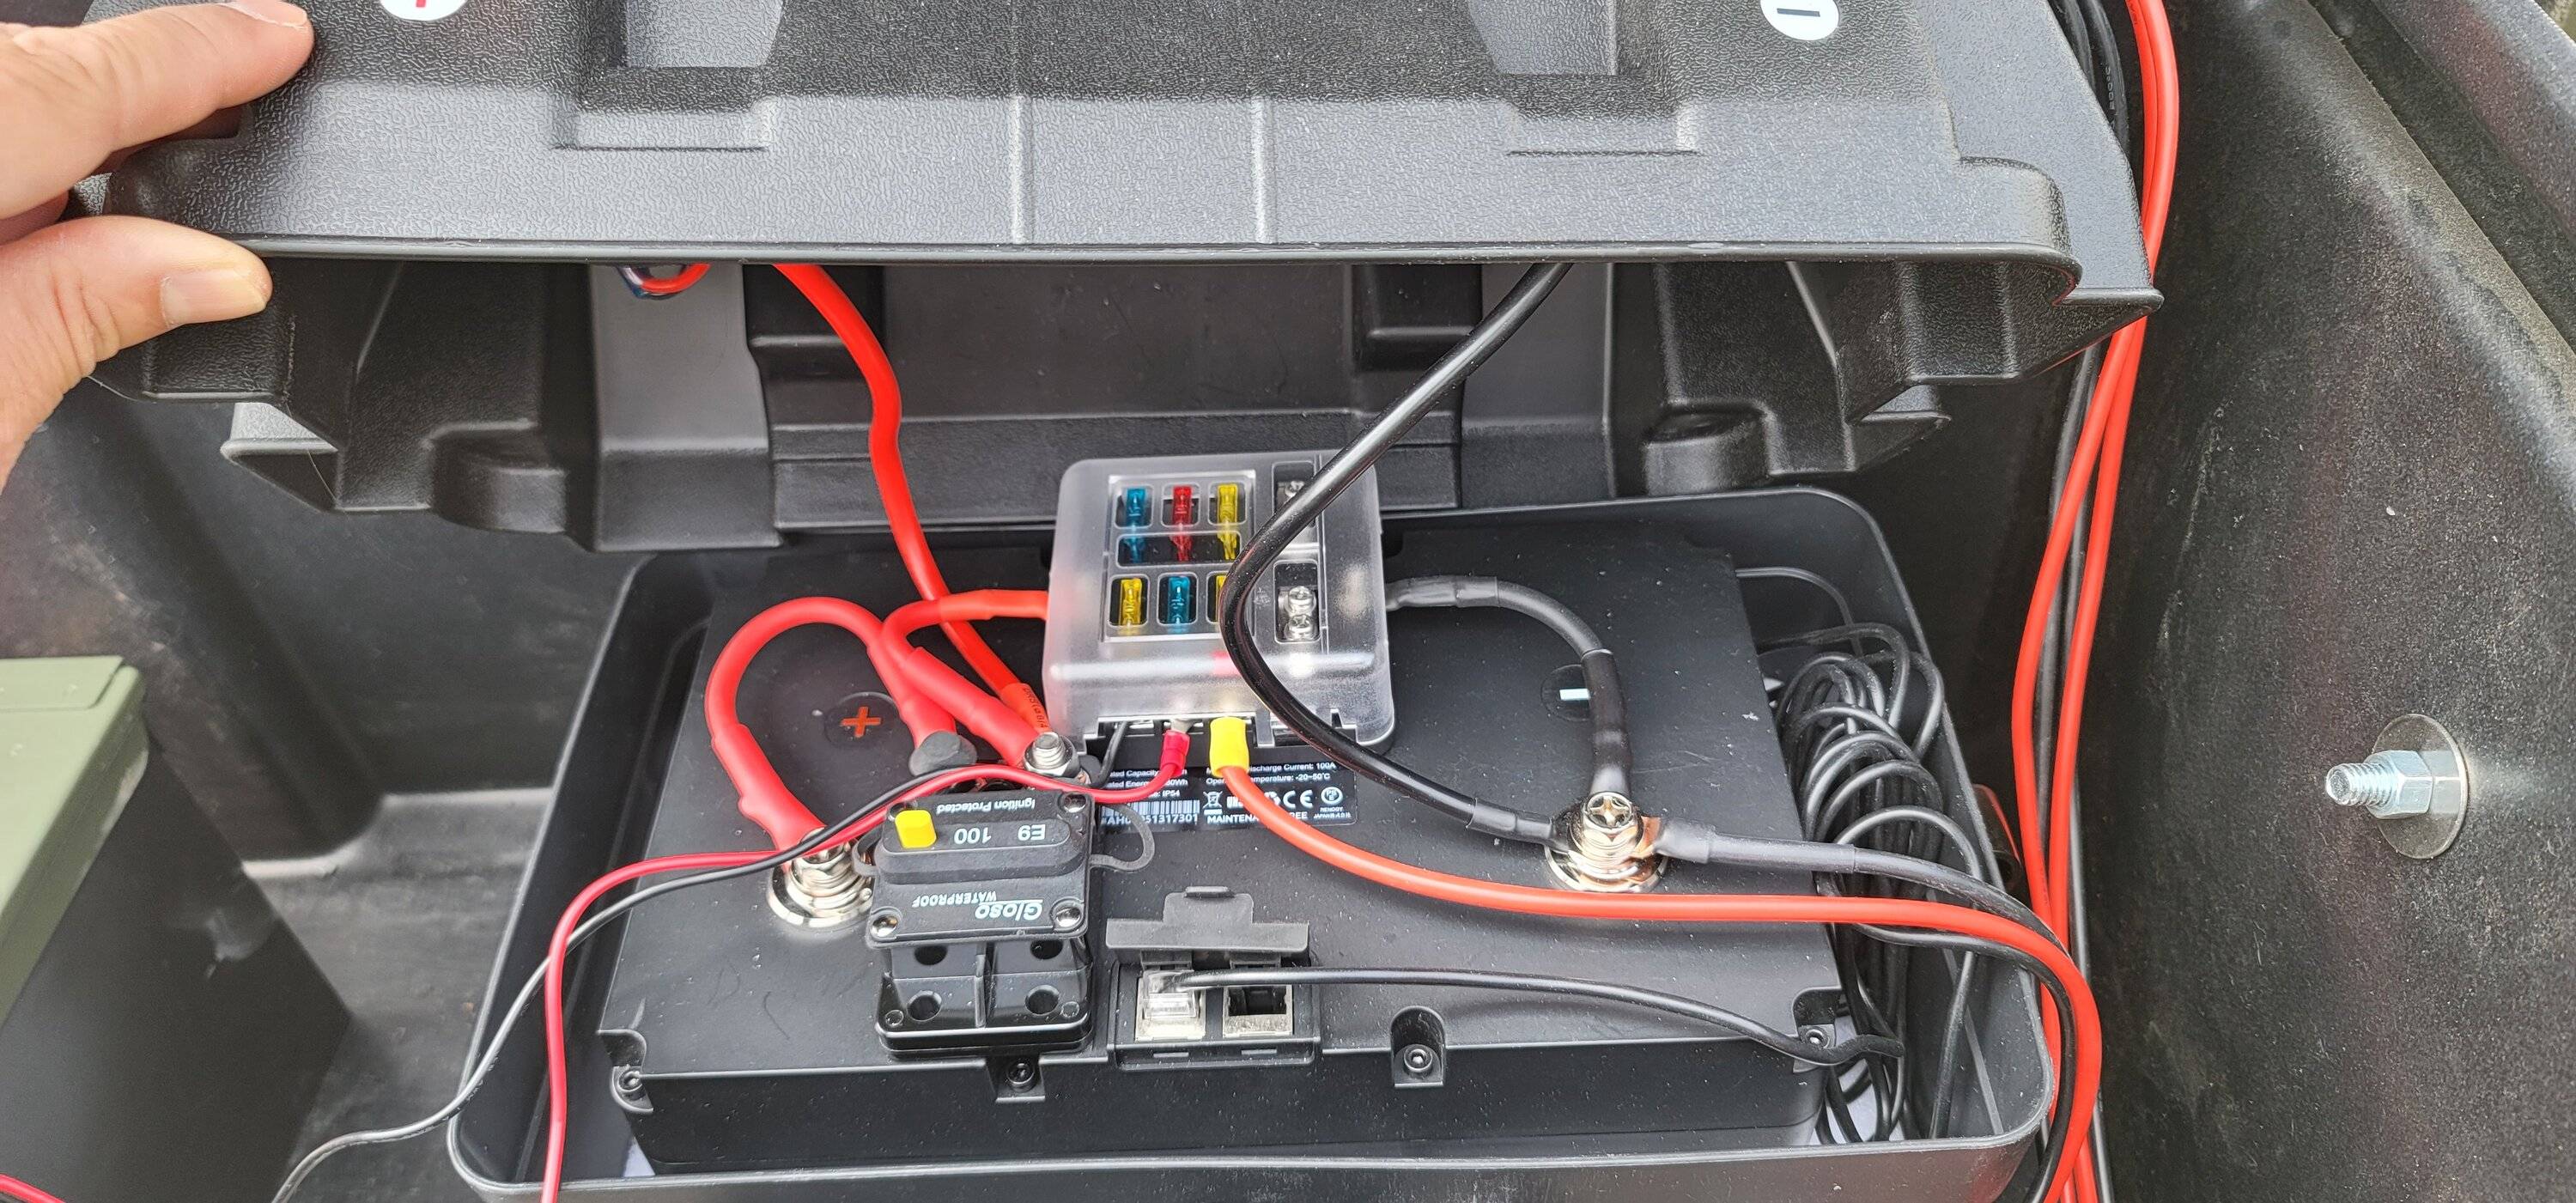
3) Pay close attention to what you want from your battery as far as features. I was in a discussion with someone in a different thread who was going to have to buy additional components because he bought the wrong battery. Specifically, he wanted to be able to monitor SOC (State of Charge) but had not bought one of the Renogy batteries that has the built in BT Xmter. He had bought a version that had a built in heater because of his cold weather use; but that one doesn't come with the BT Xmtr.
More on this topic (you may already know all of this but I learned some expensive lessons along the way and someone else reading this may find it helpful, so...apologies if necessary)
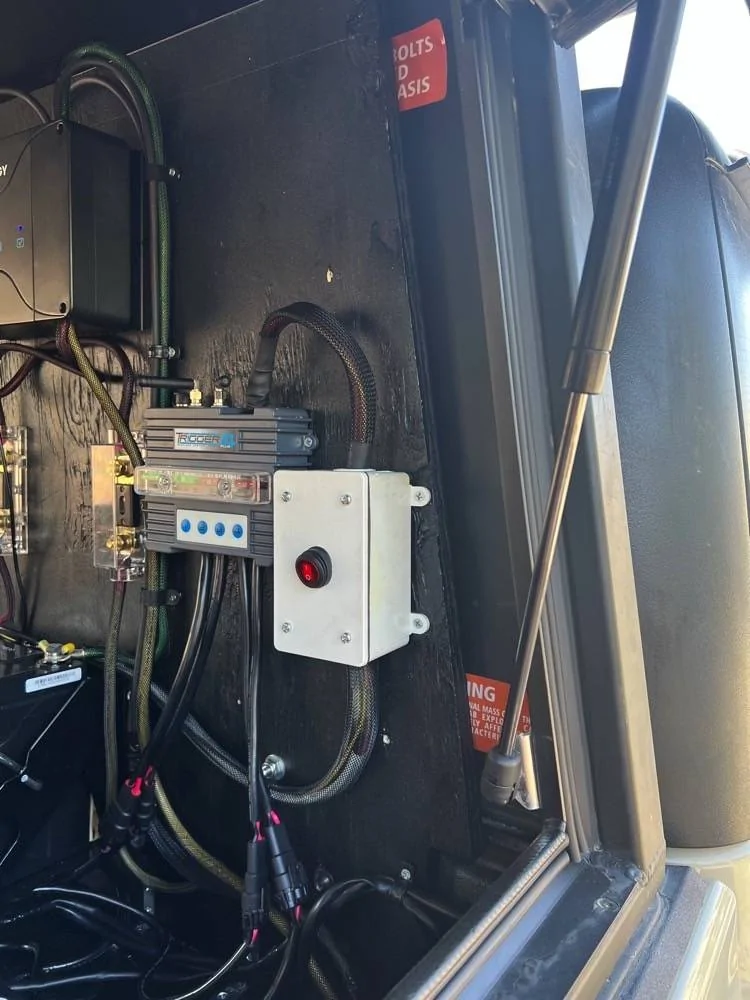
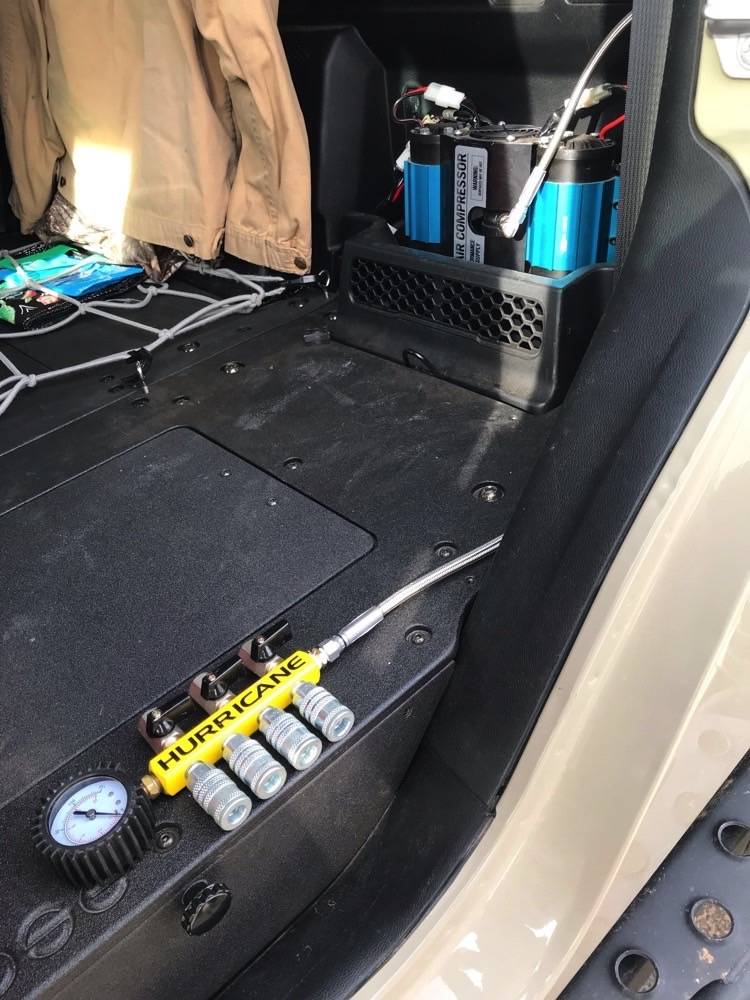
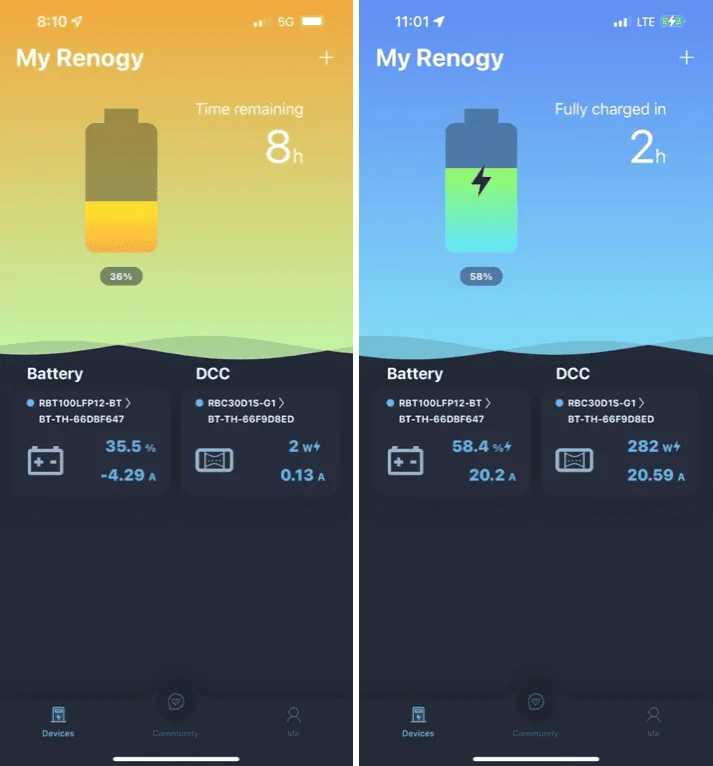
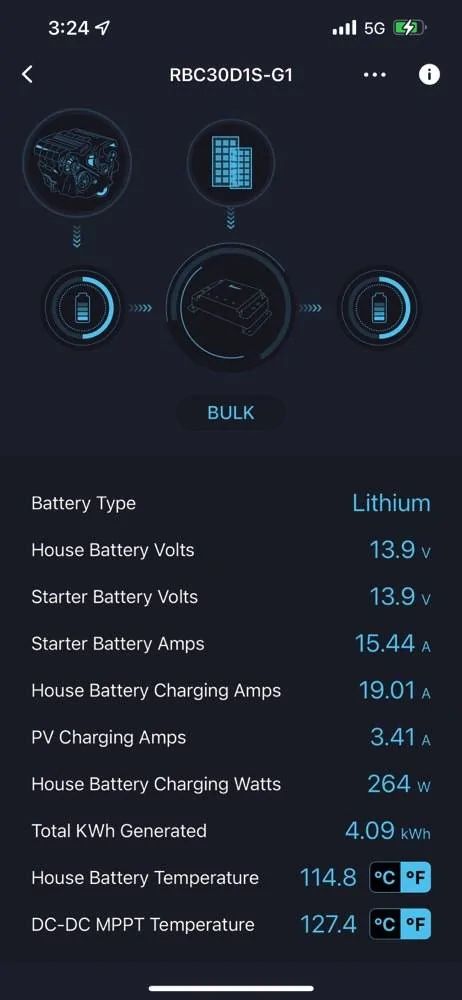
4) You will definitely want a way to monitor your system and its performance (I bet you love to fly by instrumentation, lol). I know the other Solar system companies do something with their system but here's how Renogy works. The DC-DC MPPT system does not have built in BT (at least mine didn't, maybe they do now) so I had to buy the plug-in BT module. In the pic above you can see it in the top left with the green light on and says BT-2. That communicates my charging system status. My 100aH battery has an onboard BT Xmtr. Both of those talk to the DC Home app on my iPhone (and supposedly can be loaded on the Garmin Tread but I haven't tried that yet) and provides screens like this:
This pic is the front page of the app
"Before" Charging_____________________"After" Charging

Drilling down into the DCC, I can see in this pic that alternator is contributing 15.44A and solar is contributing 3.41A for a combined 19.01A charge while I was driving down the road.

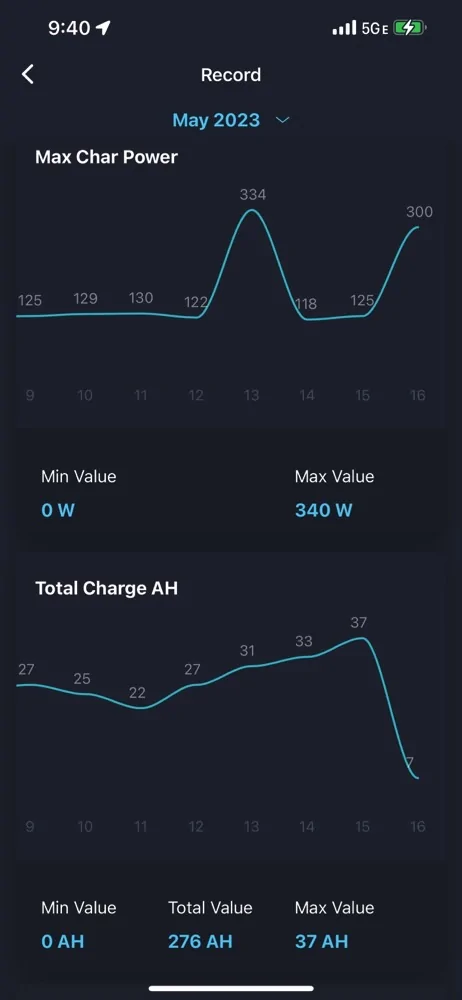
there are some drill down menus that also graph your day over day, month over month amp/volt/charge performance but I don't have a pic of that to post.
EDIT: Found an old pic. There are about 10 parameters it graphs. Drop down month selector at top of screen and day of month on the graph X-axis.
Cheers
Knowledge is power and the charting of battery use/life remaining could be enormously helpful.
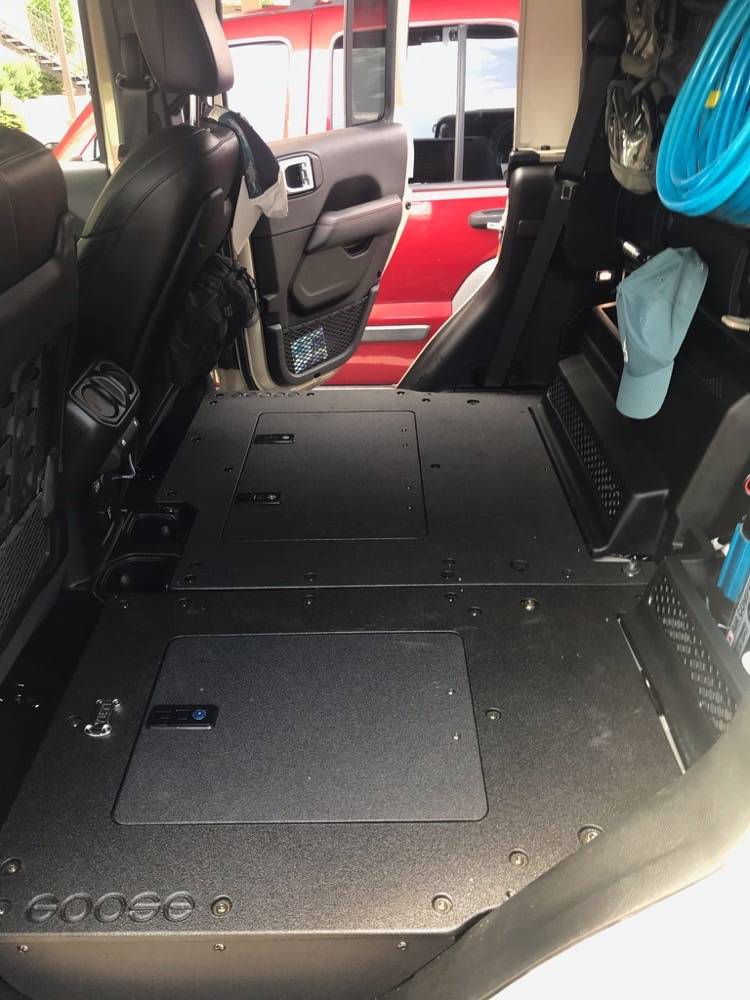
Dedicated vs removable???
Since I sort of use the Jeep as a run-about and leave the big 1-ton parked, I like the option of removing nonessential stuff.
Thinking
I need to get after it. There is a lot of stuff to buy and not a lot of time before we burn up the highways again.
Sponsored