Relentless_Eric
Active Member
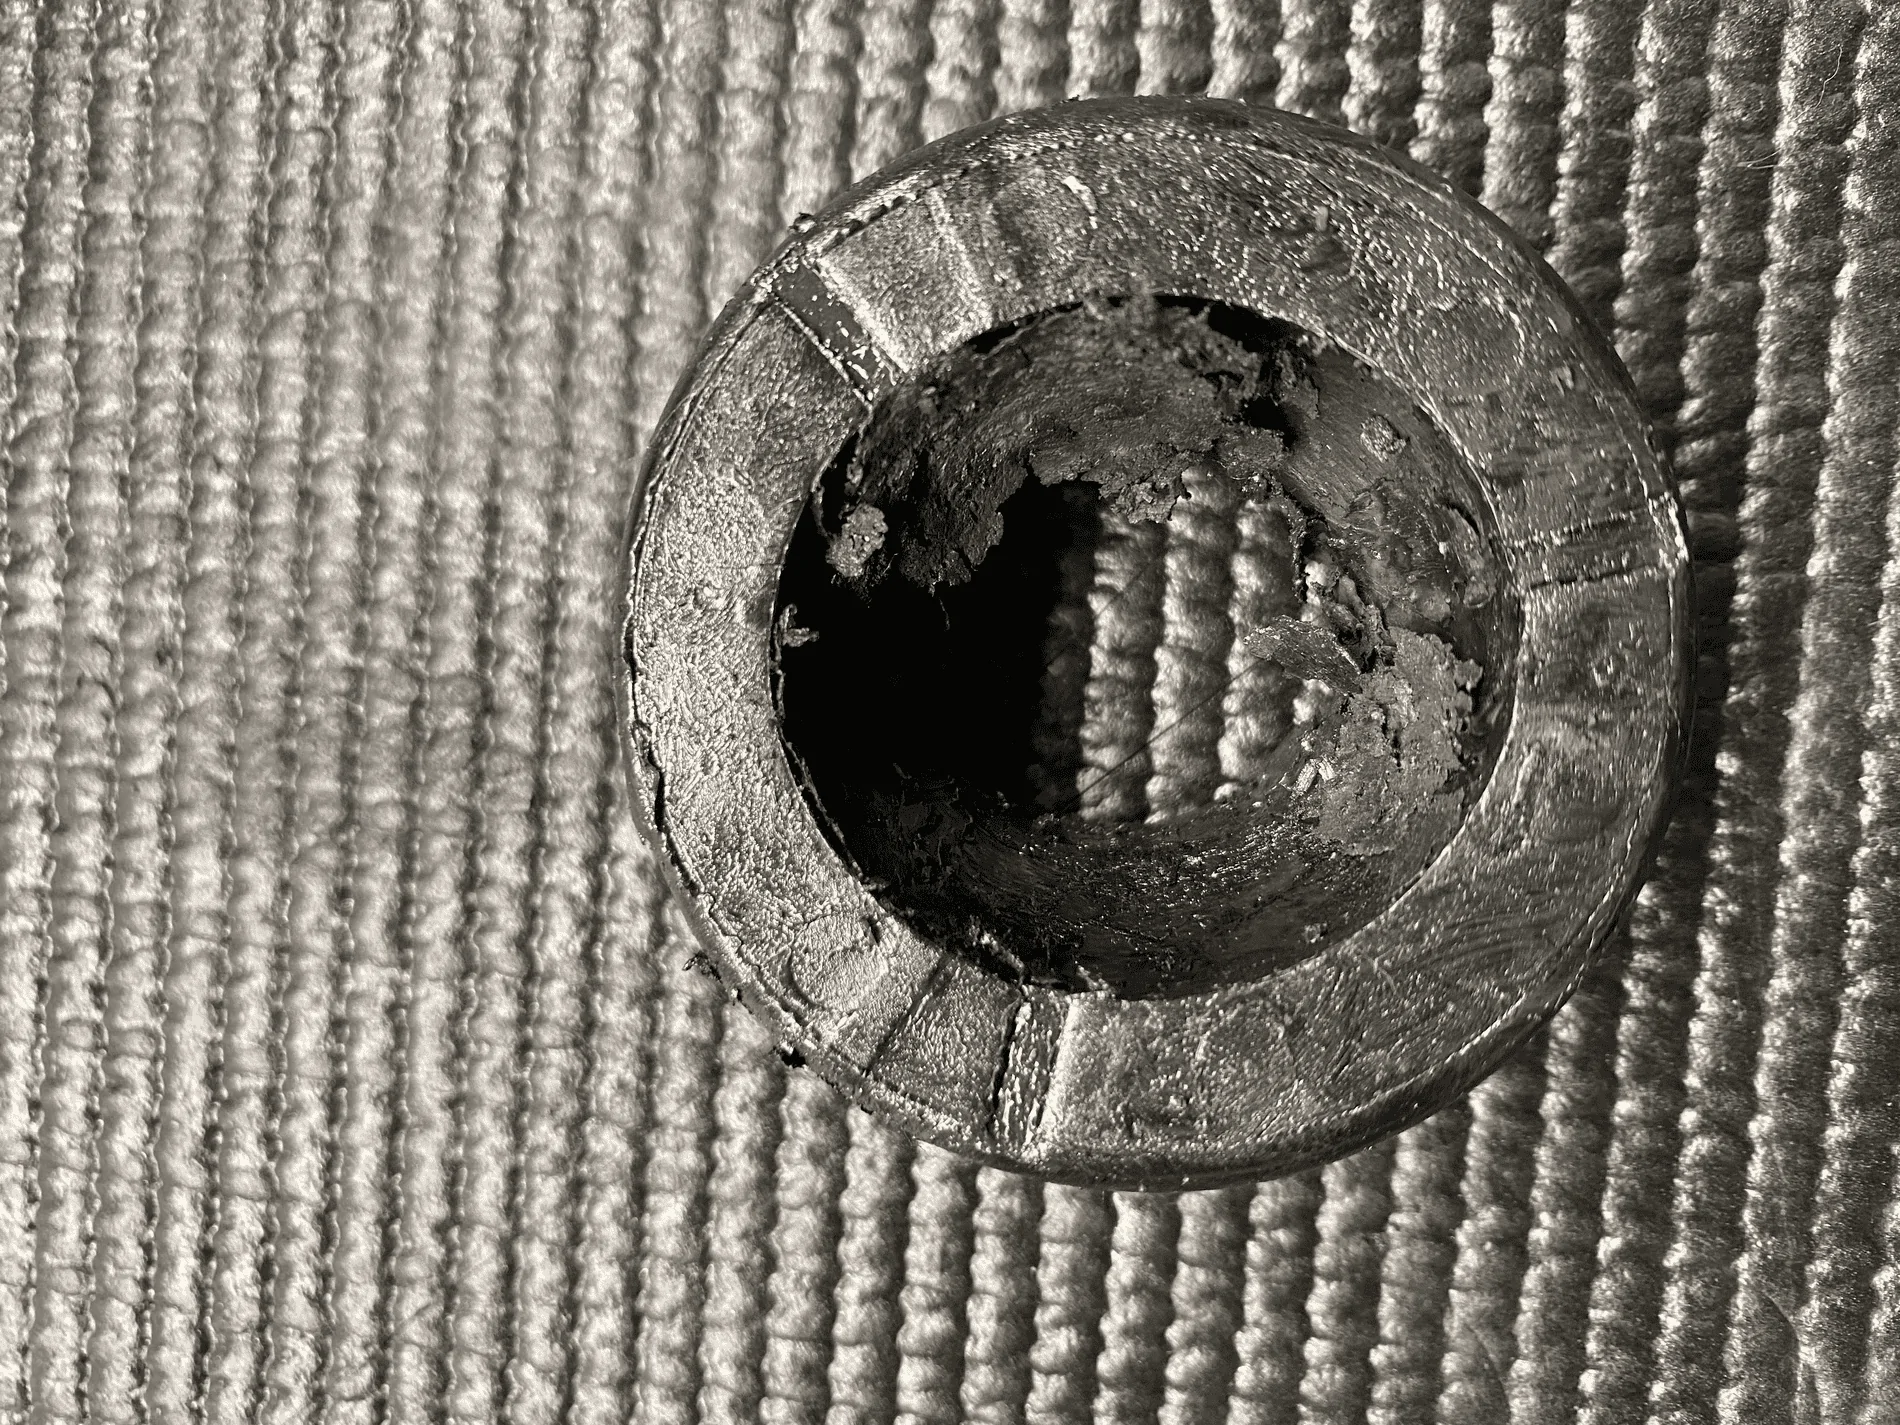
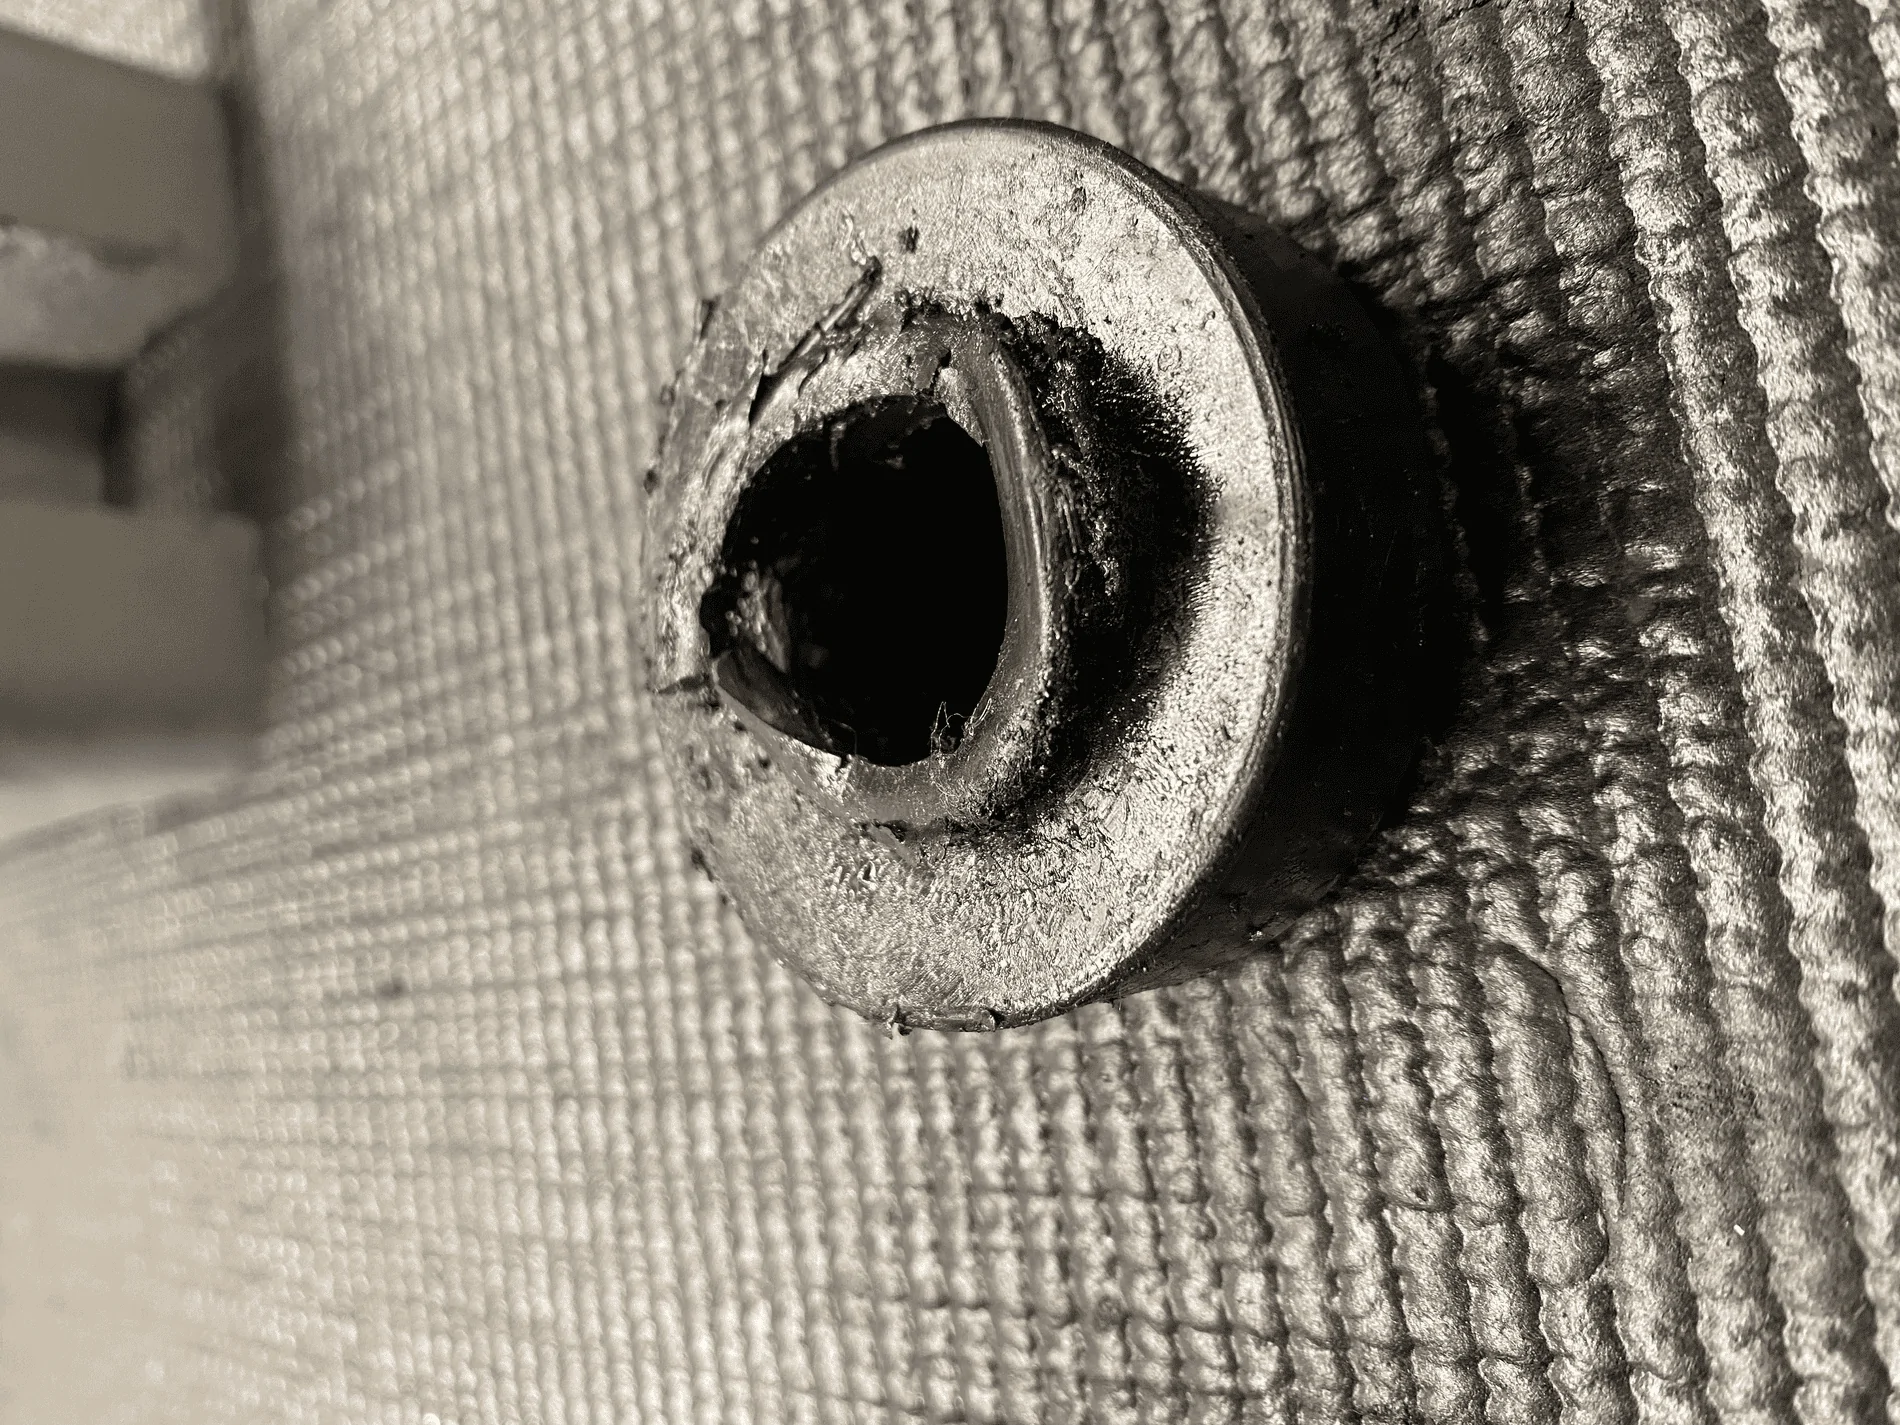
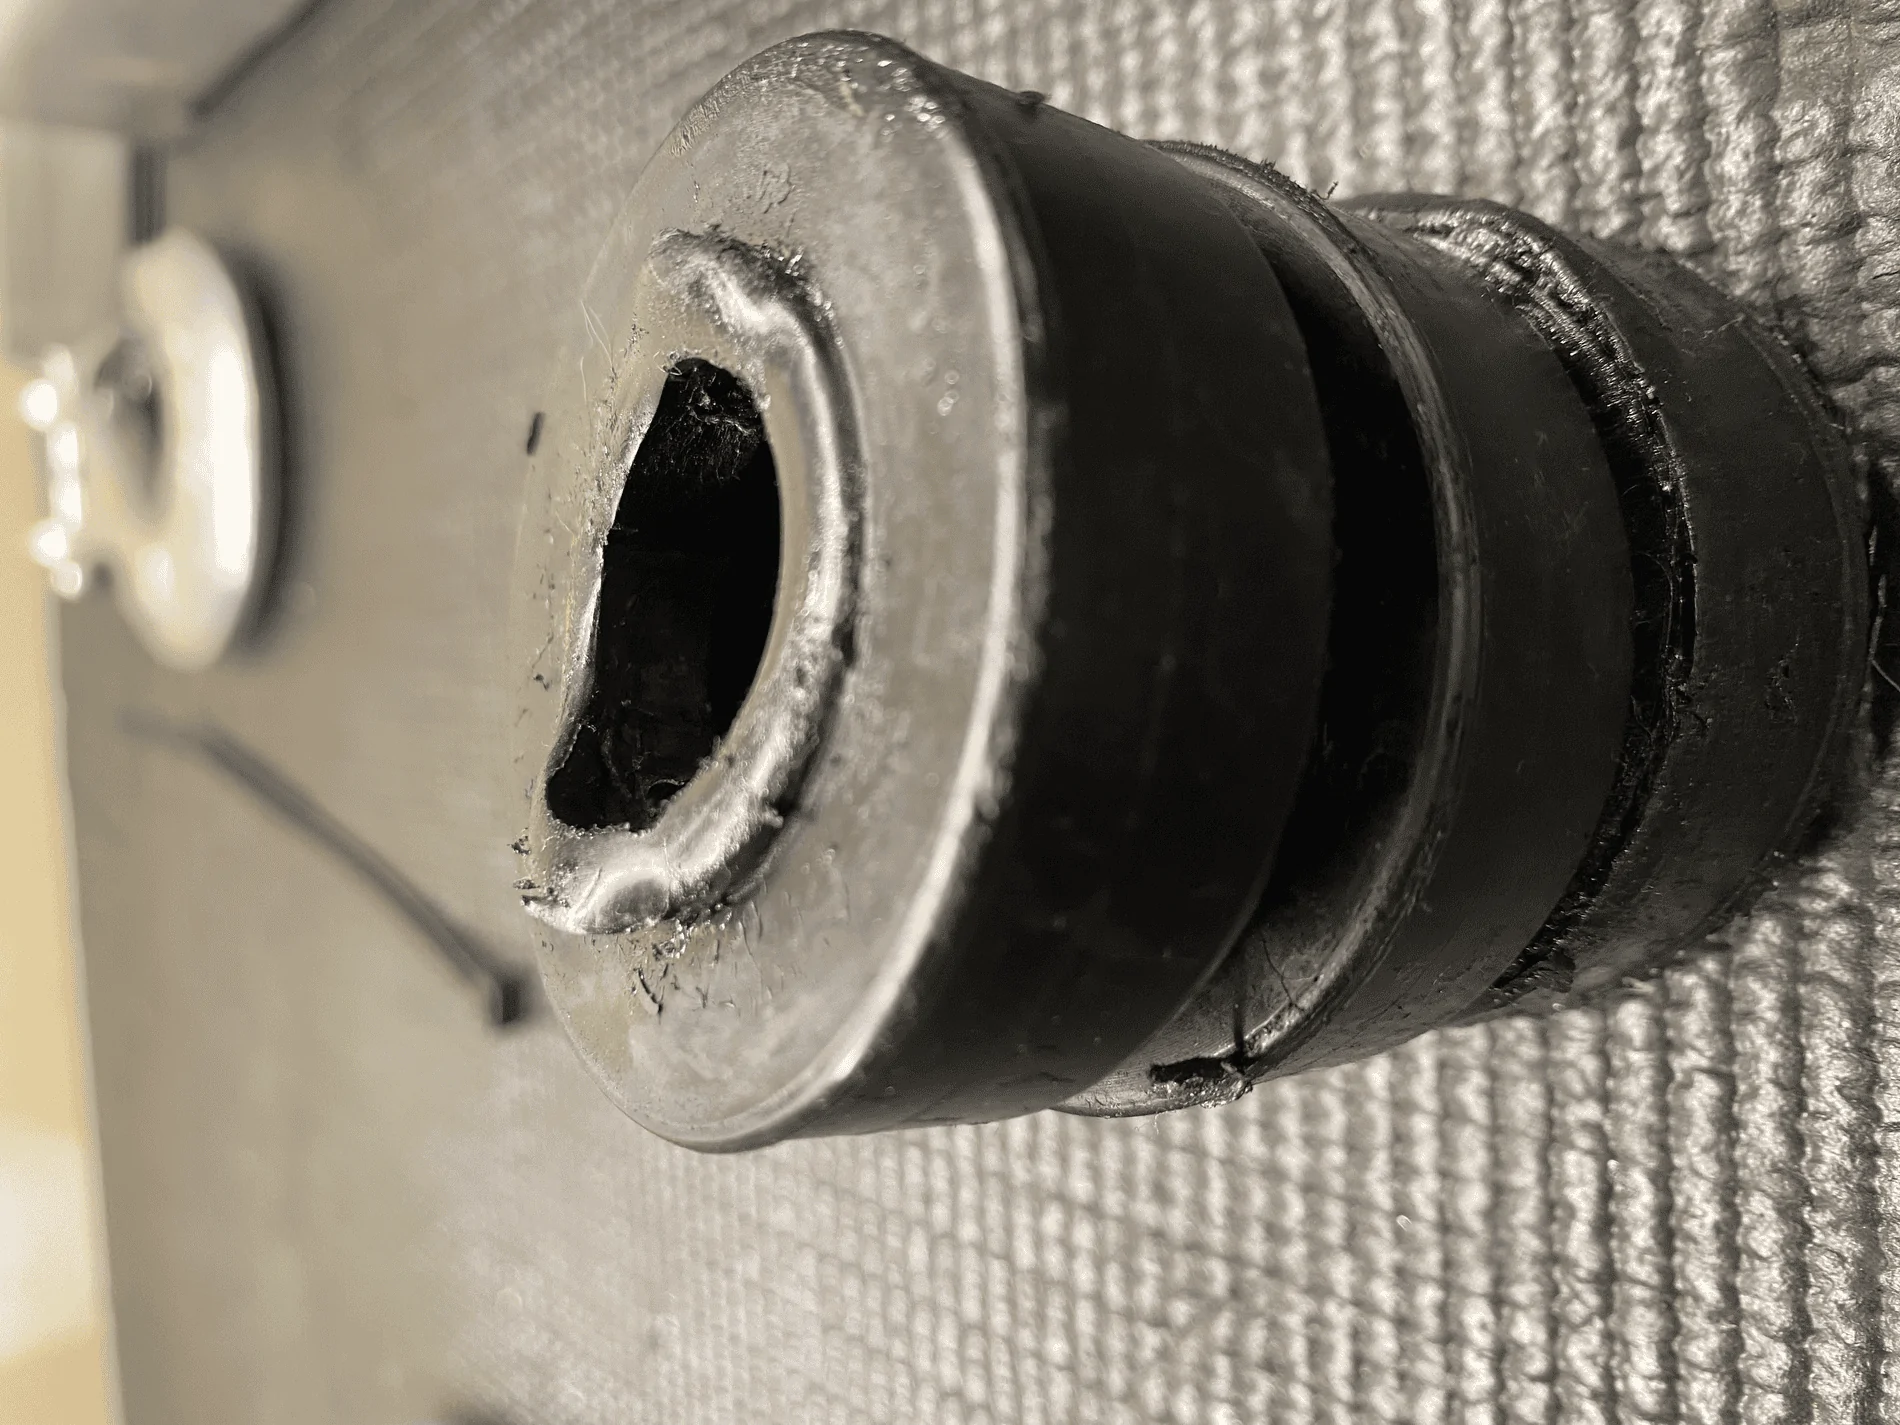
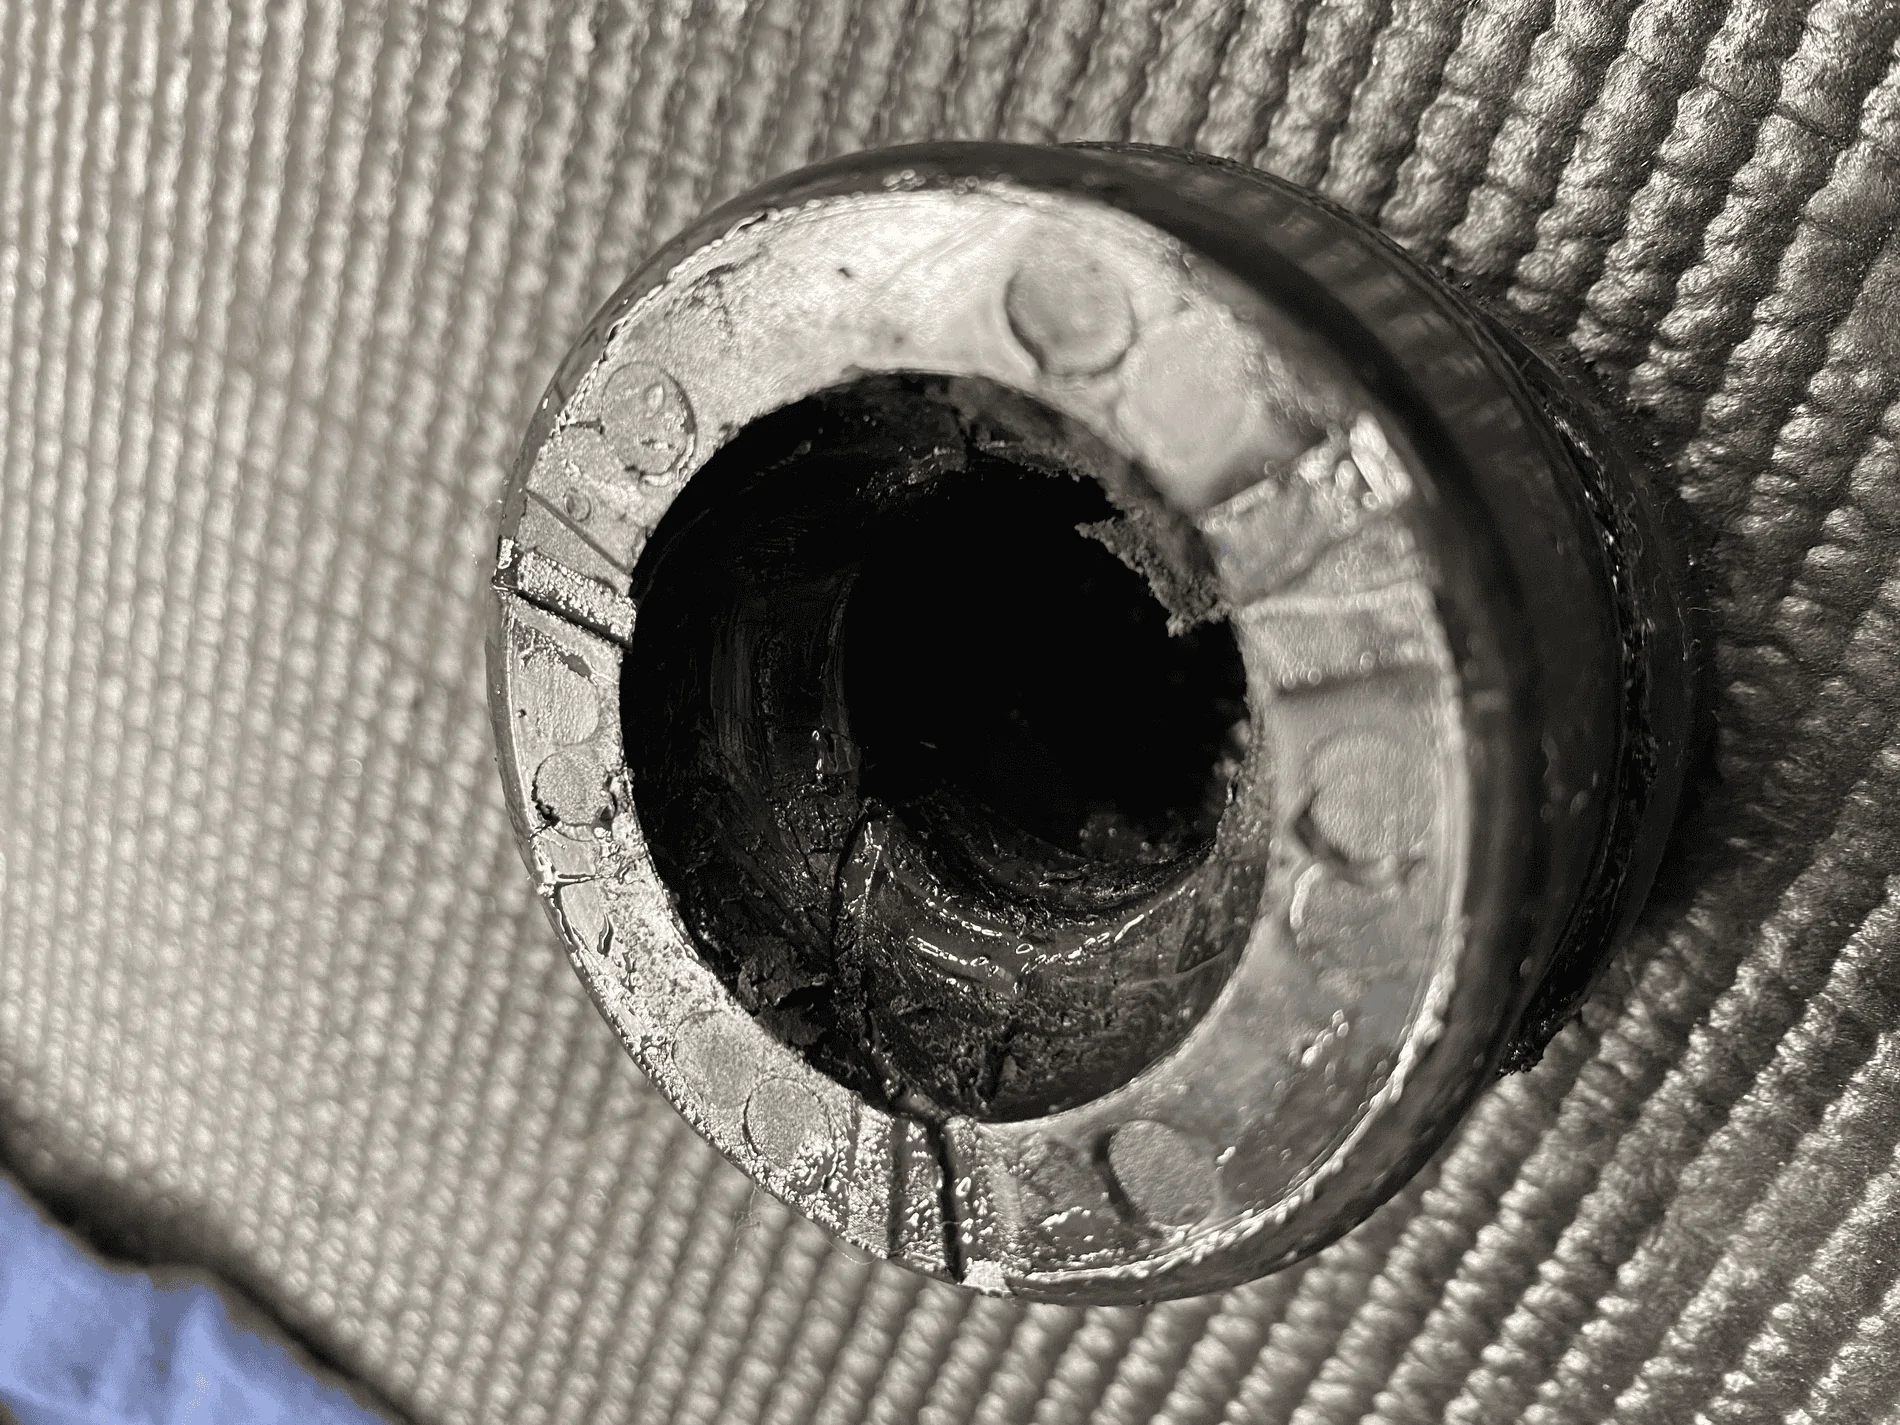
Anyone else on here get the TSB replacement bushings and start tackling the replacement? Man some of mine are toast, good thing they're getting changed out now with updated ones. I will say though, the job has been a real pain- taking me about 3hrs per pair of links to remove links, disassemble the joints, clean, grease, and install the new bushings then reinstall the links. Did both front and rear uppers so far, hope to get enough time to finish the lowers and the track bar this weekend.
Sponsored