Sponsored
OP
OP
DailyDrivenTJ

DailyDrivenTJ

Well-Known Member
First Name
Michael
Joined
Nov 19, 2023
Threads
22
Messages
319
Reaction score
226
Location
PNW
Vehicle(s)
2023 JTRD, 1999 TJ-6 HEMI, 1998TJ, 2000 XJ 4.6L
Jeep Gladiator Mopar Trail Cam DIY Installation - 2023 Diesel Gladiator Rubicon 1000008983
Jeep Gladiator Mopar Trail Cam DIY Installation - 2023 Diesel Gladiator Rubicon 1000009009
Jeep Gladiator Mopar Trail Cam DIY Installation - 2023 Diesel Gladiator Rubicon 1000009010


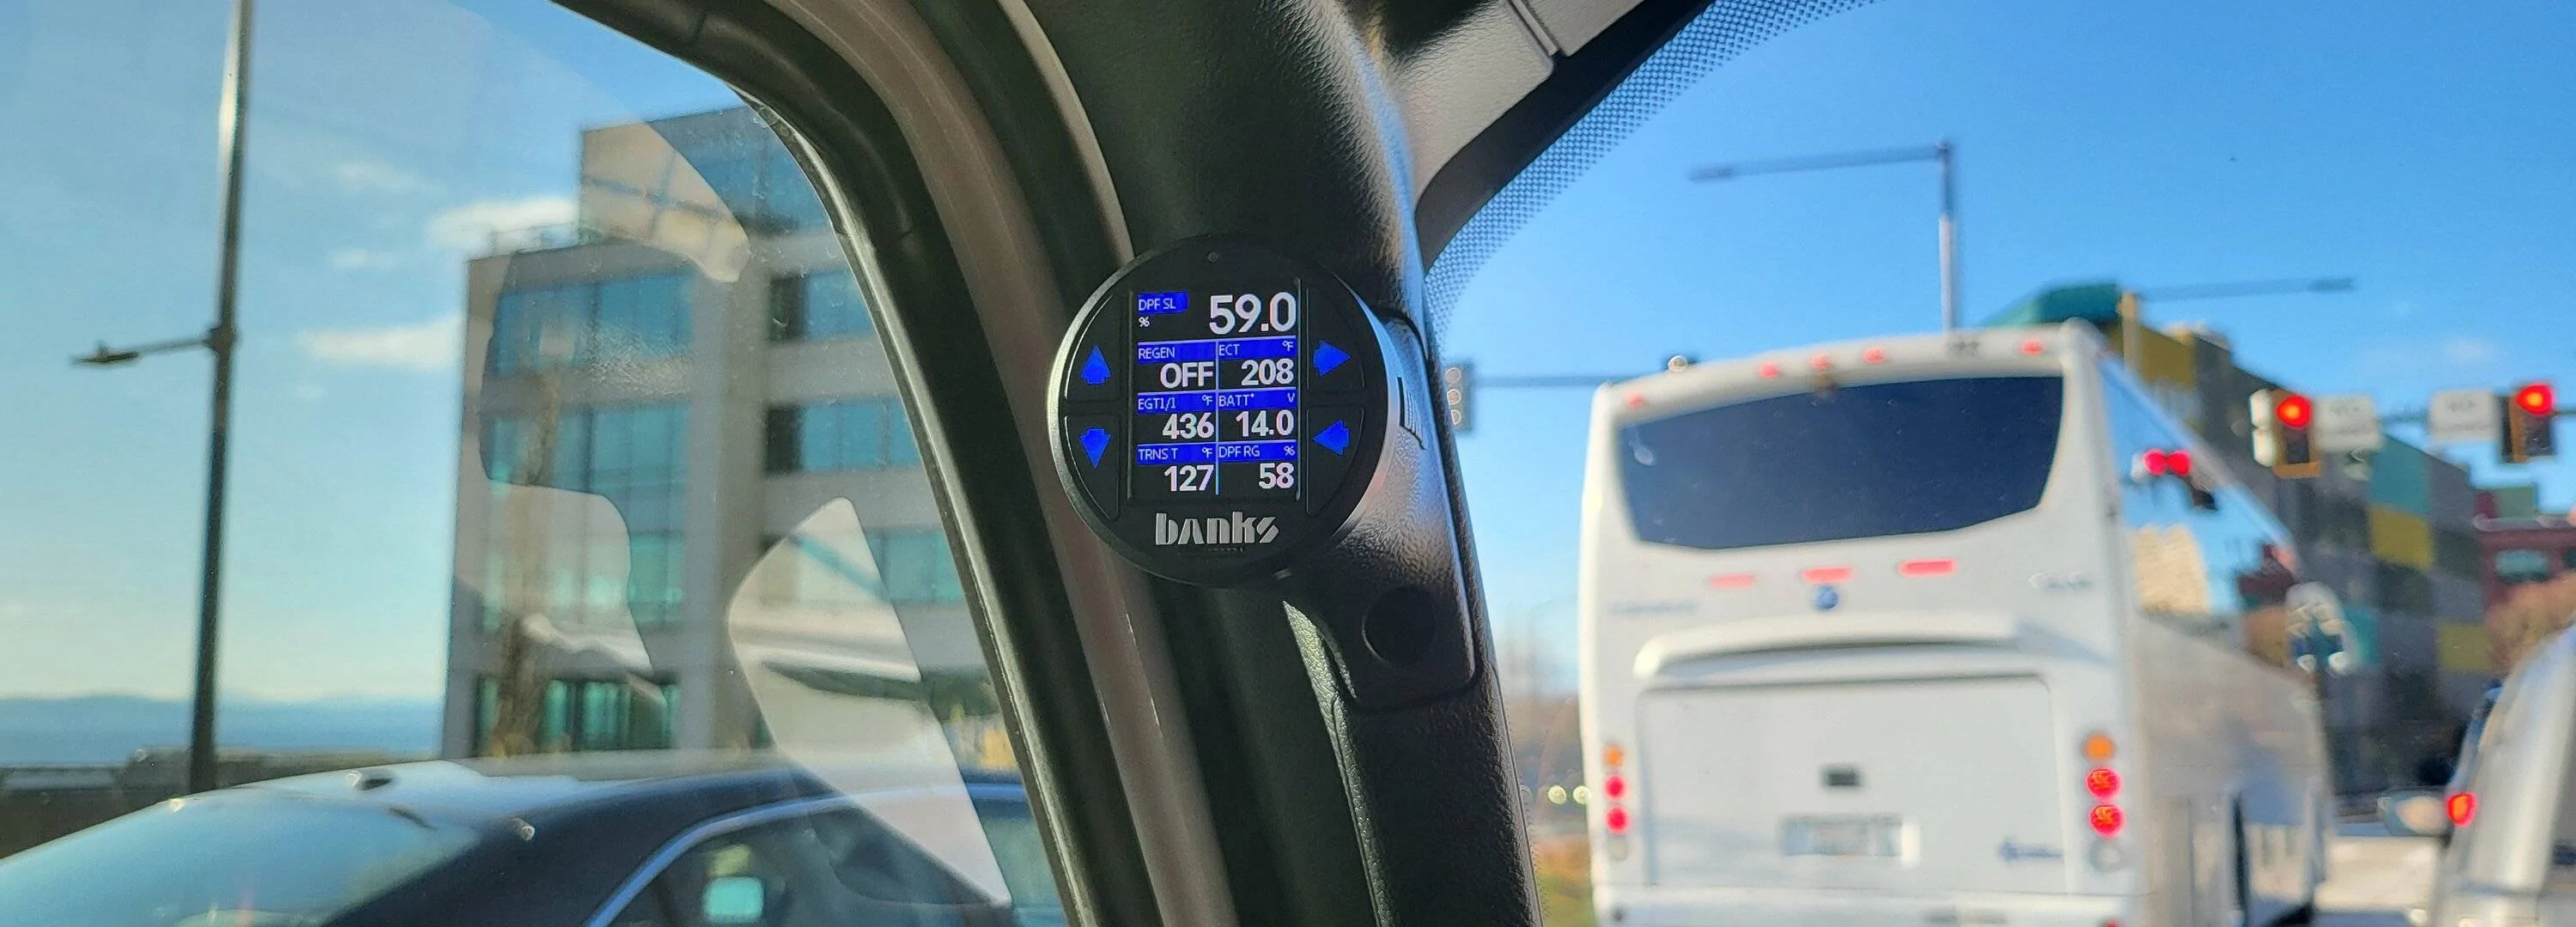
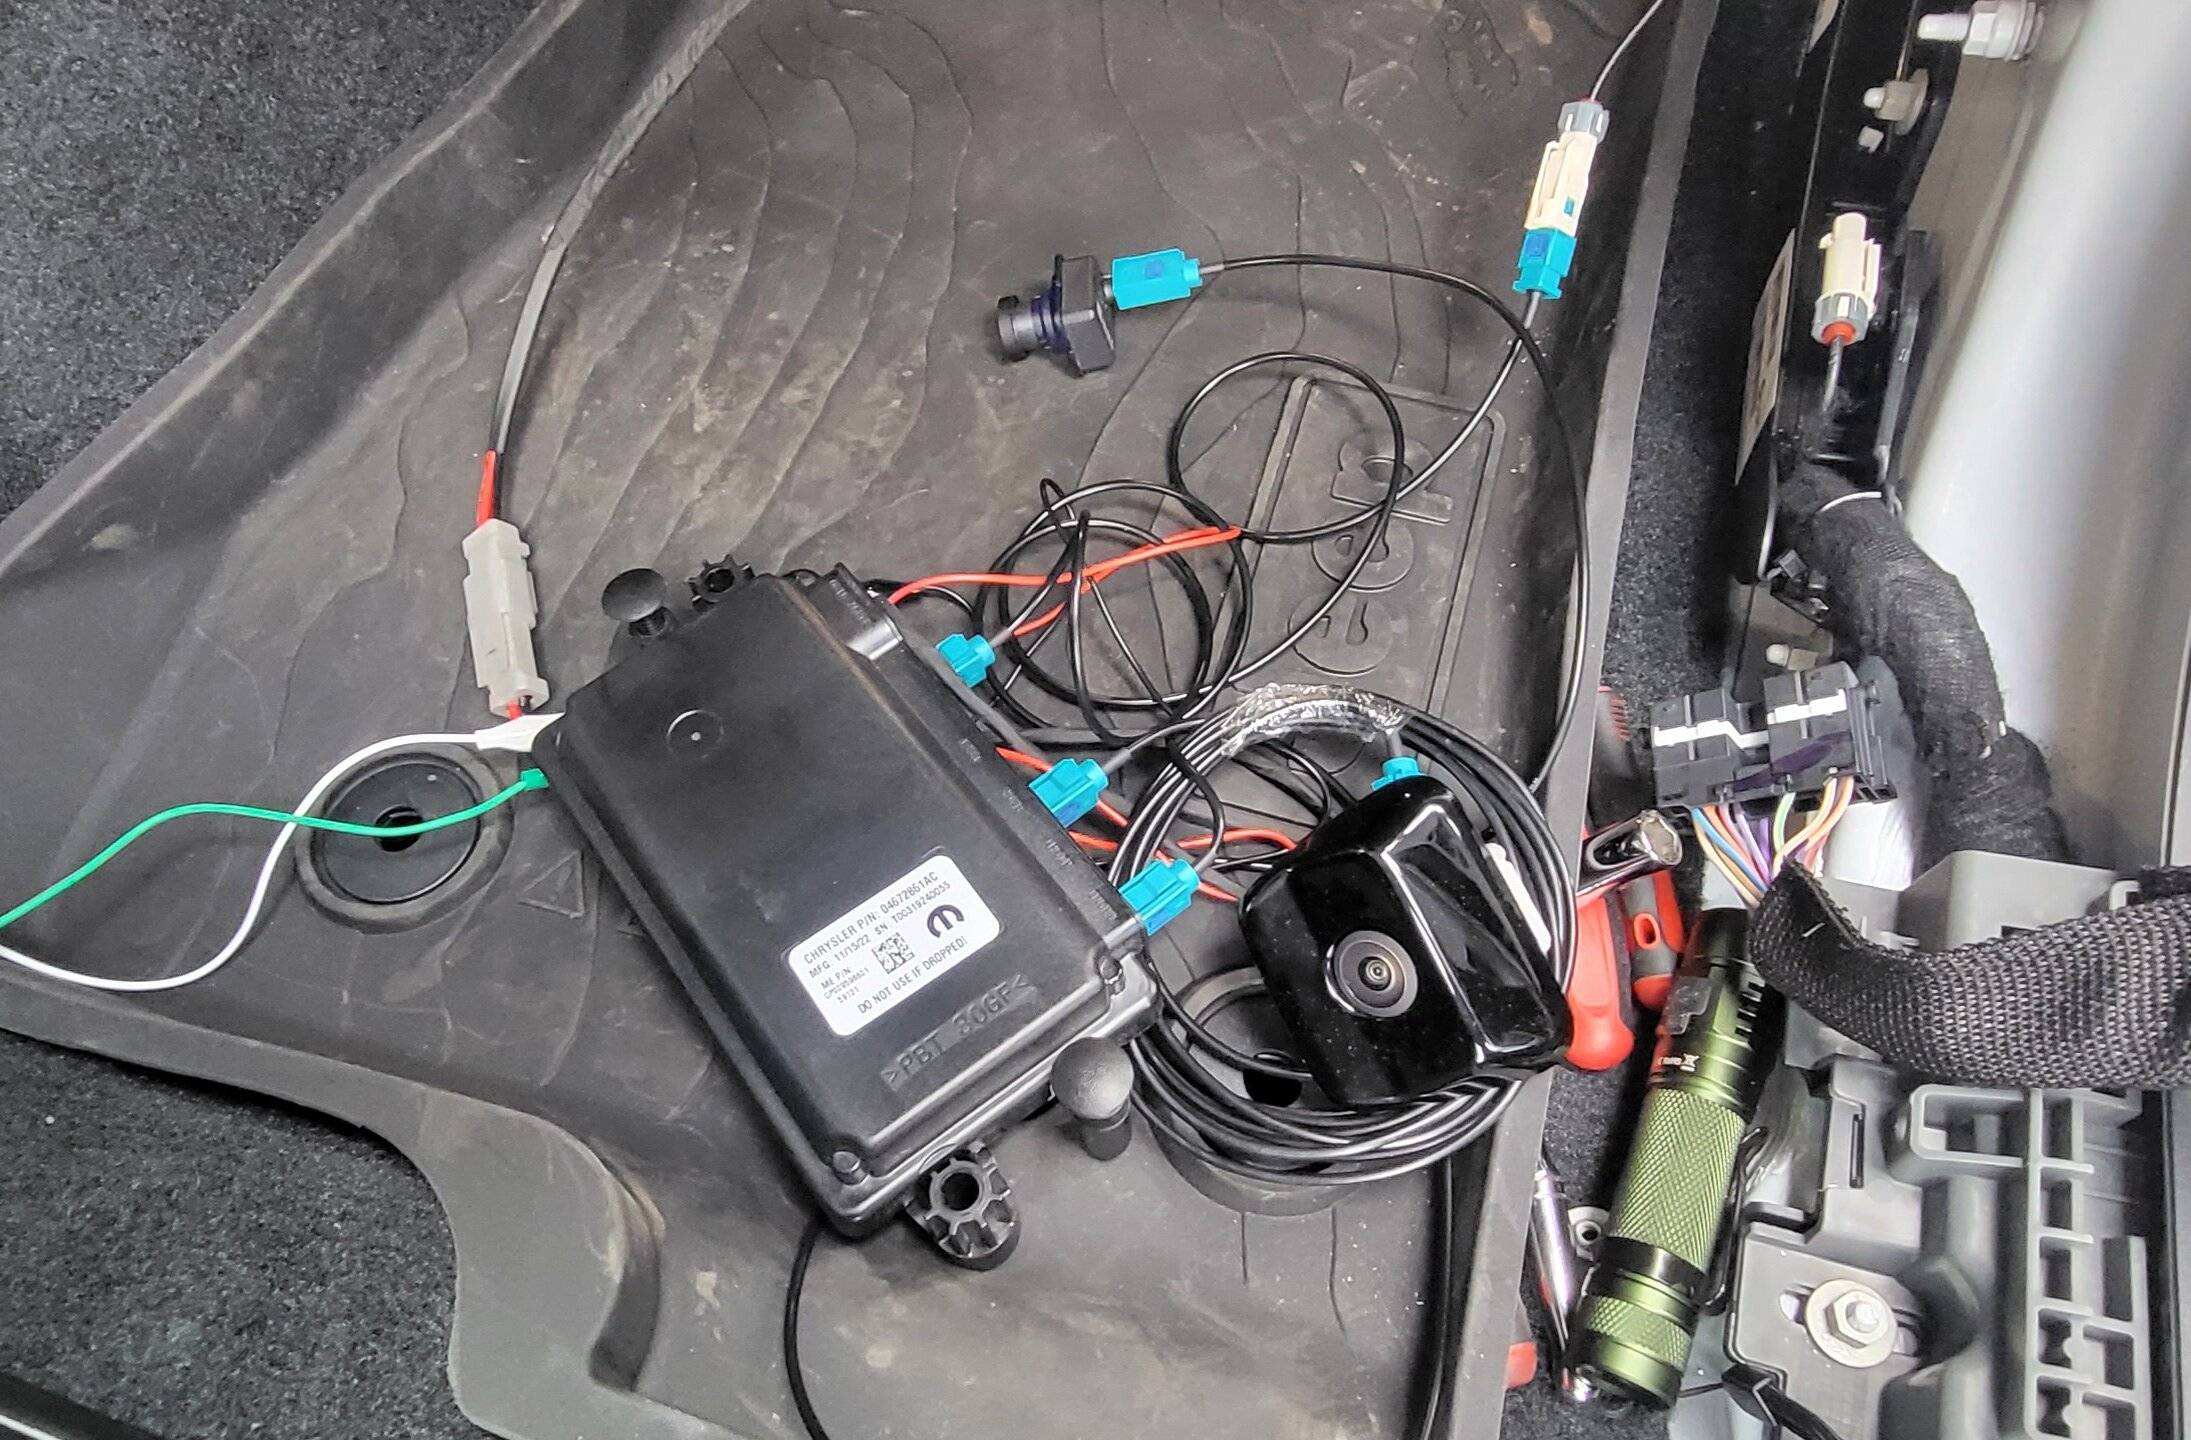
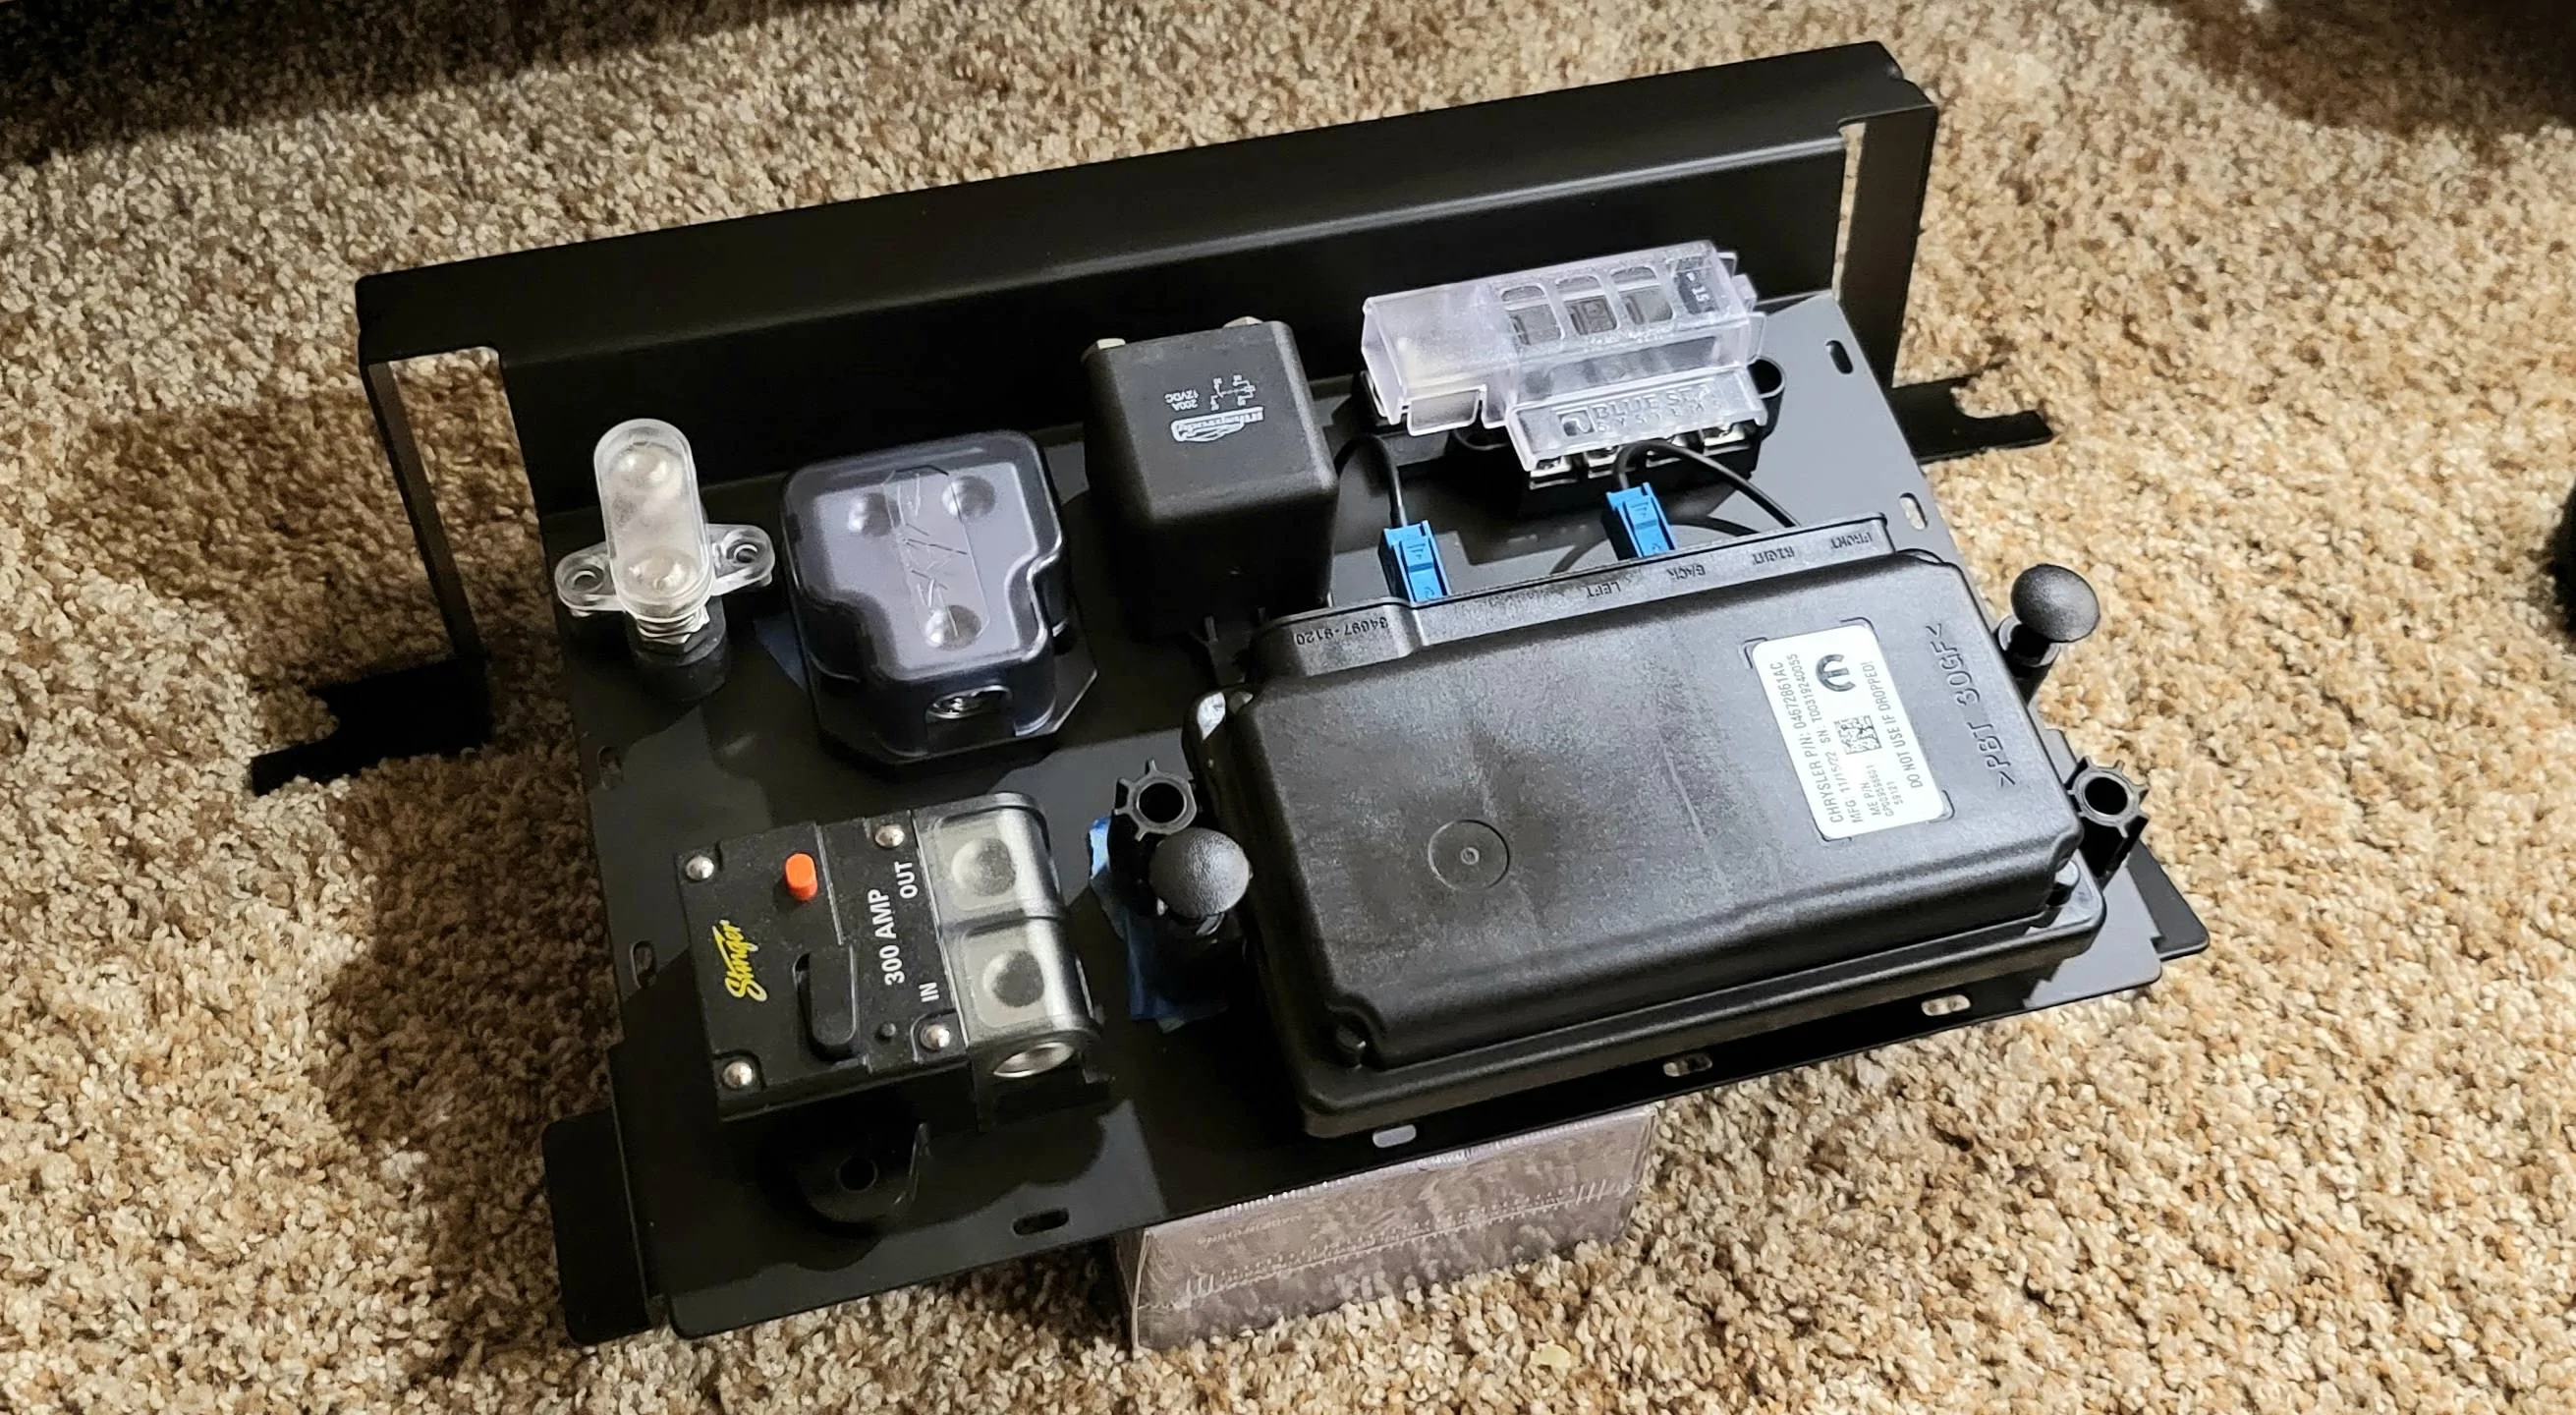
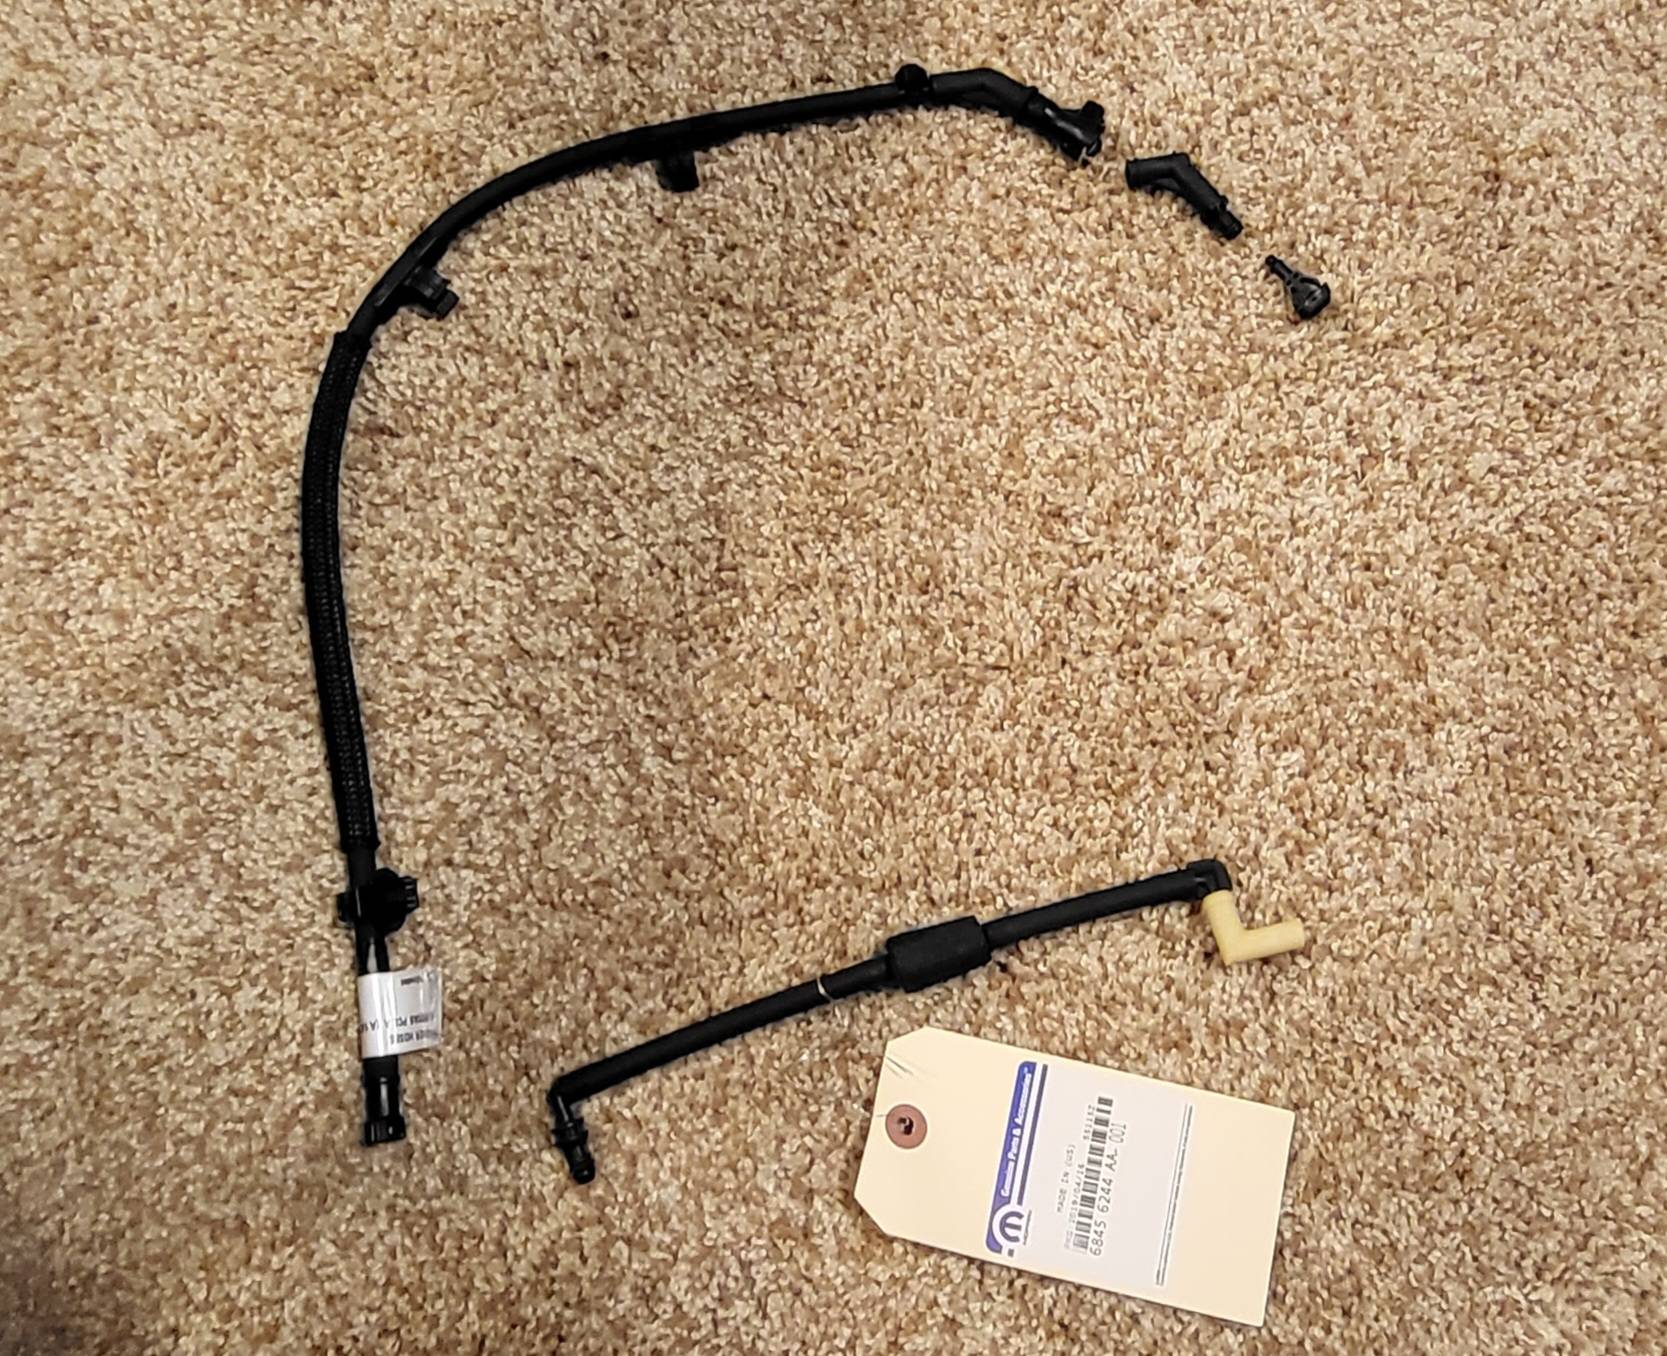
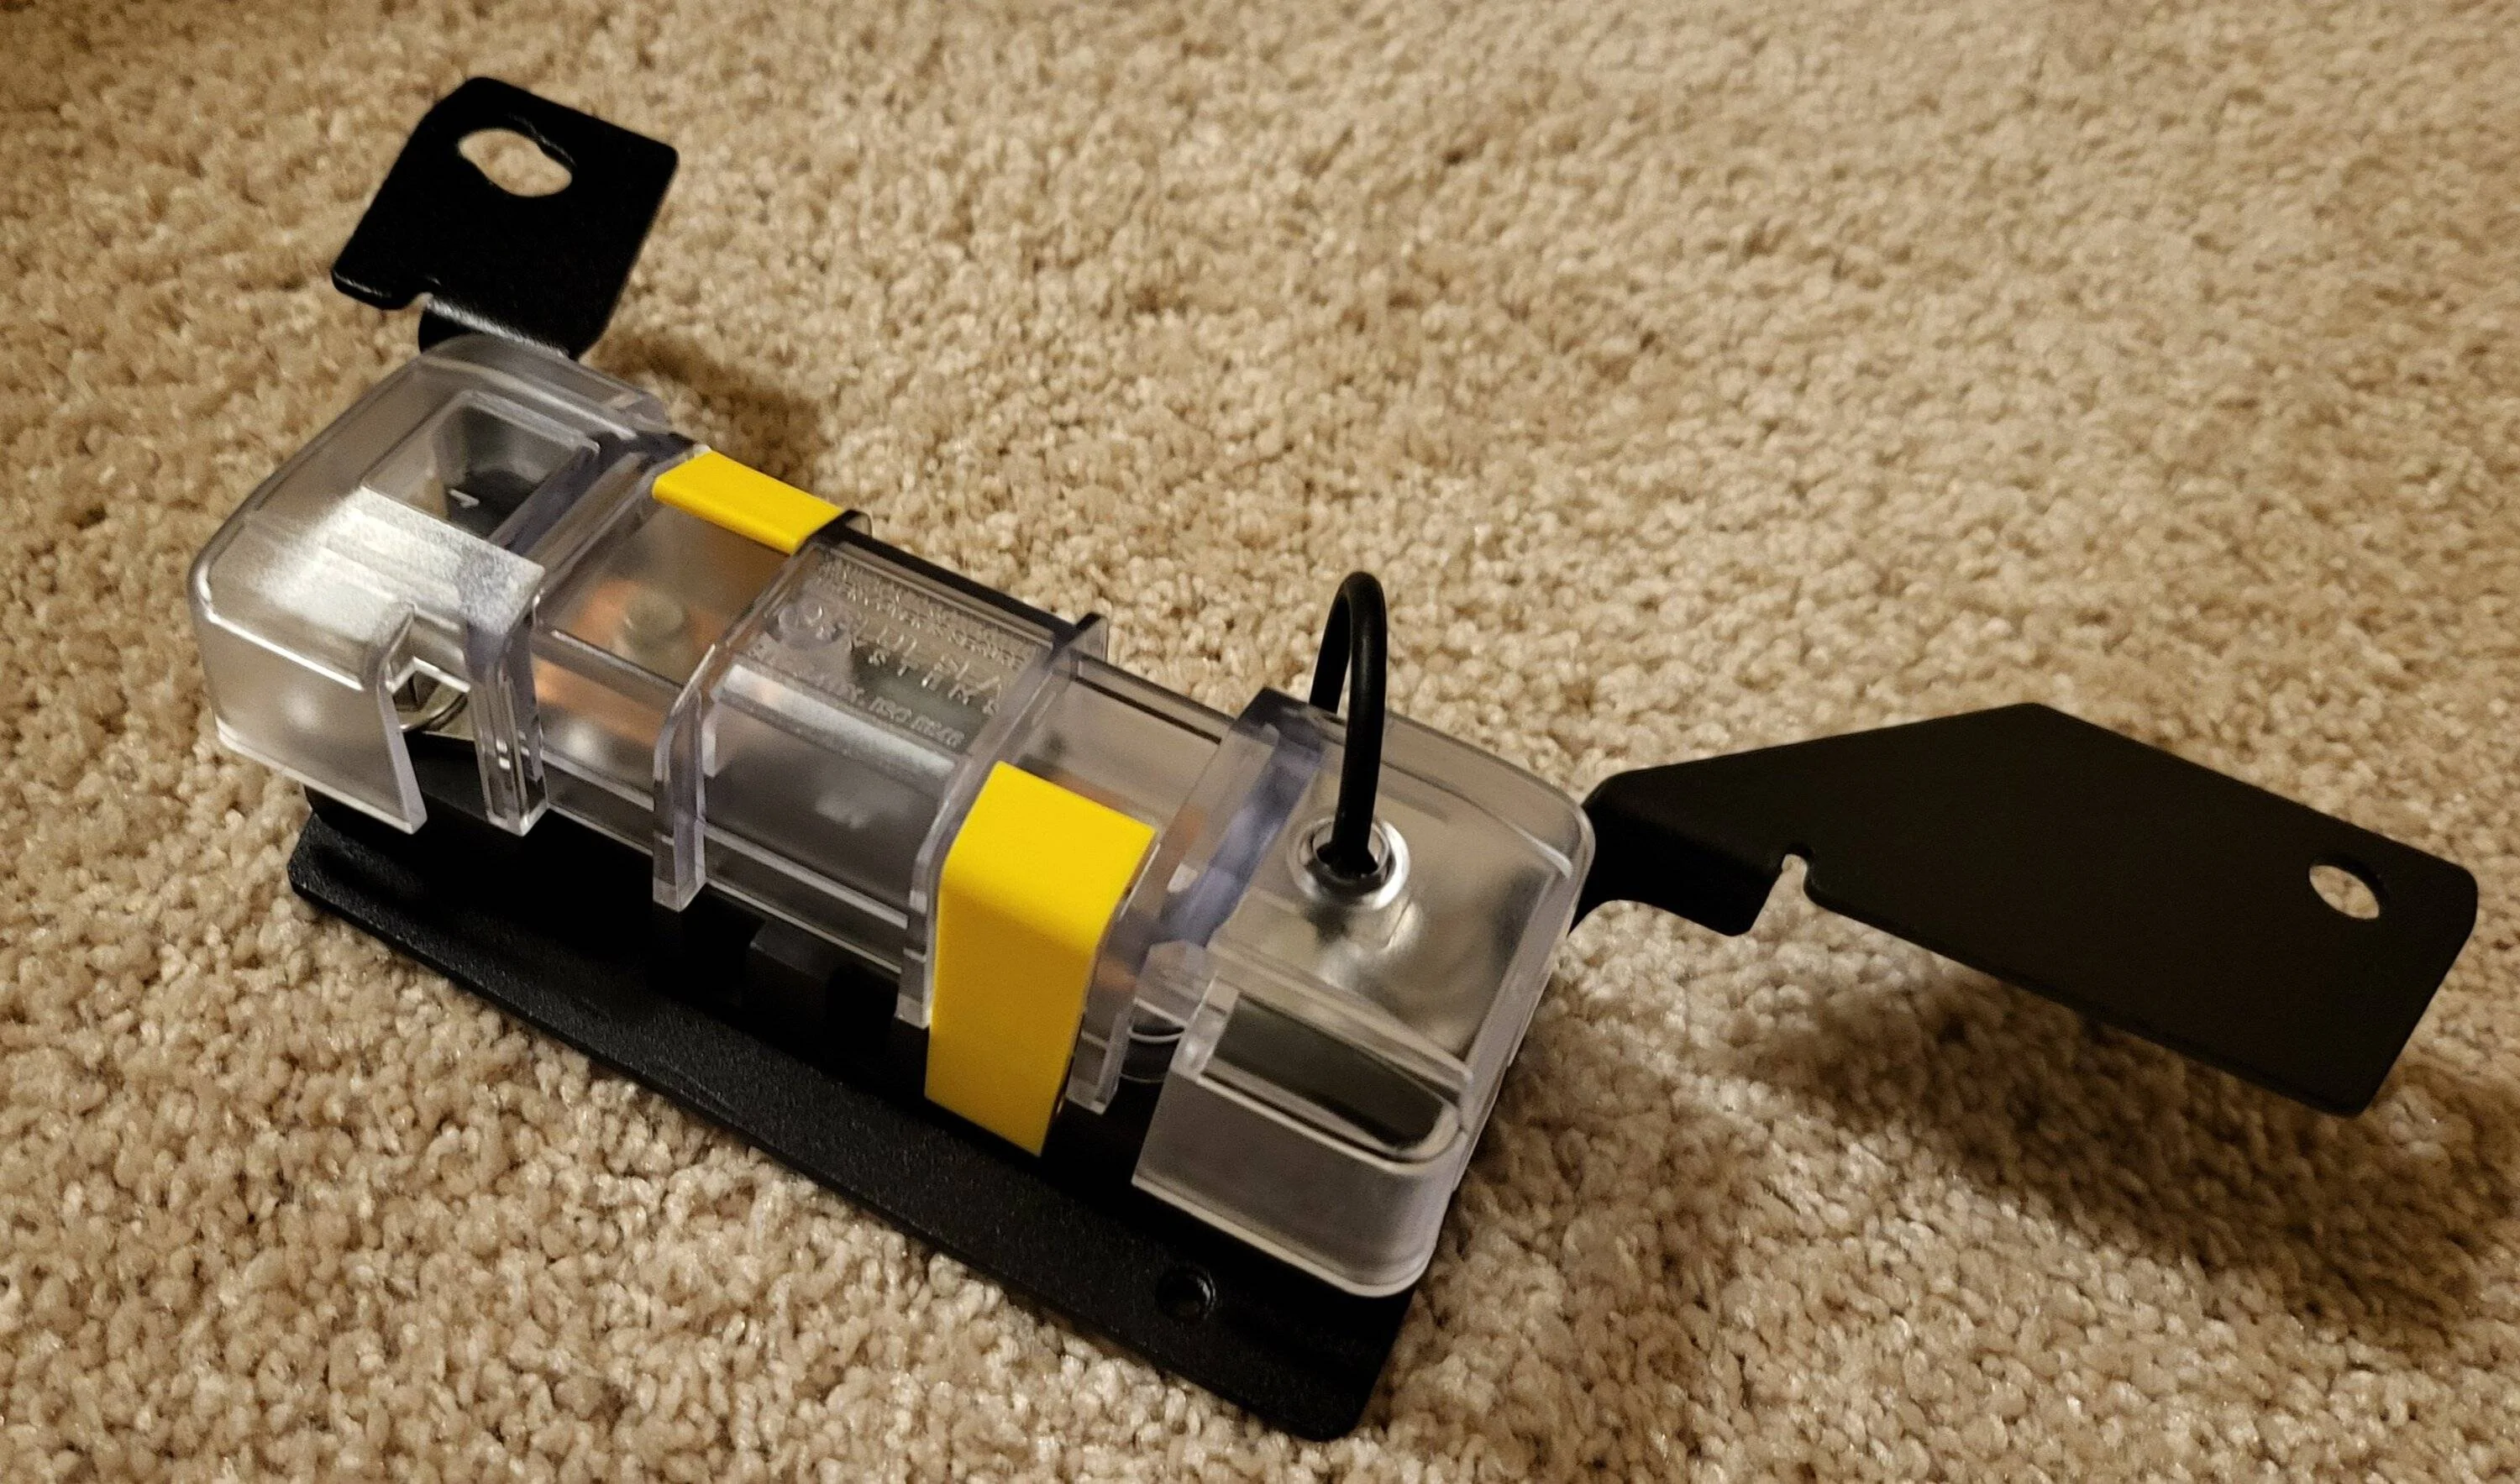
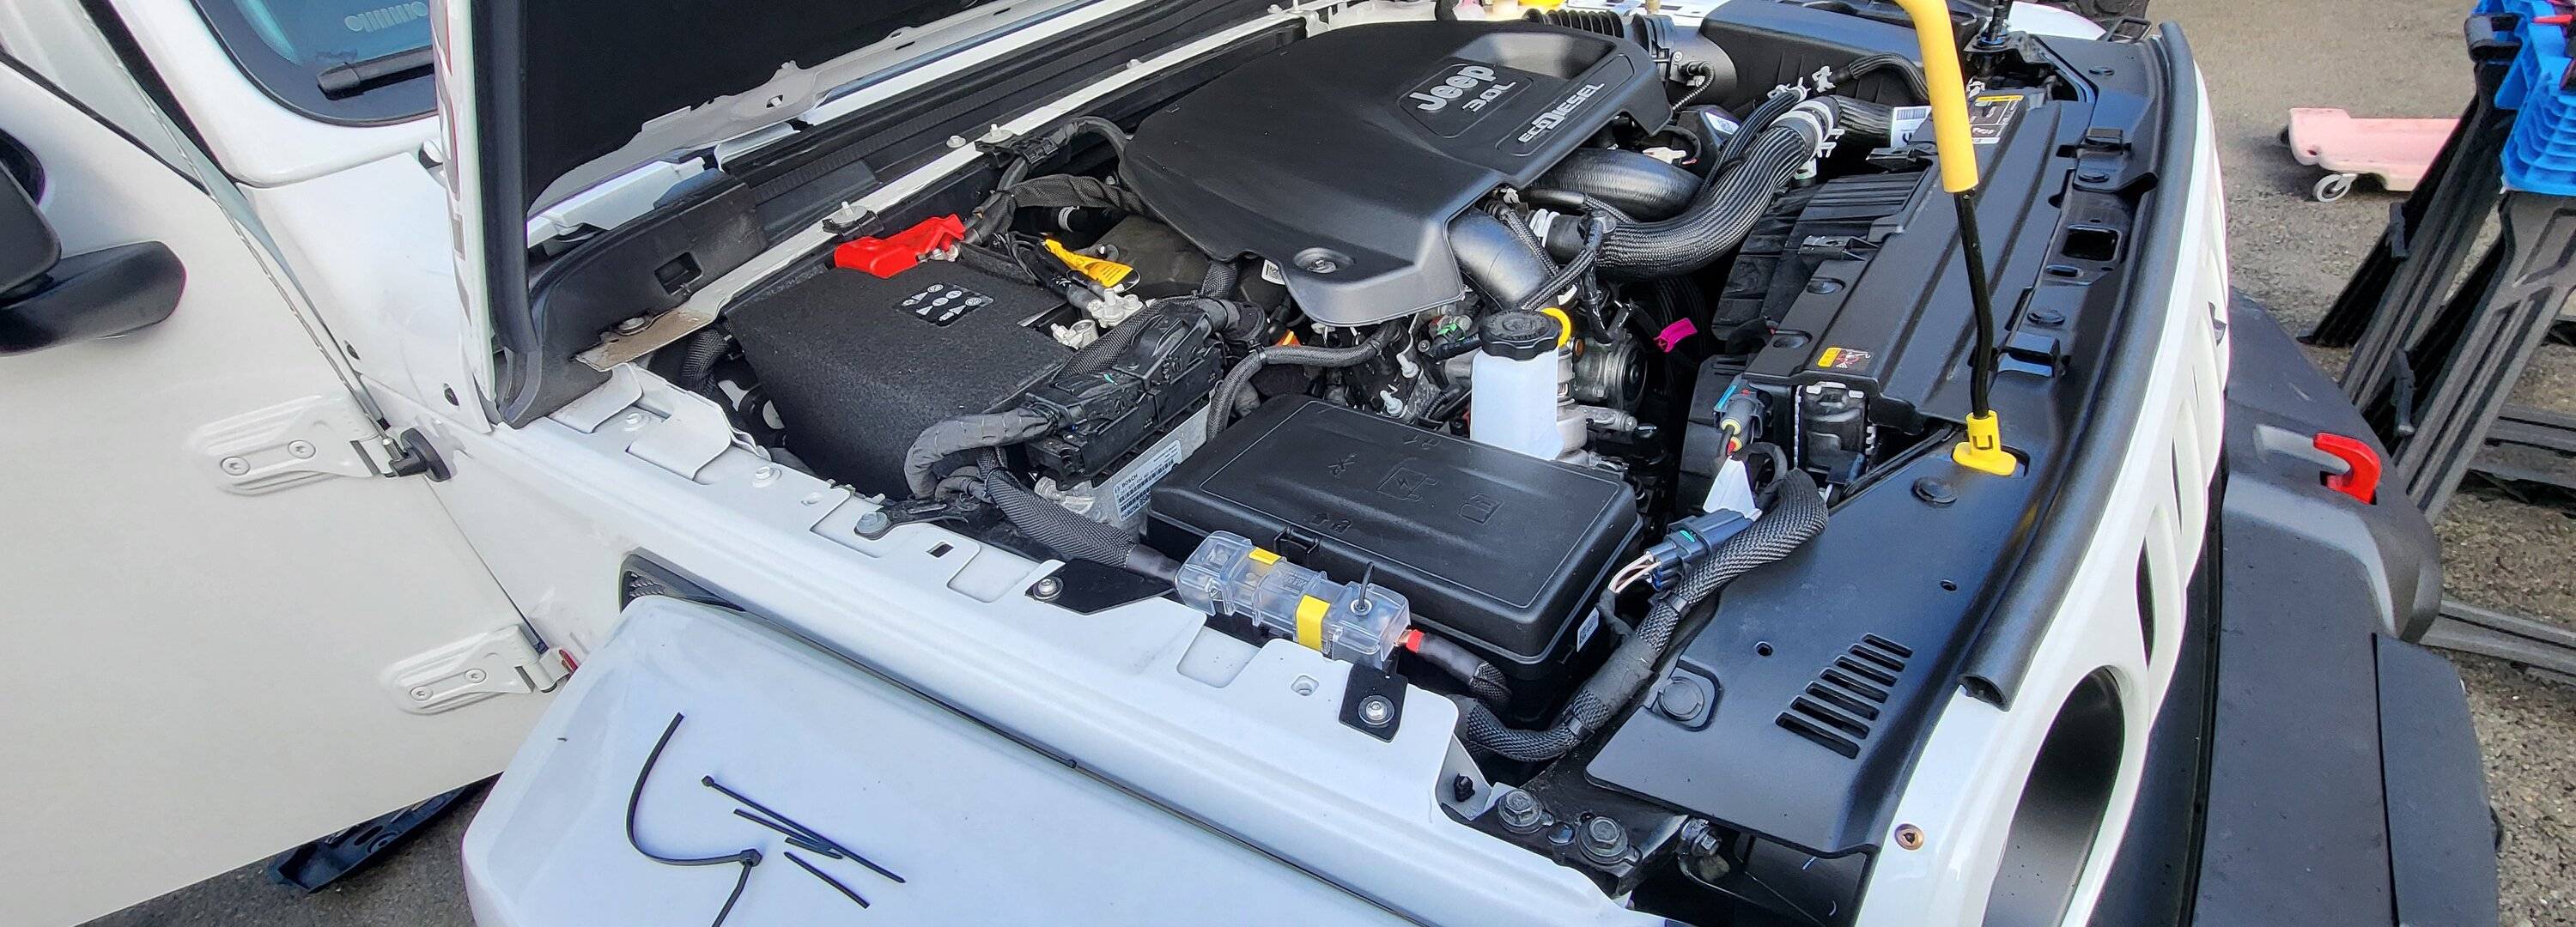
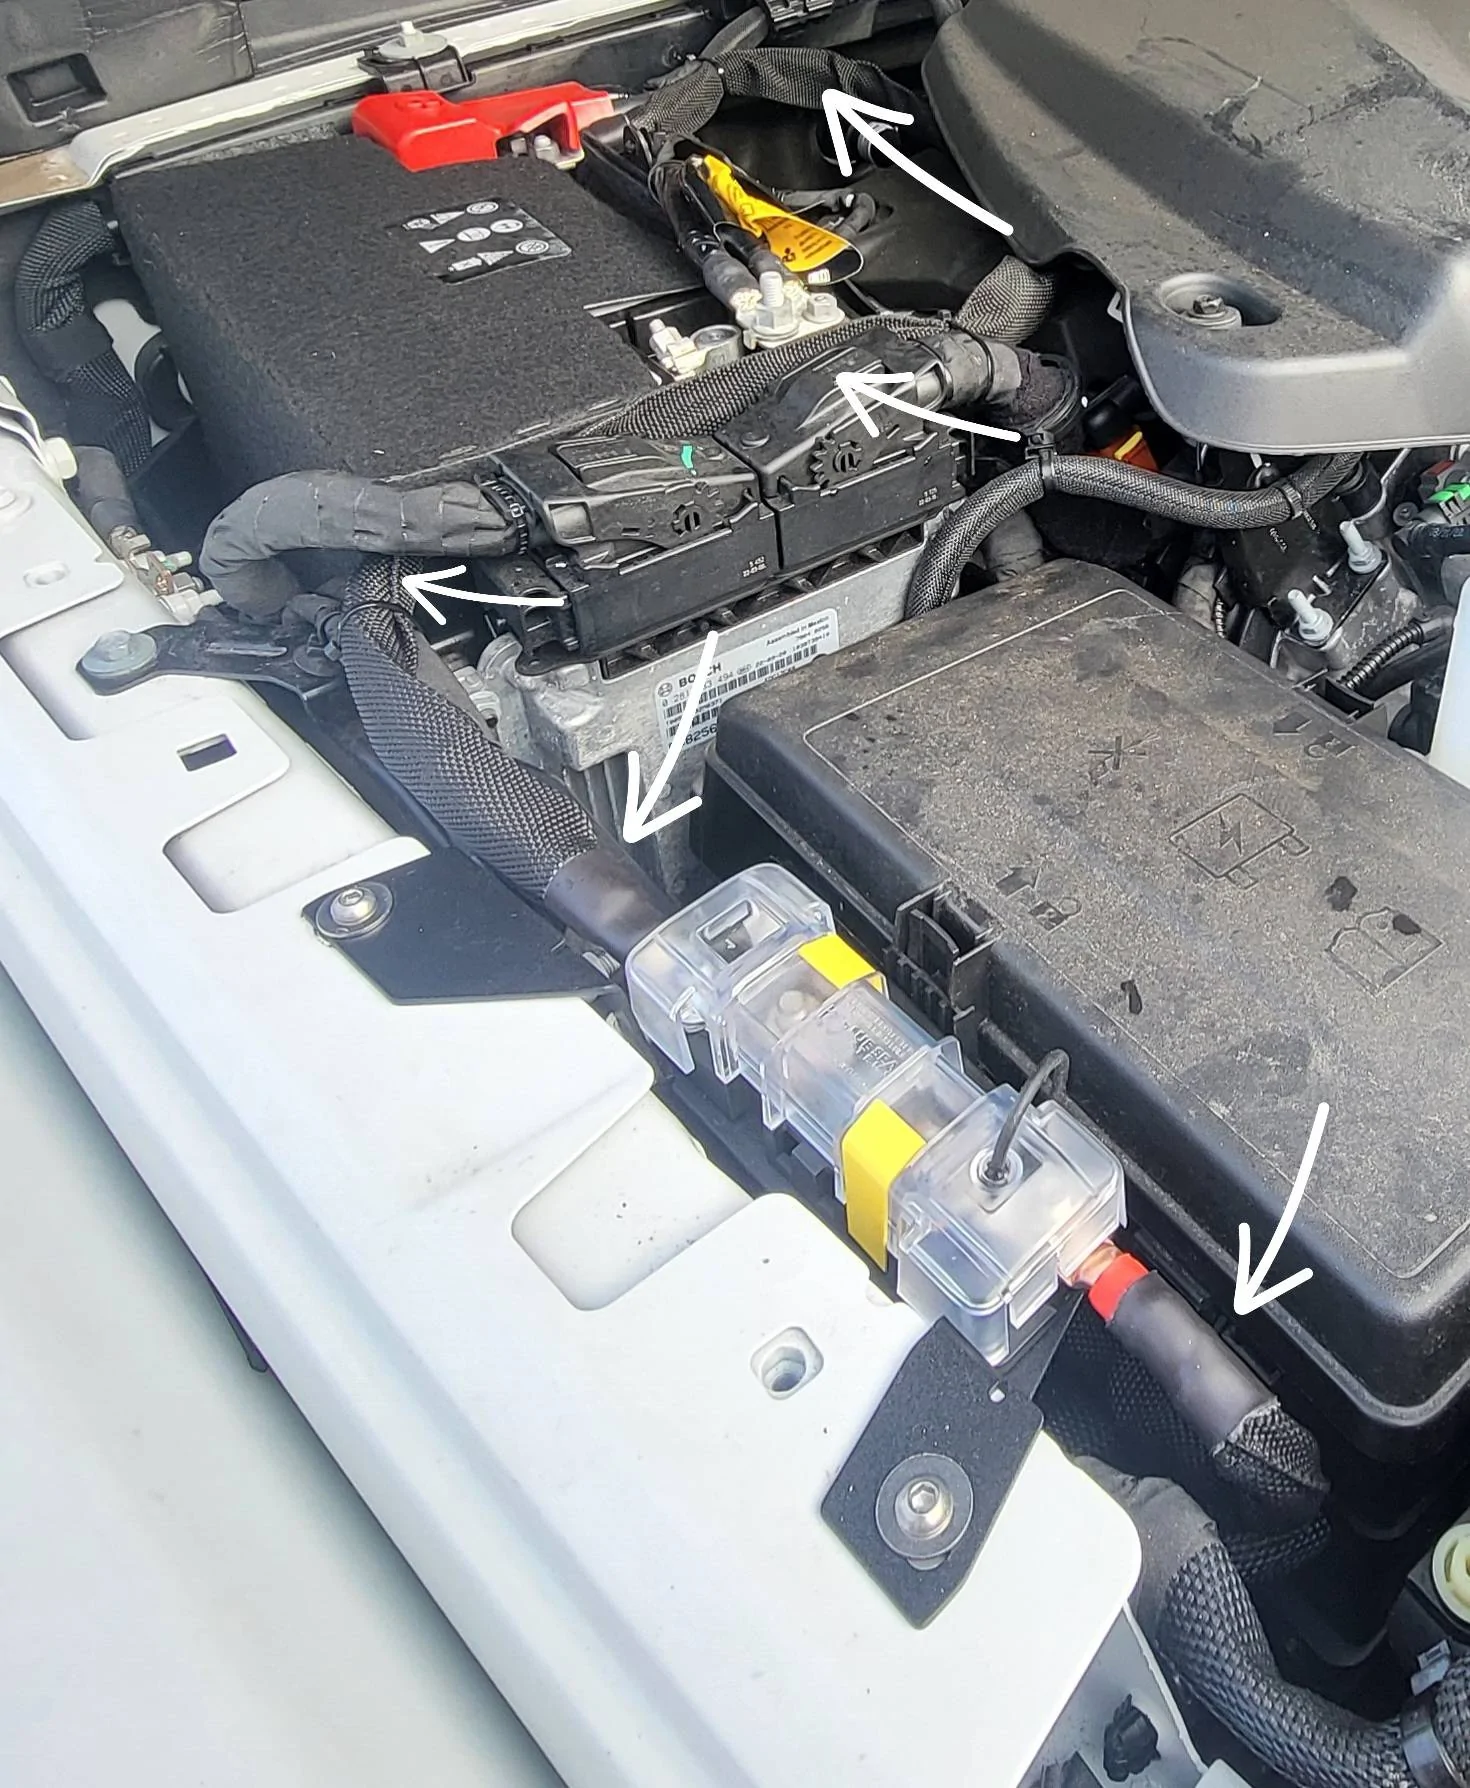
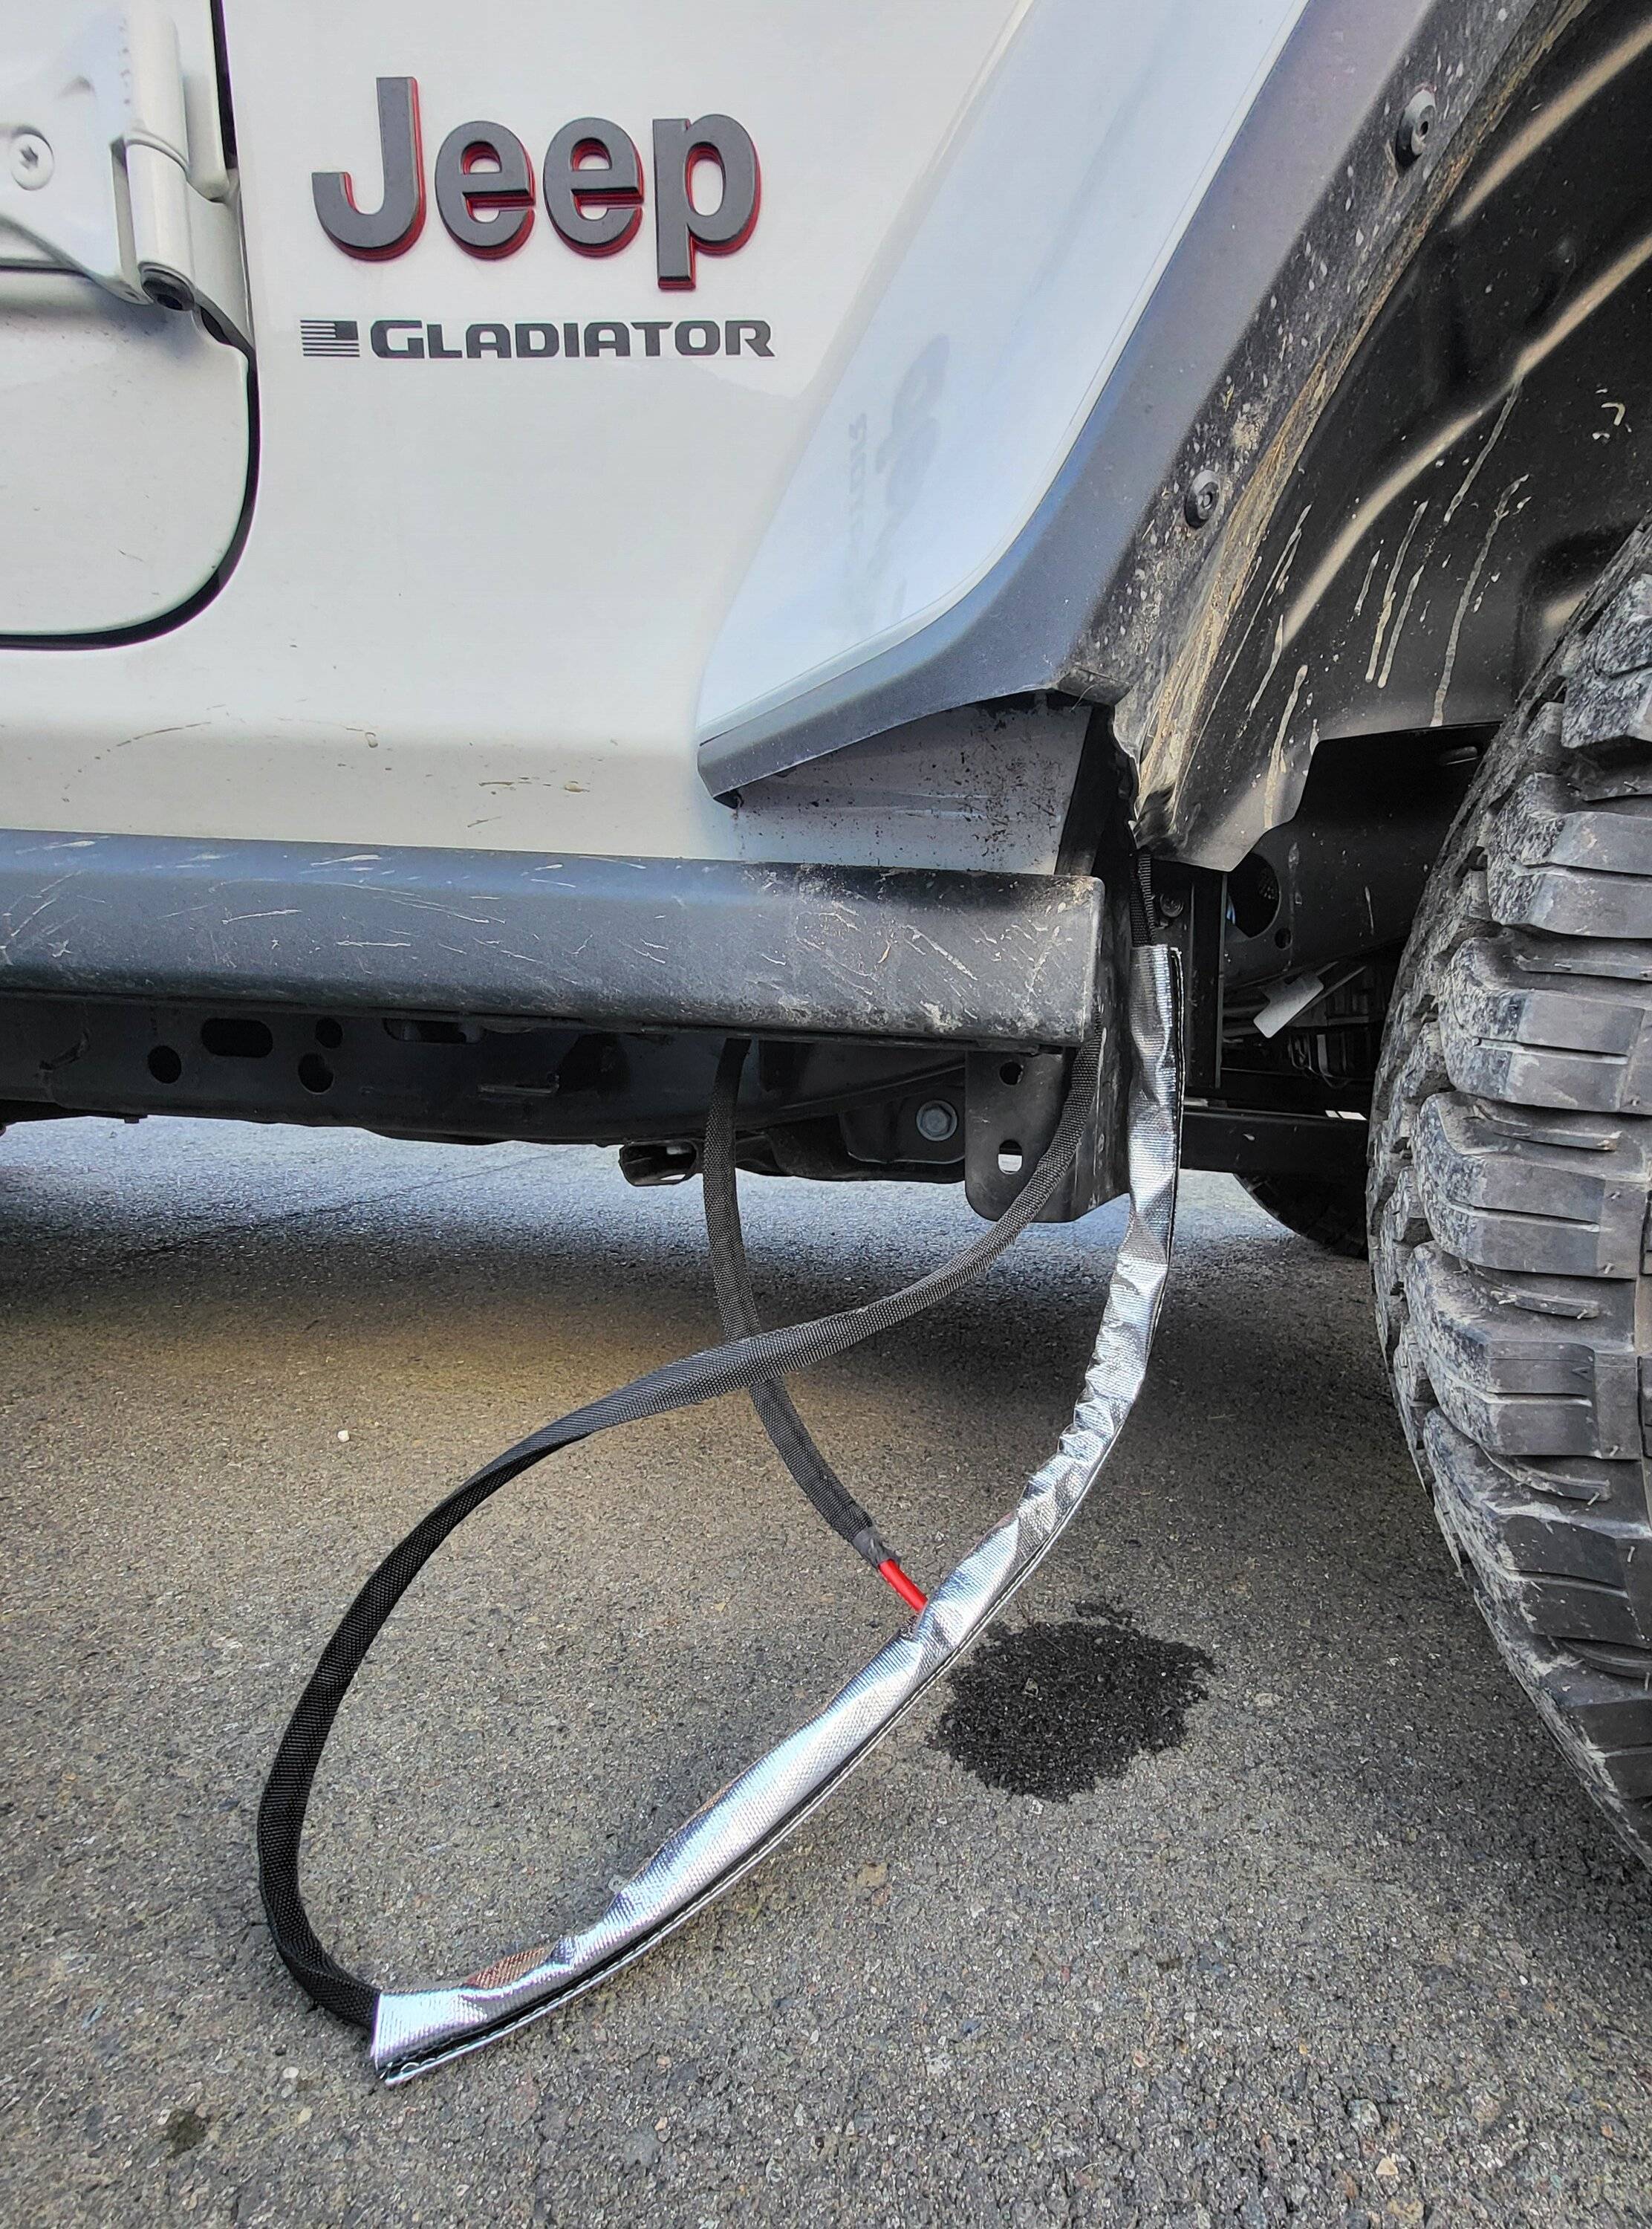
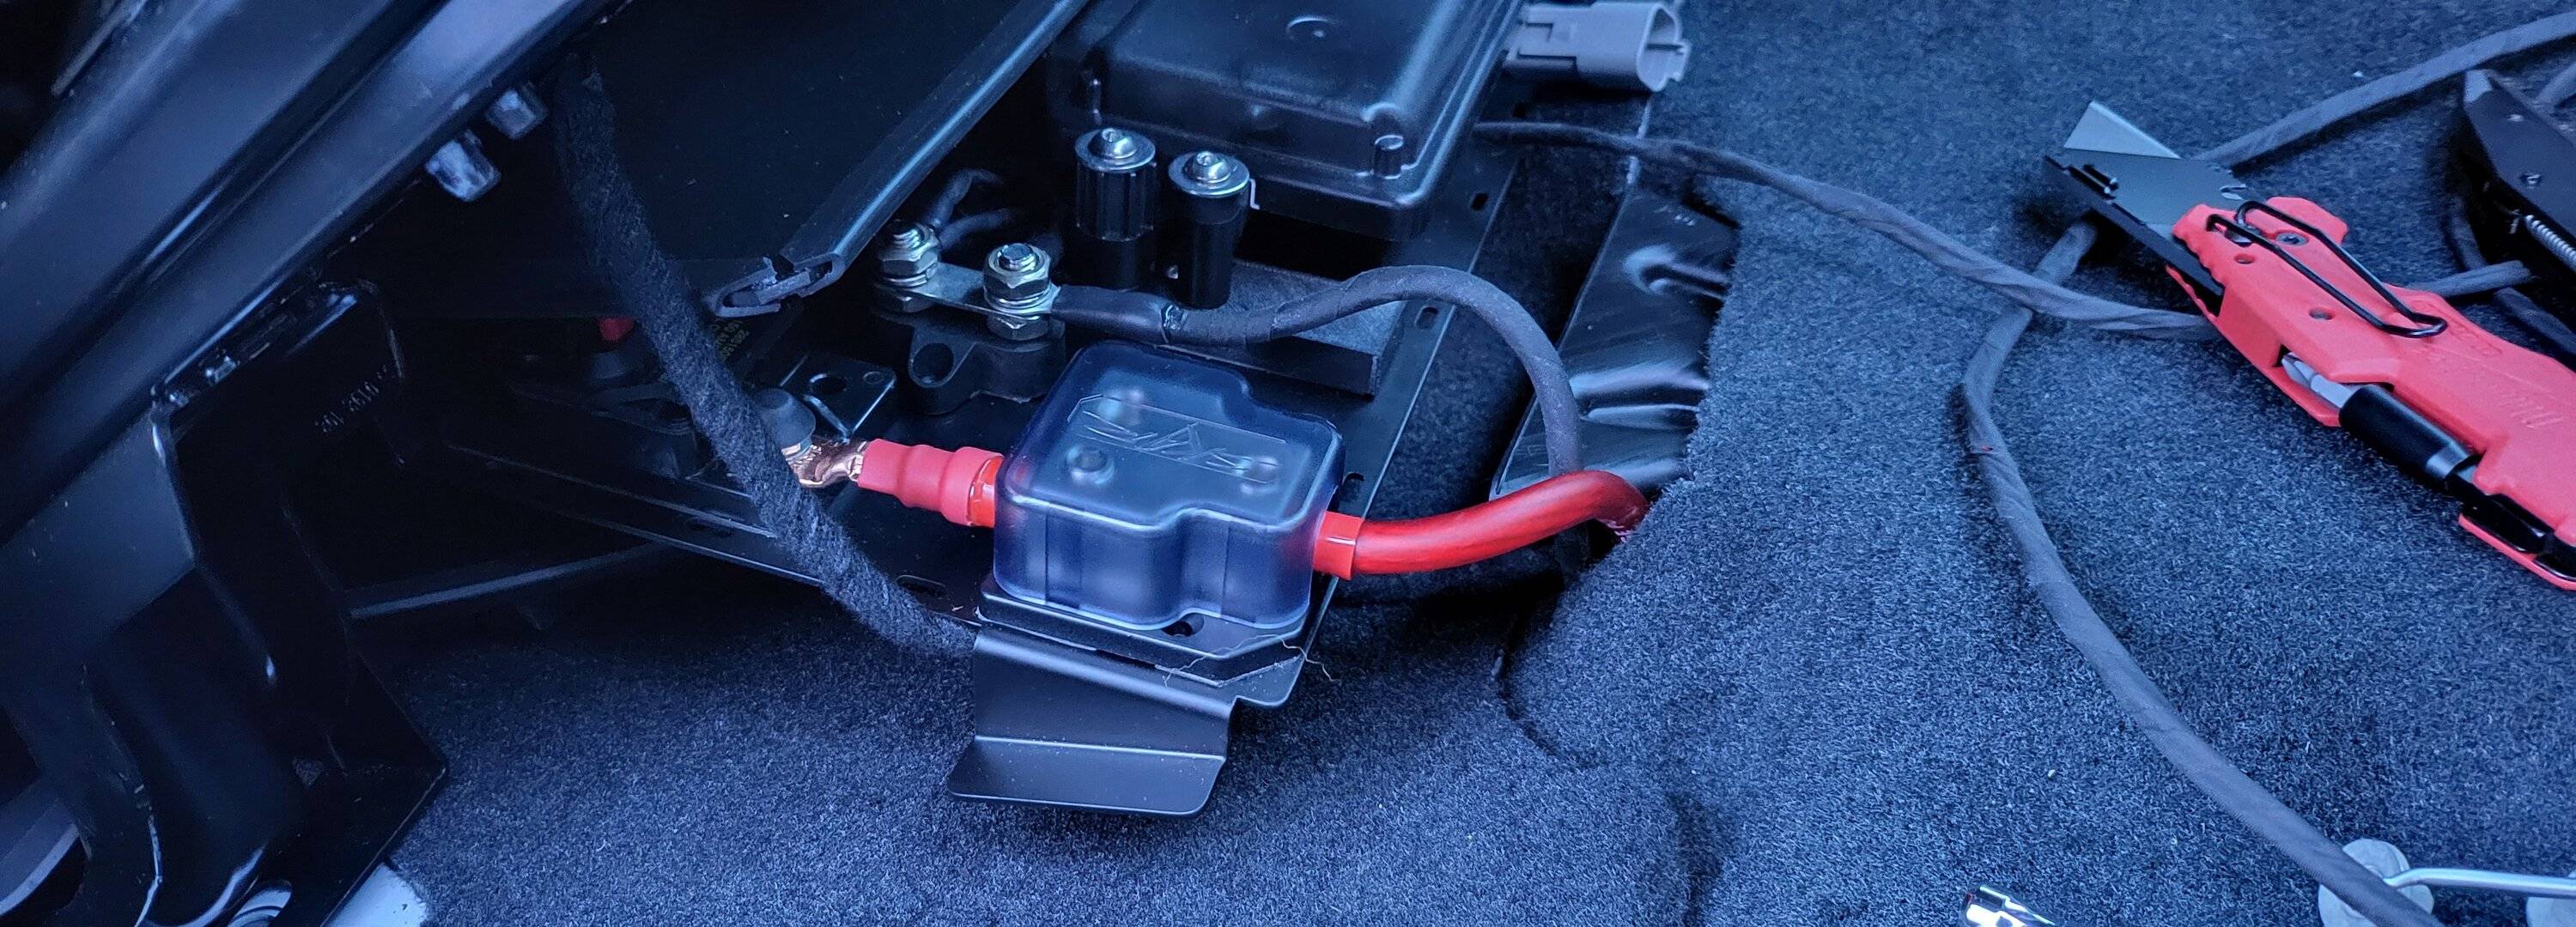
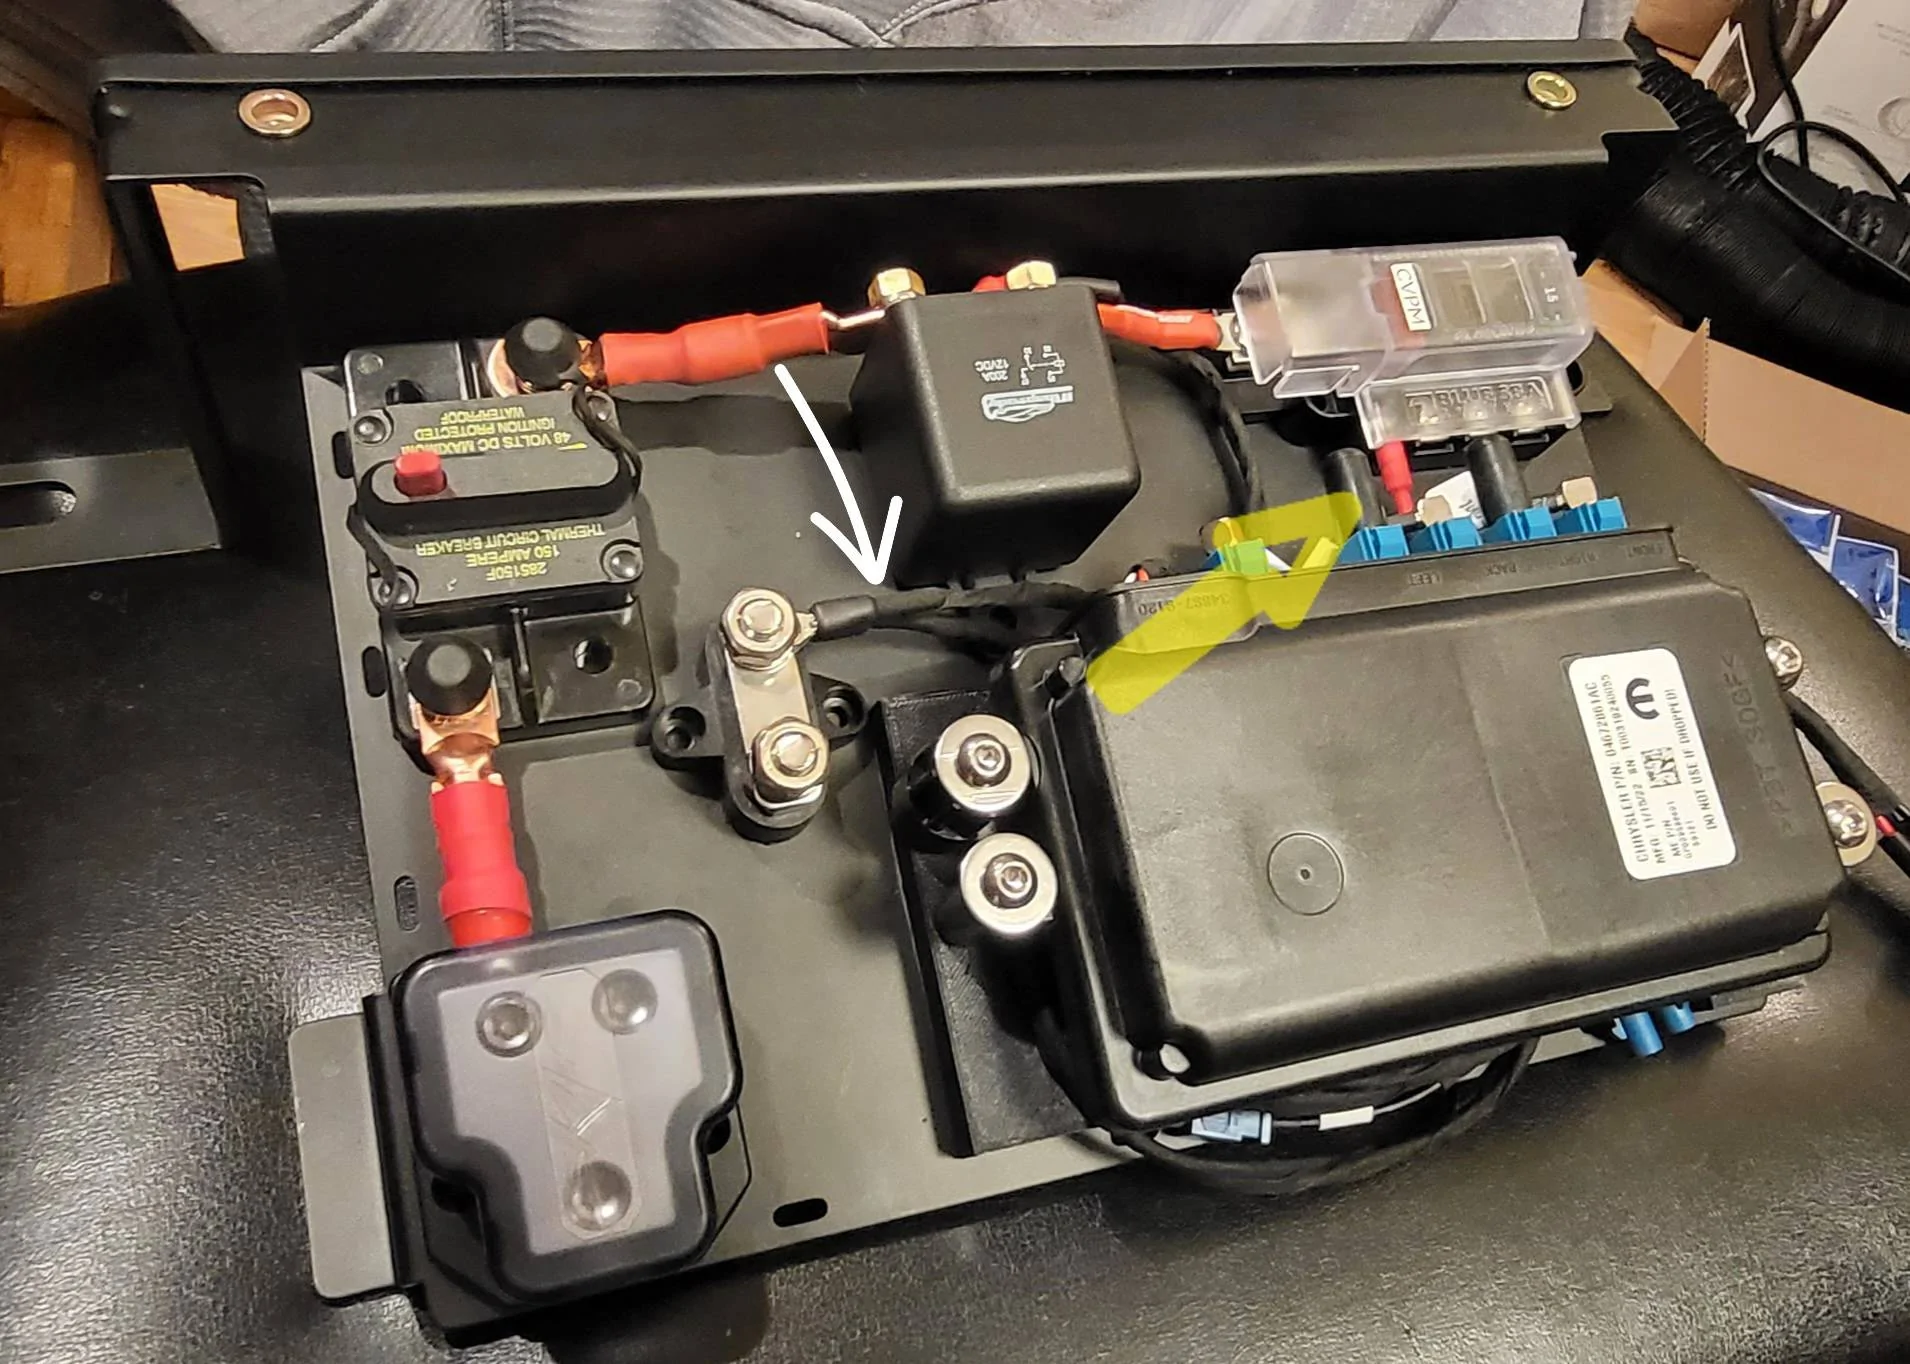
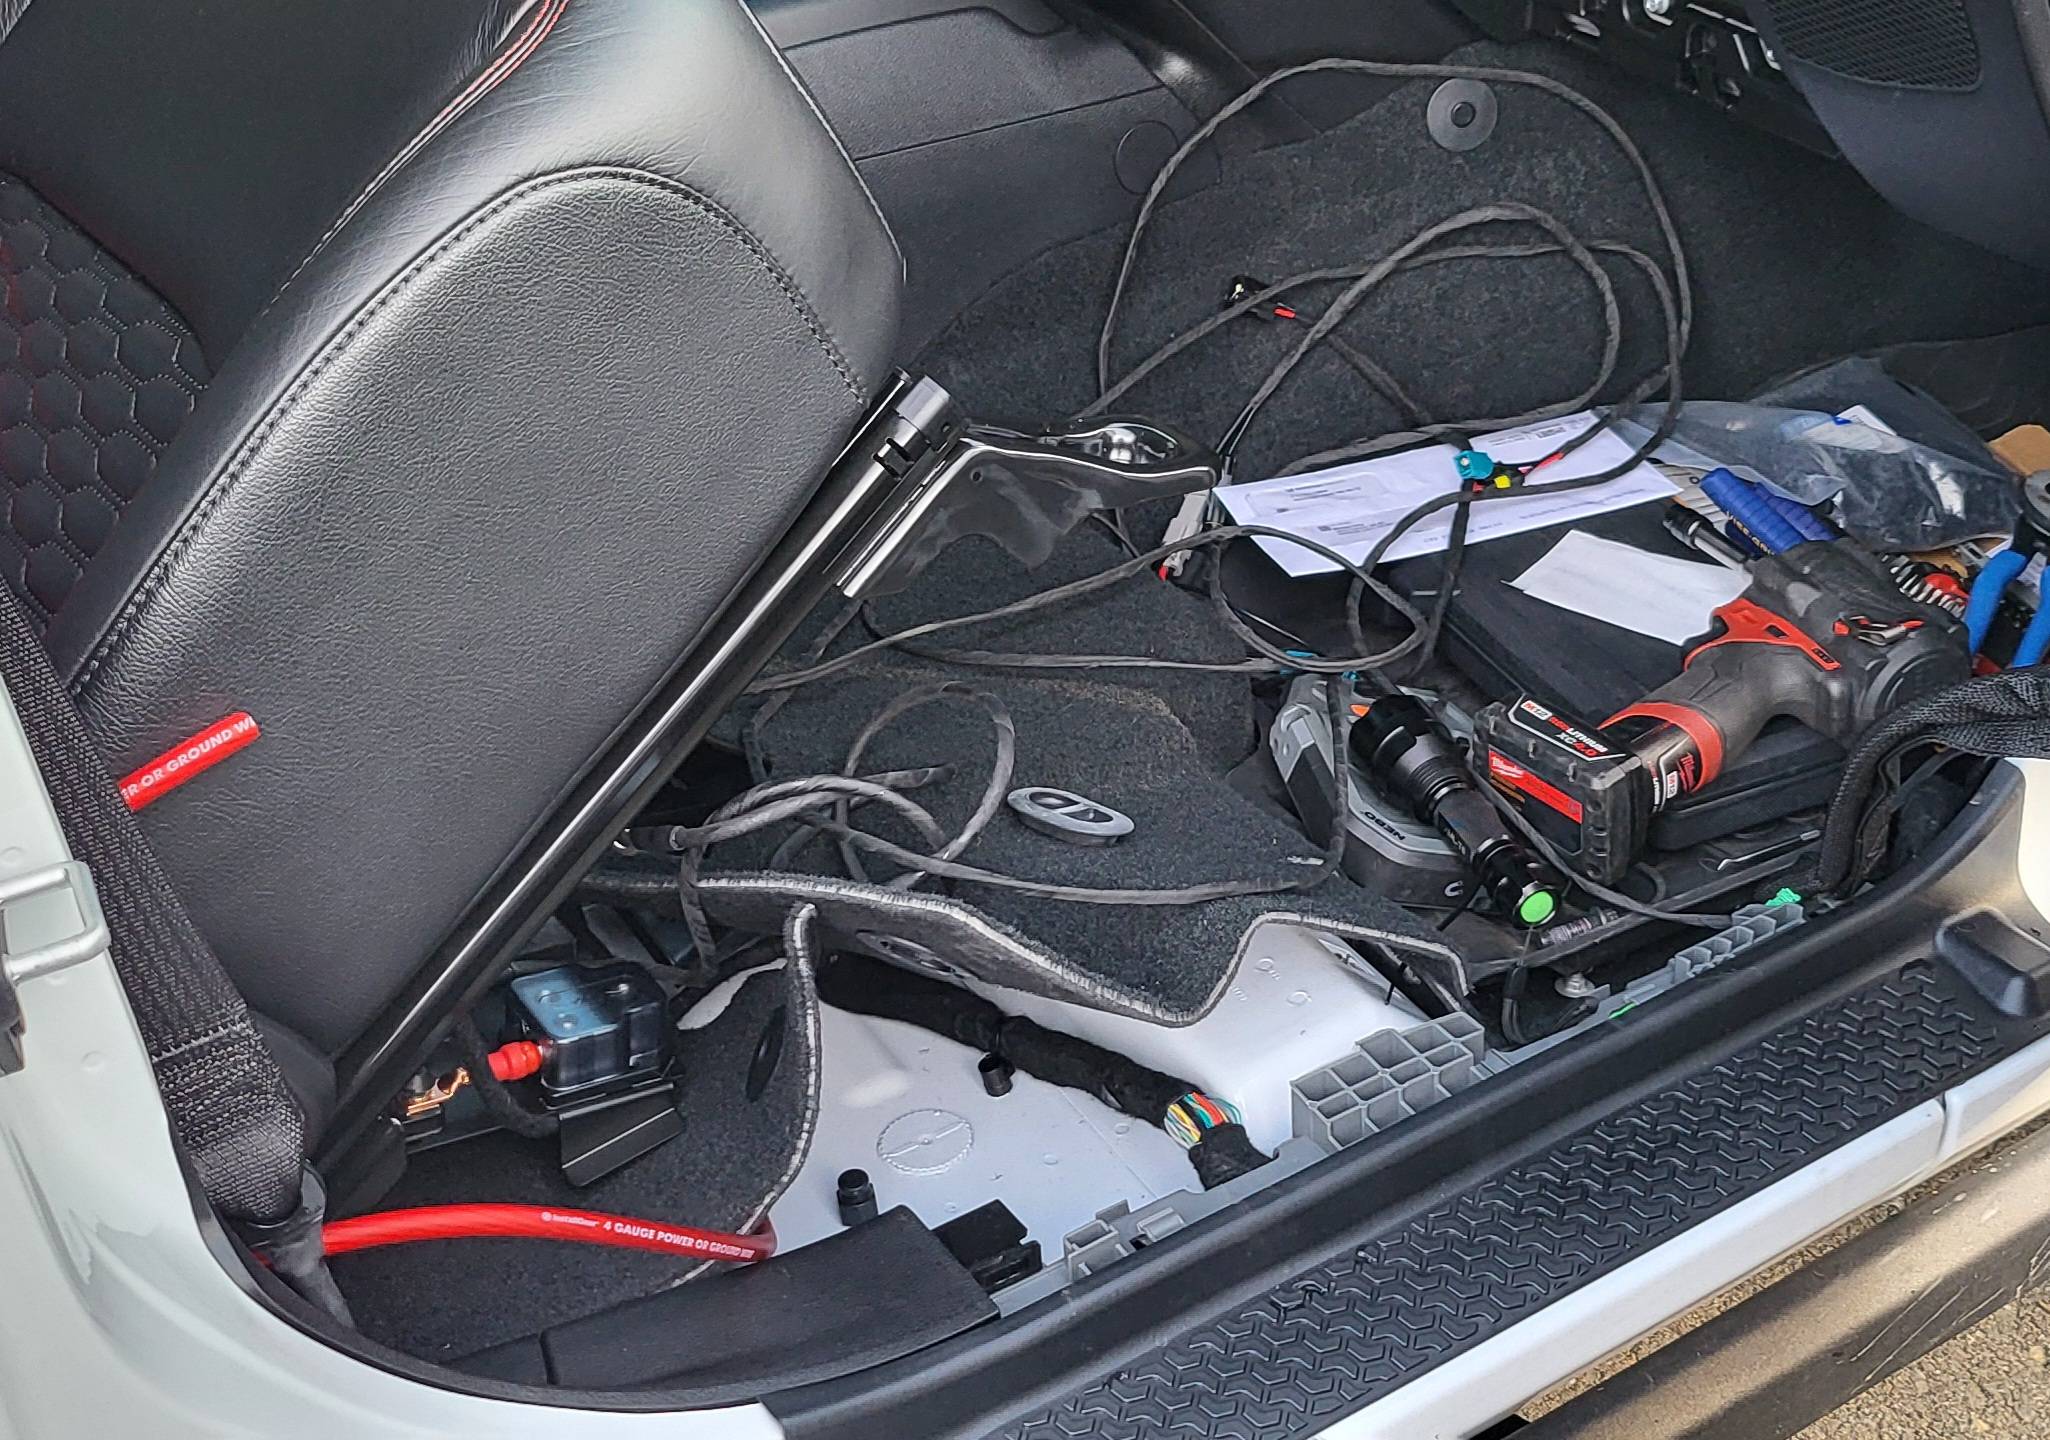
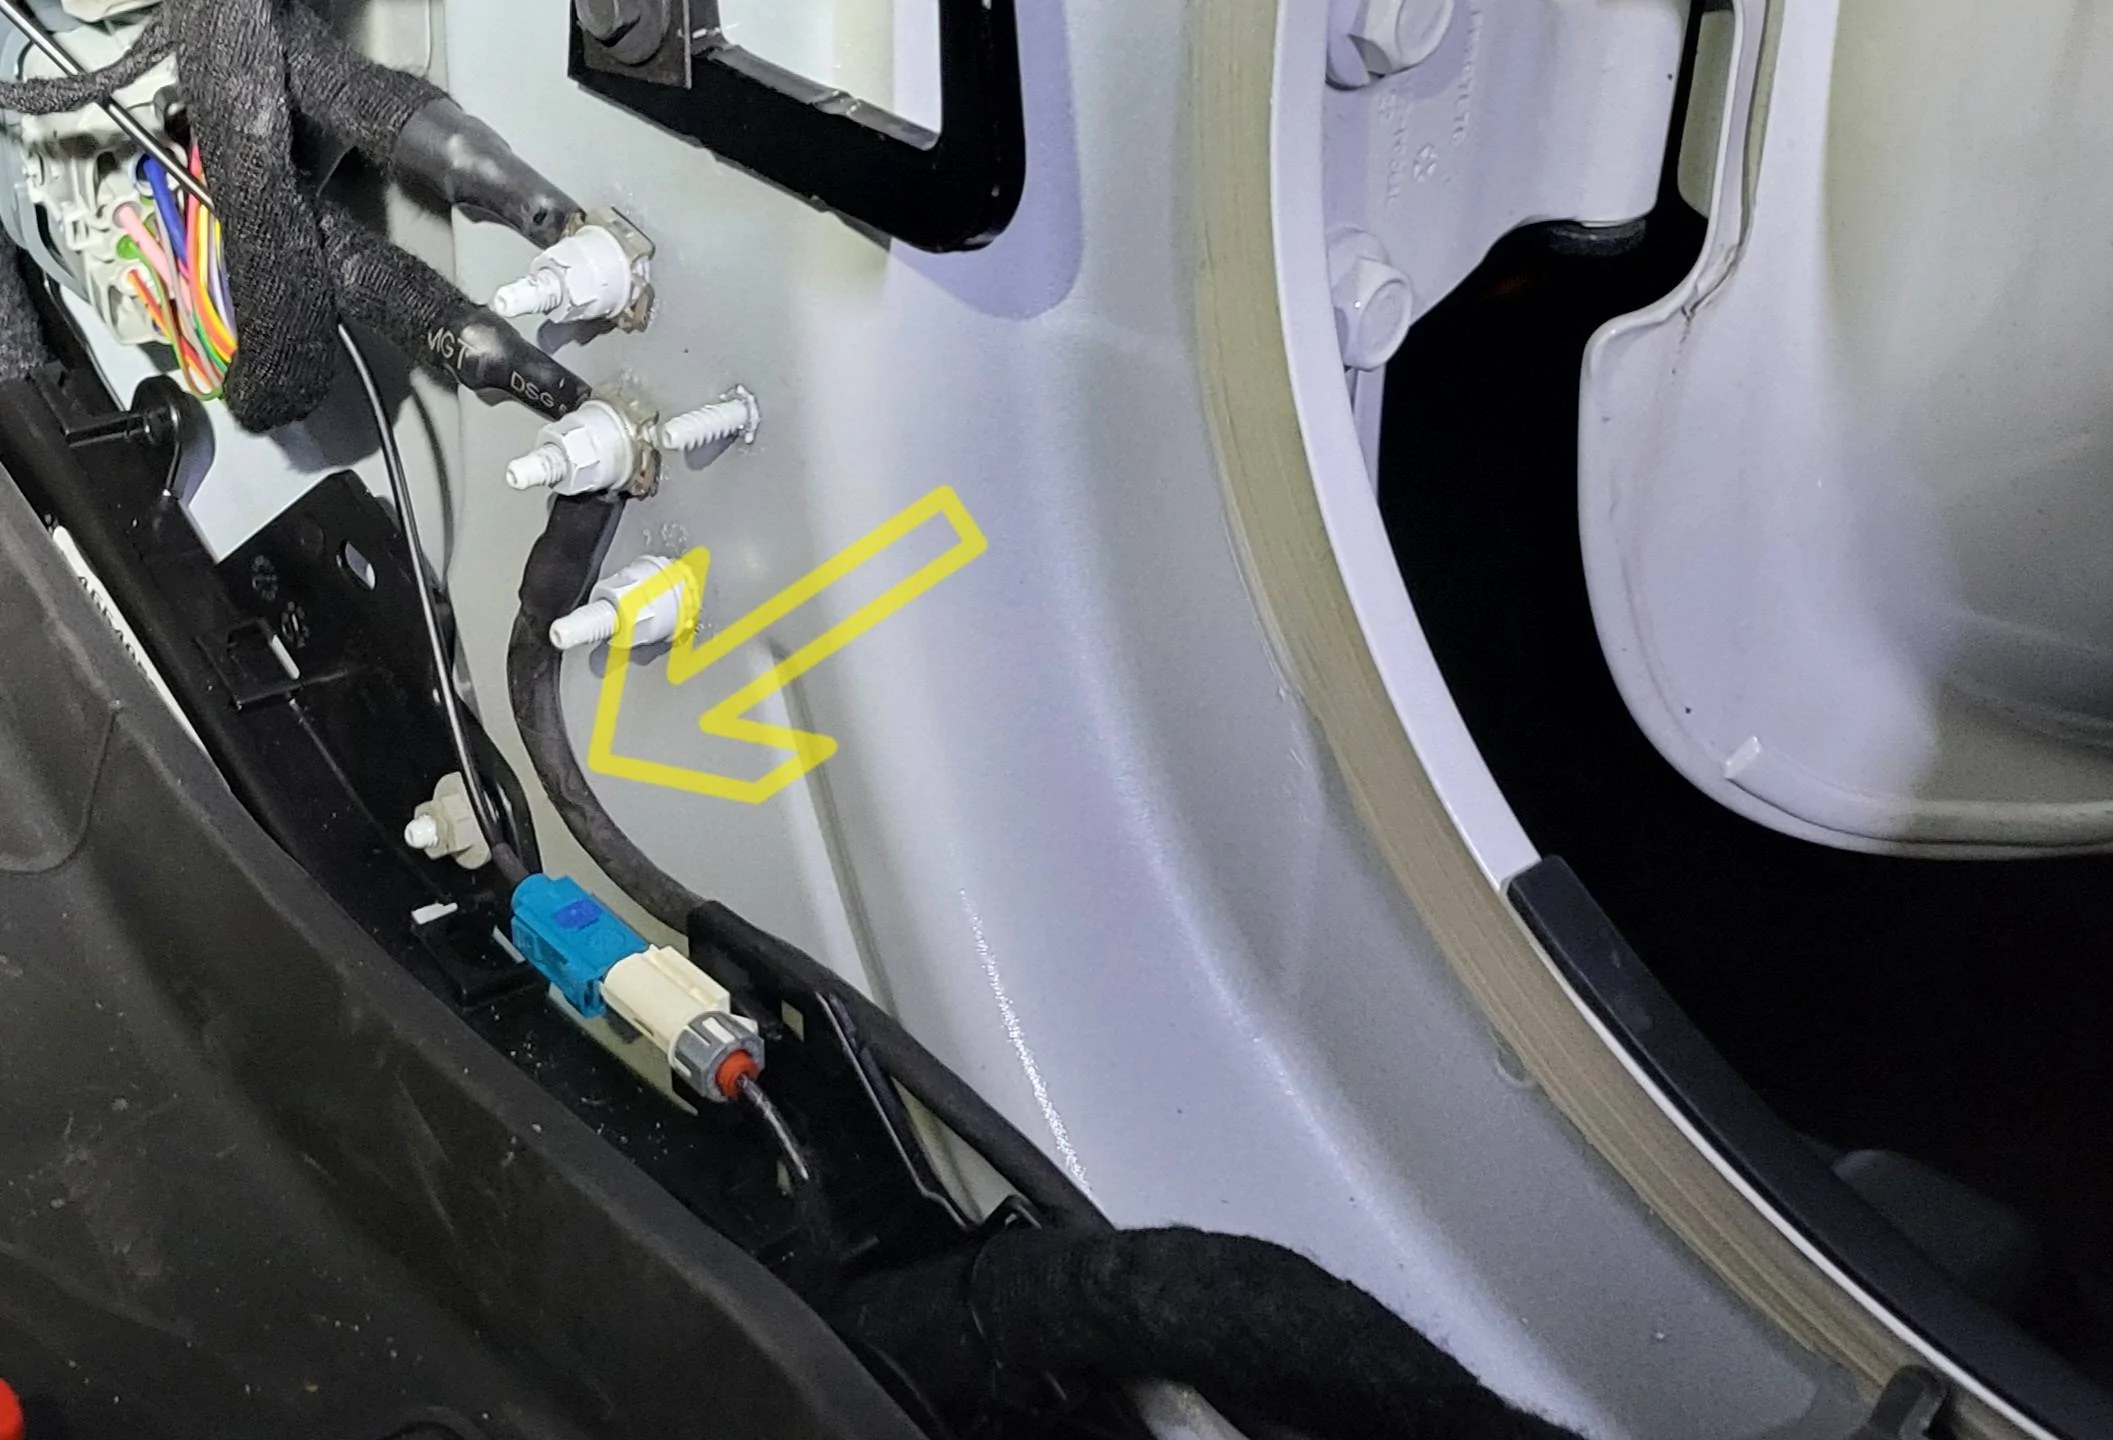
3 more projects got done along with the TrailCam project.

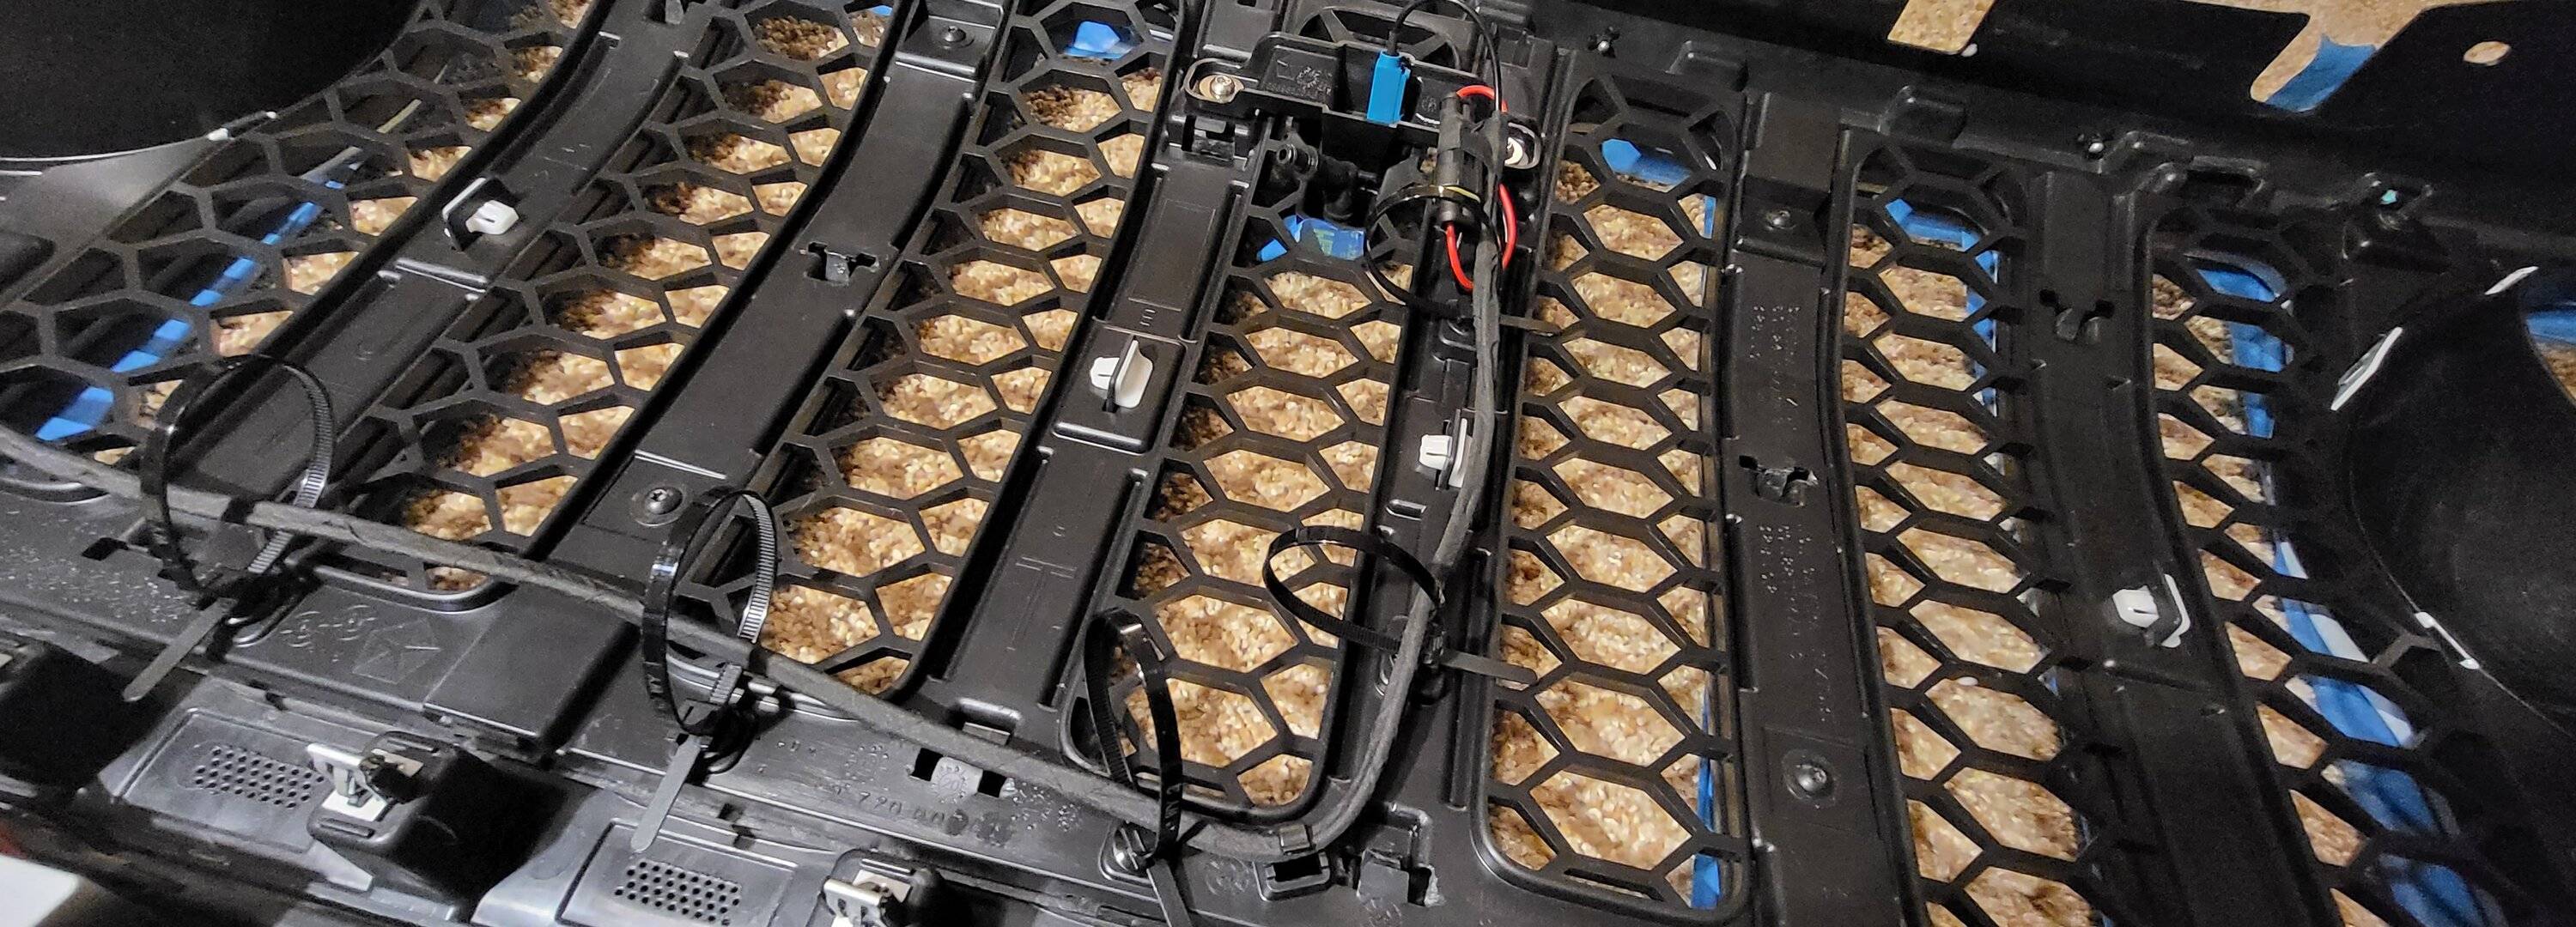
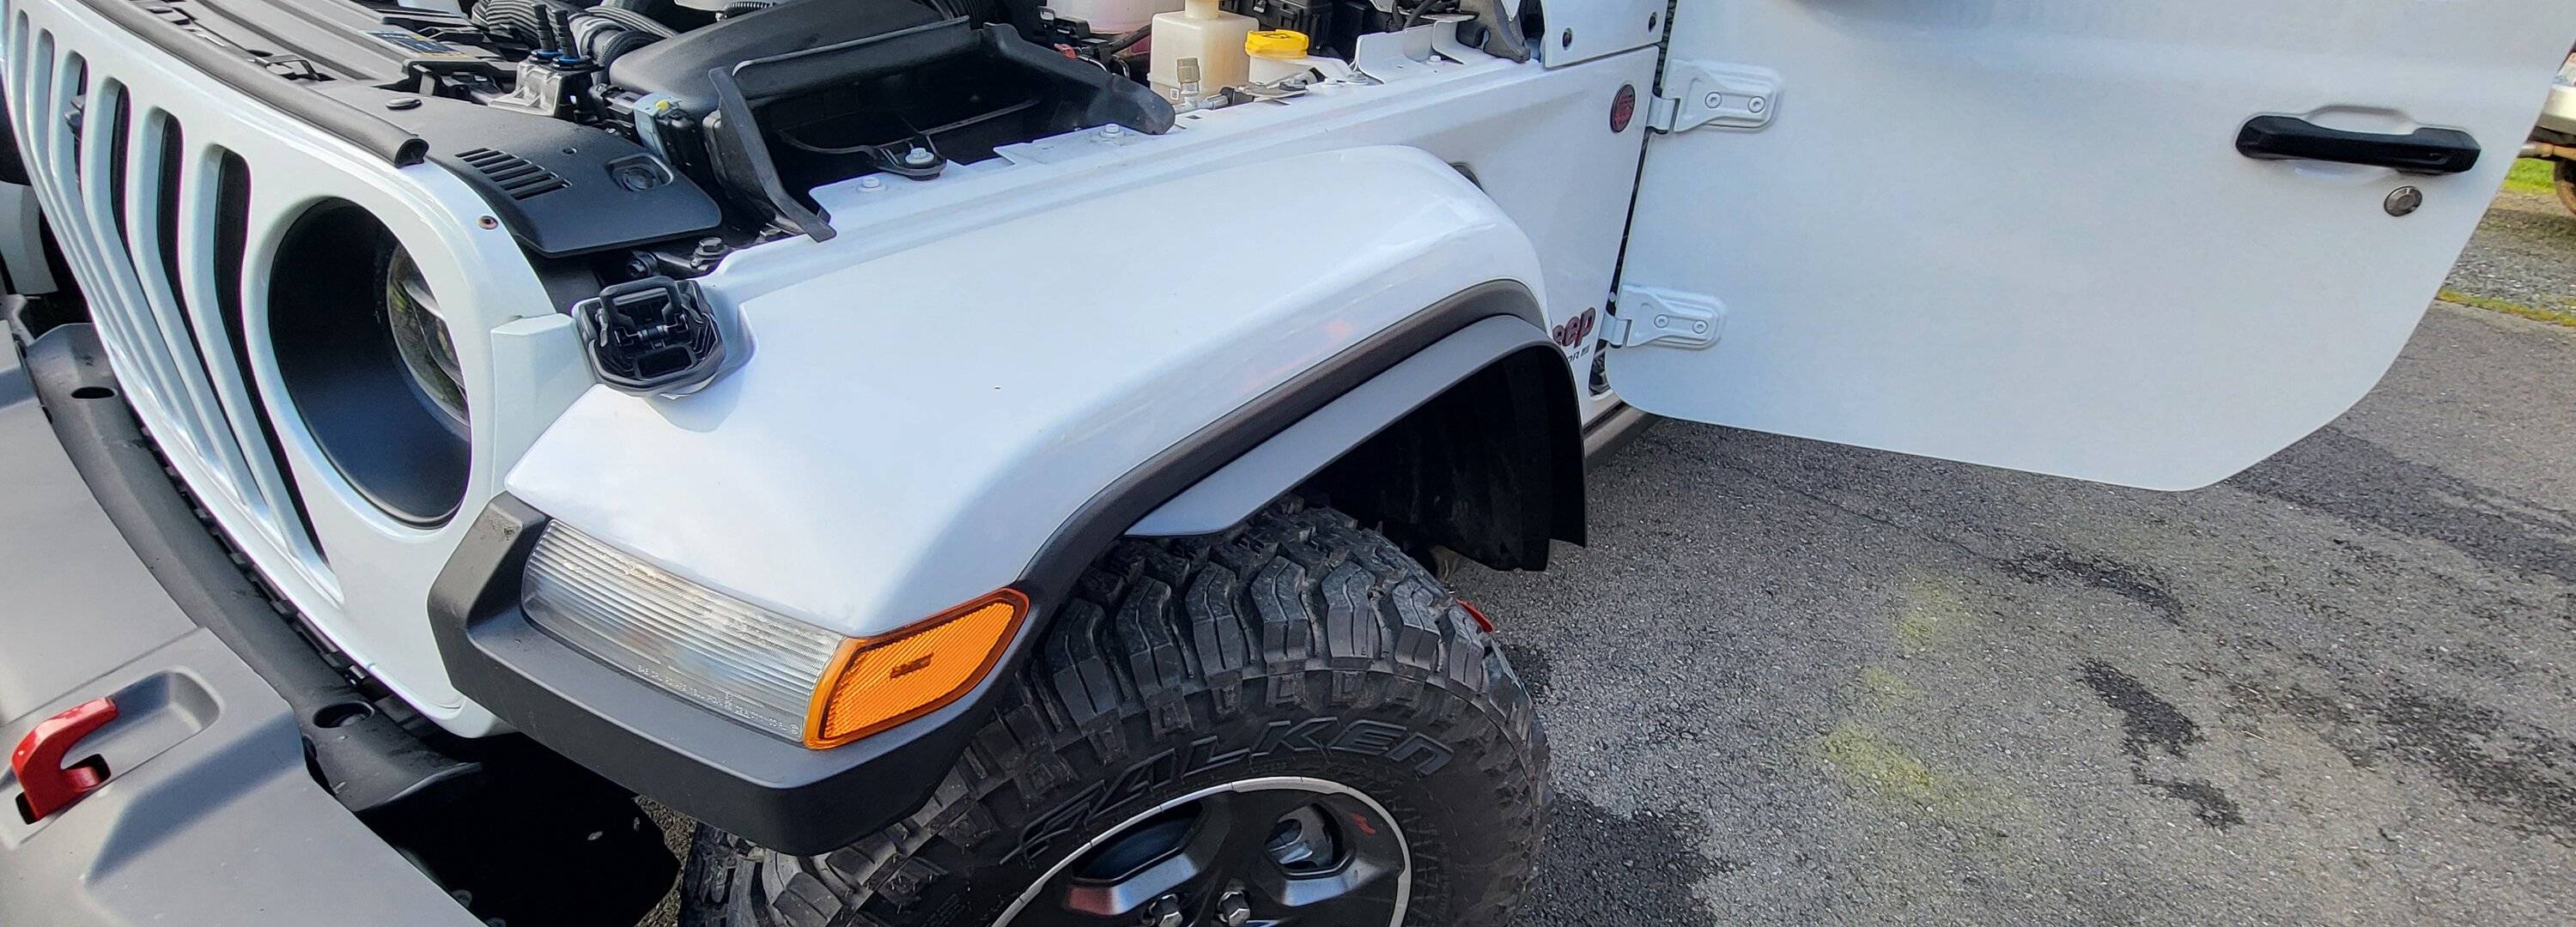
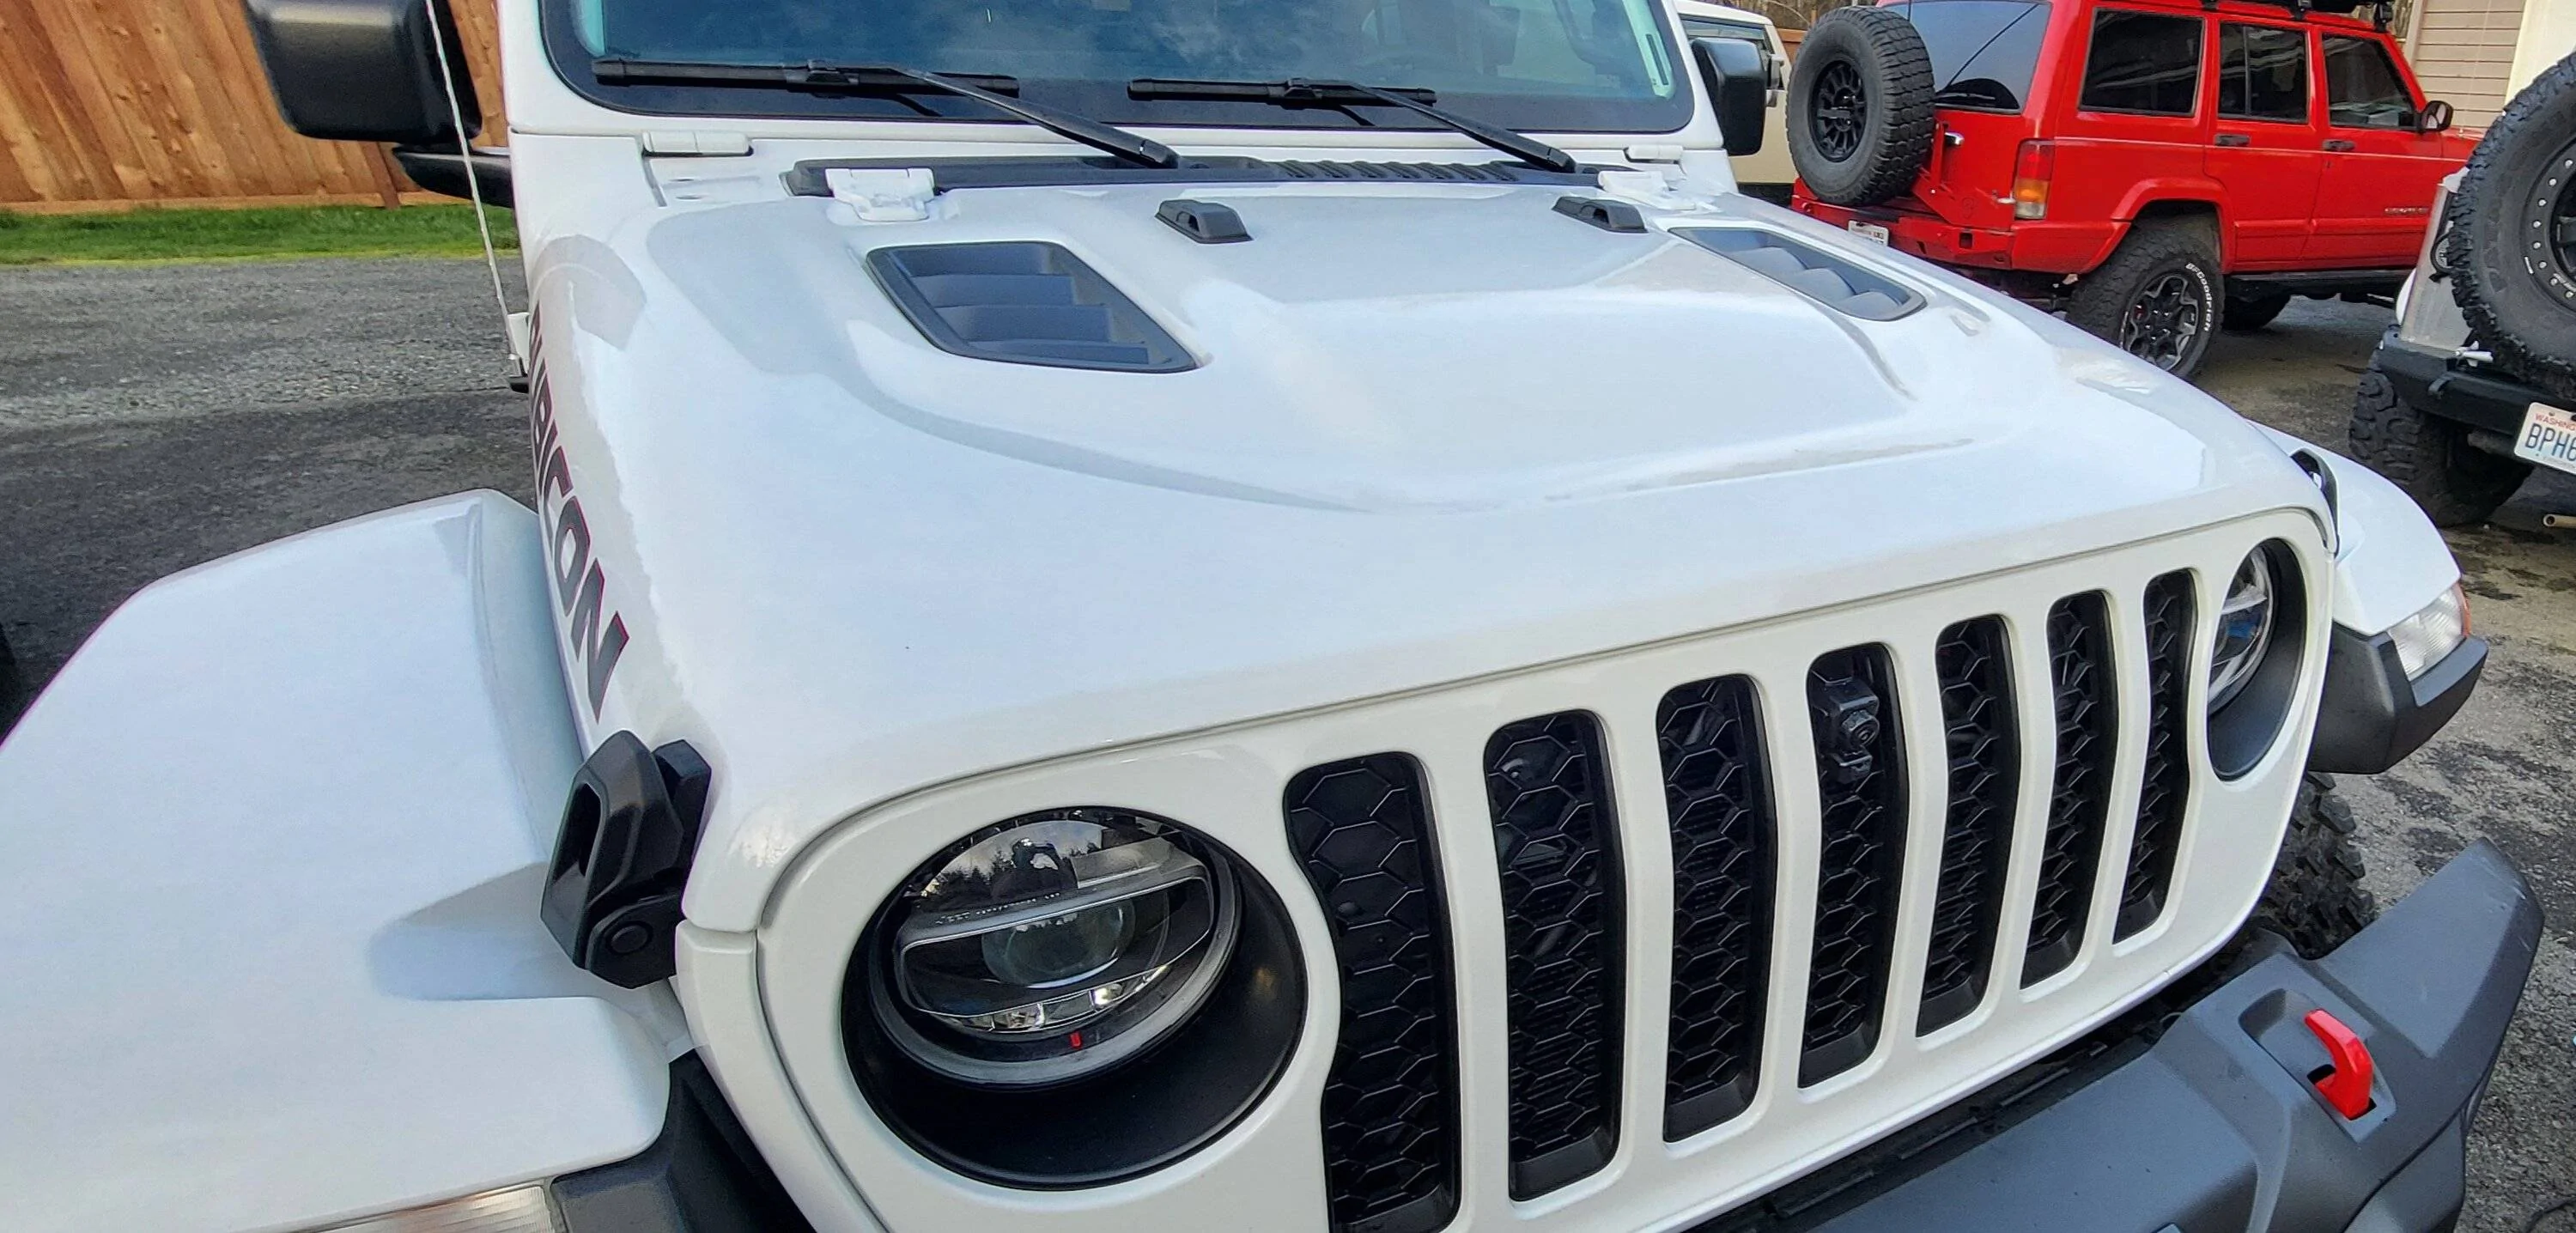
Recon Extended flares were added since the plastic rivets needed removal to removal the inner fender liner. During the re-rivetting process, these extended flares were sandwiched on. Took entire 5 min.

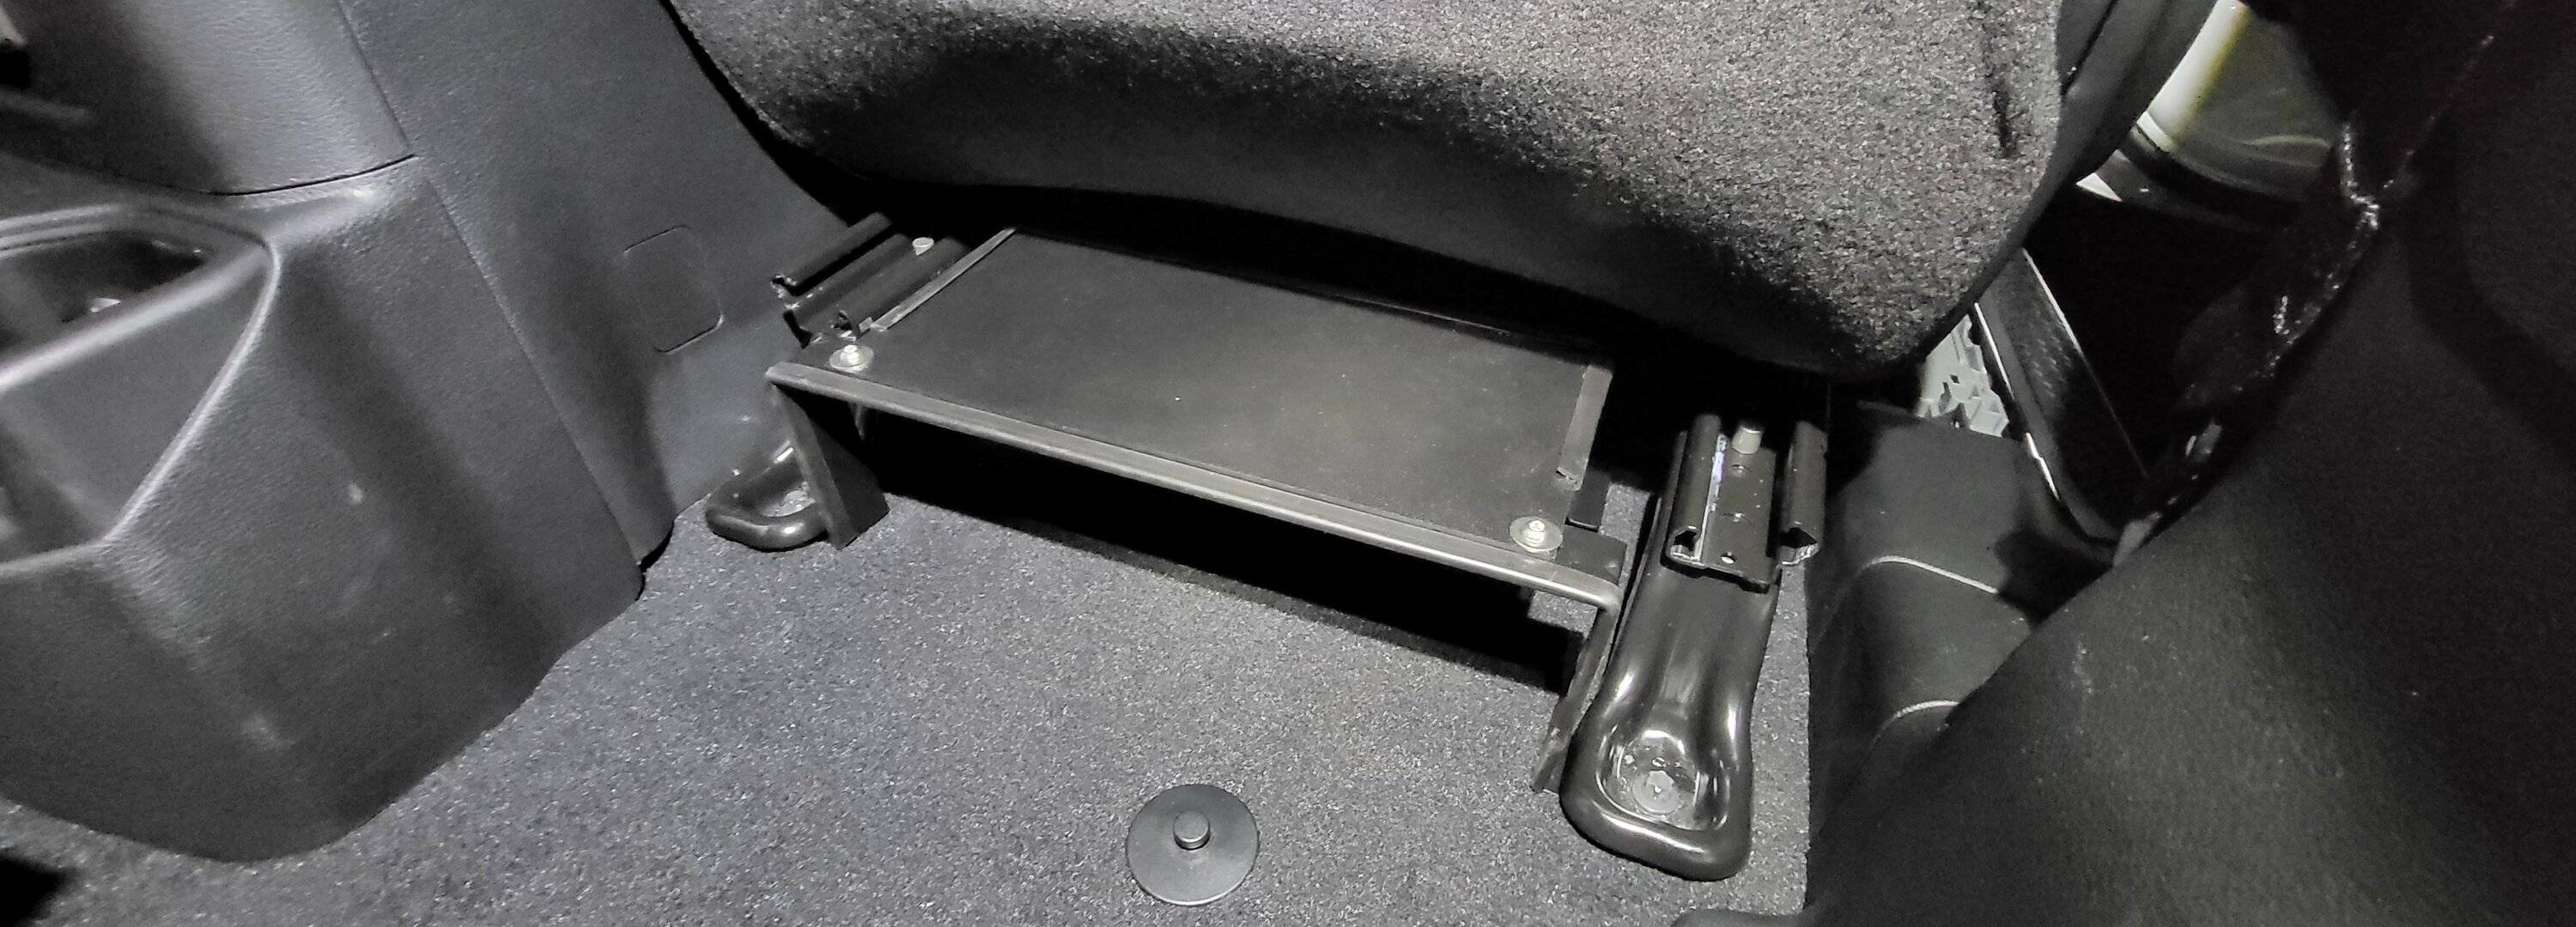
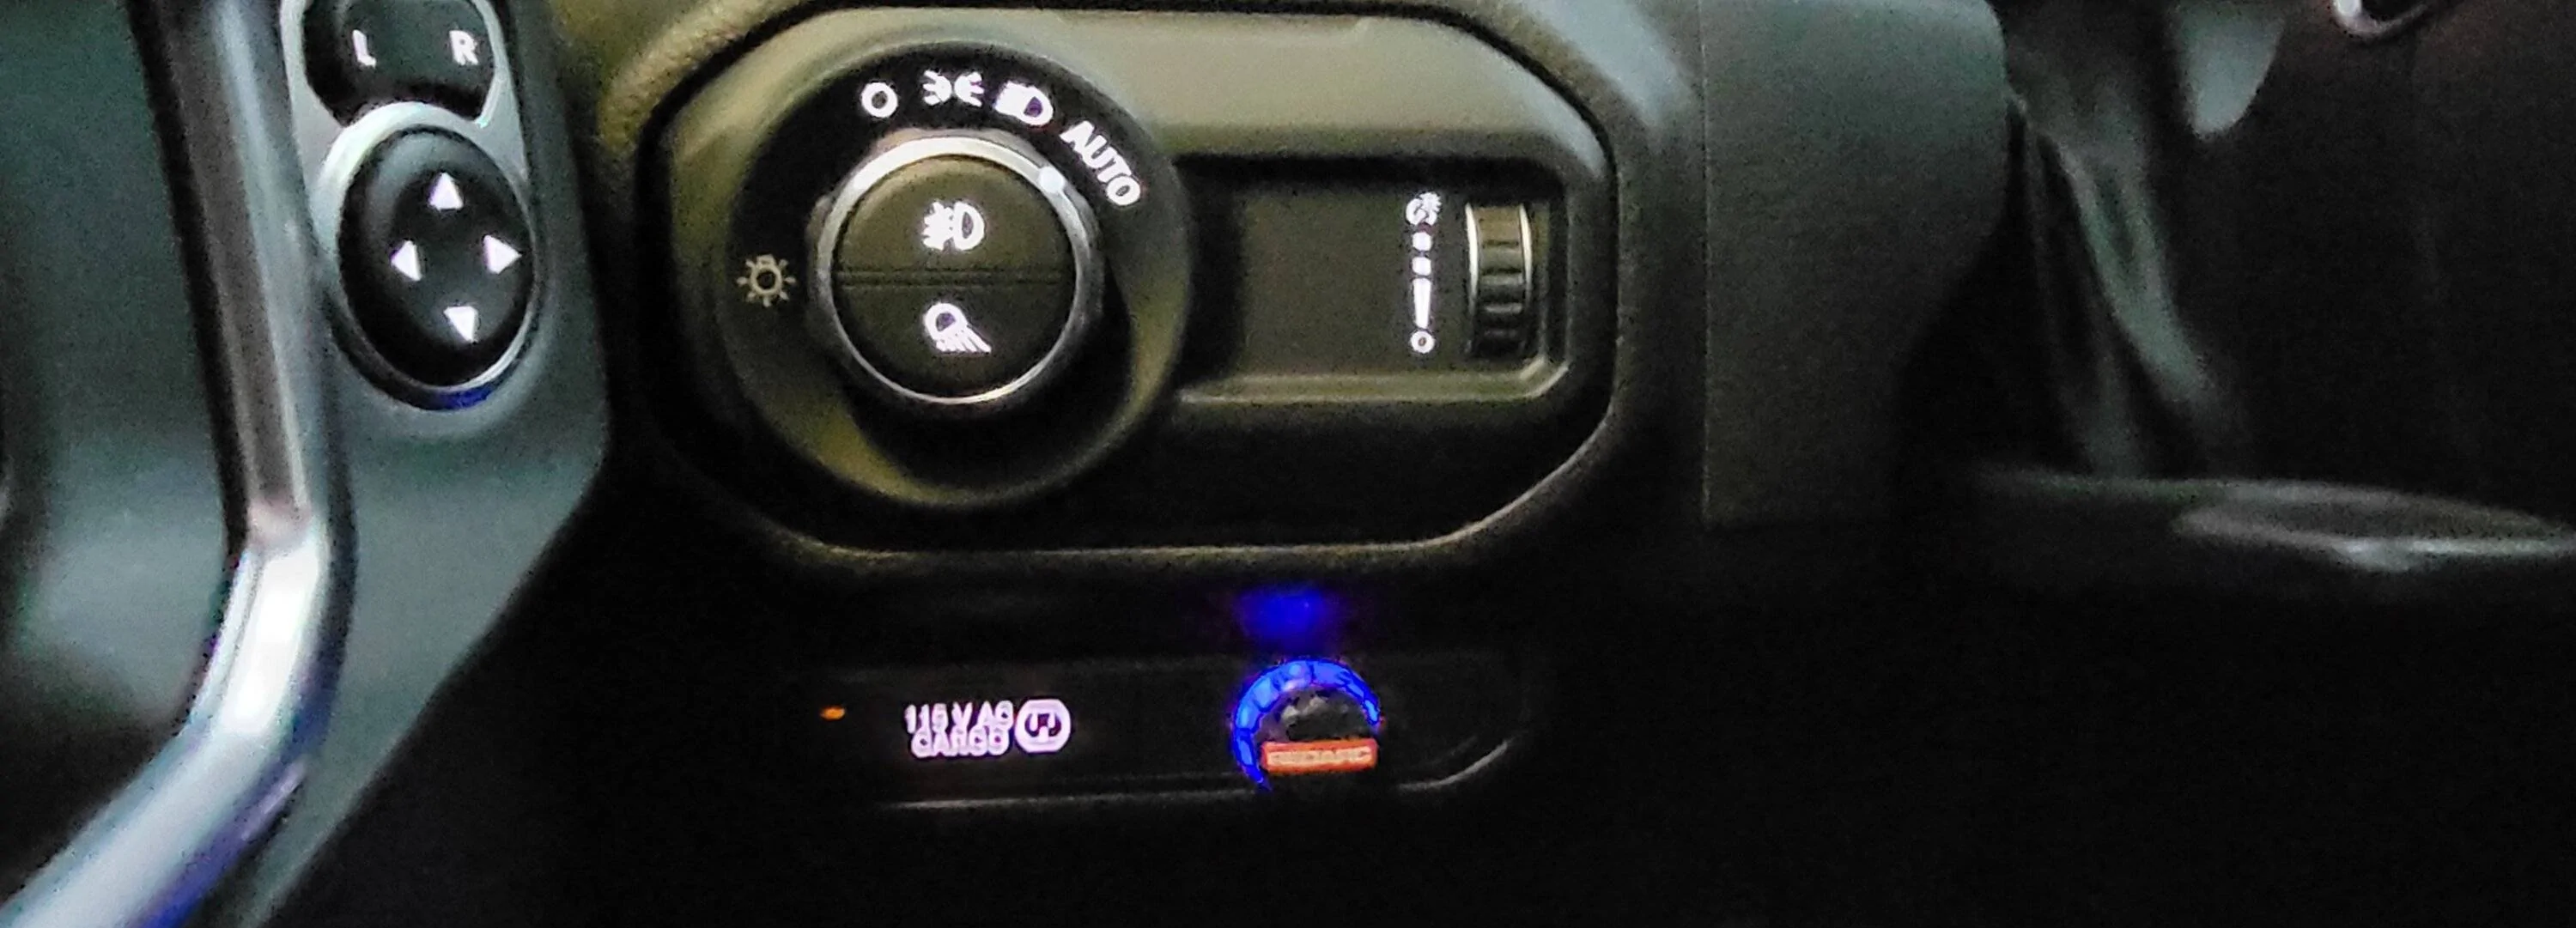
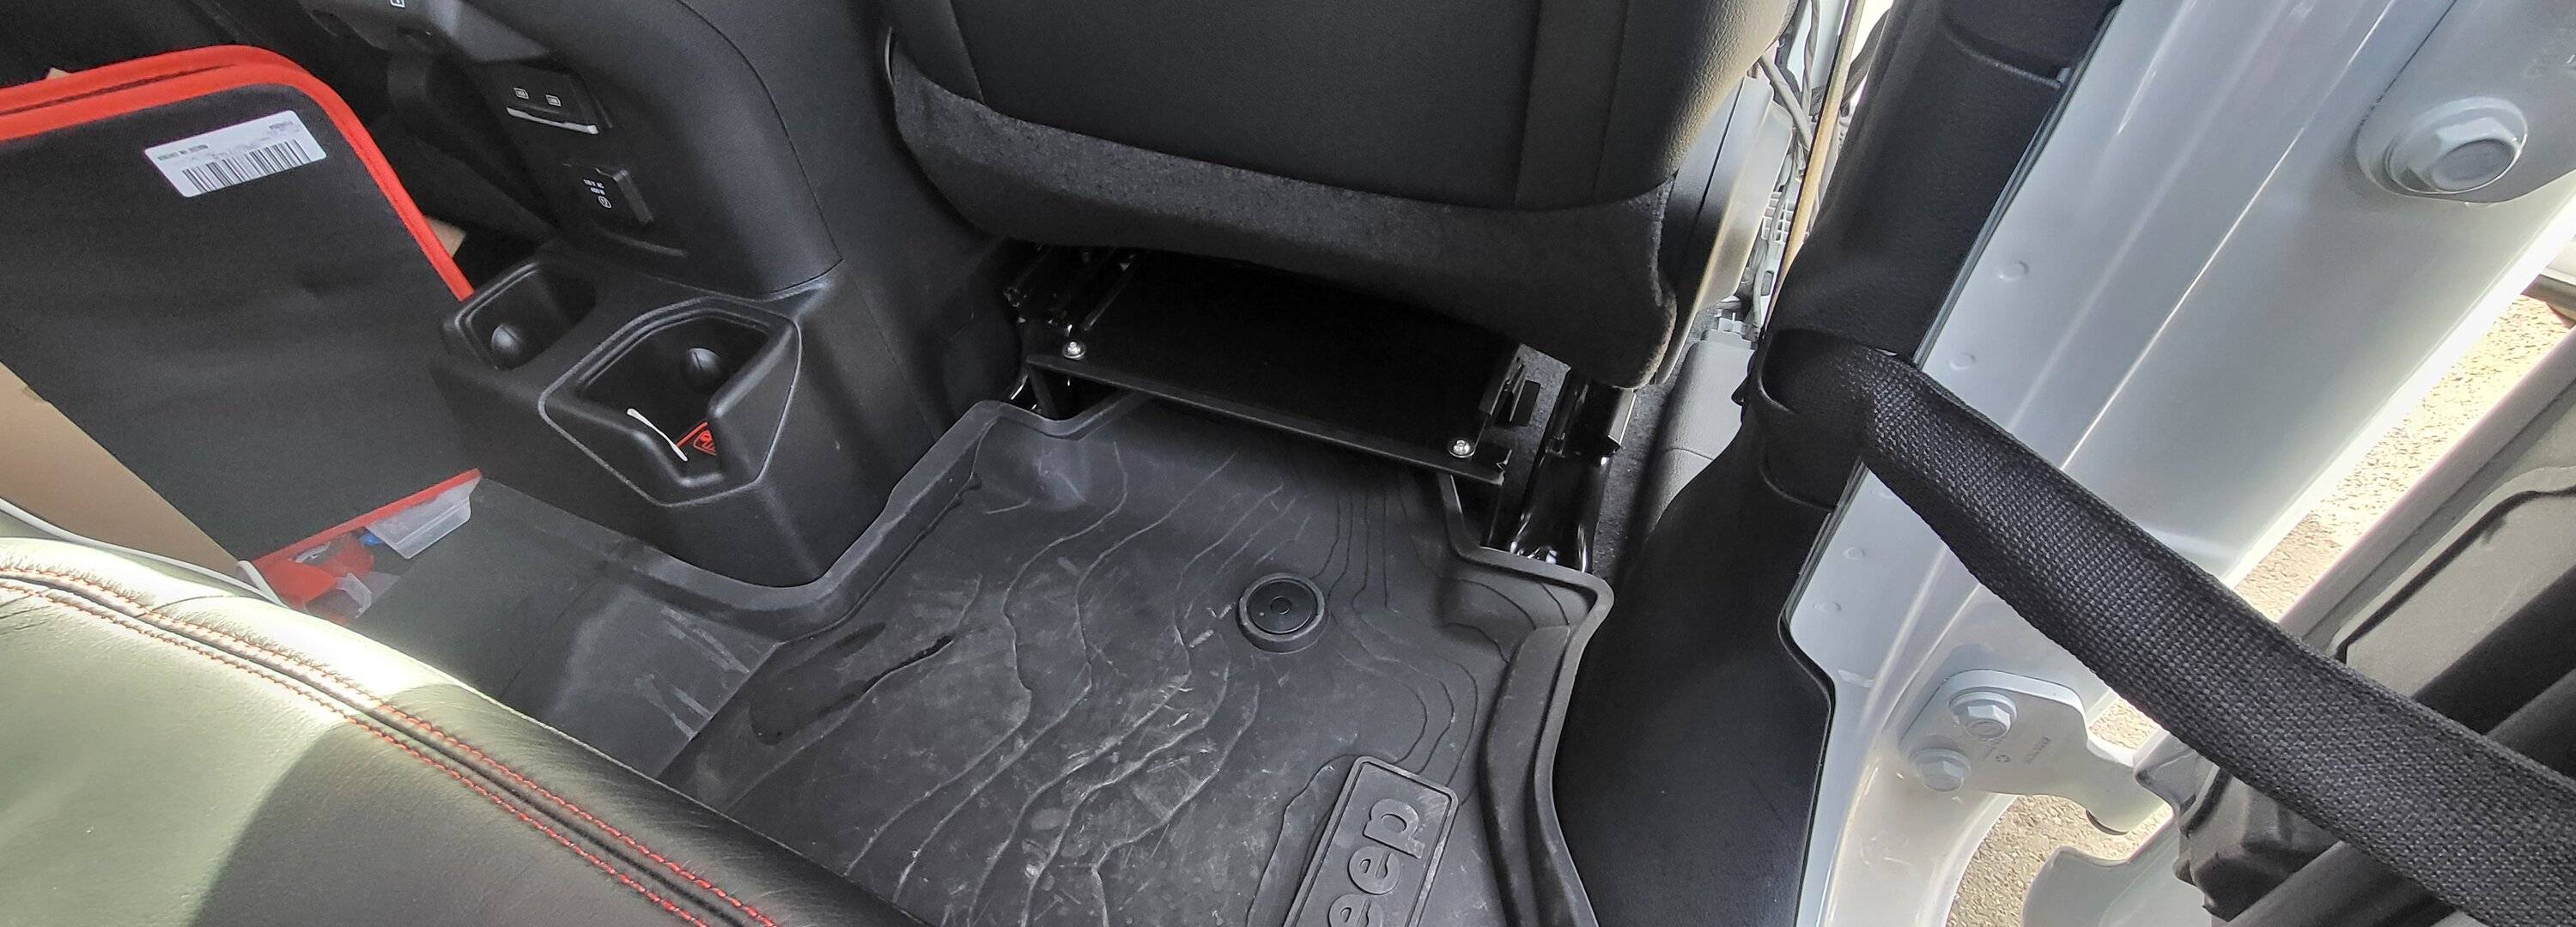
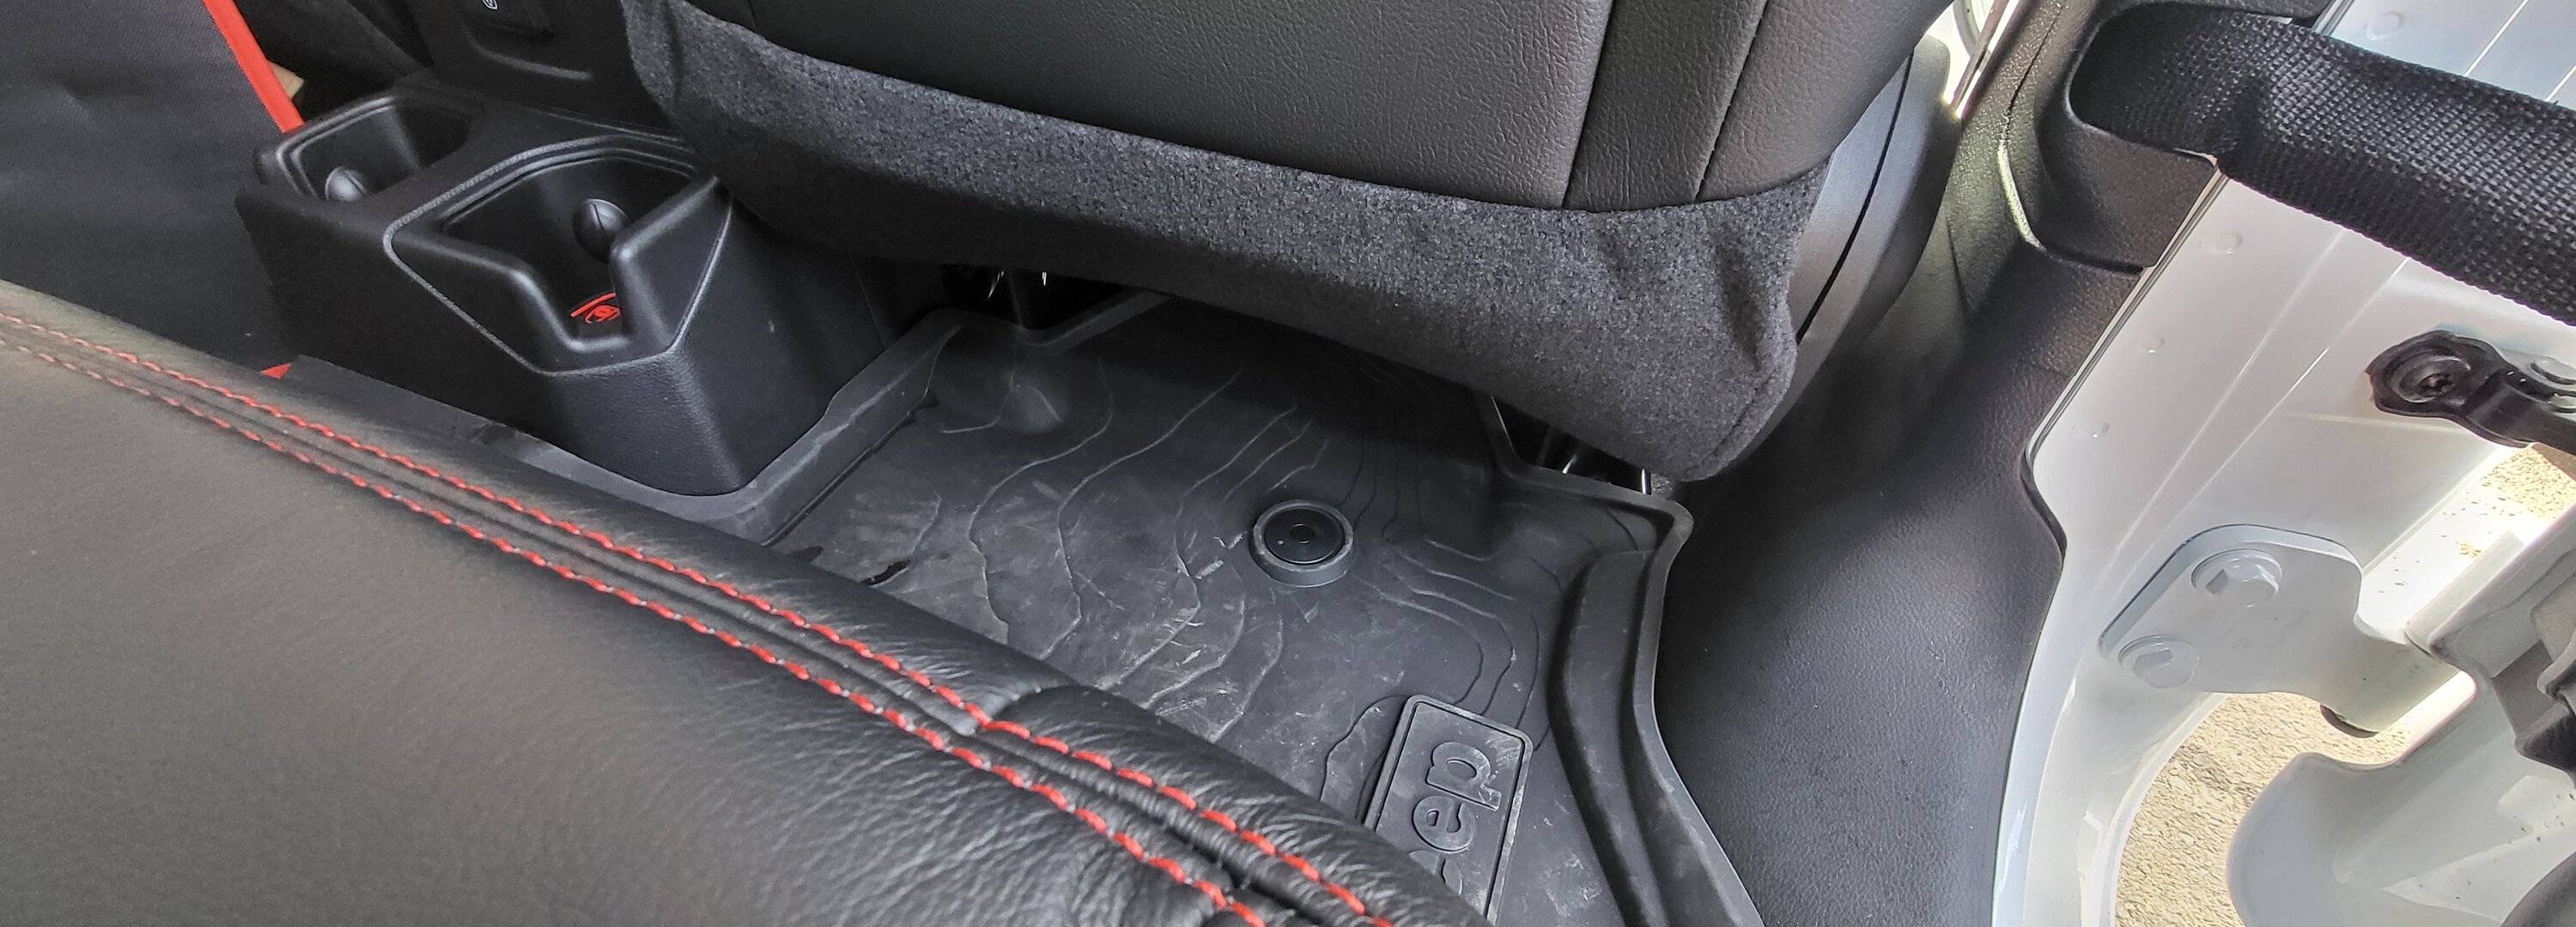
Parts of dash needed removal so the bed outlet option was added and since dash was coming apart, the RedArc brake controller was added as well.
Sponsored


Alc

Well-Known Member
First Name
Doug
Joined
Apr 30, 2023
Threads
7
Messages
173
Reaction score
144
Location
USA
Vehicle(s)
Jeep Gladiator
I have to admit you definitely have one of the cleanest installs I’ve seen. So far my projects in order have been:
1. OEM bed outlet
2. OEM trailer brake (moved the 12v)
3. Trail Cam
….and perhaps someday
4. Raising the passenger seat and installing the lumbar like in the drivers seat.

I must admit the trail cam is not necessarily difficult but it’s crazy time consuming doing it right and keeping it tidy like you have done. Some of the hiccups on your ā€˜23 JTRD, weirdly enough, I didn’t on have my ā€˜23 JTRD such as my push nuts in the front grille were dead on. On the other hand, almost every stupid plastic clip holding together the front grille snapped and broke because they were so brittle. Each of these installs will vary it seems but this write up is as good as I’ve seen.
 
OP
OP
DailyDrivenTJ

DailyDrivenTJ

Well-Known Member
First Name
Michael
Joined
Nov 19, 2023
Threads
22
Messages
319
Reaction score
226
Location
PNW
Vehicle(s)
2023 JTRD, 1999 TJ-6 HEMI, 1998TJ, 2000 XJ 4.6L
@Alc Thanks and I do agree with you on the difficulty of the project is not that difficult. I think it was also how the information had been presented and a lot of them are scattered. Also there are a lot of it with small details important but missing.

I am surprised how much time I spent on this project. I probably 6~7 weekends. This past weekend alone, I did somewhere around 14 hours (7am~11pm) on the Gladiator.
 
OP
OP
DailyDrivenTJ

DailyDrivenTJ

Well-Known Member
First Name
Michael
Joined
Nov 19, 2023
Threads
22
Messages
319
Reaction score
226
Location
PNW
Vehicle(s)
2023 JTRD, 1999 TJ-6 HEMI, 1998TJ, 2000 XJ 4.6L
Final Install Photos:

Seat Full Forward Position
Jeep Gladiator Mopar Trail Cam DIY Installation - 2023 Diesel Gladiator Rubicon 1000008917


Seat Moved Back
Jeep Gladiator Mopar Trail Cam DIY Installation - 2023 Diesel Gladiator Rubicon 1000008919
 

MaxStrategery

Well-Known Member
First Name
Max
Joined
Mar 9, 2023
Threads
23
Messages
233
Reaction score
167
Location
TX
Vehicle(s)
22'-3.6, 23'-3.0
**I am updating this post using "edit" so you may not get the notification of update. FYI
Last Update:

2/4/2024 Washer function material and hardware details added.

2/3/2024 Underseat module installed. TrailCam Install complete.

1/20/2024 Engine bay fuse holder bracket

1/19/2024 Parts List - Nutsert Part Number added.

1000009000.jpg


Summary
  • Mopar Trail Cam can be added after production but new FRONT AND REAR cams are required. Existing rear cam CANNOT be used.
  • New grille insert and bracketaries are required to install the front cam.
  • New washer hoses, motor, and wirings are required to have washer function on the front cam.
  • Fakra Z cables (camera cable) are needed to route new installed camera. (Front cam- 3ft on the grille, 2 meters in the engine bay through firewall, then 2 meters from CVPM to the engine bay Fakra Z cable.)
  • Central Vision Processing Module (CVPM) and CUSTOM MADE wirings are required to power cameras and control the module.
Random Bits
  • Without front cam hooked up, front washer function gets disabled.
  • Power and washer level cable that is required for gasser install is ABSOLUTELY NOT NECESSARY. For my Rubicon Diesel, all I needed was the pump and programming to have it function properly. *Information on this guide is diesel specific.
  • Security bypass module once removed, the plugs need to be inserted back into their original position. Otherwise, you will get blank screen on Uconnect.
  • When removing the washer pump, you pull laterally and it will pop out about 30 degree away from the bottle's long axis. Then pull the pump out. To install, Push in the strainer gasket first then insert the new pump to install.
  • Factory Aux option gives you an interior Ignition-On wire.
  • Truck bed power outlet control cable is taped behind and above the front driver dash speaker near head light switch. I had to undo speaker assembly to get to the harness. I pulled on the harness and the undid itself.
  • More to come as I remember.. ;)
Introduction
Here is the first and "will be" the most up-to-date Trail Cam installation guide for 2023 model year JTRD using AlfaOBD Android version and placing the CVPM on an alternate location from the factory location. The photo below shows the test setup using gator clips and camera directly plugged into the CVPM using short Fakra cables. The video below shows the proof of concept that verified that the CVPM works with 2023 model year. This write up is to show what I have done to make this work. Hope you will find it helpful.


20240107_224319.jpg

20240111_165444-jpg.jpg


Completed Underseat Module
20240113_223113.jpg


Fakra Z cable in 3 ft length was used for behind the grille wire bundle.

2 of 16ga wires were used to make the harness and this allowed some girth around Fakra cables and splints for further durability. The cables are bundled together with harness tape and held in place by surface mounted zip ties.
20240118_185141-jpg.jpg


Parts Needed:

Camera and related parts
:

68436466AA Front camera
68396526AB Front camera bracket
6QN24RXFAD Front camera grille section: This part replaces your current center section of the grill to accomodate the front cam.

The following two parts were noted to be necesaary but not used in my 2023 Diesel Rubicon as they did NOT fit.

(06510197AA (2) TWO Front camera bracket nuts)
(68090949AA (2) TWO Front camera bracket screws)

Rear Camera: Comes with painted trim to replace current camera.

6NN98VGVAD Gator
6NN98GW7AD White
6NN98LAUAD Granite Crystal
6NN98RUAAD Gobi
6NN98MRCAD Red
6NN98PDNAD Sting Gray
6NN98DX8AD Black
6NN98JSCAD Billet Silver
6NN98MBJAD Hydro Blue
6NN98SE4AD Punkn
6NN98PGGAD Sarge Green
6NN98SSEAD Silver Zenith


Central Video Processing Module: There are two versions that are specific to the vehicle model year.

ecidiego: Jimmy's original guide only had that part #68329740AE - I was the lucky guy who bought it(2020 CVPM) for my 2021 and then had to troubleshoot for 3 hours (camera button didn't work ) before I researched and found a NEW part # for 2021. The 2021 - 2023 CVPM is the same part - 2020 is unique.

2020 CVPM: 68329740AE

2021 - 2023 CVPM: 4672861AC - I used this part number.

CVPM snap nut
- 06506955AA QTY of 2
These nuts are to be used in the stock mounting location but I used this on my grille to mount the camera bracket. Thread on this is M6.

Washer parts: These parts fit with each other in the follow order.

68370210AA Camera washer nozzle - This part fits outside of the grille section.
68370825AA Washer nozzle elbow - This part and any subsequent hoses fit behind the center grill section.
68370828AA Hose #1: washer hose between washer nozzle elbow at the camera to Hose 2
68456244AA Hose #2: intermediate hose washer hose between Hose 1 to the pump. *This part is too short to reach the diesel version of washer bottle/pump. BUT IT IS NECESSARY TO HARVEST THE FITTING TO HOSE #1 Shown as bottom hose on the photo below.
Windshield Washer Hose Kit - 3 Meter Universal Washer Fluid Hose https://a.co/d/esoPQ8G
Automotive Vacuum Tubing Connector Vacuum Tee Connector Assortment- https://a.co/d/6ioKWig
68310928AA Washer pump (Verified to fit)
68382603AB Washer wiring harness(ABSOLUTELY NOT NECESSARY)

20240105_215746.jpg

FAKRA Z cables: Used to connect front and the rear cams to the Central Video Processing Unit (CVPM). CVPM then sends the signal to headunit.

Central Vision Processing Module (CVPM) Cable Harness: I made my own using write up Jimmy07 Guide with a different specification to fit my need to place the CVPM on under the front seat.

There are 4 pins used by CVPM on the Gladiator. In summary, 2 pins are used to power the CVPM and 2 others are used to control the CVPM.

These are materials you need to make the harness.

QTY (1) CVPM connector= Molex 34824-0124
QTY (4) CVPM C1 connector terminals= Molex 5600230448
QTY (1) CAN IHS block connector= TE Connectivity 5-2138650-1
QTY (2) CAN IHS connector terminals= TE Connectivity 1355717-1

I used 26ga wires as I tried 22 and 24ga and I found the insulation to be too thick to be installed through connectors.

References
Jimmy07 Write Up
ecidiego Write Up


——————————

Previously posted by Jimmy07, the guide has be incredibly helpful. Another updated guide exists but information is so spread throughout it took me multiple passes at the entire 14 pages of information to find what I needed. Both are amazing nonetheless. Will be consolidating some of the information as I make progress.

Completed mock installing the CVPM, front and rear cams using power from 12V outlet, using CAN bus behind the glove box and I got front and rear cam to show on the 8.4" screen.

There were a few critical details that were not so clear and some are just not applicable to 2023 Gladiator Diesels for both the physical installation and vehicle configuration using AlfaOBD.

Will follow up with updated part numbers and non mopar parts for diesel Gladiators and 2023 model year and how I ended up installing it in the non-factory position.

Topics to be covered

Updated parts list
Disassembly undoing panels and connector removals.
Actual camera install
Washer motor install, hose routing/modification, wiring changes
How to plug in Security By Pass Module and OBD Bluetooth connectors
How to actually use AlfaOBD
Making own harness
Access to power
Double zoom button
Using AlfaOBD
Blank screen issue
Wiring

1000008703.jpg


1000008879.jpg


1000008977.jpg
Would it be easier to find a Bluetooth trail cam and run the feed to a tablet mounted in the cab somewhere?
 

Sponsored

Alc

Well-Known Member
First Name
Doug
Joined
Apr 30, 2023
Threads
7
Messages
173
Reaction score
144
Location
USA
Vehicle(s)
Jeep Gladiator
Would it be easier to find a Bluetooth trail cam and run the feed to a tablet mounted in the cab somewhere?
I wouldn’t even know how to respond to that comment but I guess I can try since I am also in the middle of this mod. Um yes, it would be easier. It would also be easier to zip tie, no duck tape a camera to the front as well and run a wire over the hood and through the freedom top to a $99 galaxy tablet mounted on your windshield via suction cups that is plugged into the lighter outlet. I’d love to see this mysterious Bluetooth trail cam that integrates into the head unit seamlessly of OEM quality without the CVPM and everything else.

Some people enjoy working on their vehicles and others do not. This OP clearly wanted as close to OEM as possible since they are designed and engineered for the vehicle. Not judging but it sounds like you prefer the easy way not the OEM way and to each their own.

It would be nice if we could keep this thread on topic with questions about how to do this install or lessons learned not opinions about z cam and it’s benefits/problems.
 
Last edited:

ecidiego

Well-Known Member
First Name
Chris
Joined
Nov 3, 2021
Threads
62
Messages
3,625
Reaction score
5,582
Location
San Diego
Vehicle(s)
2021 Gladiator Mojave
Occupation
IT
I wouldn’t even know how to respond to that comment but I guess I can try since I am also in the middle of this mod. Um yes, it would be easier. It would also be easier to zip tie, no duck tape a camera to the front as well and run a wire over the hood and through the freedom top to a $99 galaxy tablet mounted on your windshield via suction cups that is plugged into the lighter outlet. I’d love to see this mysterious Bluetooth trail cam that integrates into the head unit seamlessly of OEM quality without the CVPM and everything else.
Jeep Gladiator Mopar Trail Cam DIY Installation - 2023 Diesel Gladiator Rubicon spits-coffee-laughin
 
OP
OP
DailyDrivenTJ

DailyDrivenTJ

Well-Known Member
First Name
Michael
Joined
Nov 19, 2023
Threads
22
Messages
319
Reaction score
226
Location
PNW
Vehicle(s)
2023 JTRD, 1999 TJ-6 HEMI, 1998TJ, 2000 XJ 4.6L
Would it be easier to find a Bluetooth trail cam and run the feed to a tablet mounted in the cab somewhere?
LOL. Go spend some time finding the very Bluetooth trail cam you speak of, mount it in the cab somewhere and post some photos and *show us how it is easier.

If I wanted it to be easier, I would not have spent all this time documenting the process and try sharing it with people.

I will never understand people like you.

Just wondering what the real motive behind the question is.

Let me ask you these. Do you own Jeep? Why? Why put big tires? Wouldn't it be cheaper to drive a Prius? Or cheaper to walk and ride public transit? Why buy a house? Why get married? Why have kids? Wouldn't it be easier not doing anything? Why do you even live?
 

Alc

Well-Known Member
First Name
Doug
Joined
Apr 30, 2023
Threads
7
Messages
173
Reaction score
144
Location
USA
Vehicle(s)
Jeep Gladiator
@DailyDrivenTJ just to get back on topic, what was your final decison on powering the CVPM? Did you tap into the fuse box or use the power from the aux power switches? Any pics of how and where you’re getting it from?

EDIT: anyone ever open up the fuse box and add fuse receptacles (not just tapping fusing). Curious what it looks like under there. It would be interesting to know if it’s possible to run the power to the CVPM allocated position instead of using a fuse tap. This would make it almost impossible for the dealer to know it didn’t come with the trail cam unless they took a deep dive into the BCM.
 

JTGuy

Well-Known Member
First Name
Pascual
Joined
Jul 23, 2023
Threads
57
Messages
1,752
Reaction score
1,681
Location
San Dimas CA
Vehicle(s)
20022 Jeep Gladiator
Occupation
Manager
I tip my hat to you guys that can do this stuff. I would be at my limit with a RV reverse camera install.
 

Sponsored

OP
OP
DailyDrivenTJ

DailyDrivenTJ

Well-Known Member
First Name
Michael
Joined
Nov 19, 2023
Threads
22
Messages
319
Reaction score
226
Location
PNW
Vehicle(s)
2023 JTRD, 1999 TJ-6 HEMI, 1998TJ, 2000 XJ 4.6L
@DailyDrivenTJ just to get back on topic, what was your final decison on powering the CVPM? Did you tap into the fuse box or use the power from the aux power switches? Any pics of how and where you’re getting it from?

EDIT: anyone ever open up the fuse box and add fuse receptacles (not just tapping fusing). Curious what it looks like under there. It would be interesting to know if it’s possible to run the power to the CVPM allocated position instead of using a fuse tap. This would make it almost impossible for the dealer to know it didn’t come with the trail cam unless they took a deep dive into the BCM.
I see that I didn't make this clear.

I ran 4awg cable from battery to the inline fuse holder from engine bay back inside the cabin.

You can see below, 150amp fuse holder with yellow tabs to keep the cover on. White arrows show the cable route from battery to the fuse holder. Nylon sleeving was added to protect the cable and allows you to blend in with factory harnesses. I like factory looks when it comes down to electrical stuff.
Jeep Gladiator Mopar Trail Cam DIY Installation - 2023 Diesel Gladiator Rubicon 20240210_180156


From the inline fuse holder. I ran the cable down towards the frame back up the passenger side. Took about 10 ft of cable. Added some heat shield to protect the cables along the exhaust.

Jeep Gladiator Mopar Trail Cam DIY Installation - 2023 Diesel Gladiator Rubicon 20240210_174705


Came up into cabin and underneath the carpet. There is a grommet you can make a hole and squeeze the cable through.
Jeep Gladiator Mopar Trail Cam DIY Installation - 2023 Diesel Gladiator Rubicon 1000008872


Remember this underseat module I made?
Jeep Gladiator Mopar Trail Cam DIY Installation - 2023 Diesel Gladiator Rubicon 20240210_174612


The 4 awg cable gets connected to the power distribution block on the bottom left. Then power goes through the circuit breaker travels to the right into the huge relay which supplies the power to the fuse strip to the right. The yellow arrow is where the power cable is for the CVPM. The ground is indicated with the white arrow. That bus was connected to chassis ground.

Jeep Gladiator Mopar Trail Cam DIY Installation - 2023 Diesel Gladiator Rubicon 20240210_173459


So in summary, instead of running a single 14ga cable half hazardly from fuse box in the engine bay into the cabin, decided to run a legit power cable and created a power distribution center under the seat that is controlled by "Ignition on" wire from Aux cables behind the glove compartment. AUX cable is only turning on the heavy duty relay in the underseat module.

Now I have 3 more fused circuits I can run off of this setup. Created harnesses for all the cables so they are not a single strand of cable with bare insulation that will rattle against hard surfaces. Cables were cut to proper length to reduce excess being rolled up and zip tied.

I ran the front cam and the Uconnect Fakra cables under the center console. Also ran the data bus cable and the AUX ignition on cable under the center console.

This is the ground cable I ran to the underseat module and it was ran under the door trim.
Jeep Gladiator Mopar Trail Cam DIY Installation - 2023 Diesel Gladiator Rubicon 20240210_174936


Hope this clarified a few things!

Any other questions, ask away!
 

Alc

Well-Known Member
First Name
Doug
Joined
Apr 30, 2023
Threads
7
Messages
173
Reaction score
144
Location
USA
Vehicle(s)
Jeep Gladiator
Definitely does! Thank you for the technical explanation and it follows a logical path for further expansion of your setup/goals. Now if only I could simplify it to Bluetooth trail cam ?. I’m still looking for a simple 10amp - 10amp way of completing my install. I’m just having a hard time accepting that a fuse tap is the final solution after all this work/$$. Our fuse boxes have an active CVPM fuse that is wired to 10amp and not freaking used from the factory…I mean WTF. Can’t we find a way to make that fuse worthwhile other than trying to somehow access the x401a connector and tapping pin #2???
 
OP
OP
DailyDrivenTJ

DailyDrivenTJ

Well-Known Member
First Name
Michael
Joined
Nov 19, 2023
Threads
22
Messages
319
Reaction score
226
Location
PNW
Vehicle(s)
2023 JTRD, 1999 TJ-6 HEMI, 1998TJ, 2000 XJ 4.6L
... I’m just having a hard time accepting that a fuse tap is the final solution after all this work/$$. Our fuse boxes have an active CVPM fuse that is wired to 10amp and not freaking used from the factory…I mean WTF. Can’t we find a way to make that fuse worthwhile other than trying to somehow access the x401a connector and tapping pin #2???
That was my least liked solution for me as well. So I decided to do this instead.

You can tab into the cigarette lighter circuit. That is also switched and seems like many aftermarket MFRs use them to power their accessories.
 

Zybane

Well-Known Member
Joined
Apr 9, 2022
Threads
14
Messages
254
Reaction score
272
Location
Colorado
Vehicle(s)
JTRD
Occupation
Military Pilot
Yikes, that's a ton of work and expense for a mediocre camera on the front. I'd put all that money into a custom 360 degree surround camera system with under-chassis view.
 
OP
OP
DailyDrivenTJ

DailyDrivenTJ

Well-Known Member
First Name
Michael
Joined
Nov 19, 2023
Threads
22
Messages
319
Reaction score
226
Location
PNW
Vehicle(s)
2023 JTRD, 1999 TJ-6 HEMI, 1998TJ, 2000 XJ 4.6L
Yikes, that's a ton of work and expense for a mediocre camera on the front. I'd put all that money into a custom 360 degree surround camera system with under-chassis view.
Ton of work and requires knowledge not many have or patience and money for.

It wasn't much more than wiring a custom stereo for me.

I would love to see a custom 360 degree surround camera system with under-chassis view done on Gladiators. Why don't you do one for the rest of the group for your portal axle build?
Sponsored

 
Last edited:


Top