jwilson2899
Well-Known Member
- First Name
- Jeff
- Joined
- Nov 11, 2019
- Threads
- 23
- Messages
- 858
- Reaction score
- 1,068
- Location
- Front Royal, VA
- Vehicle(s)
- 2020 Gladiator Rubicon Launch Edition
- Occupation
- System Engineer
- Vehicle Showcase
- 1
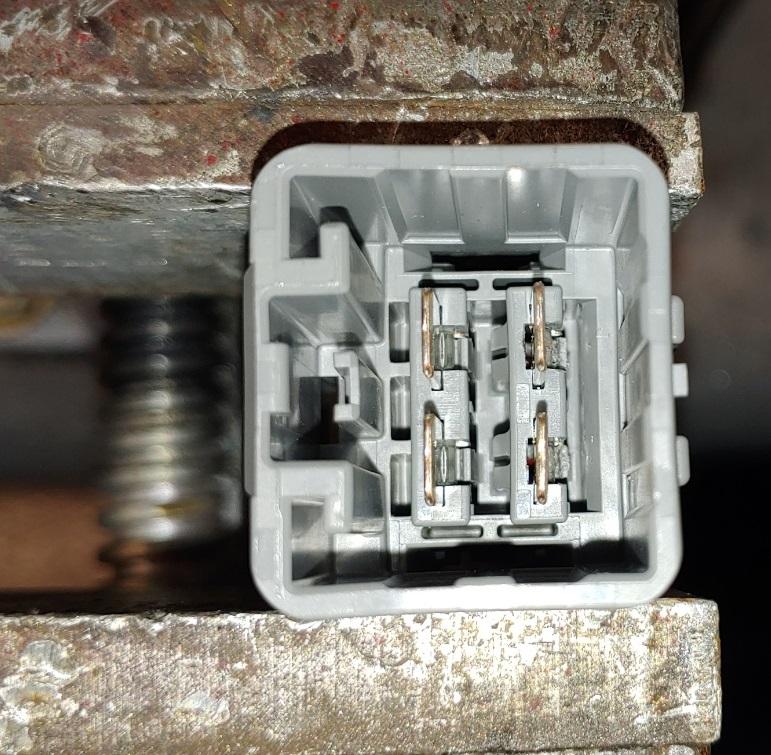
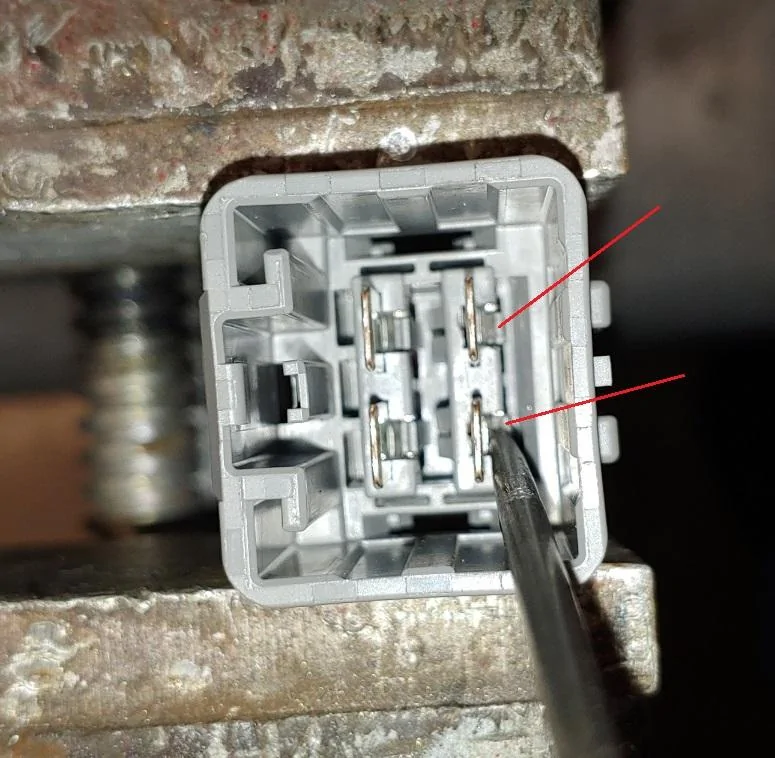
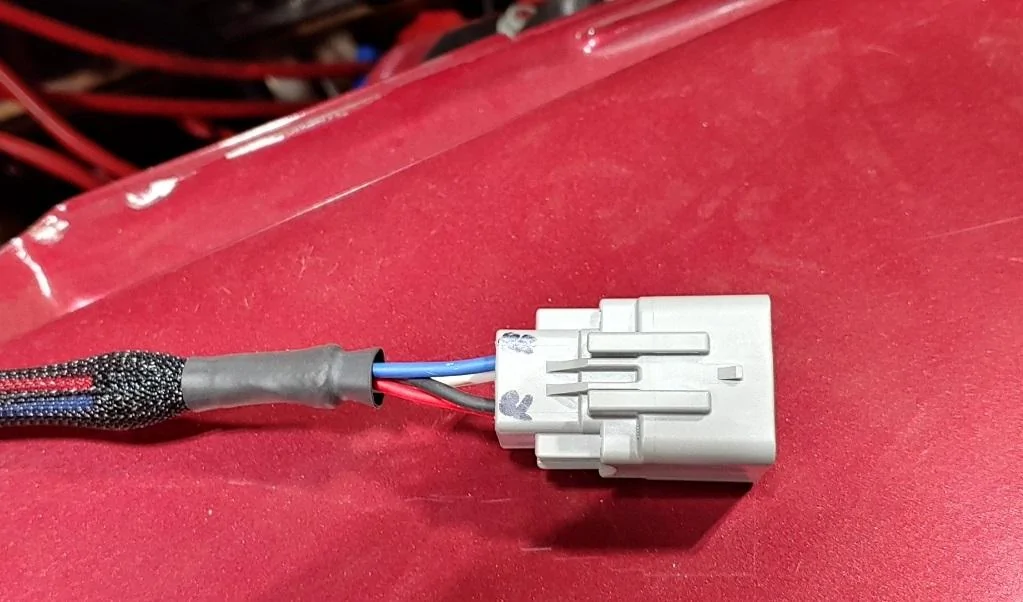
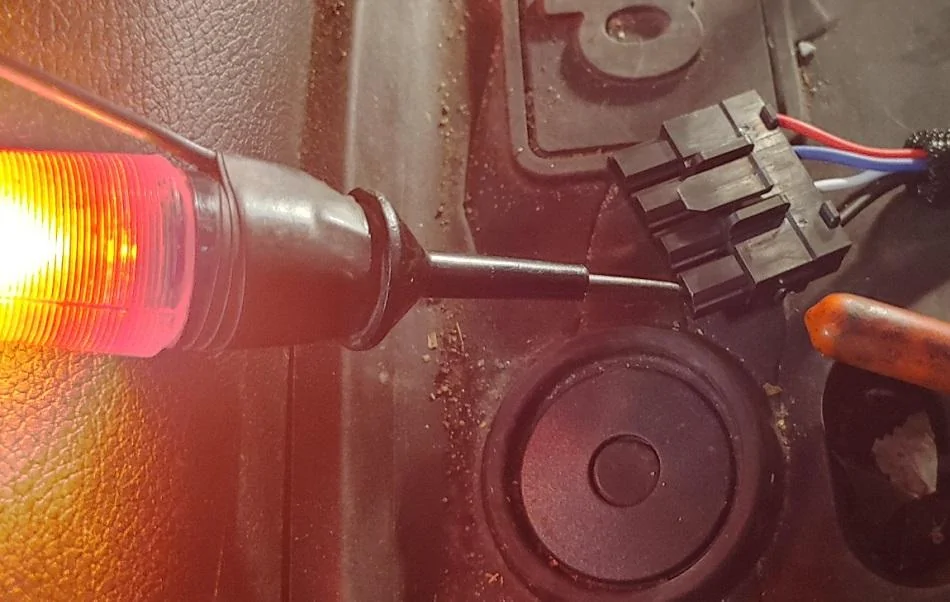
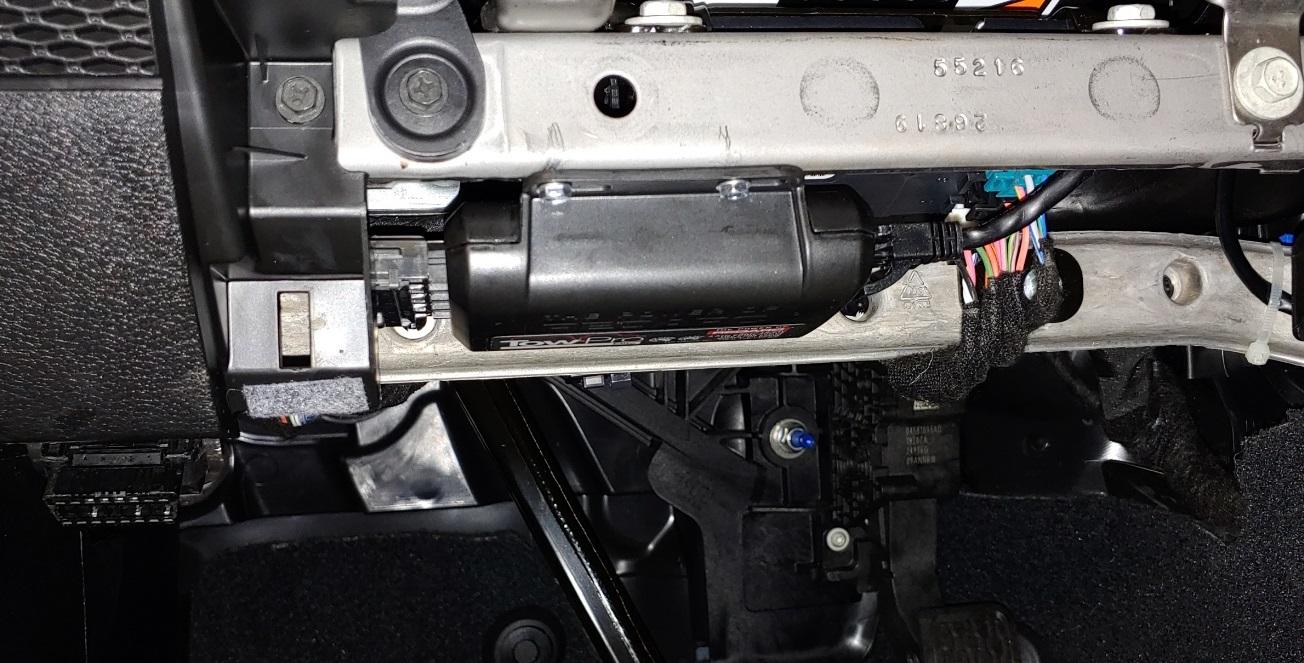
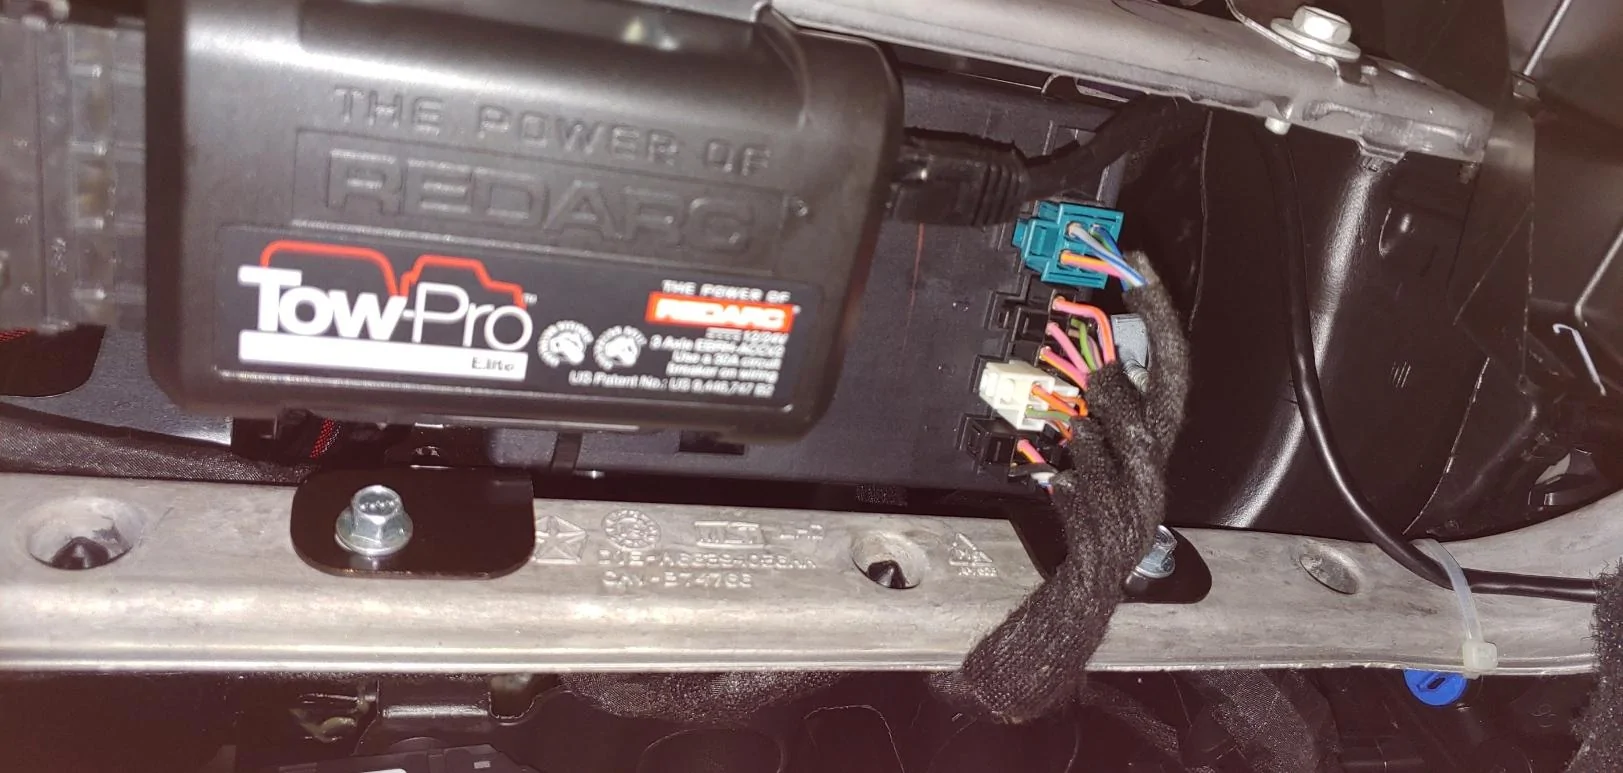
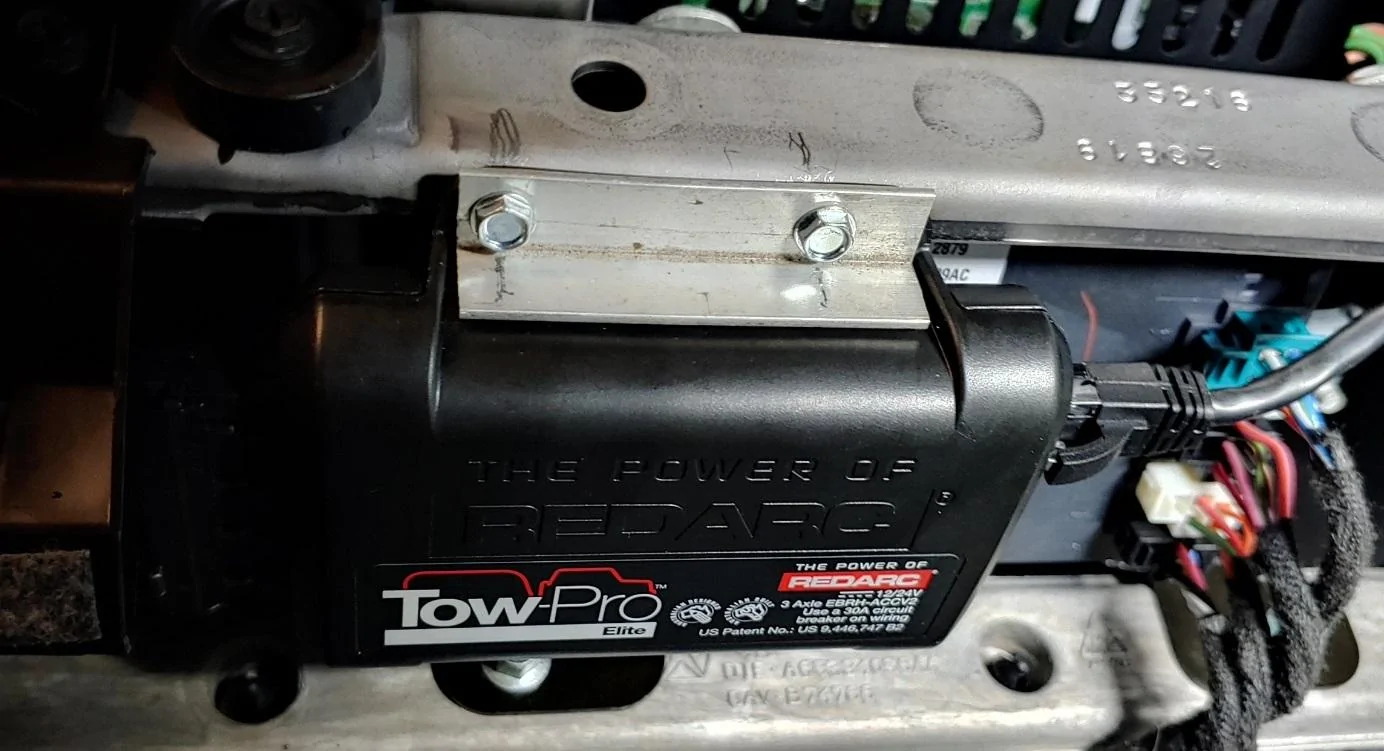
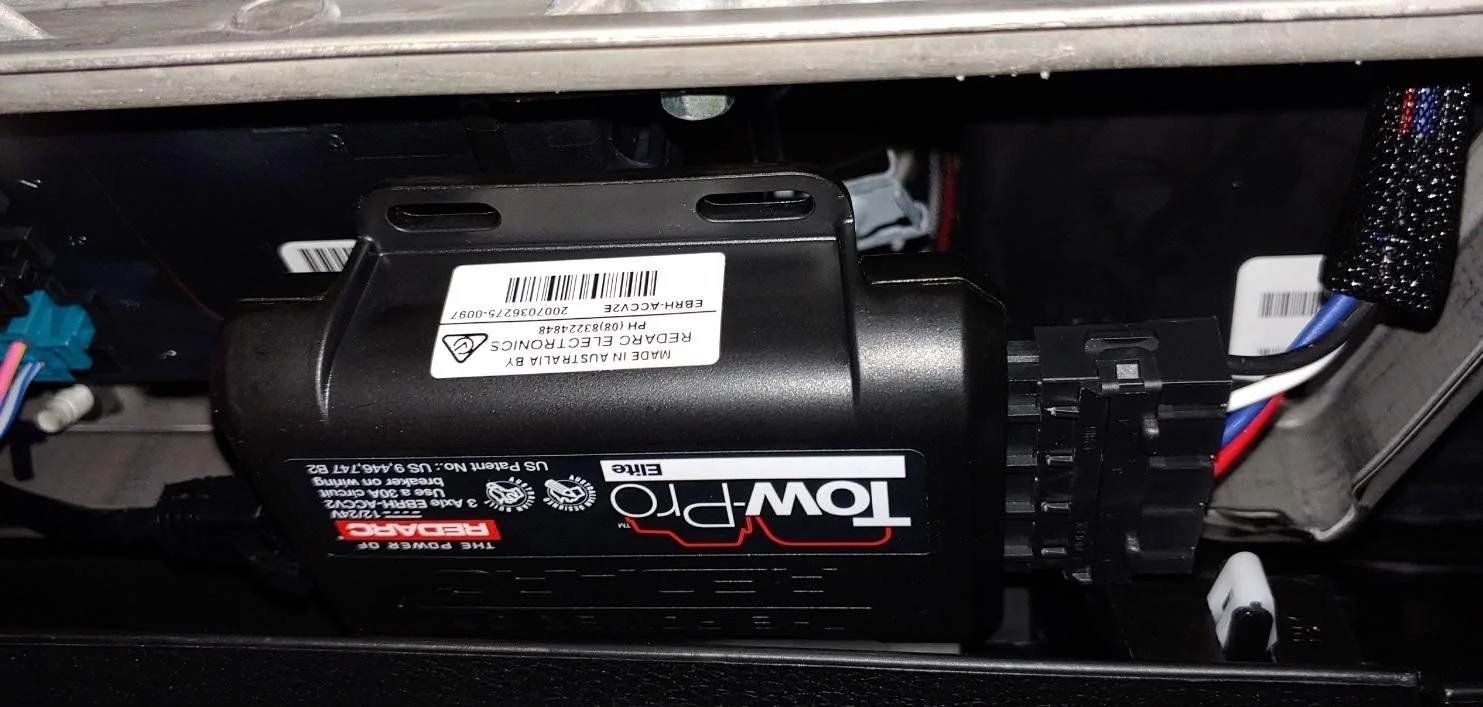
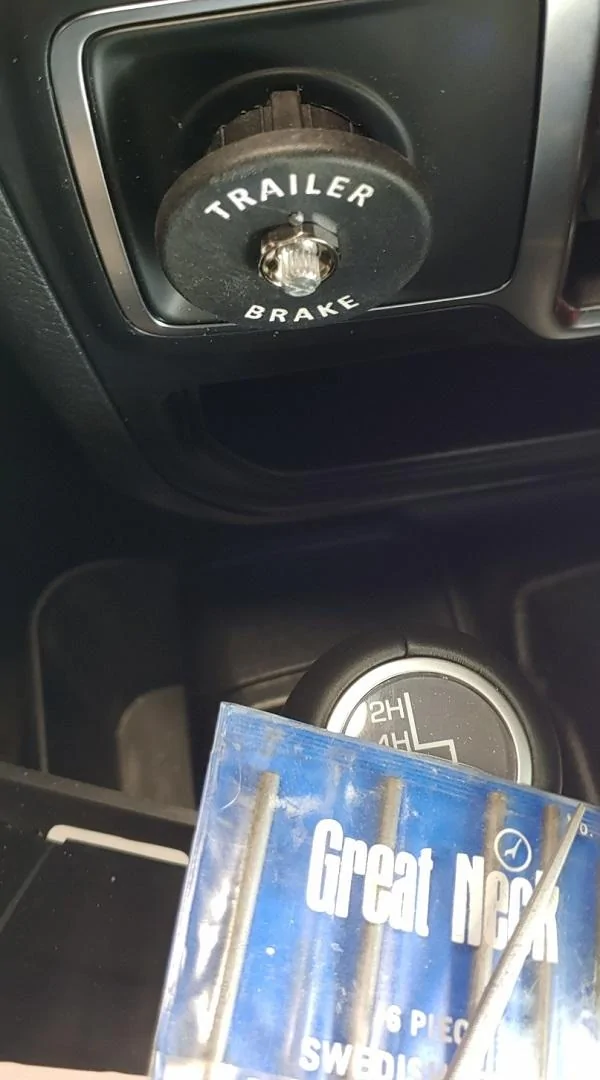
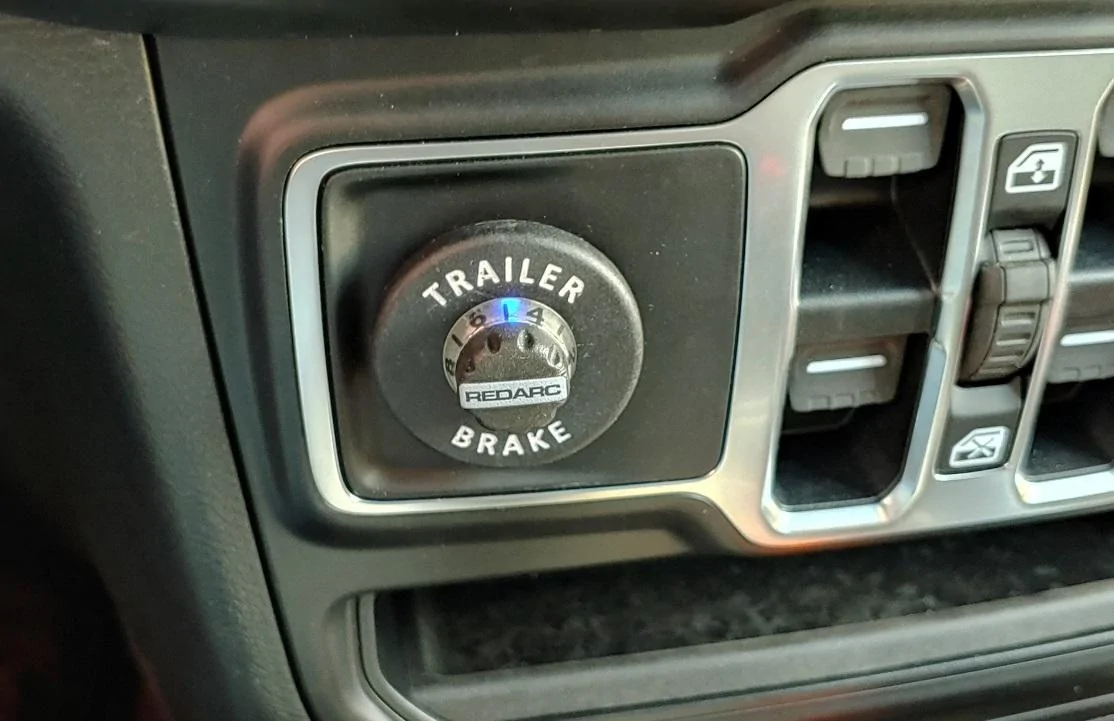
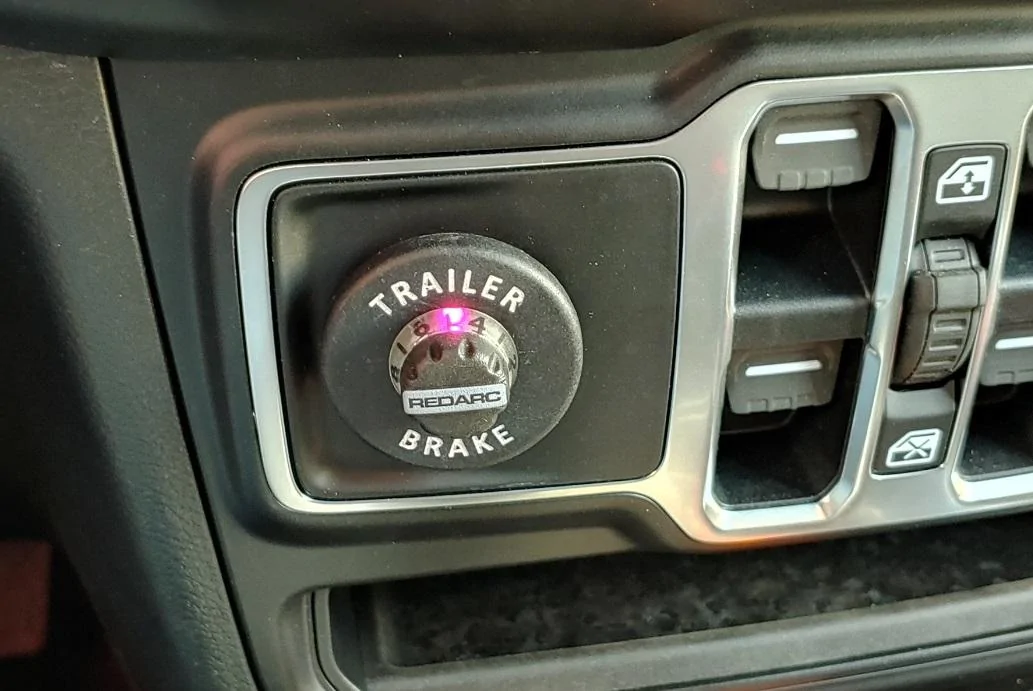
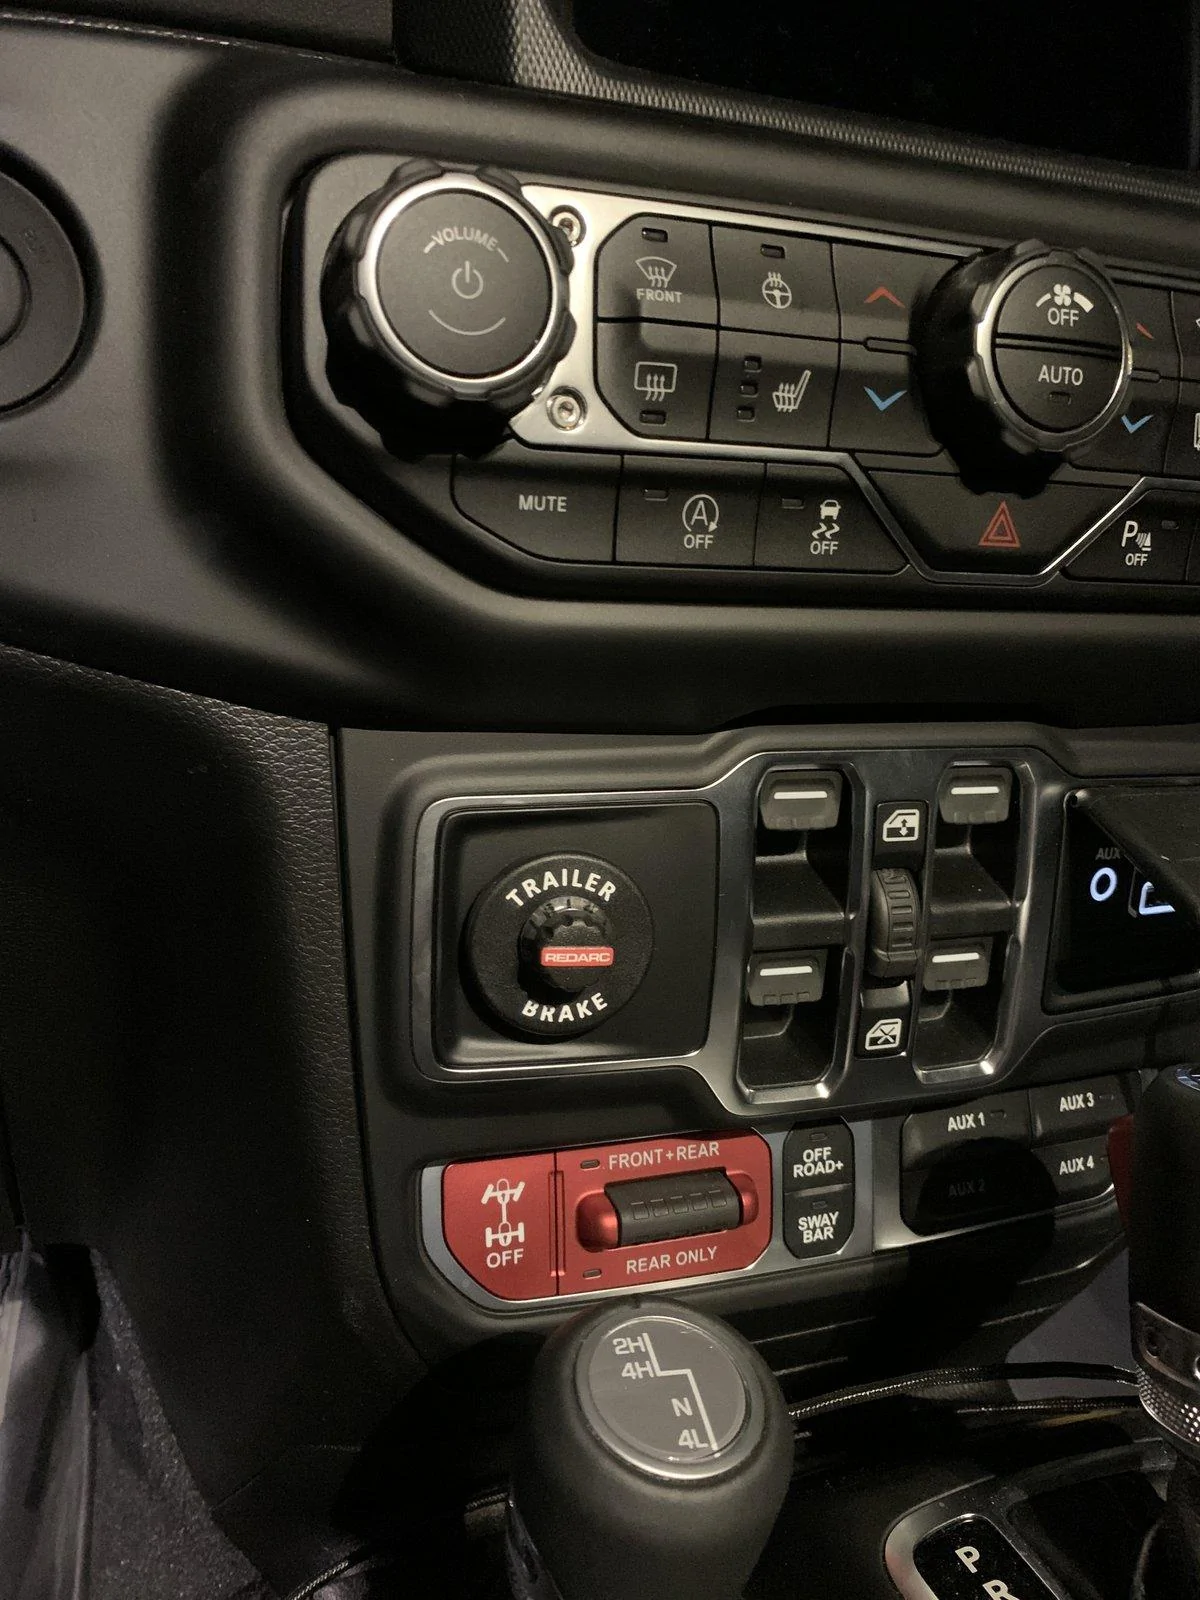
I used a Lacquer-stik to do mine and it worked pretty well You basically rub it into the letters and then I used a rag to clean off the excess. A spot of WD-40 lightly on the rag cleaned it right off. I like how it brought the letters up flush, so they almost look silkscreened on.I couldn't tell by the pics - did you use the 020 Ram Redarc harness?
You are pulling a fair load with the Jeep on that trailer, with an Overland (what I have)
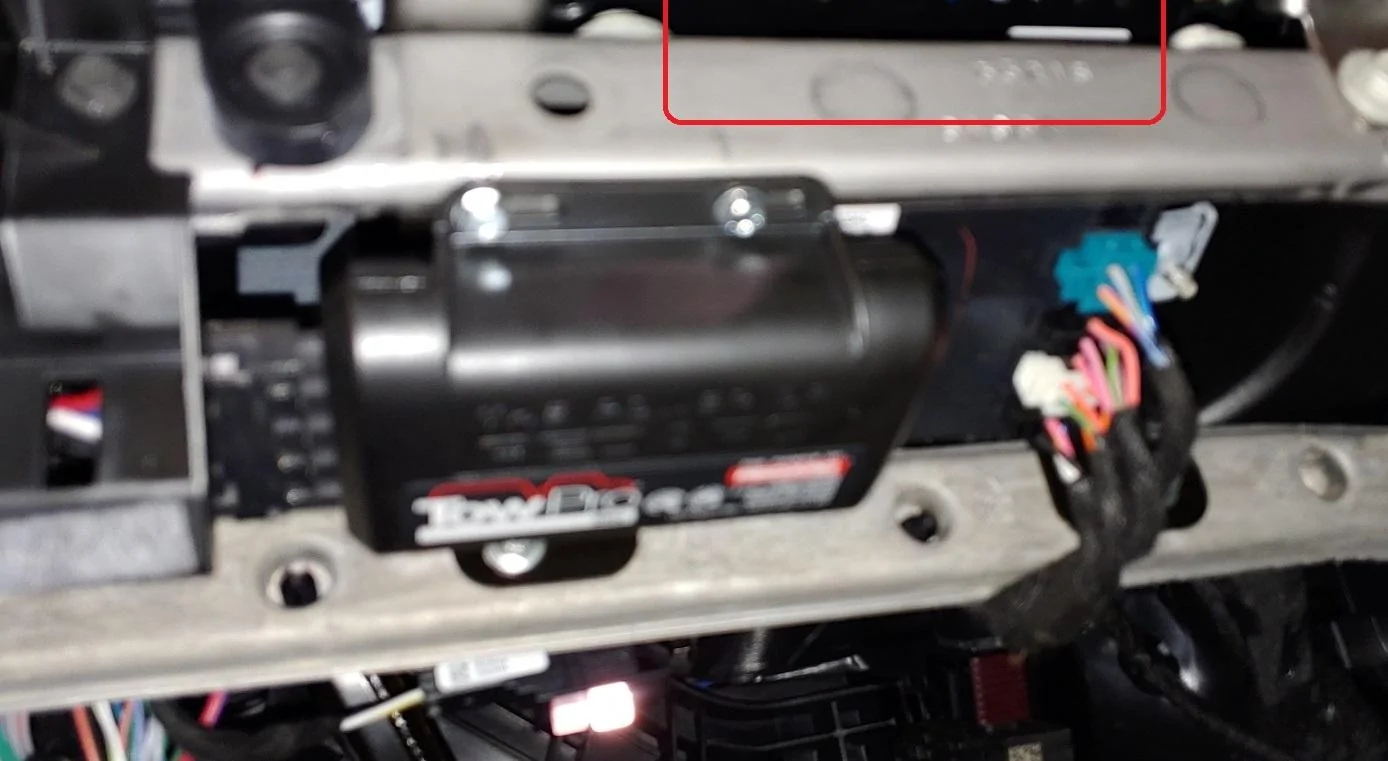
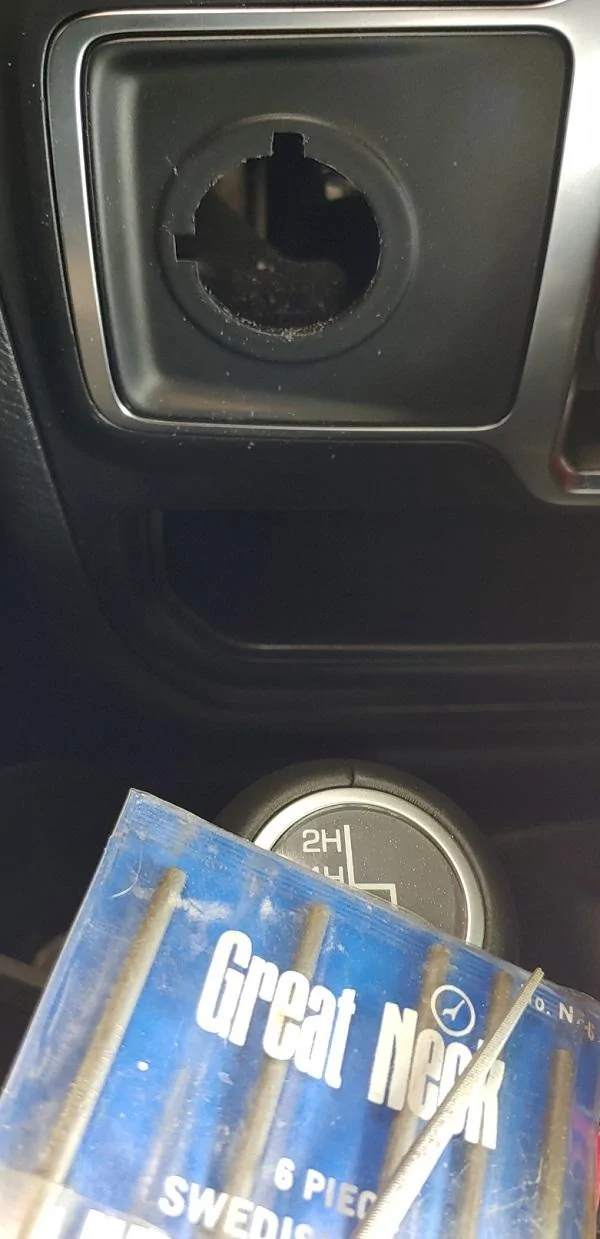
I like the looks of the install in the 12v outlook spot and how the white lettering helps.
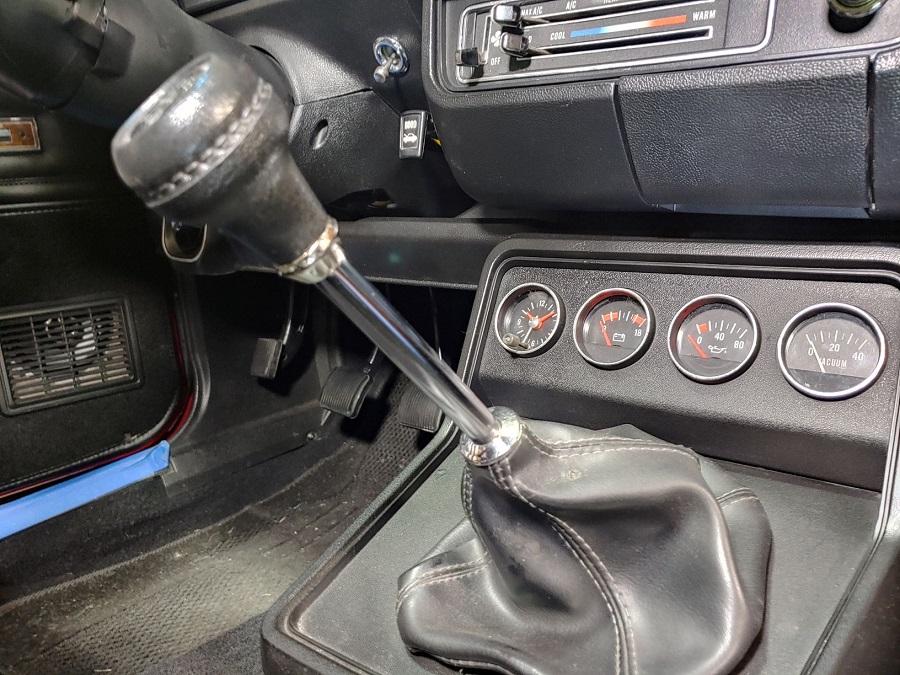
I plan on filling the letters to match the other lettering in the Jeep - Not as steady as I used to be - but also did the orange in these gauges, pointers and scale areas.

Sponsored