AmosMoses01
Well-Known Member
- First Name
- Albert
- Joined
- Aug 31, 2021
- Threads
- 5
- Messages
- 145
- Reaction score
- 232
- Location
- Round Rock
- Vehicle(s)
- 2021 Rubicon Gladiator
- Occupation
- Technology
- Thread starter
- #1
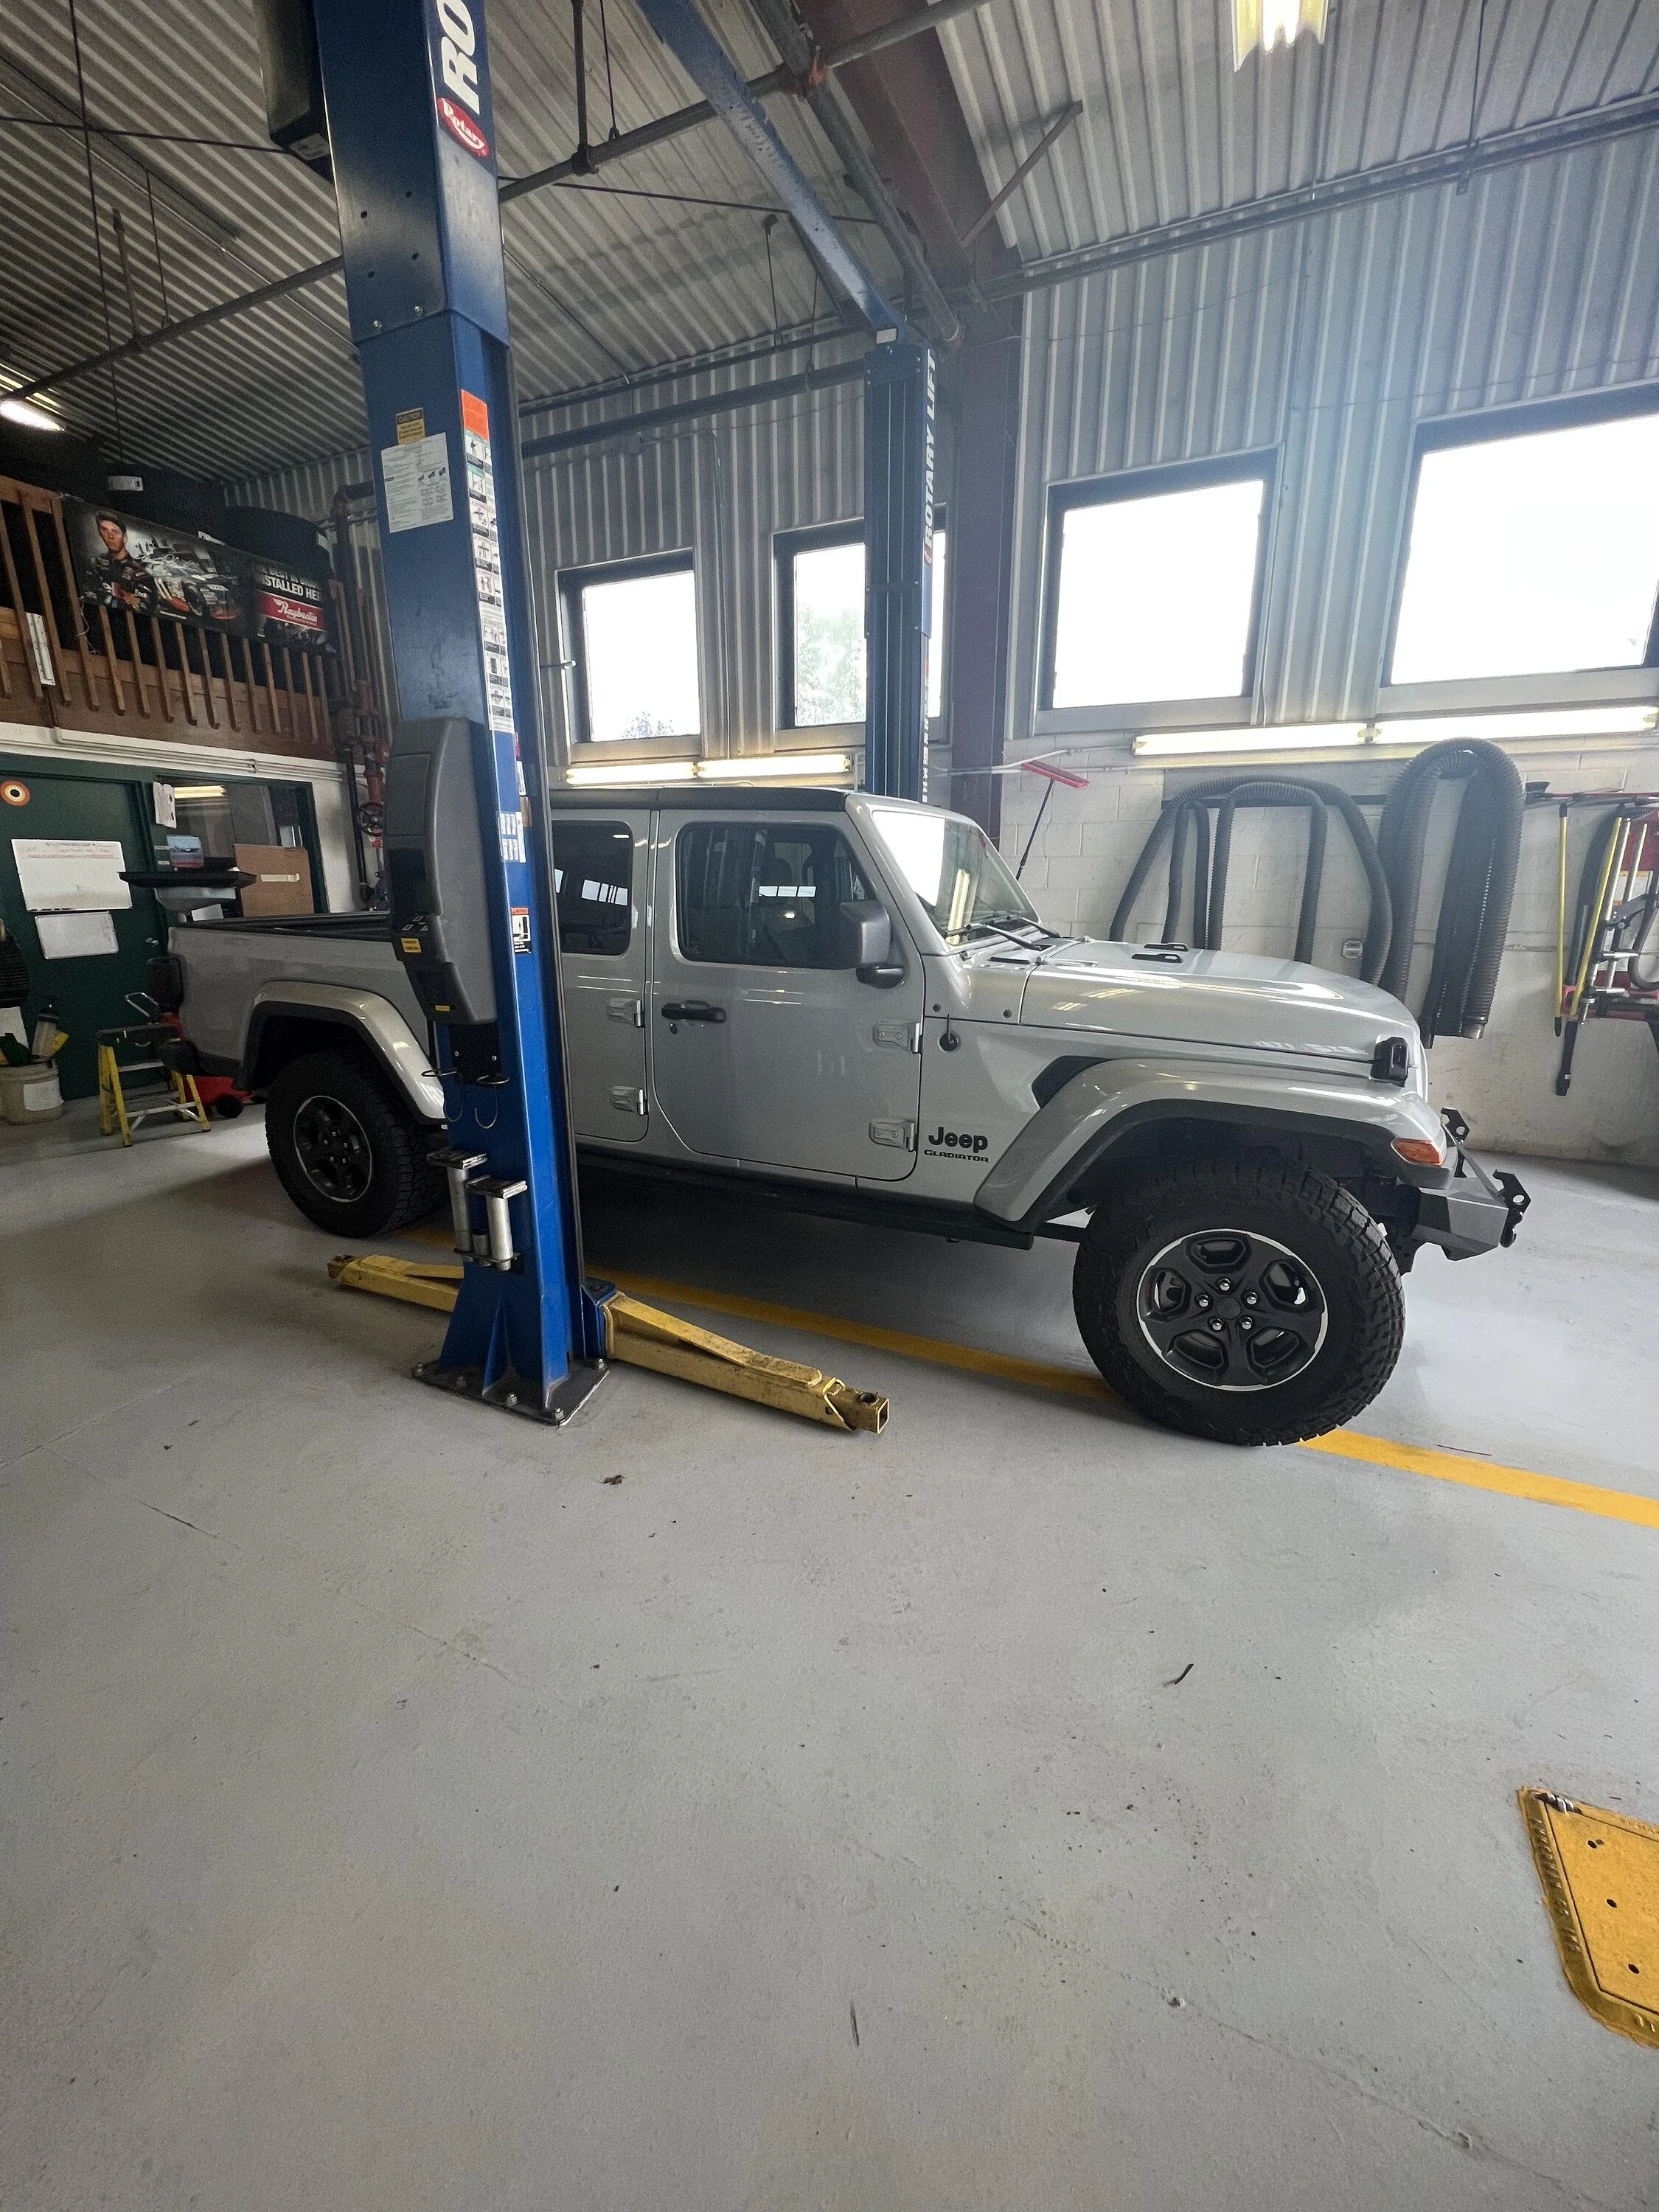
I bought my JTR last August, and for much of the past year debated, re-debated, and re-re-debated with myself about lifting this thing and getting bigger tires. After all that was done, I reached the decision to get the DualSport kit, AEV Pintler 17" tires, and 37" Mickey Thompson Baja Boss A/T's. I pulled the trigger on the order in mid-June from @Northridge4x4
I also decided to do the installation myself, which I just completed. By far, this is the biggest mod that I've ever attempted, in any vehicle I've owned before. Solo. If it wasn't for this forum, I would have never built up the confidence to tackle this on my own. Shout out to @JeepDadiator for his thread, it was a huge help and confidence builder that I could tackle this. I've installed several other things solo (bumper, interior mods, etc.) but suspension lift work for me was a whole new world.
The AEV instructions say it should take 5 hours. Well, for me, it took almost 6 weeks, though three of those were due to the fact that the day the UPS guy dropped off the kit I came down with COVID. Three weeks later I started the installation, and ran into several hiccups along the way, which took another three weeks to get through.
If were to do this again, I know it would be completed much quickly after going through this once. That being said, I'm sharing my lessons learned in case there's someone else that may be able to benefit from what I learned or didn't expect. I'm guessing that for most folks this isn't going to be helpful, but for someone who hasn't tackled this before I hope it is.
Prep wise, obviously you've got to have the right tools to get the job done. While I had most of the below, I did end up augmenting my tool chest for things that made my life easier.
Essential tools, you're going to need these
")
Nice to have tools
The installation:
I'll note that the AEV written instructions are written for those already skilled in the art of doing this stuff, so they're not super thorough, especially about doing all prep for allowing the biggest axle droop when replacing the coil springs. I highly recommend watching some YouTube videos before starting, for me the TeraFlex lift installs and Ali's Driving Line videos were super helpful. Getting that axle droop is critical for getting the new springs in.
Like @JeepDadiator and several others, I also encountered some parts gotchas with the kit.
The replacement bracket and U-bolt arrived this past Monday afternoon, so I spent the evening after work finishing the installation. Getting the control arms back into the bracket with my sloped driveway required some heavy duty ratchet strap work, pulling the axle back towards the rear of the vehicle. I really wish I had a flat place to work, but didn't. The next day I followed @JeepDadiator's instructions to adjust the drag link to get my steering wheel recentered, and was good to go.
So, key lessons I would strongly recommend for someone on the novice side tackling this kit or similar:

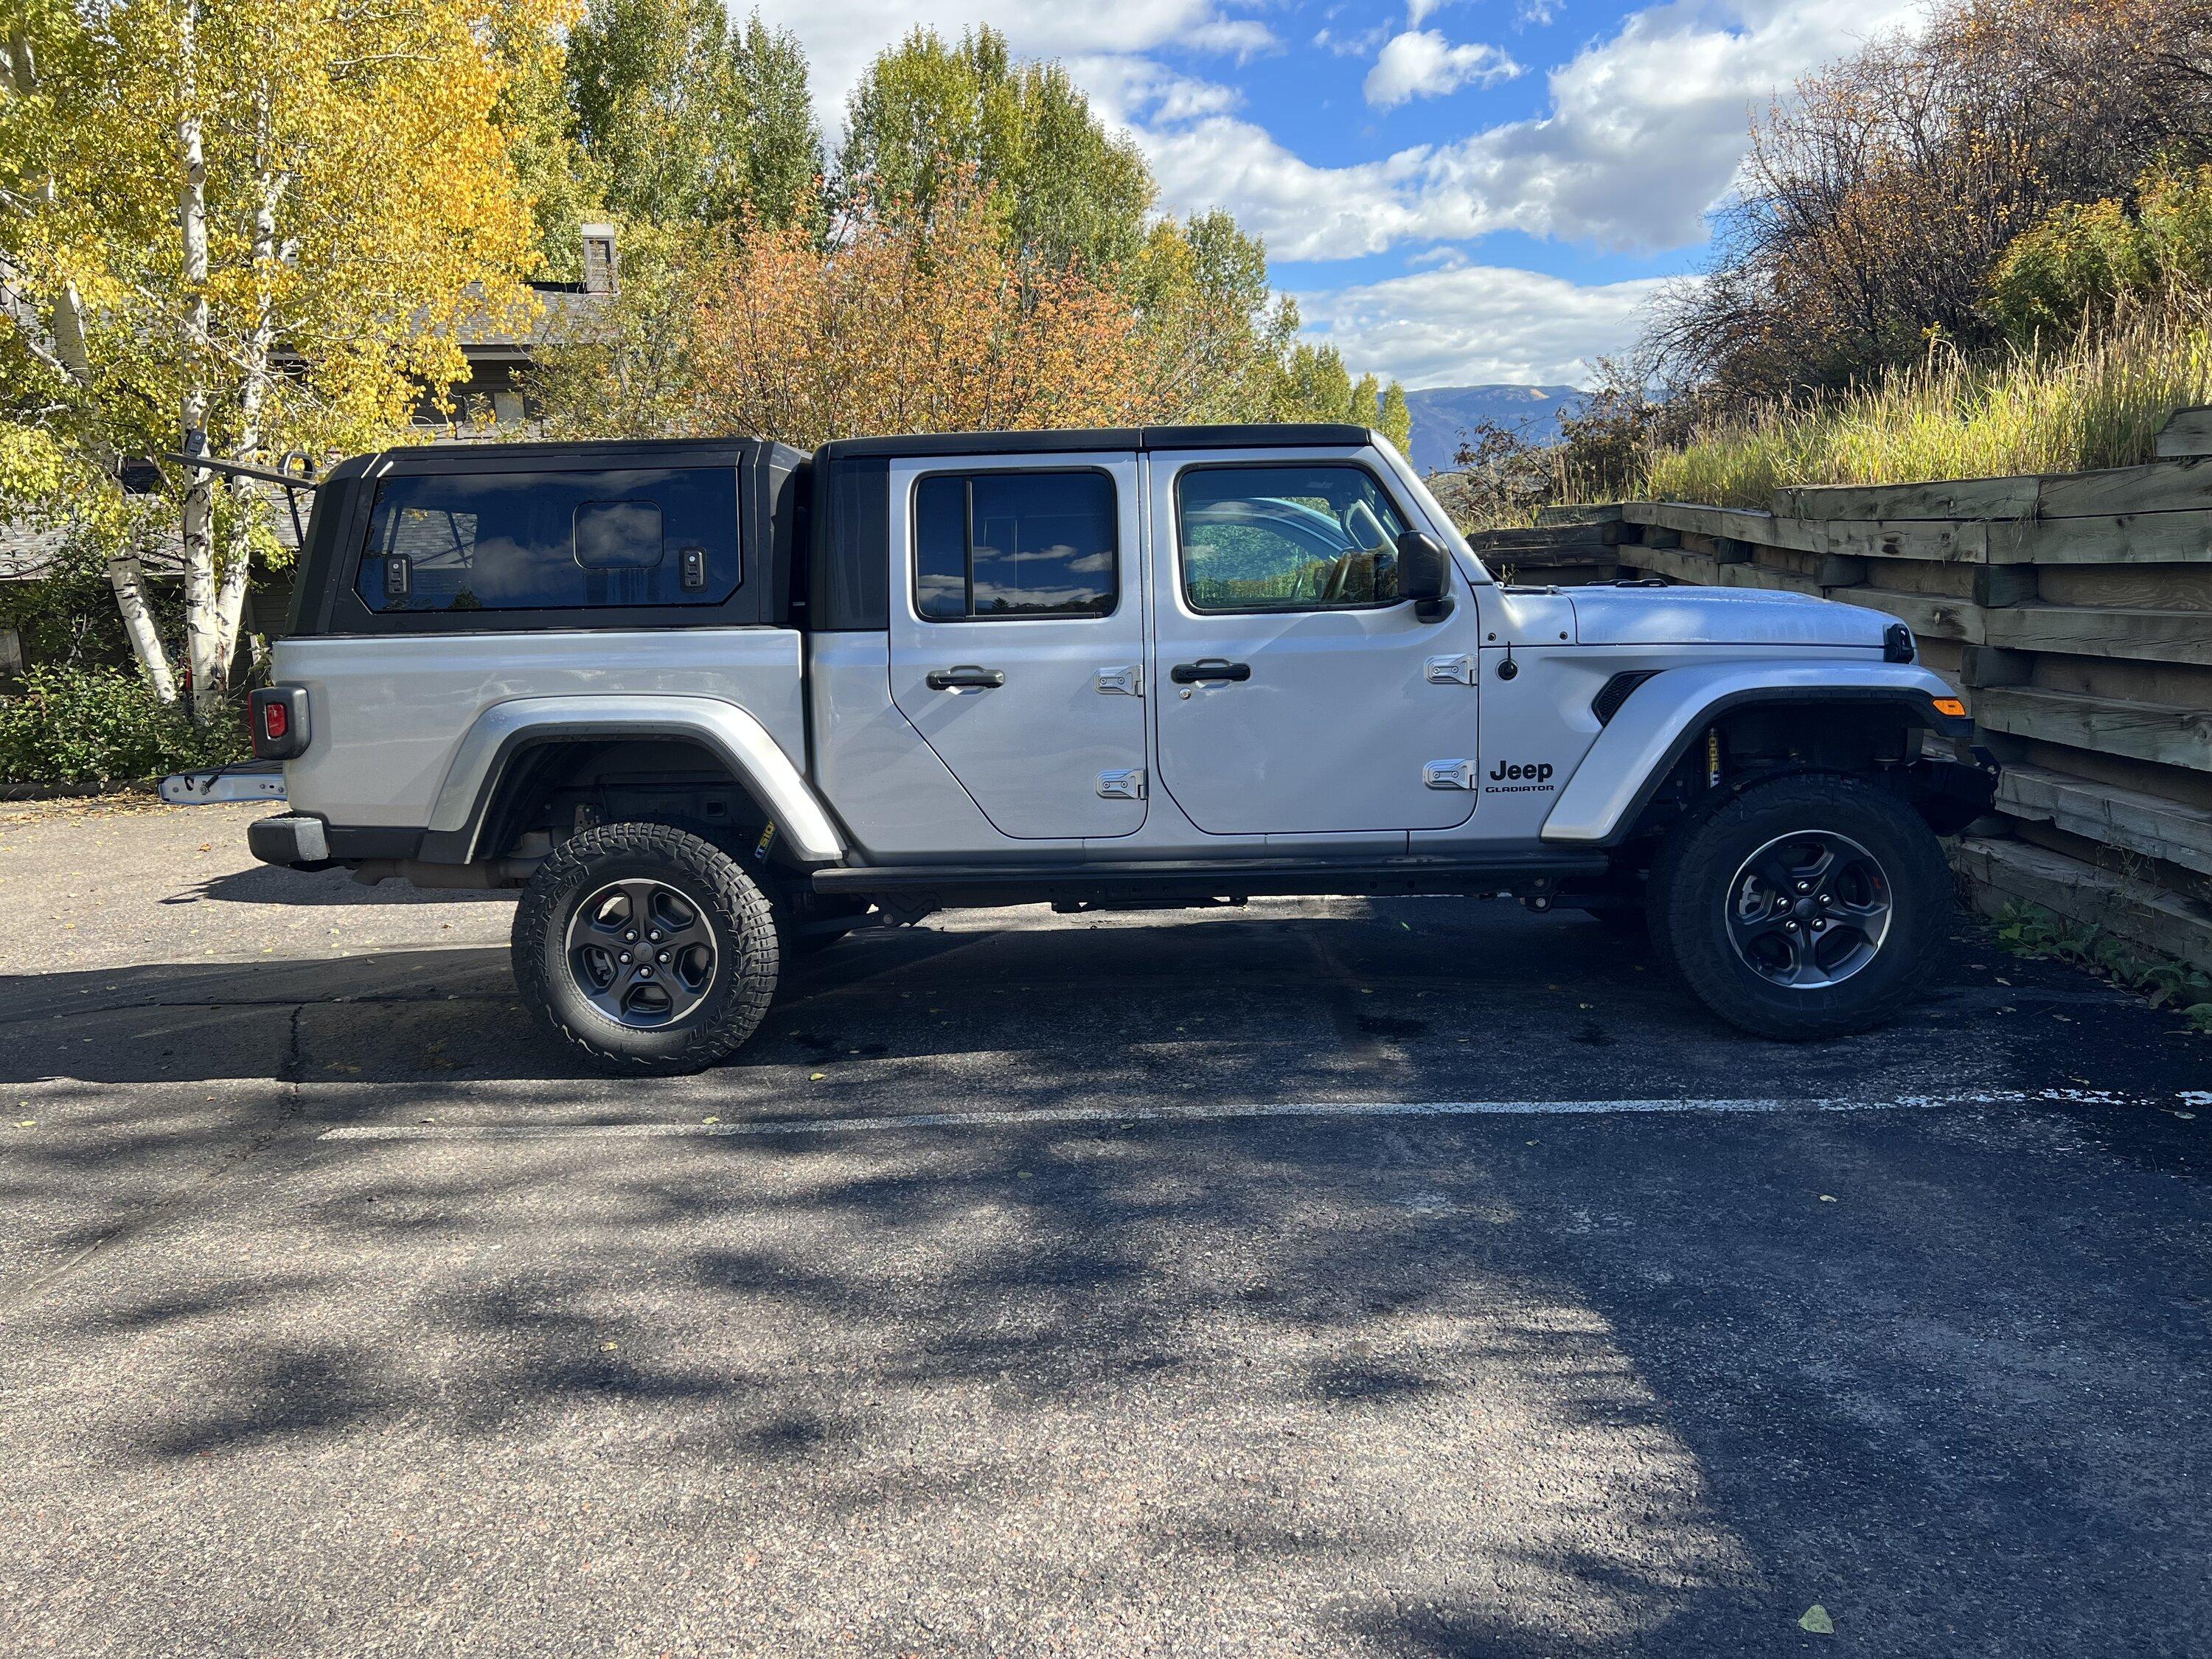
Picture of the final results, with my wife's JLUR in the background you can sort of get the impact the kit plus 37's makes. I also want to give a shout out to @Discount Tire who helped me get the 37" Baja Boss A/T's sent to my local Discount Tire store. I'm super pleased with how Discount took care of me.
I don't have a lot of driving time with everything installed yet, but initial impressions are very nice. I was really surprised that I do not have any sort of alignment issue - there's no pull to left or right. The ride does feel great, better than stock, which is really just confirming what others have already stated about this kit.
I also decided to do the installation myself, which I just completed. By far, this is the biggest mod that I've ever attempted, in any vehicle I've owned before. Solo. If it wasn't for this forum, I would have never built up the confidence to tackle this on my own. Shout out to @JeepDadiator for his thread, it was a huge help and confidence builder that I could tackle this. I've installed several other things solo (bumper, interior mods, etc.) but suspension lift work for me was a whole new world.
The AEV instructions say it should take 5 hours. Well, for me, it took almost 6 weeks, though three of those were due to the fact that the day the UPS guy dropped off the kit I came down with COVID. Three weeks later I started the installation, and ran into several hiccups along the way, which took another three weeks to get through.
If were to do this again, I know it would be completed much quickly after going through this once. That being said, I'm sharing my lessons learned in case there's someone else that may be able to benefit from what I learned or didn't expect. I'm guessing that for most folks this isn't going to be helpful, but for someone who hasn't tackled this before I hope it is.
Prep wise, obviously you've got to have the right tools to get the job done. While I had most of the below, I did end up augmenting my tool chest for things that made my life easier.
Essential tools, you're going to need these
- Torque wrenches, up to the 190lb point for torquing down the lower control arms in the front
- Combination wrenches, ideally both short and longer ones
- I did not have 18mm or 24mm combination wrenches, so I procured those
- Long length ones help out a lot when you're trying to torque down the control arms. I didn't have long ones, but Harbor Freight has a cheap Pittsburg long wrench kit which had what I needed (except 18mm) for less than $20.
- 13/32 drill bit to enlarge the holes for the rear bump stop pad in the kit. I had to order this (got a Bosch from Amazon) since no local store had one in stock.
- Sockets (deep and shallow)
- Breaker bar - essentially another "long length" solution in lieu of long length combination wrench
- Jack stands (tall)
- Floor jack
- Ratchet strap
- Telescoping magnet to help put in the bolt for the bump stop extension in the front
- Taser, Alfaobd or other method to reprogram tire size if you're upgrading tires at the same time like I did
Nice to have tools
- Impact wrench - I debated putting this in the essential tools list, but since I know folks who've done this without an impact wrench, put it in the nice to have section.
- Wobble extension AND/OR Wobble sockets - these are massively helpful in the cramped spaces you'll be working in, especially with an impact wrench
- Various length socket extensions
- Digital torque wrench - I don't have one of these, but after doing the torquing down of the control arms, really wished I had the "plus angle" capability as well as an indicator for how close I was with the 190lb front lower control arm bolts
- Pipe to use as cheater bar (190lb again )
- Thread pitch gauge*
- Tap and die set*
The installation:
I'll note that the AEV written instructions are written for those already skilled in the art of doing this stuff, so they're not super thorough, especially about doing all prep for allowing the biggest axle droop when replacing the coil springs. I highly recommend watching some YouTube videos before starting, for me the TeraFlex lift installs and Ali's Driving Line videos were super helpful. Getting that axle droop is critical for getting the new springs in.
Like @JeepDadiator and several others, I also encountered some parts gotchas with the kit.
- My rear track bar to axle bolt had a different thread pitch than what they supplied in the kit, which resulted in me needing replacement parts. The M14 bolt they supplied had a 2mm pitch, yet the OEM track bar bolt (and flag nut) were 1.5mm. The instructions say to use their bolt with the OEM flag nut. I did NOT measure or notice this ahead of time, only realizing it was an issue after using my impact wrench to mess up the M14 bolt AND my OEM flag nut. I couldn't locally source a replacement M14 bolt, so this shut me down for the weekend. I used a tap and die set to fix the threads on the flag nut, and AEV overnighted me a replacement bolt. Due to time constraints, I couldn't work on the install again until the following weekend.
- Unfortunately, that following weekend I ran into a few more hiccups. As several others encountered, the U-bolt that came in the kit snapped below the recommended 43 lbs. of torque. Fine, I said, I'll keep trooping through and finish everything and go looking for a U-bolt locally or get a new one sent to me. I kept going until I ran into the next hiccup.
- The passenger side geometry correction bracket I received unfortunately had the raised indentions incorrectly made, so the square nut would not fit inside. I didn't notice this until trying to get that last UCA installed… and this one was a doozy, so I was shut down again for another week.
The replacement bracket and U-bolt arrived this past Monday afternoon, so I spent the evening after work finishing the installation. Getting the control arms back into the bracket with my sloped driveway required some heavy duty ratchet strap work, pulling the axle back towards the rear of the vehicle. I really wish I had a flat place to work, but didn't. The next day I followed @JeepDadiator's instructions to adjust the drag link to get my steering wheel recentered, and was good to go.
So, key lessons I would strongly recommend for someone on the novice side tackling this kit or similar:
- Check the kit's contents for everything being present, and made correctly. Better to do this before taking everything apart than run into a gotcha once you're in the middle of an installation.
- If the kit has you re-use a factory nut or bolt with a nut or bolt they provide, verify that they have the same thread pitch. You can do this visually or you can get a thread pitch gauge
- If doing the install solo, have a realistic timeframe expectation. This will vary based on skill, experience, age, etc. and be different for different folks. For me it certainly wasn't a 5 hour job, even excluding the parts issues, being in my 50's plus being in the Central Texas heat.
- Like others, I already had an adjustable track bar up front, which enabled me to correct the out of center axle post install. This isn't necessary, but uncorrected it would bother me a lot.
Picture of the final results, with my wife's JLUR in the background you can sort of get the impact the kit plus 37's makes. I also want to give a shout out to @Discount Tire who helped me get the 37" Baja Boss A/T's sent to my local Discount Tire store. I'm super pleased with how Discount took care of me.
I don't have a lot of driving time with everything installed yet, but initial impressions are very nice. I was really surprised that I do not have any sort of alignment issue - there's no pull to left or right. The ride does feel great, better than stock, which is really just confirming what others have already stated about this kit.
Sponsored