Oilburner
Well-Known Member
- First Name
- Tim
- Joined
- Jun 8, 2018
- Threads
- 37
- Messages
- 1,751
- Reaction score
- 2,932
- Location
- Nowhere, AR
- Vehicle(s)
- 1982 Scrambler, 1969 Wagoneer, 2022 JTR Ecodiesel
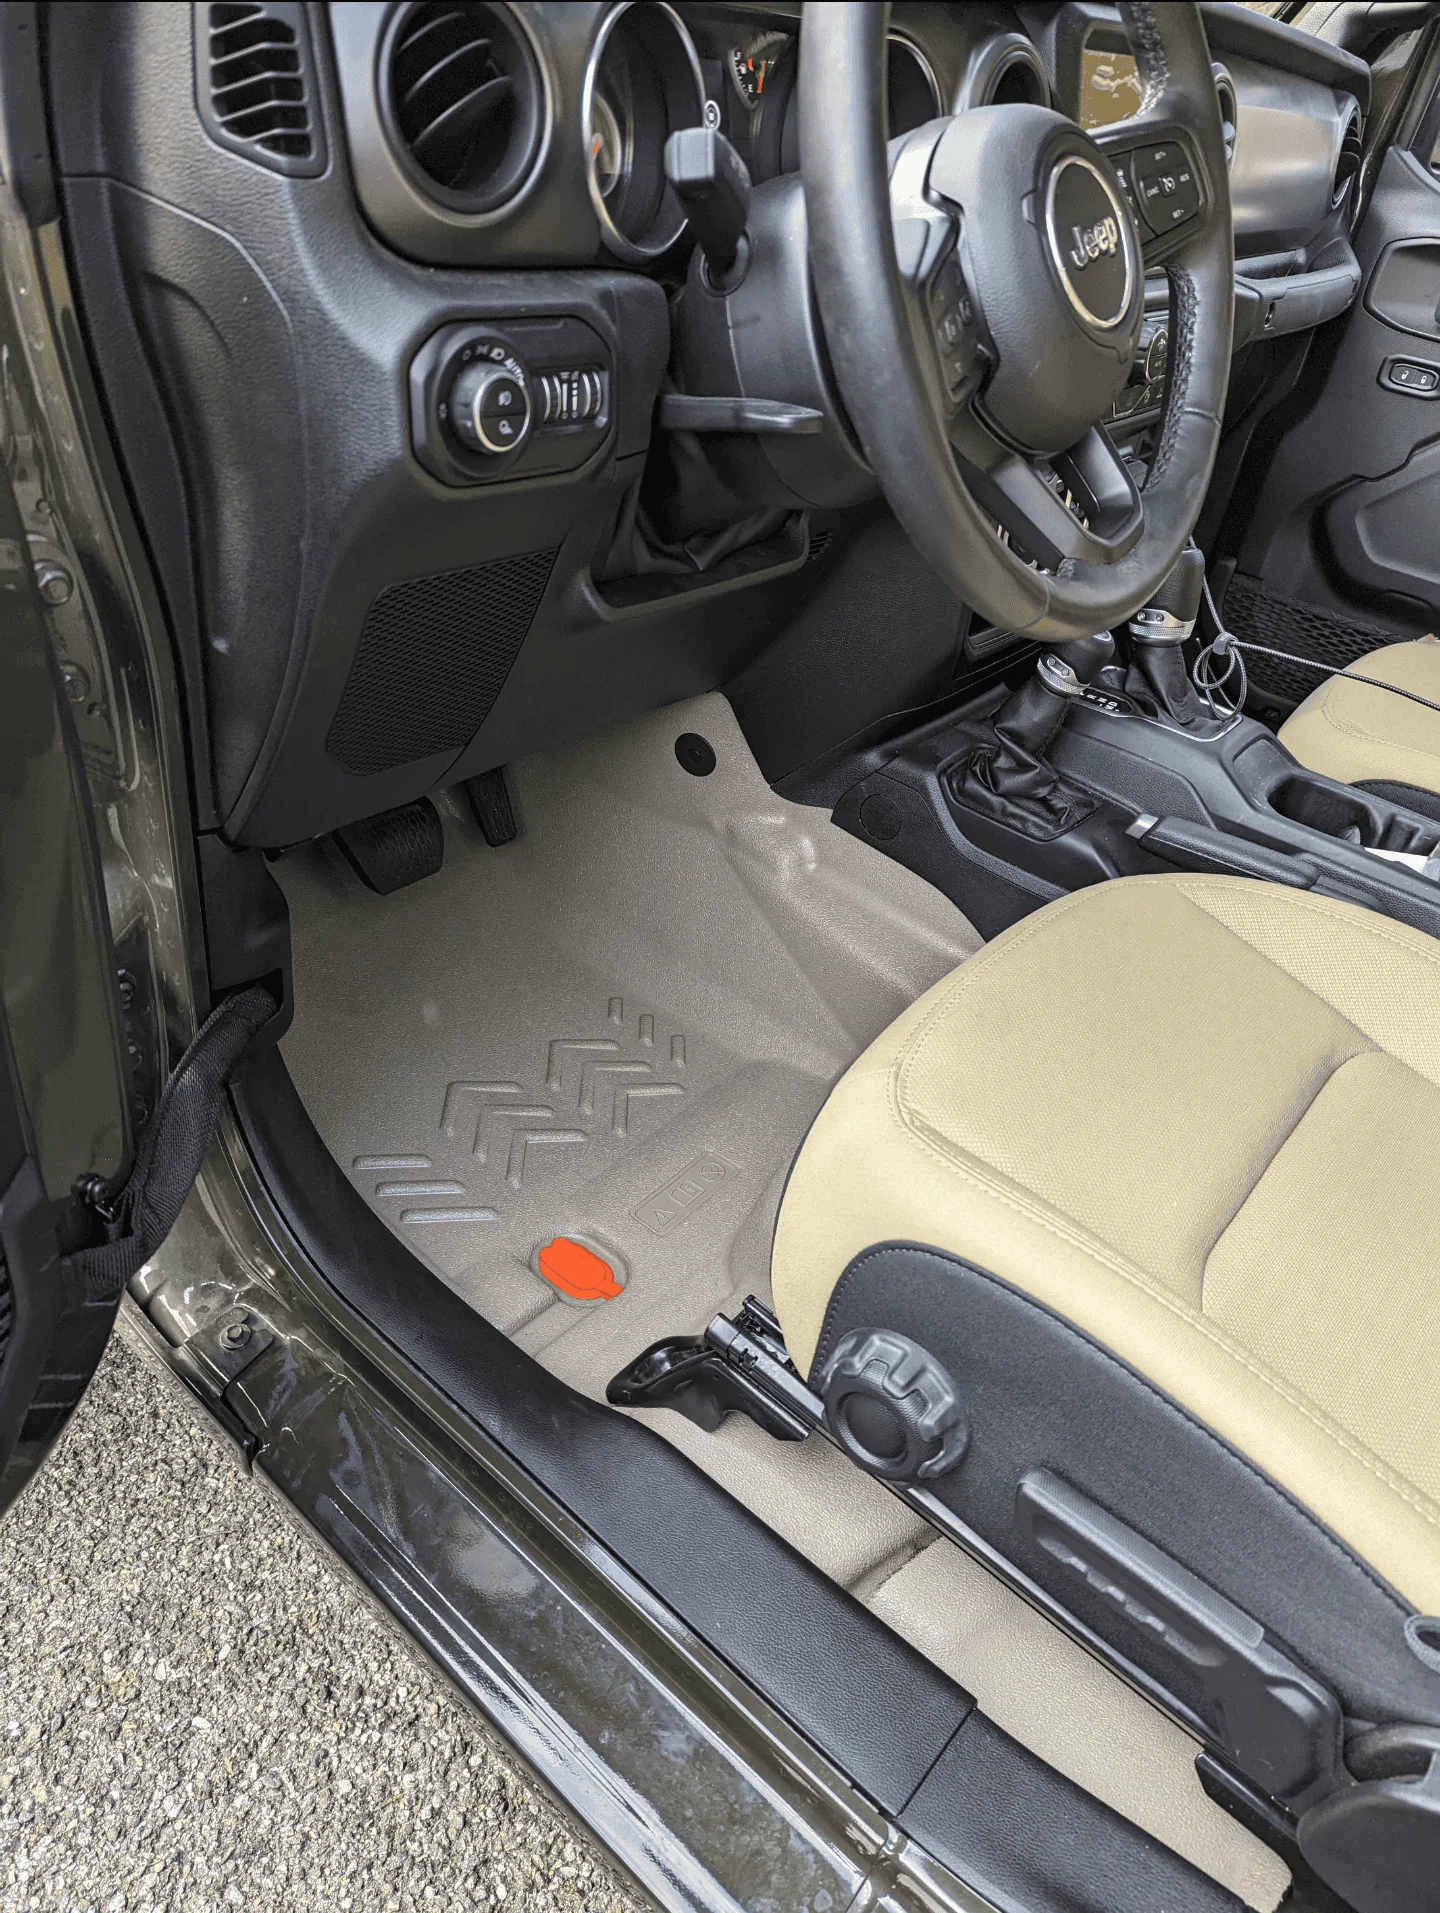
My only regret is that Jeep didn’t offer this as a factory option ?
Sponsored