Sav_Gladiator
Well-Known Member
- Joined
- Oct 9, 2022
- Threads
- 15
- Messages
- 90
- Reaction score
- 142
- Location
- East Georgia
- Vehicle(s)
- 2020 Gladiator
- Thread starter
- #1
Good evening, everyone,
My ARB dual compressor rear seat install has kind of started. This install has been in my mind for quite awhile now and finally getting it going. This may take a few as I figure things out, get parts in and work on the install itself. I will also list the parts I used, who I bought them from and how their communication and customer service was (if I have to call or email anyone. Good or bad.).
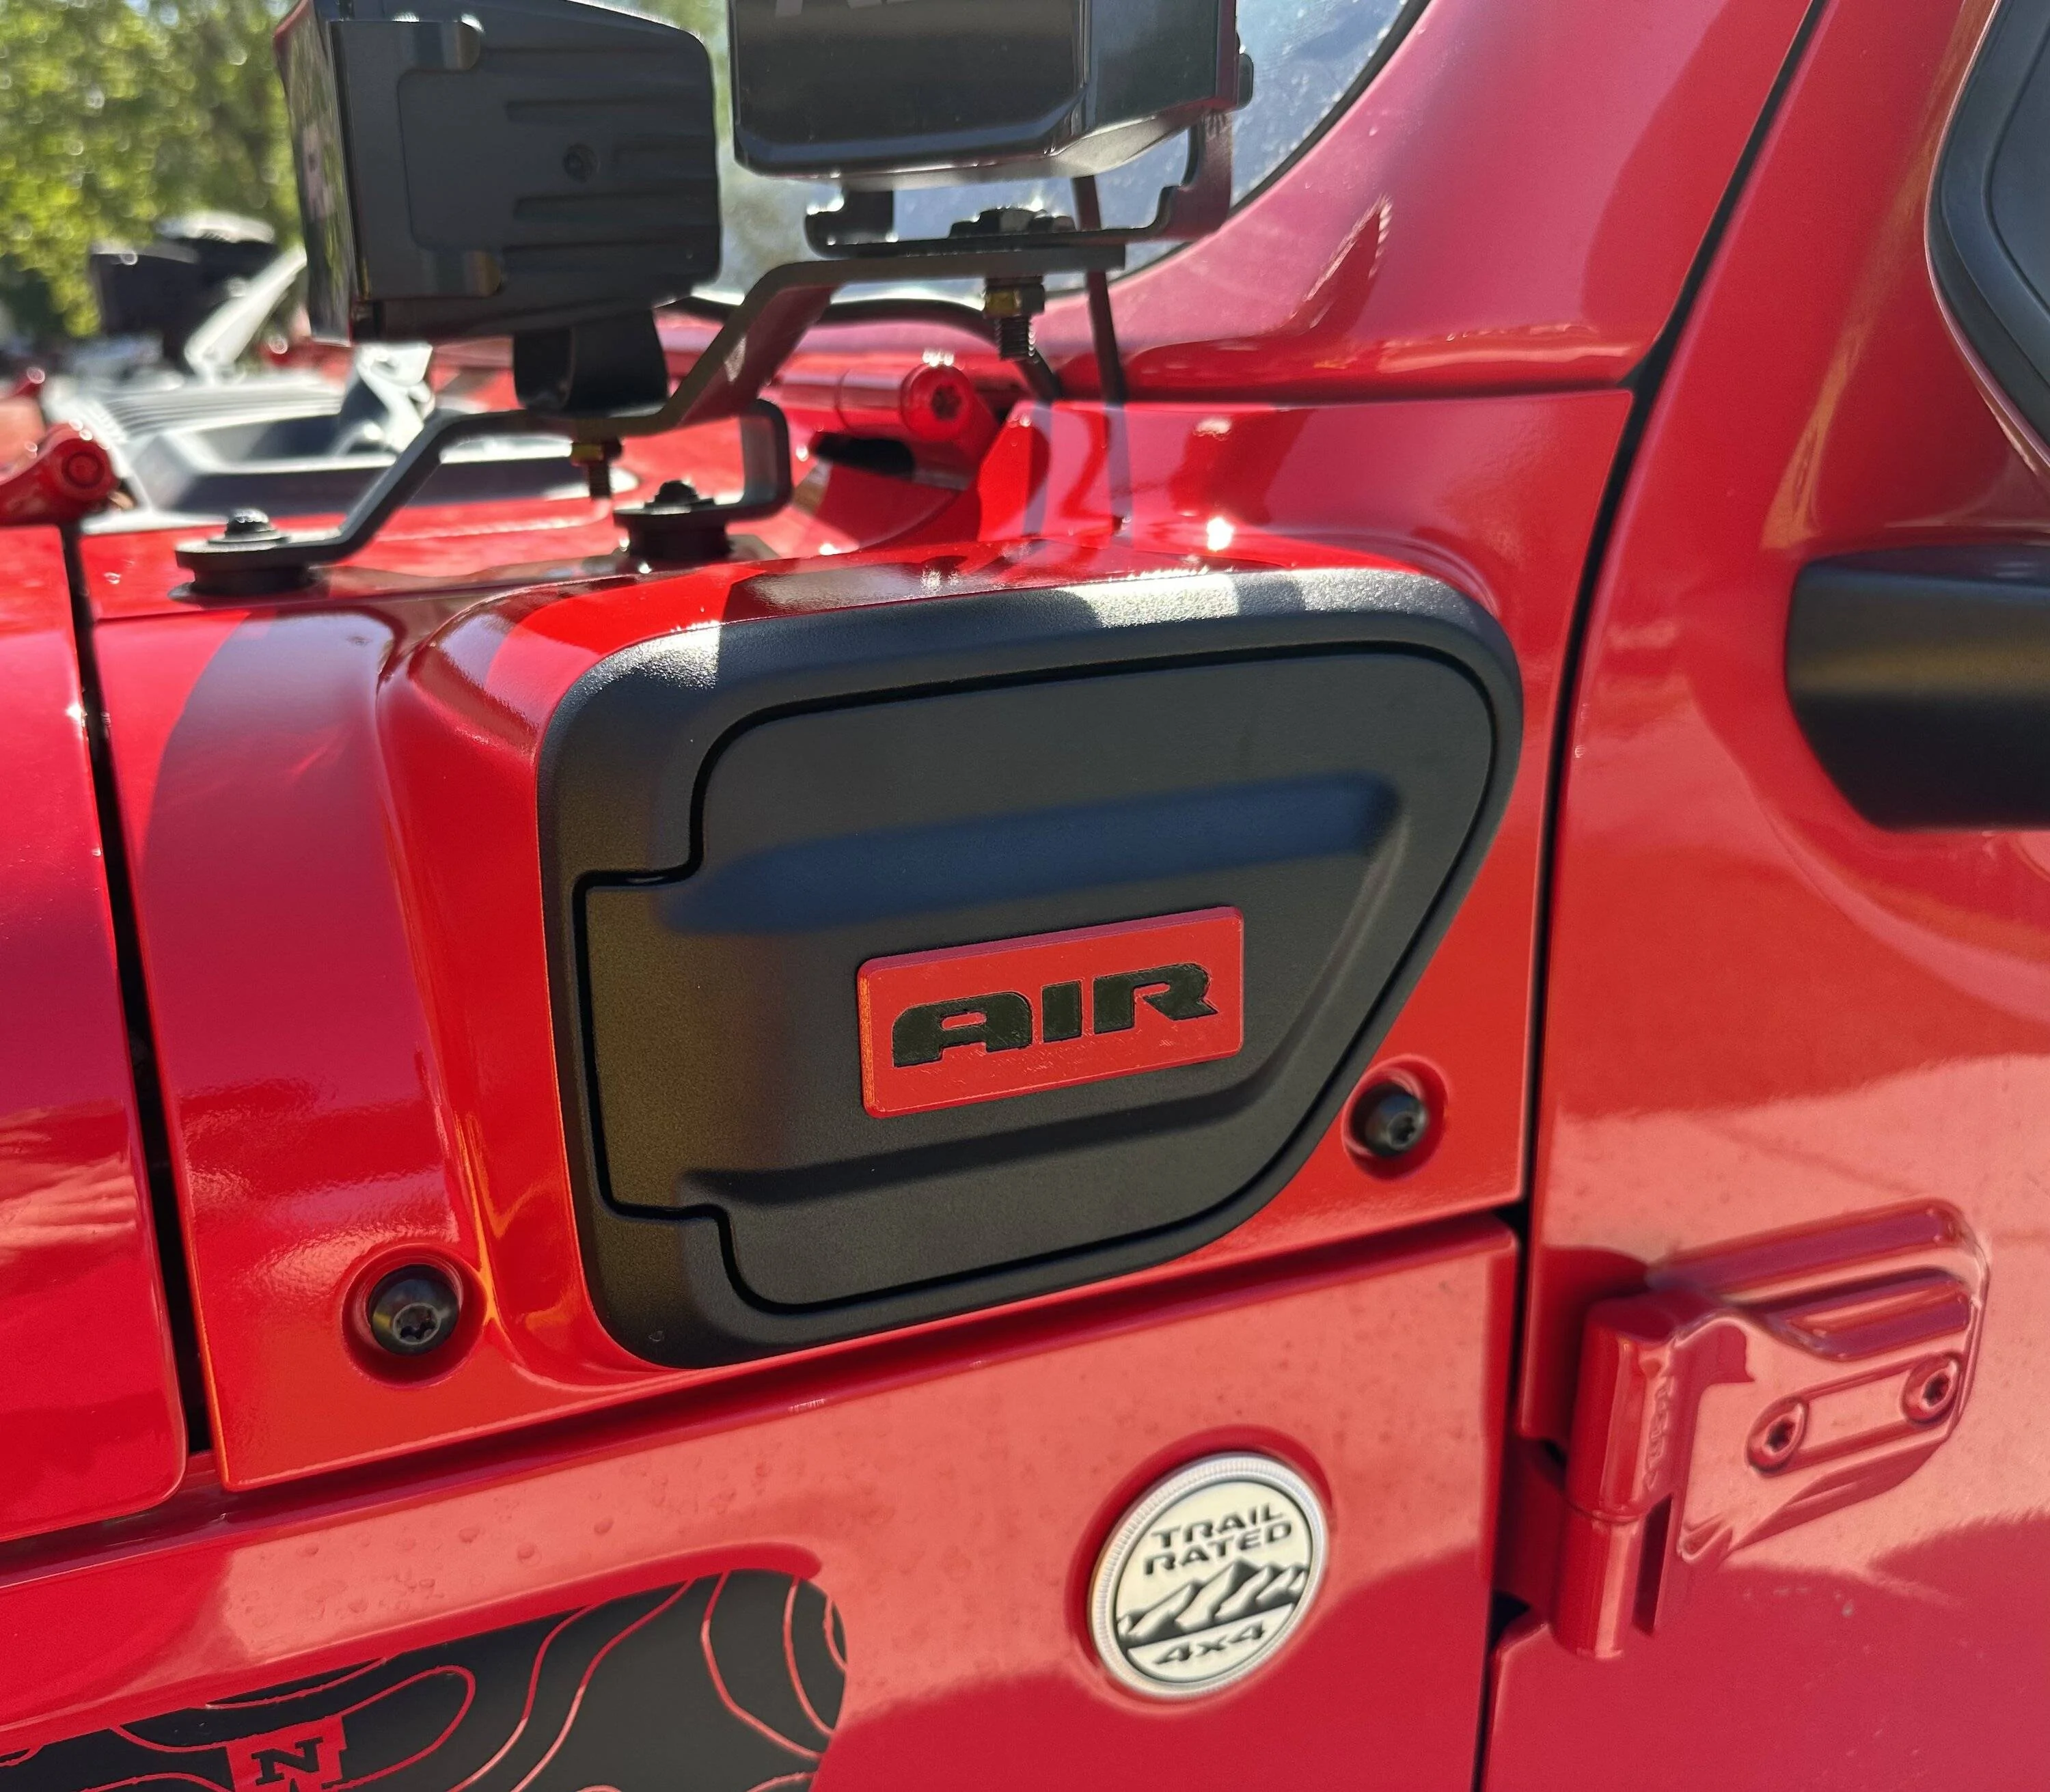
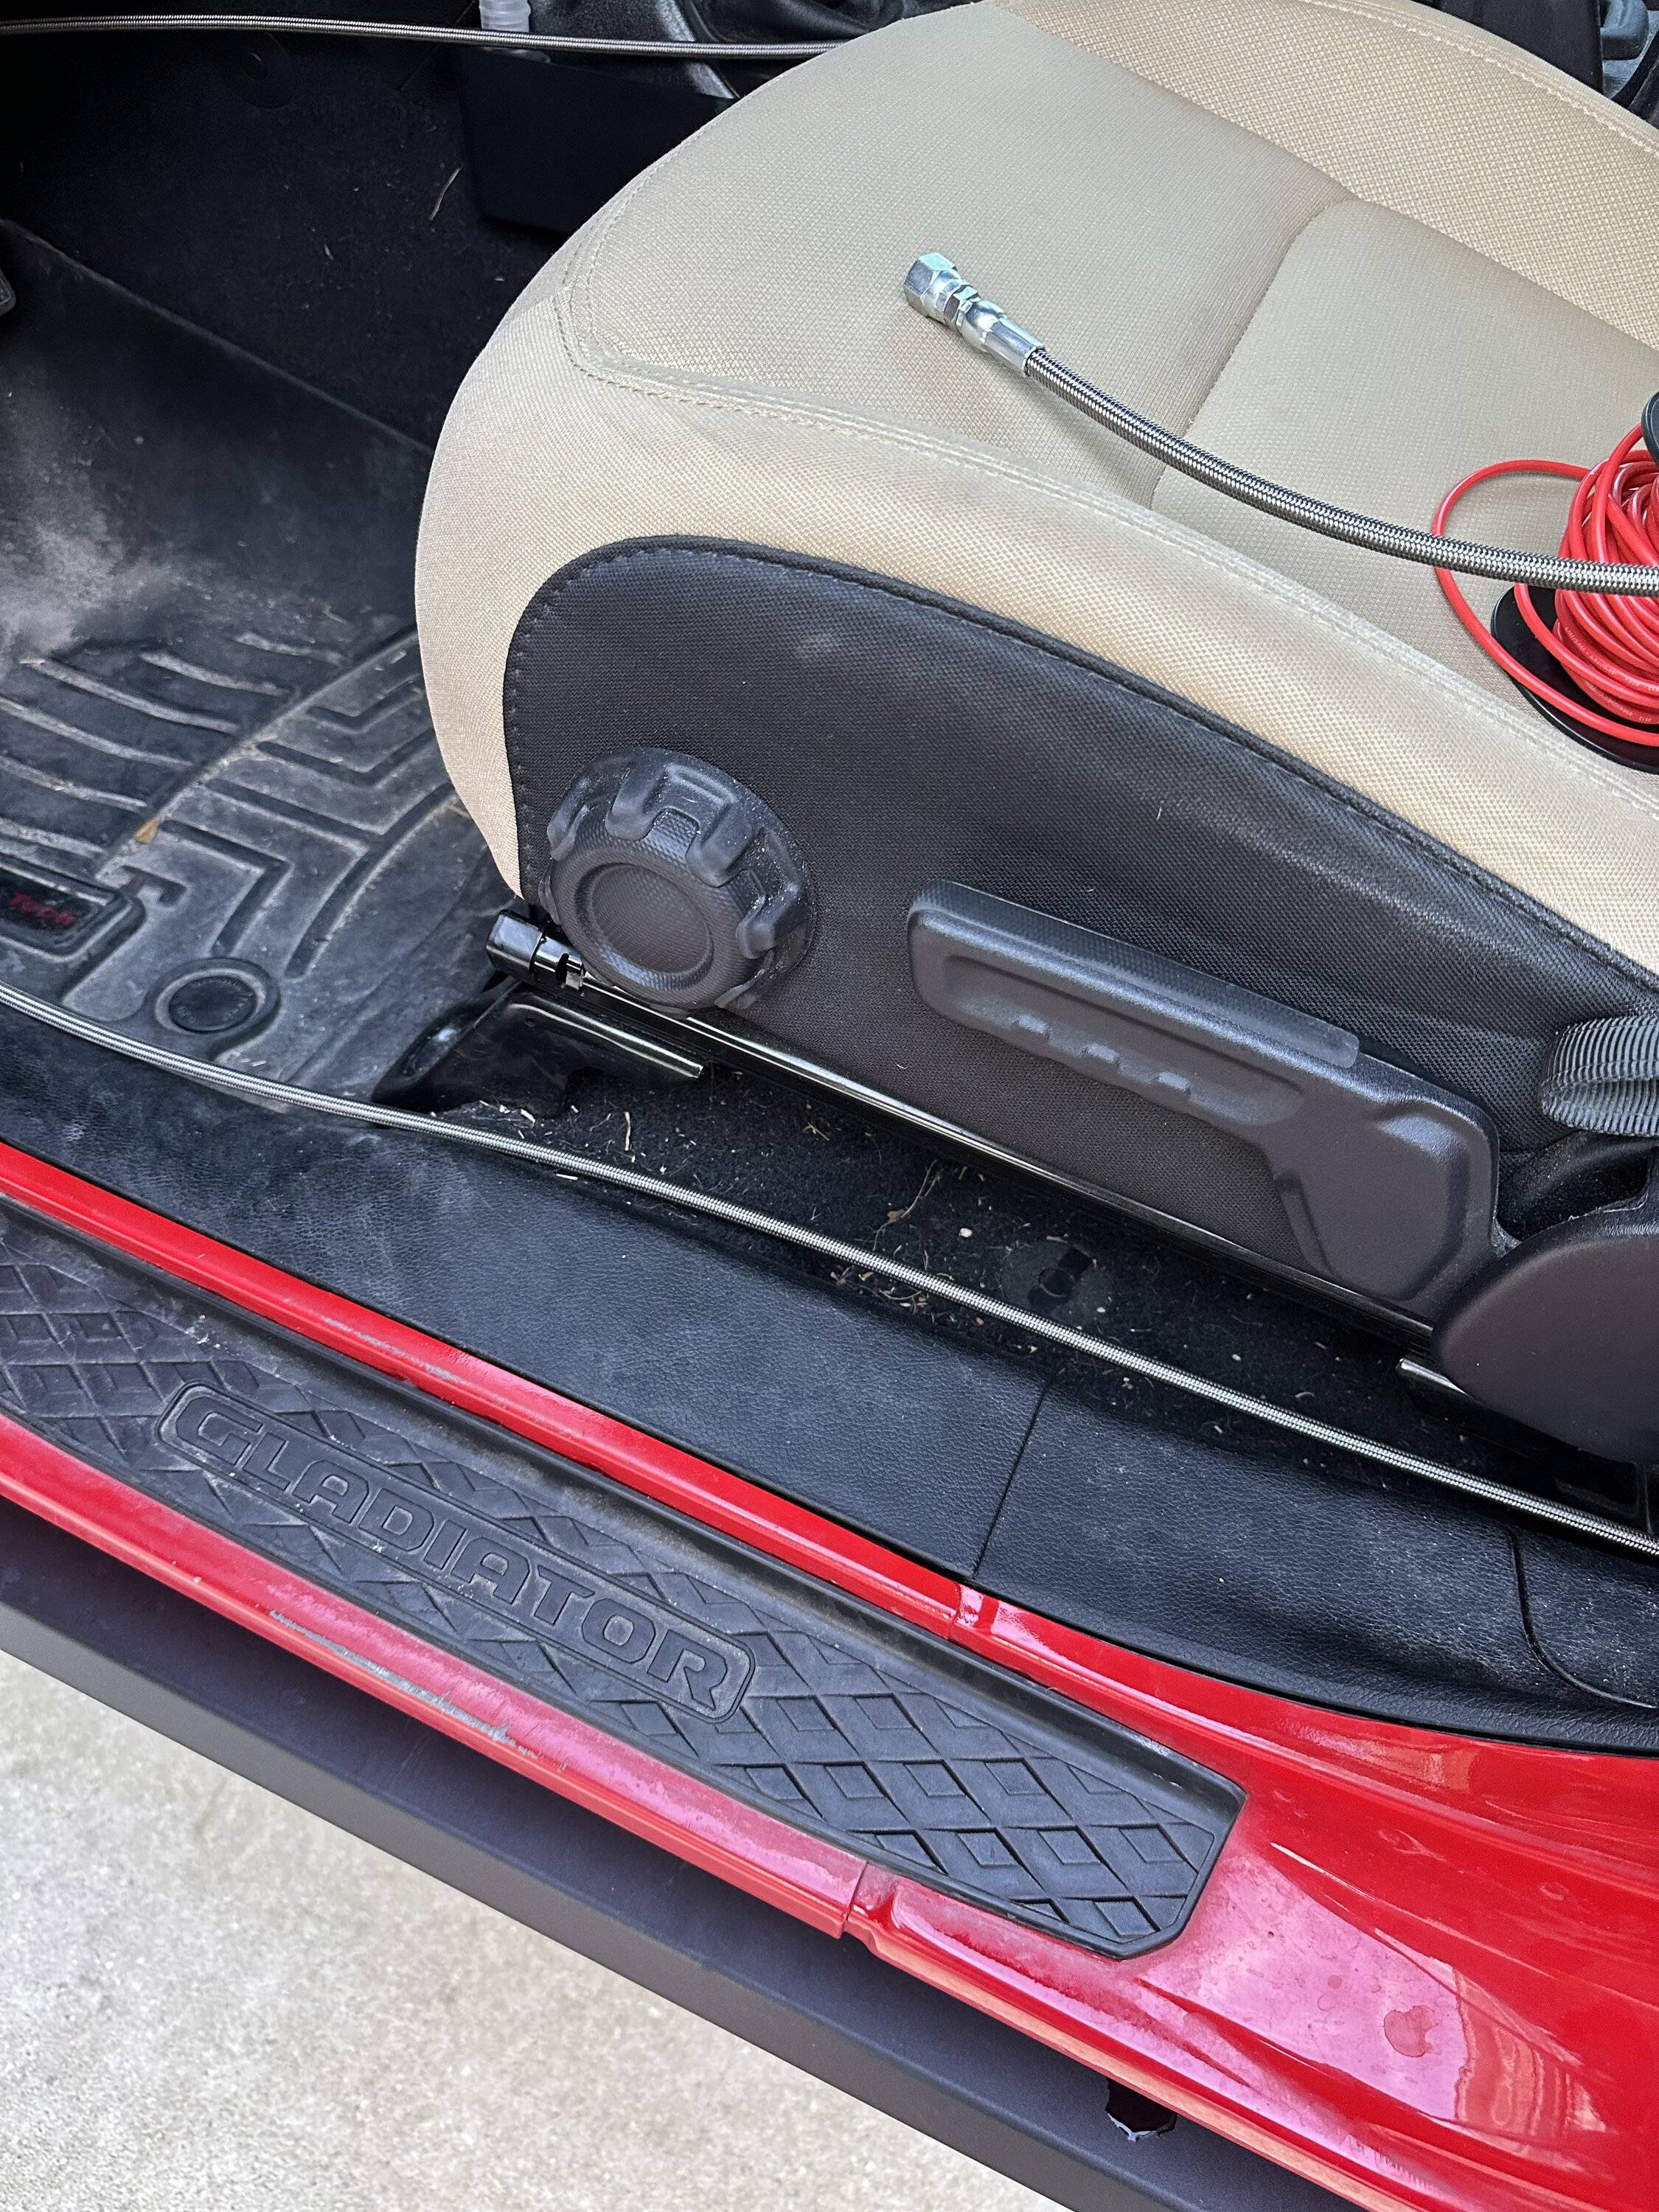
The main plan is to install the ARB dual compressor behind my rear seat and then run the hose to a 4XE cowl conversion. I will be using @813 Fabrication & Design cowl conversion kit (which I have had for about 7 months or so when I saw this on someone else's build) and their behind the rear seat mount. So far, I have the cowl conversion, rear seat mount, ARB dual compressor, and a custom braided hose. (forgot to take a picture of the rear seat mount). I color matched the cowl and the AIR plate that goes over the 4XE. I just put the hose in to check the distance again after measuring the distance and having it made.
Parts so far:
Cowl conversion kit and rear seat mount from @813 Fabrication & Design (extremely fast shipping and great communication)
ARB dual compressor from @Northridge4x4 (extremely fast shipping and great communication)
Custom braided hose from Hydraulic Supply (they are local to me and I don't think they are on the forum lol, but they are great to work with)
Firecracker red paint from Amazon- TouchUpDirect PRC Firecracker Red Compatible With Jeep Exact Match Touch Up Paint Aerosol - Platinum Package- This comes with base coat, clear, grease and wax remover and cleaner. (not sure if I can post links to Amazon here)
So, now for some pictures!
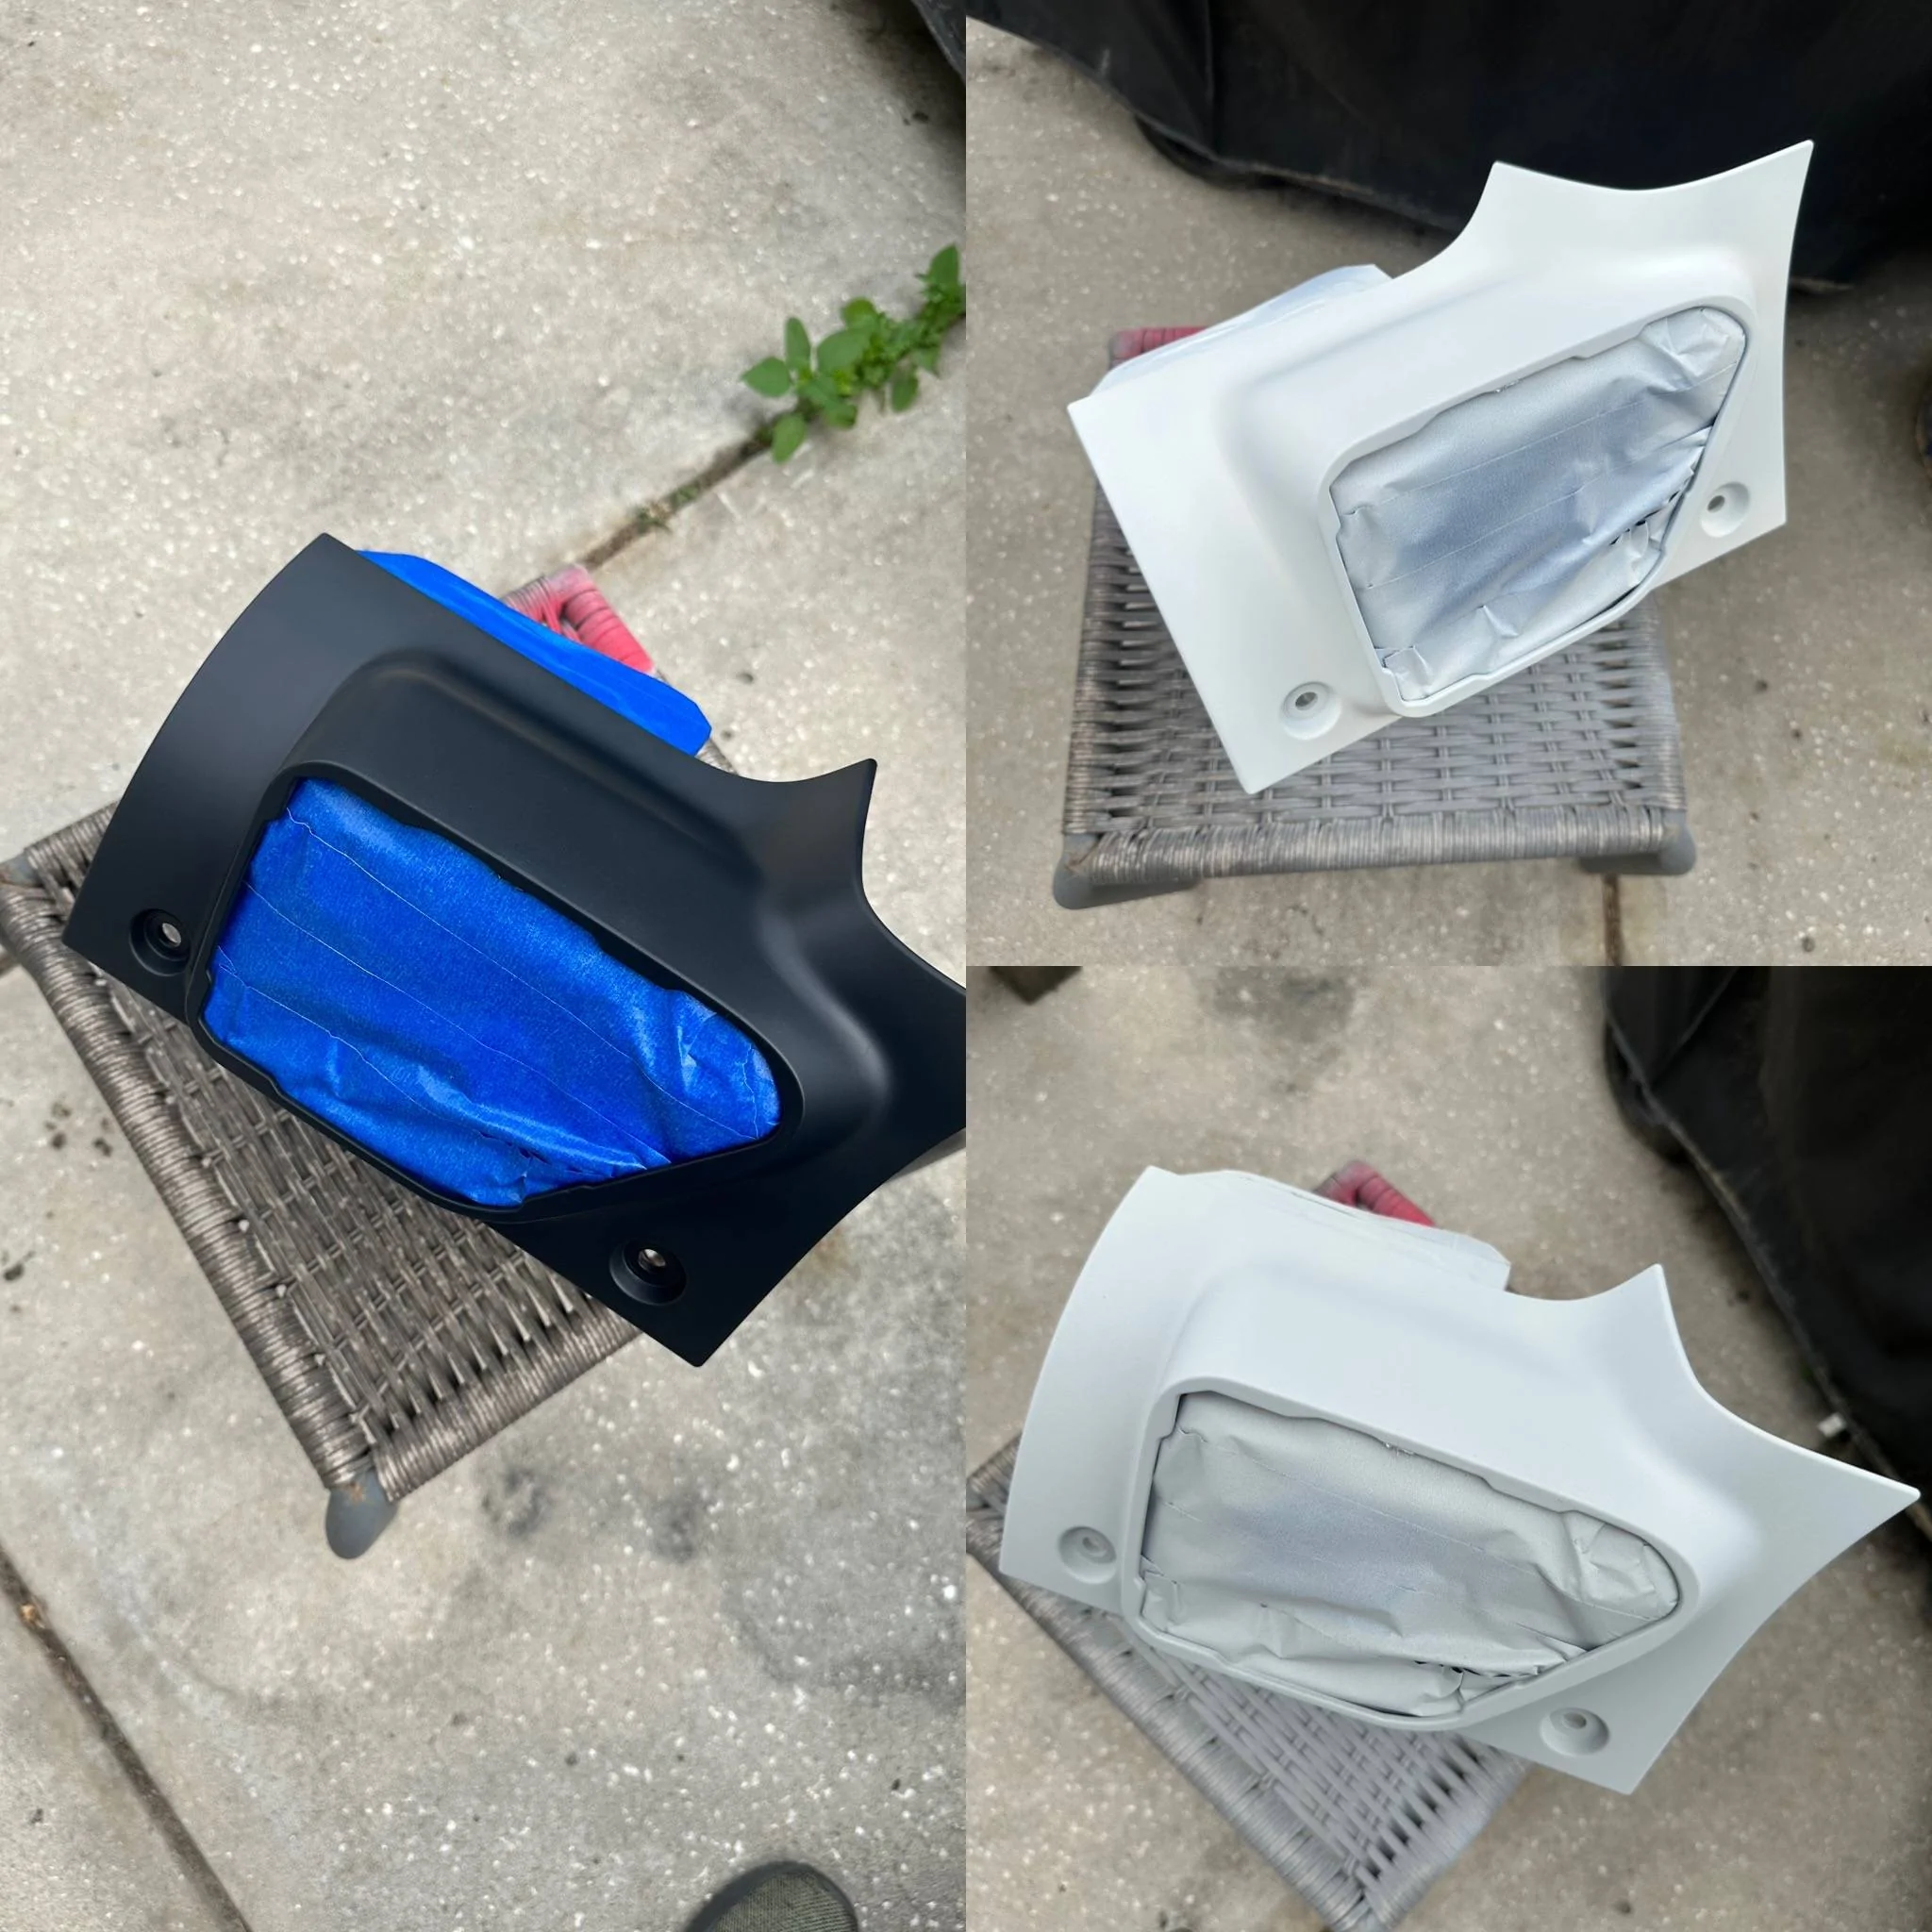
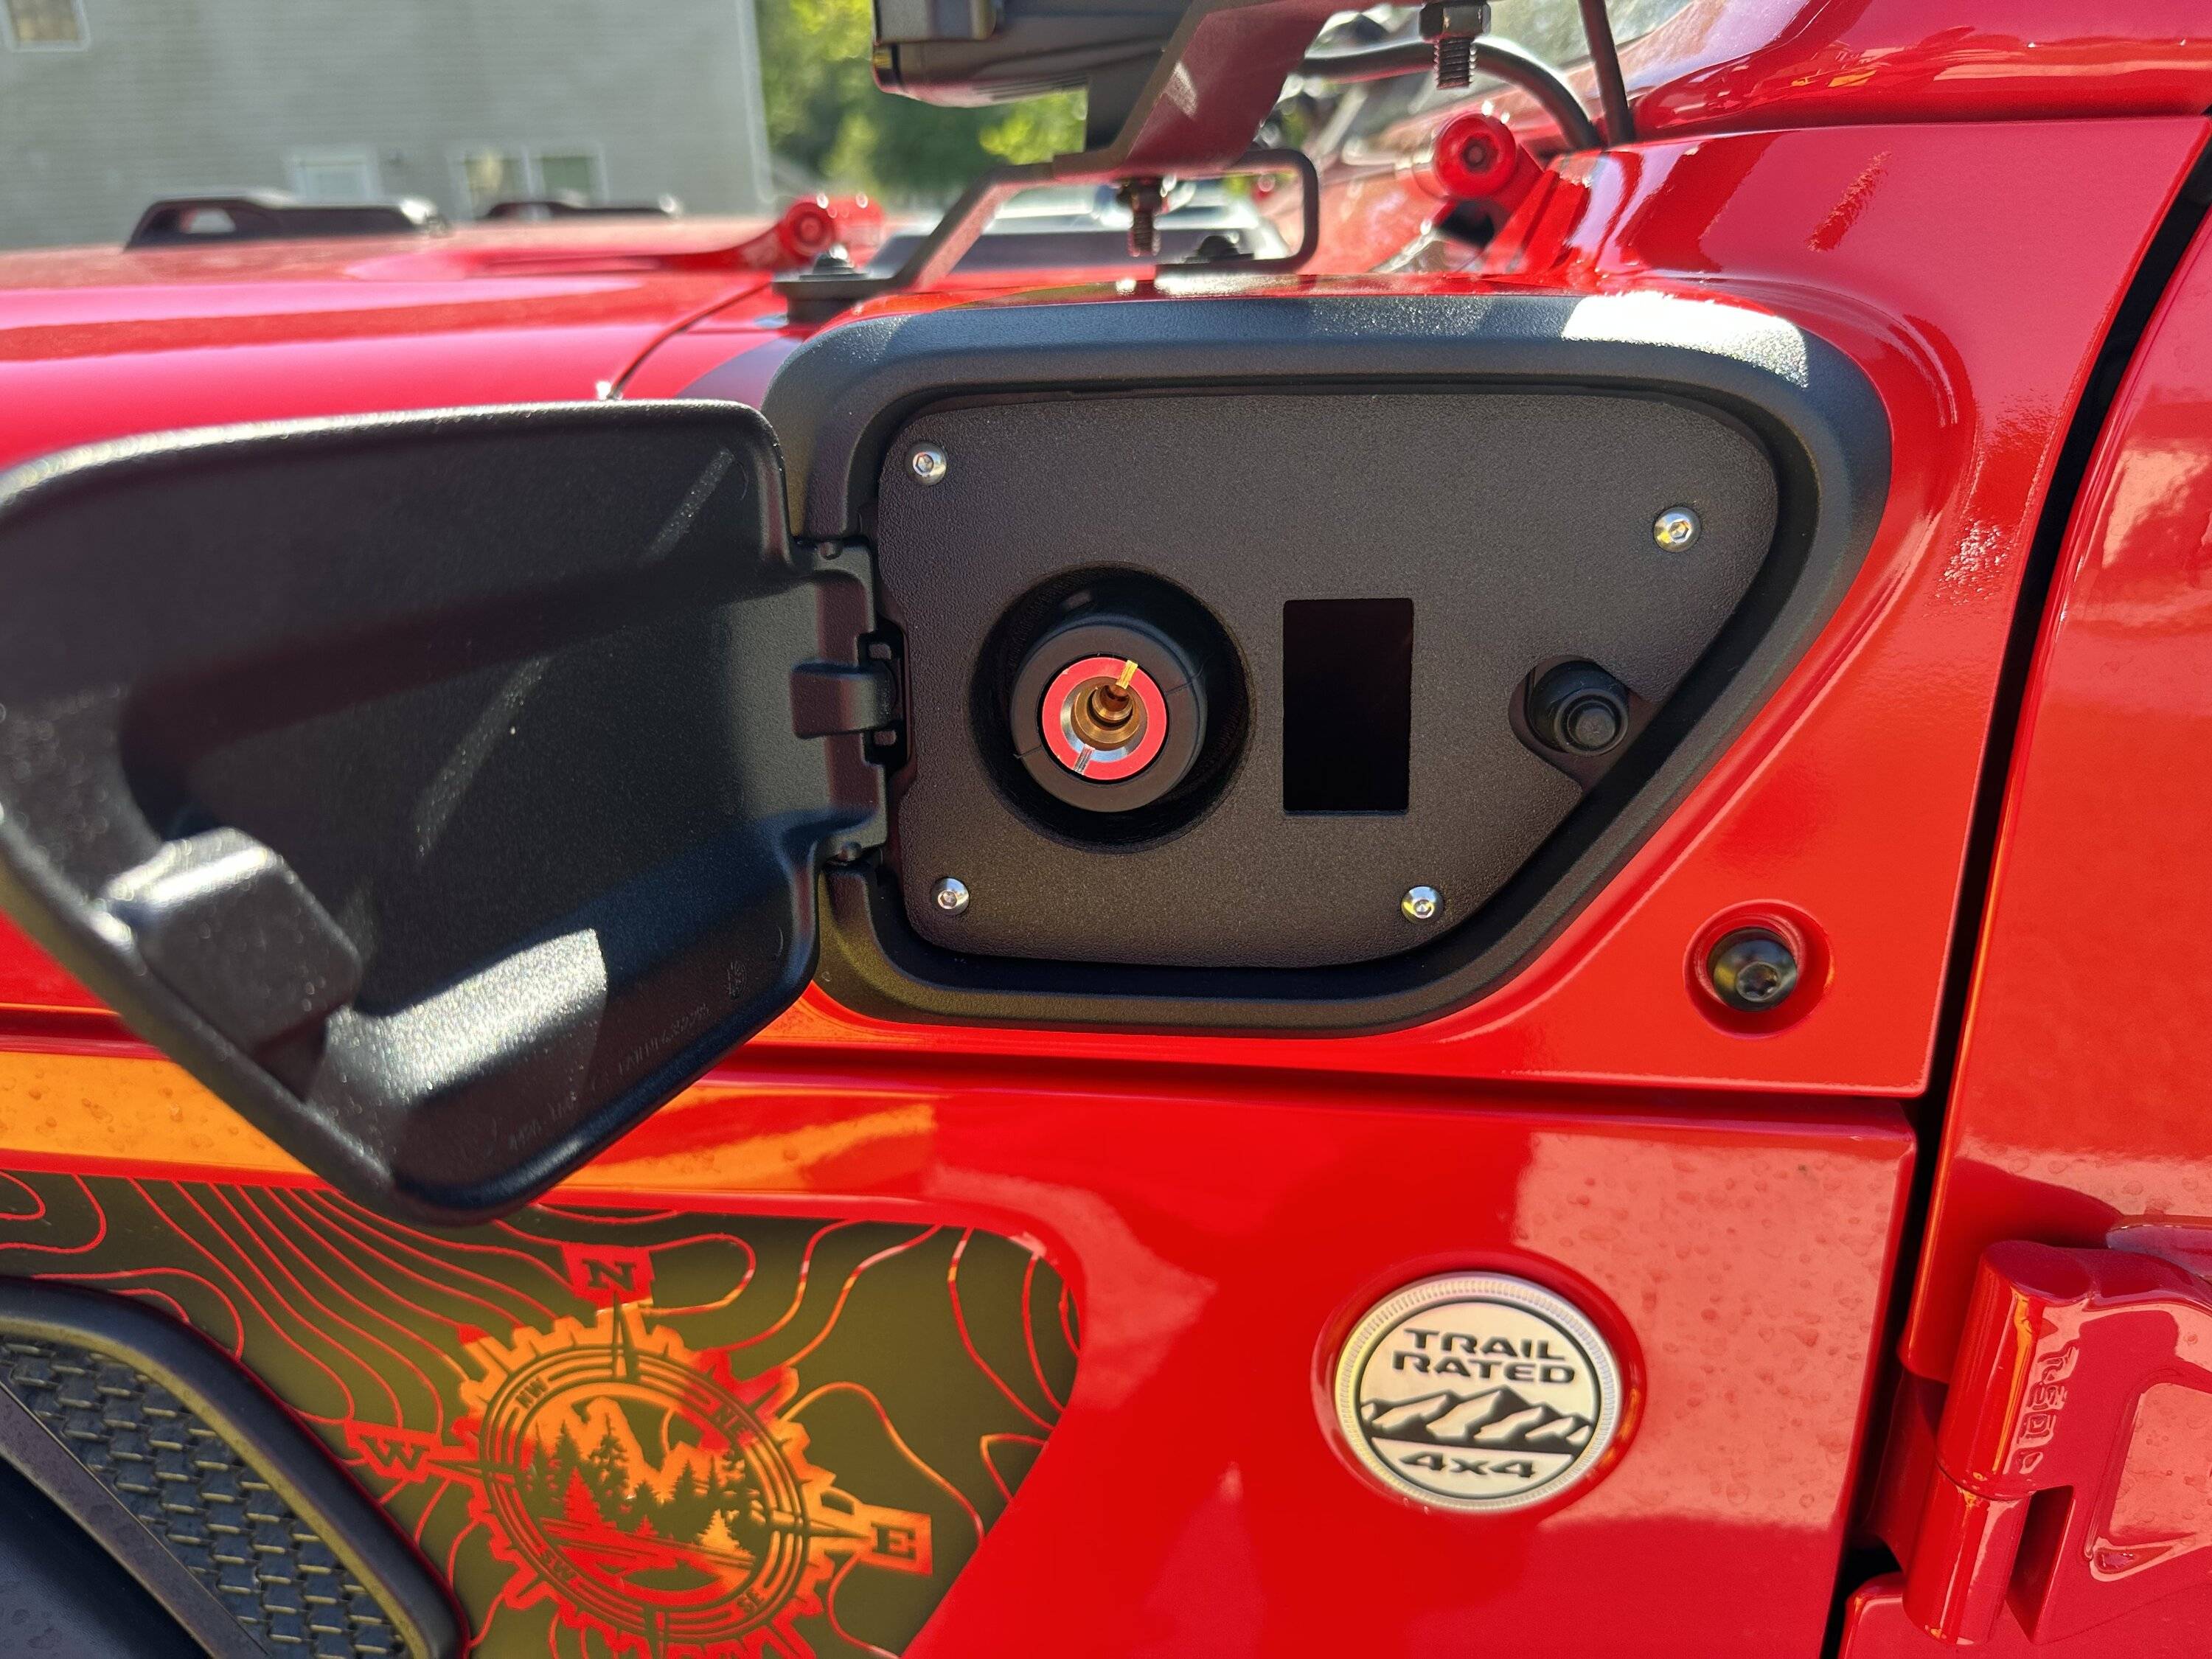
Cowl after I colored matched it and installed the conversion kit. The paint I actually found on Amazon because the firecracker red would not be in stock for another 2 months when I went to order some. The color is extremely close but if you are a painter (I am not a painter) you can notice a very slight difference. From what I was told, it has a slightly more orange tint to it(The one who noticed it paints cars for a living but no one else noticed). Over all, it's a really good match I think. This was also primed on my back porch and then painted in my garage (very professional I know lol). I did get some orange peel but to be honest I am fine with it.


Cowl conversion installed. Switch has not been installed (I will probably use one of the AUX switches instead.) I know, why install it if you do not have everything? I could not wait to see how it looked to be honest. Super easy to install and comes with all the necessary parts. You do have to cut the inner rubber/plastic circle out of the 4XE section before you install the kit (which I do not have a picture of unfortunately).

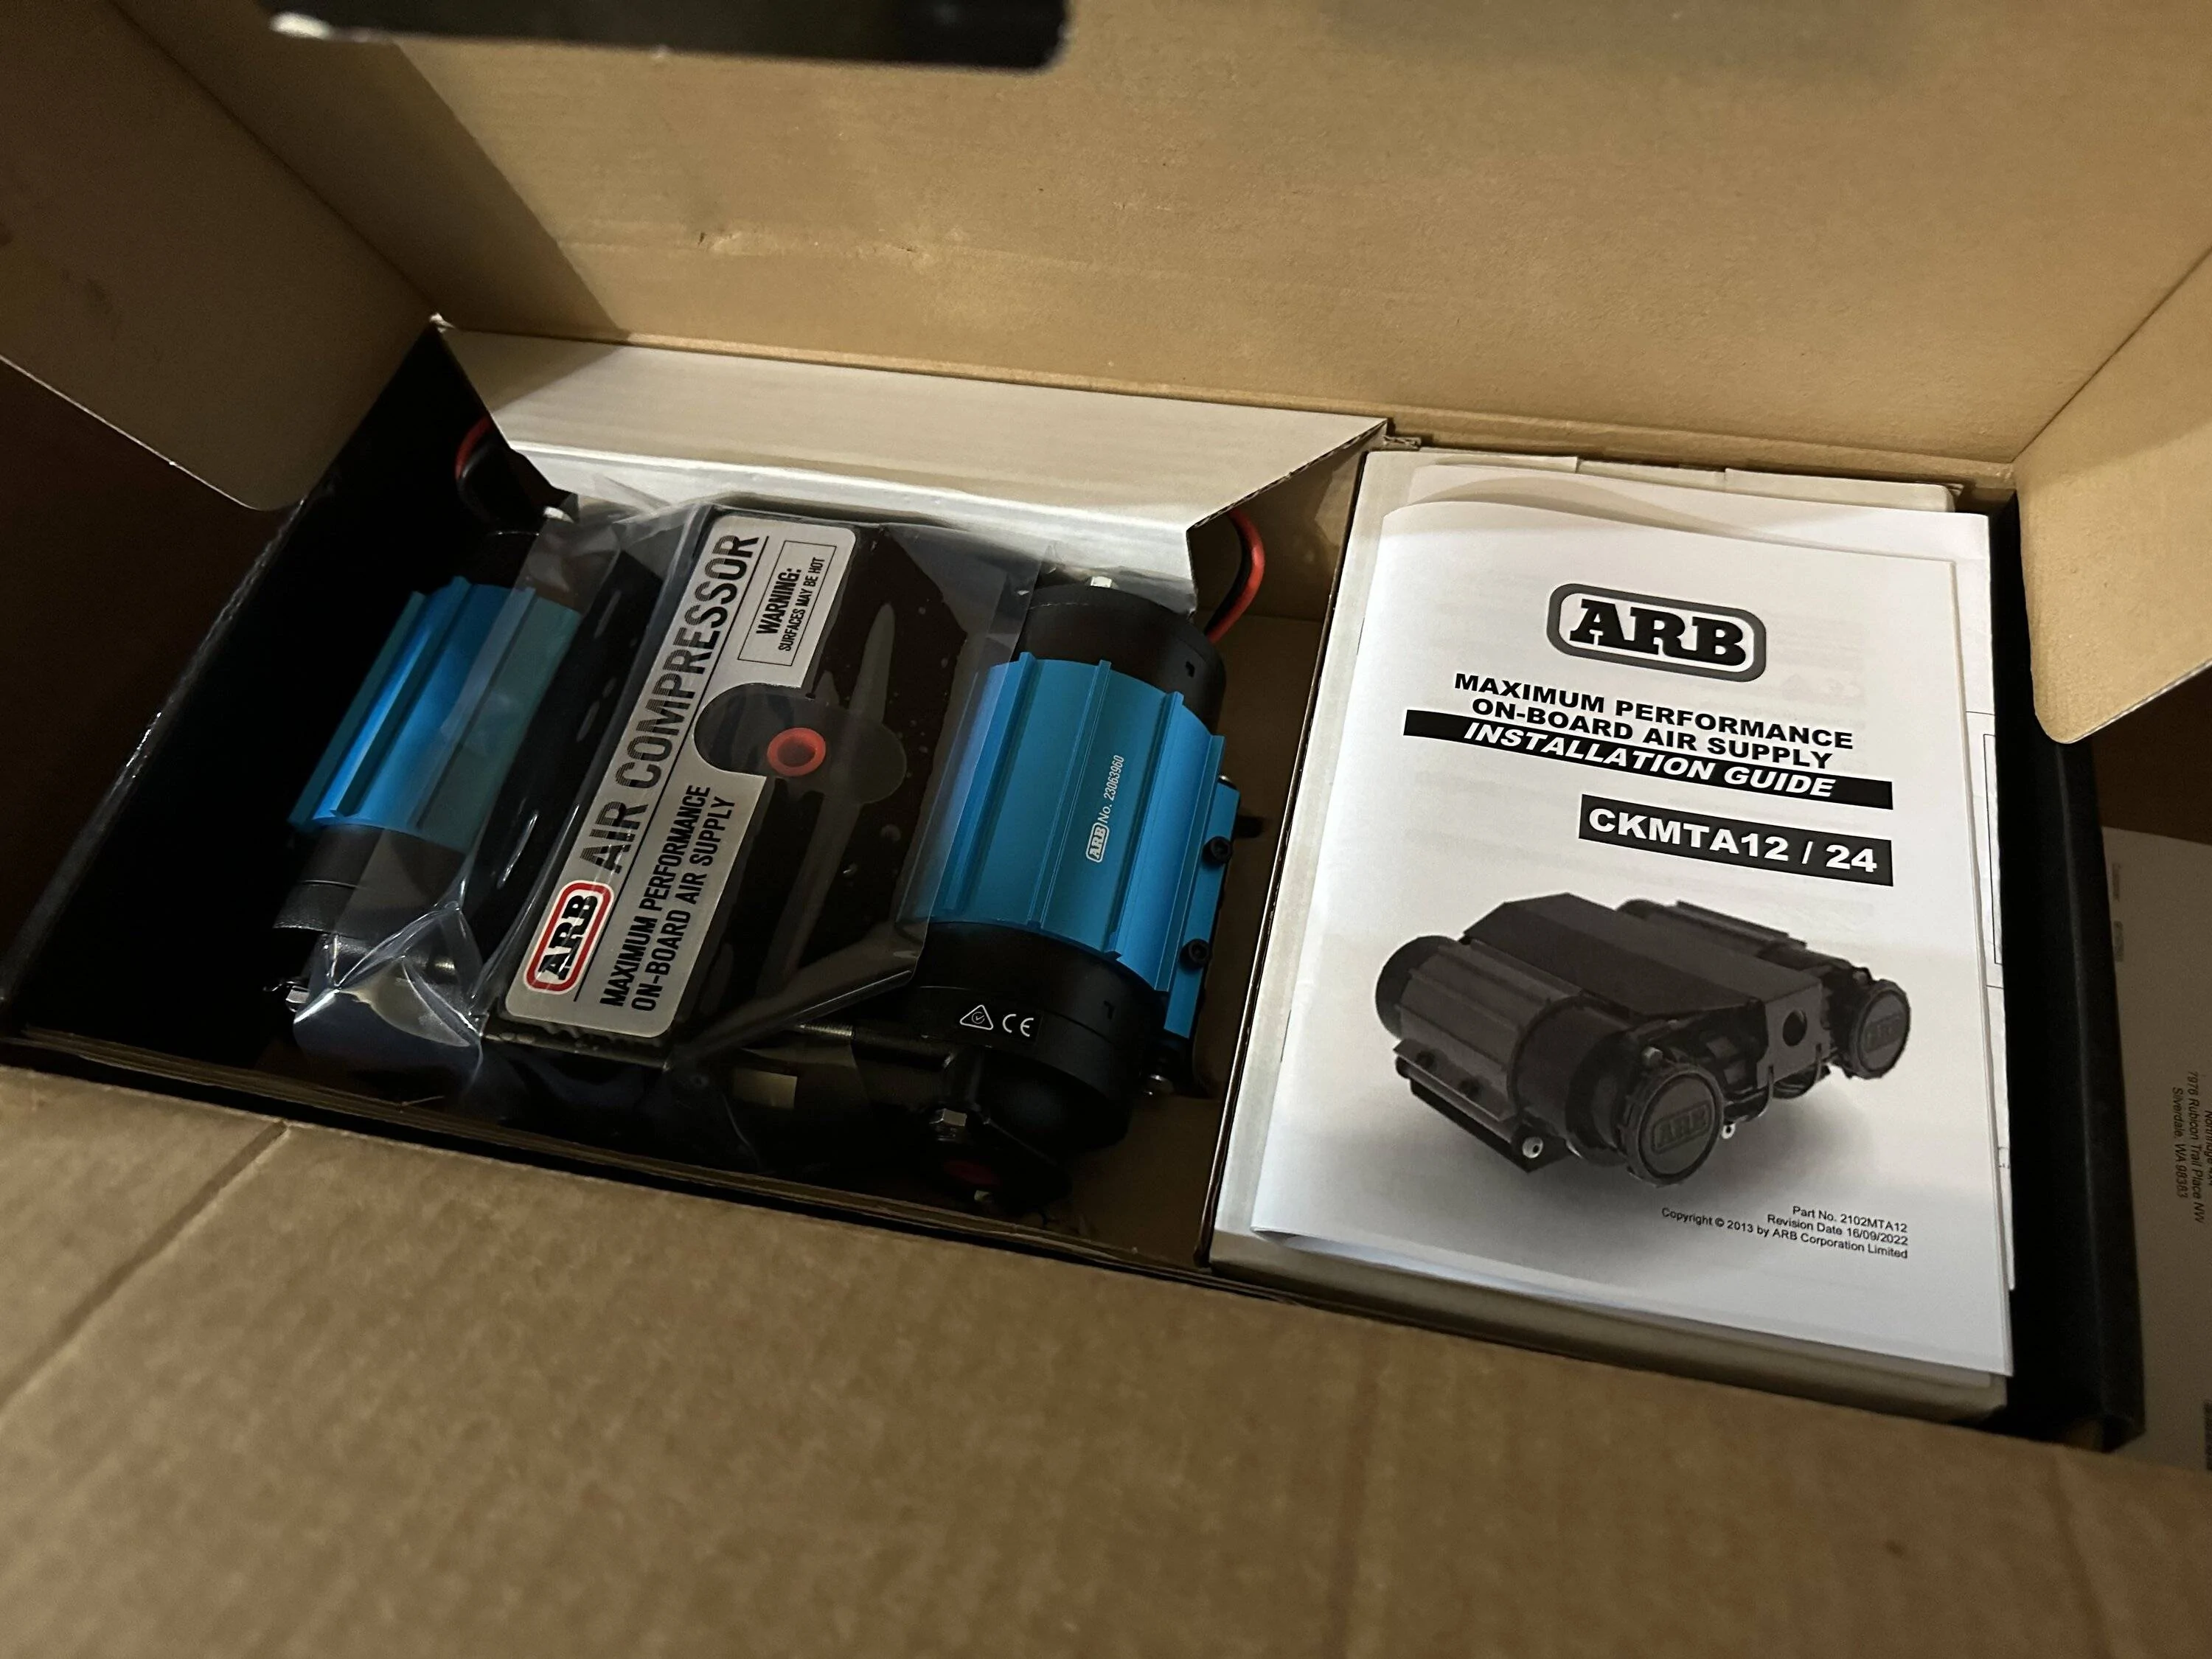
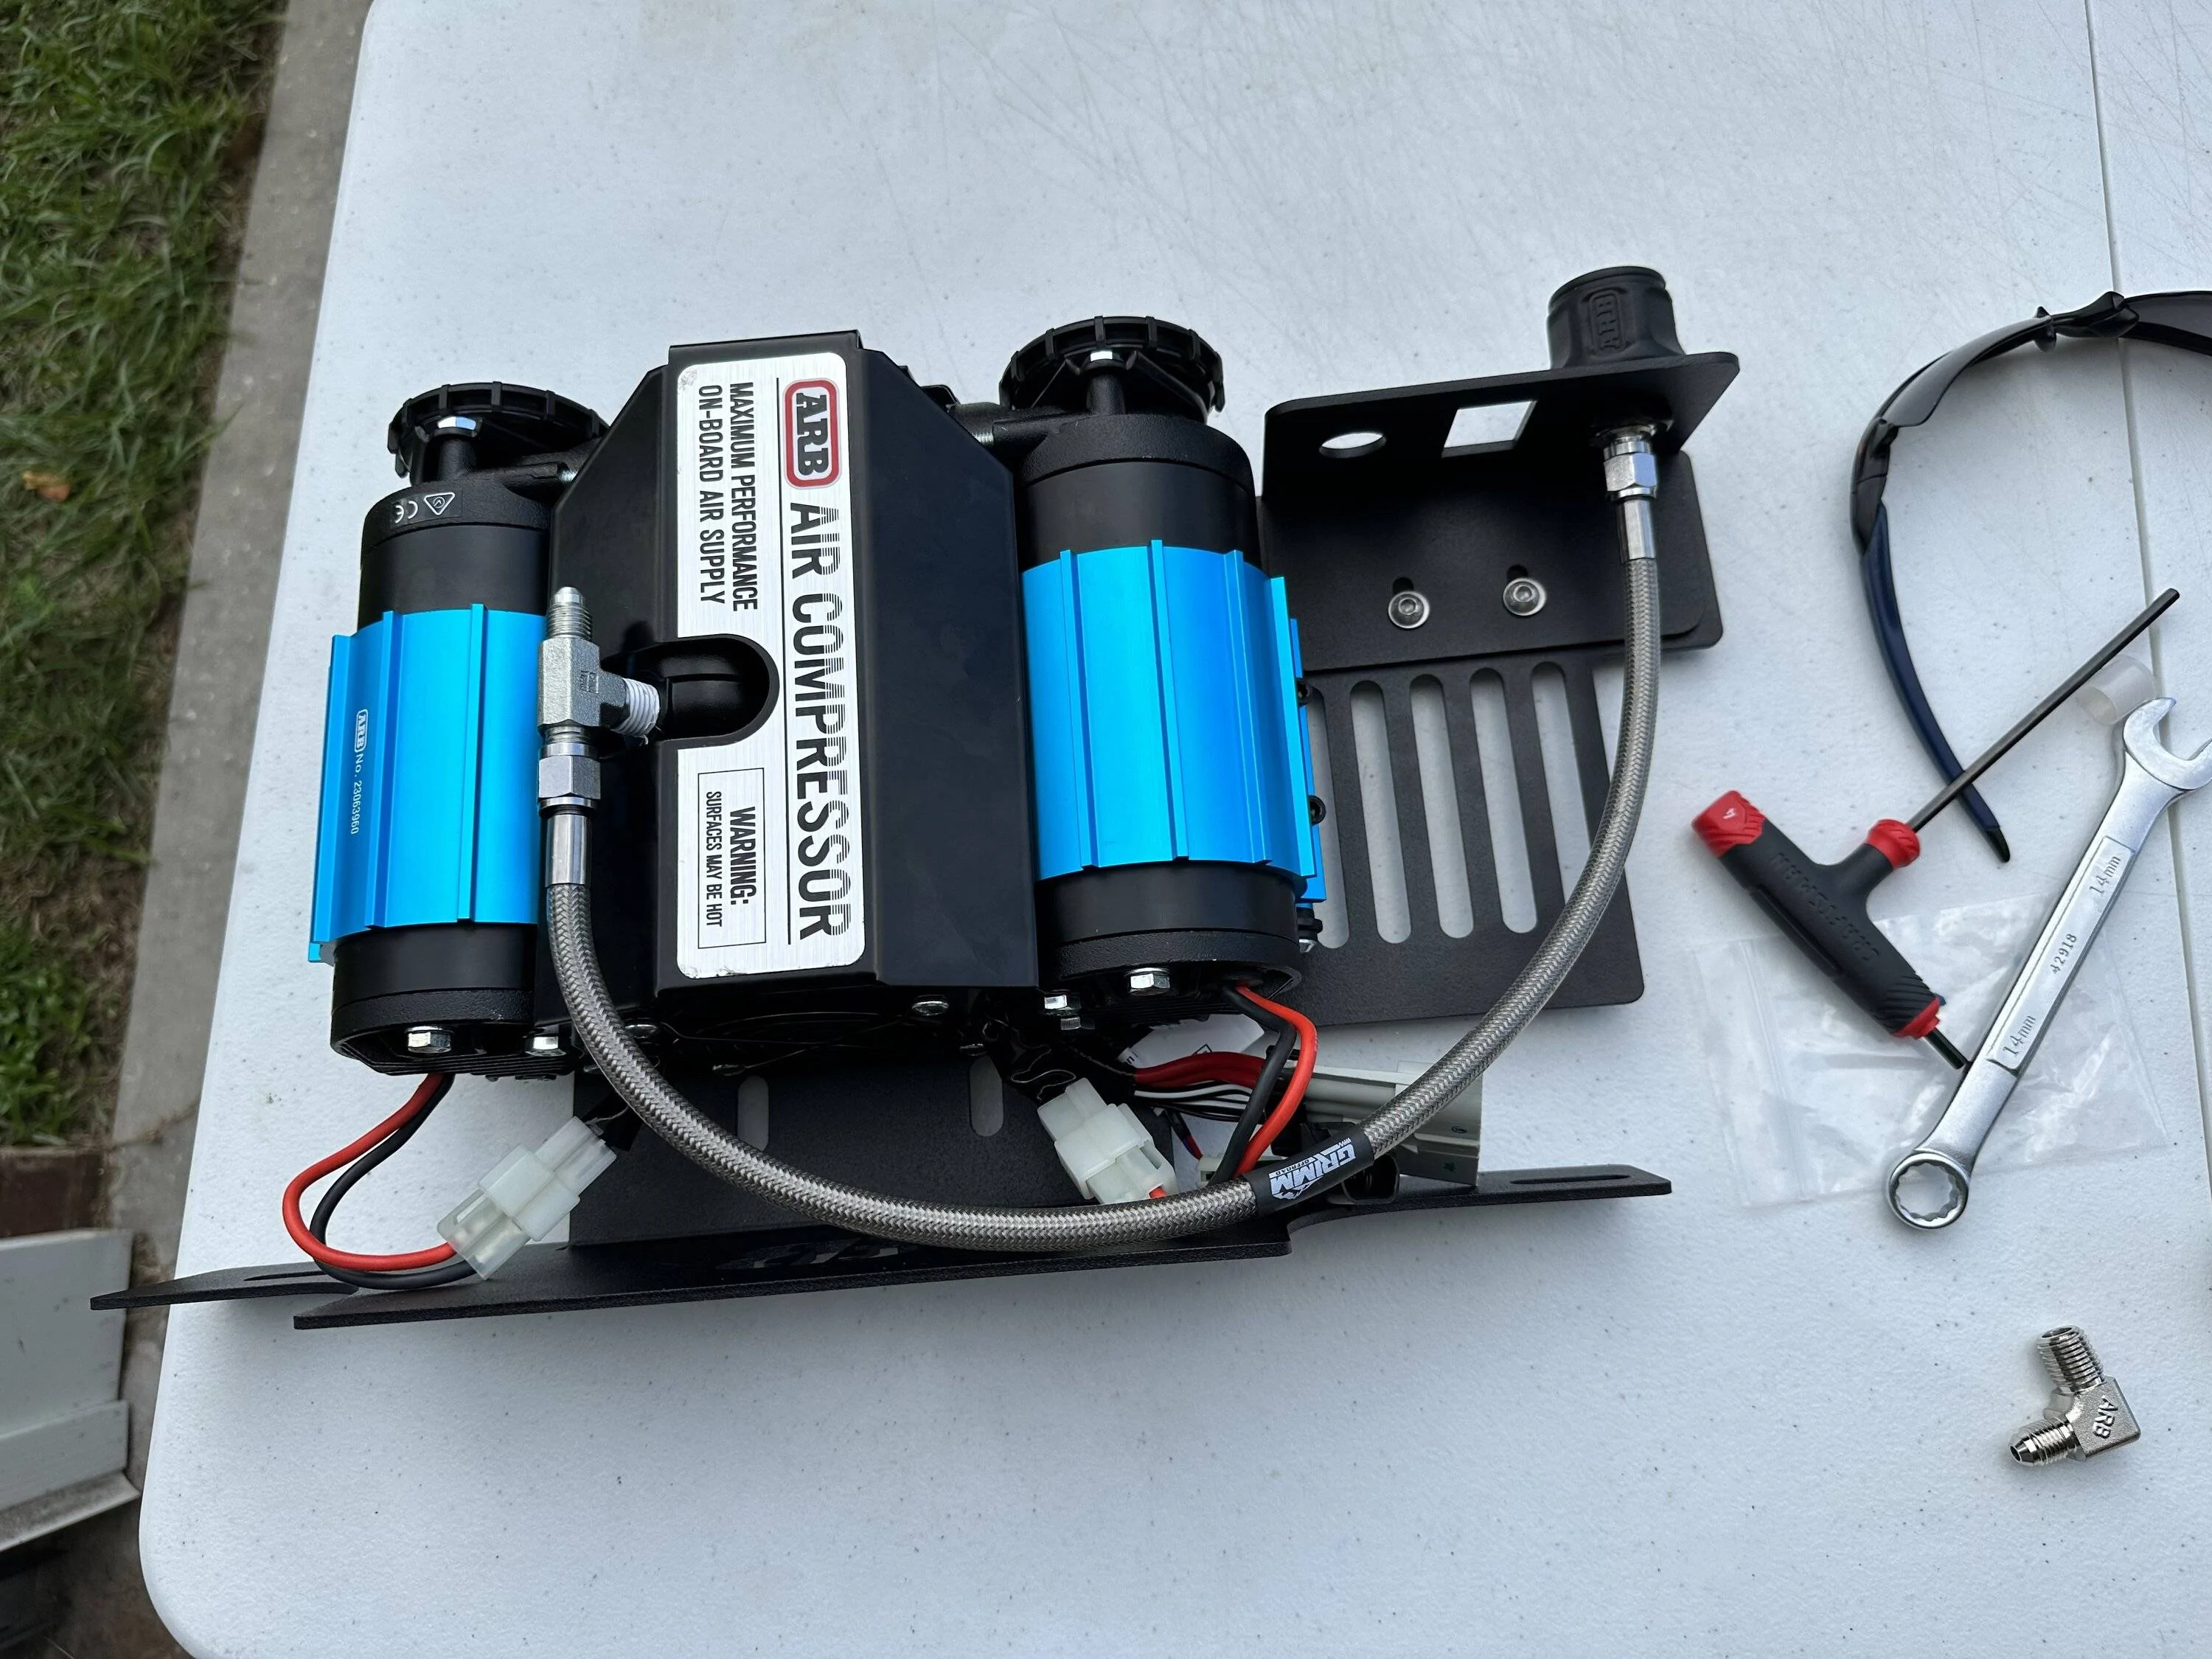
ARB dual compressor (not that exciting of a picture I know)
Custom braided hose I had made.
That's pretty much it for now. I still need to get a longer wiring harness and work out the path (I have a decent idea of how I will do it but we will get into that later). I will update this post as I get things done.
My ARB dual compressor rear seat install has kind of started. This install has been in my mind for quite awhile now and finally getting it going. This may take a few as I figure things out, get parts in and work on the install itself. I will also list the parts I used, who I bought them from and how their communication and customer service was (if I have to call or email anyone. Good or bad.).
The main plan is to install the ARB dual compressor behind my rear seat and then run the hose to a 4XE cowl conversion. I will be using @813 Fabrication & Design cowl conversion kit (which I have had for about 7 months or so when I saw this on someone else's build) and their behind the rear seat mount. So far, I have the cowl conversion, rear seat mount, ARB dual compressor, and a custom braided hose. (forgot to take a picture of the rear seat mount). I color matched the cowl and the AIR plate that goes over the 4XE. I just put the hose in to check the distance again after measuring the distance and having it made.
Parts so far:
Cowl conversion kit and rear seat mount from @813 Fabrication & Design (extremely fast shipping and great communication)
ARB dual compressor from @Northridge4x4 (extremely fast shipping and great communication)
Custom braided hose from Hydraulic Supply (they are local to me and I don't think they are on the forum lol, but they are great to work with)
Firecracker red paint from Amazon- TouchUpDirect PRC Firecracker Red Compatible With Jeep Exact Match Touch Up Paint Aerosol - Platinum Package- This comes with base coat, clear, grease and wax remover and cleaner. (not sure if I can post links to Amazon here)
So, now for some pictures!
Cowl after I colored matched it and installed the conversion kit. The paint I actually found on Amazon because the firecracker red would not be in stock for another 2 months when I went to order some. The color is extremely close but if you are a painter (I am not a painter) you can notice a very slight difference. From what I was told, it has a slightly more orange tint to it(The one who noticed it paints cars for a living but no one else noticed). Over all, it's a really good match I think. This was also primed on my back porch and then painted in my garage (very professional I know lol). I did get some orange peel but to be honest I am fine with it.
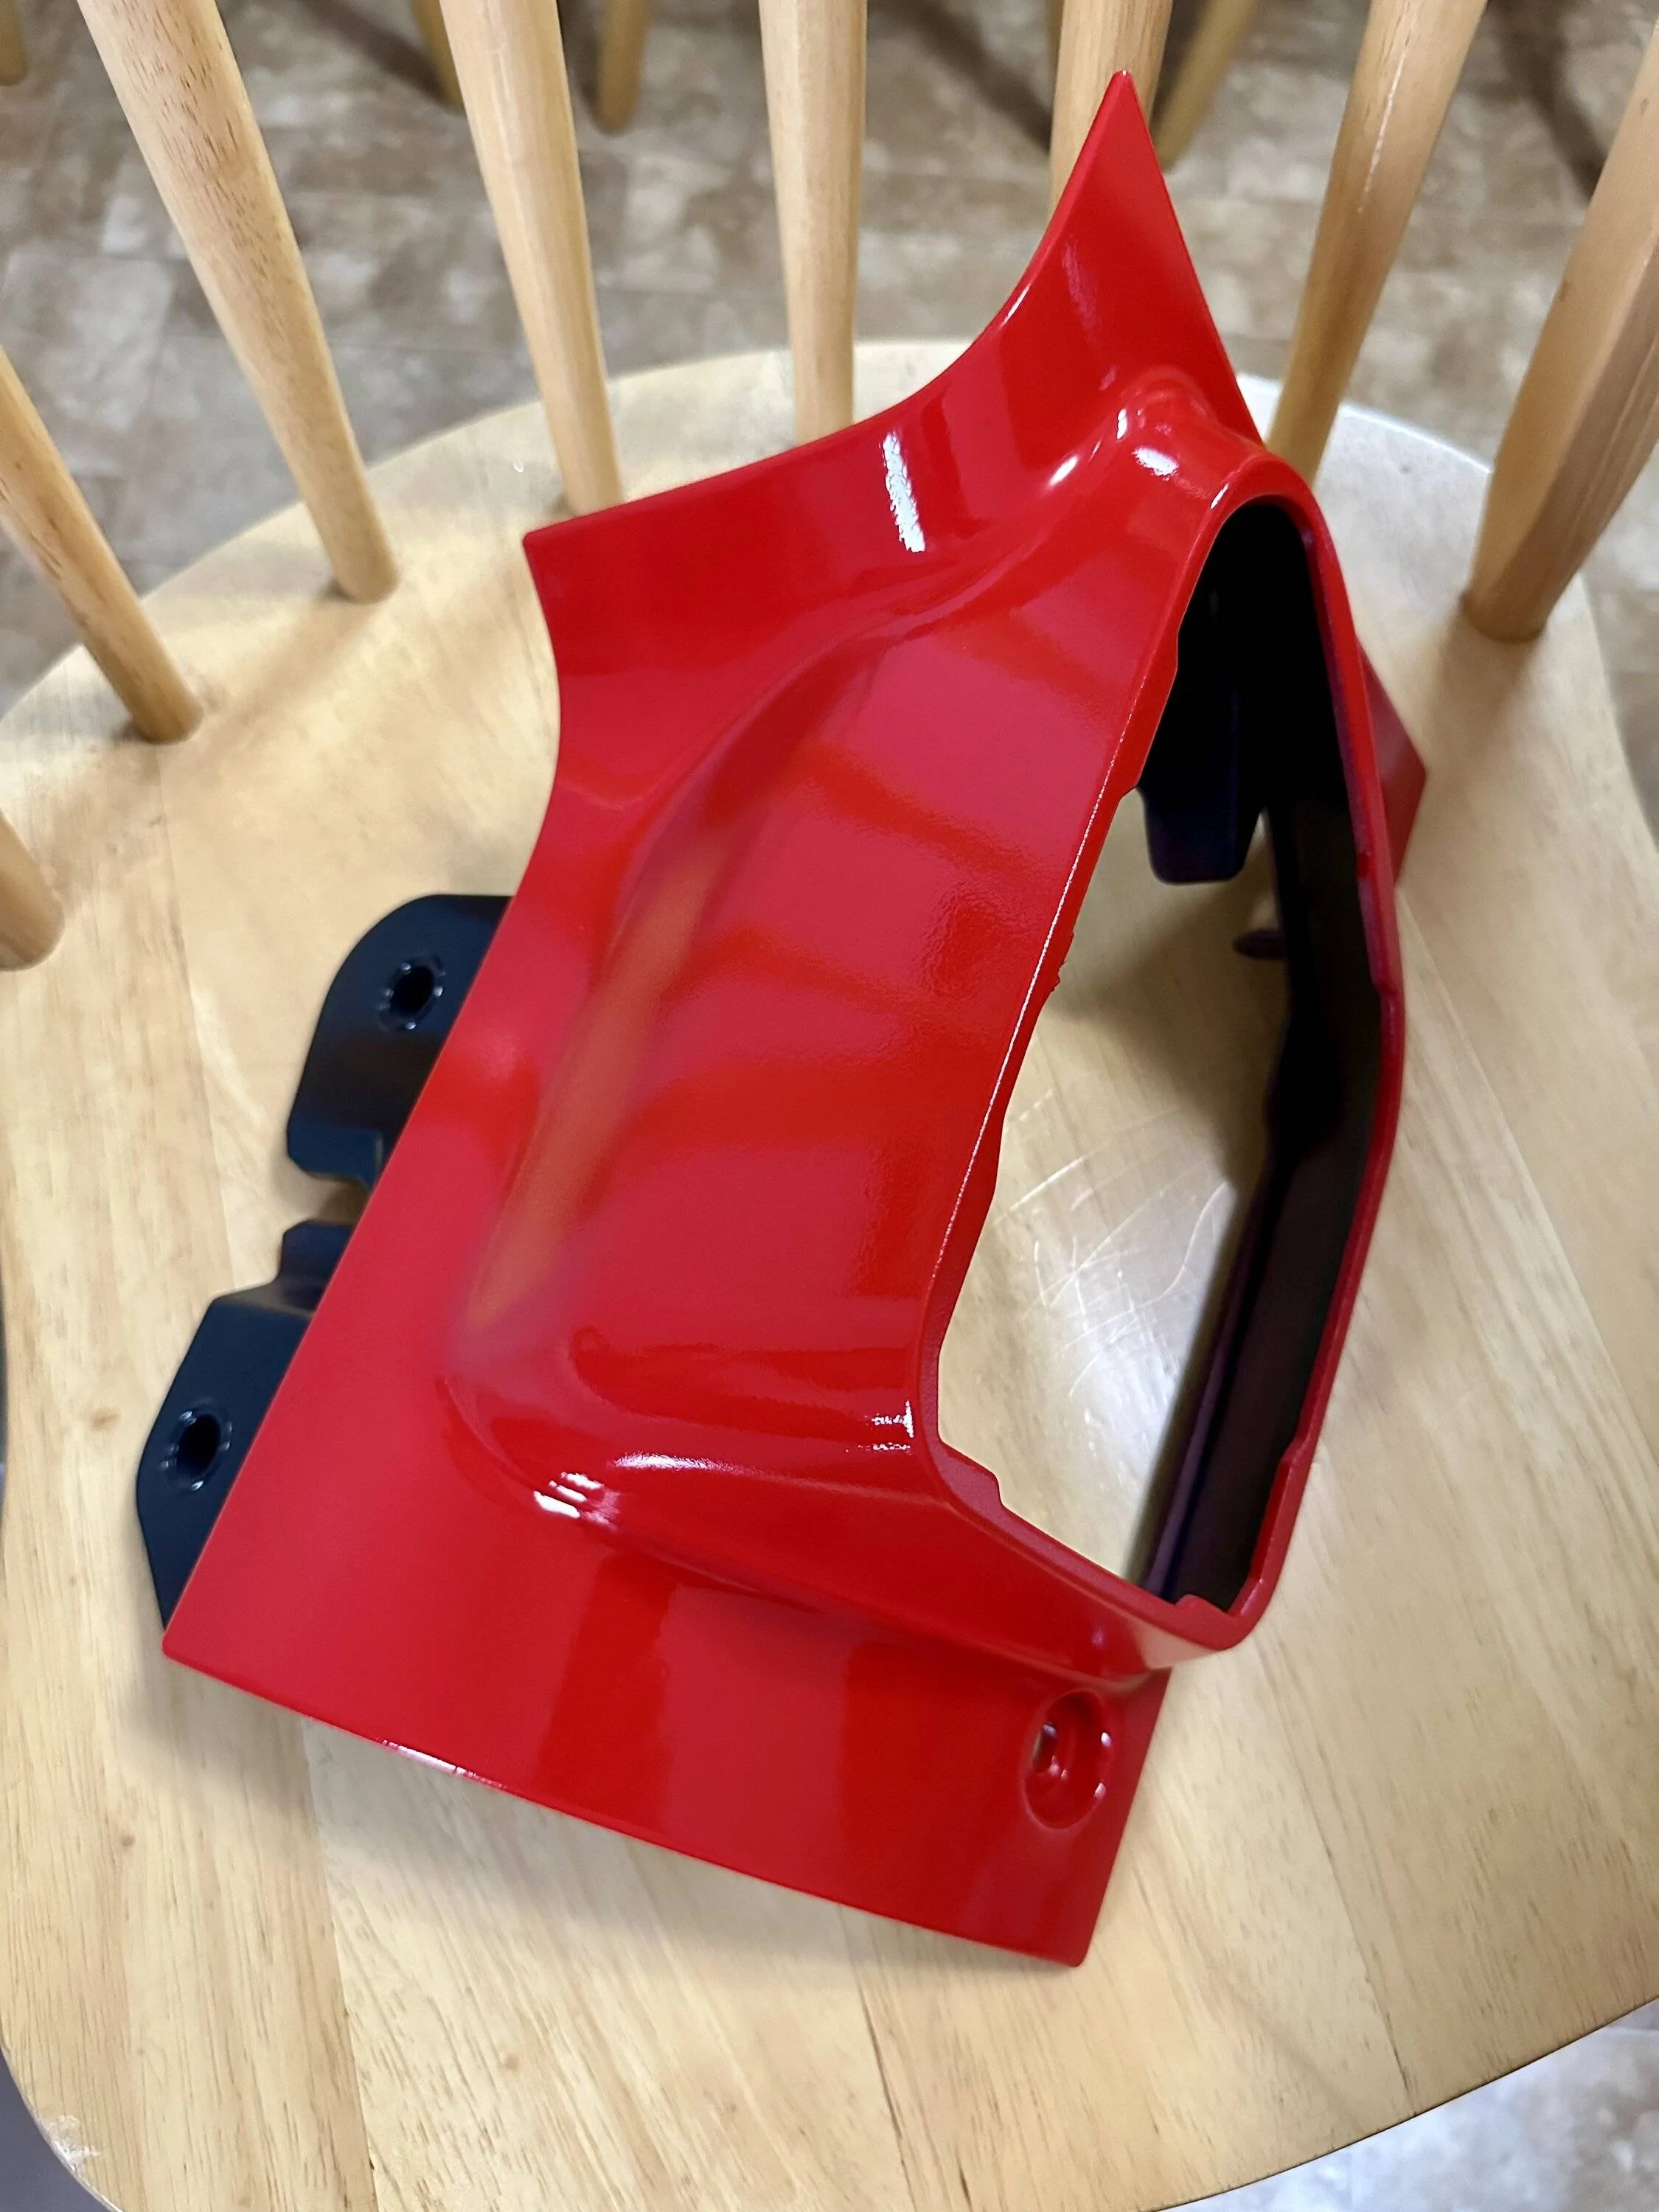
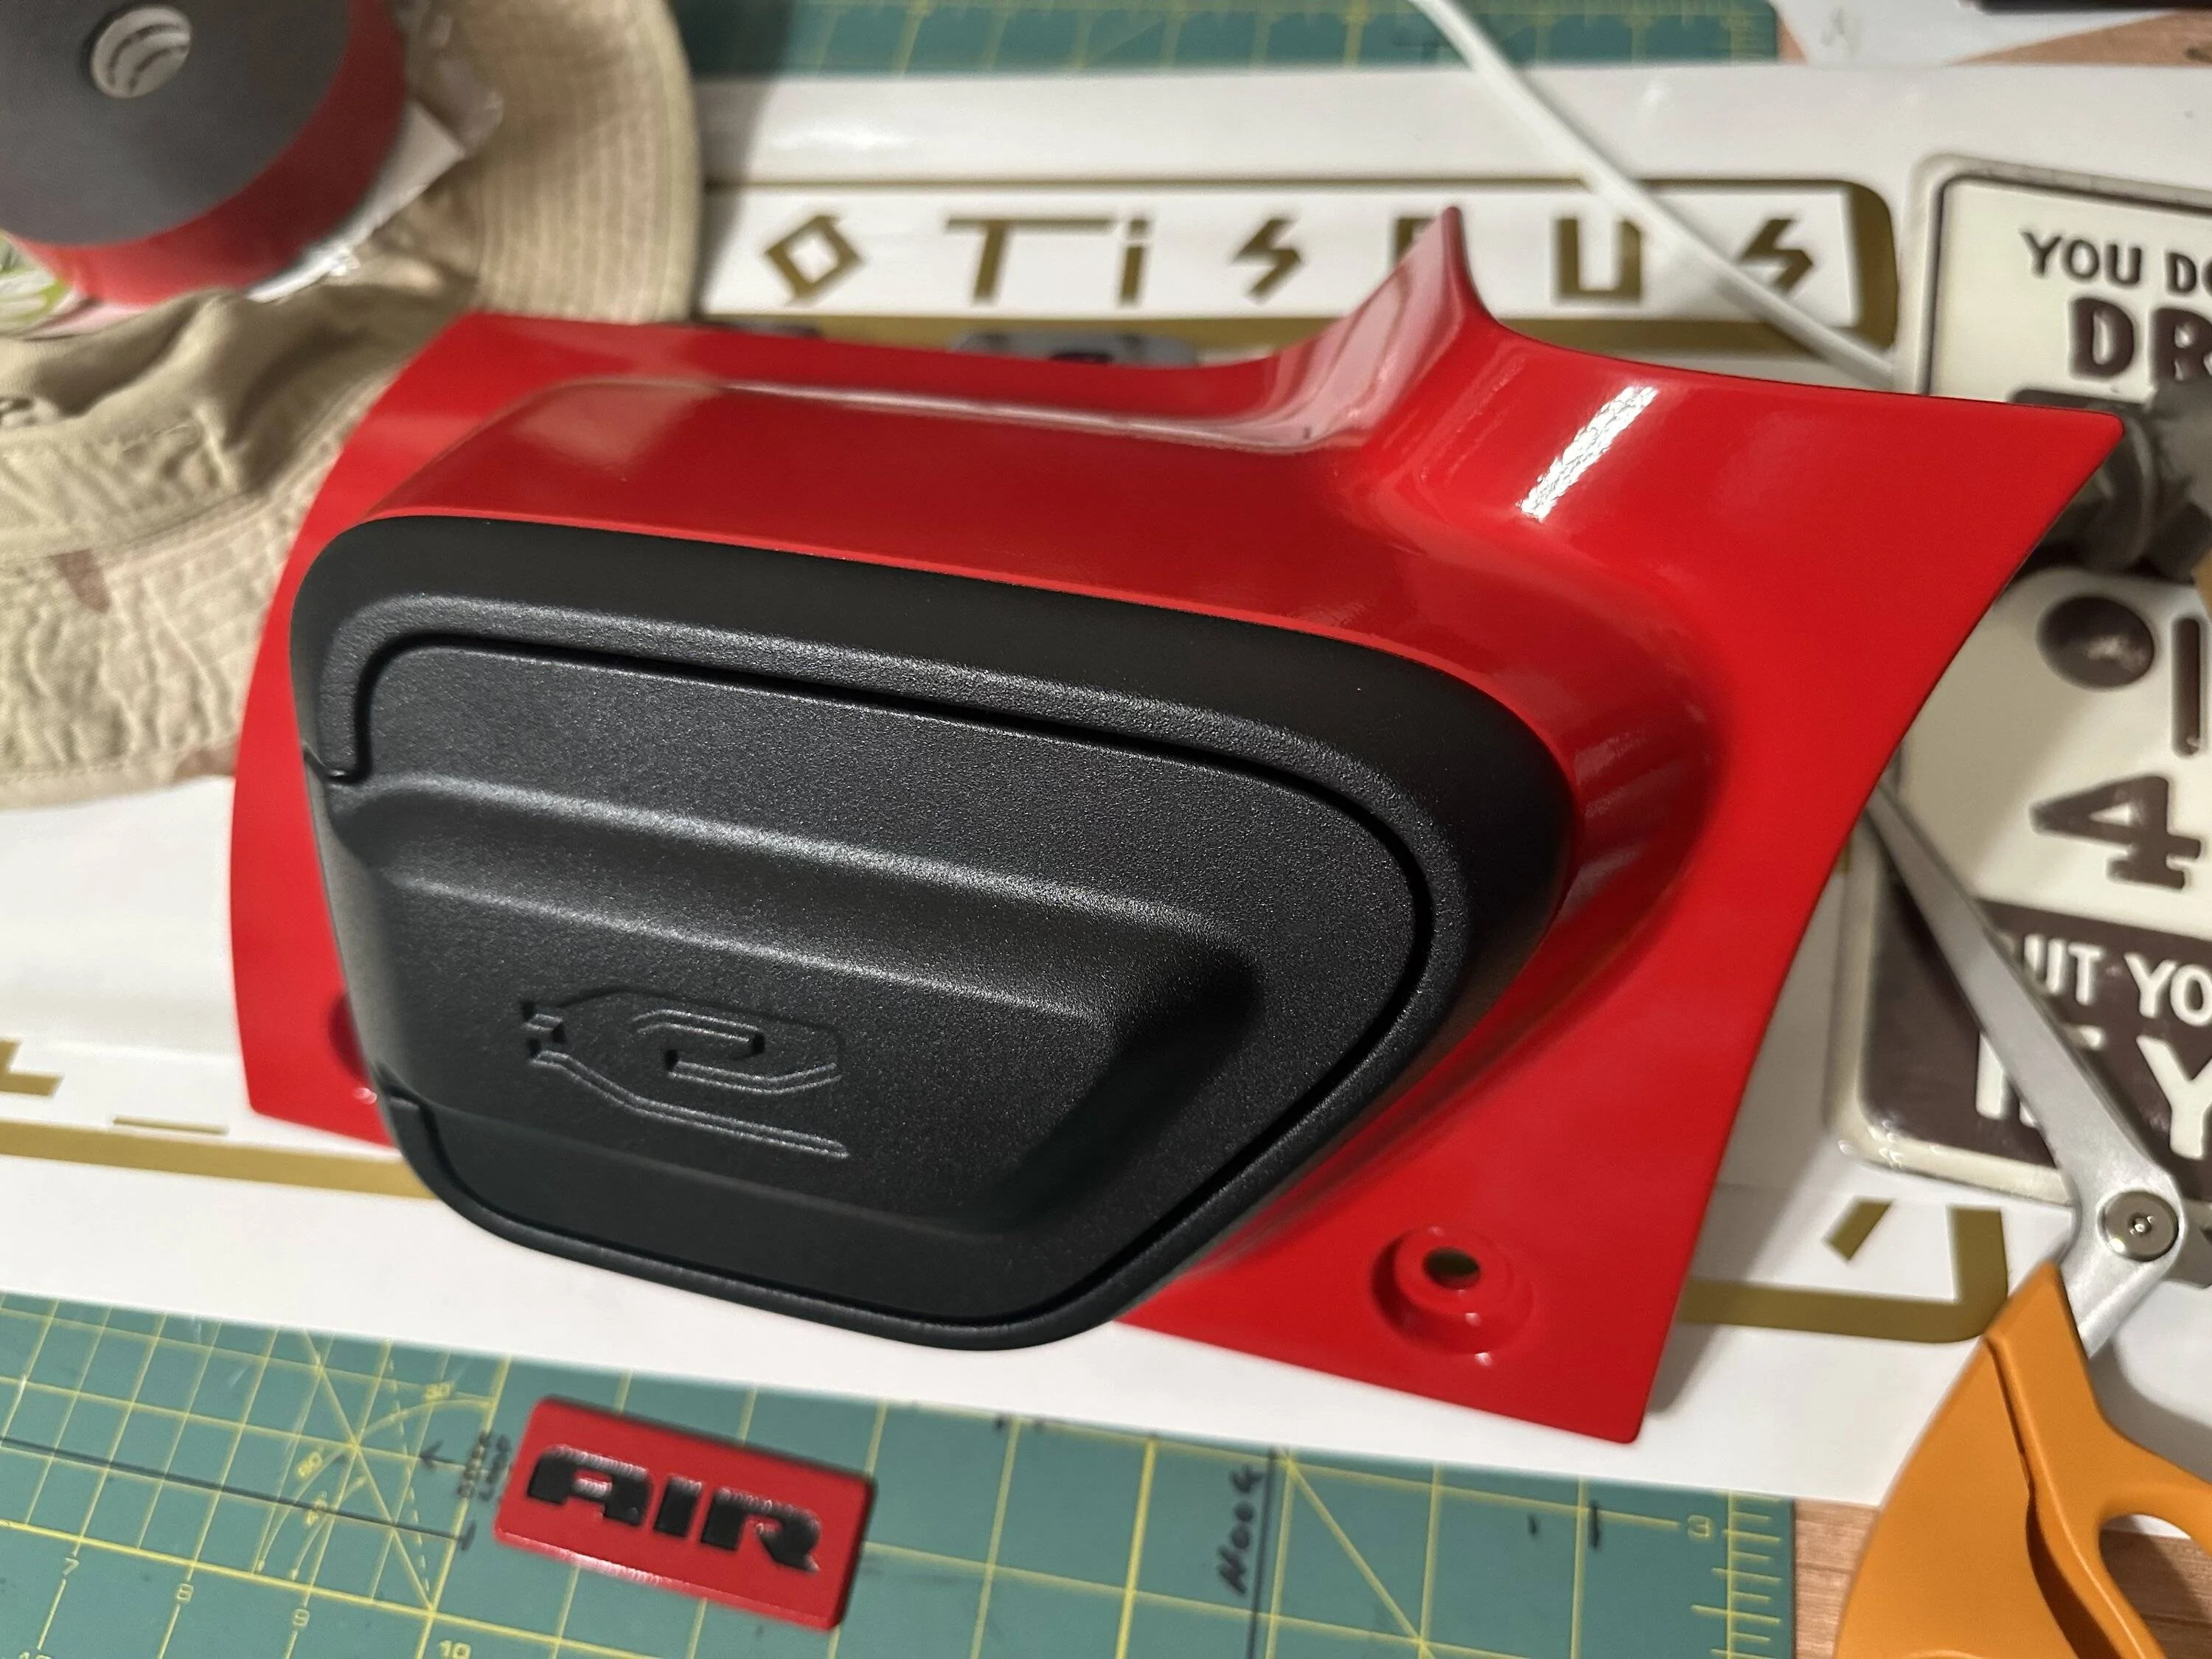
Cowl conversion installed. Switch has not been installed (I will probably use one of the AUX switches instead.) I know, why install it if you do not have everything? I could not wait to see how it looked to be honest. Super easy to install and comes with all the necessary parts. You do have to cut the inner rubber/plastic circle out of the 4XE section before you install the kit (which I do not have a picture of unfortunately).
ARB dual compressor (not that exciting of a picture I know)
Custom braided hose I had made.
That's pretty much it for now. I still need to get a longer wiring harness and work out the path (I have a decent idea of how I will do it but we will get into that later). I will update this post as I get things done.
Sponsored
 Can't wait to see the rest of this install.